Weapon XI — the stitched-mouth Deadpool of X-Men Origins: Wolverine — is the game’s last real wall. He teleports, he swings forearm blades, and in his final phase he fires optic beams that chew holes in the cooling tower you are standing on. Most losses are not damage losses. They are falls.
Quick answer: Block and counter his blade swings until he hits the ground, then punish him while he is down. In the last phase, double jump the instant you hear the optic blast and stay close to him.
Weapon XI’s attacks and the answer to each
He has a small move list and repeats it. Learn the four entries below and the fight stops being random.
| Attack | Tell | Response |
|---|---|---|
| Arm blades | He closes in and swings | Block, let him swing twice, then counter |
| Teleport | Purple energy crackle, he reappears beside you | Block on arrival or double jump away |
| Optic blast | Charge sound, beam sweeps the rim | Double jump sideways, then close the gap |
| Clash / grapple | Button prompt appears on screen | Mash the prompt to knock him down |
The clash prompt is the fight’s best gift. On Xbox 360 it shows as an X; on PC the prompt reads Rapidly Tap M1. Hit it fast enough and Weapon XI goes down with no way to escape, which hands you a free punish window.
The three phases of the Weapon XI fight
Phase 1: Inside the facility
The objective banner “New Objective: The Dead Pool” appears and the fight starts indoors on flat ground. There is nothing to fall off, so this is where you build rage and get comfortable with his timing. Claw combos, lunges, and counter prompts all land cleanly here. When his health drops far enough he grabs you and teleports both of you outside.
Phase 2: The cooling tower rim
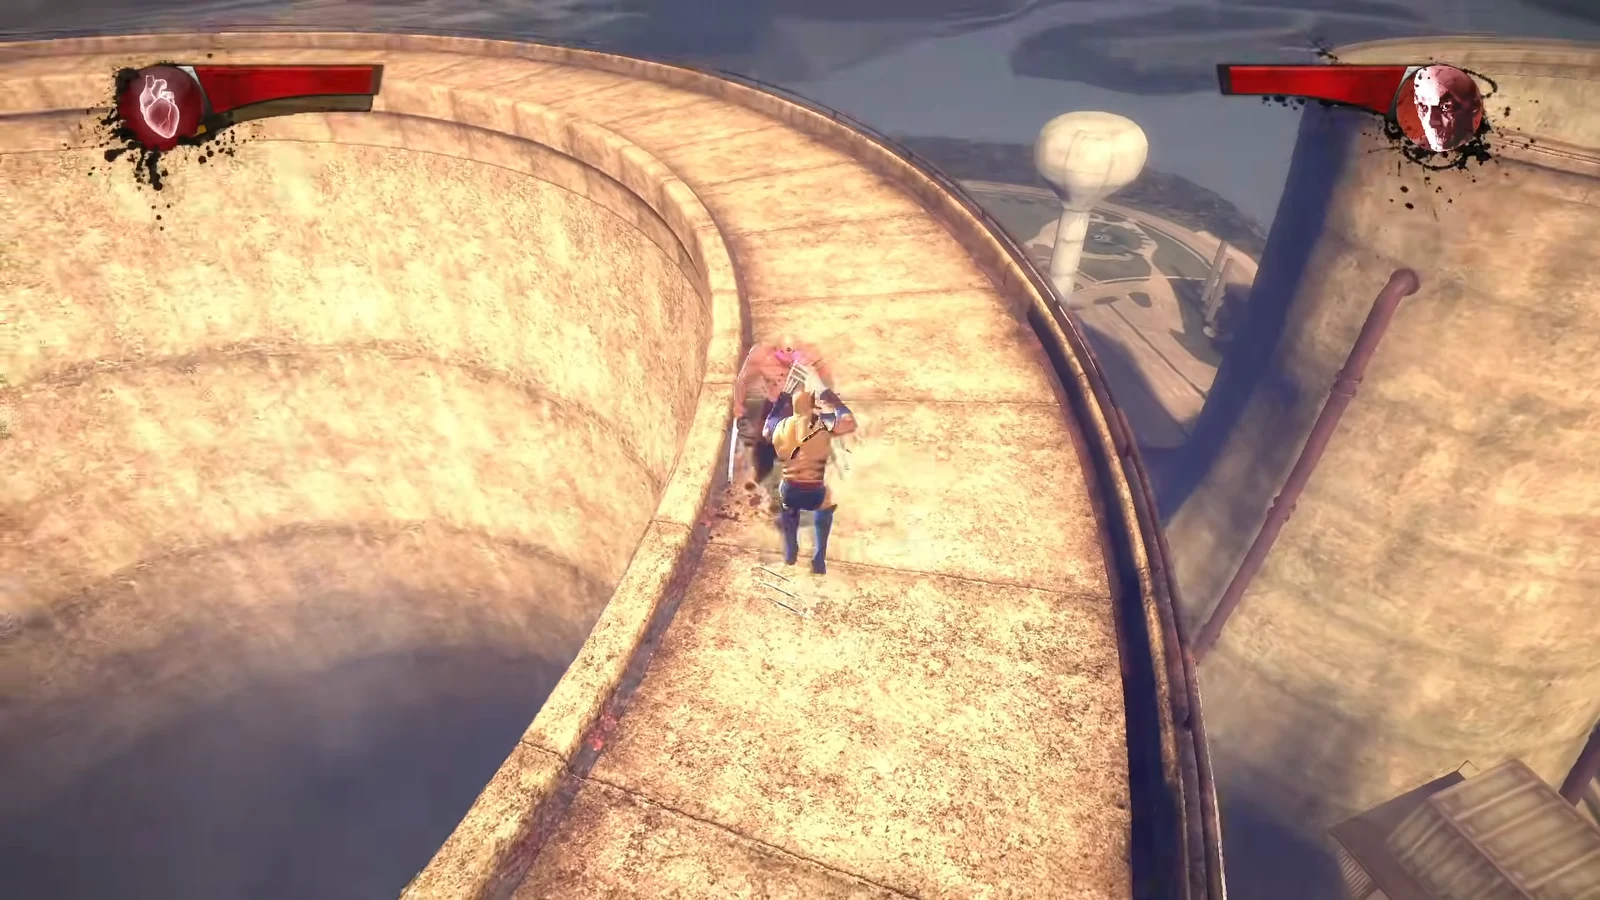
You land on the narrow circular rim at the top of the cooling tower, and a checkpoint triggers here. Weapon XI now leans on teleportation, appearing beside or behind you between blade swings. Block through the teleport arrivals instead of swinging at where he used to be. When he teleports in close, hold block until he has moved twice, then attack.
Phase 3: Optic blasts and the crumbling rim
The last stretch is where runs end. Weapon XI backs off and fires optic beams that destroy sections of the silo, opening gaps in the walkway. Keep walking toward him, double jump as soon as the blast sound starts, and stay in his face. Distance is the enemy here — the further away you are, the more time he has to shoot you off the tower.
Do not lunge across a gap unless you are certain you will clear it. A beam can catch you in mid-air and drop you off the rim, which counts as a loss even at full health.
Damage loops that work on Weapon XI
He has no weak spot. What he does have is a long recovery every time he hits the floor, and three reliable ways to put him there.
- Block, counter, knock him down, then go berserk while he is on the ground.
- Lunge in after an optic blast, jab him on the ground, then repeat the leaping attack.
- Knock him flat and open an extended Claw Spin, which shreds a visible chunk of his health bar.
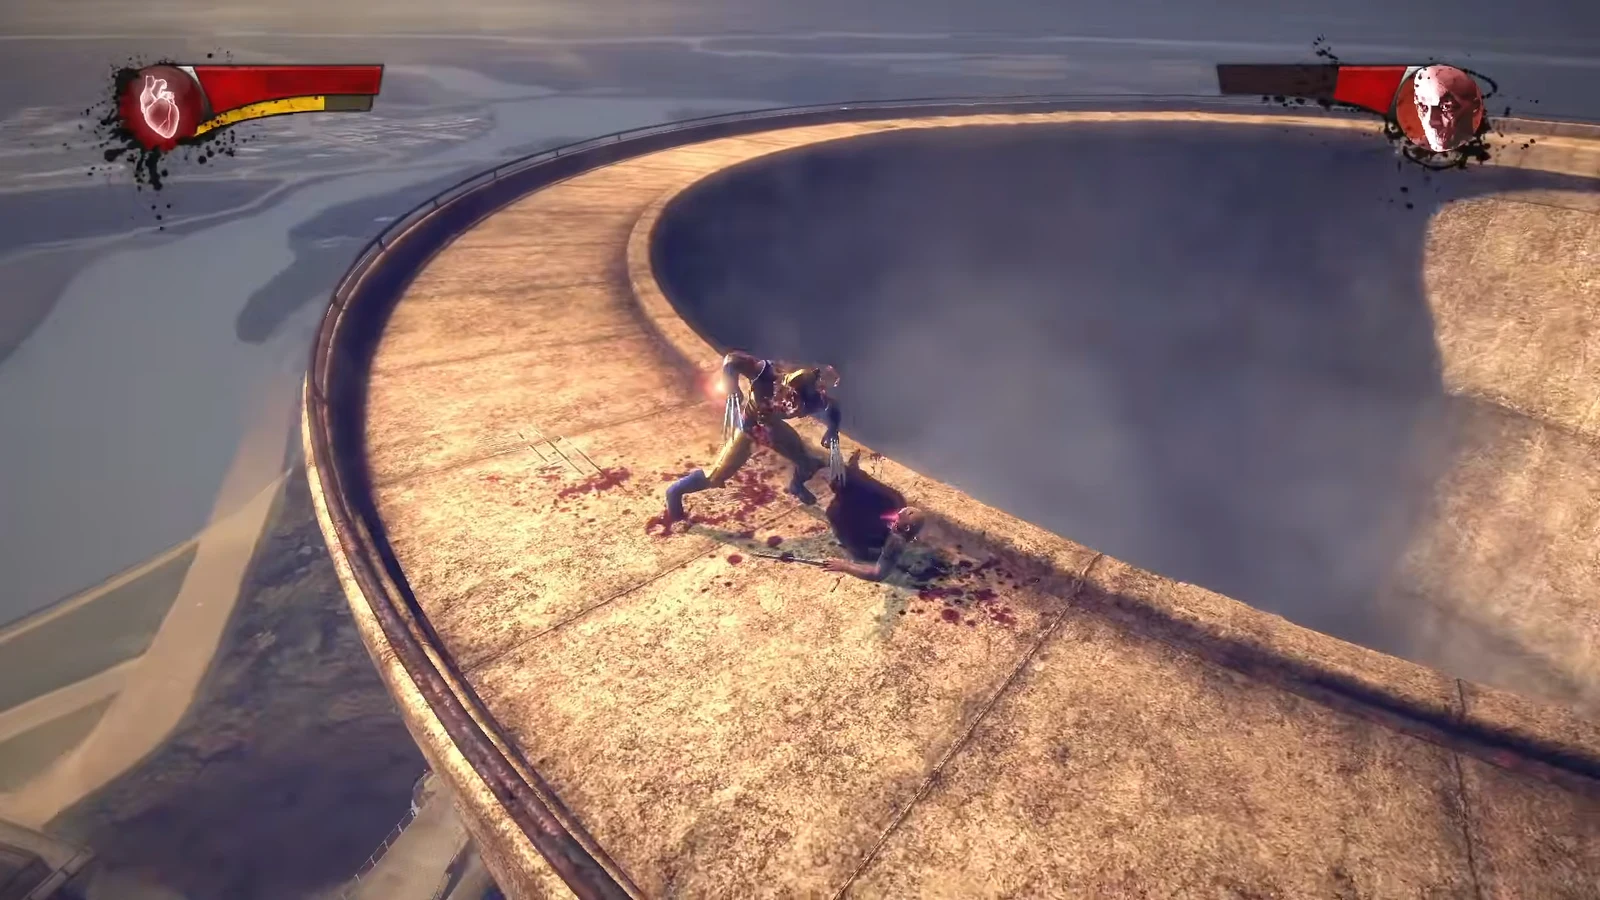
There is also a juggle for Xbox 360 players. Hold Y to charge the uppercut, dash into him, and release to launch you both into the air. At the peak of the jump, tap X five times for a slash flurry that keeps him suspended, then press B to grab and slam him into the ground. That slam stuns him for about a second, long enough to charge another uppercut and start the loop again. Press X a sixth time or follow up with Y and you will trigger an axe kick finisher that sends him flying, which is exactly what you do not want — it hands him the space to blast the ground under you.
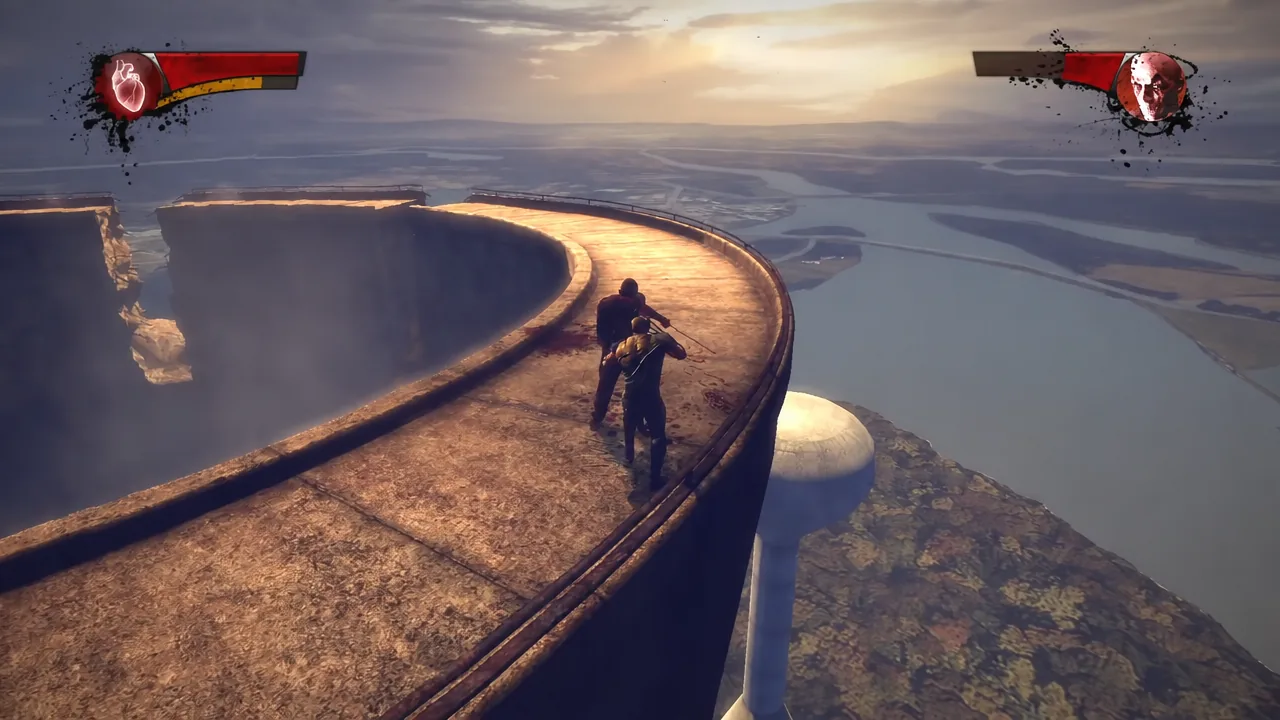
If he stands up before your next charged uppercut is ready, throw a weak uppercut instead. It pops him into the air while you stay grounded, giving you time to charge properly.
Set up mutagens and upgrades before the fight
Mutagens give Wolverine bonuses to his abilities and statistics, and you equip them through the Character Menu. Go in with everything slotted for this fight rather than whatever was left over from the last area.
A level 3 healing mutagen paired with an upgraded berserk healing skill matters more than raw damage, because it lets you recover most of a beam hit before the next one lands. If you have skill points spare, Claw Spin Damage and Claw Spin Duration are the two upgrades that pay off fastest here, since Claw Spin is your main punish on a downed boss.
Why the fight ends in a Mission Failed screen
The tower rim is a fall hazard, and the game treats a fall as a loss regardless of your remaining health. Stepping off the edge — or getting shot out of the air, or standing on a section of walkway that Weapon XI destroys — brings up the “Mission Failed” screen with options to “Restart from Checkpoint” or “Quit to Main Menu”. Reloading drops you back at the tower, not at the start of the fight.
How to confirm the boss is dead
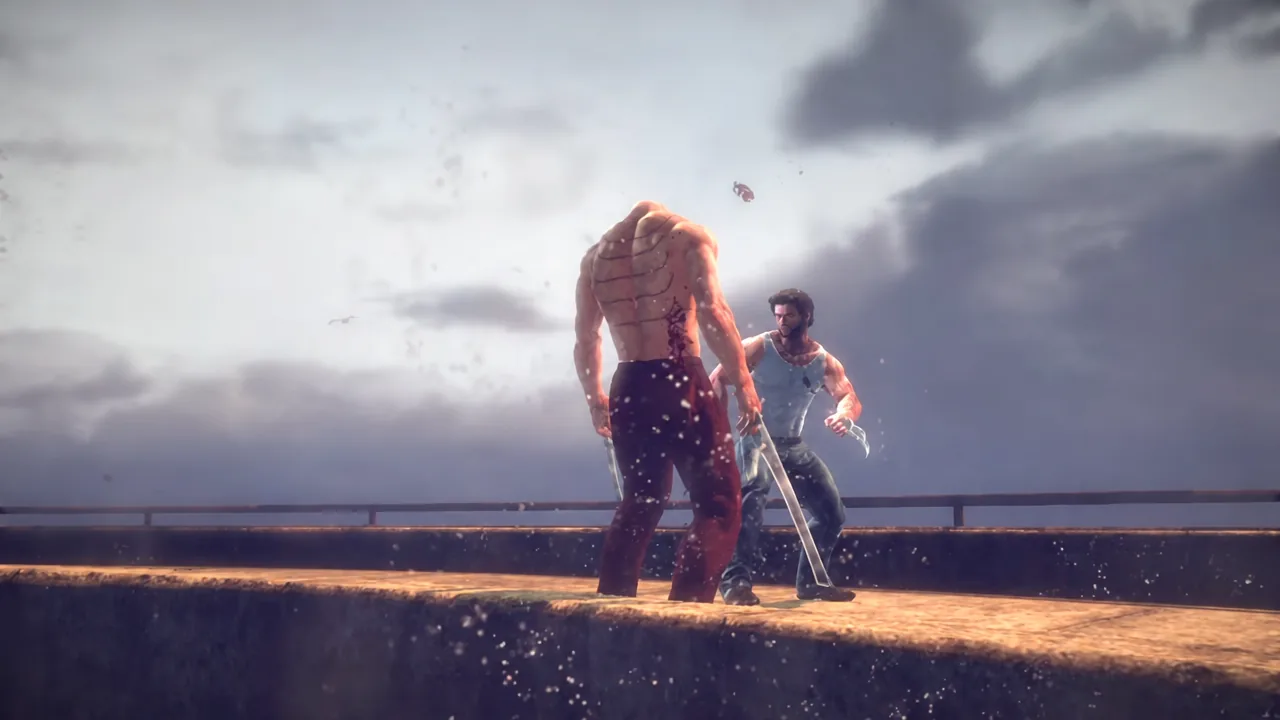
The kill is a cutscene, not a health bar hitting zero quietly. Once his health is gone, Wolverine counters one last attack, decapitates Weapon XI with his claws, and kicks the headless body down into the reactor core. The severed head keeps firing beams, the cooling tower collapses, and Logan slides down the falling concrete to the ground.
On Xbox 360 you will also see the achievement pop for The Dead Pool (50G) as the cutscene starts. Control returns to you after the epilogue, in which Logan confronts Victor Creed in the burning wreckage and the two argue about being brothers and being animals before Victor walks off into the fire.
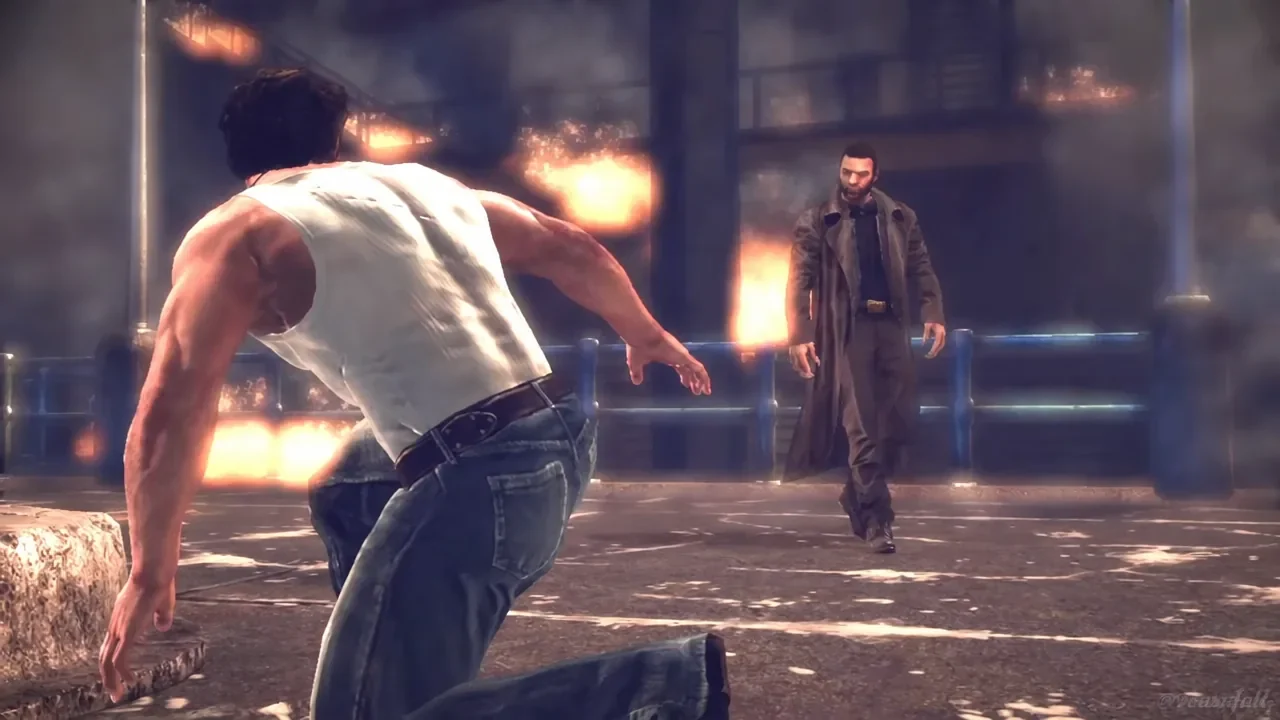
None of this changes on a replay with a different skin, so if you are running the classic yellow-and-blue comic outfit, the timings above still apply exactly. The fight is short once the counter loop clicks — it is the rim, not Weapon XI, that decides how many attempts it takes.