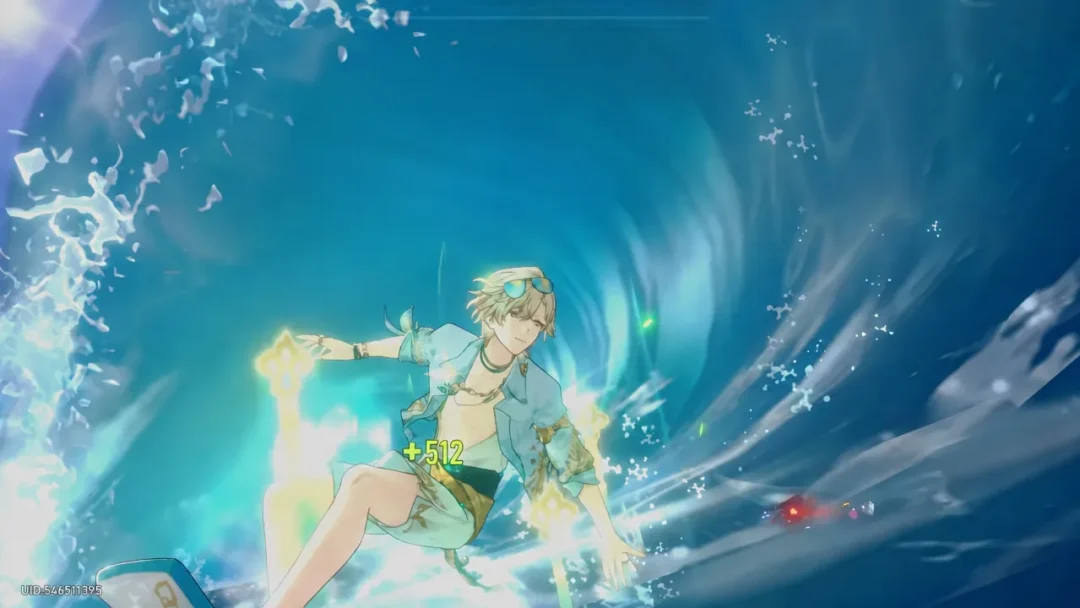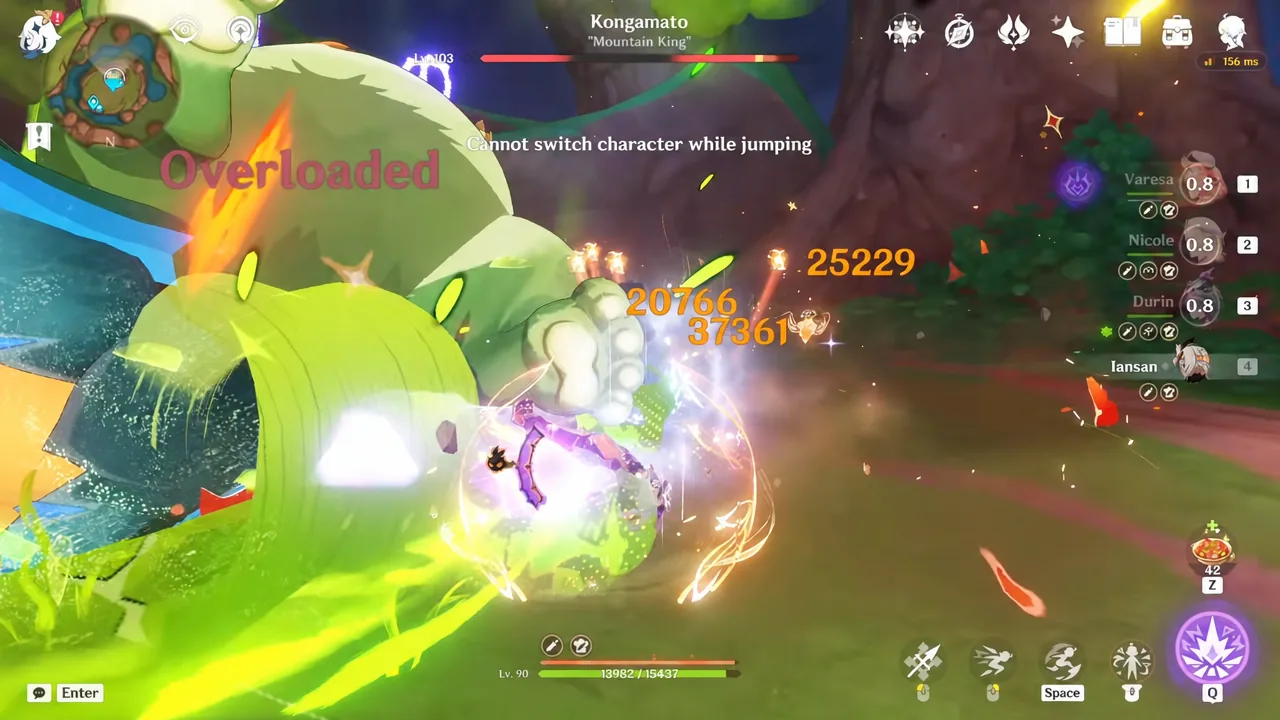
Varesa is a 5-star Electro catalyst user whose damage is packed almost entirely into her Plunge Attacks. She fills her own Nightsoul gauge, enters Fiery Passion, and turns a plunge into Apex Drive, which unlocks a cheap Burst with no cooldown. That self-sufficiency means her team slots are not about enabling her rotation — they exist purely to raise the numbers on each plunge.
Quick answer: Varesa’s strongest lineup is Varesa, Mavuika, Chevreuse, and Iansan, an Overload core. Replace Mavuika with Bennett if you do not have her. Iansan belongs in essentially every Varesa team.
What every Varesa team needs
Before picking a lineup, understand what actually moves her damage. Varesa has no access to amplifying reactions such as Melt or Vaporize, so her supports have to supply flat multipliers instead.
- Iansan — her Burst grants an ATK buff scaled off her own ATK, and it follows the party instead of sitting in a fixed circle, which suits a character who is constantly airborne.
- Resistance shred — Chevreuse for Pyro/Electro, or Xilonen with the Scroll of the Hero of Cinder City set.
- Plunge-specific buffs — Xianyun raises Plunge Attack damage and CRIT Rate, and also heals.
- Energy Recharge support — a second Electro unit cuts her ER requirement roughly in half.
Her rotation is short and repeatable: Skill, attack, plunge, then the quick Burst, repeated for up to three Bursts before her field window ends and a brief cooldown starts. If you cannot chain those Bursts, your Energy Recharge is too low for the team you are running.
Varesa team comparison
| Team | Lineup | Best for |
|---|---|---|
| Overload (premium) | Varesa, Mavuika, Chevreuse, Iansan | Highest ceiling |
| Overload (budget) | Varesa, Bennett, Chevreuse, Iansan | No extra 5-stars |
| Overload (Sara) | Varesa, Mavuika, Chevreuse, Kujou Sara C6 | Constellated Electro buffer |
| Plunge hypercarry | Varesa, Furina, Xianyun, Iansan | Flexible rosters |
| Apex Drive plunge | Varesa, Xilonen, Xianyun, Iansan | Geo shred, comfort |
| Lunar-Charged | Varesa, Furina, Xianyun, Ineffa | Hydro-heavy rosters |
| Aggravate | Varesa, Xilonen, Nahida, Iansan | Dendro rosters only |
Overload teams: Varesa’s highest damage ceiling
Chevreuse is the reason this archetype works. Triggering Overload activates her passive, which lowers enemy Pyro and Electro resistance, and her Skill heals while granting an ATK buff based on her Max HP. The catch is a hard roster restriction: the team may contain only Pyro and Electro characters. Overload also knocks lighter enemies around, though Varesa’s aerial mobility makes chasing them manageable.
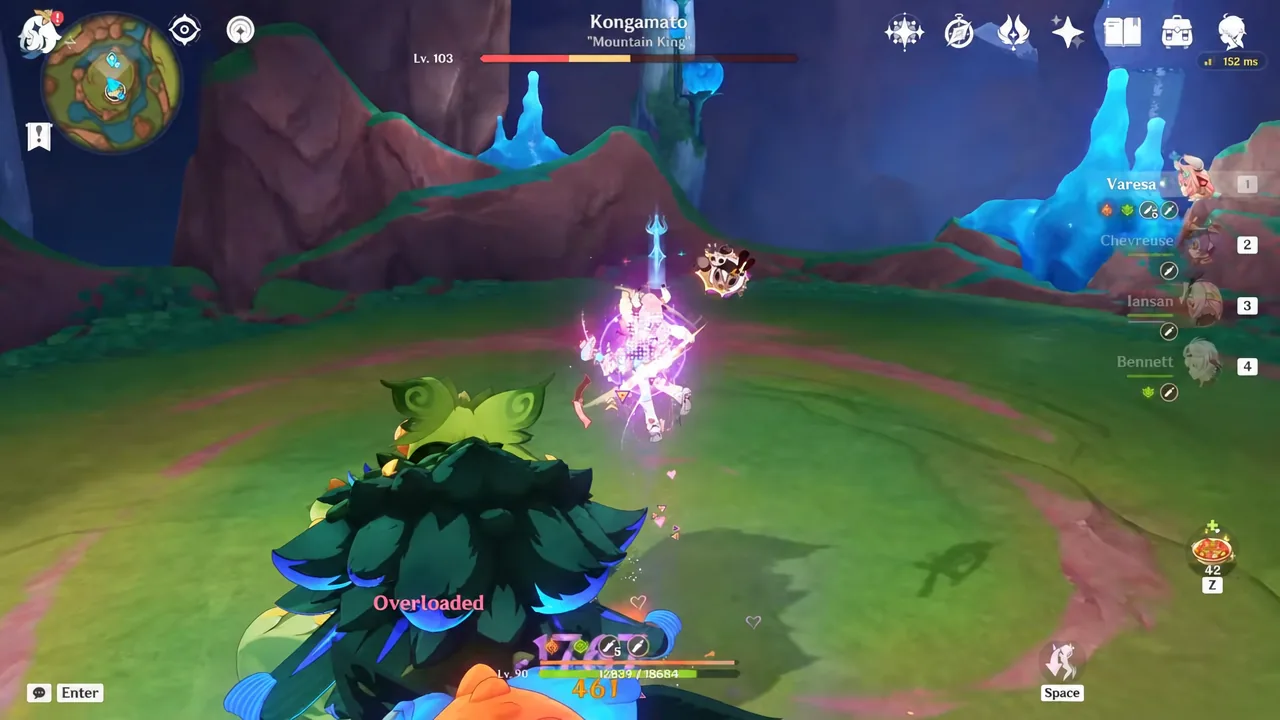
Varesa, Mavuika, Chevreuse, Iansan
Mavuika supplies off-field Pyro as a sub-DPS, her Burst charging through Nightsoul points and briefly boosting her abilities and interruption resistance. Paired with Chevreuse’s shred and Iansan’s mobile ATK buff, Varesa can plunge freely and spam her short Burst. Mavuika is usually reserved for her own on-field teams, which is the main argument against this version, not its damage.
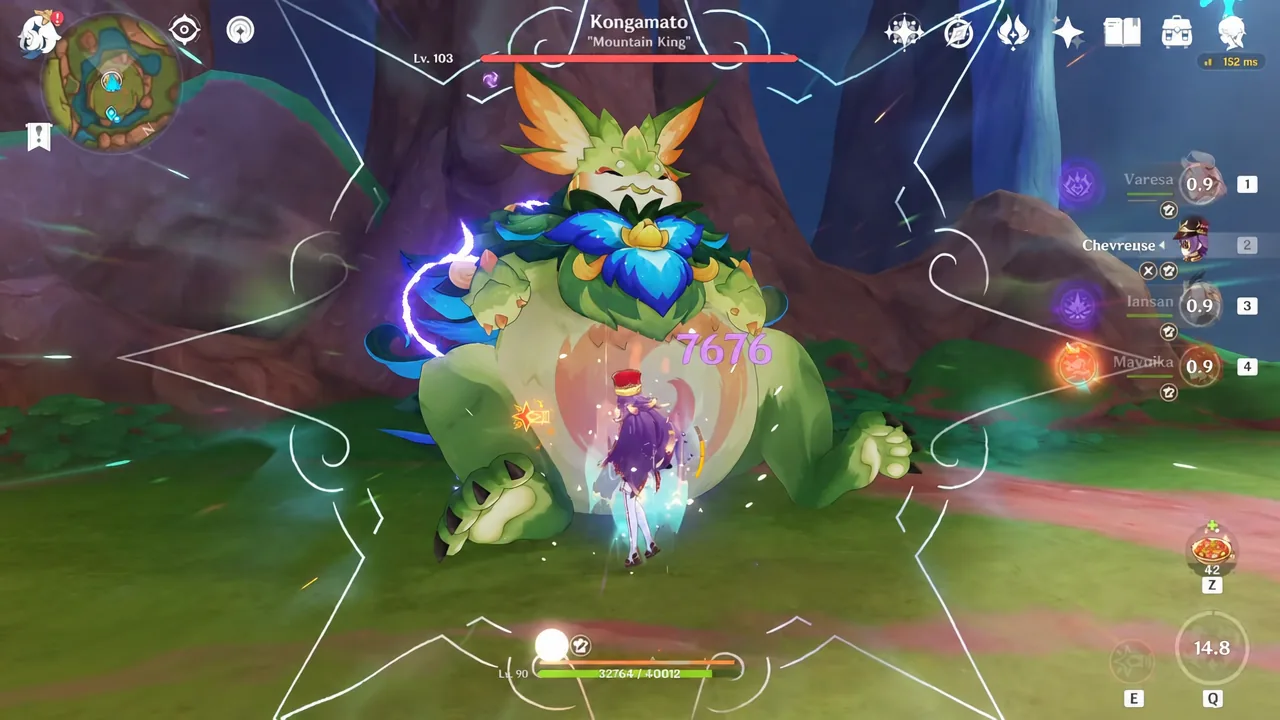
Varesa, Bennett, Chevreuse, Iansan
This is the accessible version, and it stays close to the premium build. Bennett’s Burst stacks a large ATK bonus and healing on top of Iansan’s buff, so Varesa’s plunges gain two separate ATK sources while Chevreuse handles the shred. Build Bennett on Noblesse Oblige with an HP%/HP%/Healing Bonus spread and enough Energy Recharge to burst every rotation.
Bennett’s buff circle is stationary, while Iansan’s moves with the party. Drop Bennett’s Burst where you intend to fight, then let Iansan cover any repositioning.
Varesa, Mavuika, Chevreuse, Kujou Sara C6
Sara replaces Iansan only if she is at C6, where her Burst adds CRIT DMG to Electro damage on top of her ATK bonus. Run her with Energy Recharge sands, an Electro DMG goblet, and a CRIT circlet. Below C6 this slot is a downgrade, and Iansan is the better pick.
Plunge hypercarry teams without the Pyro restriction
Drop Chevreuse and the element lock disappears. These lineups ignore reactions entirely and stack raw buffs on Varesa’s Apex Drive plunges, which makes them far easier to assemble from a mixed roster.
Varesa, Furina, Xianyun, Iansan
Xianyun is the key piece here, raising Plunge Attack damage and CRIT Rate while healing. Furina applies Hydro continuously and converts party HP swings into a team-wide damage bonus, and the healing in this team keeps her Fanfare stacking quickly. Because Furina’s damage bonus is so large, an ATK% goblet on Varesa becomes a reasonable alternative to an Electro DMG goblet.
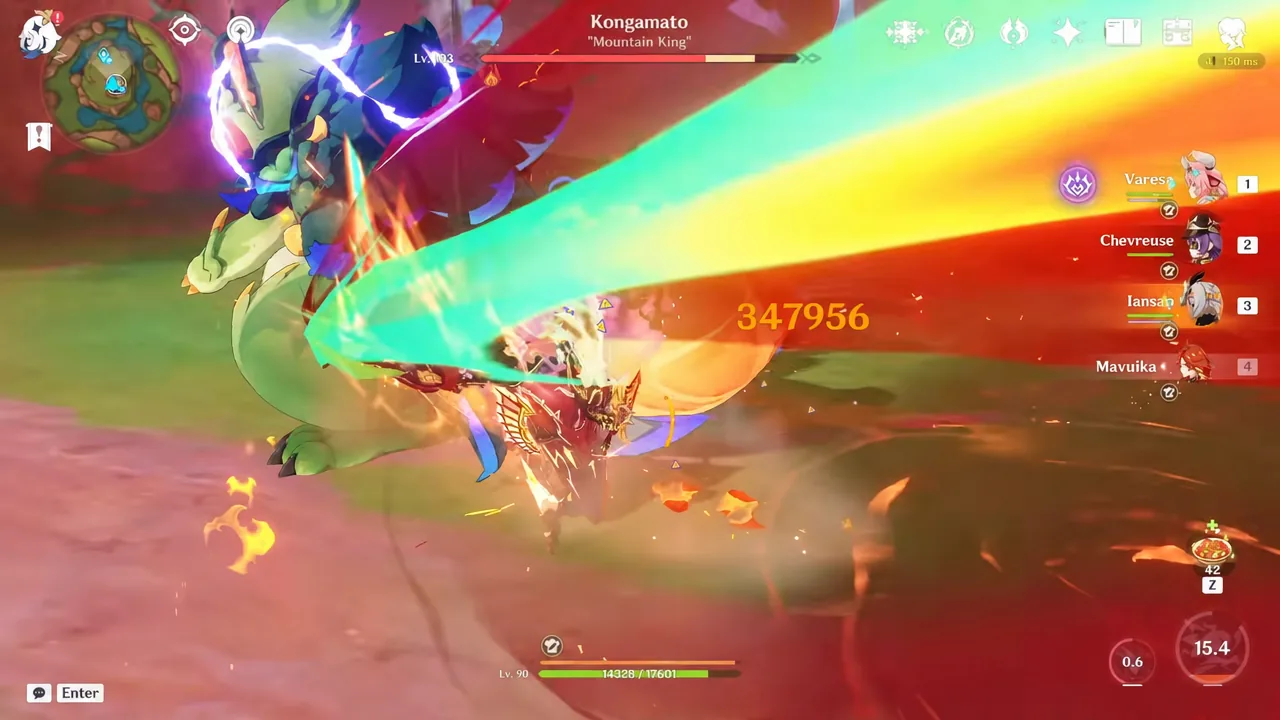
Varesa, Xilonen, Xianyun, Iansan
Xilonen runs the Scroll of the Hero of Cinder City set for resistance shred and an elemental damage bonus, while Xianyun and Iansan handle plunge damage and ATK. It is the most comfortable of Varesa’s lineups thanks to double healing, but it also asks for three limited 5-stars and lands slightly behind the Overload teams. Swapping Xianyun for Kaedehara Kazuha is a workable variant.
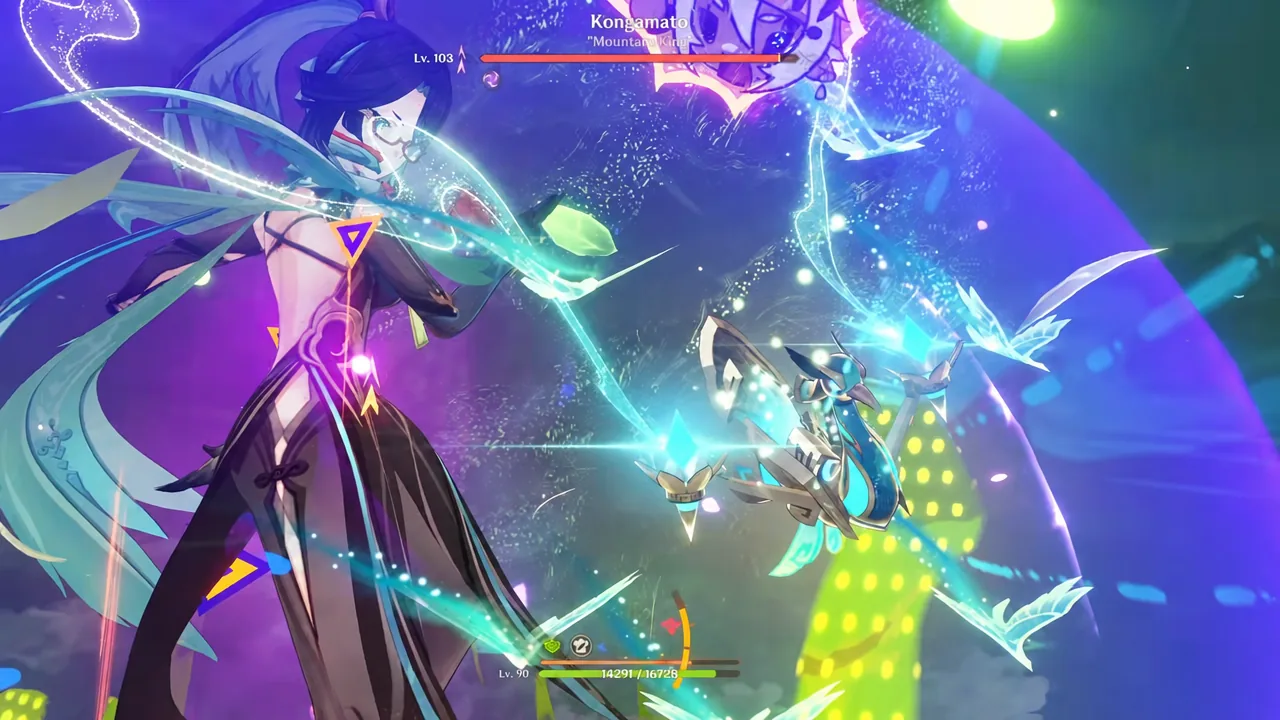
Two further variants exist for rosters missing Xianyun: Varesa with Xilonen, Chiori C1, and Iansan leans on Geo resonance and Chiori’s constellation, while Varesa with Xilonen, Furina, and Iansan keeps Furina’s damage bonus without needing an Anemo unit.
Lunar-Charged teams with Ineffa
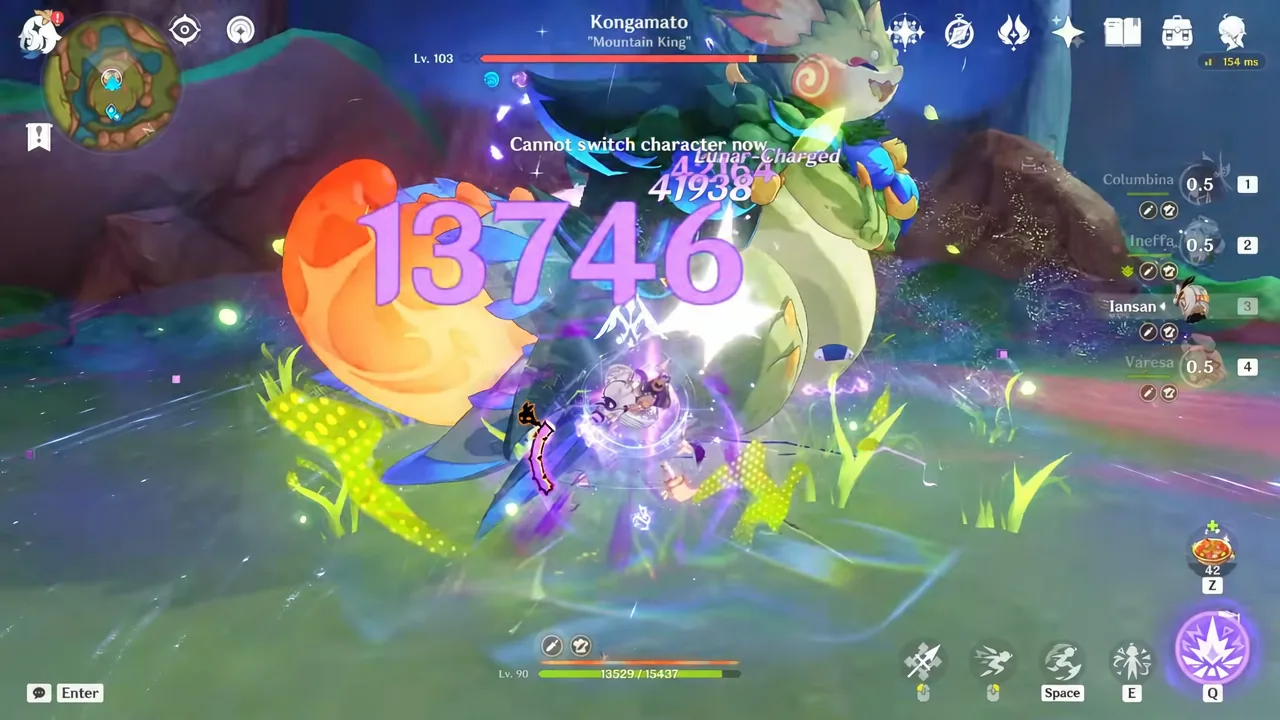
Ineffa turns Varesa’s Electro output into a Lunar-Charged setup alongside a Hydro applier. The standard build pairs Varesa, Furina, Xianyun, and Ineffa, keeping the plunge buff and Furina’s damage bonus intact. If you would rather have shred and Geo support, Varesa, Furina, Xilonen, and Ineffa covers the same reaction with a different fourth slot.
Aggravate: playable but the weakest option
Aggravate boosts a single Electro hit while a Quicken aura is maintained, which suits characters landing many small hits. Varesa is the opposite — her damage is front-loaded into a few large plunges, so the reaction returns less than it does elsewhere. Nahida provides steady Dendro application, and if you run a second Dendro unit such as Baizhu, resonance adds Elemental Mastery. Going this route also means prioritising Elemental Mastery on Varesa, which costs you offensive stats in every other team.
Varesa build targets for these teams
Long Night’s Oath is her main artifact set, with Obsidian Codex as the alternative. Main stats are ATK% sands, Electro DMG goblet, and a CRIT Rate or CRIT DMG circlet. Vivid Notions, her signature catalyst, is best in slot by a clear margin because it buffs Plunge damage alongside CRIT DMG and ATK%. Kagura’s Verity is the strongest alternative, and The Widsith is the F2P pick, particularly at high refinement.
| Stat | Target |
|---|---|
| ATK | 2,000–3,000 |
| Energy Recharge (with an Electro ally) | 120–145% |
| Energy Recharge (solo Electro) | 190–200% |
| CRIT Rate | 50–60% |
| CRIT DMG | 180% or higher |
Talent priority runs Normal Attacks first, since that level governs her plunge damage, then Elemental Burst, then Elemental Skill, which can sit at level 1 to 6 without much loss.
With Iansan alongside her, Varesa only needs around 125% Energy Recharge to keep her Bursts coming, so any extra rolls above that are better spent on CRIT or ATK. Lock in the Iansan slot first, decide whether you can commit to Chevreuse’s Pyro and Electro restriction, and build the rest of the party from there.