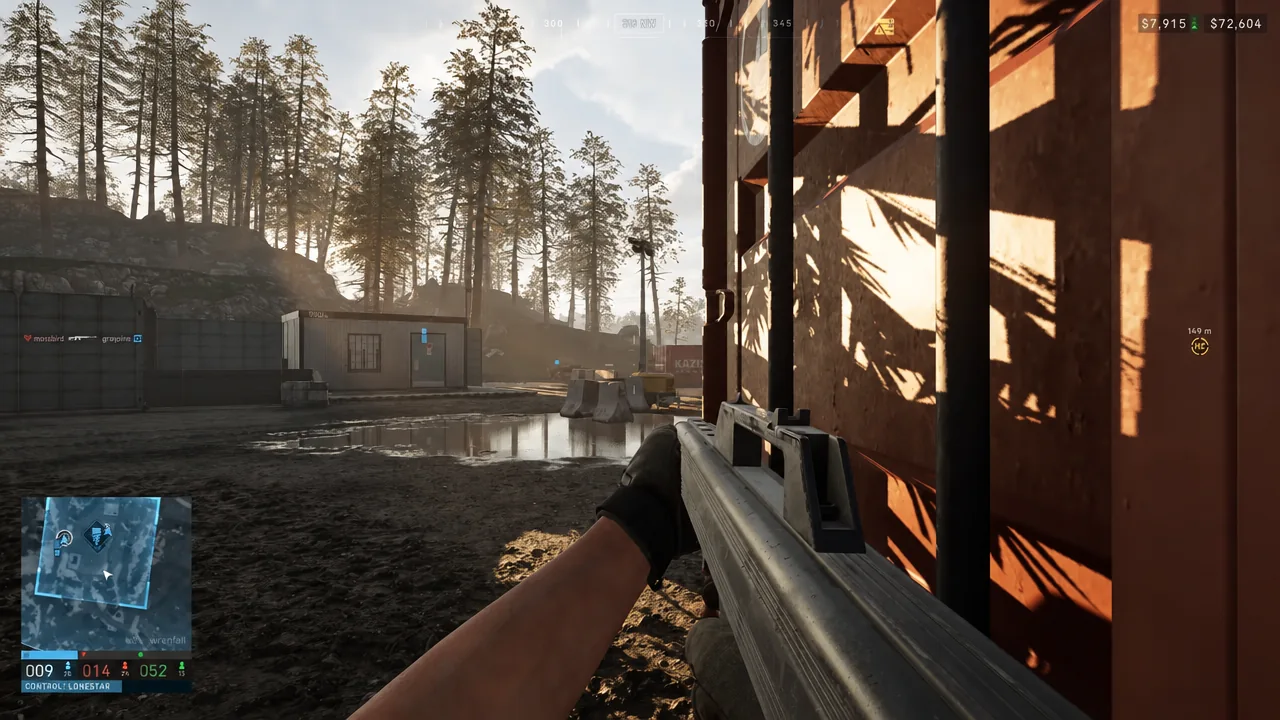
Every WARDOGS match comes down to one number in the bottom-left corner of your screen. Three factions drop into a randomized 2×2 km Control Zone, and the team with the most bodies standing inside it takes the score. Kills matter, but only because a dead enemy is one fewer body on their side of the count.
Quick answer: Stay alive inside the large green Control Zone circle. The faction with the most players inside scores one point every 30 seconds, and the first team to 100 points wins. Hot Zone players count double.
How the Control Zone point tick works
Open the map with M and look for the big green circle. That is the active Control Zone, and it can land a long way from your HQ. Being anywhere else on the map contributes nothing to the score, no matter how well you are shooting.
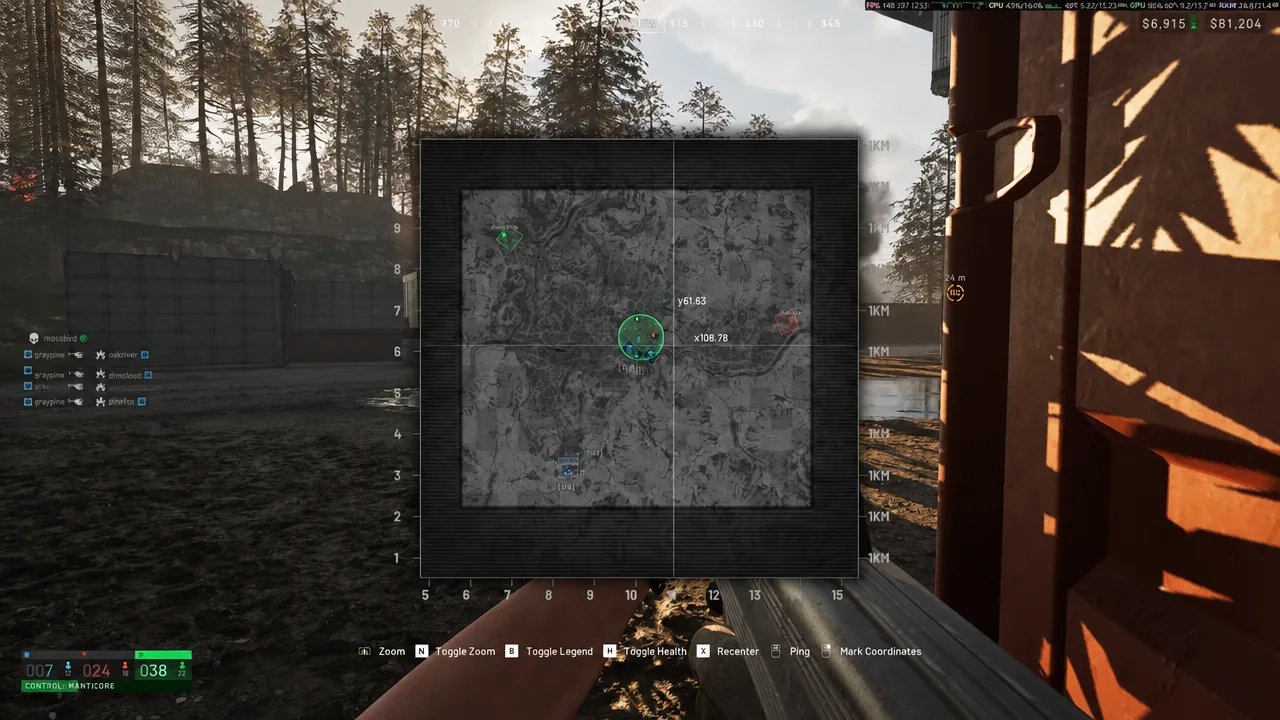
Under the minimap you get a CONTROL ZONE PRESENCE readout, showing how many living players each faction has inside the circle. Below it, a bar fills toward the next point and carries the name of whichever faction is currently winning the count. Every 30 seconds the leading team banks one point. Reach 100 and the match ends.
Two things follow from that. Dying removes you from the count instantly, and your purchased loadout goes with you, so waiting for a revive is both cheaper and faster than redeploying from HQ. Equal player counts contest the tick, which means a single teammate arriving seconds before the bar fills can flip the point.
If your faction has a respawn vehicle parked inside the zone, you can redeploy straight onto it from the Deployment Board at HQ every five minutes instead of driving across the map.
Hot Zone: why each player counts as two
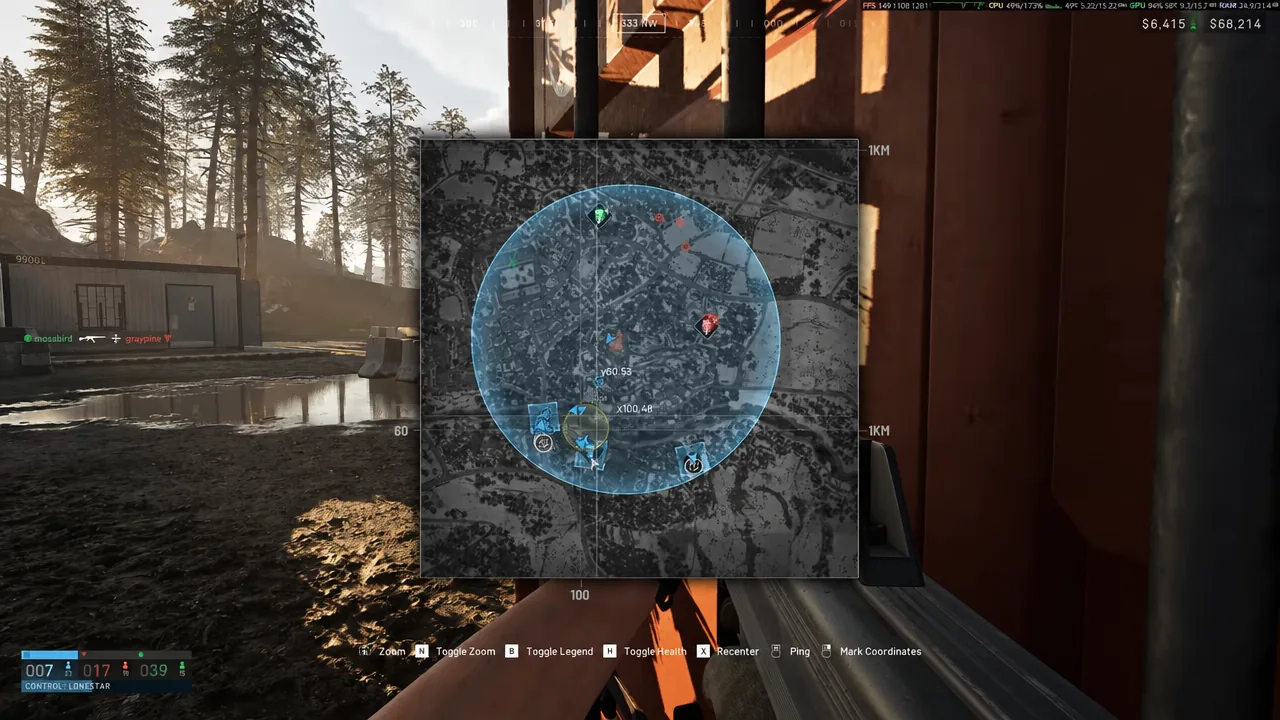
Inside the Control Zone sits a smaller yellow circle labelled HOT ZONE. Anyone standing in it is counted as two players for the presence total, so ten teammates in the Hot Zone read as twenty on the counter. Players inside also earn double cash, which is why it is always the bloodiest ground on the map.
The Hot Zone keeps moving inside the main circle during the match, so cover you relied on a minute ago may no longer be in play. A cheap loadout counts exactly the same as an expensive one for scoring purposes, which makes anchoring light in the Hot Zone one of the most efficient plays in the game.
Tower codes: how to drag the Hot Zone onto your ground
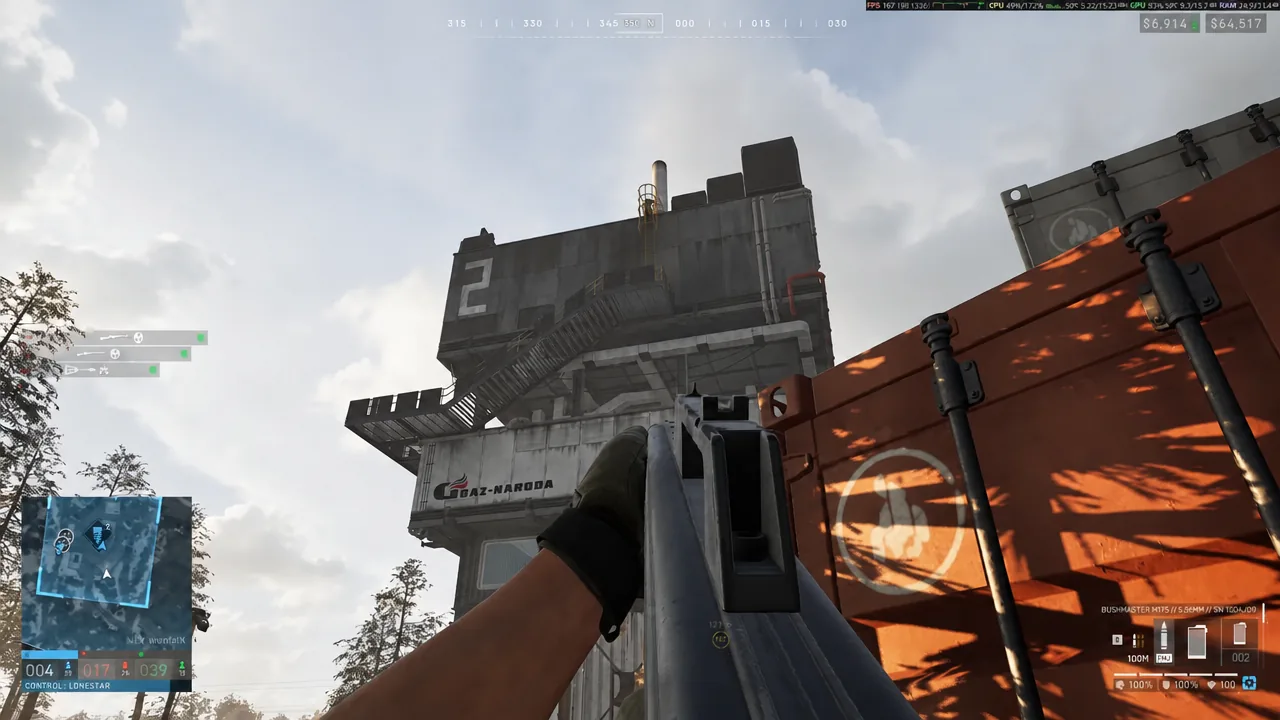
Towers are capture points inside the Control Zone, each one numbered on the map and on the building itself. Taking them is how your faction stops chasing the Hot Zone and starts deciding where it goes.
Actions that swing the tick without winning fights
Presence is a headcount, so anything that adds bodies to your side or removes them from someone else’s moves the score. All of these also pay cash and role XP.
- Revive and bandage downed teammates so they stay in the count instead of losing their kit.
- Drive or fly squadmates into the zone rather than letting them walk from HQ.
- Spot enemies with binoculars or a rangefinder so your team can thin their numbers.
- Kill enemies inside the circle, which subtracts from their presence total immediately.
- Take enemy towers and FOBs to weaken their hold and their spawns.
- Build a Forward Operating Base at a chokepoint your faction intends to defend.
The Forward Operating Base costs $7,500, weighs 6.5 kg, and is the structure everything else depends on. It stores items and resources for teammates and creates the radius inside which players can build larger structures.
For spotting, binoculars cost $75 at 0.3 kg and give low-level magnification. The Range Finder costs $400, weighs 0.23 kg, and adds high-level variable magnification plus an accurate distance indicator. It unlocks at Recon level 8 for a one-time fee of $15,000.
Armor that keeps you in the count
Surviving the tick matters more than out-gunning anyone, and body armor is the cheapest way to stay standing in a crowded Hot Zone. Every tier protects the upper, middle and lower torso; Level 4 also covers the pelvis and upper arms.
| Armor | Price | Durability | Wardog level |
|---|---|---|---|
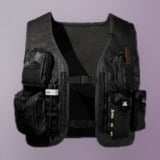 Level 1 Armor Level 1 Armor | $400 | 200.0 | 3 |
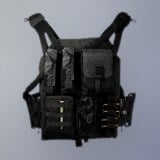 Level 2 Armor Level 2 Armor | $1,000 | 220.0 | 30 |
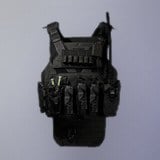 Level 3 Armor Level 3 Armor | $2,000 | 250.0 | 60 |
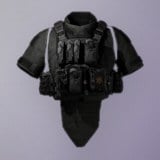 Level 4 Armor Level 4 Armor | $4,000 | 300.0 | 100 |
Each tier also carries a one-time unlock fee before you can start buying it per life: $10,000 for Level 1, $50,000 for Level 2, $100,000 for Level 3, and $200,000 for Level 4. The Field Backpack sits between them at Wardog level 12 with a $20,000 unlock, then $650 per purchase for a 6×2 grid of 12 slots.
Everything you buy is lost on death. Starting cash is $10,000 and carries over between matches, so sinking the whole balance into one kit can leave you unable to redeploy at all.
Treat the scoreboard as a population problem rather than a kill count and the whole mode clicks into place. Get into the green circle, push into the yellow one, take the towers together, and drag the Hot Zone onto a position your faction has already dug into. Matches can run past an hour, and the team that keeps the most living bodies on the objective across all of those 30-second ticks is the one that reaches 100 first.