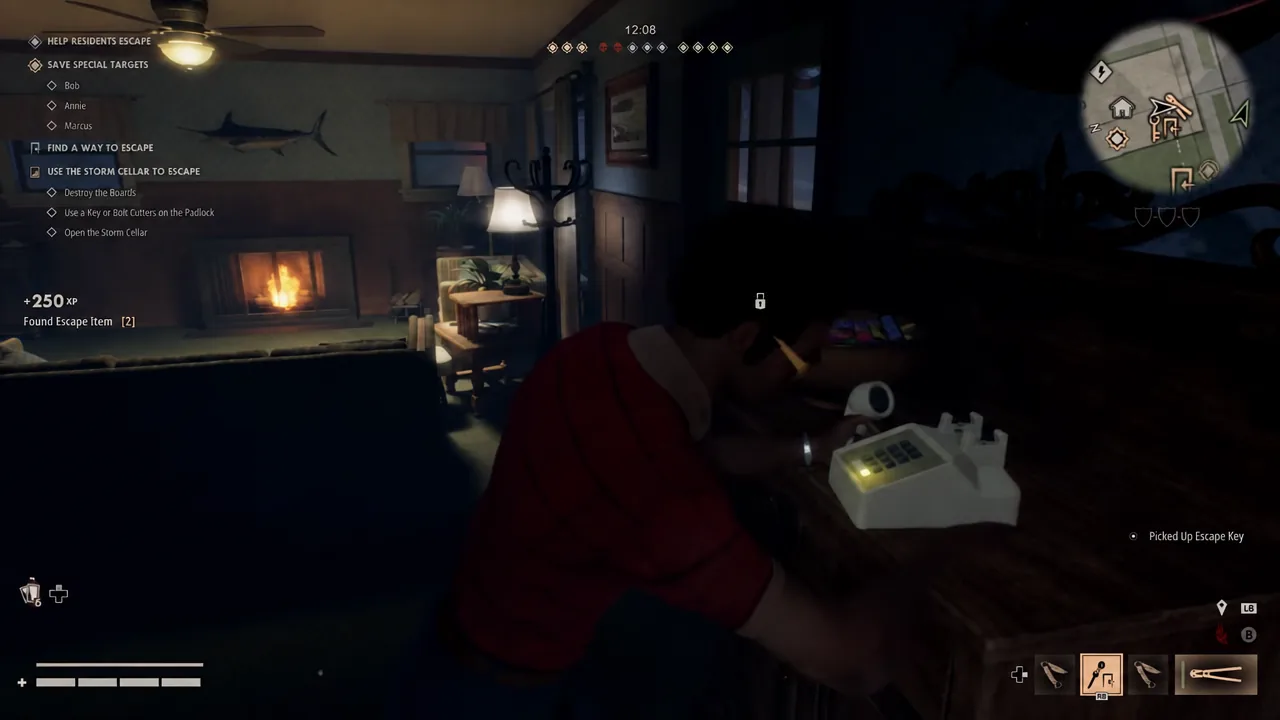
Michael’s stalk is the mechanic that turns a bad chase into a dead Civilian. Every second he watches you through Killer Sense fills a three-level bar that raises your fear, marks you through walls, and unlocks the nastier environmental executions. Thomas Armitage is the one Civilian who can push that bar back down while standing right in front of Michael, and at tier zero, a grab stops being a death sentence.
Quick answer: Thomas’ Running Back trait drops his personal stalk tier on any direct contact or hit against Michael. At tier zero, Michael cannot finish a grab, so you struggle free without a Pocket Knife.
What Running Back does to Michael’s stalk tier
Most Civilians deal with stalk by breaking line of sight, hiding, or waiting it out. Thomas deals with it by walking into the problem. Any physical contact or melee hit against Michael lowers his own stalk tier, and that works mid-chase, mid-fight, and even while Michael is closing the distance.
| Trait | Effect |
|---|---|
| Running Back | Direct contact or a physical hit on Michael reduces your personal stalk tier |
| Inspiring | Townfolk you tell to hide gain a 20% maximum health increase |
| Barricade | Doors you lock are 25% tougher to destroy |
His stat spread backs the aggressive playstyle, with one obvious weak point.
- Capability 7
- Athleticism 8
- Personality 10
- Resourcefulness 2
Personality 10 makes him excellent at managing Residents and dispatch calls. Resourcefulness 2 means you should not count on scavenging your way out of trouble, which is exactly why a trait that saves your Pocket Knife matters so much.
How to keep your stalk tier at zero
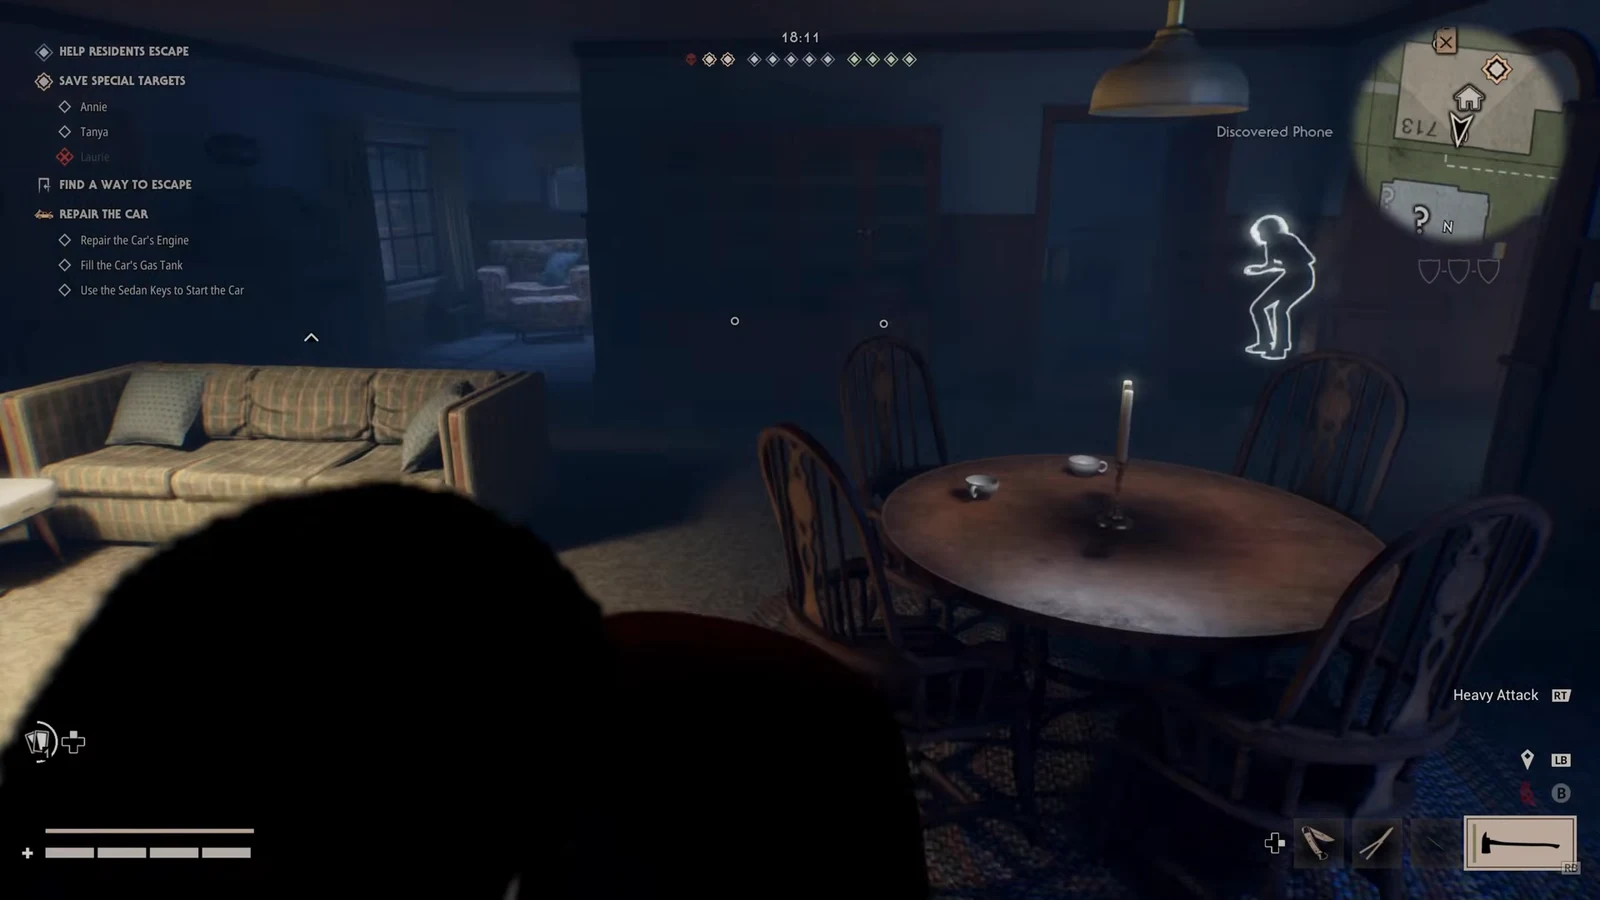
Weapons can occasionally bug out and stop registering hits, leaving you swinging at nothing while Michael slashes you down. If your swings stop producing damage pop-ups, break off and find a different weapon instead of trading blows.
Escaping a grab at stalk tier zero
This is the payoff. When Michael grabs a Civilian at a high stalk tier, he can run straight into a grab kill or an environmental execution. Grab Thomas at tier zero and that option is gone. The struggle prompt appears, you mash it out, and you are back on your feet with your Pocket Knife still in your inventory.
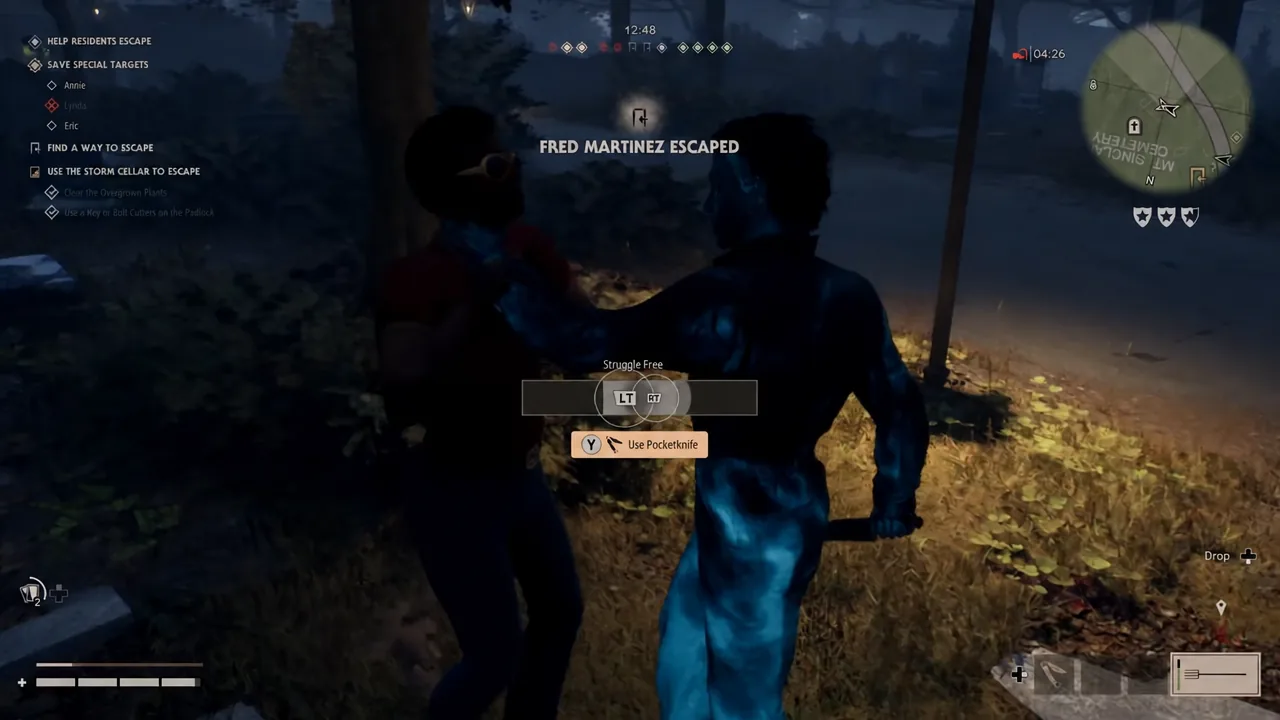
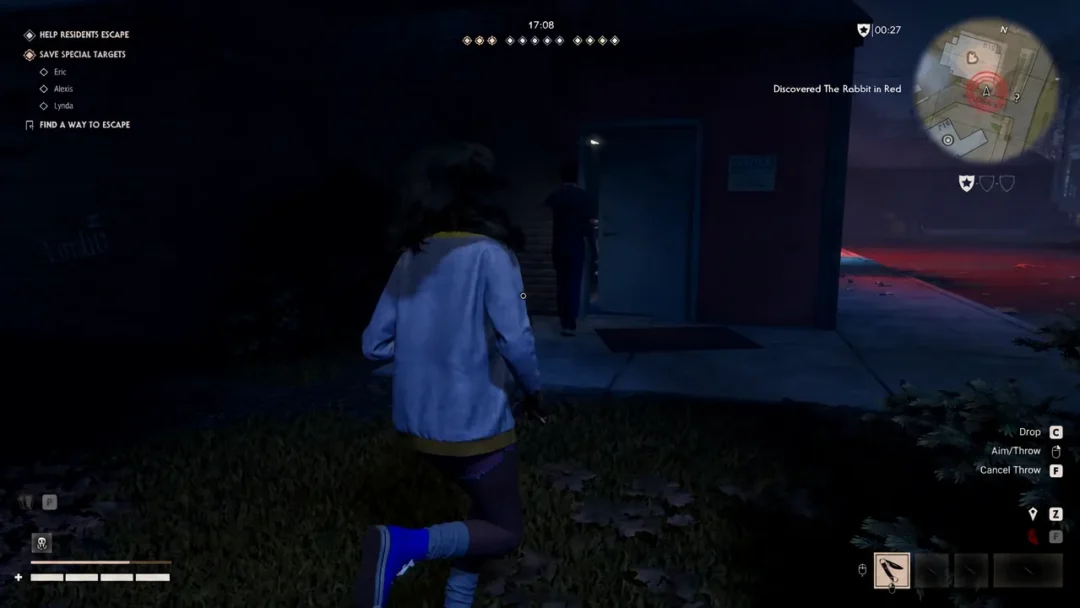
You know it worked when the “Struggled Free” pop-up appears on the right of the screen and Michael is left standing empty-handed. The Pocket Knife prompt stays lit the whole time you are struggling, so there is no ambiguity about whether the item was consumed.
Saving that knife is the real value here. Other Civilians burn one escape item per grab, while Thomas can be grabbed repeatedly across a match — on the street, on a deck, on a porch — and walk away from every one of them with his kit intact.
What happens if Michael stalks you mid-grab
A Michael player who realizes you are at tier zero will often try to build stalk while holding you. It helps him less than it looks. Pushing you from tier zero up to tier one during the grab forces his execution button prompts to refresh, which delays the kill rather than speeding it up.
That delay is usually enough for the struggle to finish. The practical result is that a tier-zero Thomas is an awkward target to hold onto at all, which is why rescuing a Resident from Michael’s grip with a wrench swing is a reasonable trade even when it puts you in his face.
Pairing Running Back with Inspiring and Barricade
The rest of Thomas’ kit is built around holding a house rather than running from it. Lock the doors as you move in and Barricade makes them 25% tougher for Michael to smash, buying time to loot drawers, cabinets, and the refrigerator. Find a Resident inside, clear the skill checks, and tell them to hide for the 20% maximum health bump from Inspiring.
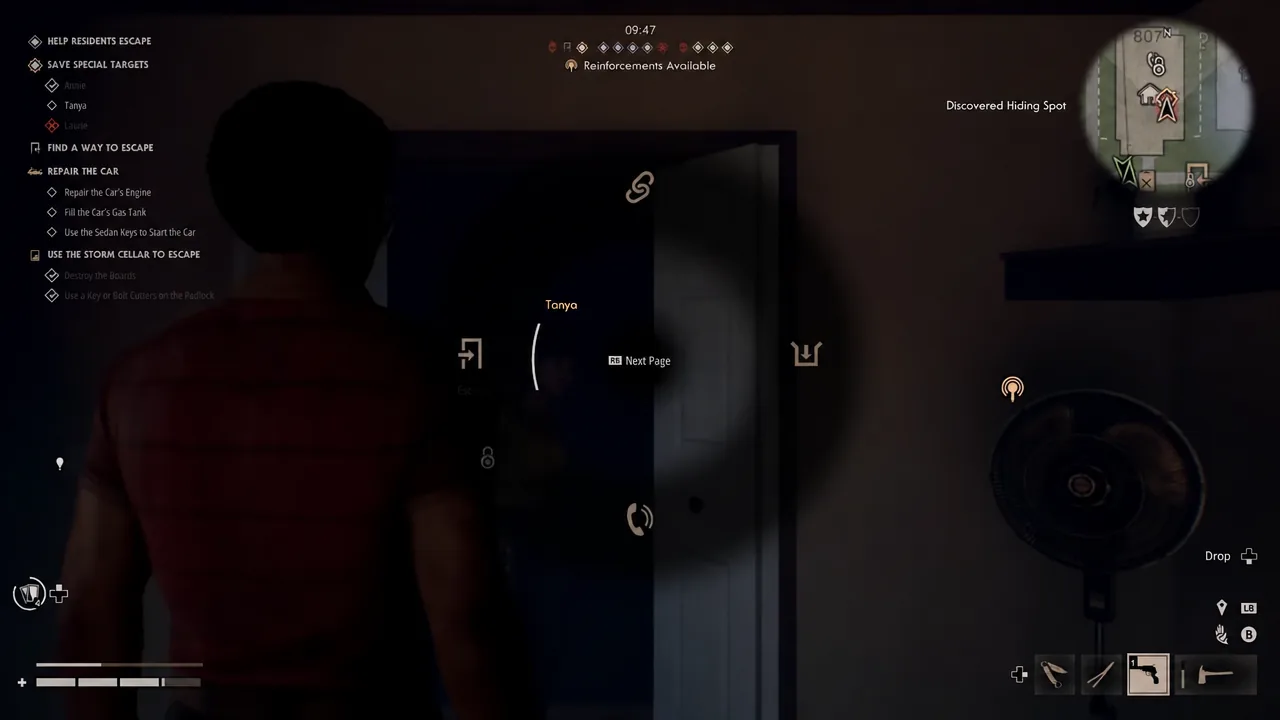
Because Thomas can stand his ground instead of fleeing, he is also a good candidate for phone duty. Perfect skill checks on a rotary or wall phone push Police presence up, and Running Back means an interrupted call does not automatically end with a grab kill.
Turning a grab escape into an actual escape
Struggling free only matters if you convert the time into progress. The storm cellar is the fastest route out, and it needs Bolt Cutters to break the wooden planks and padlock before anyone can use it. Prepping it early, then dropping spare Bolt Cutters and an Escape Key nearby, means you can send Residents through the moment they reach you.
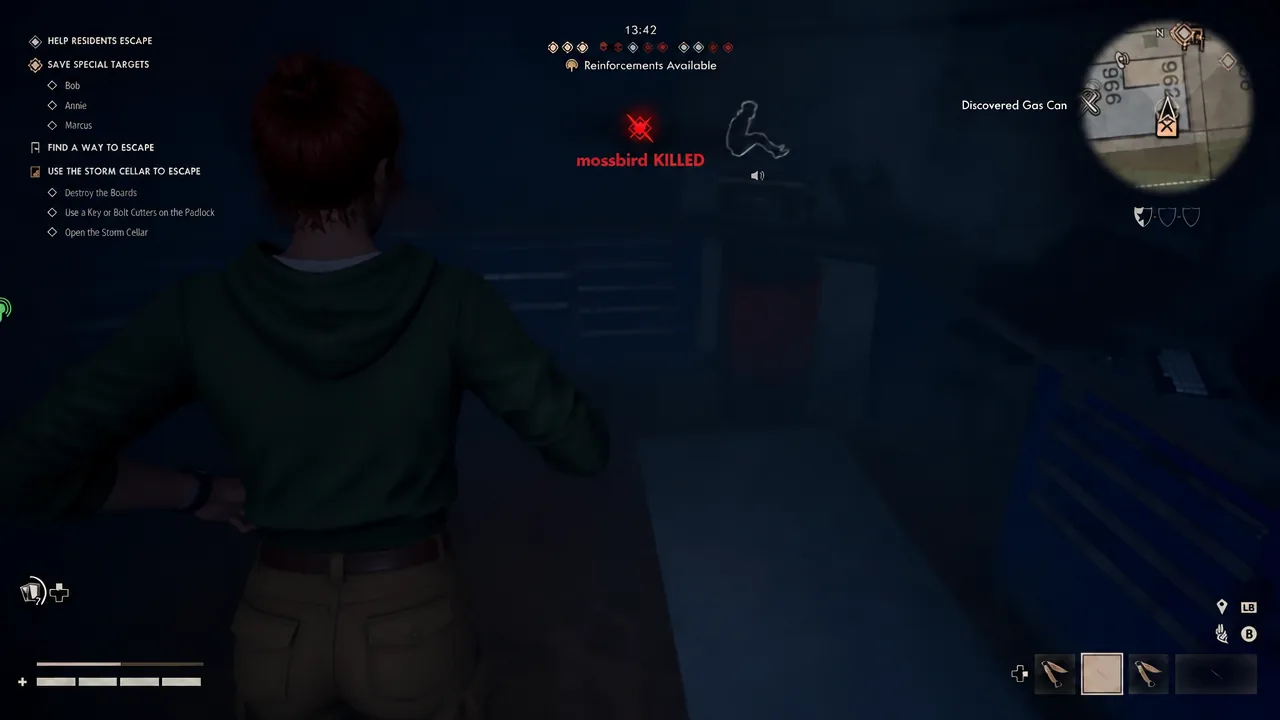
The car is the other option, and it asks for more. You need to repair it, feed it a Gas Can, and start it with the right key, all while Michael can disable the engine nearby. With Resourcefulness 2, Thomas is not the best-equipped Civilian for that setup, so treat the cellar or the arriving police wagon as your primary exits.
Where the counter stops working
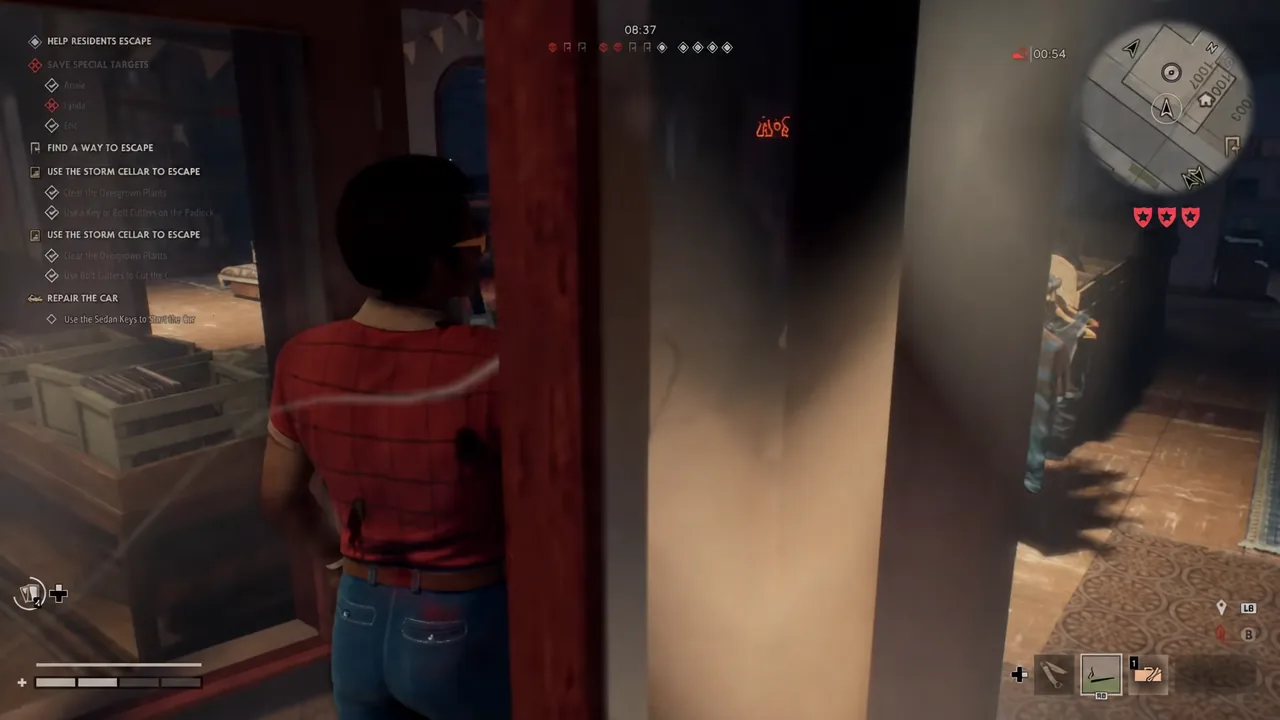
Running Back only touches your personal stalk tier. It does nothing about Michael’s Bloodthirst, and it does not make you tanky. He can still corner you in a store and kill you with plain melee swings, which is the most common way a confident Thomas dies.
Keep blinding tools in reserve for that scenario. A flashlight in a doorway or firecrackers dropped at his feet both disorient him long enough to leave, and they cost nothing compared to the loop of getting grabbed, struggling, and immediately getting cornered again. Fight Michael to stay at tier zero, then leave before he closes the fight on his terms.