Scrap Iron is the gate between bronze gear and the rest of Valheim. You cannot mine it out of a hillside like copper or tin, and no amount of exploring the Meadows will turn it up. It sits inside locked dungeons in the Swamp, behind a boss kill, and the trip there is the first point in the game where poison, Draugr, and a dark corridor can genuinely end a run.
Quick answer: Defeat The Elder for the Swamp Key, unlock a Sunken Crypt in the Swamp biome, then break Muddy Scrap Piles with a pickaxe. Each pile drops Scrap Iron.
What you need before mining Scrap Iron
The run has a hard requirement and a few soft ones. The hard requirement is the Swamp Key, dropped by The Elder, the tree-like second boss found in the Black Forest. The key is reusable, so a single kill covers every crypt in that world.
- Swamp Key — dropped by The Elder, and required to open a crypt’s iron gate.
- A pickaxe — the Antler Pickaxe works, and the Bronze Pickaxe mines faster and lasts longer.
- Poison resistance mead — Blobs inside crypts apply poison over time.
- Bronze weapons and armor — Draugr and skeletons hit hard in cramped corridors.
- Food and healing — keep all three food slots filled before you go underground.
- Workbench materials — a spare pickaxe or a quick workbench saves a long walk home when durability runs out.
Travel light. Scrap Iron is heavy, and every slot you fill with junk on the way out is a slot you cannot fill with metal on the way back.
Where to find Sunken Crypts in the Swamp
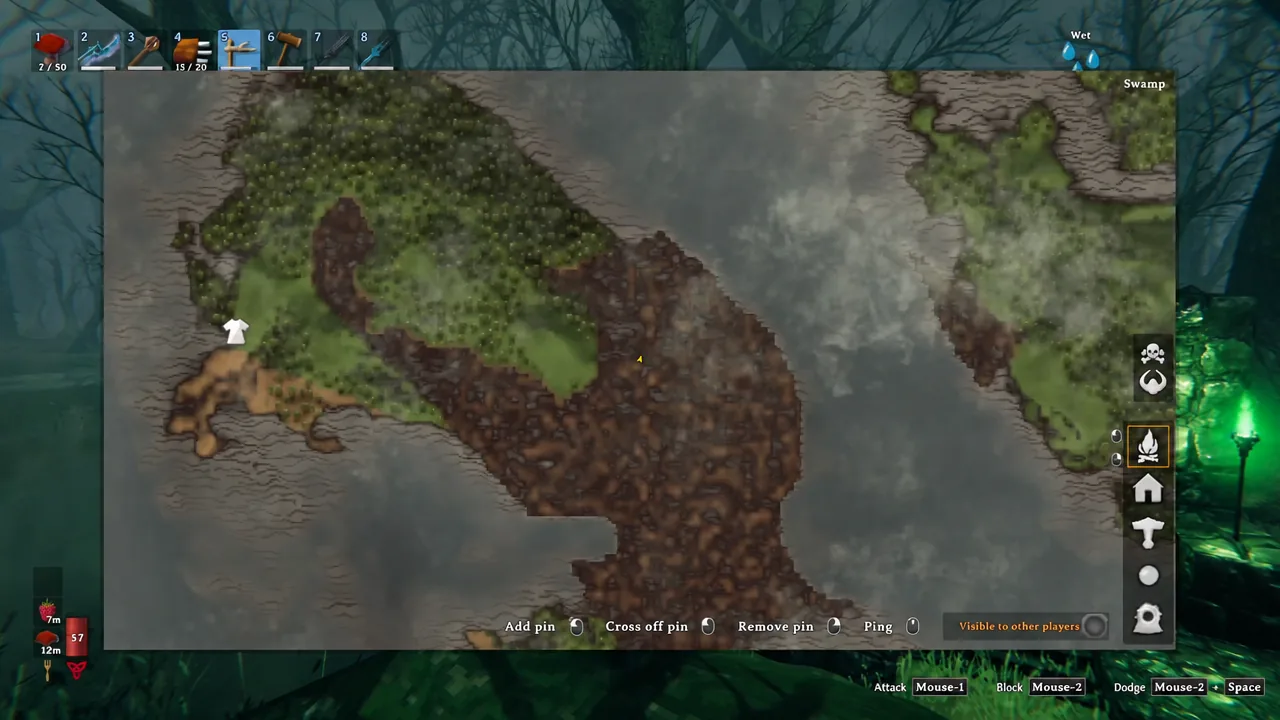
Every Valheim world is generated differently, so there is no fixed crypt location to point at. What you are looking for is a Swamp biome, which shows up on the map as murky brown terrain and confirms itself when you hover the cursor over it and read the biome name in the corner of the map screen.
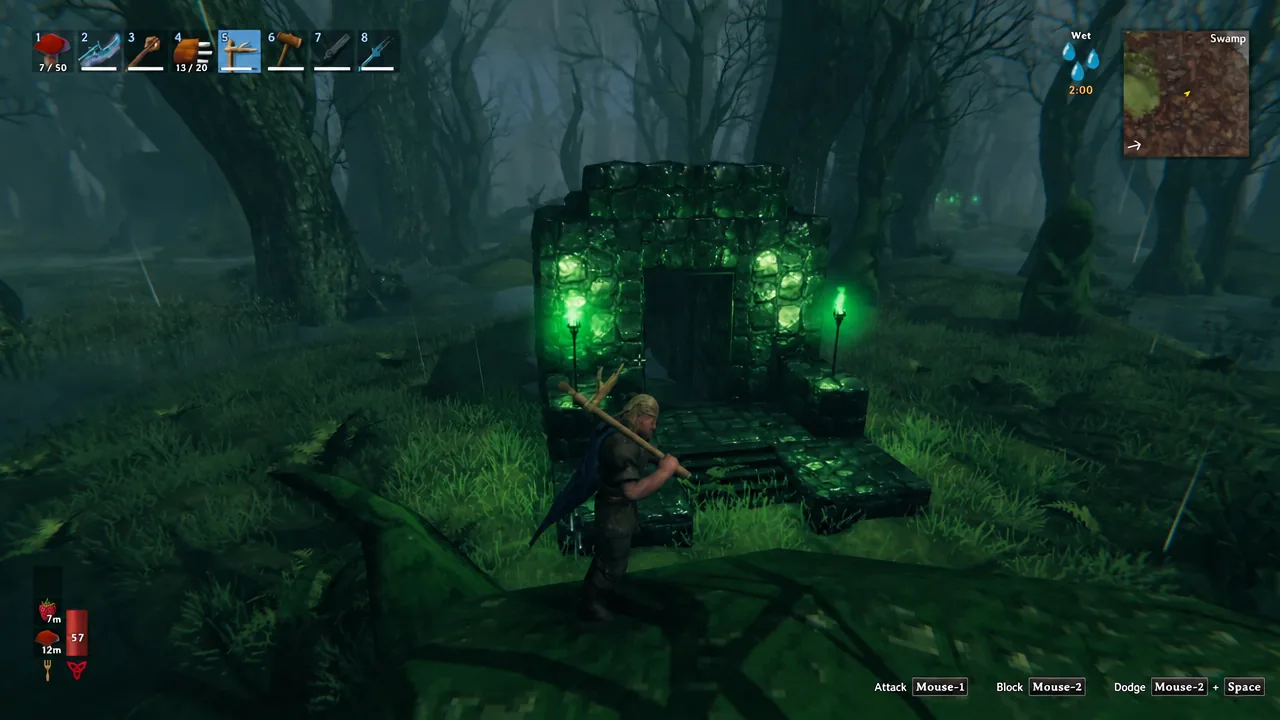
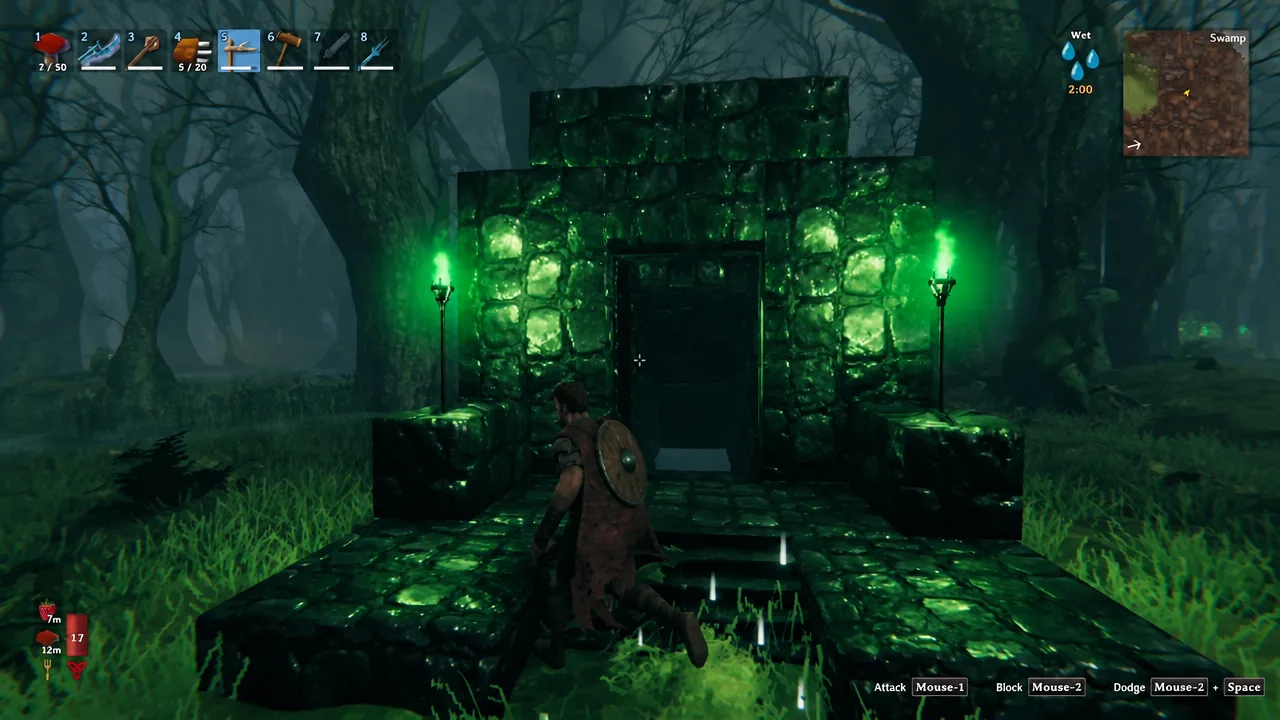
Sunken Crypts are stone structures with a reinforced iron gate and green torches burning on either side of the entrance. They are hard to miss once you are close, but they are not evenly distributed. A small patch of Swamp may contain none at all, in which case sailing to a larger Swamp on another island is faster than walking circles through the one you found.
Mark every crypt you spot with a map pin, even the ones you skip. Iron runs are repeat trips, and a mapped crypt you can sail straight back to is worth more than a vague memory of a swamp.
How to mine Scrap Iron from Muddy Scrap Piles
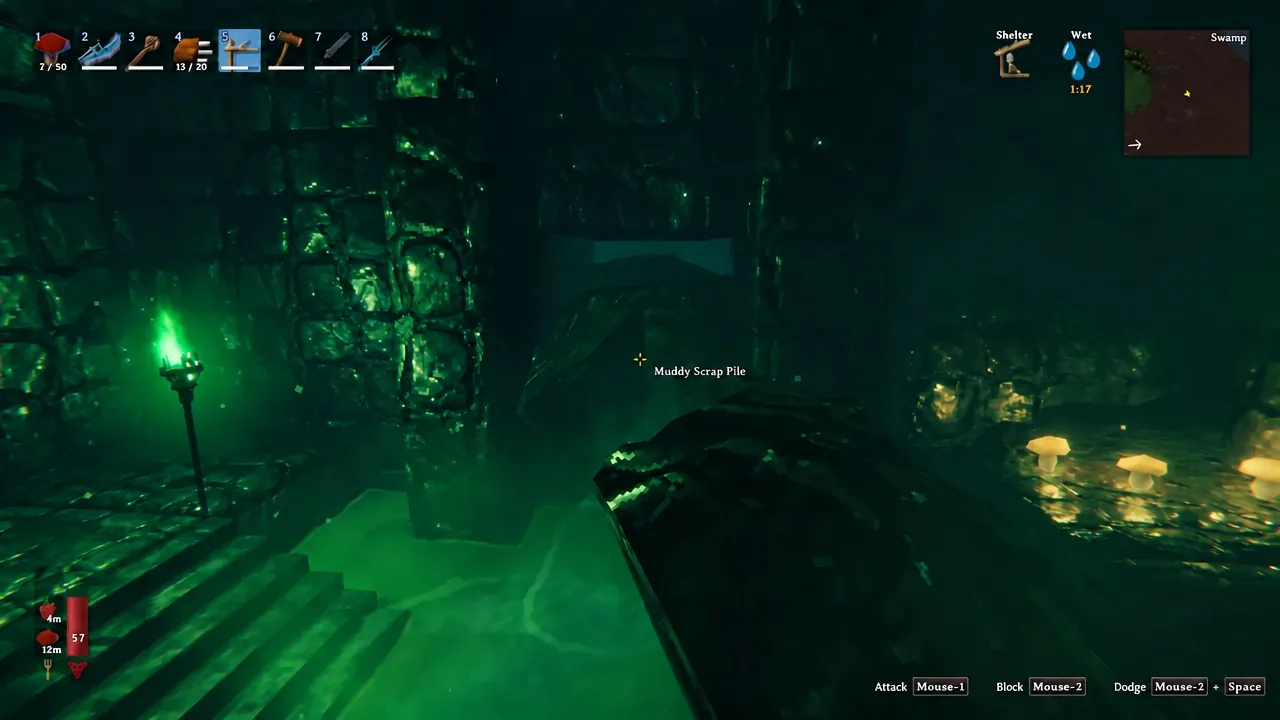
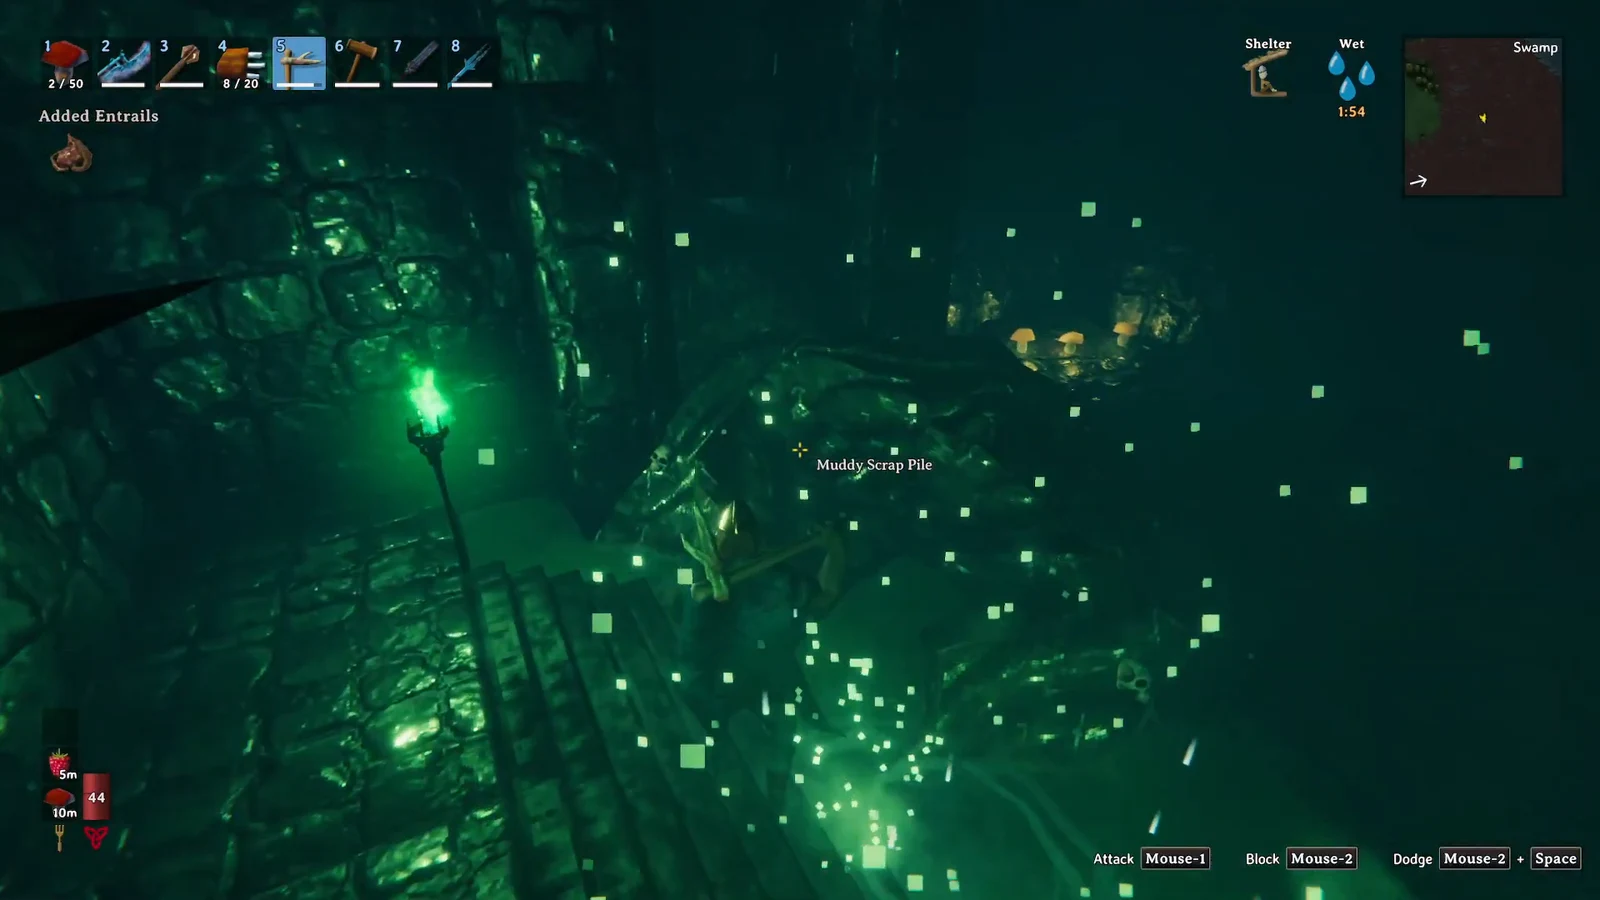
There is one alternative source. Muddy Scrap Piles are also buried under the ground in random spots across the Swamp, but you cannot see them without the Wishbone, which drops from the third boss, Bonemass. Since most players want iron gear before fighting Bonemass, the crypts remain the practical route.
How to confirm you picked up Scrap Iron
The game tells you immediately. Each time a pile breaks, pickup messages such as “Added Scrap Iron x2” or “Added Scrap Iron x3” flash on screen along with lines for Withered Bone and Leather Scraps. New materials also trigger a “New material” notice and an entry in your message log.
Open your inventory to check the count before you leave. If you see Withered Bone and Leather Scraps but no Scrap Iron, the pile simply has more left in it — keep swinging until the deposit is fully destroyed.
How to carry Scrap Iron home
Standard wooden portals will not accept Scrap Iron or Iron. That restriction defines the whole trip, so plan the return before you start mining. A Longship parked on the nearest coast, or a cart pulled overland, is the normal answer, and a ship’s storage compartment takes weight off your character so you are not staggering home over-encumbered.
Building a Smelter and Forge at the crypt to process the metal on site is technically possible but rarely worth it. Wandering monsters will tear the structures down and turn a straightforward haul into a defense job.
How to smelt Scrap Iron into Iron
Scrap Iron is useless in its raw state. You need a Smelter for the conversion and a Charcoal Kiln to produce the fuel that runs it. If you already made bronze, both should be standing at your base. If not, build them with the Hammer’s build menu.
| Station | Materials |
|---|---|
| Smelter | Stone x20, Surtling Core x5 |
| Charcoal Kiln | Stone x20, Surtling Core x5 |
Feed Wood into the Charcoal Kiln to make Coal, then load Coal into the Smelter’s fuel slot and Scrap Iron into the ore slot. Each piece of Scrap Iron converts into a single Iron bar and burns through two Coal, so stock the kiln generously before a big batch. Smelting takes roughly 30 seconds per piece, and sleeping through the night speeds the queue along.
What Iron is used for in Valheim
| Category | Examples |
|---|---|
| Armor | Iron Helmet, Iron Scale Mail, Iron Greaves |
| Shields | Banded Shield, Iron Tower Shield, Iron Buckler |
| Weapons | Iron Sword, Iron Longsword, Iron Atgeir, Iron Mace, Battleaxe, Huntsman Bow |
| Tools and stations | Iron Pickaxe, Stonecutter, Smith’s Anvil, Forge Toolrack |
| Building | Iron Nails, Iron Gate, Iron Beam, Iron Pole, Reinforced Chest |
Two items deserve priority over everything else. The Iron Pickaxe is the tool you need to mine silver in the Mountain later, so it effectively unlocks the next tier of progression. The Stonecutter is what turns your base from wood into stone, which matters every time a raid arrives at the front door.
Iron Scale Mail is the strongest early spend on defense, roughly doubling the protection of the bronze cuirass it replaces. Beyond that, Iron feeds the Reinforced Chest, the Personal Chest, and the Forge upgrade stations that let you push gear to higher quality levels.
Iron keeps getting consumed long after the Swamp stops being dangerous, especially once you start building large stone structures with beams and reinforced supports. Clearing one crypt is enough for a first set of gear, but most players end up sailing back to the same marked Swamp several times. Over-farming it is one of the few things in Valheim that is almost never wasted effort.