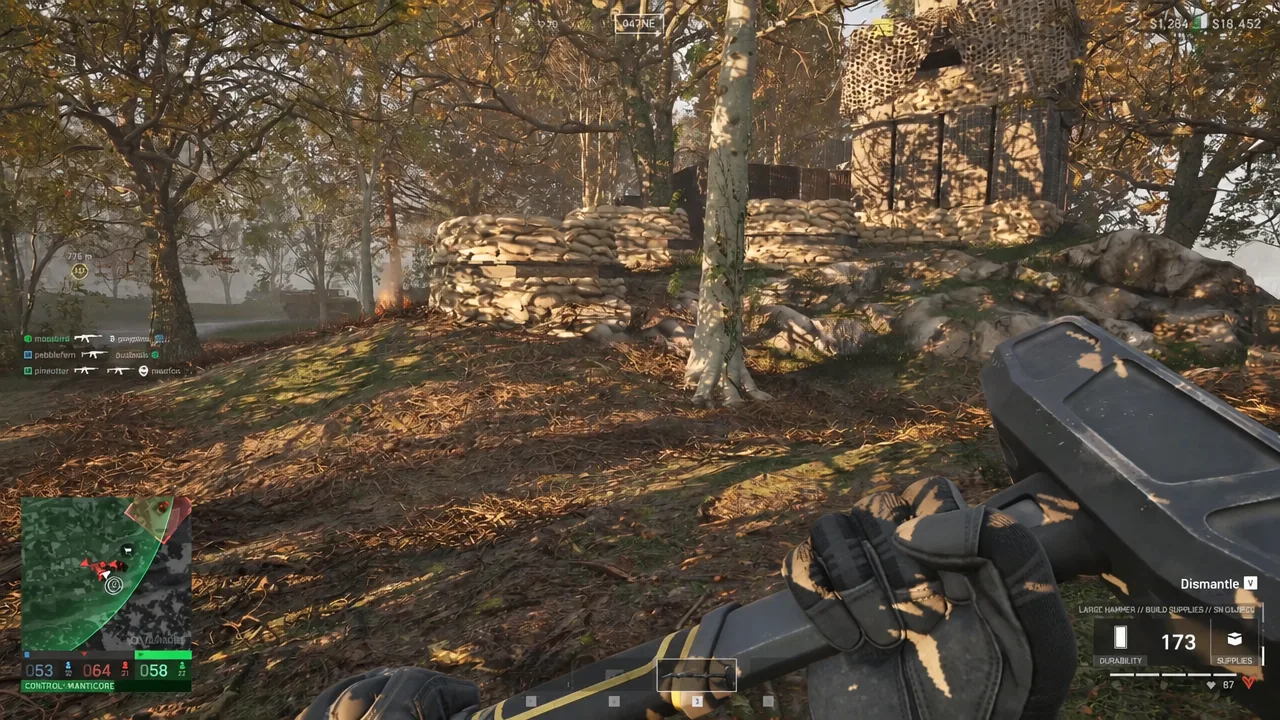
The Bremer Wall is the tall reinforced barrier topped with barbed wire that Support players use to ring a forward base. It is the sturdiest wall shape in Wardogs, and it is gated behind one specific tool rather than a purchase you can make at any level.
Quick answer: Unlock the Large Hammer at Support Level 8, buy it for $2,500, then stand inside a friendly FOB radius, open the buildables radial menu, place a Bremer Wall blueprint, and hammer it to 100 percent.
What you need before building a Bremer Wall
Three things have to line up at the same time. Miss any one of them and the blueprint will not go down, or it will go down and sit there unfinished.
- Support Level 8, which is where the Large Hammer sits on the Wardog Progression ladder
- The Large Hammer itself, unlocked for 75,000 XP and purchased for $2,500
- A deployed friendly FOB, since the wall must sit inside its build radius
- At least 10 build supplies per wall section you intend to place
The Forward Operating Base is the enabler here. It costs $7,500, weighs 6.5kg in your inventory, stores items and resources for the team, and projects the radius that larger structures have to be built inside. Without one nearby, the Bremer Wall is simply not placeable.
Large Hammer unlock cost and Support progression
Support runs to level 50 and has 31 levels that carry an unlock. The Large Hammer is the third build tool on that ladder, after the Light Drill at level 1 and the Medium Hammer at level 3. It weighs 0kg, builds at the fastest speed in the game, and is the only tool that can place every buildable.
| Requirement | Value |
|---|---|
| Support level | 8 |
| XP to unlock | 75,000 XP |
| Purchase price | $2,500 |
| Slot | Build Tool / Spec. Item |
| Weight | 0kg |
Support XP comes from building, so the quickest route to level 8 is to spend a few matches on the hammer rather than the rifle. Every fortification you complete for your team feeds the same progression track that unlocks the tool.
The Large Hammer occupies your build tool slot, so equip it in your loadout before you deploy. The smaller hammers cannot place a Bremer Wall.
How to place and build a Bremer Wall
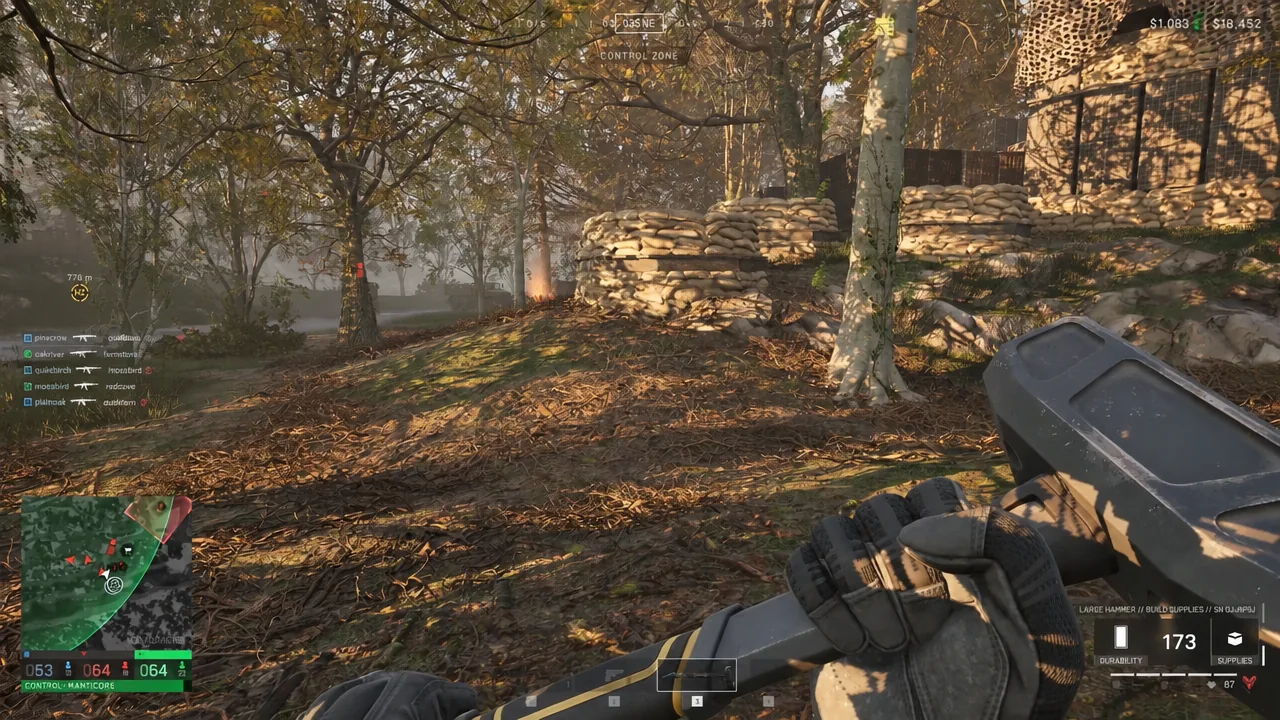
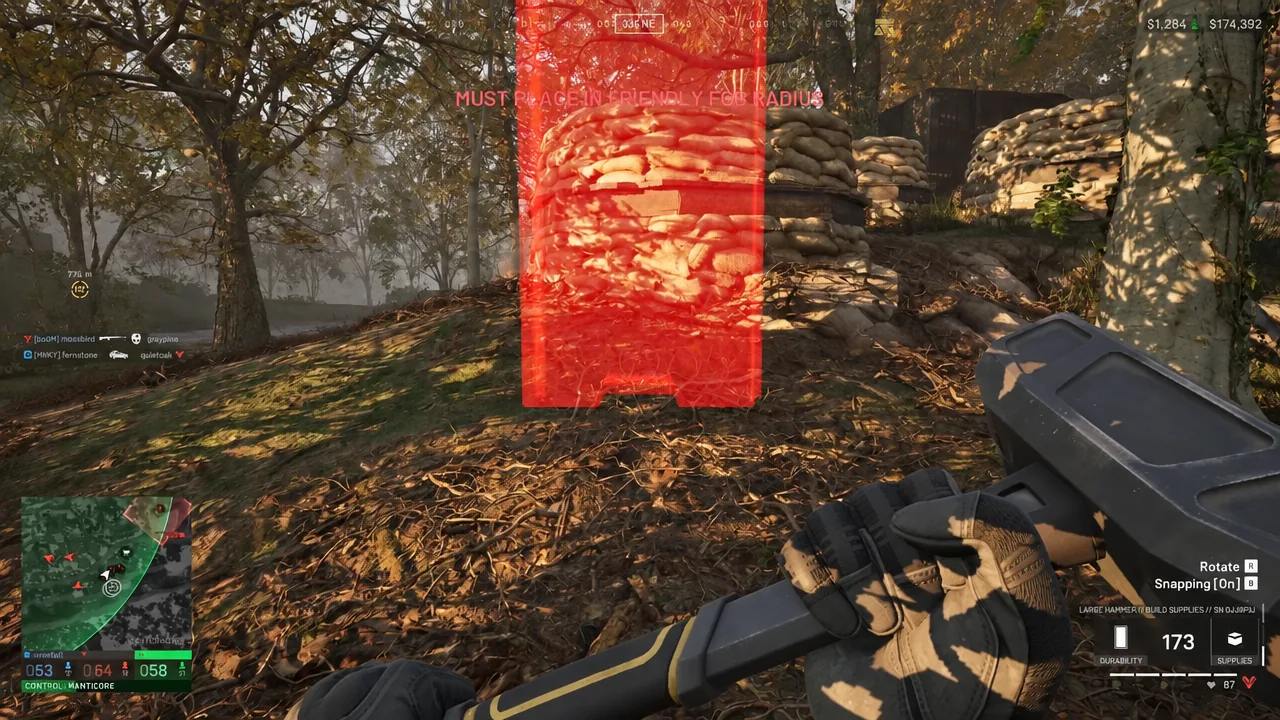
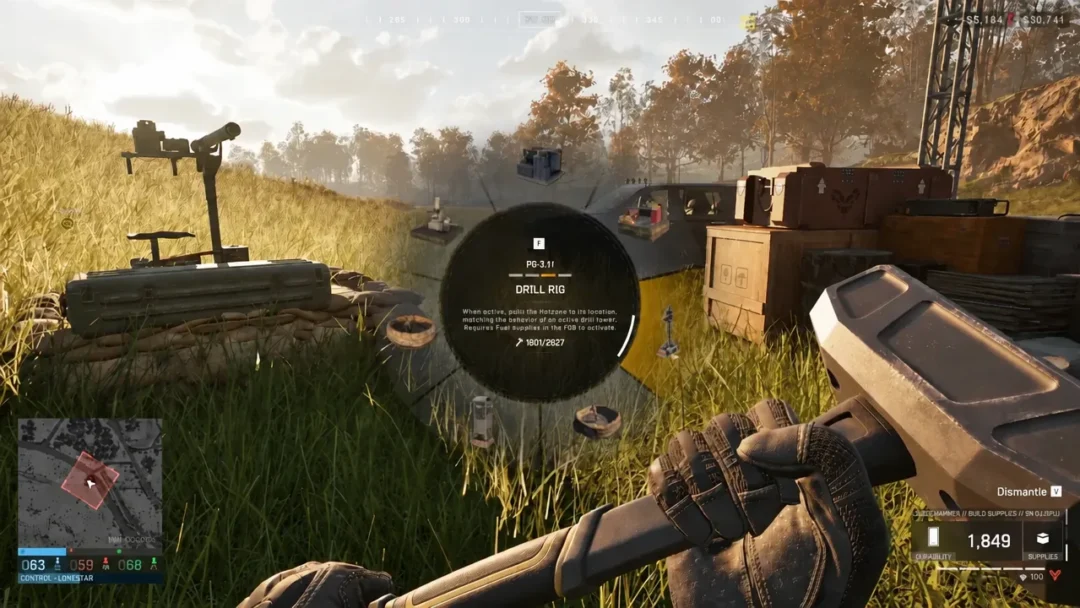
F to open the BUILDABLES radial menu. The menu lists every structure the tool can place.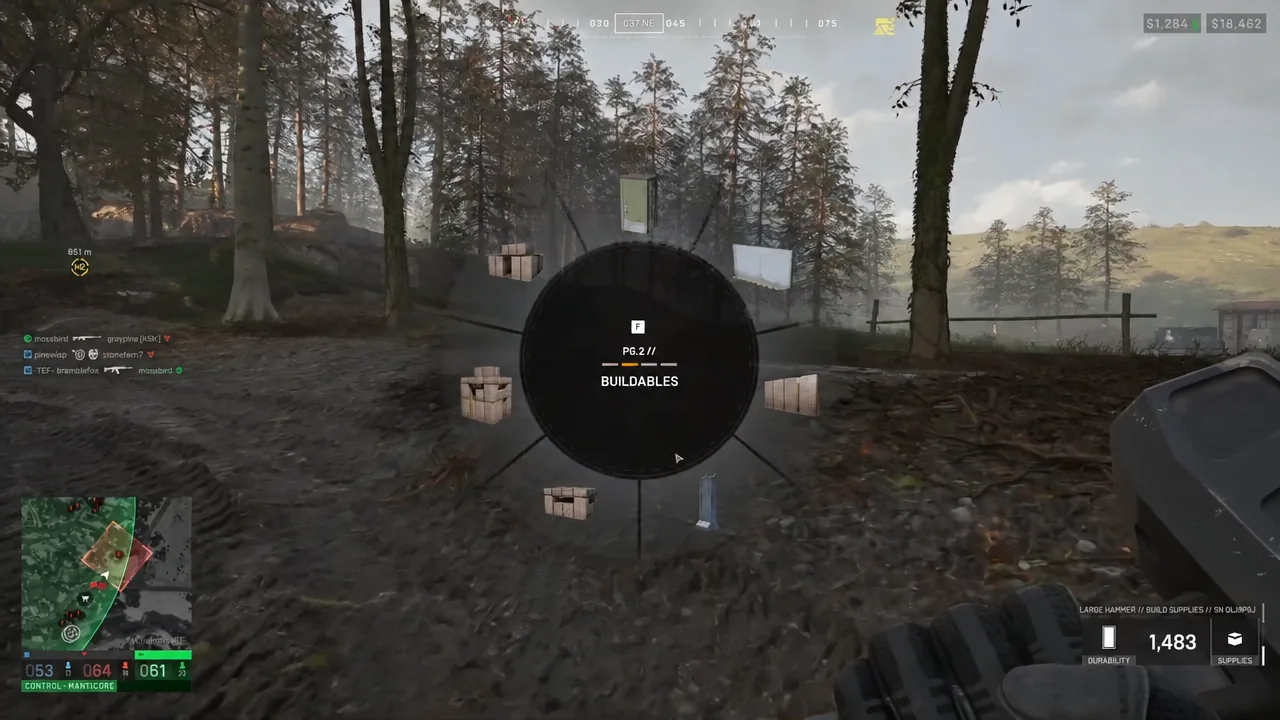
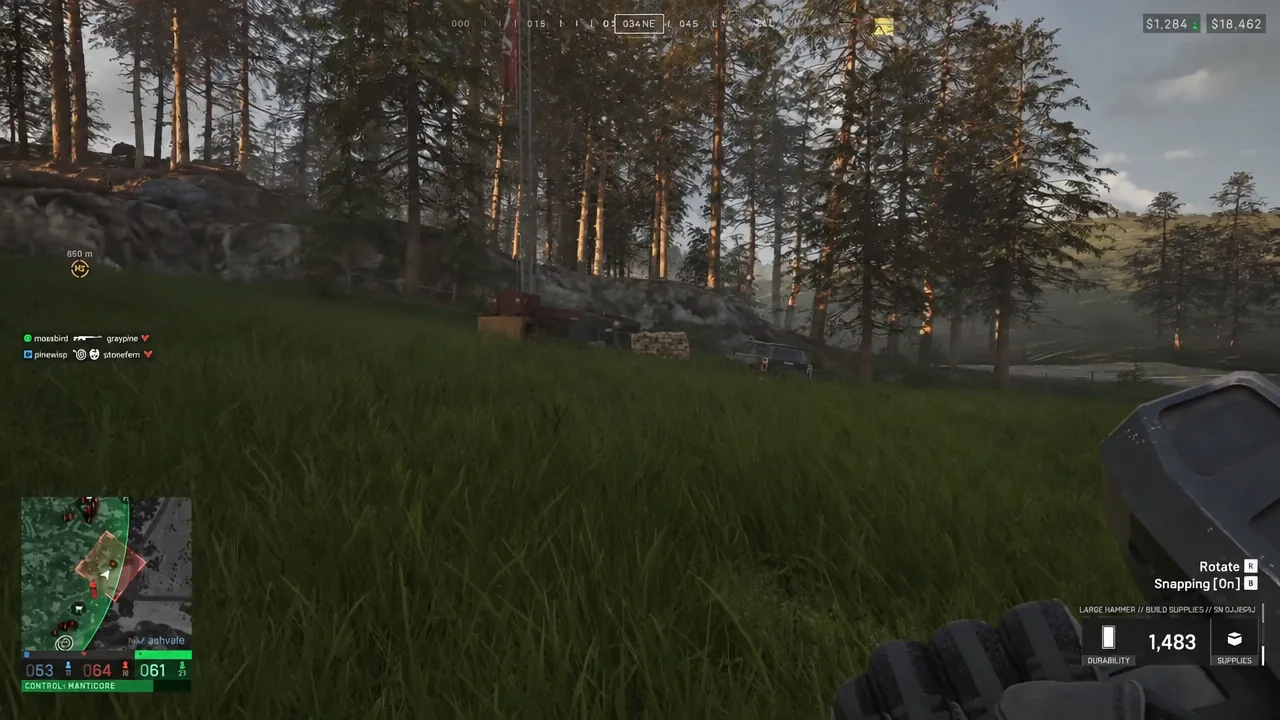
Blueprints are shared. Lay down a whole row first, then let squadmates hammer alongside you — the perimeter goes up in a fraction of the time.
How to confirm the wall is finished
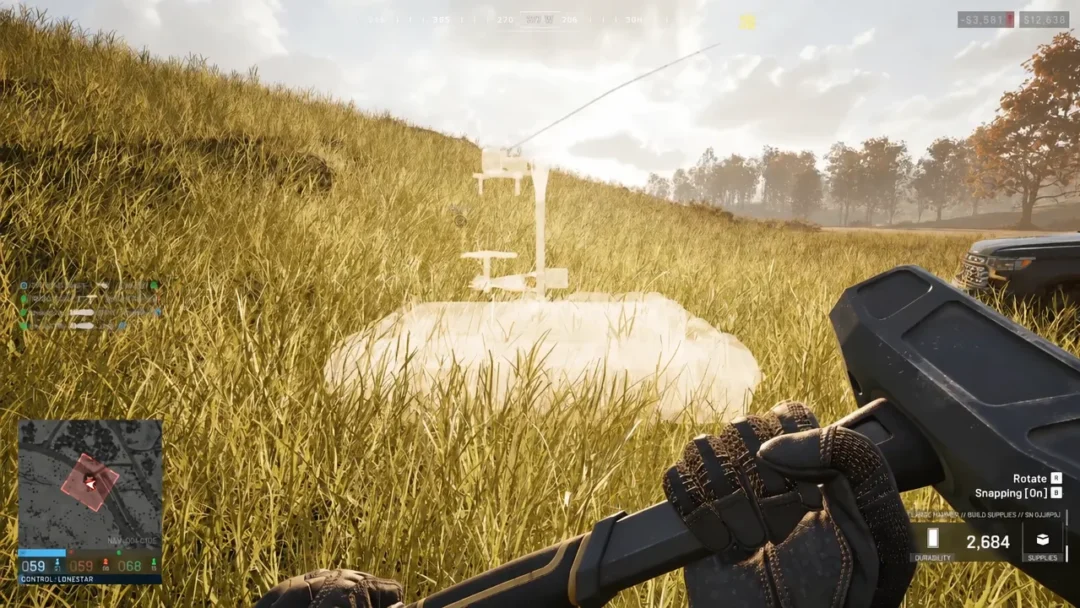
The game tells you outright. When a section reaches full construction, BUILDING 100% COMPLETE appears on screen and the translucent blueprint is replaced by a solid concrete slab with barbed wire along the top. Look at the finished piece and the HUD switches from a build percentage to a DURABILITY readout in the high 1,500s to low 1,600s, which is the health pool attackers now have to chew through.
If the durability figure never appears and the piece stays see-through, the build simply is not done. Walk back to it and keep hitting the yellow markers until the gauge closes.
Where Bremer Walls fit against Hesco and sandbags
Bremer sections are tall, thin, and cheap per piece, and the barbed wire on top is included rather than built separately. That makes them the natural choice for the outer ring of a compound, where height and anti-climb coverage matter more than footprint.
Hesco blocks are wider and can be stacked or climbed, so they tend to serve as inner walls, fighting steps and cover immediately around the FOB itself. A common arrangement stacks a Bremer section on top of a Hesco row to raise the perimeter well above ground-level firing angles, at the cost of being able to hop over your own wall.
Barbed Wire is the cheap supplement. It pays out $75 to whoever destroys it and $10 to whoever places it, and laying it along the strip outside the wall denies attackers the flat ground they would otherwise use to drive a vehicle up and boost over. A Sandbag Wall, by contrast, hands the enemy $100 for tearing it down, so it is better used as interior cover than as a front line.
Watch the supply pool before you wall the whole perimeter
Every blueprint pulls from the same FOB stockpile the team uses for repairs, emplacements and other structures. At 10 supplies a section, a long outer wall adds up quickly, and a base ringed in concrete with nothing left for a mortar or a tower is a poor trade. Count the sections you actually need, build those, and leave headroom for whatever the squad wants inside the walls.
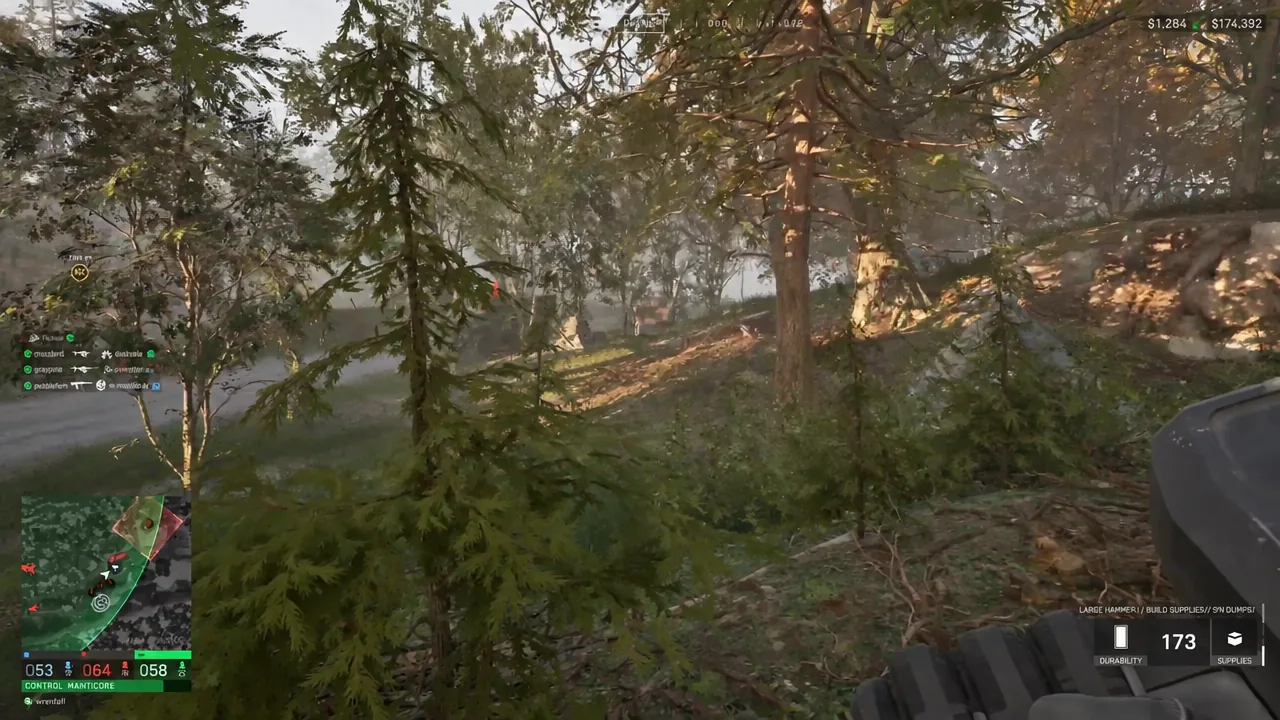
Once the Large Hammer is in your loadout, the whole loop takes seconds per section, and because blueprints can be laid ahead of the hammering, a Support player who plans the line before swinging will get a compound walled faster than one who builds piece by piece.