

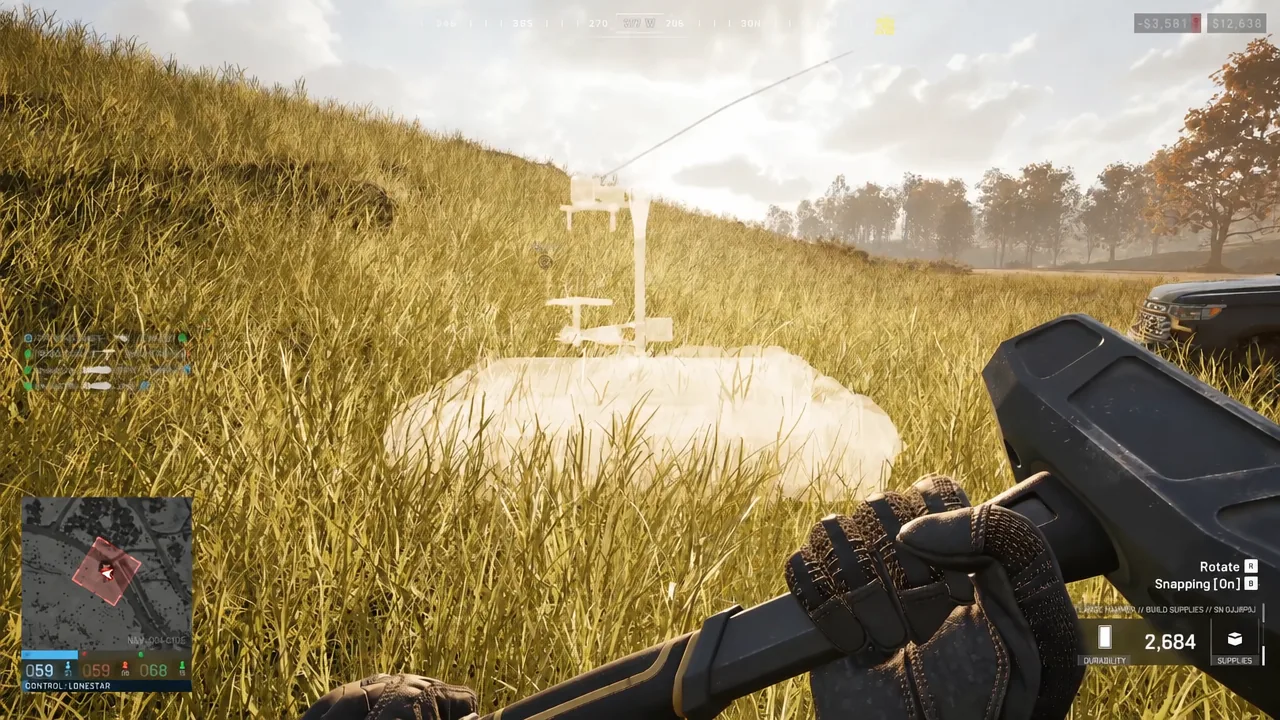
The Large Hammer is the top tier of the three build tools in Wardogs, and it is the only one that can construct and repair every structure in the game. It sits in the Specialist slot, runs on Build Supplies, and pays out Support XP with every swing, which makes it the tool of choice for anyone who wants to be the squad’s engineer.
Quick answer: Reach Support level 8 and pay the $75,000 unlock fee, then buy the Large Hammer from an Equipment Vendor under Items > Building for $2,400. Equip it and hold right-click at a FOB to start building.
Large Hammer stats and build scope
The vendor description is short and accurate: it can be used to build and repair all structures, at the fastest speed. The trade-off is weight, inventory space, and the fact that it occupies your Specialist slot, so you cannot carry it alongside a defibrillator or a range finder on the same life.
| Attribute | Value |
|---|---|
| Category | Build Tools / Spec. Item |
| Price | $2,400 |
| Weight | 3.18 kg |
| Inventory size | 4×2 (8 slots) |
| Durability | 3,000 |
| Ammunition | Build Supplies |
| Role XP | Support |
| Sold under | Specialist, Utility |
Three lines make up the item’s feature list in the vendor menu, and all three matter: it can build all buildables, it has a fast build speed, and it requires Build Supplies to use. Without supplies in reach, the hammer does nothing.
Unlock requirement: Support level 8 and the $75,000 fee
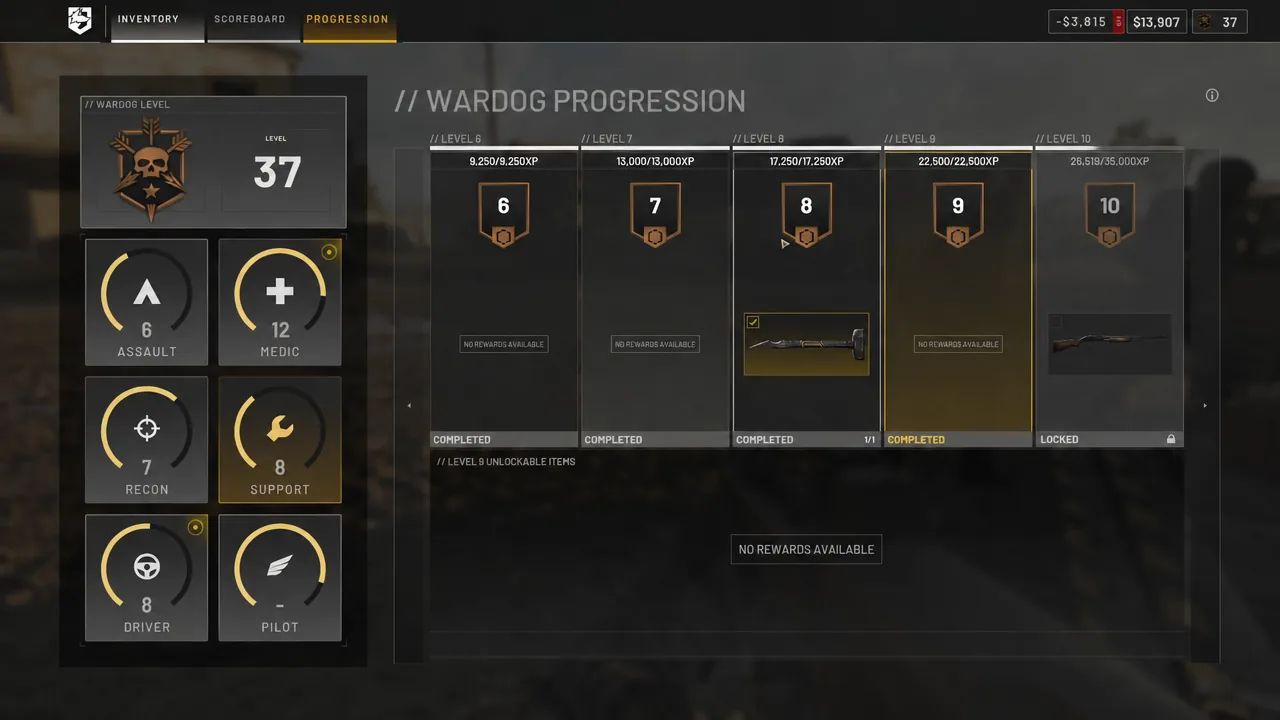
The Large Hammer is gated behind the Support role track, not your overall Wardog level. You need Support level 8, and reaching it only opens the option to buy the unlock, which costs a one-time $75,000.
Fastest ways to earn Support XP
Helping put up your team’s FOB and its fortifications is the quickest route to Level 8, since every swing on a blueprint feeds the Support track. Kills with Support weapons also count toward the same track, so you can swap between building and fighting without stalling your progress.
Buying a Forward Operating Base kit comes with a free Medium Hammer, which is enough to start earning Support XP before you can afford the Large Hammer.
Buy the Large Hammer from the Equipment Vendor
With the unlock paid for, the hammer becomes a normal vendor purchase you make each life you want to carry it.
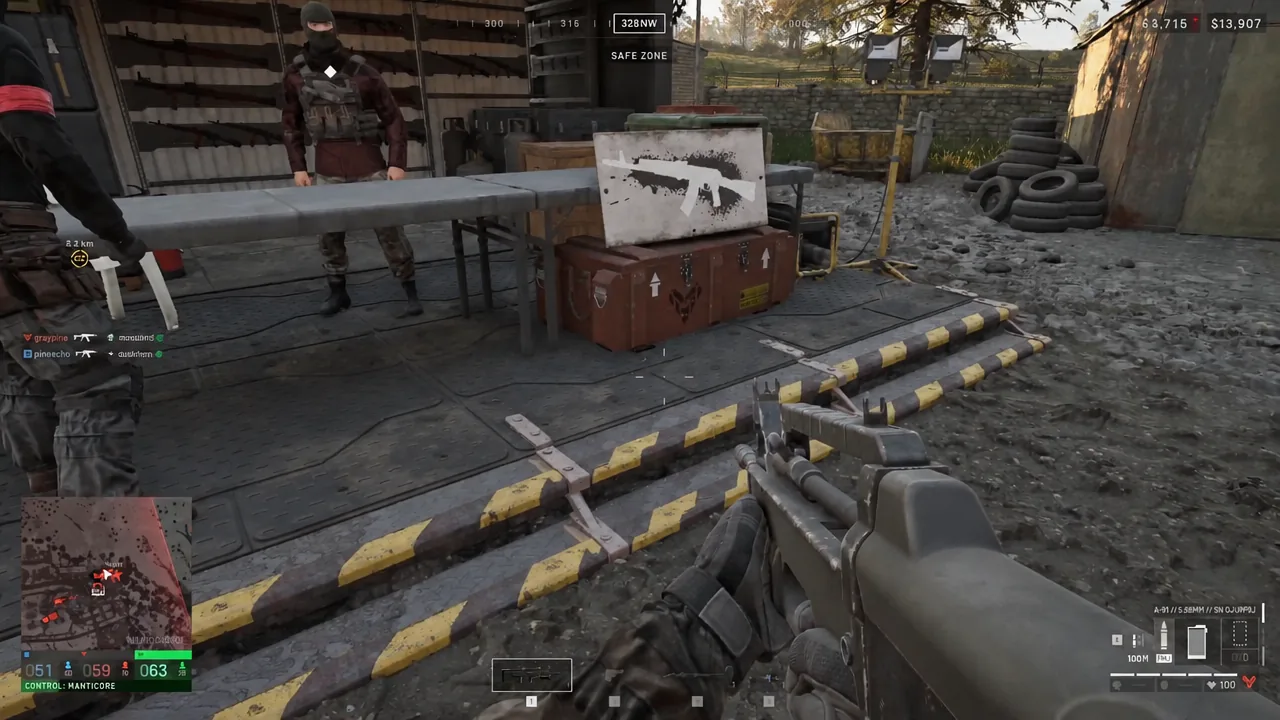
If you plan to build anything beyond basic field defenses, pick up a Forward Operating Base kit at the same time. It costs $7,500, weighs 6.5 kg, and creates the radius that larger structures have to be built inside.
How to build with the Large Hammer at a FOB
The hammer itself is only half the equation. A FOB stores Build, Ammo, Fuel, and Mechanical Supplies, and the heavier structures pull Build Supplies from that stockpile as you construct them. It is a construction and logistics hub, not a respawn point, so place it where supply vehicles can reach it but enemy sightlines cannot.
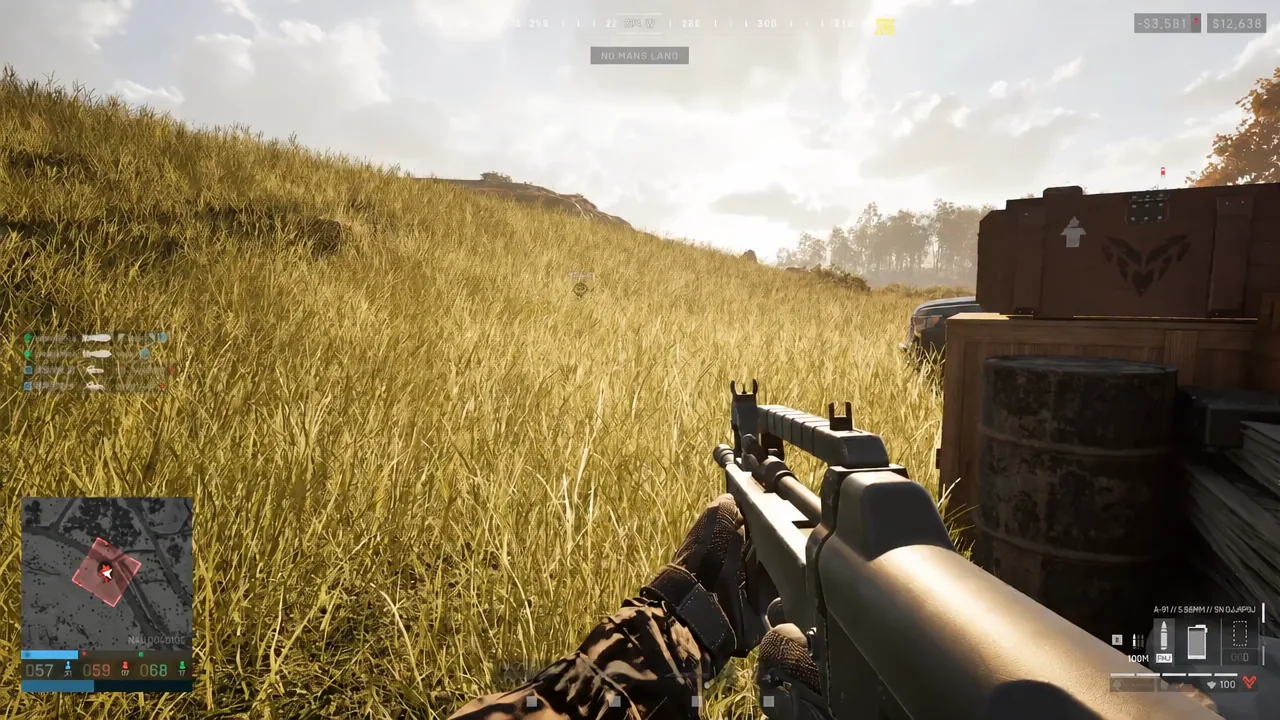
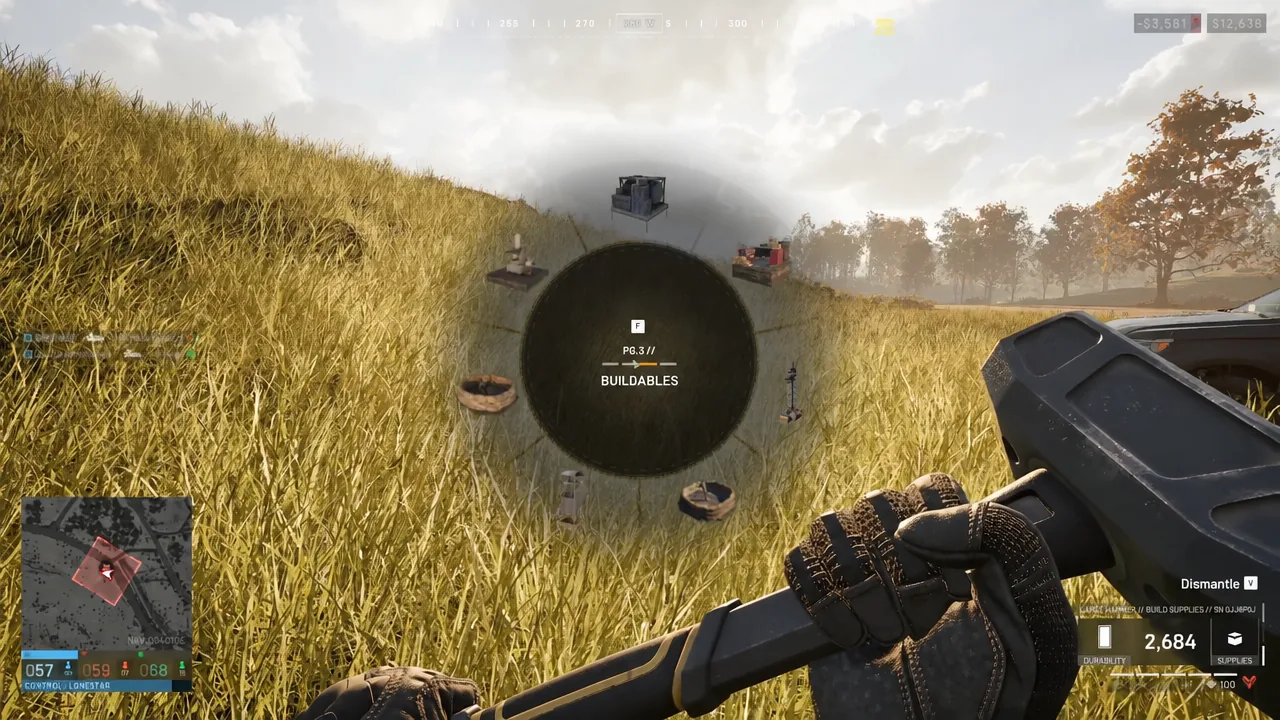
You know the job is done when the green blueprint is replaced by the solid structure and Support XP is credited to your role track. The same hammer repairs anything you have built, at the same fast speed, and a placed structure can be removed with the Dismantle option in the radial.
Build Supplies cost for every structure
Every buildable draws from your Build Supplies, and the gap between a sandbag and a CIWS is enormous. Check the stockpile before committing to a heavy emplacement, because spending everything on walls leaves nothing for defensive weapons or repairs later in the fight.
| Structure | Supplies | FOB needed |
|---|---|---|
| Barbed Wire | 5 | No |
| Recon Tent | 5 | No |
| Sandbags | 10 | No |
| Hedgehog | 14 | No |
| HESCO Block (Small) | 10 | Yes |
| Bremer Wall | 10 | Yes |
| Builder’s Radio | 13 | Yes |
| HESCO Block (Large) | 14 | Yes |
| Door | 14 | Yes |
| HESCO Wall | 46 | Yes |
| Gate | 52 | Yes |
| Bunker | 61 | Yes |
| Recon Tower | 61 | Yes |
| Indirect Fire Shelter | 61 | Yes |
| Loudspeaker | 61 | Yes |
| Stingray | 91 | Yes |
| L81 Mortar | 91 | Yes |
 Refuel Station Refuel Station | 121 | Yes |
 Repair Station Repair Station | 121 | Yes |
| Talon 9K-SAM | 601 | Yes |
| Vanguard CIWS | 901 | Yes |
| Drill Rig | 1,351 | Yes |
The vehicle logistics pair is the cheapest way to make a compound useful to the rest of the team. A Refuel Station keeps trucks and helicopters moving, and a Repair Station patches damage without a trip back to the safe zone.
The Drill Rig is the outlier on that list. It influences the Hot Zone around a player-built FOB and burns Fuel Supplies to keep running, which means it needs a logistics line behind it rather than a single delivery.
Small, Medium, and Large Hammer compared
All three hammers place blueprints the same way. What changes is which tier of structure you can select and how long each one takes to finish.
| Hammer | Builds | Speed |
|---|---|---|
| Small Hammer | Small structures only | Slow |
| Medium Hammer | Basic and larger structures | Moderate |
| Large Hammer | All buildables | Fast |
The Small Hammer covers sandbags, barbed wire, and similar field defenses, and it is fine if you only ever throw down cover during a firefight. The Medium Hammer handles most FOB work without the Specialist slot commitment of the top tier. The Large Hammer is only worth its cost and its 3.18 kg when you intend to be the one who builds and holds the compound.
One thing worth agreeing on before a match: a squad needs exactly one person carrying it. Two Large Hammers means two people paying full price for a tool that does not stack, while nobody is bringing extra guns, smokes, or supplies to the position you are trying to hold.





