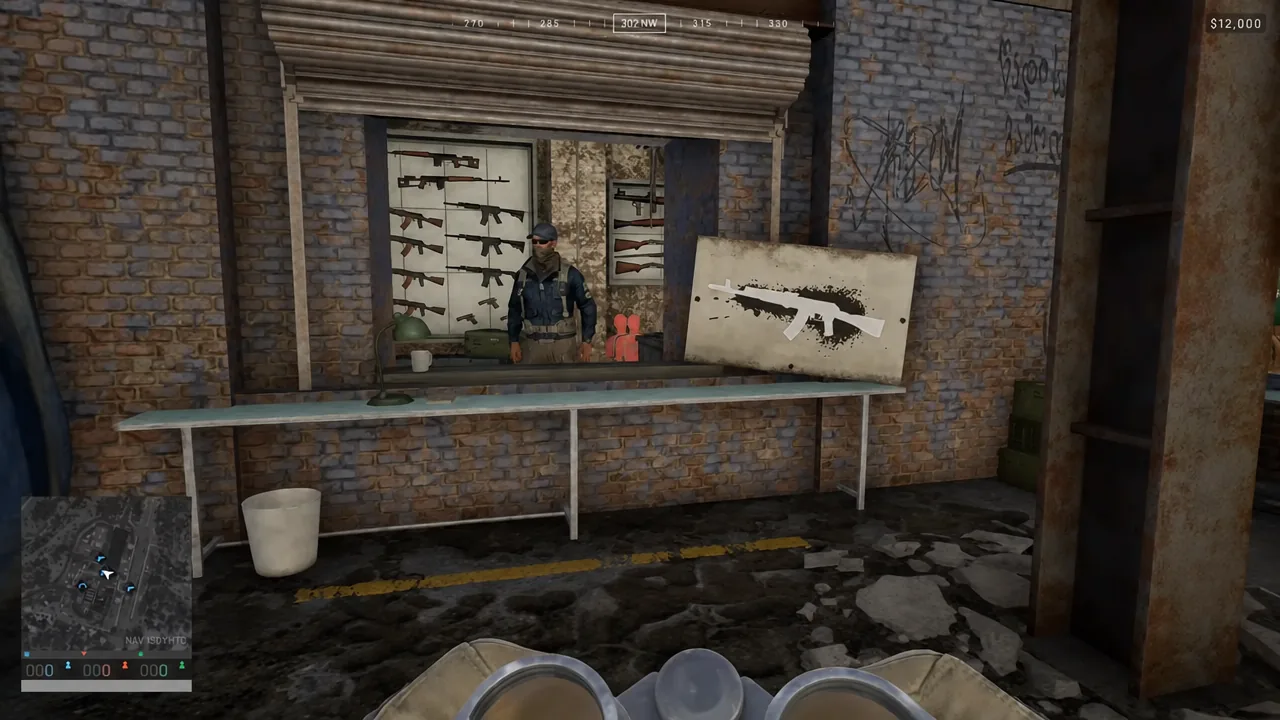
WARDOGS hands you a vendor screen, a progression tree, and a very large map, then leaves most of its rules undocumented. The systems underneath are consistent once you know them — attachments have fixed trade-offs, weight classes have hard restrictions, and several of the fastest interactions in the game are modifier-key shortcuts that never appear in a tooltip.
Quick answer: Hold Ctrl and left-click the ammo slots under your primary at the Equipment Vendor to buy ammo straight into your backpack; hold Ctrl mid-reload to drop the magazine for the faster animation.
Vendor shortcuts: buying ammo and dropping magazines
F prompt to open the menu. This is the same vendor that stocks optics, grips, muzzle devices, and medical items.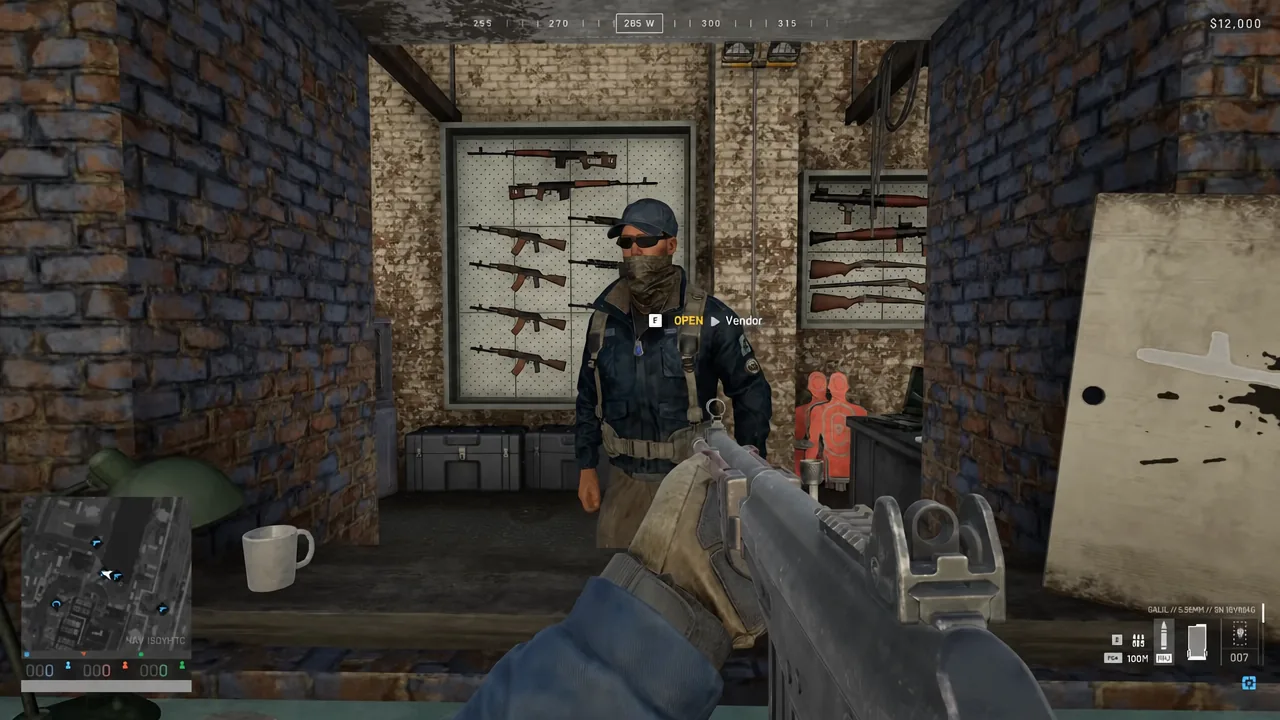
The same modifier matters in a firefight. Holding Ctrl while you reload throws the partially spent magazine onto the ground instead of stowing it, which plays a shorter animation. You lose whatever rounds were left in it, so use it when the alternative is dying mid-reload, not on every swap.
Attachments that control recoil
A bare Galil climbs hard under sustained fire. At 650 rounds per minute and 28 damage per shot, the rifle puts out plenty of pressure, but only if the burst stays on the target. The fix is a grip, a muzzle device, and a low-magnification optic rather than raw trigger discipline.
| Attachment | Price | Type | Unlock |
|---|---|---|---|
| TDG Vertical Foregrip | $1,000 | Grip | Wardog 58, $25,000 |
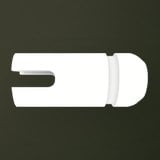 RC-556 Suppressor RC-556 Suppressor | $1,550 | Muzzle | Assault 29, $30,000 |
TDG Vertical Foregrip is the strongest single recoil part you can bolt on. It delivers strong vertical recoil reduction, strong ADS stabilization, strong vertical sway reduction, and moderate horizontal recoil reduction. The cost is a moderate ADS speed penalty and a minor equip speed penalty, so it suits a rifle you plan to hold angles with rather than one you swap to in a panic.
RC-556 Suppressor weighs 0.5kg, the heaviest of the common attachments, and sits at the end of the Assault tree. Pair it with the foregrip and a low-power optic and the same rifle that sprayed across a warehouse roof will hold a tight vertical column.
Optics for assault rifles and SMGs
| Optic | Price | Magnification | Unlock |
|---|---|---|---|
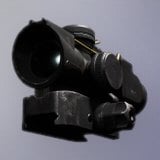 Tricon 1.5x Compact Prism Scope Tricon 1.5x Compact Prism Scope | $650 | 1.5x | Assault 12, $10,000 |
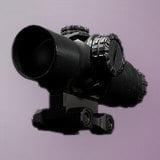 CQ-2x Prism Combat Scope CQ-2x Prism Combat Scope | $640 | 2x | Assault 17, $15,000 |
Tricon 1.5x Compact Prism Scope is the lighter of the two at 0.2kg, zeroes between 100m and 200m, and carries only a minor ADS speed penalty. It is the safe default for close and mid-range work when you do not want to slow your first shot down.
CQ-2x Prism Combat Scope costs $640, weighs 0.31kg, and zeroes from 100m out to 300m. It is the rare optic with a listed upside instead of a penalty, offering minor ADS speed improvements, which makes it the better long-term pick once Assault 17 is behind you.
Both unlock fees are one-time payments. The per-match purchase price is the small number, so the scope pays for itself over a few deployments.
Weight classes, tac vests, and revive restrictions
Your total carried weight sorts you into Light, Medium, Heavy, or Super Heavy, and each step down the ladder costs movement speed. The restriction that catches people out sits at Heavy: it disables tactical sprint outright, and a downed player in Heavy cannot be dragged to cover for a revive.
That turns every kilogram into a squad decision. A Heavy teammate who goes down in the open has to be revived in the open. Check your class after you add a suppressor, a launcher, or a stack of building materials, because those are the loads that tip you over.
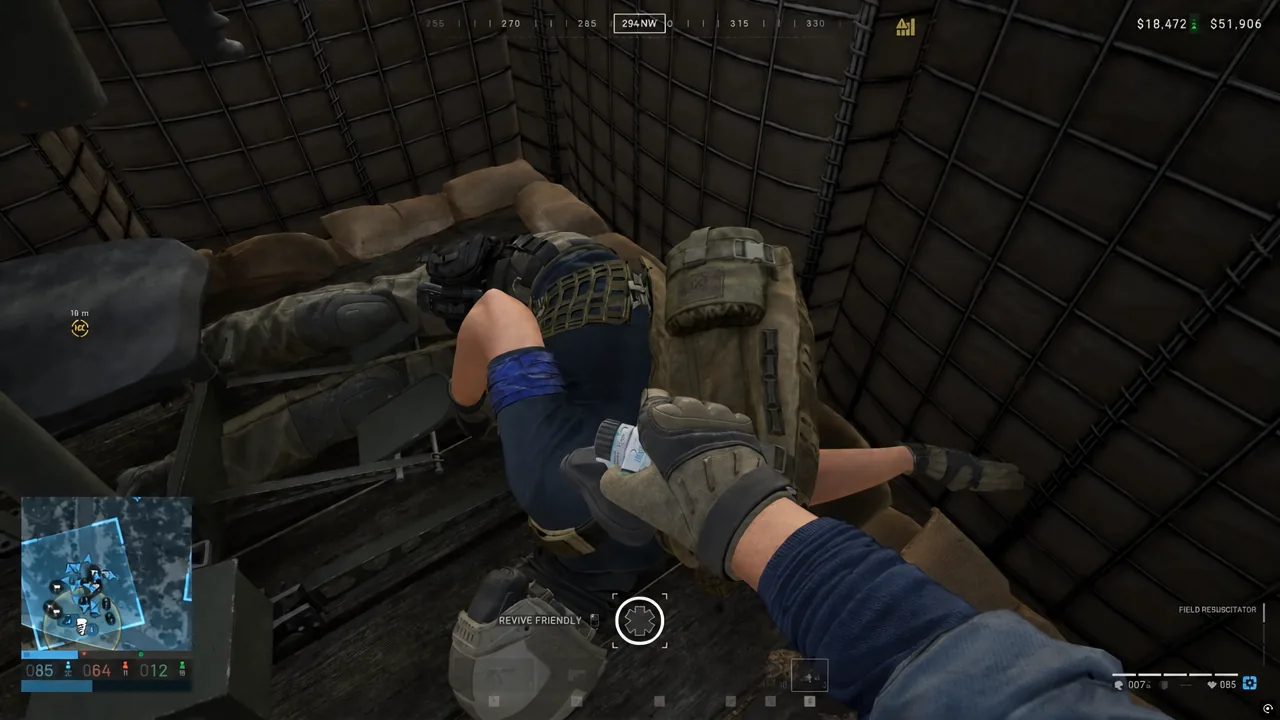
Tac vests also change reload speed. The Medium Tac Vest reloads faster than the Large Tac Vest, so the extra magazine capacity is not free. If you already carry a dropped-magazine habit, the Medium vest compounds the saving.
Keybinds to change before your next match
Four defaults actively work against you. The lean binds are the big one, because Q and E sit on the same hand as your strafe keys, which means you cannot lean and step at the same time.
| Action | Default | Suggested |
|---|---|---|
| Lean Left | Q | E |
| Lean Right | E | Q |
| Full map | M | G |
| Push-to-talk VOIP | Keyboard | Spare mouse button |
Inverting the lean keys lets you hold A or D while peeking with the opposite side, which is the combination that actually wins corners. Leaning also changes your silhouette: you expose your chest around the corner rather than your legs, so a miss on you is a clean miss instead of a limb hit.
Moving the full map to G matters because you will open it constantly, and M is a reach. The minimap has a separate zoom toggle on N that cycles between zoom levels, which is enough for most rotations without opening the full map at all.
Repositioning, zeroing, and long-range shots
Re-peeking the same angle is the most common way to die in a forest fight. Pull back a few steps to break line of sight first, then move around the terrain and come back from a different side. The enemy is still aiming at the gap you left.
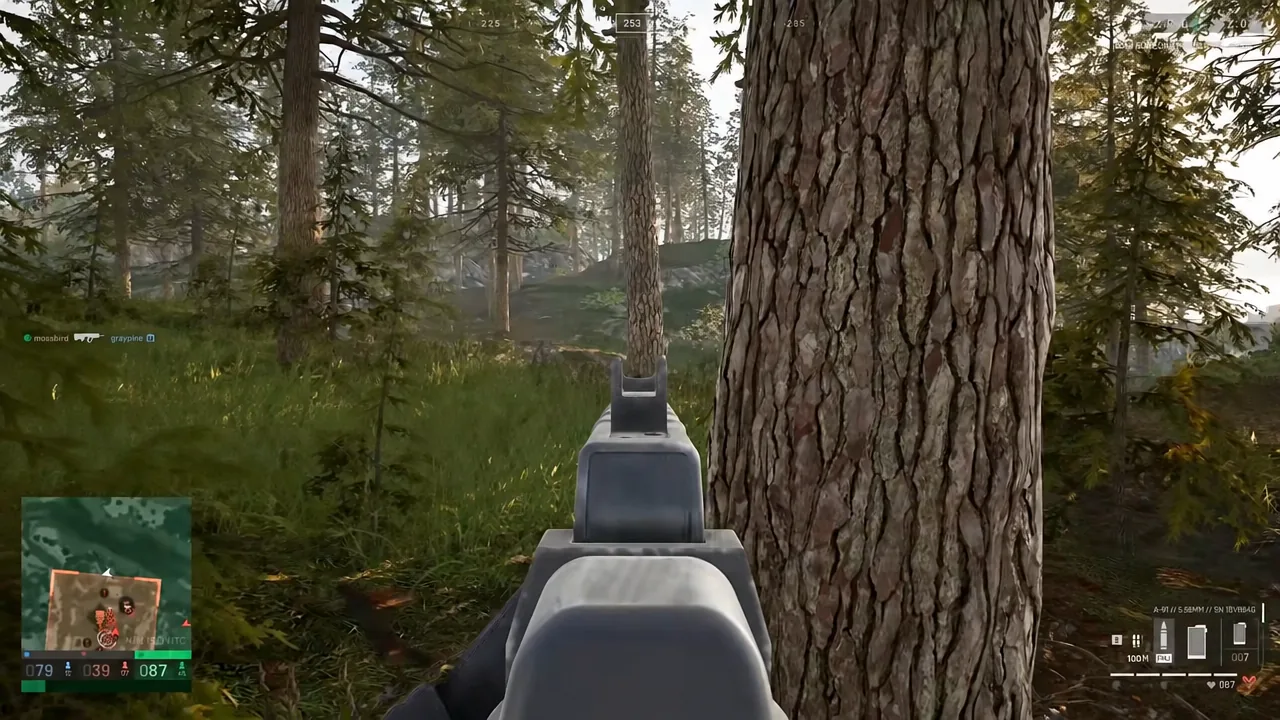
For anything past a couple of hundred metres, two mechanics do the work. Deploying a bipod on a ledge or while prone cuts recoil dramatically on a marksman rifle such as the SKS. Zeroing is adjusted with Page Up and Page Down, which step the range in 100-metre increments — the Galil tops out at 400m, and the RPG-7 at 500m.
Beyond that, read the drop with the mildot hash marks in your scope, or use a Range Finder to get the distance before you dial. Loose bullets can be repacked into magazines from inside an armoured vehicle, which is the safest place to do it mid-match.
The M500 shotgun loaded with 12G Rifled Slug ammunition behaves like a mid-range marksman weapon rather than a close-quarters gun.
Class unlocks worth the one-time fee
Every role charges a flat unlock fee once, after which the item is available at its normal shop price. Two trees pay off early.
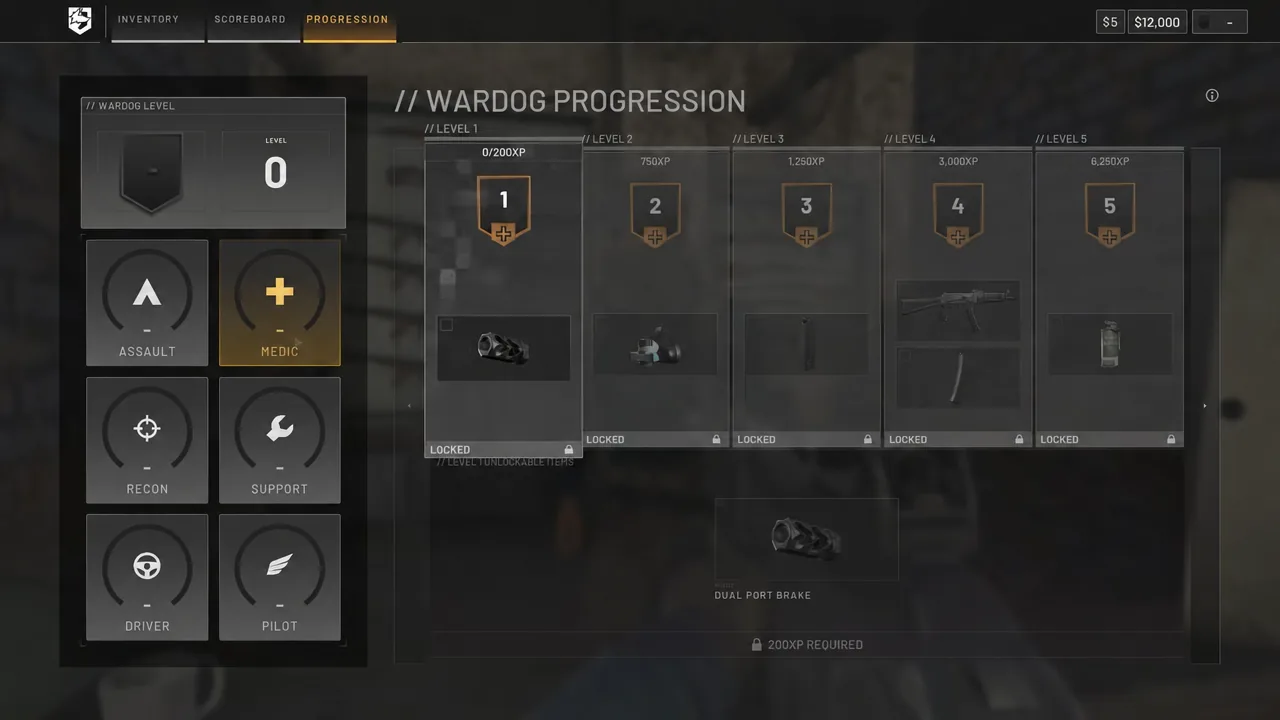
Medic
The Individual First Aid Kit unlocks at Medic level 9 for a $25,000 fee and then costs $800 per match. It heals you or a teammate back to full health in one use and weighs 0.16kg, so it barely touches your weight class. The M18 Smoke Grenade (White) and the Adrenaline Pen, which removes the tactical sprint limit, sit on the same tree.
Support
Support runs to level 50 and has 31 levels that carry an unlock. The first sixteen cover the tools that change how you fight vehicles and structures.
| Level | Unlock |
|---|---|
| 1 | 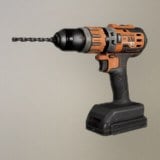 Light Drill Light Drill |
| 2 | 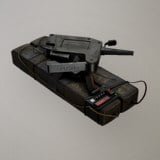 C4 Charge C4 Charge |
| 2 | 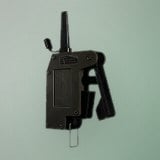 Remote Detonator Remote Detonator |
| 3 | Medium Hammer |
| 5 | 93mm |
| 5 | 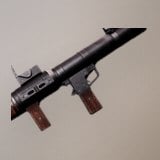 RPG-7 RPG-7 |
| 8 | Large Hammer |
| 10 | 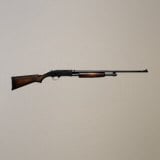 M500 M500 |
| 11 |  M500 Sabre Brake M500 Sabre Brake |
| 12 | 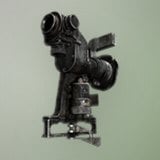 PGO-7 PGO-7 |
| 14 | 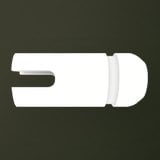 Improved Cylinder Choke Improved Cylinder Choke |
| 15 | M249 100 RND Fabric Magazine |
| 15 | 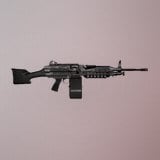 M249 SAW M249 SAW |
| 16 | 9K333 Verba |
C4 with the Remote Detonator arrives at level 2, which is quick enough to matter in your first evening. The RPG-7 unlocks at Support level 5 for $30,000 and then costs $2,000 a match, firing a 93mm self-propelled rocket from a reusable launch tube for 110 damage with a 12m explosive radius.
FOB placement and map marking
The Forward Operating Base costs $7,500 and weighs 6.5kg. It is what lets you put up larger structures, it stores items and resources for anyone on your team to use, and it defines the radius inside which building is allowed at all.
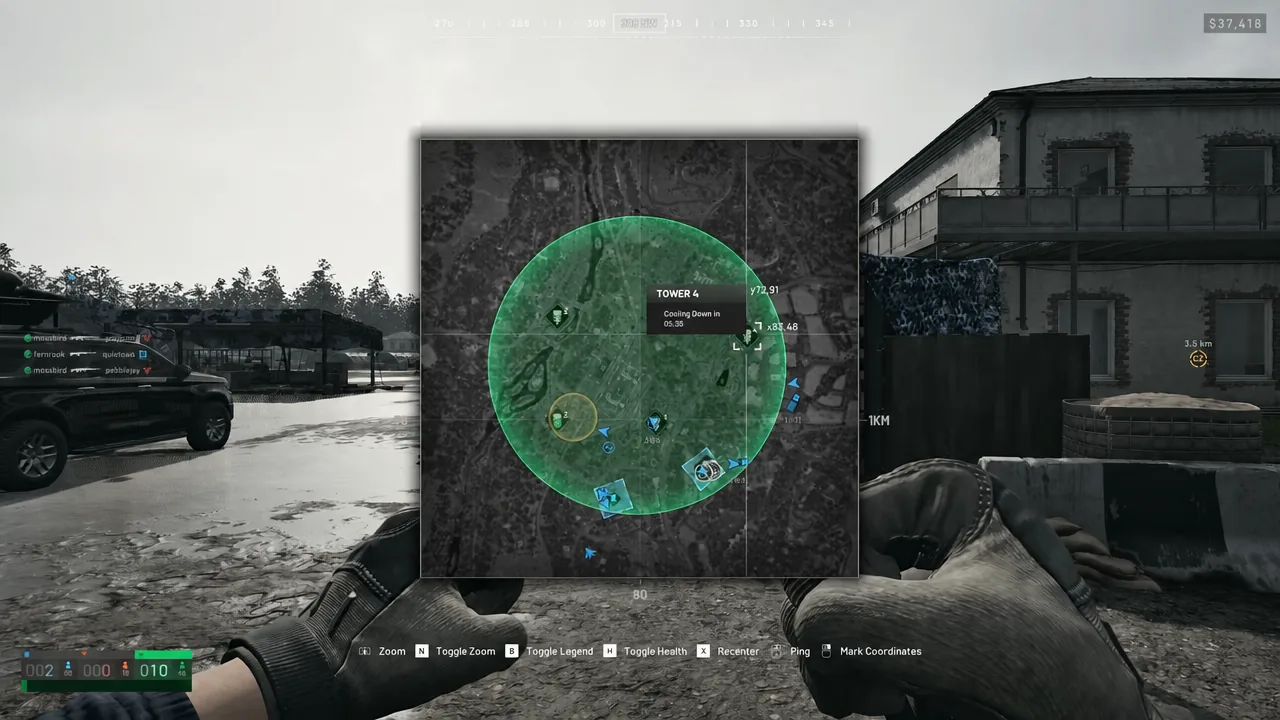
Where you drop it decides whether it survives. Low-lying drill sites are convenient and indefensible; high ground is worth the walk. Hovering over an FOB icon on the map shows its Building, Fuel, Ammo, and Mech supplies, so you can see which friendly base can actually resupply you before you commit to a rotation.
Walls are only as good as the terrain around them. Rubble piles and debris next to a perimeter give an attacker a jump-off point to clear the wall entirely, so clear or build away from them.
For callouts, type a grid coordinate into team chat and click it. The chat entry becomes a precise marker ping on the map, which beats describing a treeline over voice. Binding push-to-talk to a mouse button keeps both hands free while you do it.
Vehicles: Kodiak ambushes and APC spawns
The Kodiak is a $2,500 four-seat transport that tops out at 154 km/h, holds 50 litres of fuel, and burns 2.9 litres per kilometre. It is bought from the vehicle vendor at your faction’s safe zone and never spawns in the world during a match. Destroying an enemy one pays out $500.
Ride in the bed with a launcher and park on the route between an enemy spawn and their objective. Supply vehicles and reinforcements use the same roads repeatedly, and C4 laid on those roads with a Remote Detonator does the same job without you being present. Killing logistics also stops the enemy building AA emplacements and fortifications.
The M113 APC works as a mobile spawn point. Pressing V deploys a smoke screen, and rotating the vehicle 360 degrees while doing so blankets the whole area rather than one arc. Pressing F opens its onboard inventory, where the wrench and fuel are stored for field repairs.
Riding a transport helicopter all the way to the ground is a common way to die. Parachute out early rather than waiting for the landing.
Low-risk income when you are broke
Unlock fees run into the tens of thousands, and the fastest way to get there is not to fight for it. A cheap Recon kit — binoculars and the free basic weapons — lets you sit on a vantage point and spot targets for your team, earning income without firing a shot or risking an expensive loadout.
Personal earnings accrue from combat tasks regardless of whether your side wins the match, so spotting for a sniper, destroying a supply truck, or taking a single isolated objective all pay. Pick one concrete job per life and the progression fees stop looking like a wall.