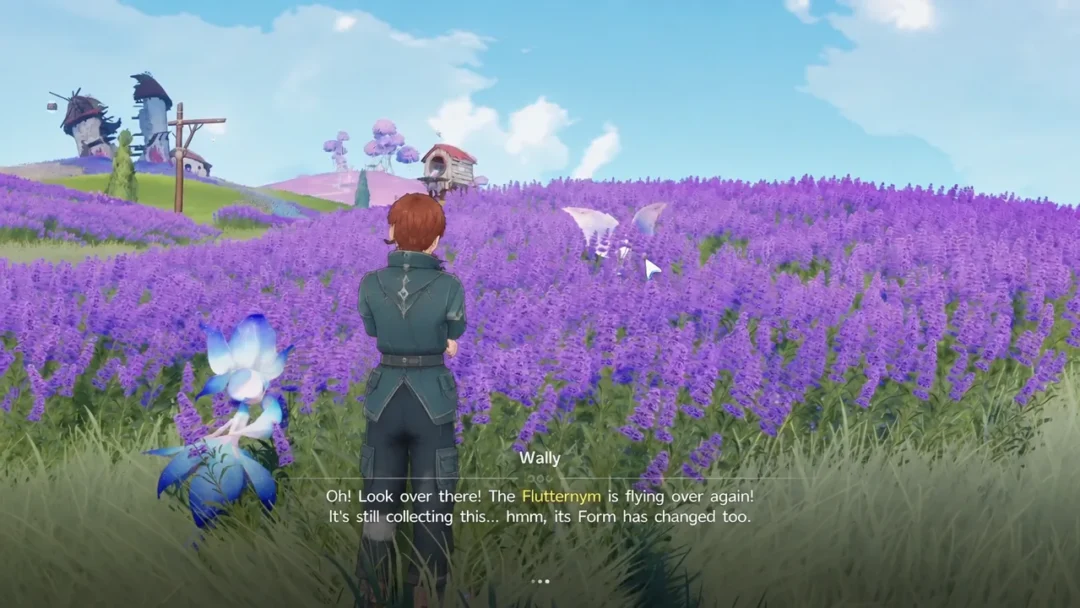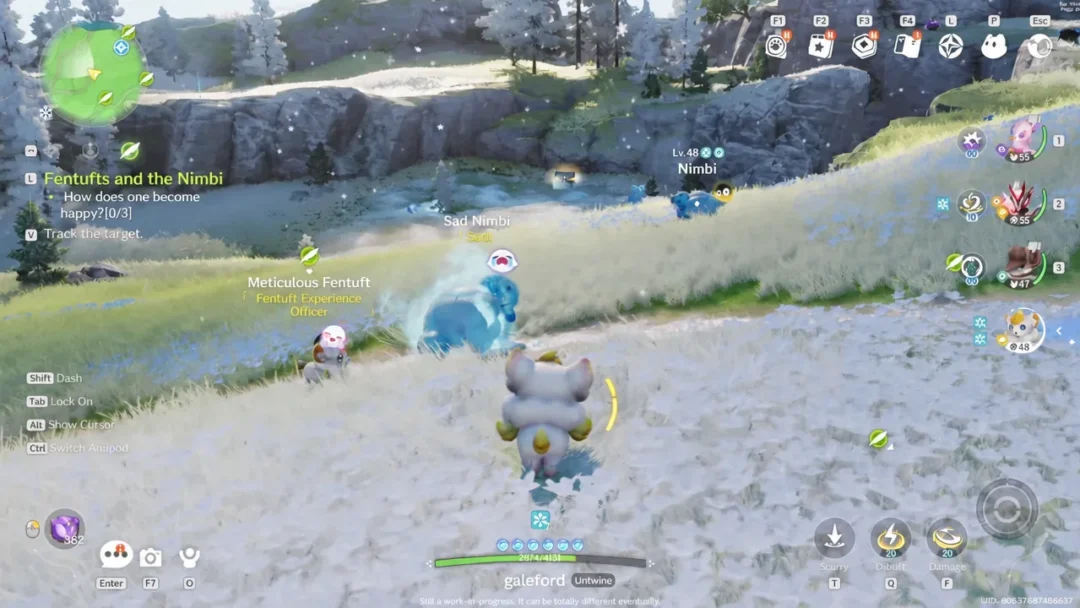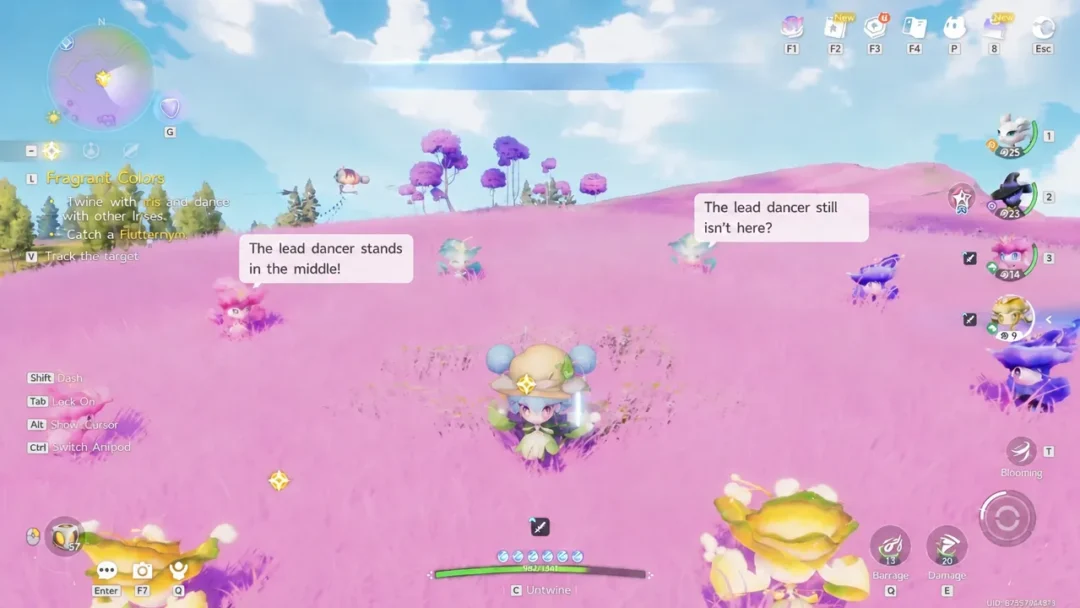
The final stretch of Institute Initiation, the main quest under The Journey to Idyll in Aniimo, asks you to upload your catch results at the Outpost. For a number of players the objective simply refuses to resolve. The waypoint sits there as a yellow dot with a distance counter, but the Data Communication Console and Dr. Lewis never render into the world, so there is nothing to press F on.
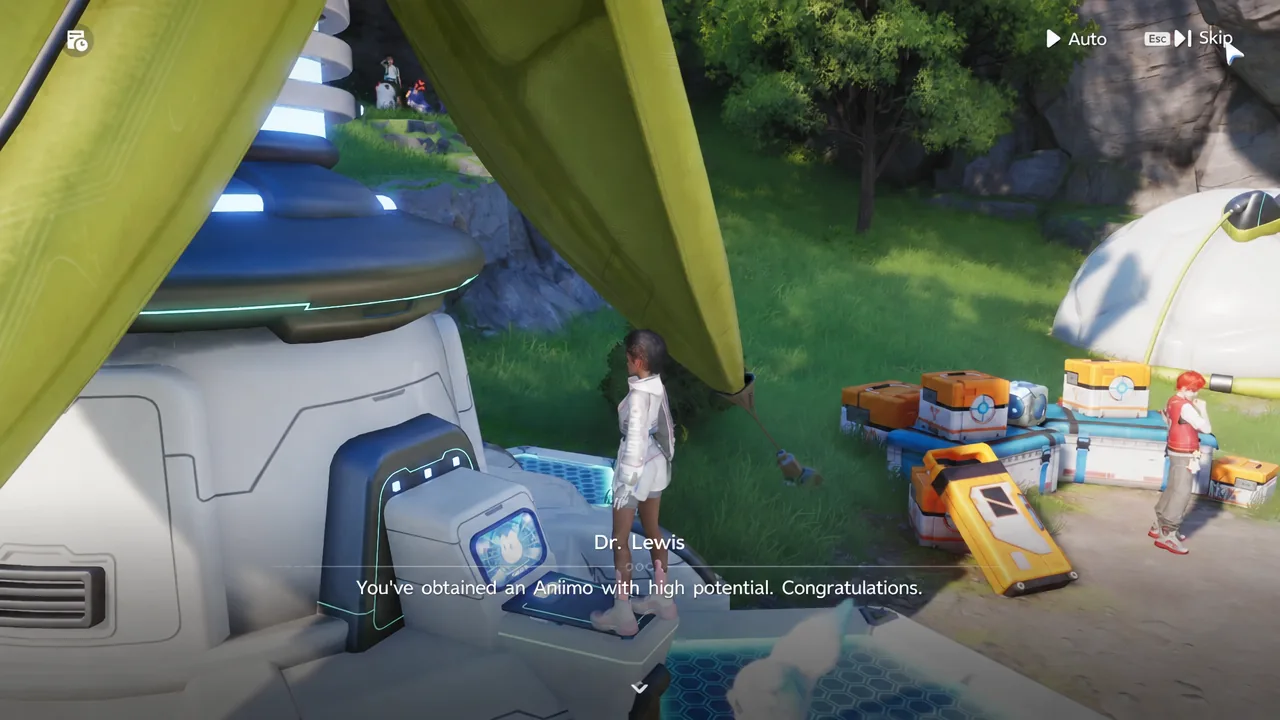
Quick answer: Press V to refresh the quest, then walk away from Dr. Lewis and interact with the white console behind him. If no menu opens when you get close, relaunch the game without DX12 mode.
What the upload step is supposed to do
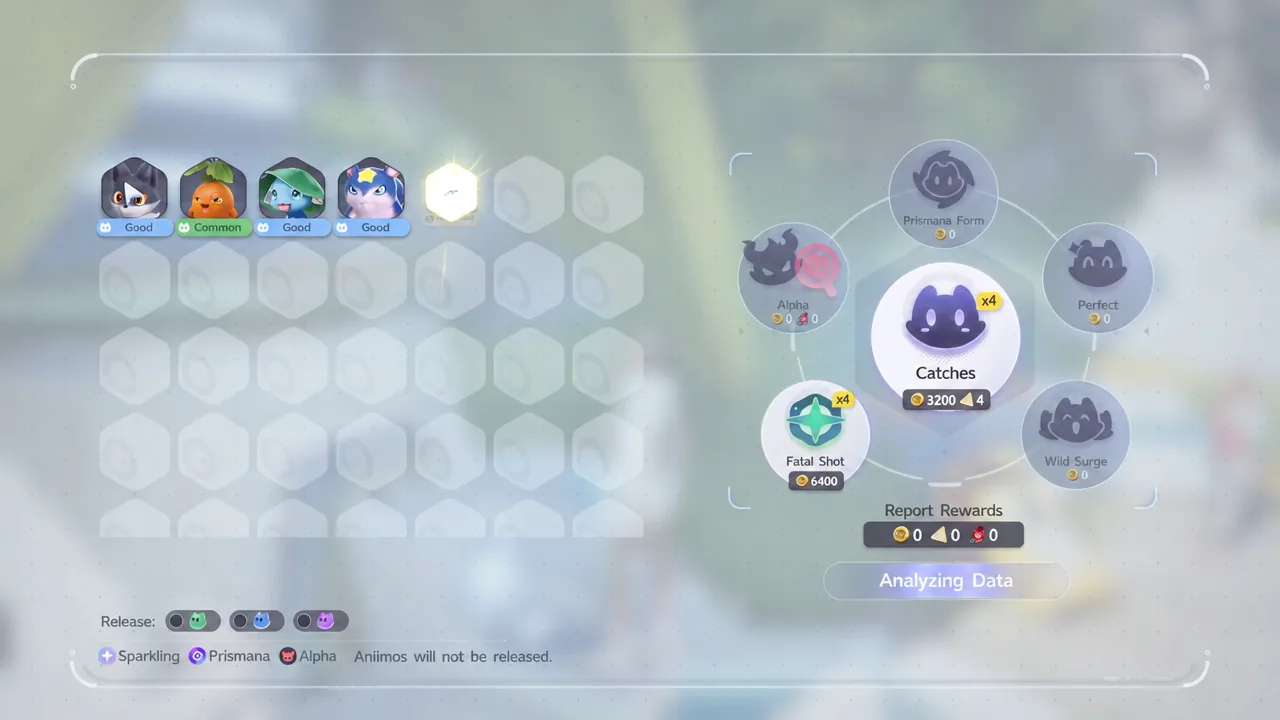
When the pathfinding team arrives in Idyll, Dr. Lewis introduces the Outpost and the Data Communication Console sitting in it. The console analyzes the data you gathered while catching Aniimo, syncs it to the Aniilog, and generates a report. Submitting that report pays out Credit and Research Points, which are scored on new Aniimo types collected (Collection), investigation entries unlocked (Investigate), and elemental reactions triggered (Research). Those Research Points also convert into character experience and push up your Research Level.
That makes the step mandatory. You cannot walk past it to the Elite Training objective and the Branch, so a console that will not spawn is a hard stop on the main story.
Fix the missing console and NPC at the Outpost
Work through these in order. The first two cost you nothing and often clear the problem on their own.
V to re-path the mission target. On mobile, tap the Mission Tracker. Pawprint Studio has pointed to this as the workaround when an early-story mission stops progressing, and it can force the objective to re-register.
Verifying files, reinstalling, or changing graphics presets does nothing for this particular failure. The console either spawns or it does not.
Upload your catch results at the Data Communication Console
Once the terminal is interactable, the submission itself is short. Every screen below has to be cleared before the objective completes.
F to interact. The report interface opens with a handprint icon in the centre.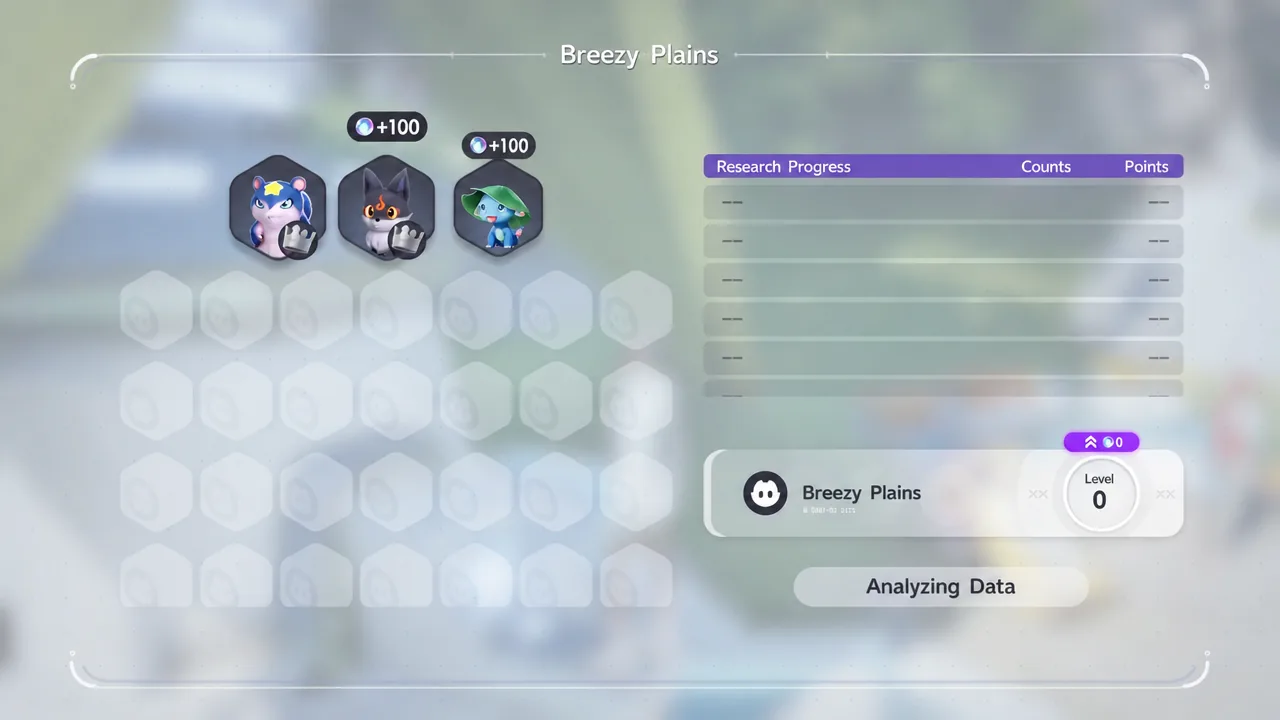
How to confirm the upload registered
You have three visible confirmations, and all of them should land together:
- Credit and Research Points are paid out on the results screen, and your Research Level ticks up.
- You are returned to the overworld with a tutorial prompt explaining Aniimo Management — hold
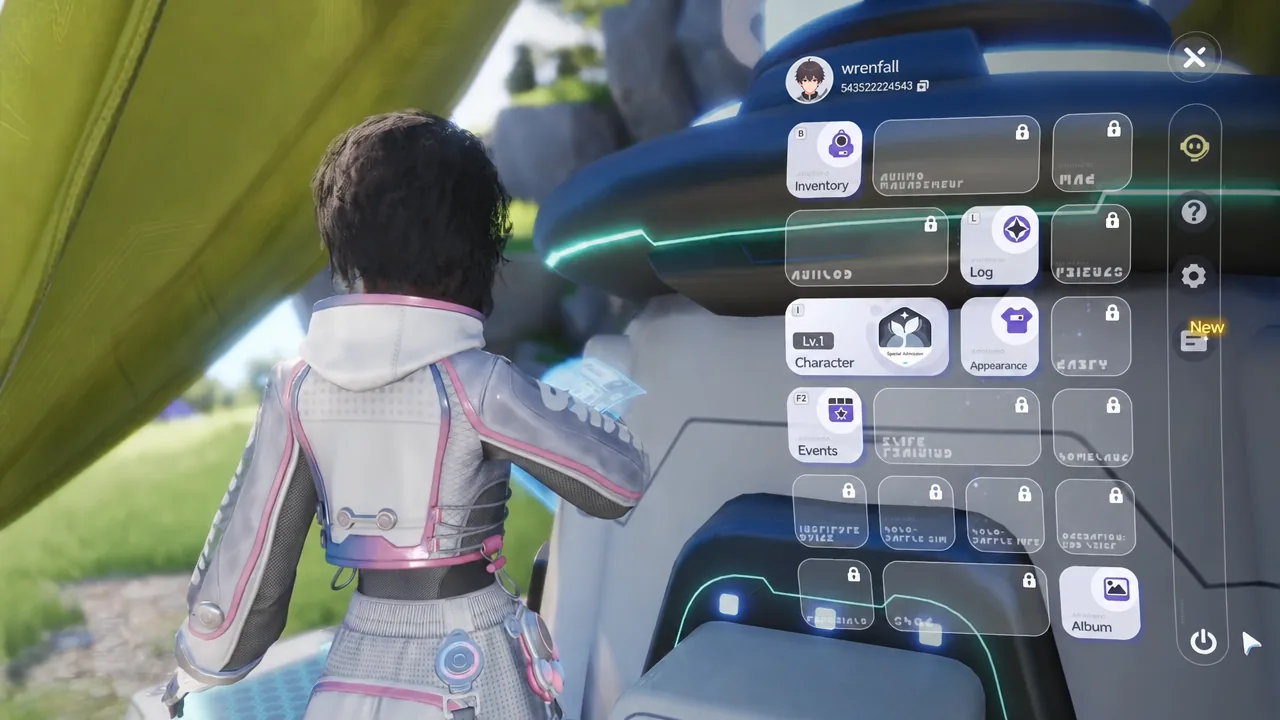
Altto show the cursor and click, or pressPto open the menu and deploy Aniimo into your Combat Roster. - The tracked objective moves on to speaking with Dr. Lewis for Elite Training, after which you follow him toward the Branch.
If you land back in the world but the objective still points at the console, refresh the tracker with V again before assuming the upload failed.
Institute Initiation quest rewards
Clearing the full quest, upload step included, pays the following:
| Reward | Amount |
|---|---|
| Glimmers | 50 |
| Medium Experience Gem | 2 |
| Credit | 500 |
| Aniimo Experience | 1440 |
| Aniipod | 3 |
| Knowledge | 1000 |
The quest also hands over a small set of story items: Wonderful Journey, The Wizard of Oz, Adventure Time, Fantasy Adventure, and Journey of Miracles.
Report the bug from inside the game
If none of the above frees the objective, file it through the client rather than waiting on a forum thread. Open the in-game Menu and choose Support, or press F10 to submit a report directly. Include which step you are stuck on and whether the console rendered at all.
Rewards in Aniimo are only ever delivered through official events and in-game mail. Pawprint Studio will not ask you for a verification code or a payment to claim anything, so treat unfamiliar QR codes and unofficial claim links as scams.
Pawprint Studio has already shipped fixes for several early-story blockers, including missions that could not advance and tutorial items that could be sold away, so this class of problem is on the developer’s radar. Until the console spawns reliably for everyone, the refresh-and-relaunch routine above is the fastest way back onto the main story.