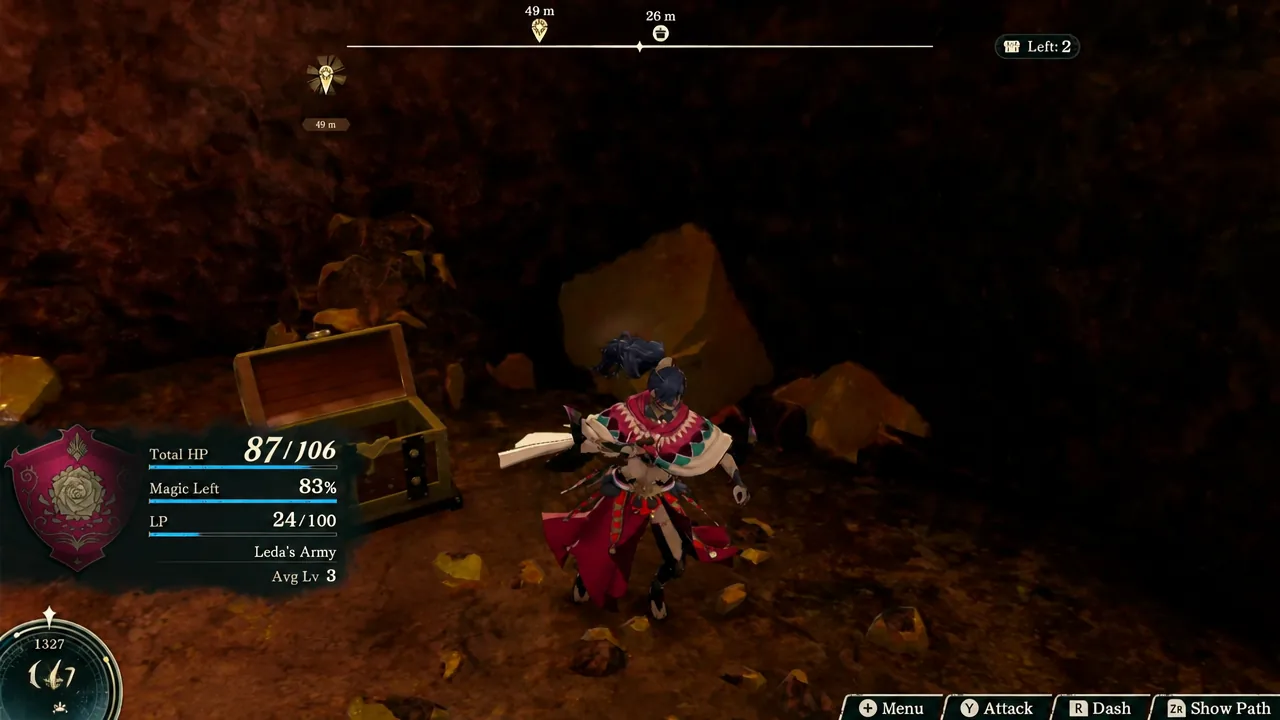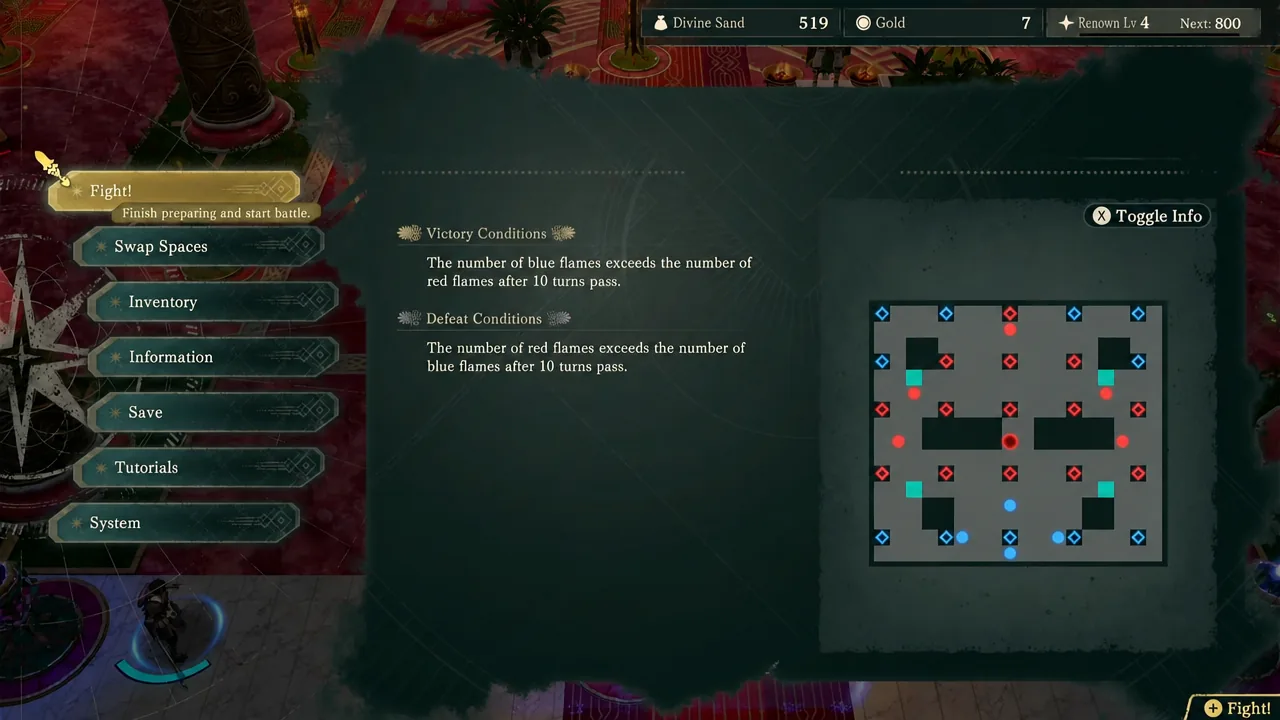
Battle vs. Olympia closes out Chapter 3 of Leda’s Path in Fire Emblem: Fortune’s Weave, and it throws out the usual rules. You are not there to rout the enemy or take down the commander. Kalla’s Temple is filled with braziers, and the match is scored on which side has more of them lit when the clock runs out.
Quick answer: Light more braziers blue than Olympia’s side lights red before the 10-turn limit expires. Split Leda, Sirocco, Buccar, and Mu into separate lanes and prioritize capturing over killing.
Battle vs. Olympia victory condition: blue flames after 10 turns
The victory screen states it plainly before the match starts. After 10 turns, the number of blue flames on the map must exceed the number of red flames. Every brazier in the temple can be flipped by either side, so a brazier you lit on turn 2 can be red again by turn 4 if an enemy Diviner walks up to it.
That makes the fight a board-control problem rather than a damage race. Killing an enemy priest only matters when that priest is standing between you and a brazier, or is about to flip one back. Nothing about defeating Olympia ends the battle early, and nothing about losing a unit ends it either.
Kalla’s Temple map and your four units
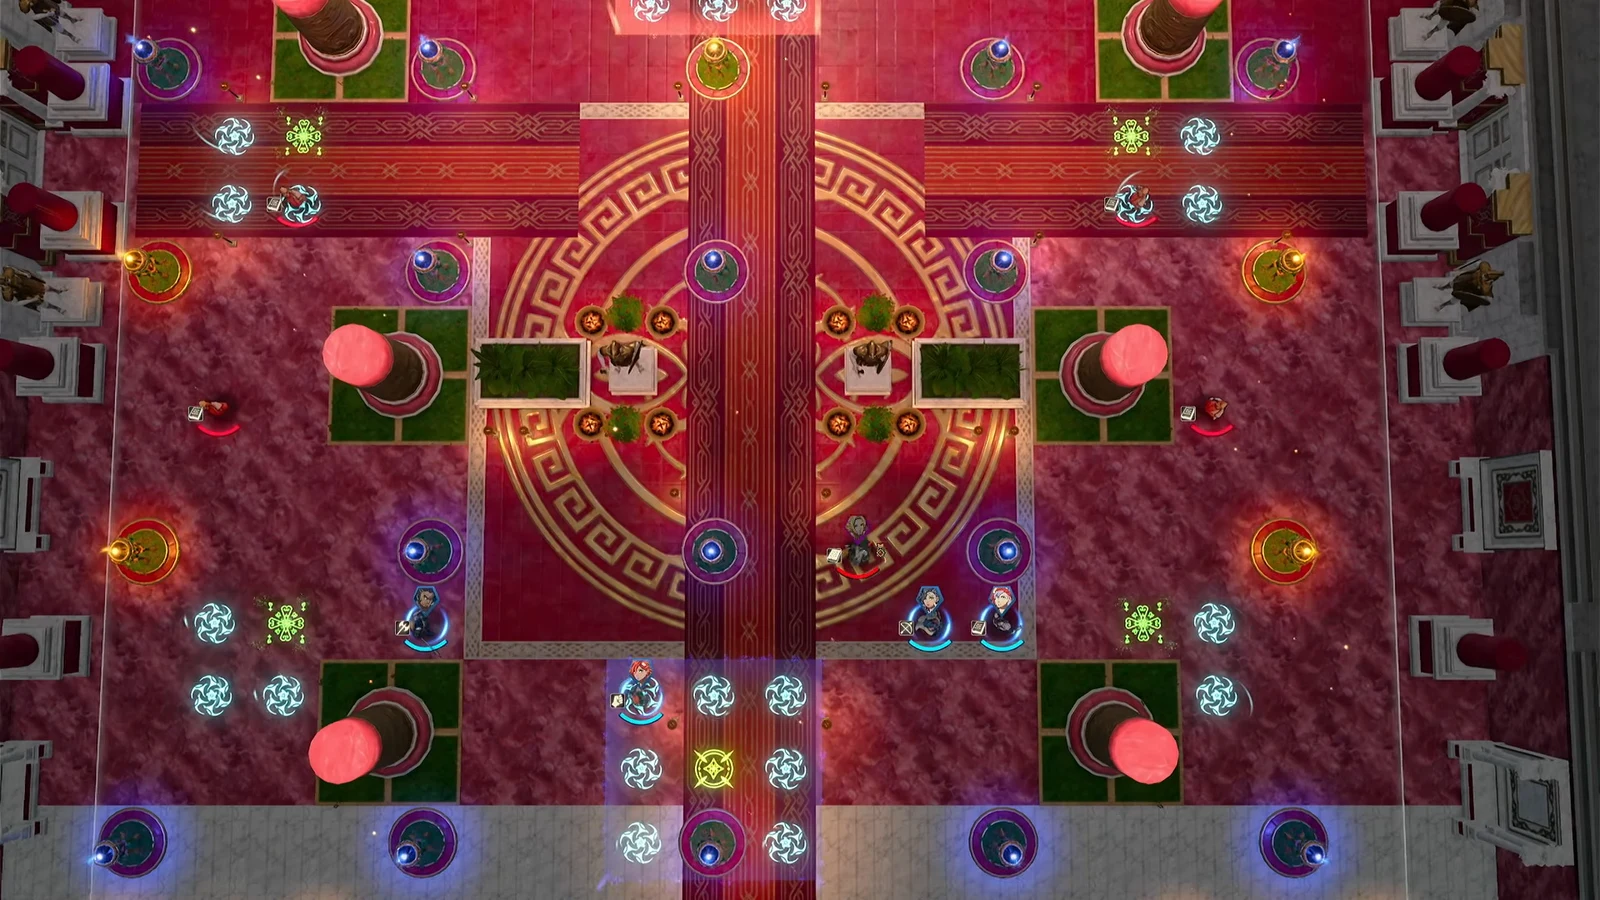
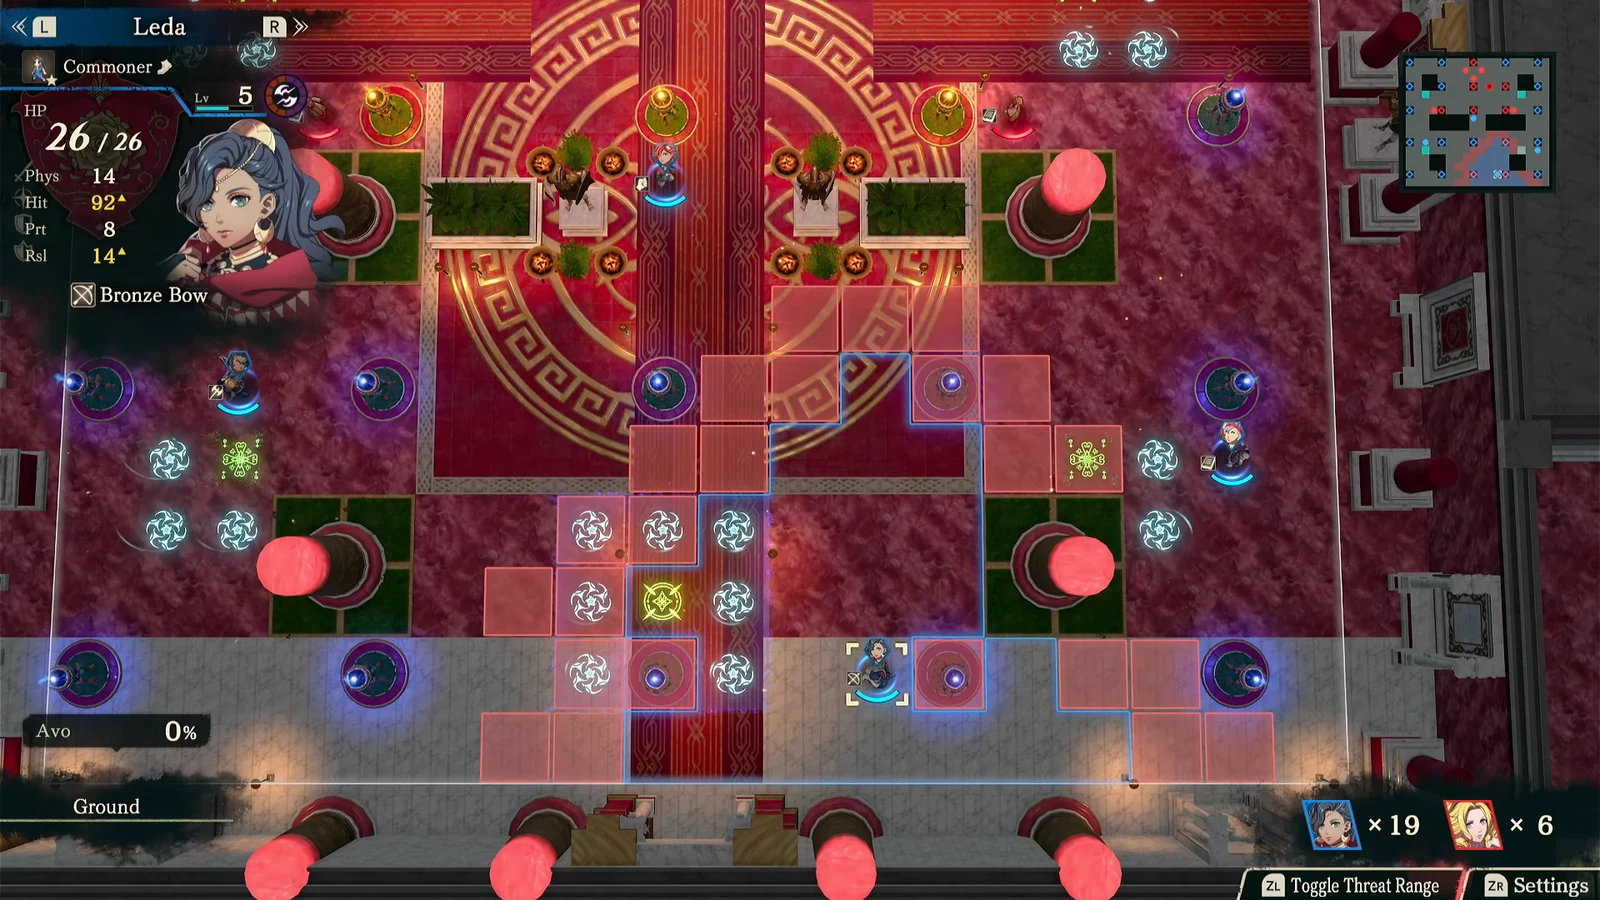
You bring four units into the temple, and the map is wide enough that stacking them together wastes turns. Braziers sit along both flanks and down the central hall, with Olympia and her Diviner priests advancing from the far side. Assign each unit a lane during the preparation screen and keep them there.
| Unit | Lane | Main job |
|---|---|---|
| Leda | Center-right | Bronze Bow pressure on Olympia, then captures |
| Sirocco | Right flank | Lights side braziers, cuts down Diviners |
| Buccar | Left flank | Clears priests, claims braziers behind them |
| Mu | Center | Pushes up the main hall, absorbs magic |
Leda starts as a Commoner with a Bronze Bow, which lets her fire a curved shot over units and terrain at Olympia from a safe tile. Sirocco and Buccar do most of the early lighting because their flanks have braziers sitting close to the deployment area.
Automatic Return: fallen units come back at full HP
A tutorial pops up before the match to explain Automatic Return. When one of your units falls, it reappears at full HP in a designated return area instead of leaving the fight. The catch is that the returning unit cannot act on the turn it respawns.
A lost unit costs you a turn of brazier lighting and drops you back at the return area, which is often far from the lane you were holding. In a 10-turn scoring match that swing is worse than the HP loss, so pull wounded units out before they die rather than after.
Turn-by-turn approach to the flame race
Turns 1–3: take the easy braziers first
Open by lighting whatever is already adjacent to your starting positions. Sirocco and Buccar can each grab a brazier on turn 1 while Mu moves up the middle and Leda repositions. Olympia and her Diviners spend their first phase crossing the temple and lighting reds of their own, so the map is roughly even after one exchange.
From turn 2, keep capturing on the flanks and start chipping Olympia with Leda’s curved Bronze Bow shots. Trading hits with Olympia here is also where Leda picks up her first level of the match, which helps her Strength and Speed for the rest of the fight.
Turns 4–6: clear the Diviners and absorb the reinforcements
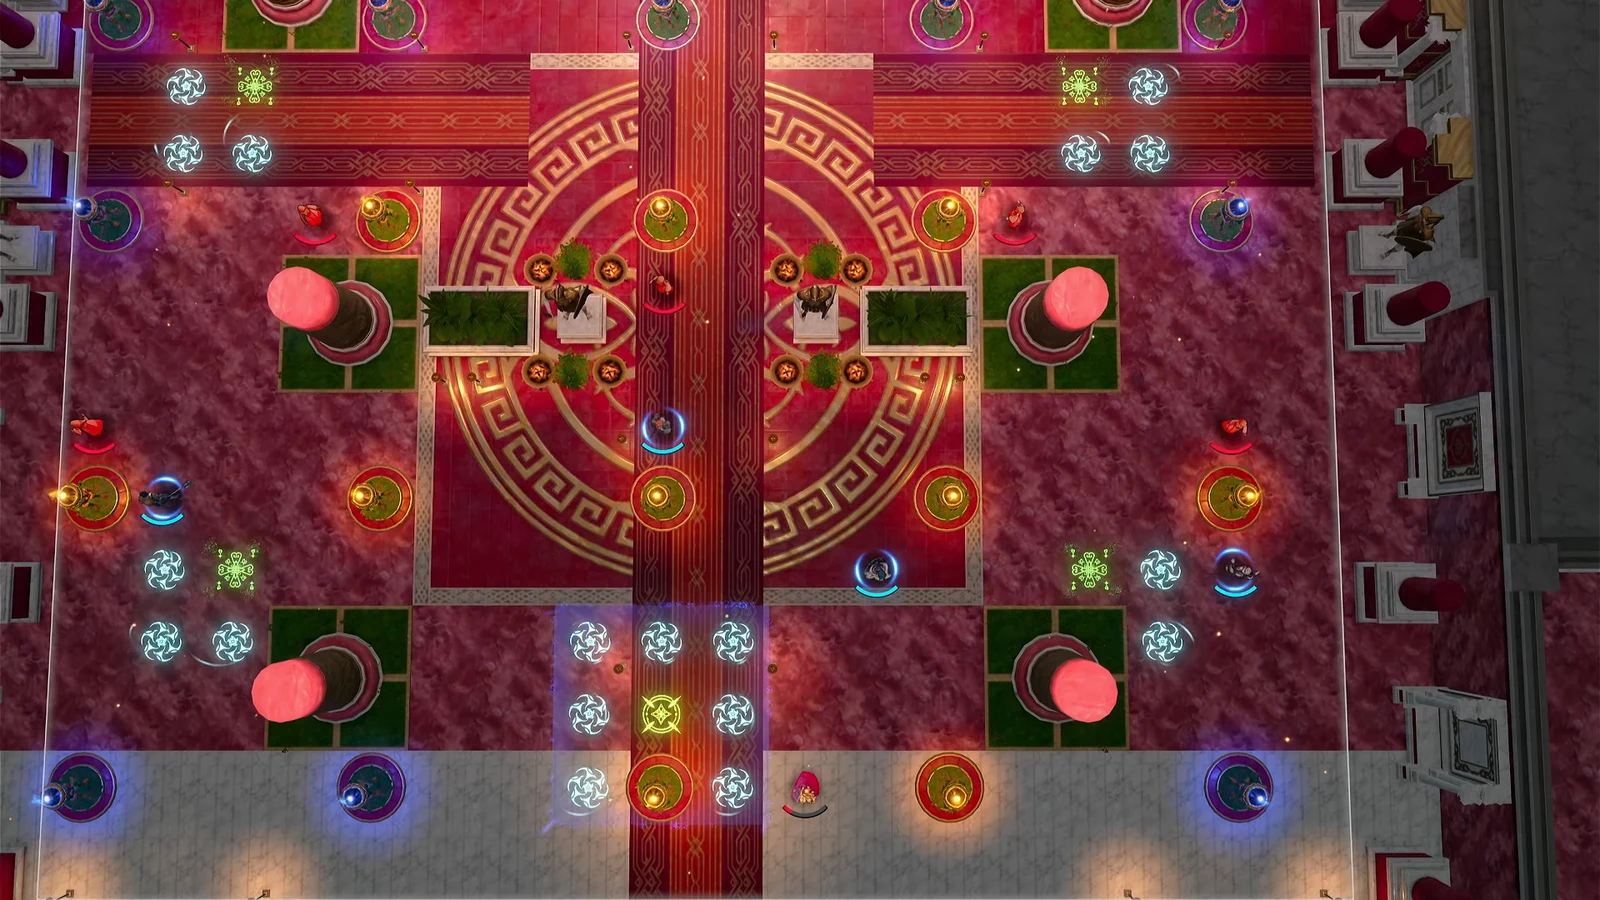
By turn 4 the enemy priests are inside your threat ranges, and killing them is finally worth the action. Sirocco and Buccar can each remove a Diviner around here, and both hit level 5 doing it. Removing a priest is effectively a brazier denied, because every caster you leave alive will spend its phase relighting something red.
On the enemy phase of turn 5, priest reinforcements arrive to back Olympia up and red flames go up across both flanks at once. Do not panic-chase them. Keep your lanes assigned, let Mu tank the incoming magic in the center, and keep lighting. Mu counterattacks the casters that come to him and gains a level in the process.
Turns 7–10: hold the center and close out
The last stretch is where the score is actually decided, because anything you light on turn 10 cannot be flipped back. Long-range enemy casters will keep converting side braziers during their phases, so let the flanks trade and concentrate on the main hall, where the density of braziers is highest.
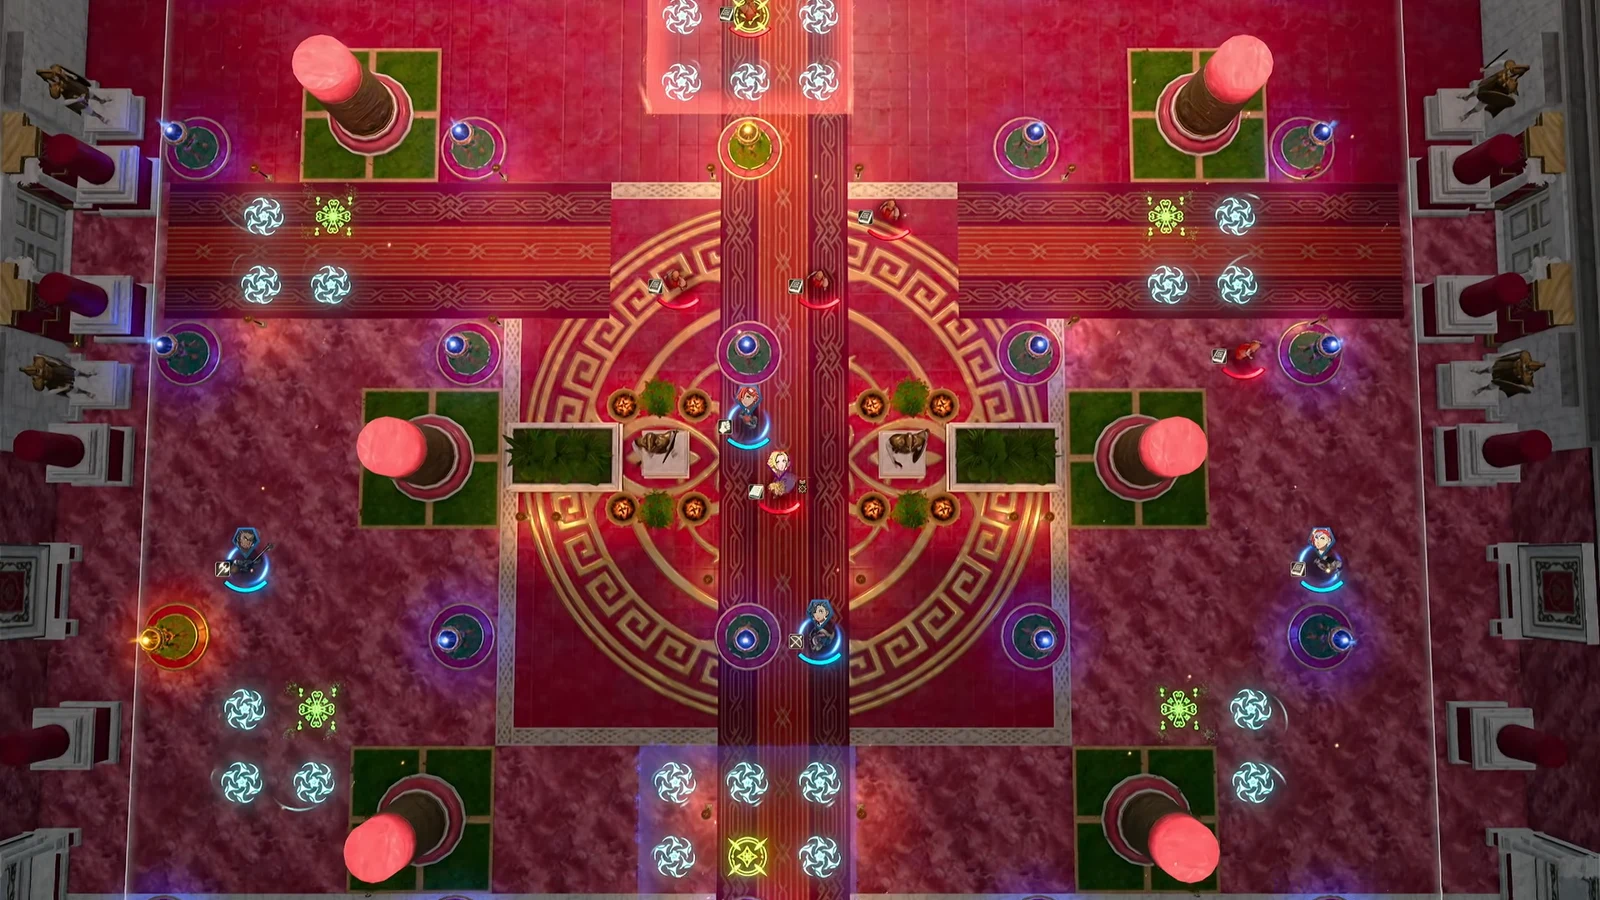
On the final player phase, spend every action on a brazier unless a kill secures one. Mu and Leda can take the last central braziers, Sirocco can light the final one on the right, and Buccar is free to finish Olympia with a combat art if she is still standing nearby.
Fighting Olympia and the Diviner priests
Olympia fights as a Priest and hits hard enough with magic to threaten a unit that walks into her range without a plan. Leda’s bow gives you a clean way to wear her down across turns 2 and 3 without standing next to her, and there is no penalty for leaving her alive to the end.
The Diviners behind her are the real problem, since each one both attacks and relights braziers. Treat them by lane. If a Diviner is inside the flank you are holding, kill it. If it is on the far side of the map lighting a brazier you were never going to reach, ignore it and bank a capture somewhere else.
Confirming the win: the flame tally and Stage Clear
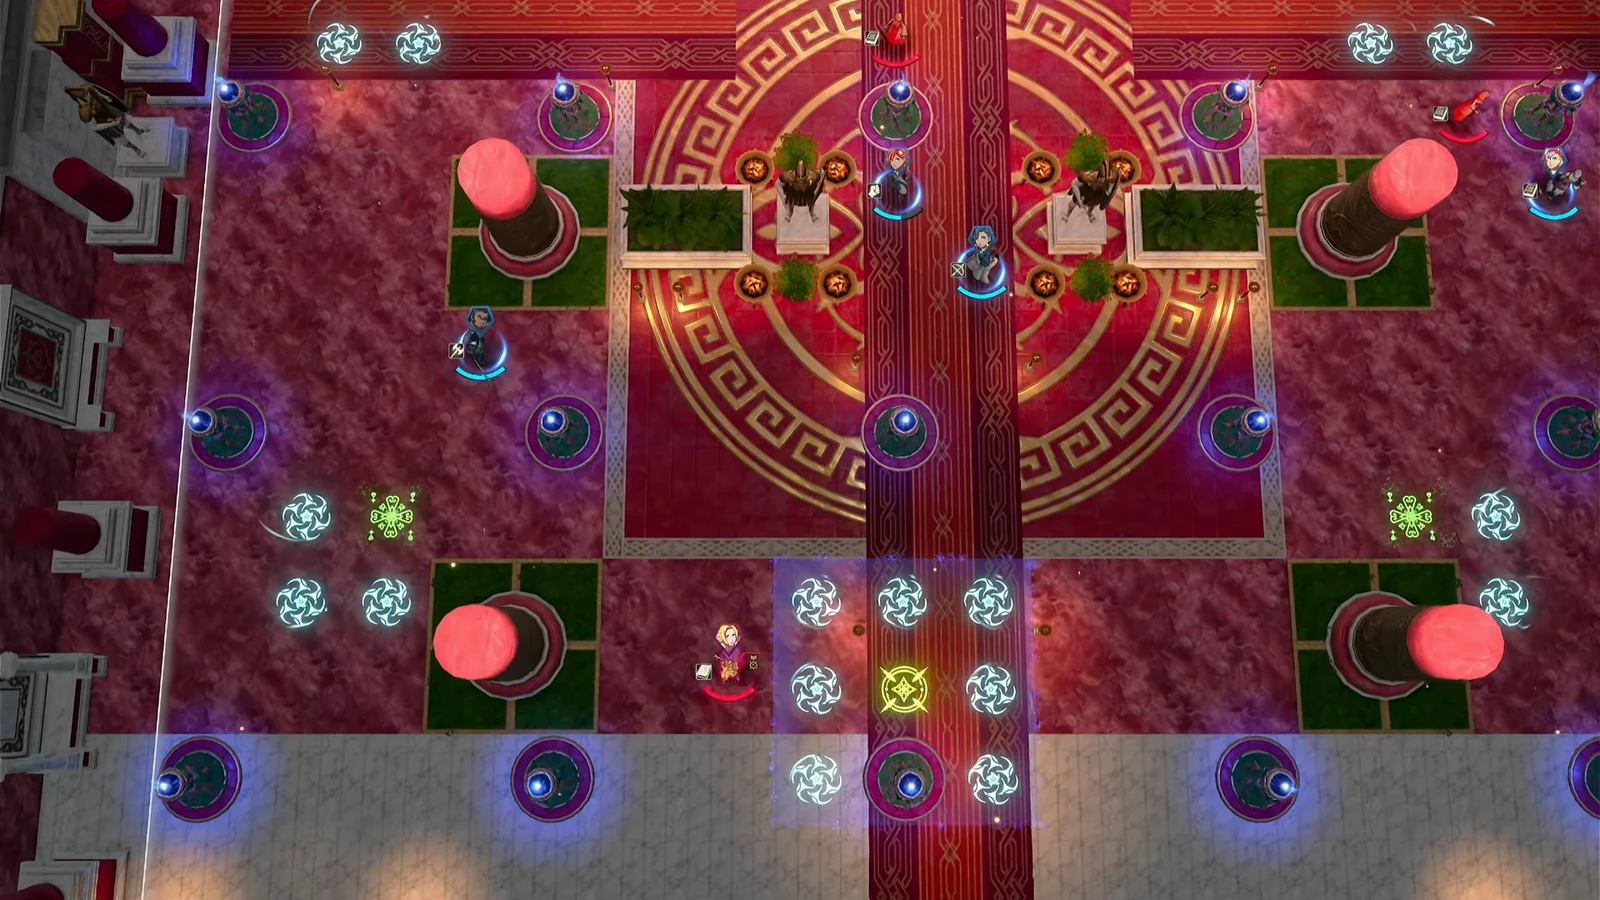
After the enemy phase on turn 10 ends, Olympia reads out the final count herself. A clean run lands around 18 flames for your side, which is comfortably ahead of what the enemy can hold. The Stage Clear screen follows immediately, with an MVP named for the match — Leda takes it if she has been the one pressuring Olympia and lighting braziers throughout.
A post-battle scene then plays out between Olympia and Leda’s party, which is your confirmation that Chapter 3 is done and the route moves on. If the tally comes back short, the match is close enough that flipping two or three late braziers is usually all that separates a loss from a clear, so a retry with tighter lane assignments is generally quicker than reworking your whole roster.