Soaring Glide is the vertical solo Sanctum in Forest of Falling Stars, and it is built around two abilities you do not bring with you. Your own Aniimo are locked out at the door. The room hands you a trial Celestis instead, and the entire run is climbing marked walls and riding fan-driven wind columns upward until you reach the Terminus at the top.
Quick answer: Twine with the trial Celestis at the statue, take both marked climbs to chest 1, ride the staged wind rows to chest 2, branch west for chest 3, then Touch the Sanctum Terminus at 3/3.
Soaring Glide location and entry requirements
The entrance sits north of the Forest of Falling Stars Bloom, on top of a hill, as a floating stone monument with a purple glyph on it. Interact once to activate it, which also opens it as a Transport destination on the map, then interact again to drop in. Forest of Falling Stars itself spans roughly levels 18 to 25, so this is an early-game room.
| Check | Value |
|---|---|
| Area | Forest of Falling Stars, Breezy Plains |
| Players | 1 (Solo Sanctum) |
| Chest counter at entry | 0/3 |
| Trial Aniimo |  Celestis (supplied inside) Celestis (supplied inside) |
| Mobility used | Climb Lv.1, Fly Lv.1 |
| First clear reward | 500 EXP, Lumin Amber: Breezy Plains x1 |
If you are working from an older checklist, this is the room that was labelled Wings Unfurled during the beta. Nothing in the layout changed with the rename.
Celestis climbing, flight, and wind field controls
A special energy field blocks your roster inside the Sanctum, so the sealed Celestis in the statue is the only form you will use. It carries Climb Lv.1 and Fly Lv.1, and the room teaches nothing else. If the entrance warns that no flying Aniimo is equipped, that message is about your own loadout and does not stop the run, because the trial form is handed to you inside.

| State | Keyboard input | Result |
|---|---|---|
| Next to a climbable wall | X | Start climbing |
| While climbing | X | Leave the wall |
| Airborne, twined | Space | Enter Flight |
| In Flight | Space | Rise |
| In Flight | X | Exit Flight |
The intro panel says to tap Space again to leave Flight, but the live HUD shows Space as Rise and X as Exit. Trust the on-screen HUD once you are airborne.
Two visual cues carry the whole route. An upward-pointing triangle painted on a wall marks a climbable face, and a pale blue vertical lane above a floor fan is a wind field. A flying Aniimo inside that lane is lifted continuously, but only while Flight is active, so entering the column on foot does nothing.
Full route to all three chests



Chest rewards and first-clear reward
All three chests here are the same Standard grade, so there is no gold or premium chest hiding on a side ledge. Each one pays Glimmer x10, Sparkling Crystal x10, and Credits x10000, plus a single Rare held item drawn from a pool of 15. That held item is the only part that changes between runs and between chests, which is why the counter, not the item popup, is the reliable route check.

Clearing the room for the first time awards 500 EXP and one Lumin Amber: Breezy Plains. Later visits keep the entrance as a Transport destination but pay nothing again, so there is no reason to farm it. Clears do count toward the Sanctum Delver badges at 3, 5, 10, and 15 rooms.
The chest counter and the Vein objective are tracked separately. The restoration plays whether or not all three chests are open, and a skipped chest is not worth gambling on after the fact.
Checkpoints and fall hazards
Soaring Glide unlocks six interior checkpoints on top of the entrance pad, and only two of them have a visible save pillar standing on them. The other four fire silently as you cross a line, with nothing on the floor to mark the spot. That is worth knowing before your first fall, otherwise a respawn can look like the room dropped you somewhere random.
- The entrance pad is the only respawn point the room starts with.
- A killing floor runs underneath the entire northern half of the room.
- A second killing slab hangs in mid-air under the final moving-pad approach.
- Your movement margin is pinned at 200 for the whole run.
- Land on the broad stairs and pale stone shelves between flights rather than chaining them.
How to confirm the Sanctum is complete
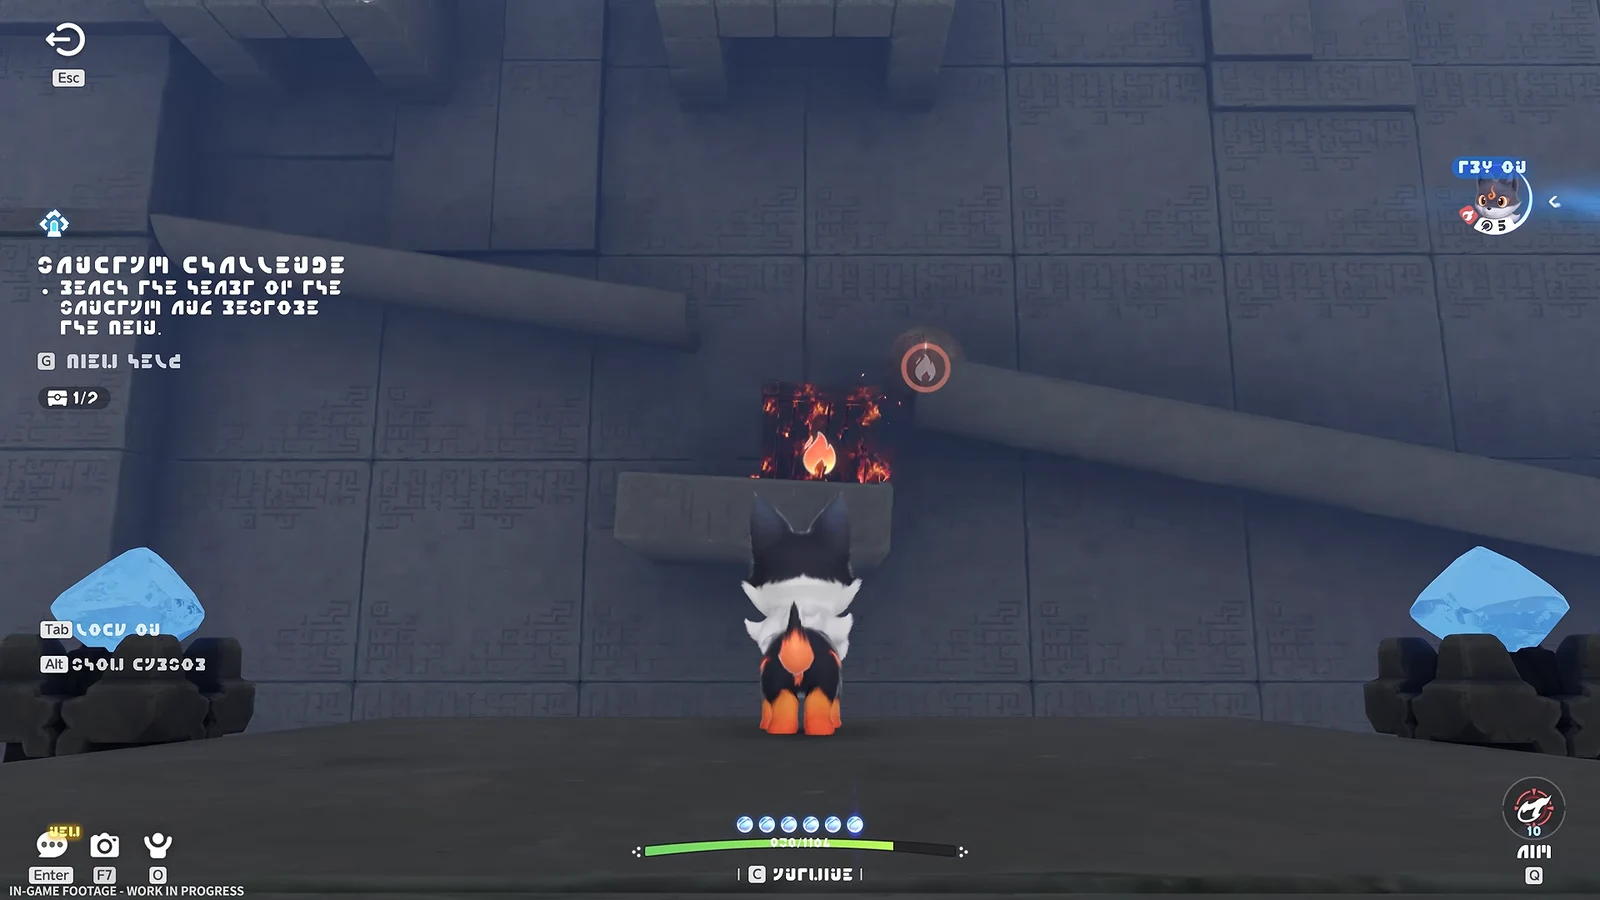
Before the Terminus, the Sanctum Challenge tracker should read 3/3 chests. That counter is persistent, so it is the one thing to check rather than trying to remember which ledges you visited.
After the Touch interaction, the Terminus switches to its completion state and a short cinematic plays showing the Pathfinder standing beneath illuminated blue-green Vein branches. Once that resolves, the challenge is cleared and the first-clear reward is paid out. The entrance stays activated on the map afterward, so you can Transport straight back into Forest of Falling Stars whenever you want the shortcut.