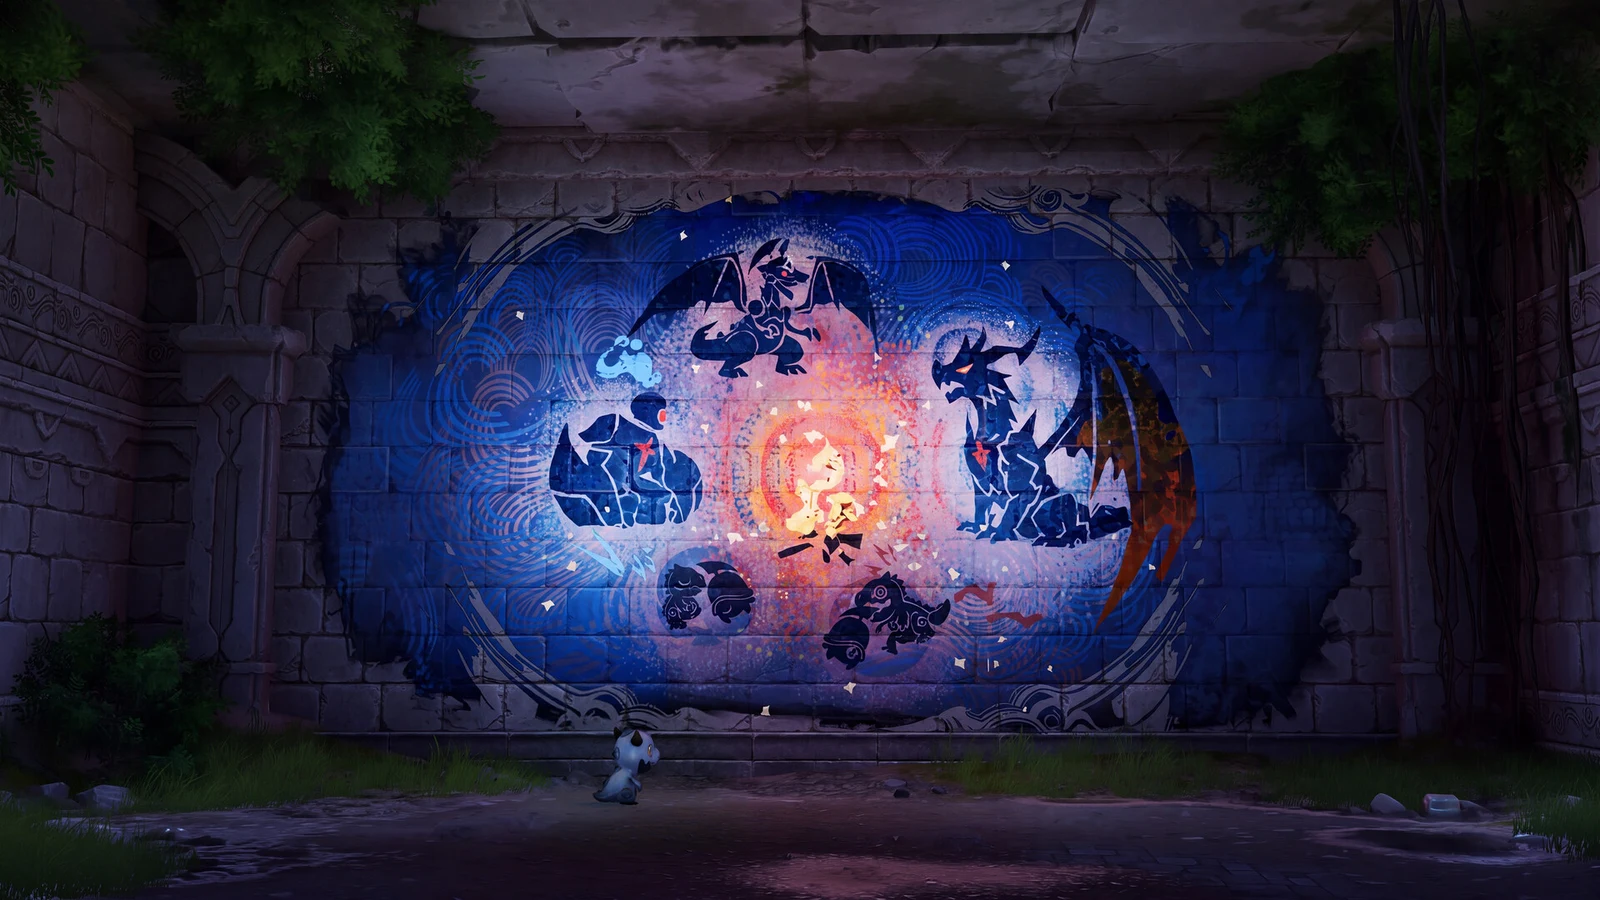
Most Sanctums in Aniimo sit in plain sight. You walk up to a floating purple cube, interact, and the entrance card appears. Four of them do not work that way. Two are locked behind quest chains that never point at a Sanctum until the final step, and two are buried in caves you have to burn or drop your way into.
Quick answer: All four need overworld work first. Twisted Roots needs three Vine Cores handed to Ron, Stonebound Sword needs the Warrior quest finished, and Shattering Stone and Chasing Clouds need hidden cave routes opened.
The four Sanctums with hidden entrances
Idyll holds 17 Sanctum entrances in total, 14 solo and 3 co-op. All four of the awkward ones are solo rooms, so you never need a partner for any of them.
| Sanctum | Area | Chests | What blocks it |
|---|---|---|---|
| Twisted Roots | Mistwoods | 1 | Three Vine Cores |
| Stonebound Sword | Russet Highlands | 1 | Warrior quest |
| Shattering Stone | Zephyrus Landbridge | 3 | Lava cave route |
| Chasing Clouds | Nimbus Fields | 4 | Vine-covered cave mouth |
Zephyrus Landbridge is a level 47 to 57 area, so Shattering Stone is the one to save for later. The other three sit in earlier regions and can be cleared long before that.
Twisted Roots location and Vine Core chain in Mistwoods
There is no cube to walk up to here. The Sanctum sits at the bottom of a root cavern in The Mistwoods, and the door only appears after you finish an errand for an NPC named Ron.

The interior is the shortest in the game. Run to the middle, open the single chest, touch the core cube and you are done.
Twisted Roots does not hand you a trial Aniimo at the start. It runs entirely on the team you walked in with.
Stonebound Sword: Finish the Warrior quest in Russet Highlands
This is the longest unlock of the four. The Sanctum itself is a one-chest room that takes about a minute, but the cube does not exist in the world until a Helmut pulls a sword out of a rock for you.
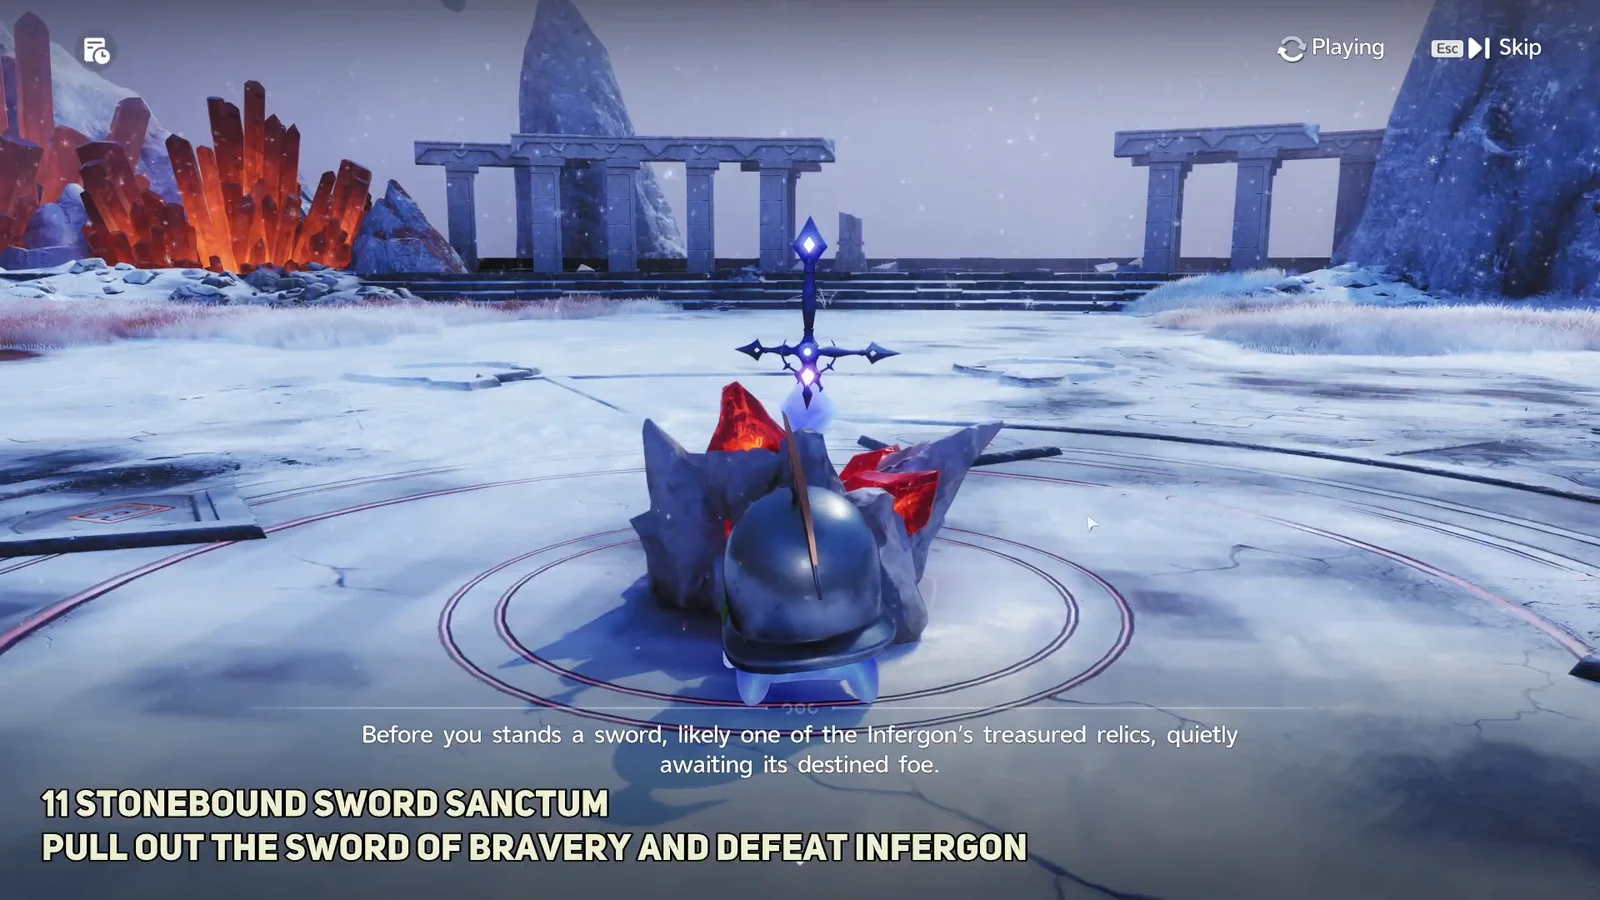
Inside, grab the single chest and touch the core cube. Like Twisted Roots, this room supplies no trial Aniimo.
Russet Highlands also holds First Sight and Vigilant Eyes, and both of those have ordinary marked entrances you can simply walk to. If your map shows three pins in the region, only one of them is this quest chain.
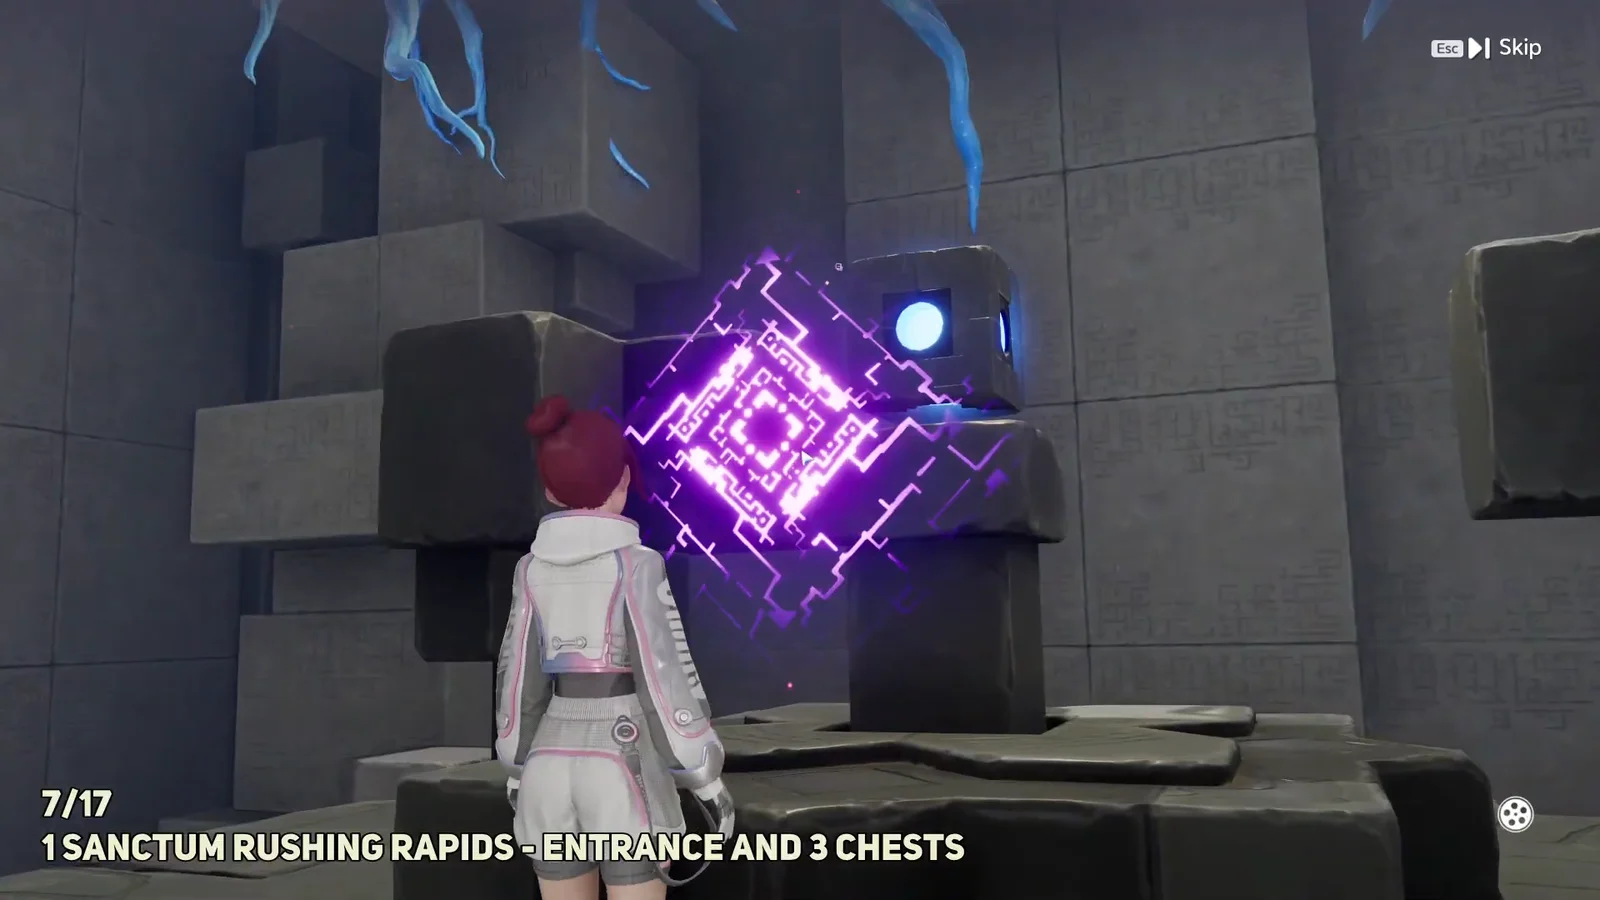
Shattering Stone entrance: The lava cave in Zephyrus Landbridge
Nothing is gated by a quest here. The cube is simply underground, and the only way in is a steaming volcanic fissure on a mountain ledge that looks like scenery from a distance.
Inside, run across the spiked floor and awaken the large Magmarex statue. Its charge skill, Fast and Furious, is the whole room. Use it to break the red-cracked barrier walls for the first chest.
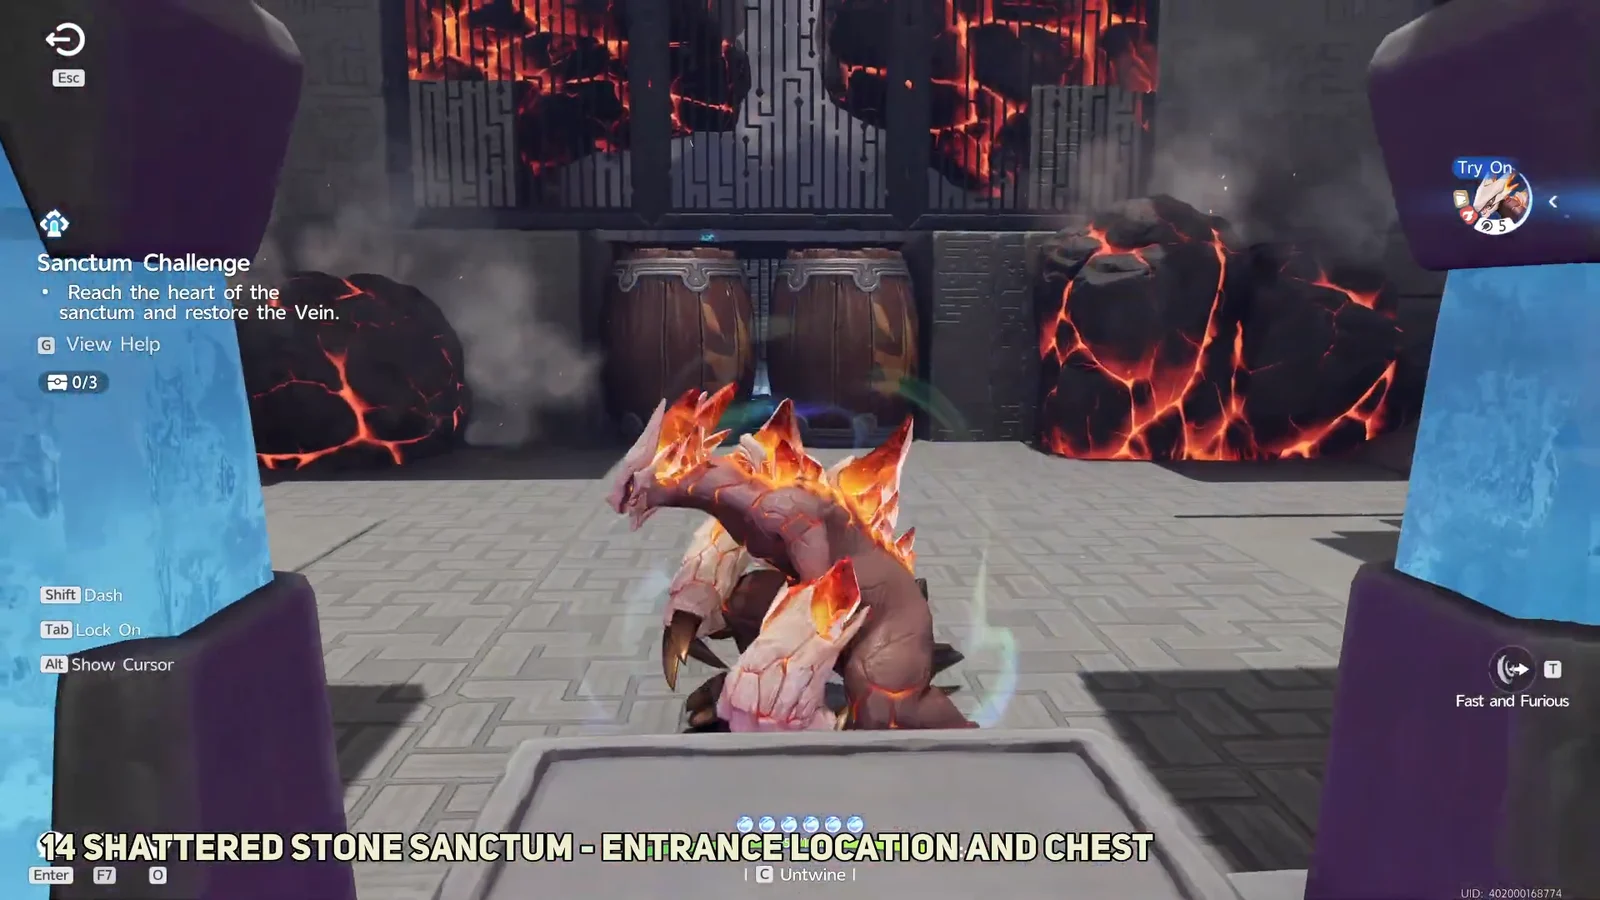
The rest is a timed obstacle course through boulders, walls and rolling lava spheres. Reaching the finish line unlocks the two remaining chests on the main platform, so clear the run before you climb the stairs to the core cube.
The chests here are tied to the timed seals. Learn the course line first rather than sprinting blind, or you will finish the run with the seals already shut.
Chasing Clouds entrance: Burn the vines on the Nimbus Fields cliffs
The approach to this one is longer than the map suggests. The entrance sits underground on the route toward Crystal Cave, behind a cave mouth completely covered in dark vines.
Inside you get trial Turbo and the Cloudwalk ascent, plus a Grab tutorial. Two of the chests come from floating up shafts and through ventilation passages, one from a lever that opens a wall, and the exit needs Ancient Batteries carried onto their charging plates.
In Nimbus Fields, First Spark likewise displays four optional chests, so that number cannot distinguish it from Chasing Clouds. Check the entrance card’s name before committing.
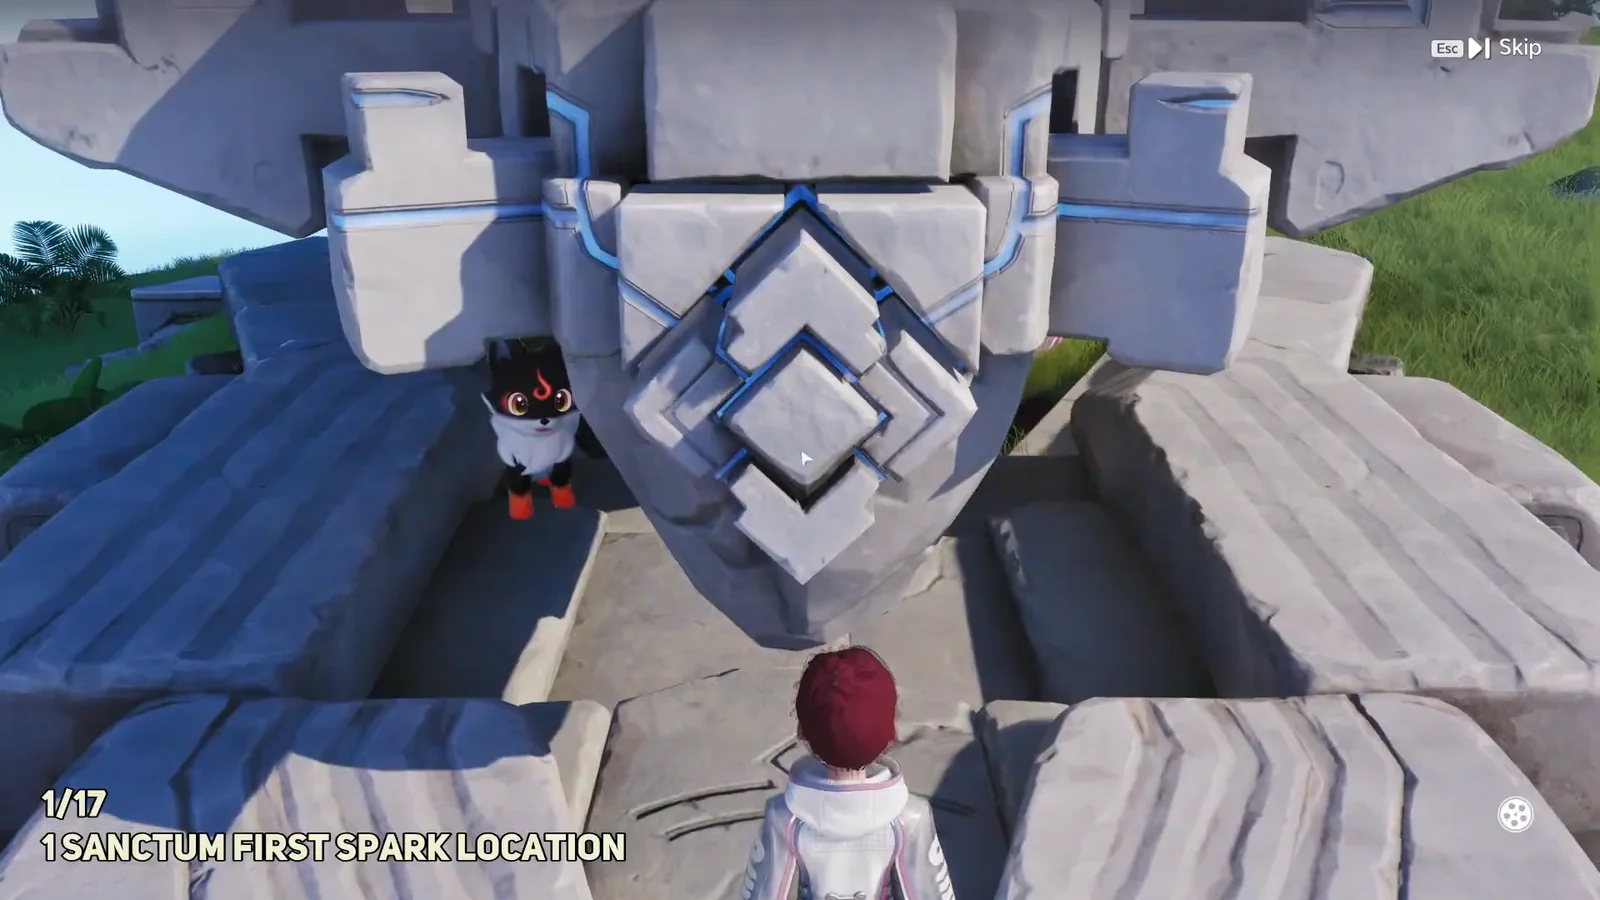
Rules that apply to all four rooms
- The first interaction activates the entrance and adds the Sanctum as a Transport destination on your map.
- The entrance card shows the room name, the required player count and the exact optional chest total before you enter.
- Most rooms hand you a sealed trial Aniimo near the start. Twisted Roots and Stonebound Sword do not.
- Chests and the clear are tracked separately, so restoring the Vein does nothing for the chest counter.
- First clear pays one Lumin Amber: Breezy Plains and 500 EXP. Repeat visits keep the Transport pin and pay nothing.
Your room clears apply to Sanctum Delver badge milestones of 3, 5, 10, and 15 rooms. That is the sole reason to clear every entrance instead of visiting only those near your level.
Old Sanctum names you will still see in checklists
When the game relaunched in September 2026, 14 of its 17 Sanctums received new names, and older lists may still be outdated. If a checklist points you to a room missing from your map, it is probably one of those renamed locations.
| Current name | Closed-beta name | Older alias |
|---|---|---|
| Twisted Roots | Rigged Maze | None |
| Stonebound Sword | Sword in the Stone | Sandy Cliff Fort |
| Shattering Stone | Shatterstone | None |
| Chasing Clouds | Mistrider | Cloud Riding |
How to confirm a Sanctum is fully cleared
Check the in-room chest counter against the total printed on the entrance card. Twisted Roots and Stonebound Sword should read 1, Shattering Stone 3 and Chasing Clouds 4. Only then walk to the Sanctum Terminus, the tesseract at the heart of the room, and touch it.
The Terminus restores the Vein and resolves the challenge, the first clear reward appears, and the Sanctum stays pinned on your map as a Transport destination. That pin is the confirmation the room is registered even after you leave.
Do not treat the pin as a safety net for a chest you skipped. The entrance stays usable, but the optional counter is worth finishing in one pass, and in Shattering Stone’s case the timed seals mean a second attempt is a full second run.