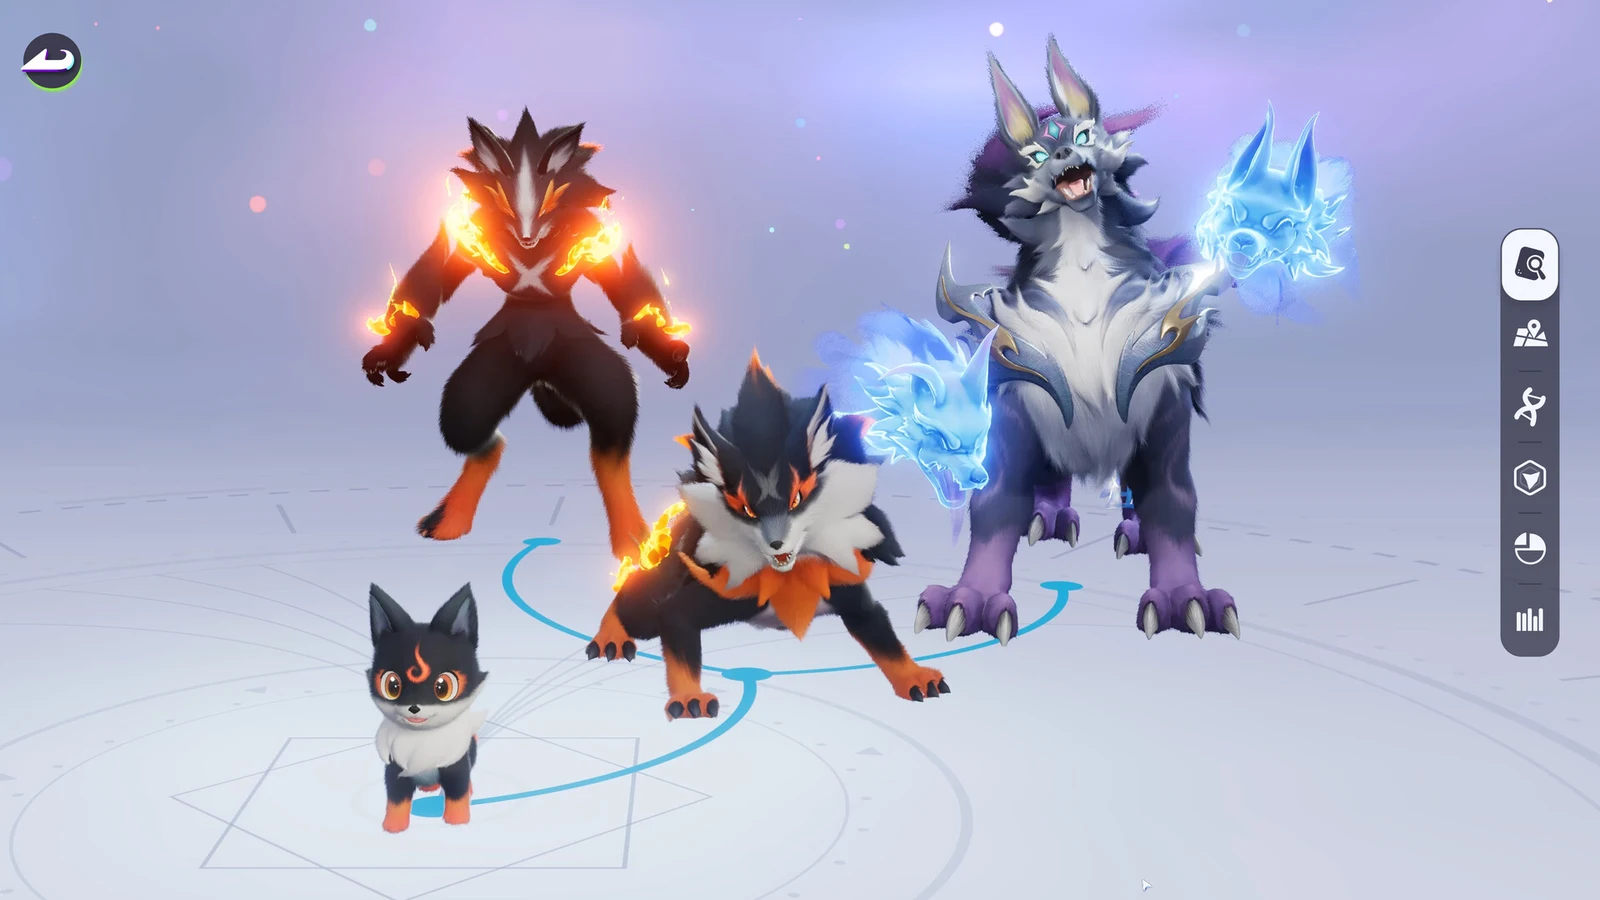
Aniimo’s camera is not limited to the one companion walking beside your Pathfinder. The Functions bar hides an Aniimo control that pulls every creature in your active party into the scene, gives each one its own pose, and lets you decide where all of them are looking before the shutter fires. It takes about a minute to set up, and roughly one keystroke to destroy.
Quick answer: Press F7 to open the camera, switch to Creative, open the Aniimo control in the Functions bar, summon your party members, then set each one’s emote and gaze before pressing Space.
What you need before a group photo works
Photo Mode is not available during the opening hours of the game. It switches on once the prologue is finished and you arrive on Idyll, landing at Nimbus Fields with Dr. Lewis and Nicole and unlocking the first Bloom waypoint at the Outpost. From that point the camera icon sits in the bottom-left of the screen, next to the Aniipods.
- A completed prologue and your first Outpost arrival on Idyll.
- The creatures you want in the shot sitting in your active party, since the summon list pulls from the current roster.
- Creative or Selfie mode, because the Functions bar tools are unavailable in Follow.
- A spot with room behind your character, as summoned Aniimo need space to stand.
Enable Ultra Graphics before you frame anything
The camera screen carries an Enable Ultra Graphics toggle along the top edge. Switching it on temporarily pushes the game to its highest visual settings for the still image only, which is the difference between a usable screenshot and a soft one. It is also the heaviest thing in Photo Mode.
If the frame rate collapses while you are dragging position sliders around, turn the toggle back off, arrange the group, then re-enable it for the final capture.
Open the camera and lock down the angle
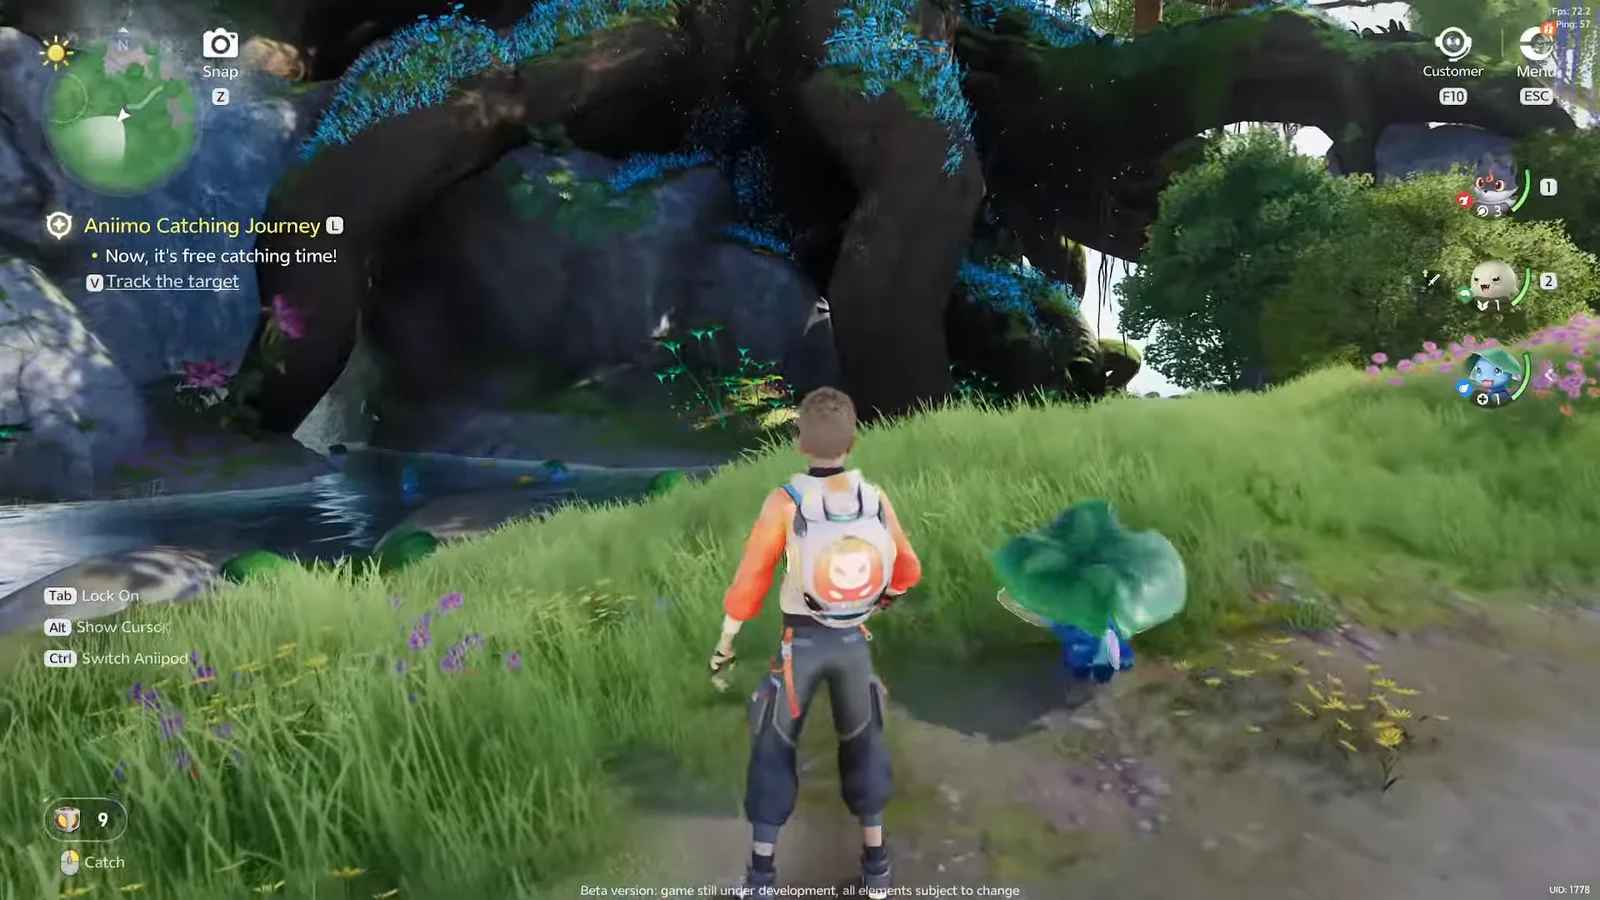
| Control | Keyboard | Controller | Effect |
|---|---|---|---|
| Mode switch | R | [Up] | Creative, Selfie, Follow |
| Track | Tab | [RS] | Centres an Aniimo or NPC |
| Time Stop | G | [LS] | Freezes characters, not weather |
| Reset camera | V | — | Clears all camera adjustments |
| Capture | Space | [A] | Takes the photo |
Time Stop is the one worth remembering during a group shot. It locks every character mid-animation so you can reposition the camera around a pose that would otherwise have ended a second later.
Summon your party Aniimo into the scene
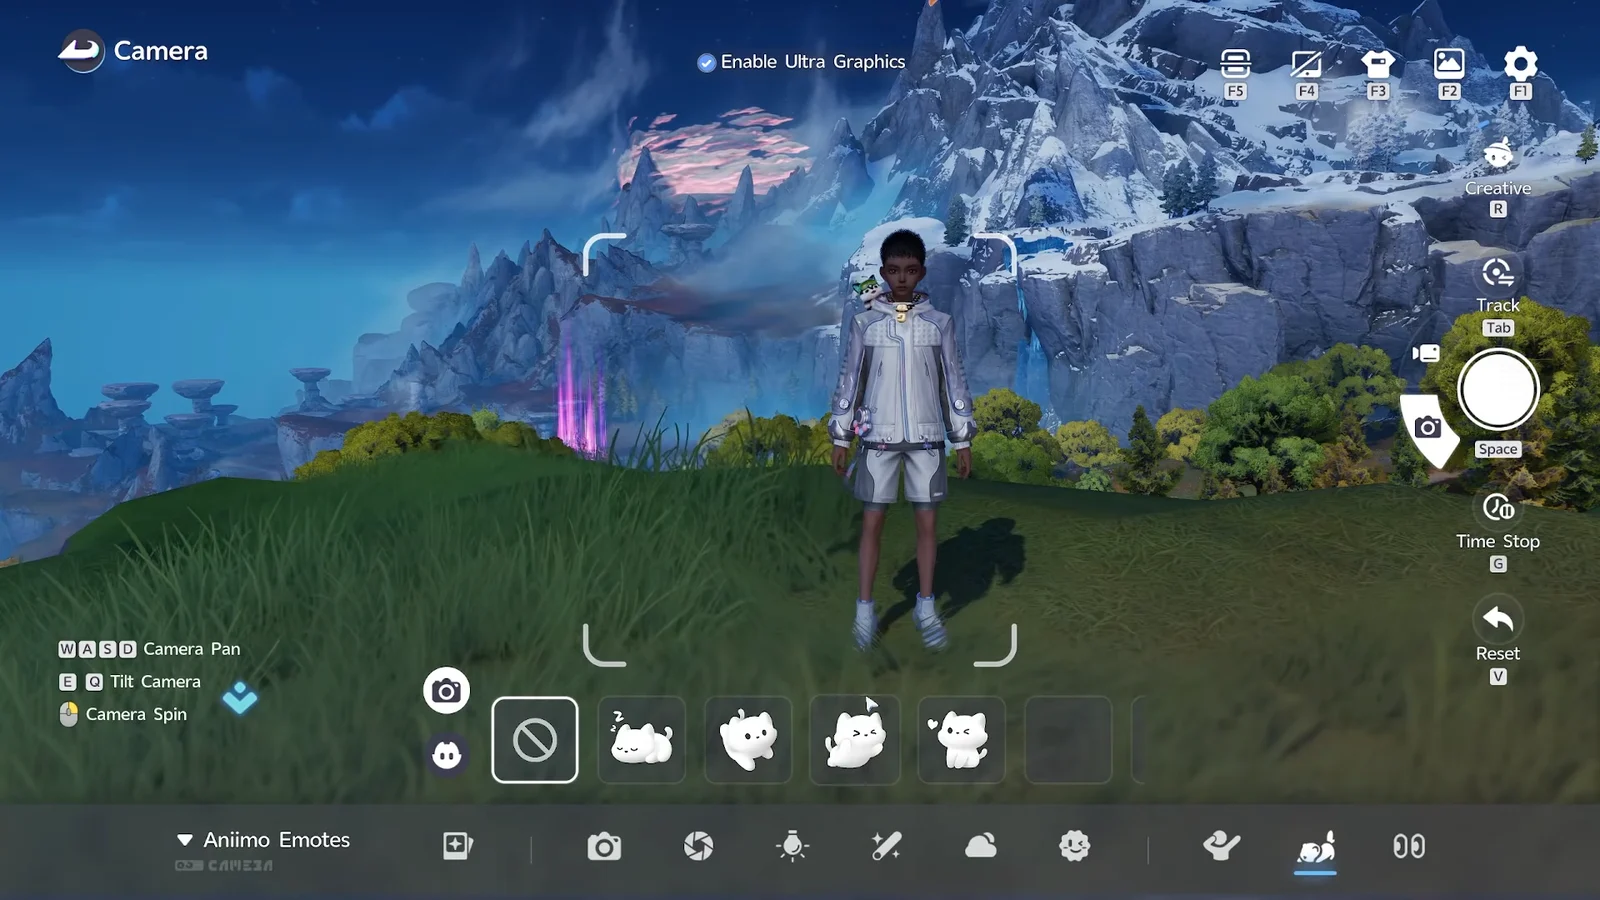
The Lens tool in the Functions bar also carries show and hide options for Aniimo and characters, which is useful if one summoned creature is blocking the background you chose the spot for.
Set poses for each Aniimo and the Pathfinder
Aniimo Emotes
Reopen the Aniimo emote menu and pick a single companion from the list on the right, then choose its animation. Poses run from hearts and cheerful loops to dynamic ones like sleeping or dancing. Emotes are assigned per creature, so repeat the selection for every Aniimo you summoned instead of expecting one choice to apply across the group.
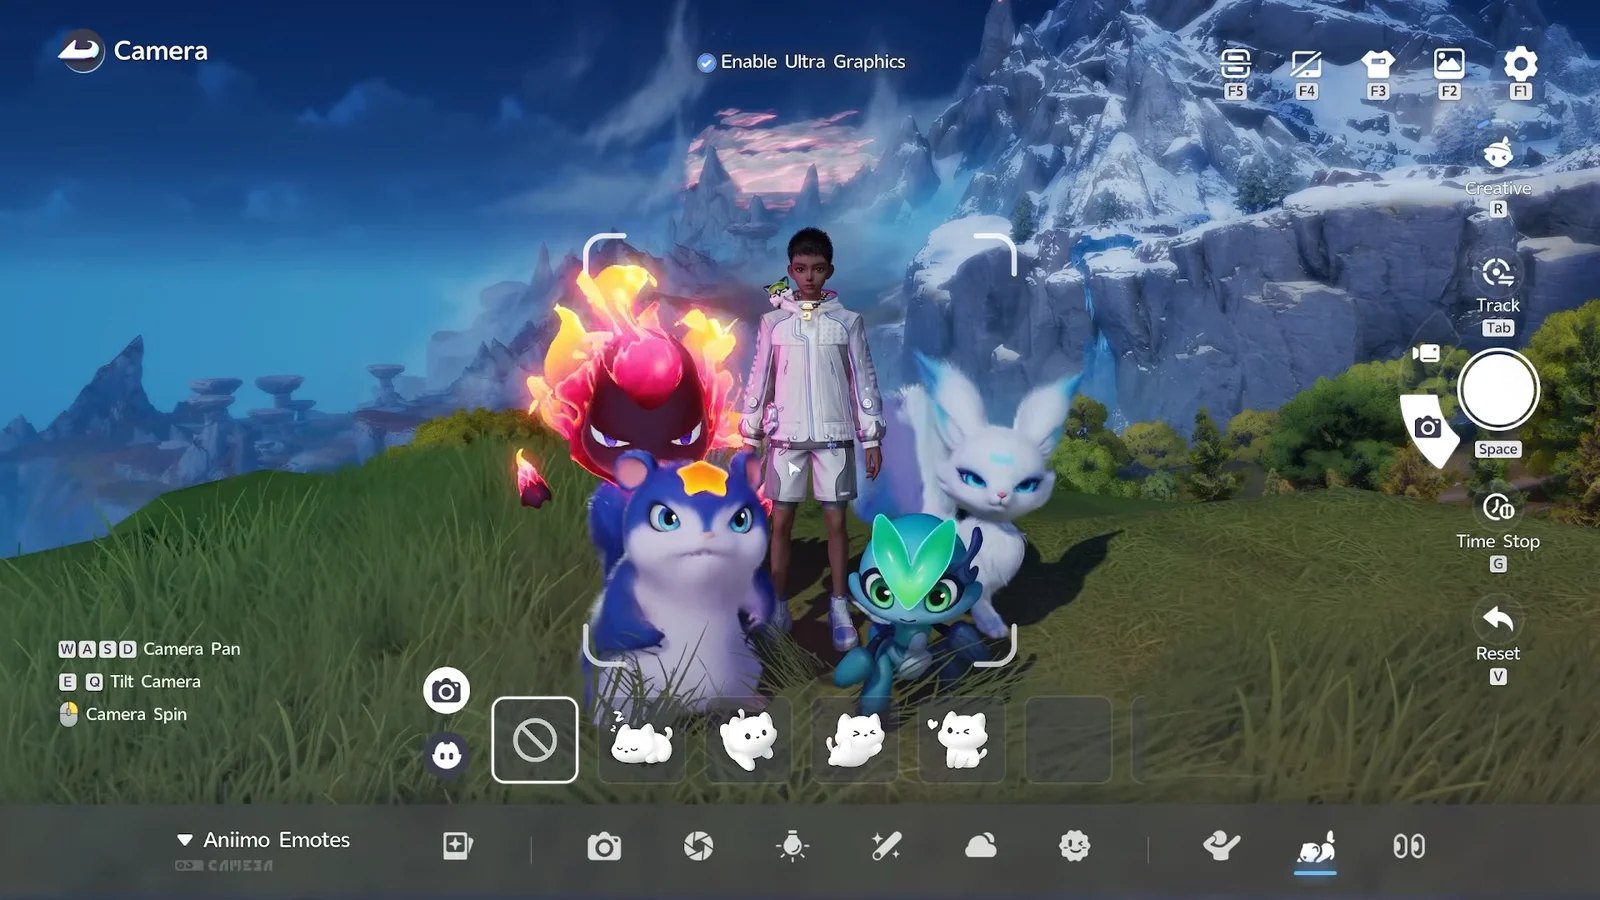
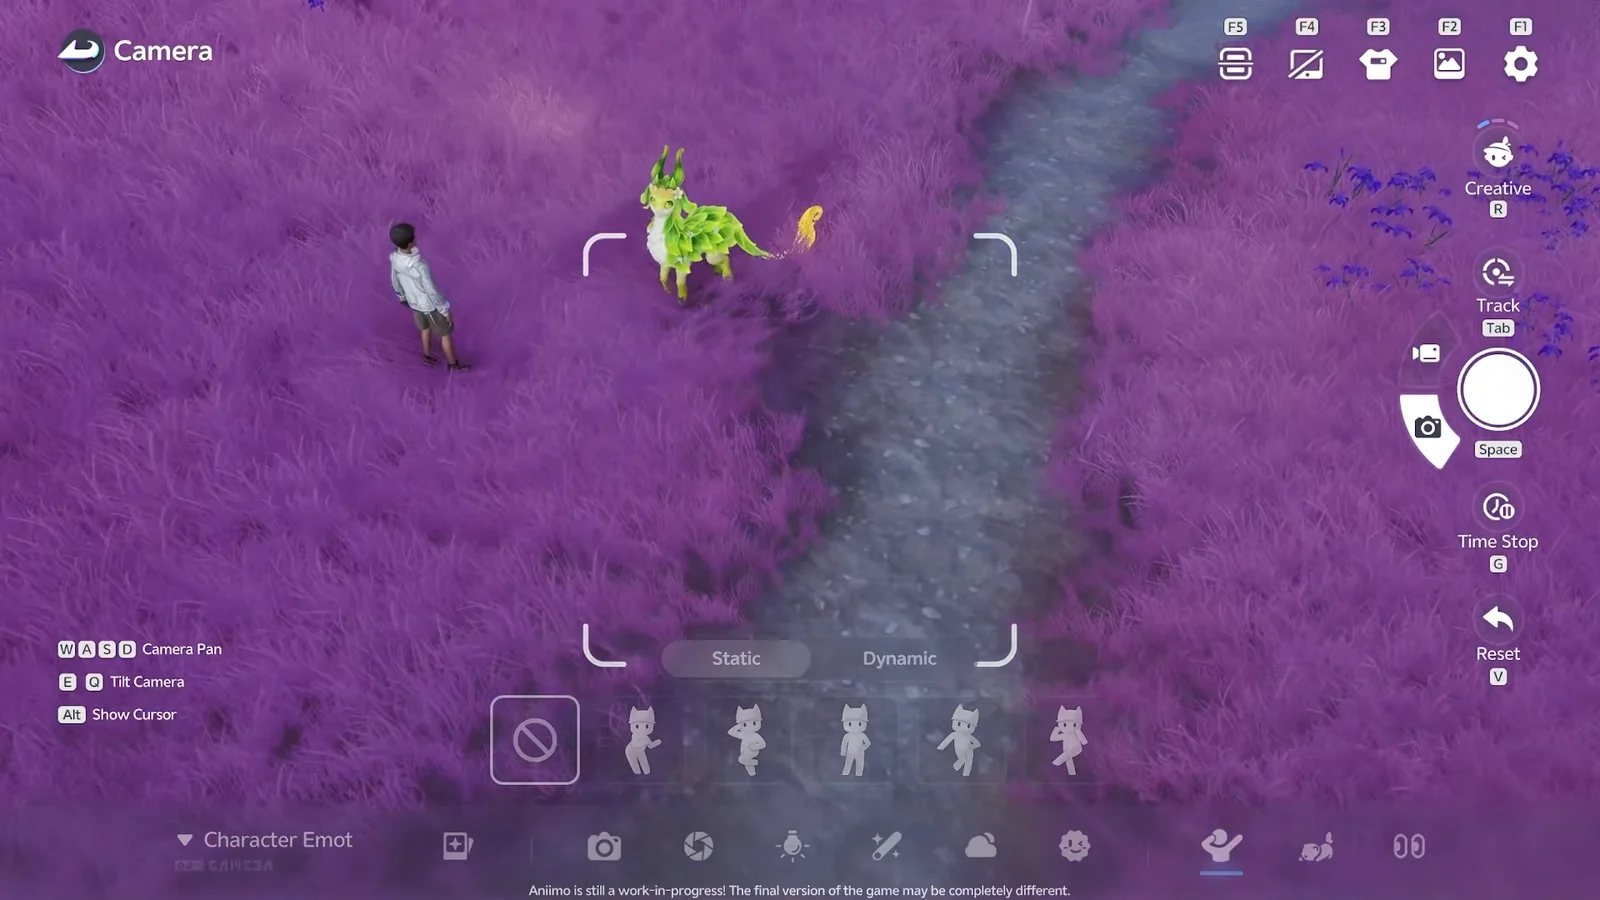
Character Emotes
The person silhouette icon opens the Pathfinder’s own emote list, split into Static and Dynamic poses. Static options hold a fixed shape such as Stand or Peace Sign. Dynamic ones keep moving, covering Shrug, Left Shrug, Trumpet, Dance, Hello, Cheer and Like, and they pair well with Time Stop for catching a single frame of the animation.
Direct everyone’s gaze with Eye Direction
The eyeball icon in the Functions bar controls where the characters in the frame are looking, and it is the single setting that separates a posed group shot from four subjects staring past each other.
| Option | What it does |
|---|---|
| At Camera | Everyone looks into the lens |
| Aniimo Gaze | Eyes follow the selected creature |
| Character Gaze | Eyes follow the Pathfinder |
| Adjust | Manual targeting by coordinates |
At Camera is the safe default for a straight group portrait. Character Gaze works better for a scene where the companions are reacting to your Pathfinder, and Adjust is there when you want everyone staring at something off to one side.
Change the backdrop with Photo Studio and appearance options
If the location is not cooperating, the Time and Weather tool rewrites it. You can force rain, snow, lightning storms, sunrise, sunset or night without waiting for the world clock. Templates go further, teleporting the scene into dedicated Photo Studio locations such as Beach and Starry Sky, the latter being a plain void that isolates the group completely.
Outfits are handled separately. F3 opens the character closet from inside Photo Mode, covering clothing, hairstyle and face, along with the Photo Studio entry point.
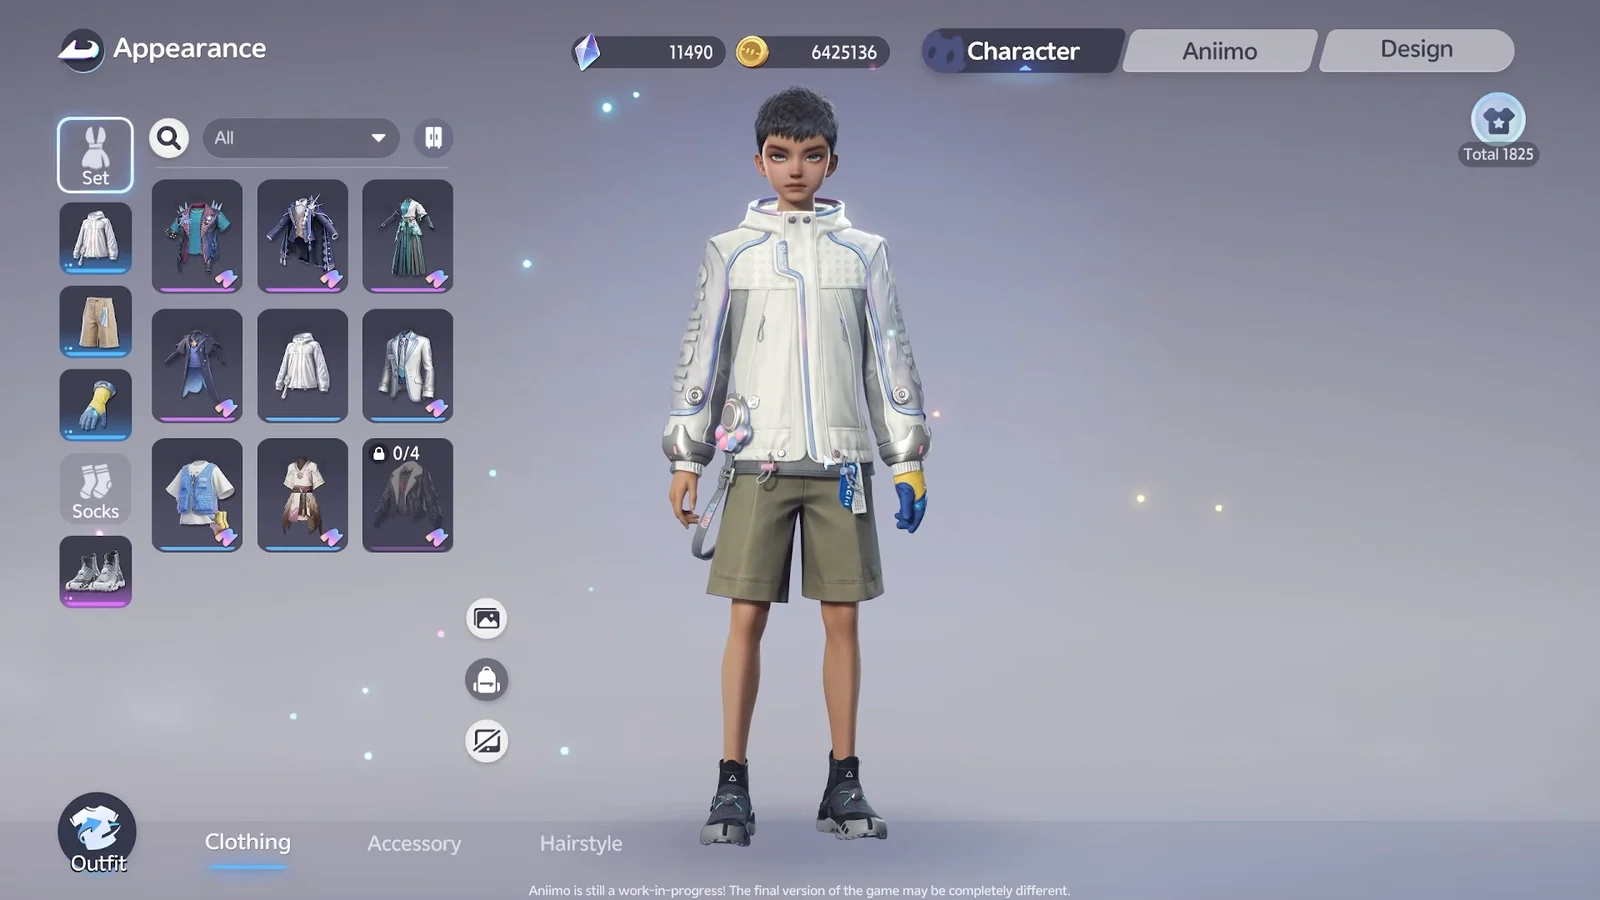
Lens type, focal length, blur, blur range, exposure, saturation, brightness, contrast, vignette and rotation all sit in the Camera panel, with Natural, Scenic, Finish and Retro filters alongside. Leave those until the group is arranged, since adjusting contrast on a badly framed shot solves nothing. Stickers, capped at 10 icon, emoji or text items, are applied to the finished frame.
Capture the photo and check it saved
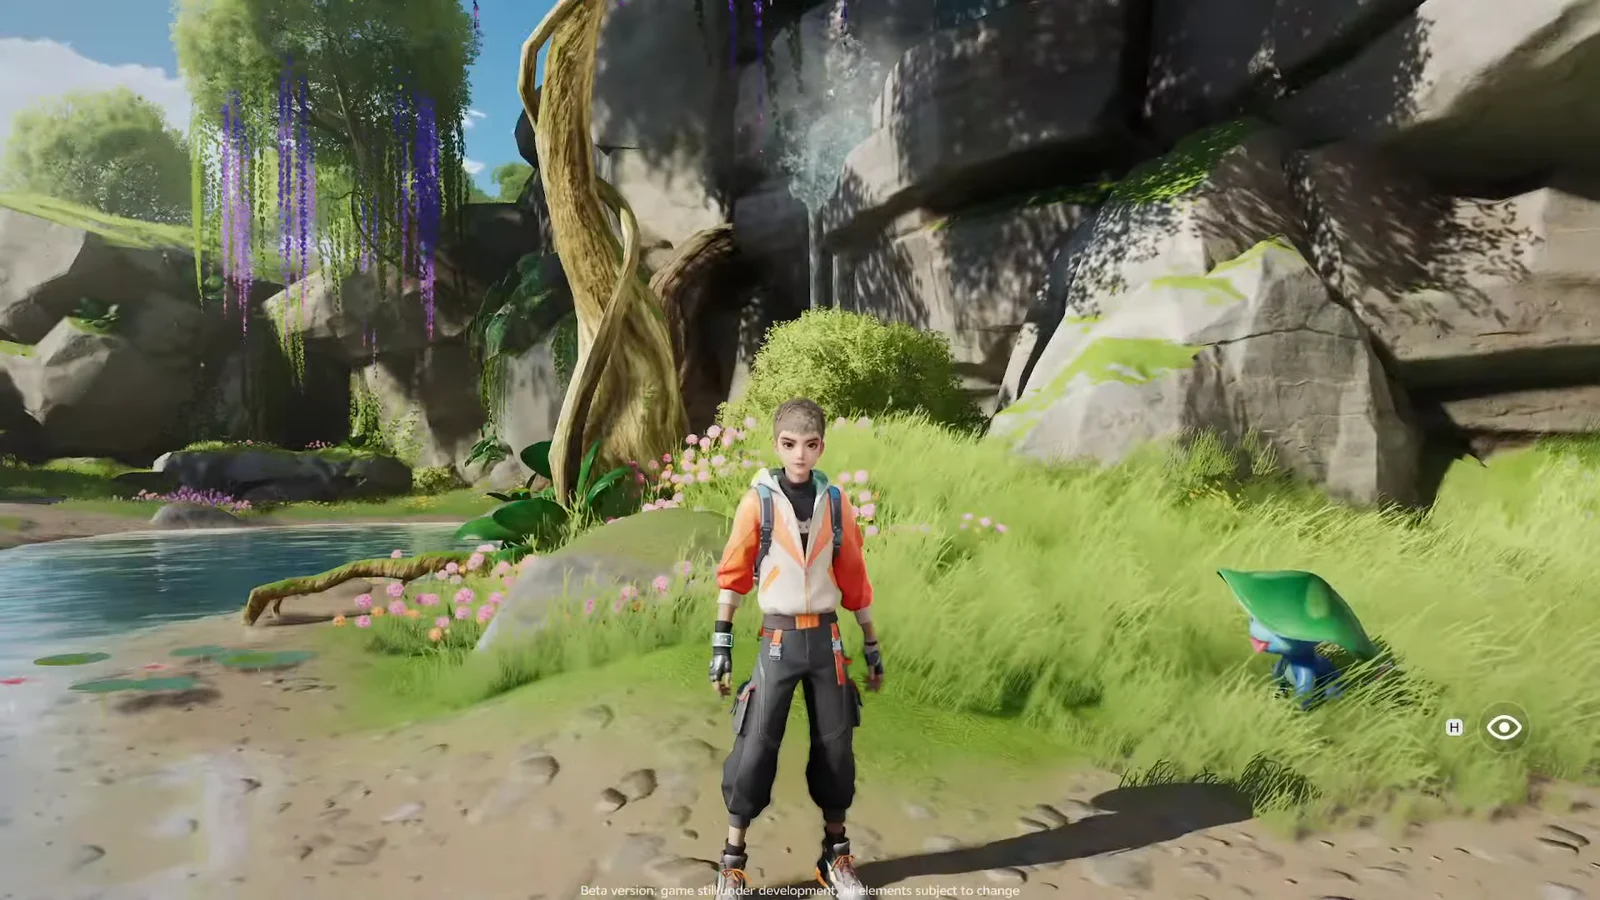
If something is off, fix only the element that failed. Reset the camera with V rather than manually undoing a dozen pans and tilts, and re-check a single Aniimo’s rotation instead of clearing the whole group.
Exiting Photo Mode wipes the whole setup
Pressing Escape or otherwise leaving Photo Mode clears everything you built. The summoned Aniimo, their individual emotes, the Pathfinder’s pose, the gaze settings and the camera position all reset, and there is no way to restore the arrangement afterwards.
Capture the image first, then leave. If you are experimenting with a setup you like, take a shot at each stage instead of holding out for one perfect version, because a stray keypress costs you the entire scene. Saving a Template for the camera orientation at least preserves the angle, even though the creatures and their poses will need to be rebuilt from scratch.