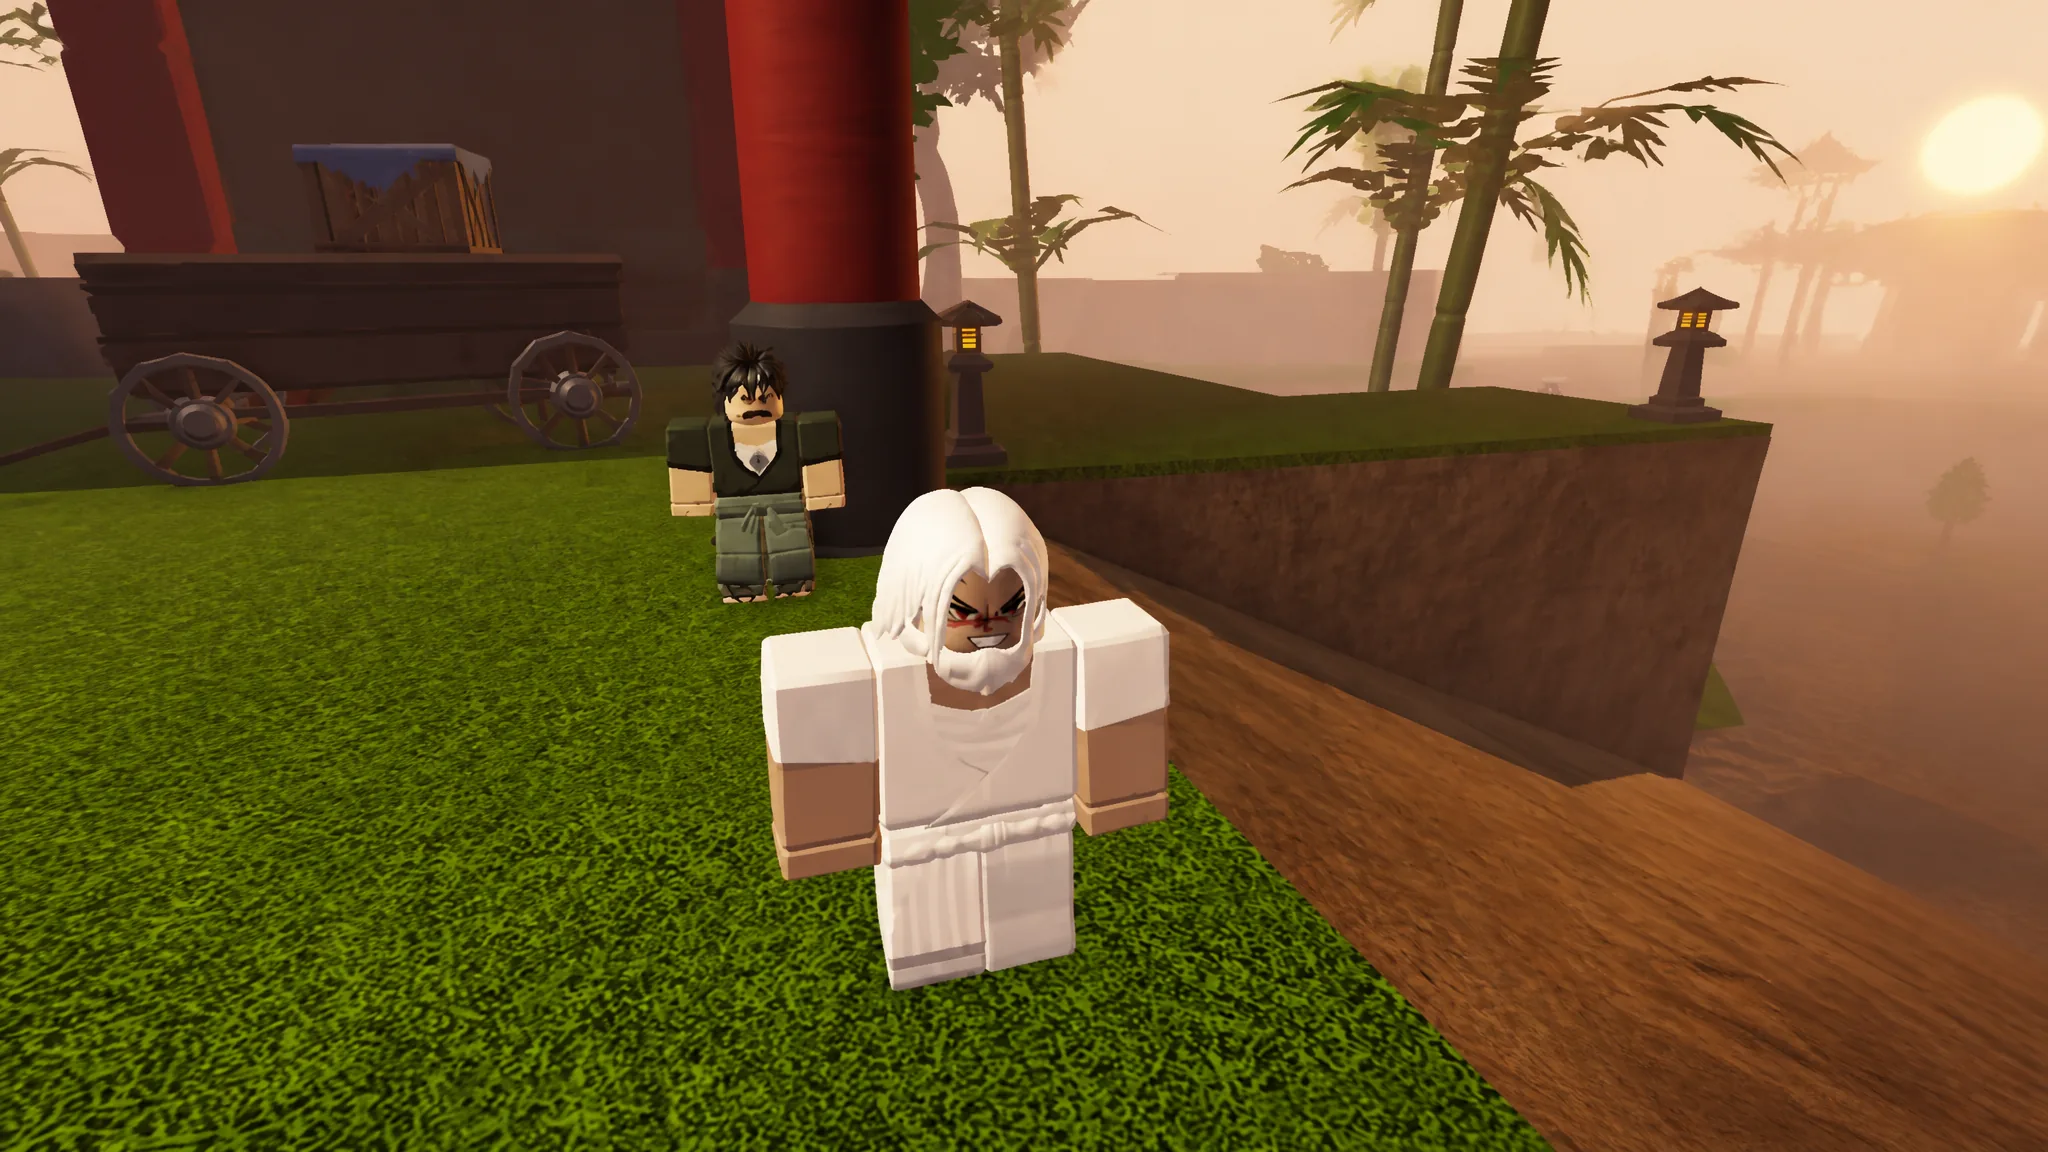
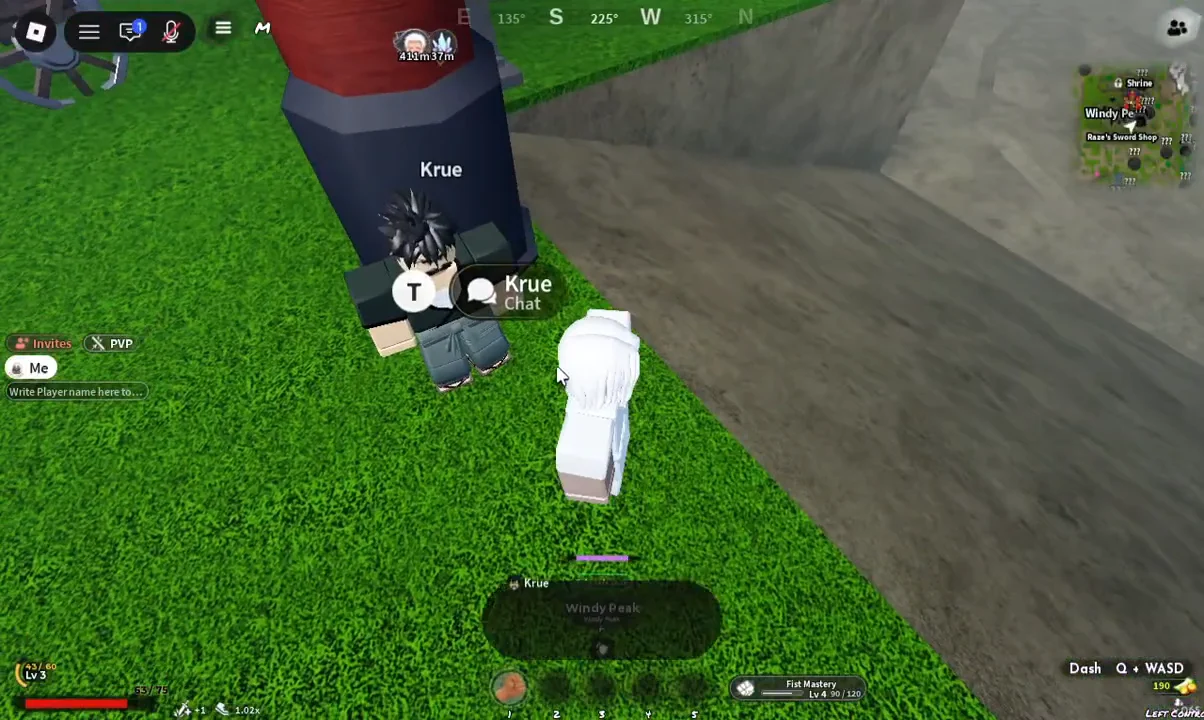
The first real objective in Slayers 2 is a short one. An NPC named Krue stands by the red gate at the edge of Windy Peak, and he wants bandits dealt with. It costs nothing, it works with bare fists, and it is the fastest way to move a brand-new character off Level 1.
Quick answer: Talk to Krue at the red gate in Windy Peak, choose the “I’ll take 3 bandits” dialogue option, defeat three bandits in the open field outside, then walk back to Krue to turn the quest in.
What you need before accepting the bandit quest
Nothing here is gated behind gear or a clan roll. You can finish the whole loop in your starting outfit.
- A character that has cleared the customization and clan screen
- Krue, standing beside the red gate on the edge of Windy Peak
- Fist attacks — a katana is optional at this stage
- The dash bound to
Qfor closing distance and backing out
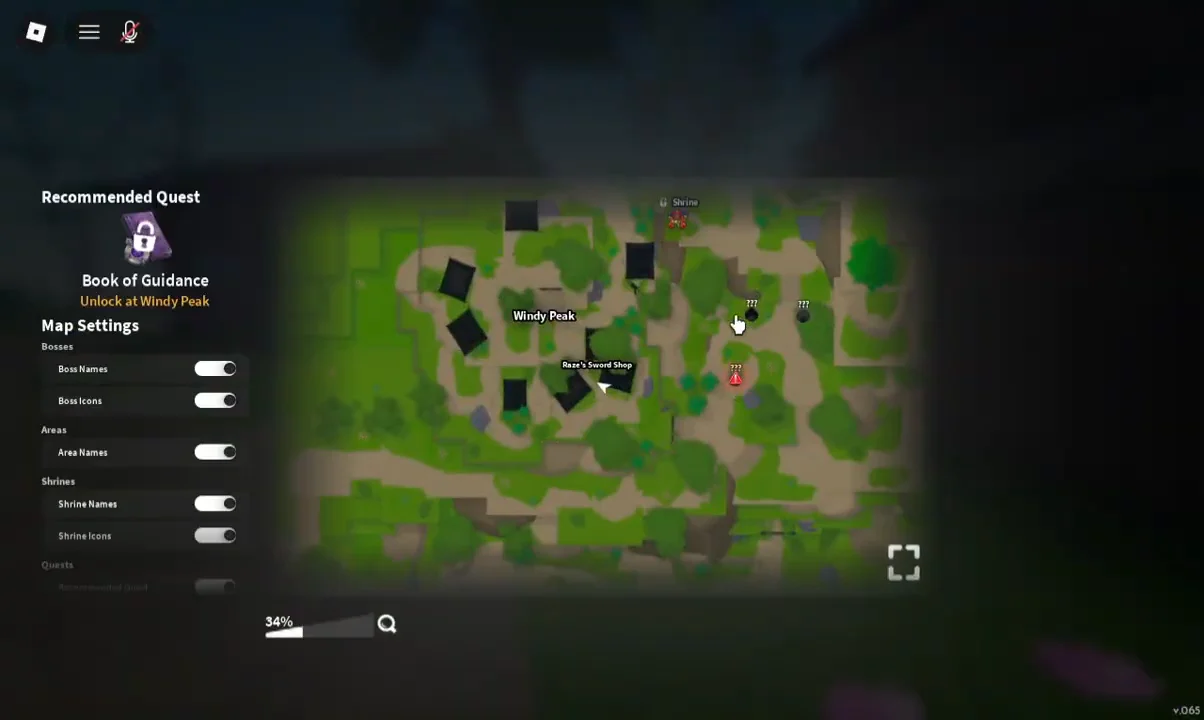
If you are unsure where you are standing, open the map. Windy Peak is the starting region, and the nearby markers for Rao’s Sword Shop and the Shrine give you a quick sense of which direction leads out of the village and into open ground.
How to accept and complete “Defeat 3 bandits”
Q to dash in and out. Land a short string, then reposition. Trying to stand still and trade hits with two bandits at once is how new characters get knocked out at Level 1.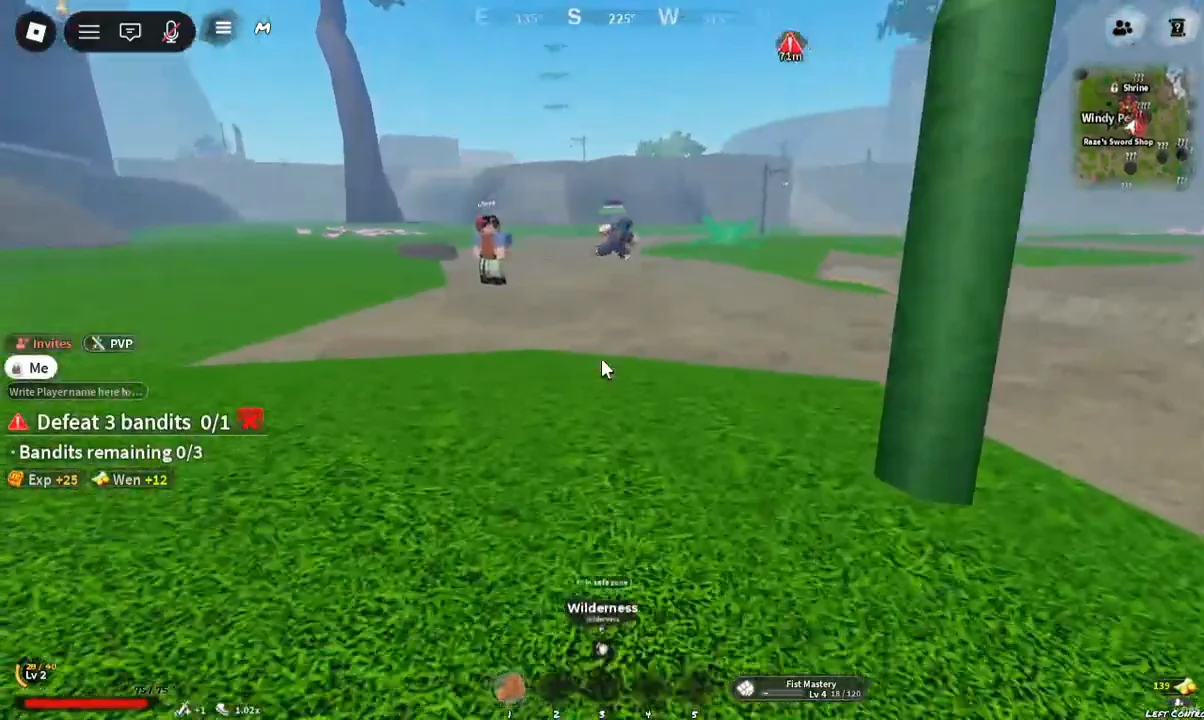
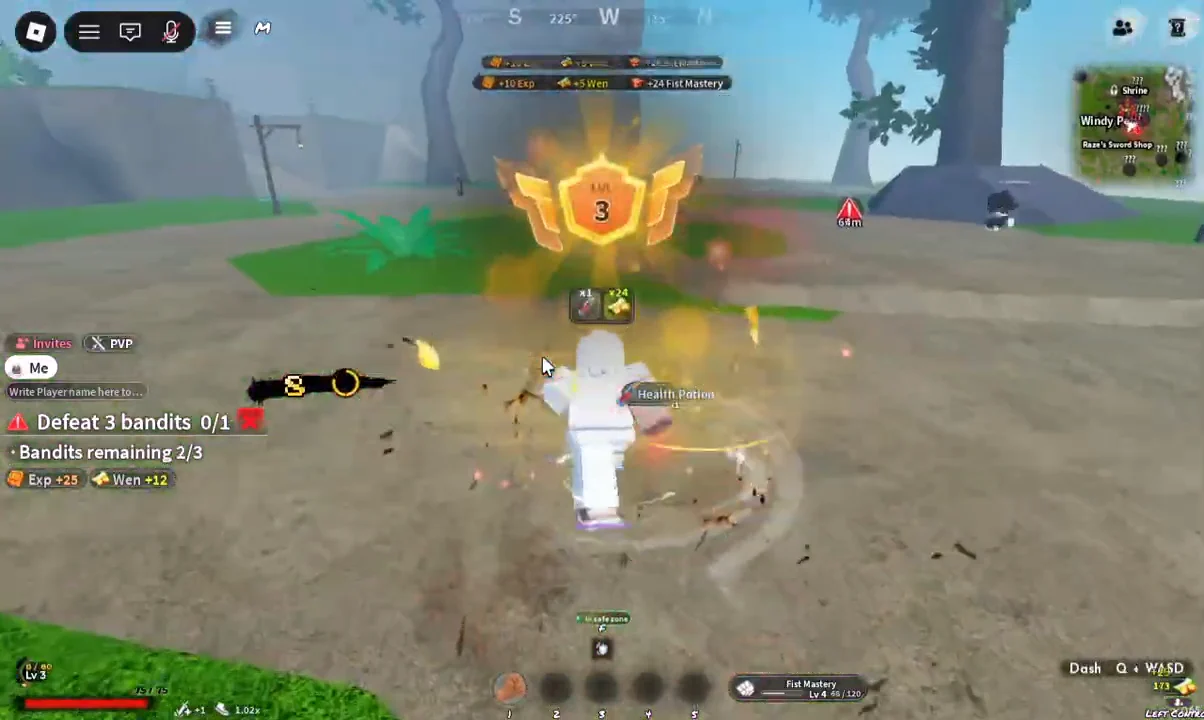
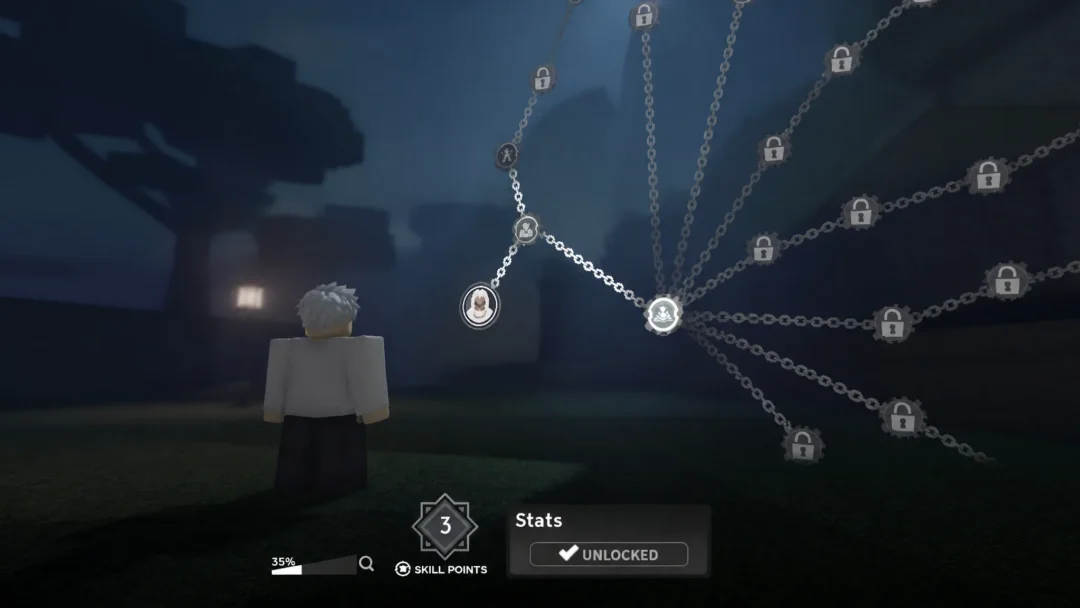
Spend your skill points as you go. Every level grants three points, and the movement nodes — wall climbing and double jump — are the ones that unlock routes to later trainers.
How to confirm the quest completed
Three things confirm it. The objective counter fills and the tracker clears from your screen, Krue’s dialogue changes to a turn-in and reward prompt, and he offers the bandit job again afterwards. If the tracker still shows an unfinished count, you have killed fewer bandits than you think — some fights get interrupted when a second bandit pulls you away.
Repeat the bandit quest until Level 7
Krue’s bandit contract is repeatable, and it is the intended grind for the opening stretch. Run it on a loop from Level 1 through roughly Level 6, then take his mini boss quest for Zuko once you hit Level 7. Zuko spawns on a timer that counts down at the top of the screen, so you can keep clearing bandits between attempts instead of standing around waiting.
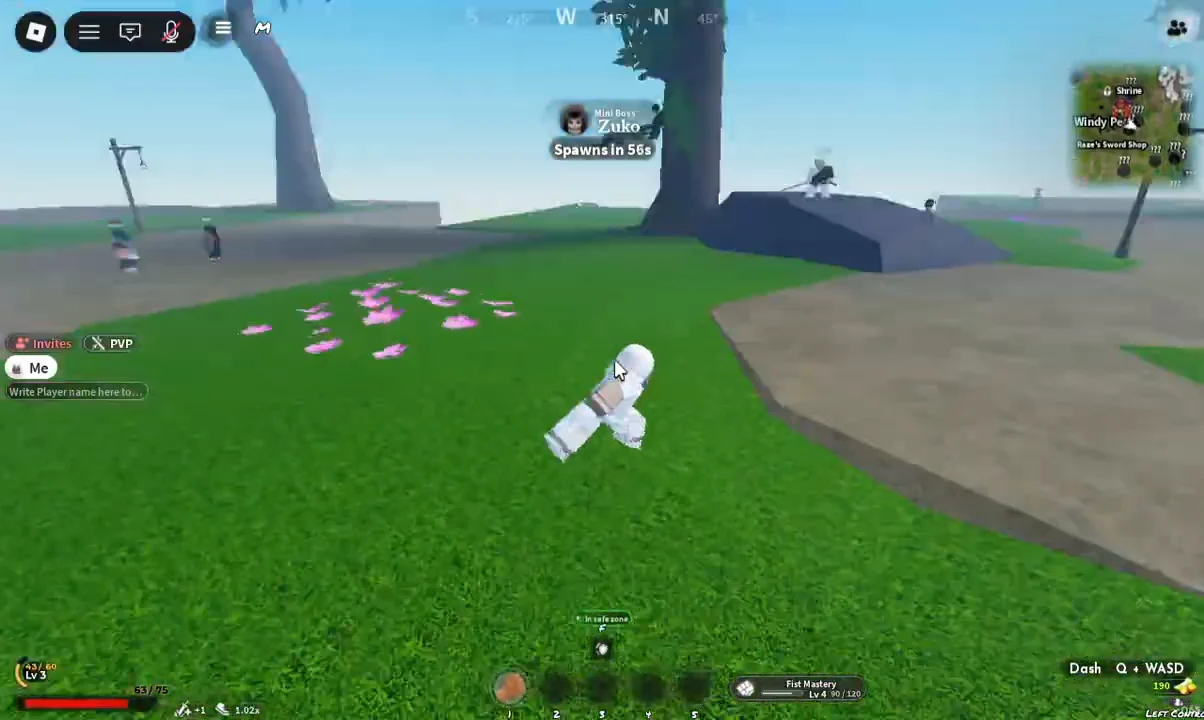
Zuko is worth farming beyond the quest itself. He has a 20% chance to drop Zuko’s Cutlass, a starter weapon that comes with the Quick Draw move — one of the few early blades that carries its own skill rather than just stats.
Starting village quests to finish before you leave
The bandit loop is not the only thing in Windy Peak, and skipping the rest causes problems later. Several of these early tasks are tied to progression checks further along, around the Level 35 and 45 marks, so clear them while the enemies are still trivial.
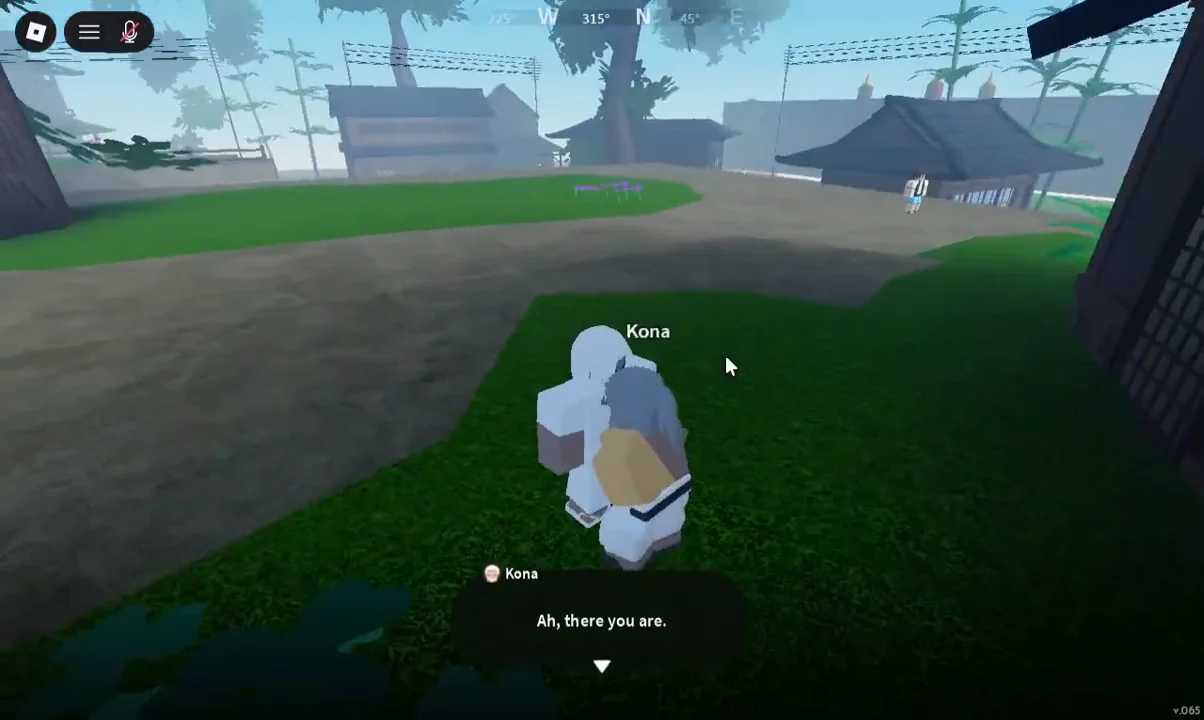
Recover the Lost Pages (Kona)
Behind one of the village buildings, Kona offers Recover the Lost Pages, sending you to gather scattered papers throughout the area. Complete it instead of abandoning the quest when prompted. Its reward, the Book of Guidance, directs you to the next quest required for progression—particularly helpful in such a vast world.
Disguised civilian spies
One village quest asks you to kill civilians who are secretly working with the bandits outside. The targets are marked in their name plates by a dash or star-like indicator. Ordinary civilians without that symbol are not part of the quest.
Check the name plate before you swing. Attacking unmarked civilians does nothing for the objective. Once the marked spies are down, return to the quest giver to close it out.
The shipment to Ora
Another starting-area task has you deliver a shipment to Ora. Take it, because the destination becomes the place you come back to when you need Beast Cores — a material later trainer questlines ask for.
Quest order after the bandits
| Level | Objective | Quest giver |
|---|---|---|
| 1–6 | Repeat the three-bandit quest | Krue, red gate |
| 7 | Mini boss Zuko quest | Krue |
| Any | Regular Katana (500 Wen) or Fancy Katana (1,500 Wen) | Raze |
| 13 | Bear hunting quest | Tom, below the village |
| 18 | Mother Bear quest | Tom |
| 25 | Breathing style trainer questline | Chosen trainer |
Tom sits down the path from the starting area and runs the bear quests. Mother Bear drops a chest with a mix of items, and the black market merchant Kuro appears near the bear area at night, disappearing again in the morning.
Once the village quests are cleared and the Book of Guidance is in your inventory, navigation gets much simpler. The red marker over your player icon on the map always points at the objective matching your current level, so when you are not sure where to go next, open the map before you start running.