Black Ops 7 Zombies: Astra Malorum Super Easter Egg Guide (Caltheris Toy)
Every step to earn the alien toy, trade it for the miniature Caltheris, and Exfil to lock the reward.
Every step to earn the alien toy, trade it for the miniature Caltheris, and Exfil to lock the reward.
by Pallav Pathak
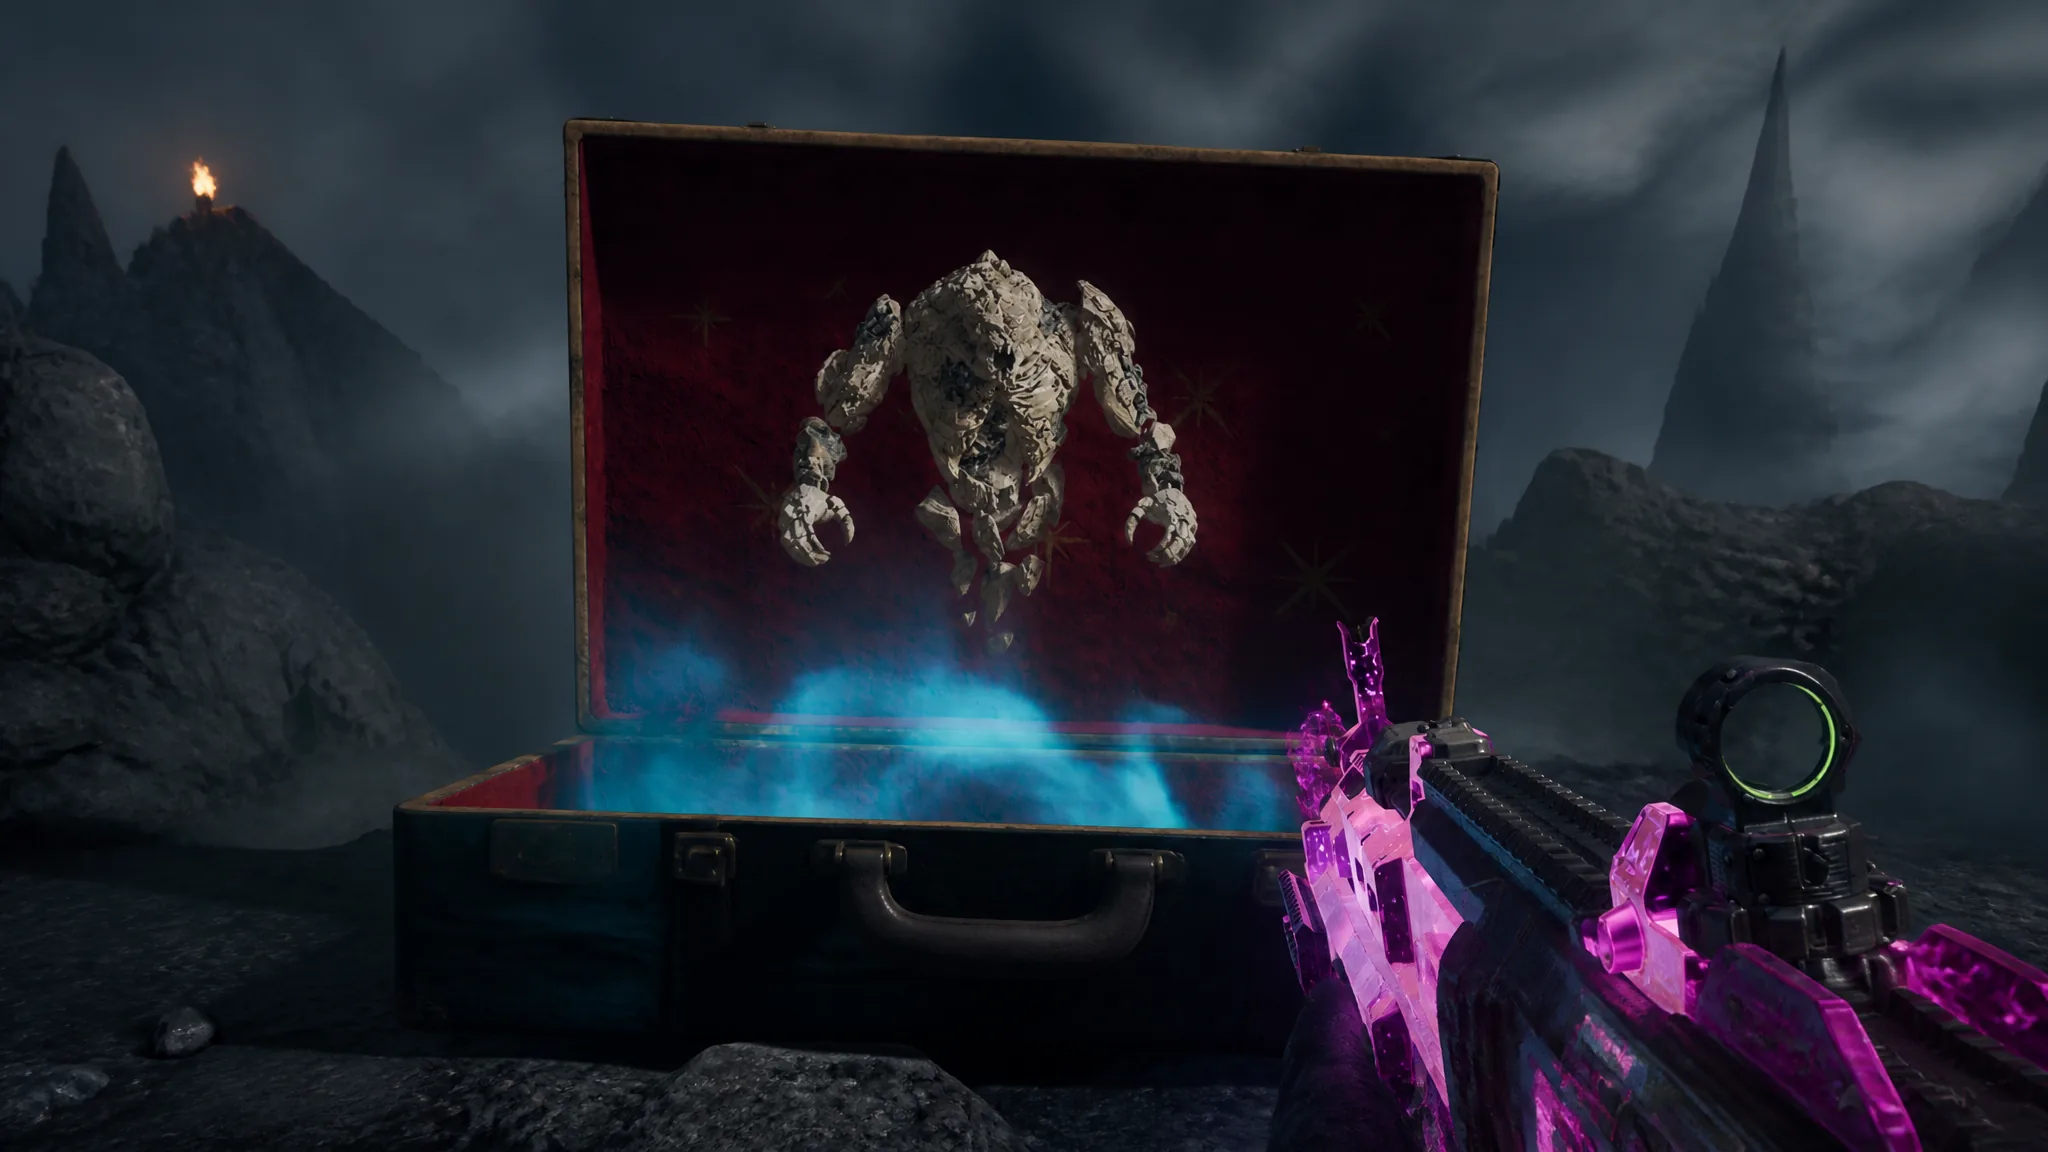
The Astra Malorum Super Easter Egg turns the map’s existing quest into a longer chain that ends with the miniature Caltheris toy. You build the LGM-1, unlock a floating toy box, run a hidden Wisp sequence, and use a UFO to abduct four objects on Mars. Finish it and you get an alien toy to swap for Caltheris.
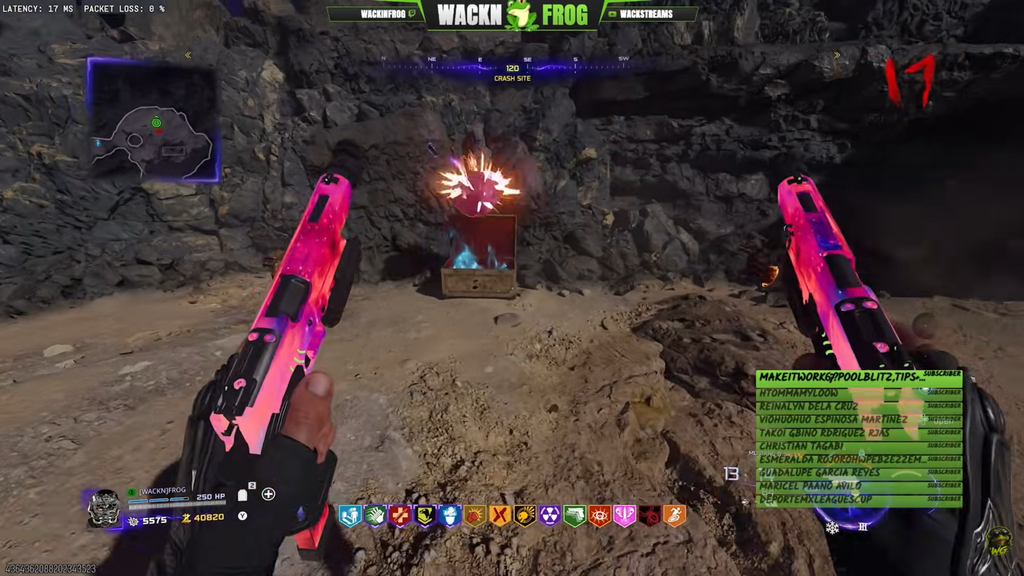
Quick answer: Complete the main quest to Mars, open the toy box with the DG-2 turret, feed the UFO its four items, then place the alien toy in the Crash Site box and Exfil with the Toy Caltheris.
Image credit: Activision via YouTube/@WackNFrog – Wack Streams
Before you start
Two conditions must be met or the sequence will not progress. You need every main Easter Egg completed on any difficulty, and you cannot save and quit partway through.
Finish the main quest on Standard, Cursed, or Directed at least once.
Play the run in one continuous session — do not save and quit between steps.
Have the map’s power restored and Pack-a-Punch unlocked before you begin.
Build the LGM-1 Wonder Weapon
The LGM-1 is required later to activate the Mars pillars, so build it first. You kill O.S.C.A.R. three times with three different traps after gathering the crafting parts.
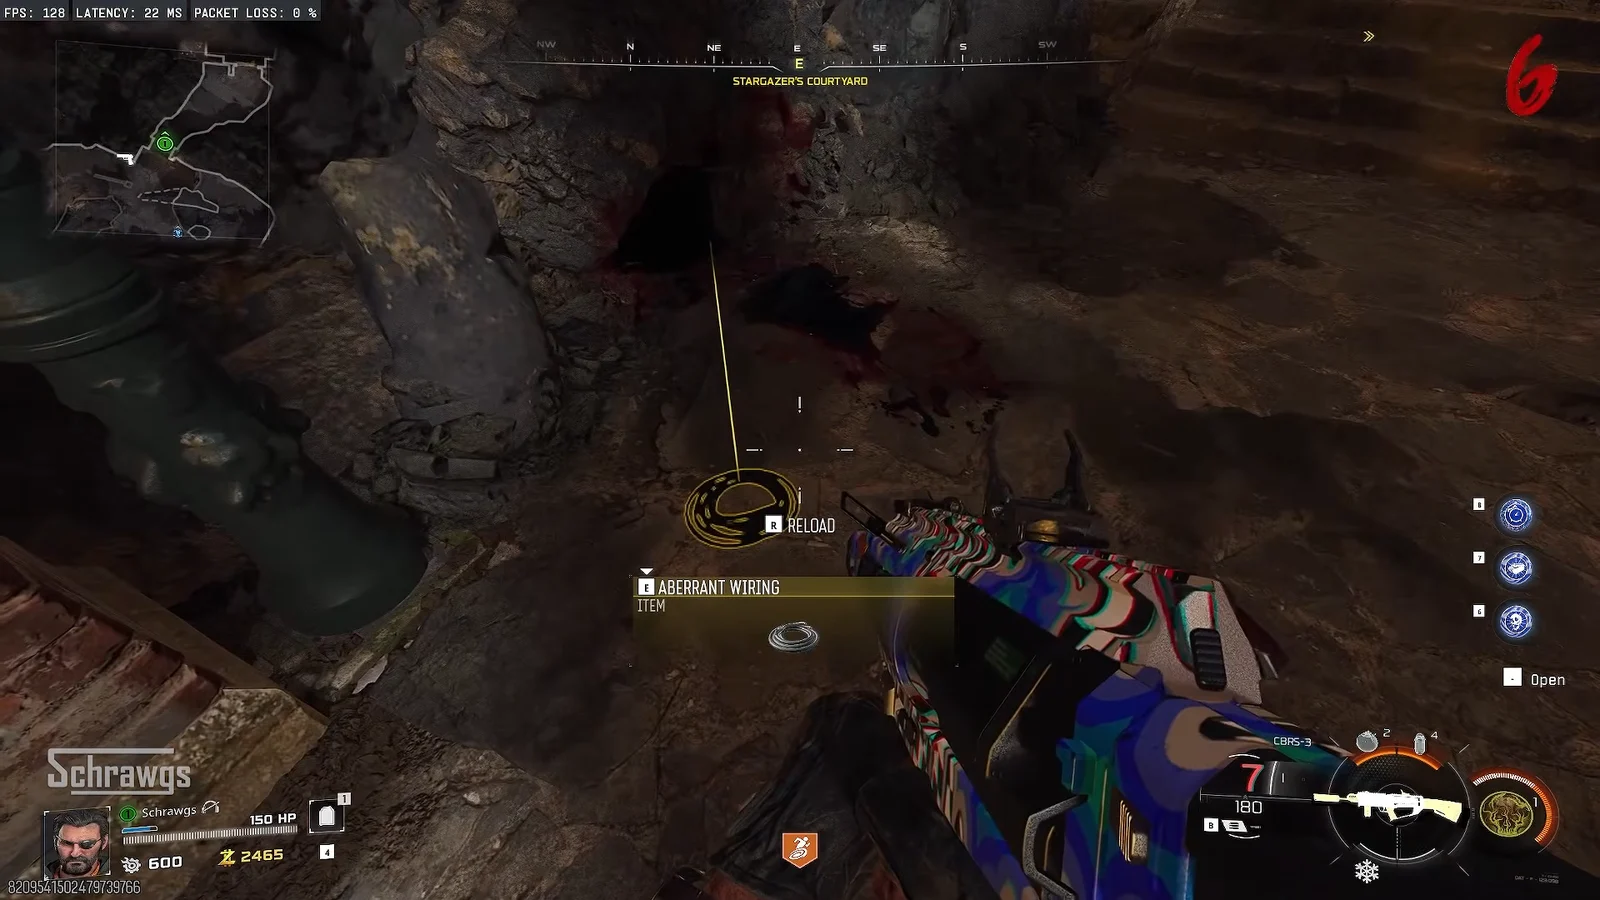
Collect the four contraptions. Destroy one of O.S.C.A.R.’s floating drones for the Damaged Drone, freeze and shatter purple crystals with Cryo Freeze for the Absolute Zero Fragments, shoot Ol’ Tessie’s hood with a Pack-a-Punch weapon for the Car Battery, and shoot the flickering lamppost for the Aberrant Wiring.
Image credit: Activision via YouTube/@WackNFrog – Wack Streams
Kill O.S.C.A.R. three times using the traps — the Rocket Ignition Trap in Museum Infinitum, the Electro-Volt Projector in the Luminarium, and the Sun Trap Observatory Laser in the Observatory Dome. Let him respawn each round between kills.
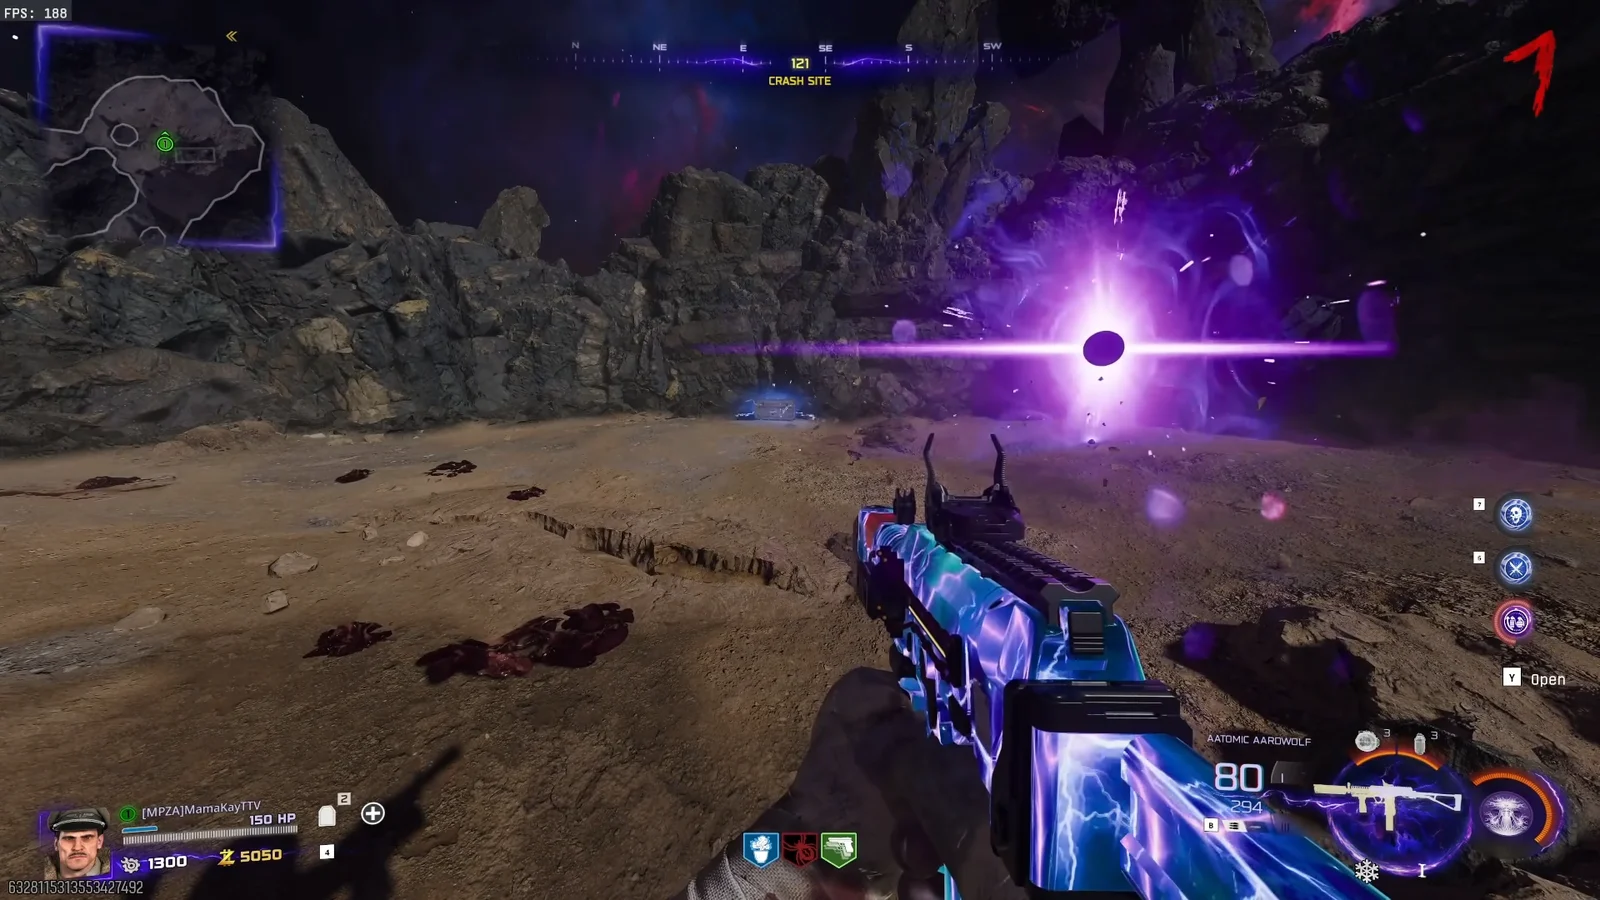
Throw an explosive at three floating crates in order to knock them across the map. They appear outside the Luminarium on the right side (facing between west and southwest), outside the Luminarium on the left toward spawn (facing the brick wall to the west), then above the Crash Site (facing southeast by the rock wall near Ol’ Tessie).
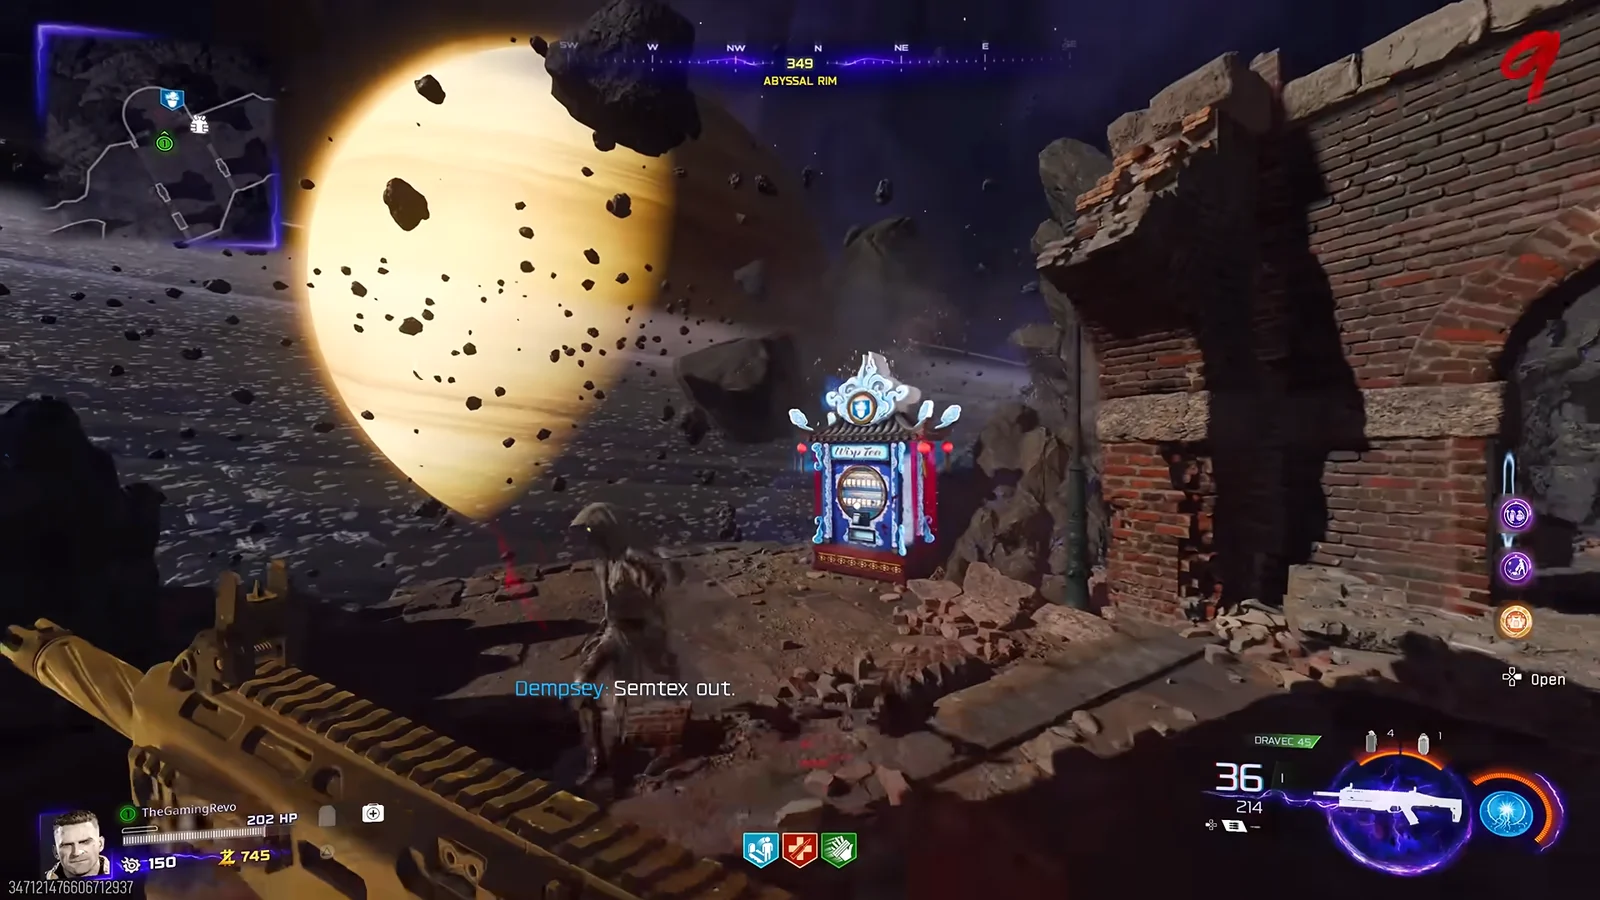
Grab the DG-2 Turret Barrel. At the Abyssal Rim behind Wisp Tea, throw an explosive at the floating rock, then wall jump off it into space to reach the barrel.
Use a Pack-a-Punch weapon on Ol’ Tessie to draw O.S.C.A.R. over. Mount the DG-2 turret, destroy his drone, and then kill him with the turret. The box opens when he dies.
The DG-2 turret is weak, so soften O.S.C.A.R. up first before you climb onto the mount.
Slow time and lock the UFO in the telescope
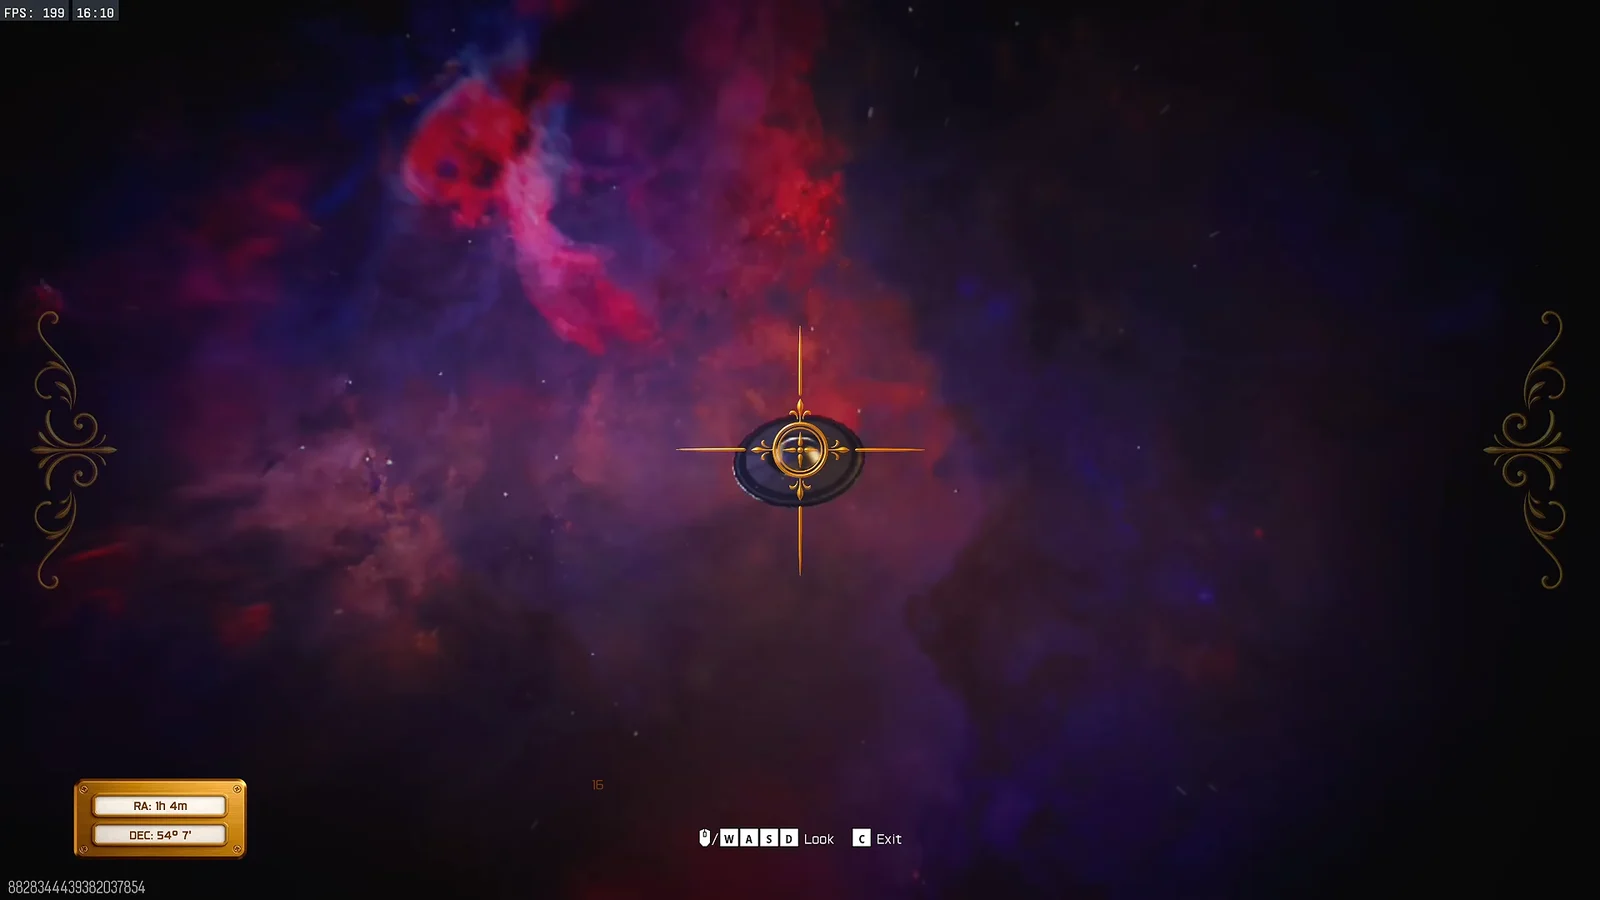
With the box open, you slow time by meleeing five grandfather clocks in quick succession, then spot the UFO through the Observatory telescope during the slowdown.
Melee the five clocks across the map — the north pillar in Museum Infinitum by Speed Cola, the southeast corner of the Luminarium, the north wall by the door in Archive of Orbis opposite Stamin-Up, the west wall on the Machina Astralis ground floor, and the northeast corner of the Machina Astralis first floor.
You have 60 seconds. Sprint to the Observatory, use the telescope, and set coordinates around DEC 50, 58 to bring the UFO into view. Hold your crosshair on it to freeze it in place; it scans you and flies off.
Reach Mars and activate the pillars
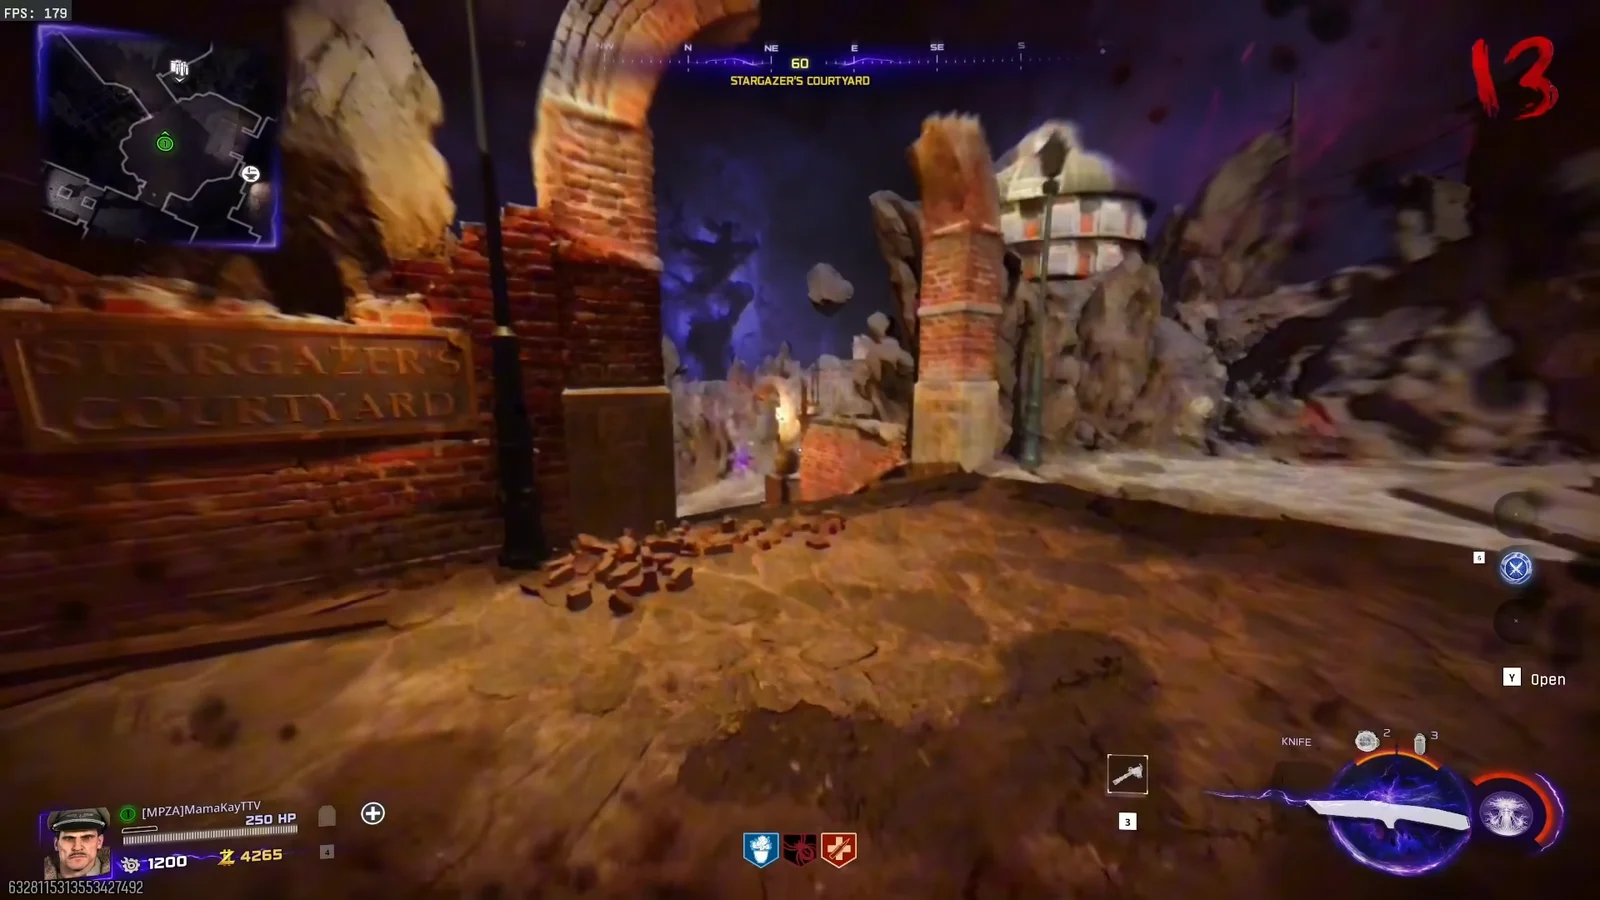
This is the longest stretch. Follow the main quest far enough to travel to Mars and claim the Ascendant Eye, then place it in the pillar. Behind it are two glowing blue dials — leave those alone for now.
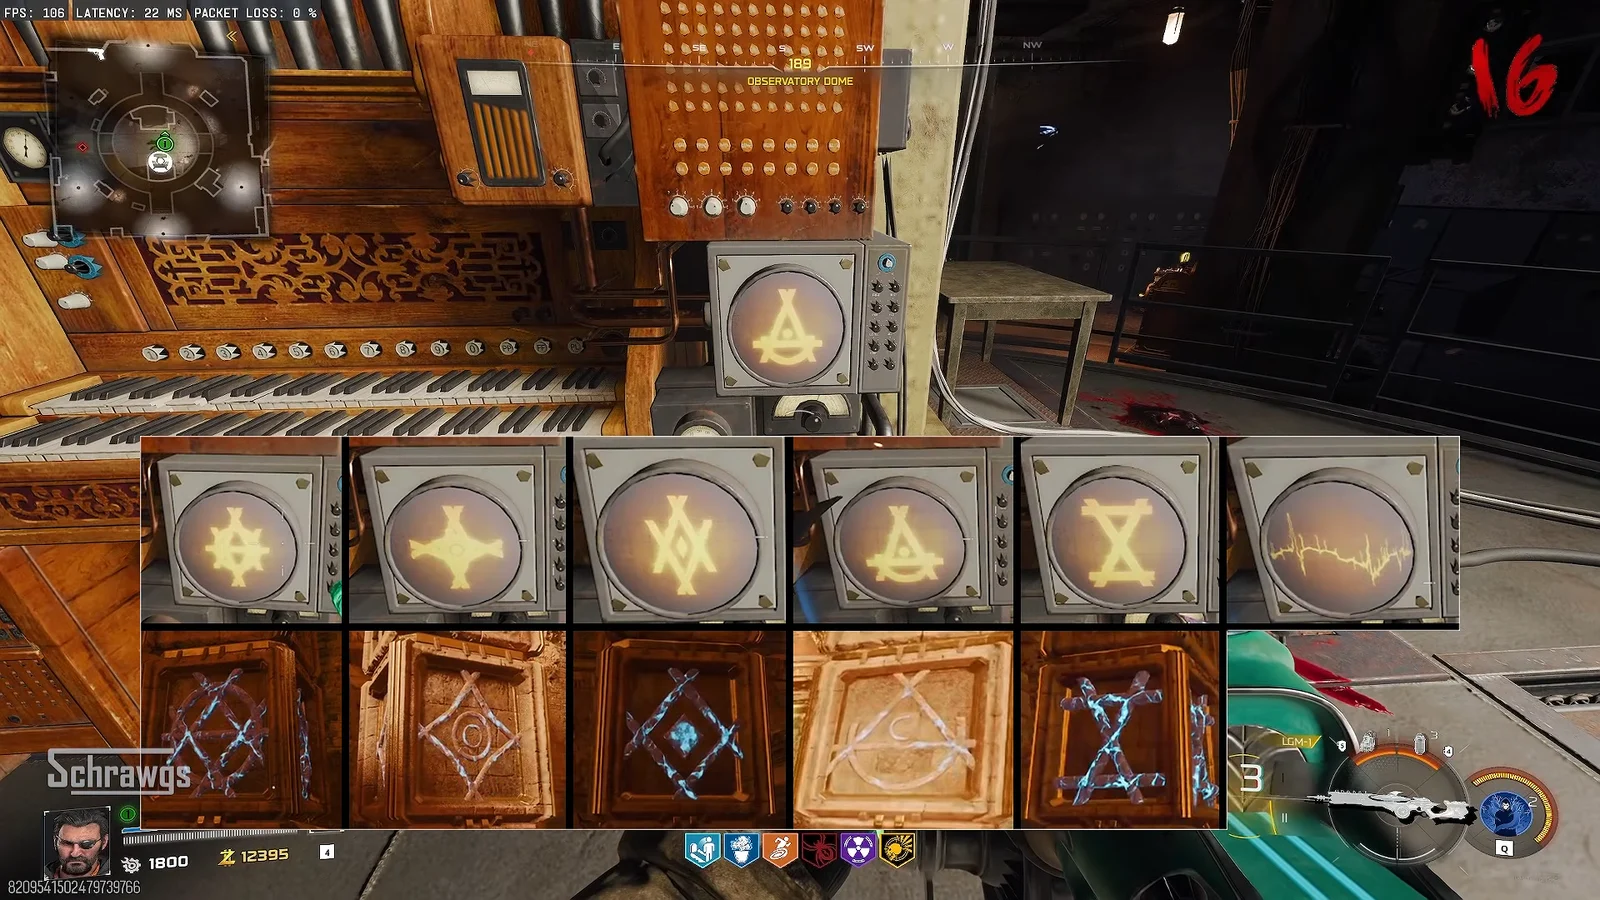
Fire the LGM-1 at the five antennas on the Mars pillars to activate them. If you want the intended order rather than brute force, the sequence is read off the oscilloscope back in the Observatory after you fire.
The Wisps power the final Mars puzzle. The Crash Site, Luminarium, Abyssal Rim, and Scholar’s Way each hold two unlit lanterns, and one lantern contains a Wisp.
Aim at each unlit lantern and melee to push the Wisp through all of them. Once every lantern has been touched, skip a round and they all light with their own Wisps to claim.
Carry up to five Wisps at once and grab Shock Charges as your tactical equipment before heading back to Mars.
Summon the UFO and solve the Morse code
Back on Mars, the two blue dials behind the Ascendant Eye summon the UFO, which then flashes a Morse sequence pointing to four objects you have to pull out.
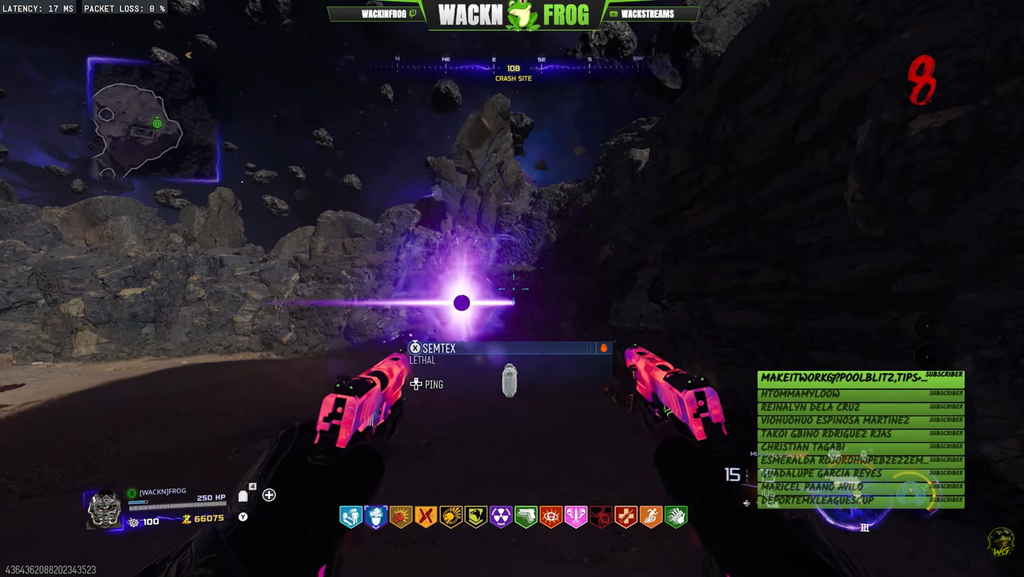
Throw one Shock Charge at each blue dial glowing behind the Ascendant Eye. The UFO then appears overhead and starts flashing: a short flash means a dot, while a long flash means a dash.
In the northeast corner of Mars there are four floating objects — the Flamingo, Lava Lamp, Spacesuit, and Toilet. Melee so a Wisp pulls at one. The wrong object will not budge; the correct one drops and the UFO takes it.
Repeat until all four objects are gone. You can decode the flashes to find the order, or simply brute force each pedestal and restock Wisps the following round if you run out.
Claim the Toy Caltheris and Exfil
Once the UFO has all four items, a small green alien drops onto Mars. Pick it up and carry it back to finish the exchange.
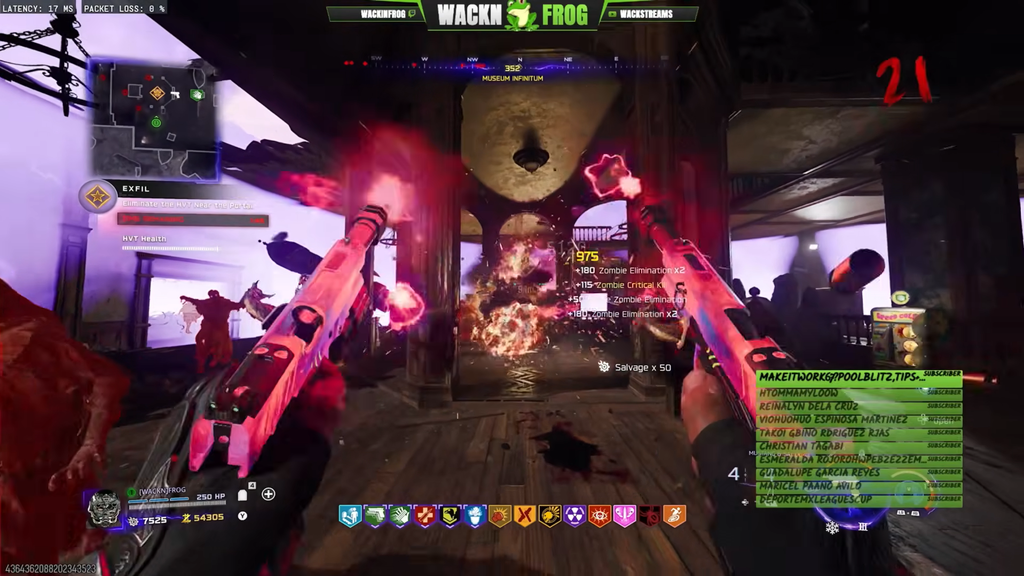
Wait for an Exfil round, kill the HVT, and Exfil. Done correctly, the Toy Caltheris floats inside the phone booth, and you leave through the Exfil with it. That confirmation is how you know the step counted — the toy then appears on the shelf in the Rex Infernus safehouse.
Image credit: Activision via YouTube/@WackNFrog – Wack Streams
The Toy Caltheris is one of six toys tied to the cross-map Super Easter Egg. Placing all six on the safehouse shelf unlocks the final five-stage boss rush and its rewards.