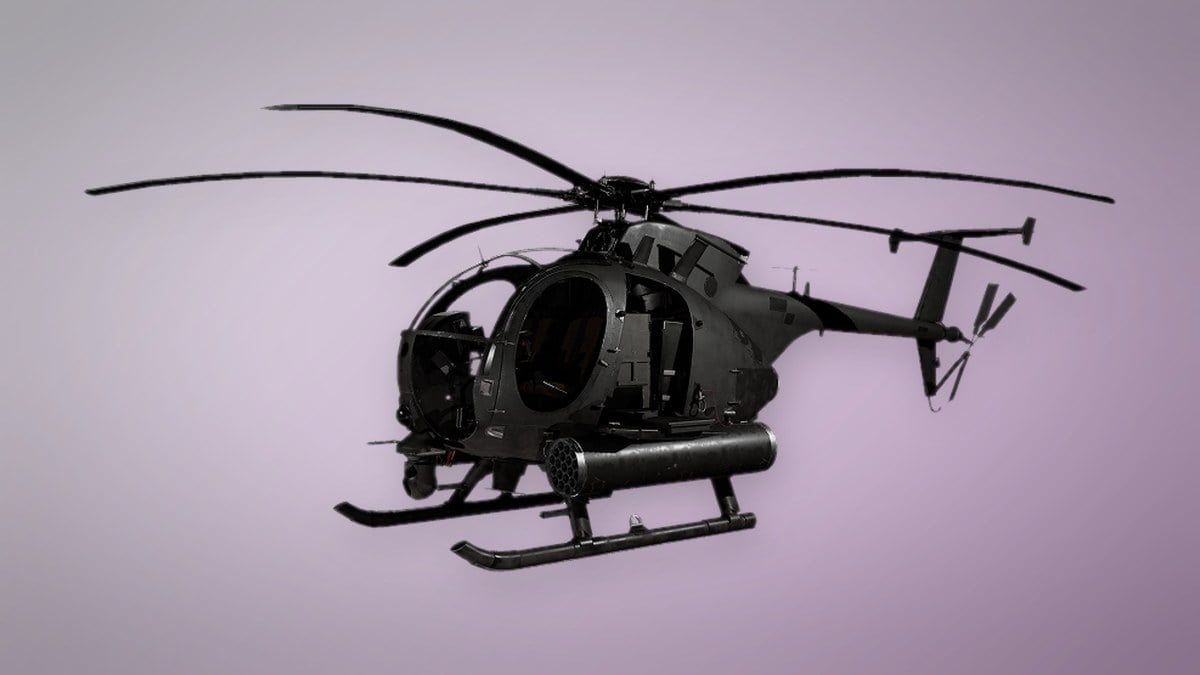
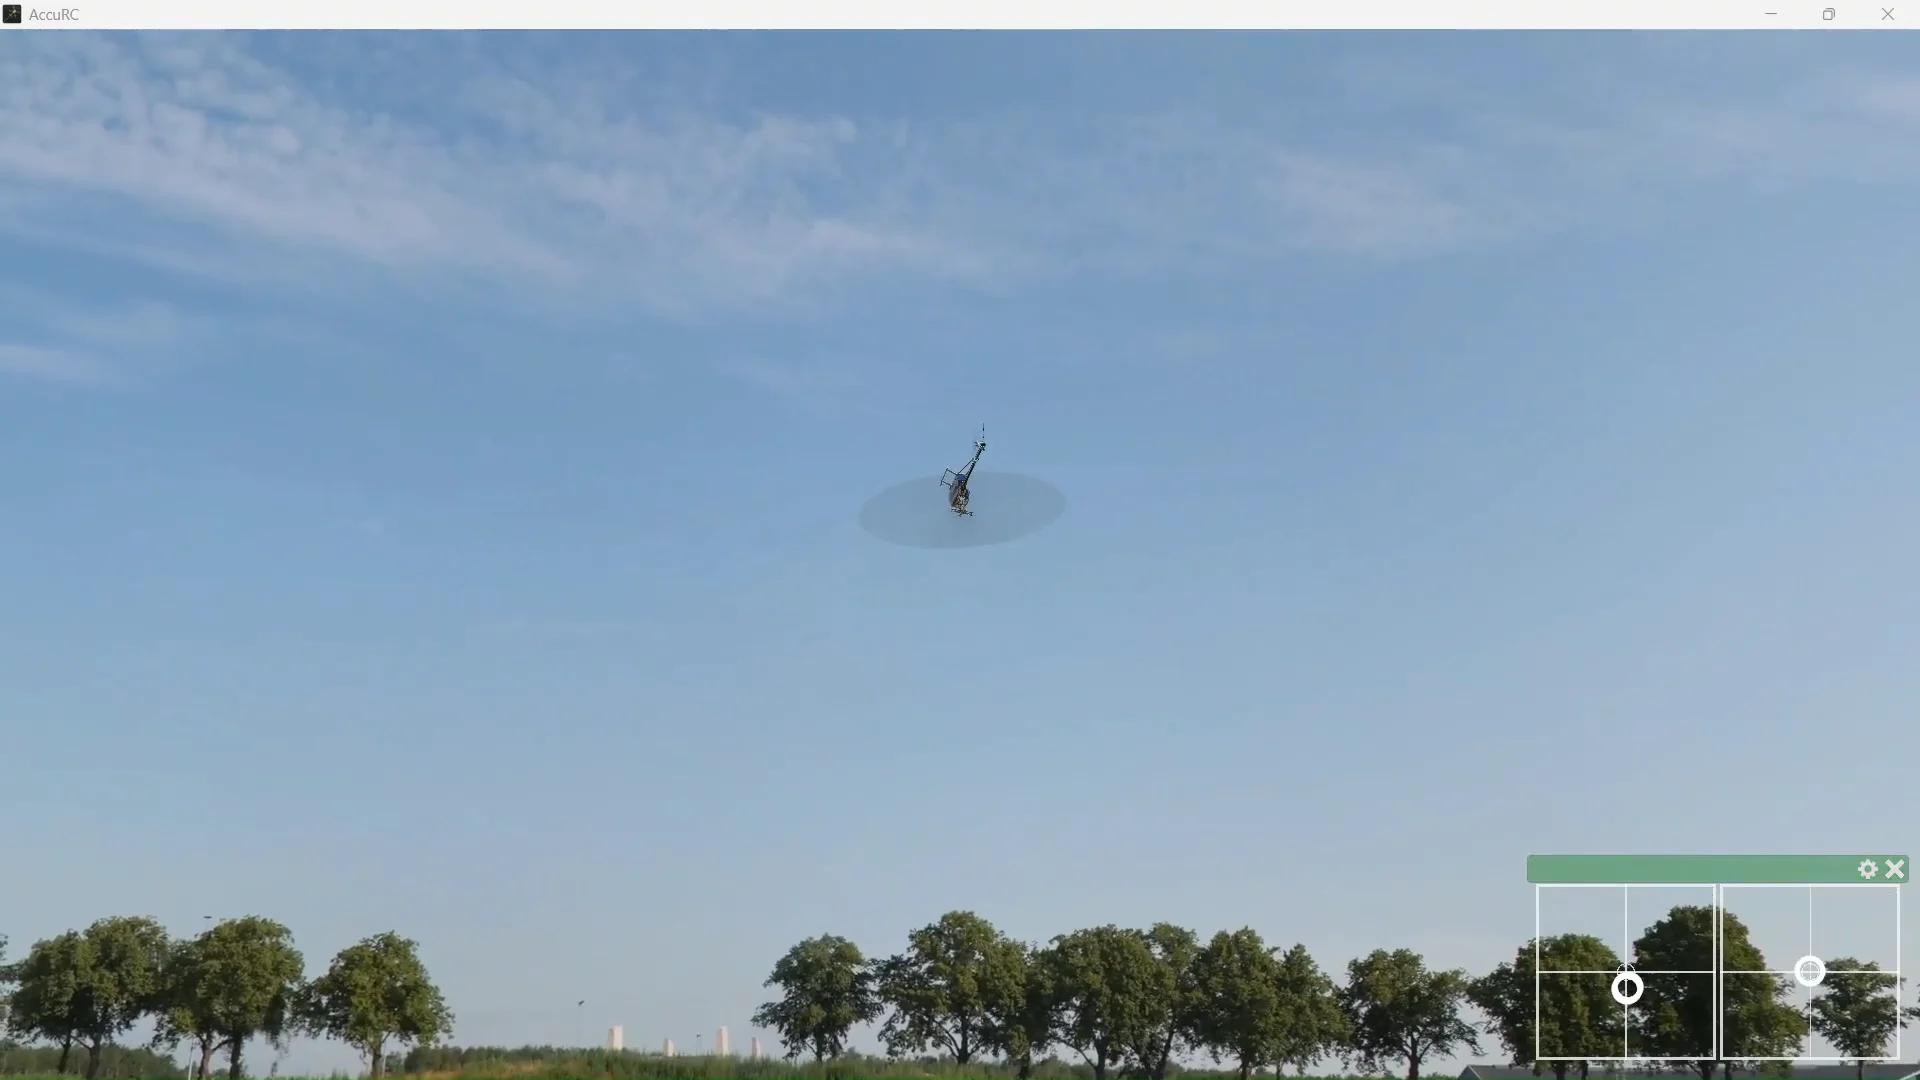
Inverted flight in the MH-6 is not a scripted stunt. It is a roll held past 180 degrees, stabilized with a constant forward pitch input, and undone by continuing the roll back around. The airframe will sit upside down and fly level across a valley for as long as you keep the stick where it needs to be, and the same input sequence doubles as the fastest way to kill airspeed in a straight line.
Quick answer: Build to 150–200 km/h with altitude to spare, roll left or right, recenter the stick about 75 percent through the roll, then hold forward pitch to stay level while inverted.
Why the MH-6 is the airframe for this
The MH-6 is the cheapest rotary in the game and the only one with no Pilot-level gate in front of it. That matters here, because learning inverted flight means writing off a helicopter or two, and $6,250 is the lowest price of admission on the board. It is also unarmed, so nothing competes for your attention while both hands are busy.
| Attribute | Value |
|---|---|
| Price | $6,250 |
| Vehicle class | Transport |
| Top speed | 350 km/h |
| Seats | 6 |
| Fuel capacity | 105 litres |
| Fuel burned per km | 4.4 litres |
| Cash for destroying it | $800 |
| Unlock requirement | None |
You buy one from the vehicle vendor at your faction’s safe zone. Helicopters are never placed on the map during a match, so there is no scavenging your way into practice time.
Speed and altitude requirements before the roll
The maneuver has two entry conditions and neither is optional. Everything else is stick work.
- Airspeed of 150–200 km/h before you touch the roll axis.
- Enough altitude that a botched recovery still leaves air under you.
- Open ground ahead — a valley floor, a river line, anything without towers or cranes in the exit path.
- The Firing Range, not a live match with passengers in the seats.
The lower end of that speed band is genuinely usable. Around 150 km/h the roll still completes cleanly and the inverted hold still works, so you do not need to be redlining the airframe to try it.
How to roll the MH-6 inverted
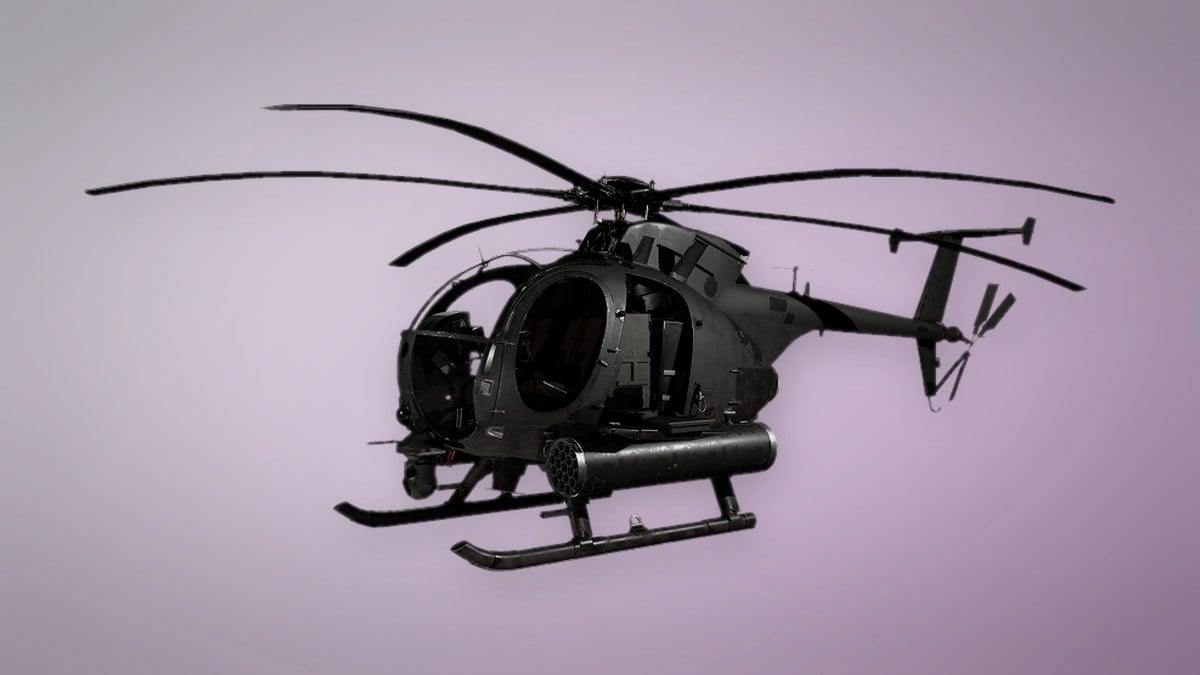
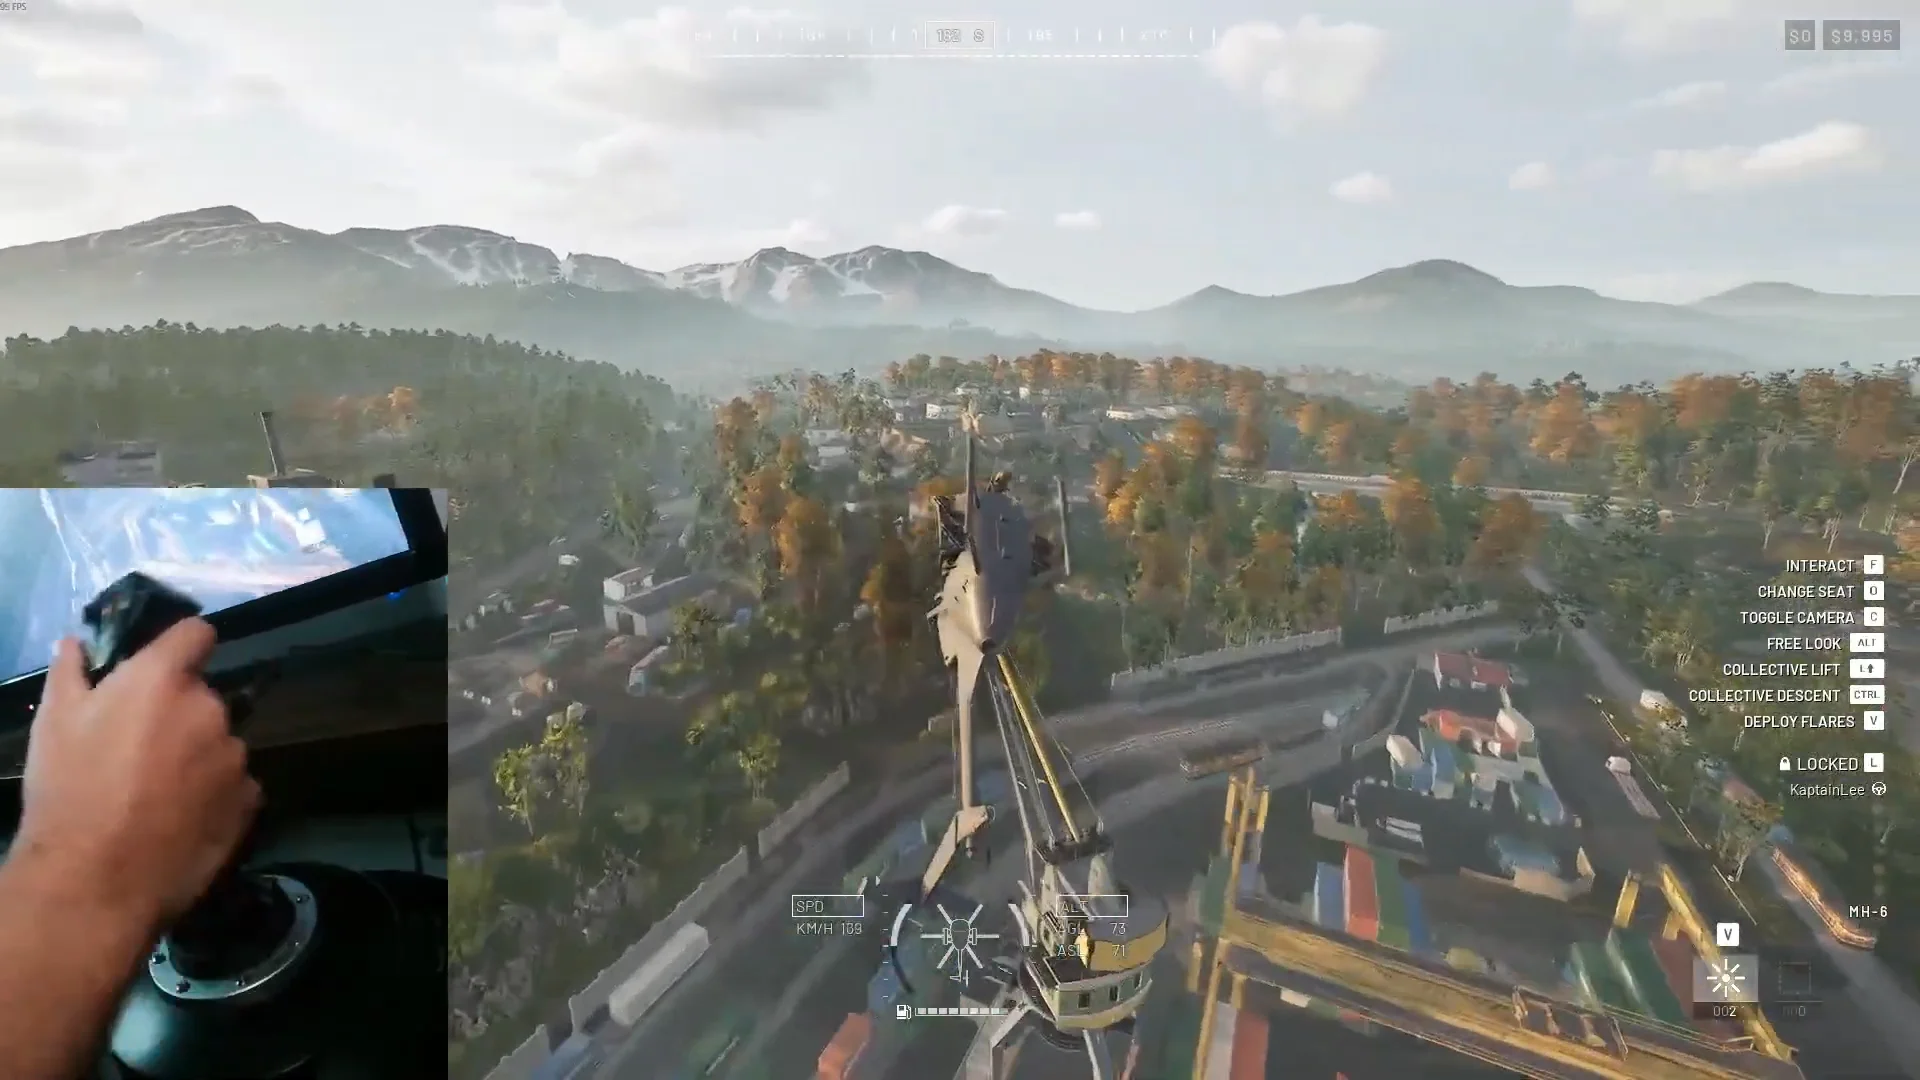
You know it worked when the aircraft holds inverted heading and altitude across a full valley crossing without you chasing it with corrections, then rolls back upright without a sink.
Using the inverted roll as an airbrake
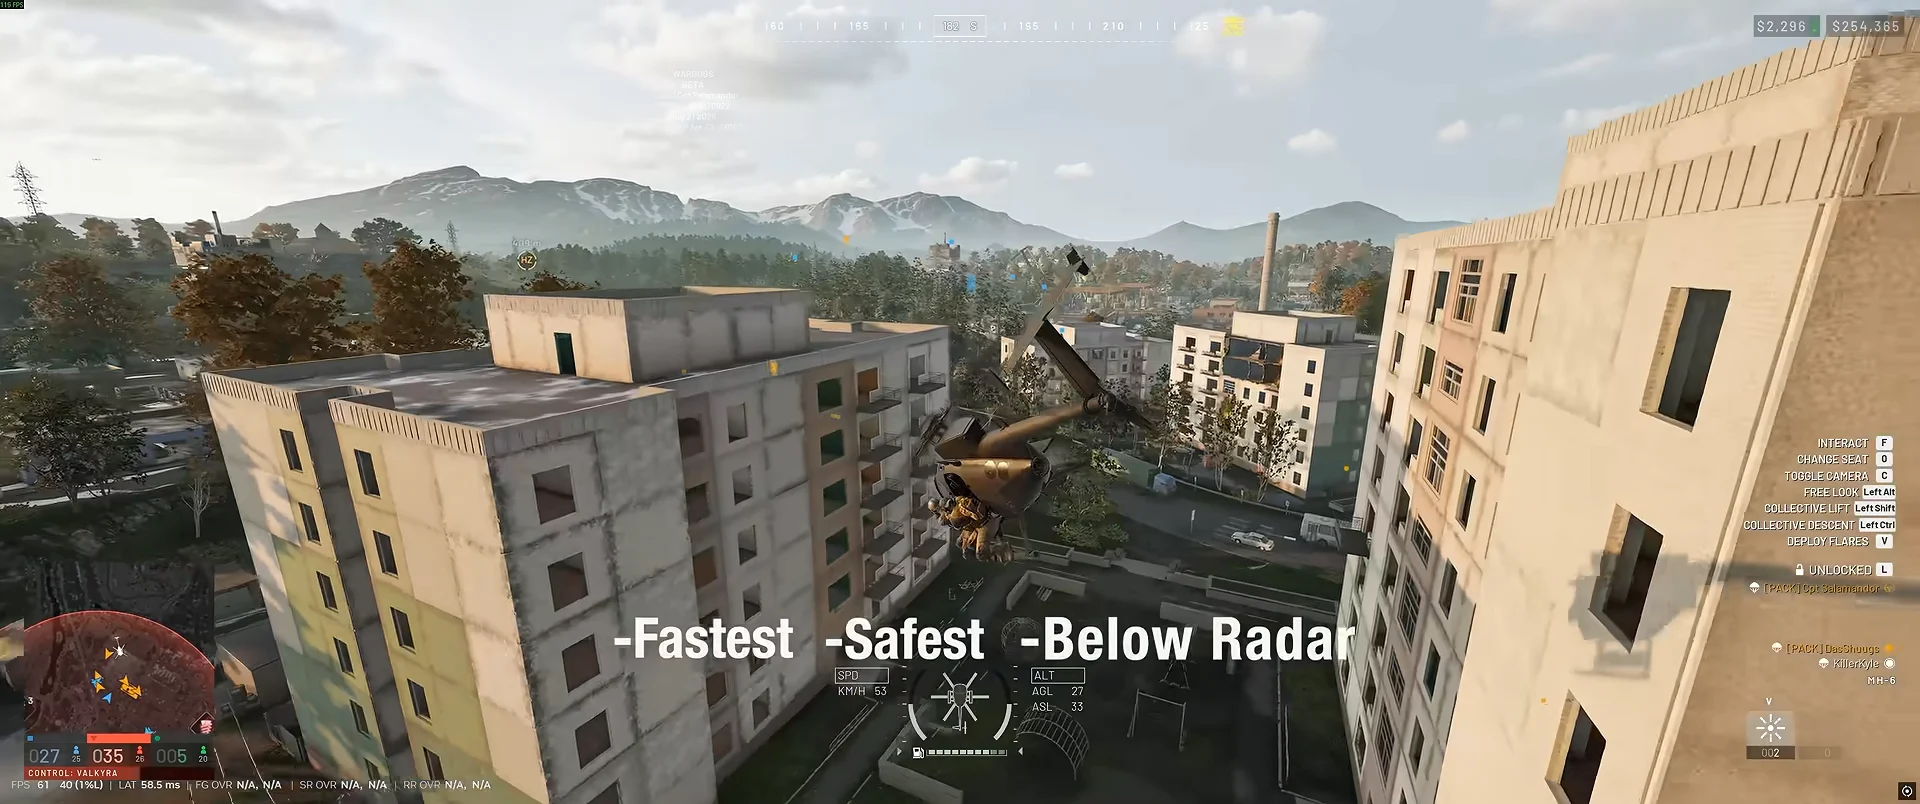
The same sequence, executed aggressively, is a speed dump. Roll and pitch hard inverted and the MH-6 sheds airspeed fast enough to arrive at a near dead stop, then recovers upright with almost nothing on the clock. It is a blunt instrument, but it works when you have overshot a landing zone and do not want to fly a second circuit.
It is not a replacement for a J-hook approach, which trades speed for position by dropping collective, rolling toward the landing zone, and holding the nose on the spot with yaw until the speed hits zero. The inverted brake kills velocity in place. The J-hook kills it while still pointing you at the ground you want.
Control setup that makes the roll repeatable
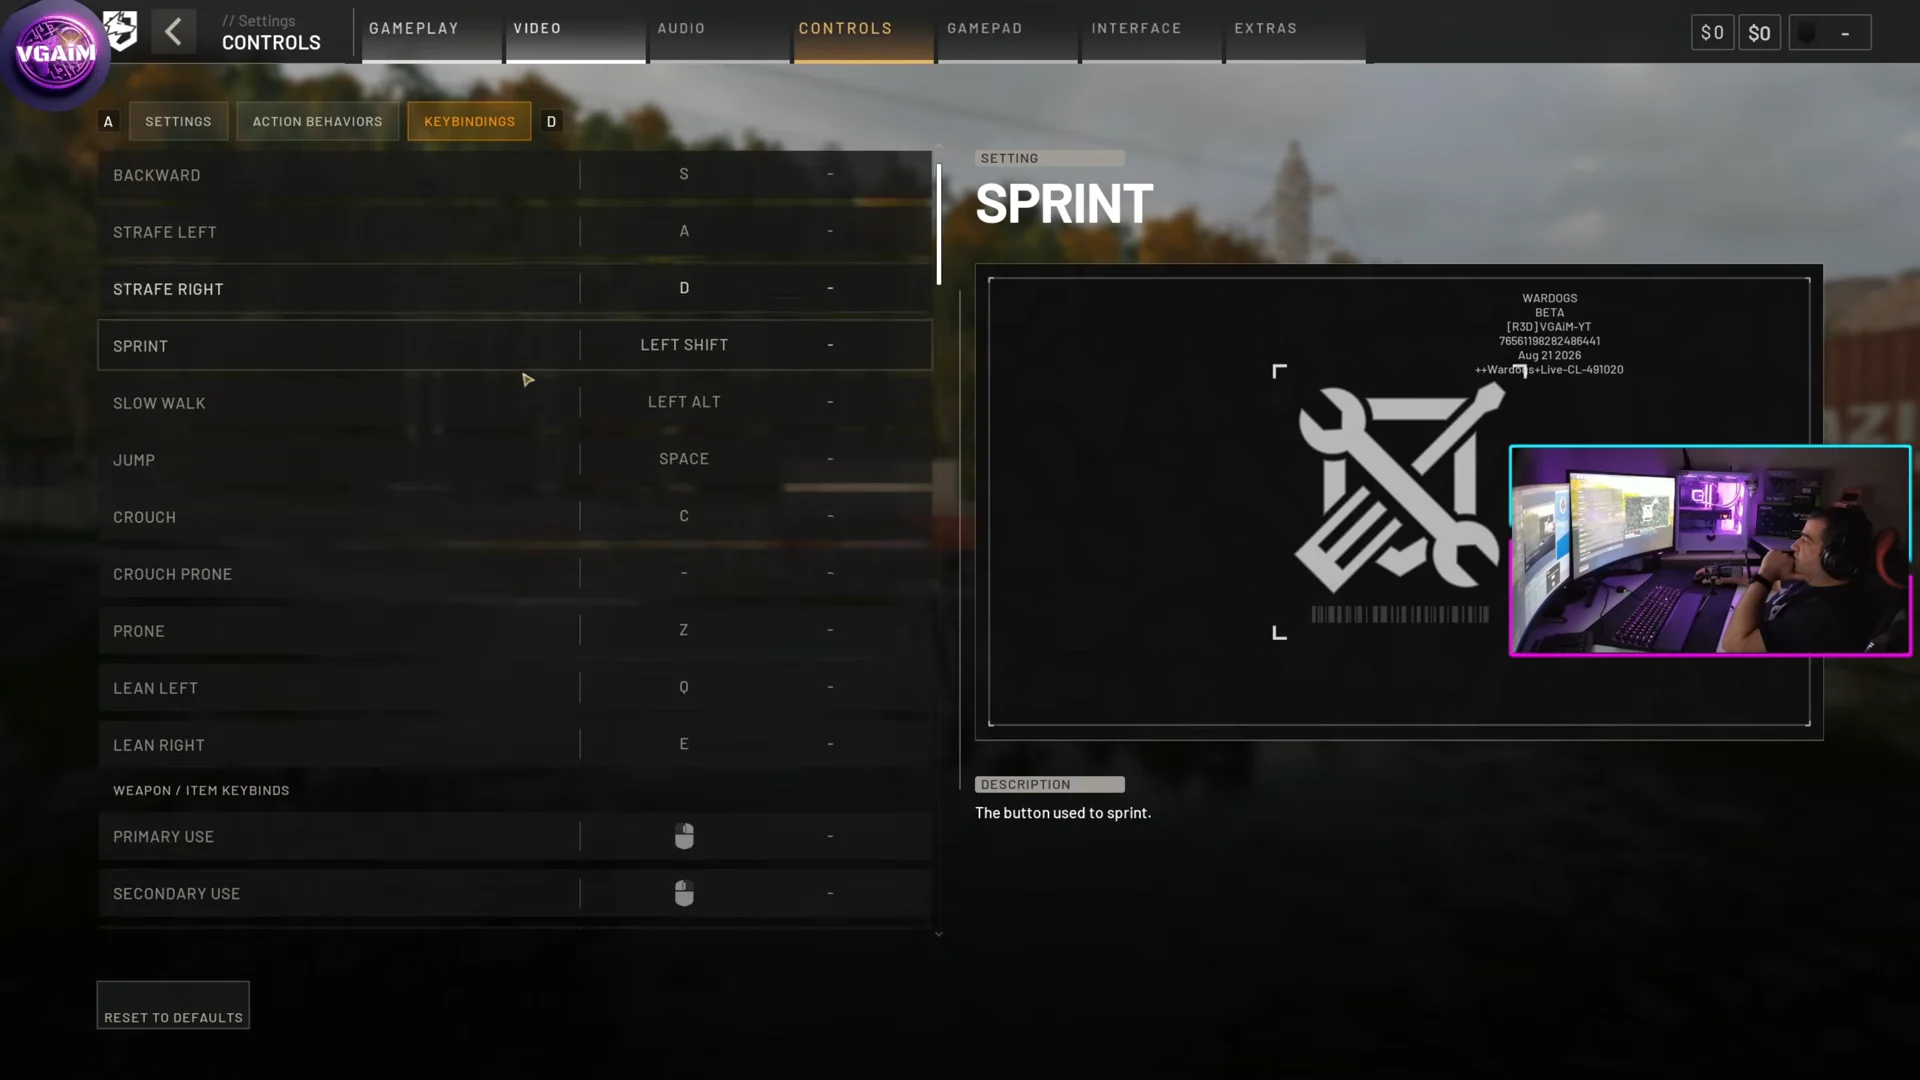
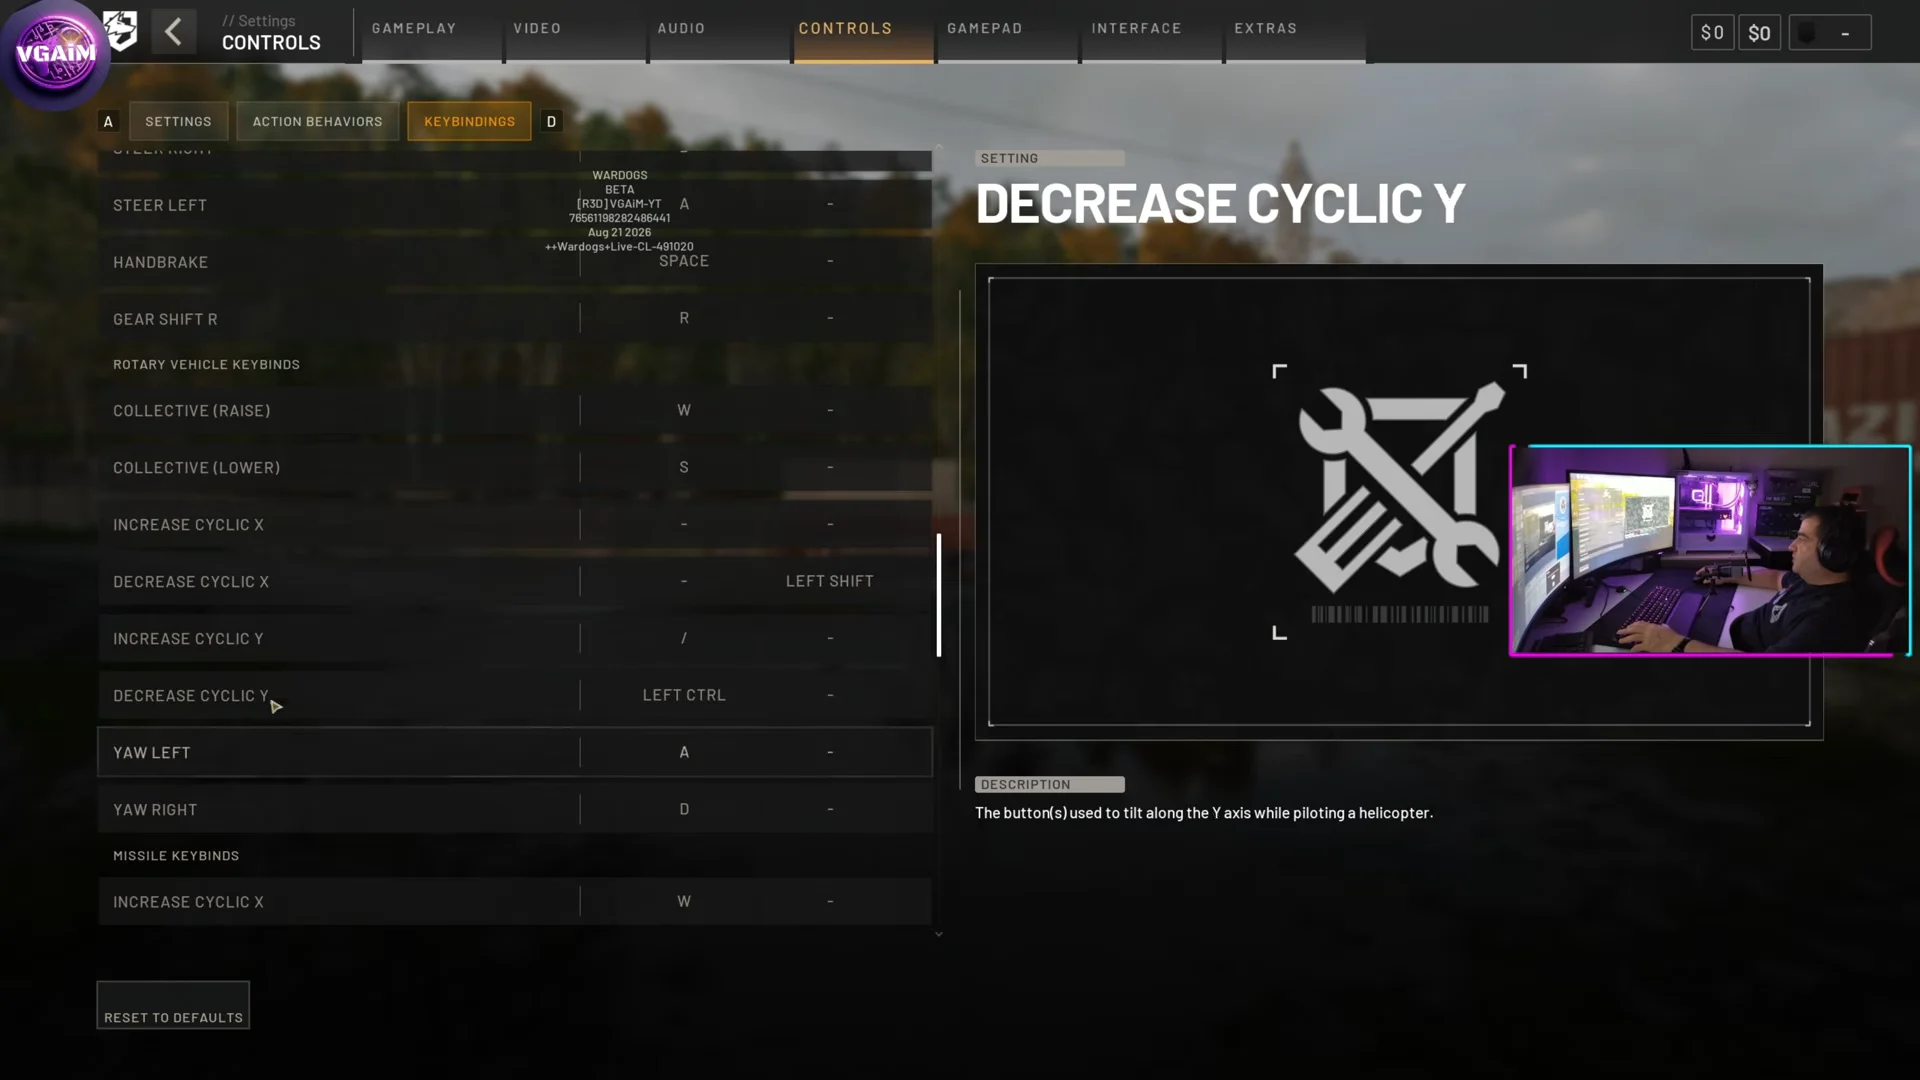
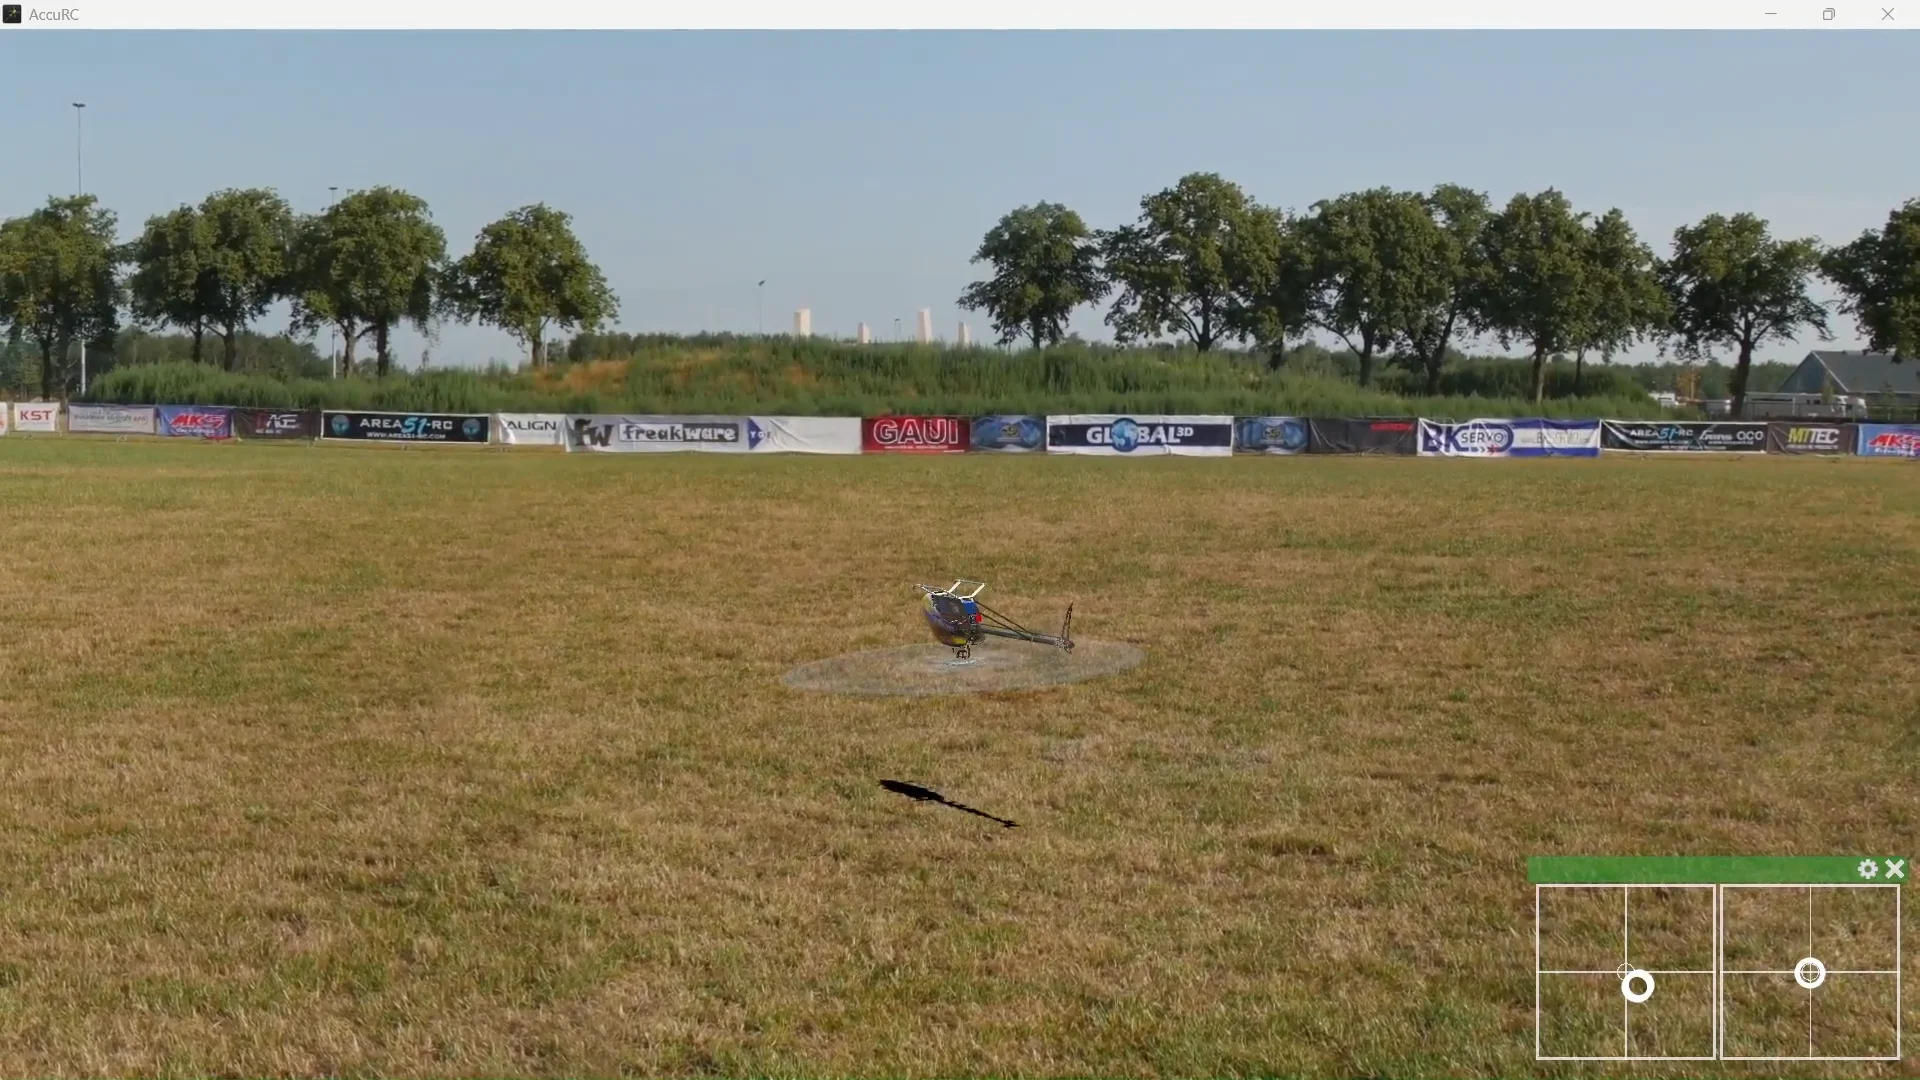
On defaults, Left Shift and Left Ctrl move the collective, W and S pitch, A and D roll, and Q and E yaw. That puts your two finest axes on digital keys, which is survivable for a straight-line transport run and hopeless for a timed roll release. The setup most pilots end up on moves pitch and roll to the mouse.
| Axis | Recommended input |
|---|---|
| Pitch | Mouse up / down |
| Roll | Mouse left / right |
| Collective raise / lower | W / S |
| Yaw left / right | A / D |
| Free look | Left Alt (hold), double-tap to toggle |
A HOTAS stick works for this and makes the recenter point easier to feel, though stick support has been patchy — there are unresolved reports of HOTAS and HOSAS hardware going unresponsive.
Input bugs to rule out first
Before you blame your timing, check that the aircraft is rolling the way you told it to. A few known input problems will make the maneuver look impossible.
- Roll reacting opposite to mouse input — turn off Invert Y Axis – Infantry; the two inversion settings are coupled despite being listed separately.
- Spacebar carries a hidden helicopter weapon function that the visible menu cannot unbind. Keep it out of your flight controls.
- Key assignments are exclusive across the infantry and vehicle control sets; once a rotary control is remapped, review the infantry keys again.
- Mouse pitch going dead while roll still works, and controller right trigger raising collective instead of firing, are both open issues.
Where to practice the maneuver
Do all of this in the Firing Range. A rolled MH-6 costs you $6,250 and hands the enemy $800 for the wreck, and in a live match it also costs whoever was sitting in the back. The range gives you open ground, a helipad to return to, and no consequences for the twenty attempts it takes before the recenter timing becomes automatic.
Climb higher than you think the maneuver needs for the first sessions. Altitude is the only thing that converts a mistimed release into another attempt rather than a crash site, and you can trim the margin down once the roll is repeatable on both sides.
Once the inverted hold is boring and the recovery lands you upright on heading, the maneuver stops being a trick and starts being a tool — a speed dump, a direction change, or a way to break someone’s tracking without giving up the airframe. Everything past that is terrain reading, which the range cannot teach you.