Control Resonant drops Dylan Faden into a warped Manhattan with fast, close-quarters combat and a web of systems the game barely explains. The early hours punish players who rush ahead underpowered, so knowing what to prioritize saves you from repeated deaths against tougher enemies and the game’s Resonant bosses.
Quick answer: Pick Strike and Crush as your starting Forms, level up each zone for Talent Points, collect Health and Power upgrade crates in threes, and raise Dylan’s power level before challenging any Resonant.

Pick Strike and Crush as your starting Aberrant Forms
Early on, the game asks you to choose a Primary and Secondary Form, which work like a primary and secondary weapon. Each Form has its own skill tree, and your picks shape how smoothly the opening hours play out.
Take Strike as your Primary. It attacks quickly and carries a high crit chance, which keeps your damage steady against fast enemies. For your Secondary, Crush hits hard and can break through obstacles, giving you a heavy option when a single strong blow matters more than speed.
Raise Dylan’s power level to match enemy levels
Every enemy shows a level next to its health bar. When that number turns red and becomes a skull icon, the enemy outranks you badly and you risk being caught in an endless death loop. Keeping Dylan’s overall build power ahead of the zones you enter is the single most important habit.
Build power comes from several sources working together: equipped Artifacts, Aberrant upgrades, invested skill points, and new combat abilities. Upgrading or unlocking any Form or upgrade in the Aberrant menu raises your Aberrant Strength as a whole, which sets your damage output. Prioritize your current Forms, but if you need a quick boost, investing in any Form lifts your total damage.
Open the Loadout menu and select Stats & Effects to check Dylan’s current level and power before heading into a new area.

Level up each zone for Talent Points and better loot
Manhattan is split into districts, and defeating enemies, completing World Feats, or finishing missions within a zone feeds XP into that zone rather than into Dylan directly. Raising a zone’s level rewards a Talent Point (skill point), so this is a core way to strengthen Dylan even though it looks like a detour at first.
Raising a zone’s level boosts what it pays out nearby. Quests and events award more XP, containers yield better resources, and enemies can provide passive benefits such as extra Source. Optional tasks—including roaming mini-boss kills, airdrop openings, and cache defense with FBC troopers—advance the zone while rewarding additional Source and rare materials.
Unlock traversal abilities through Dimensional Faults
Traversal abilities open new parts of the map, solve platforming puzzles, and reach locations that are otherwise blocked. Completing Dimensional Faults, the objectives that drop Dylan into fragmented landscapes tracking his sister’s whereabouts, is how you earn most of them. Chase these down early rather than trying to brute-force exploration.
| Ability | Where to unlock | What it does |
|---|---|---|
| Rush | First Fault ritual (early) | Lets Dylan run fast |
| Extended Rush | Skill in the talent tree | Triples the Rush duration |
| Shift | Parking Garage, West Incursion Zone | Aligns with Gravity Anomalies to climb and walk vertical surfaces |
| Reach | Evacuation Zone, near Railyard Street Station | Pulls Dylan toward gravitational orbs and traversal points |
Grab Extended Rush as soon as you can. Tripling how long Dylan sprints makes crossing the map, chaining combat, and solving movement puzzles far quicker. Shift specifically unlocks the route to Gravity Town in the starting district, so it is worth targeting.

Collect HP and Power upgrade crates in threes
Dylan’s Health and Power gauges only grow when you gather upgrade points, and you need three of each to raise a gauge once. These are worth going out of your way for, since more HP and Power directly improve your survival against the Hiss.
You will usually find the first ones near a vendor in a new area. Others are tucked inside rare storage crates in stores that require a small puzzle to reach, or hidden in secluded spots guarded by enemies. Whenever one of these crates appears, prioritize opening it.
Best early-game Talents to unlock first
Talent Points are scarce at the start, so spend them on skills that improve your baseline abilities and combat consistency. These early picks sit on the left side of the tree, so work your way in that direction. The right side leans into a Summon-focused playstyle you can skip if you prefer direct action.
- Perfect Dodge
- Retribution
- Agile Response
- Decisive Step-Up
- Reactive Detonation

Report to Zoe and clear radars to open the map
As you explore, you will run into strange items and situations that show a “Report” option at the bottom of the screen. Select it to report the location to Zoe, Dylan’s handler. Reporting often starts a quest with worthwhile rewards, and sometimes fills in lore for anyone invested in Remedy’s universe.
The map is large and painful to explore blind, so seek out the radars. Marked by a radar-shaped icon, each one works like a Far Cry tower: interact with it to clear the fog of war covering that stretch of the map and make everything easier to navigate.
Complete Side Stories for Artifact recipes and outfits
Side Stories are one of the game’s highlights and a strong reason to stray from the main path. Beyond leveling up Dylan, they are among the best sources for new Artifact recipes and exclusive outfits, and they lead to lore reveals that are best experienced firsthand.
Some Side Stories unlock as you clear main missions, but most you discover out in the open world. A few go well beyond conventional design, such as containing a karaoke setup that scatters you across dimensions. When one appears in your Quest Log, it is usually worth finishing.

Buy exact materials from district vendors
Each district has a vendor, marked by an ice-cream truck, that sells upgrade materials in exchange for Source. You can also buy cosmetics for Dylan and skill reset items if you want to re-spec into a different combat build. Not everything is stocked immediately; you need to raise a district’s world level to unlock the full inventory.
These trucks are most useful when you only need a couple of items to unlock a skill or craft an Artifact. Instead of farming a specific enemy for an RNG drop, buy the exact material you need. Only purchase what you actually need, since materials become easy to gather from enemies in the endgame.
Prepare before fighting Resonants
Resonants are the large-scale bosses spread across the zones, and you can tackle most of them in any order. Defeating one rewards a powerful combat ability, such as igniting yourself to add fire damage or pushing enemies back with force. Fire, in particular, helps against the Mold enemies you meet later, which are weak to it.
The Resonant Cycle is the drawback: killing a Resonant triggers a world reset, bringing back every defeated enemy at slightly higher strength. Prepare Dylan’s level and complete plenty of optional content before each battle; otherwise, ordinary enemies may trap you in a death loop once the fight ends.
Swap defensive Artifacts for damage as you grow stronger
Early Artifacts lean toward defensive boosts and healing, which is exactly what you want while surviving the opening hours. As you push deeper and enemies gain larger health pools, transition to Artifacts that maximize damage output so you can take them down quickly.
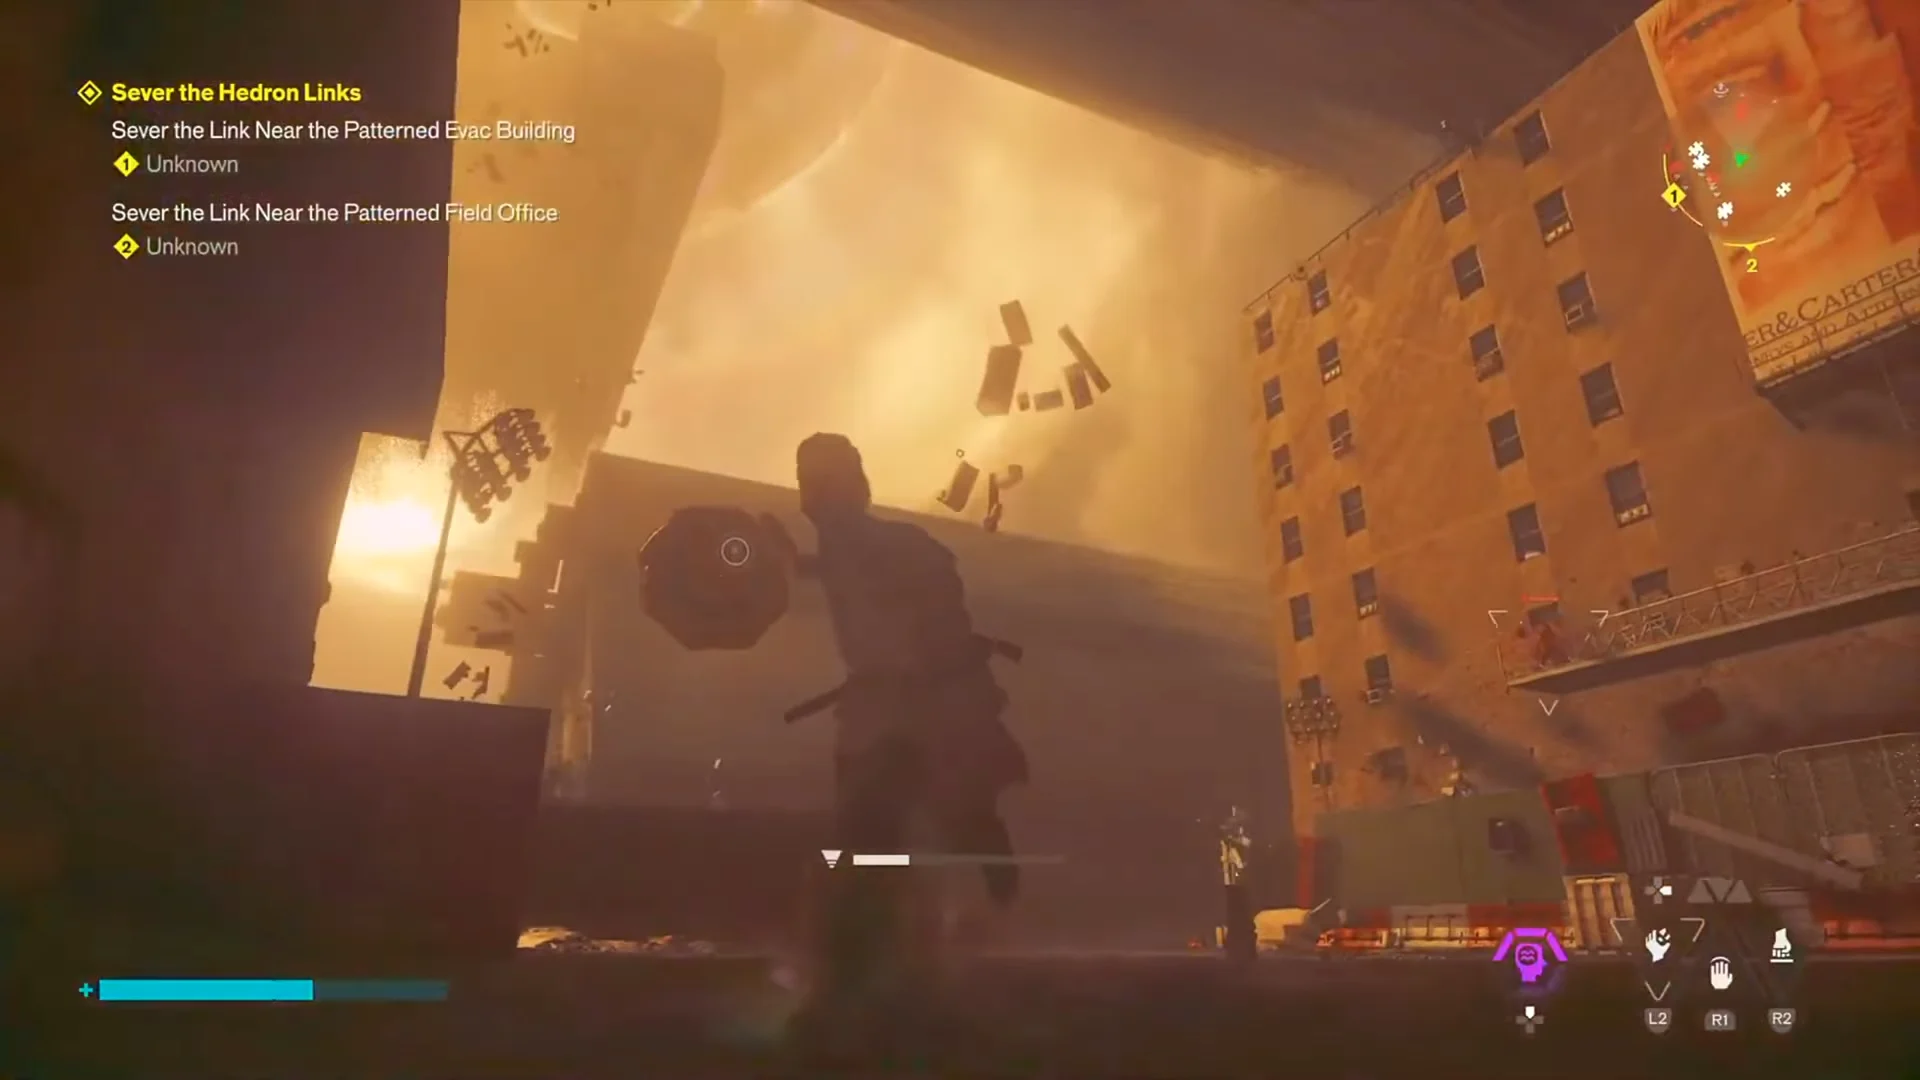
Stack these habits together and the early game stops feeling like a wall. Keep your power level ahead of the zone, feed XP into districts for Talent Points, hoard your HP and Power crates, and never walk into a Resonant undercooked. Do that, and the harder Resonant Cycles later on become a challenge you are ready for rather than one that stops you cold.