
Perimeter Station is one of three subway stops you have to reroute during the ‘Power Lines’ mission in Control Resonant, and it is the fiddliest of the trio. The station hides its three Calibration Units behind a locked door, a moldy stretch of track, and a Power Core you have to physically carry, and the taped squares on the floor give you more options than you actually need.
Quick answer: Gather all three Calibration Units, then place one in the square nearest the Tuning Device, one at the top of the opposite staircase, and one inside the little shop before activating the device.
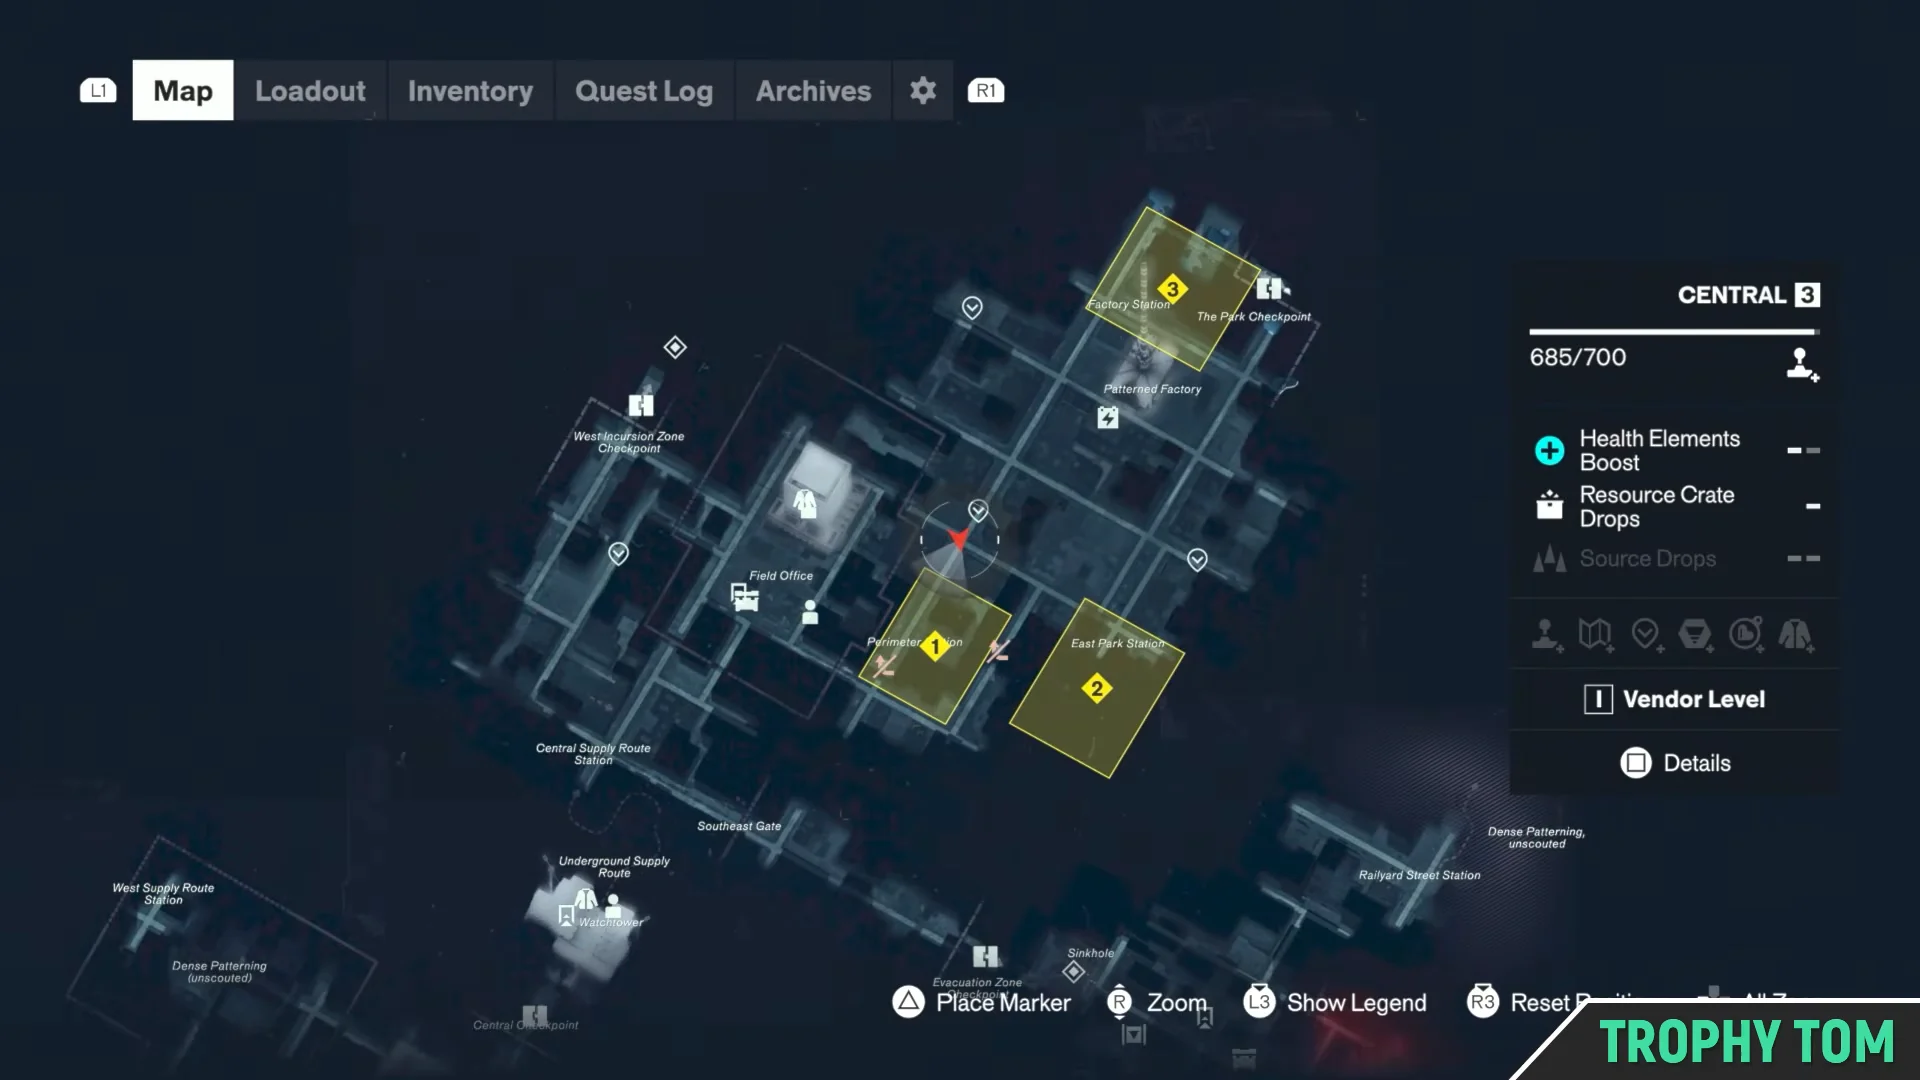
Perimeter Station location and how to reach it
Perimeter Station sits east of the Field Office, in the stretch of Central you reach by passing through the building that also leads toward the Patterned Factory. Come out of that building and take the road immediately to its right. You are on the correct street if you can see signage pointing to the Perimeter Area and the road dead-ends at a wall you can run up with Shift.
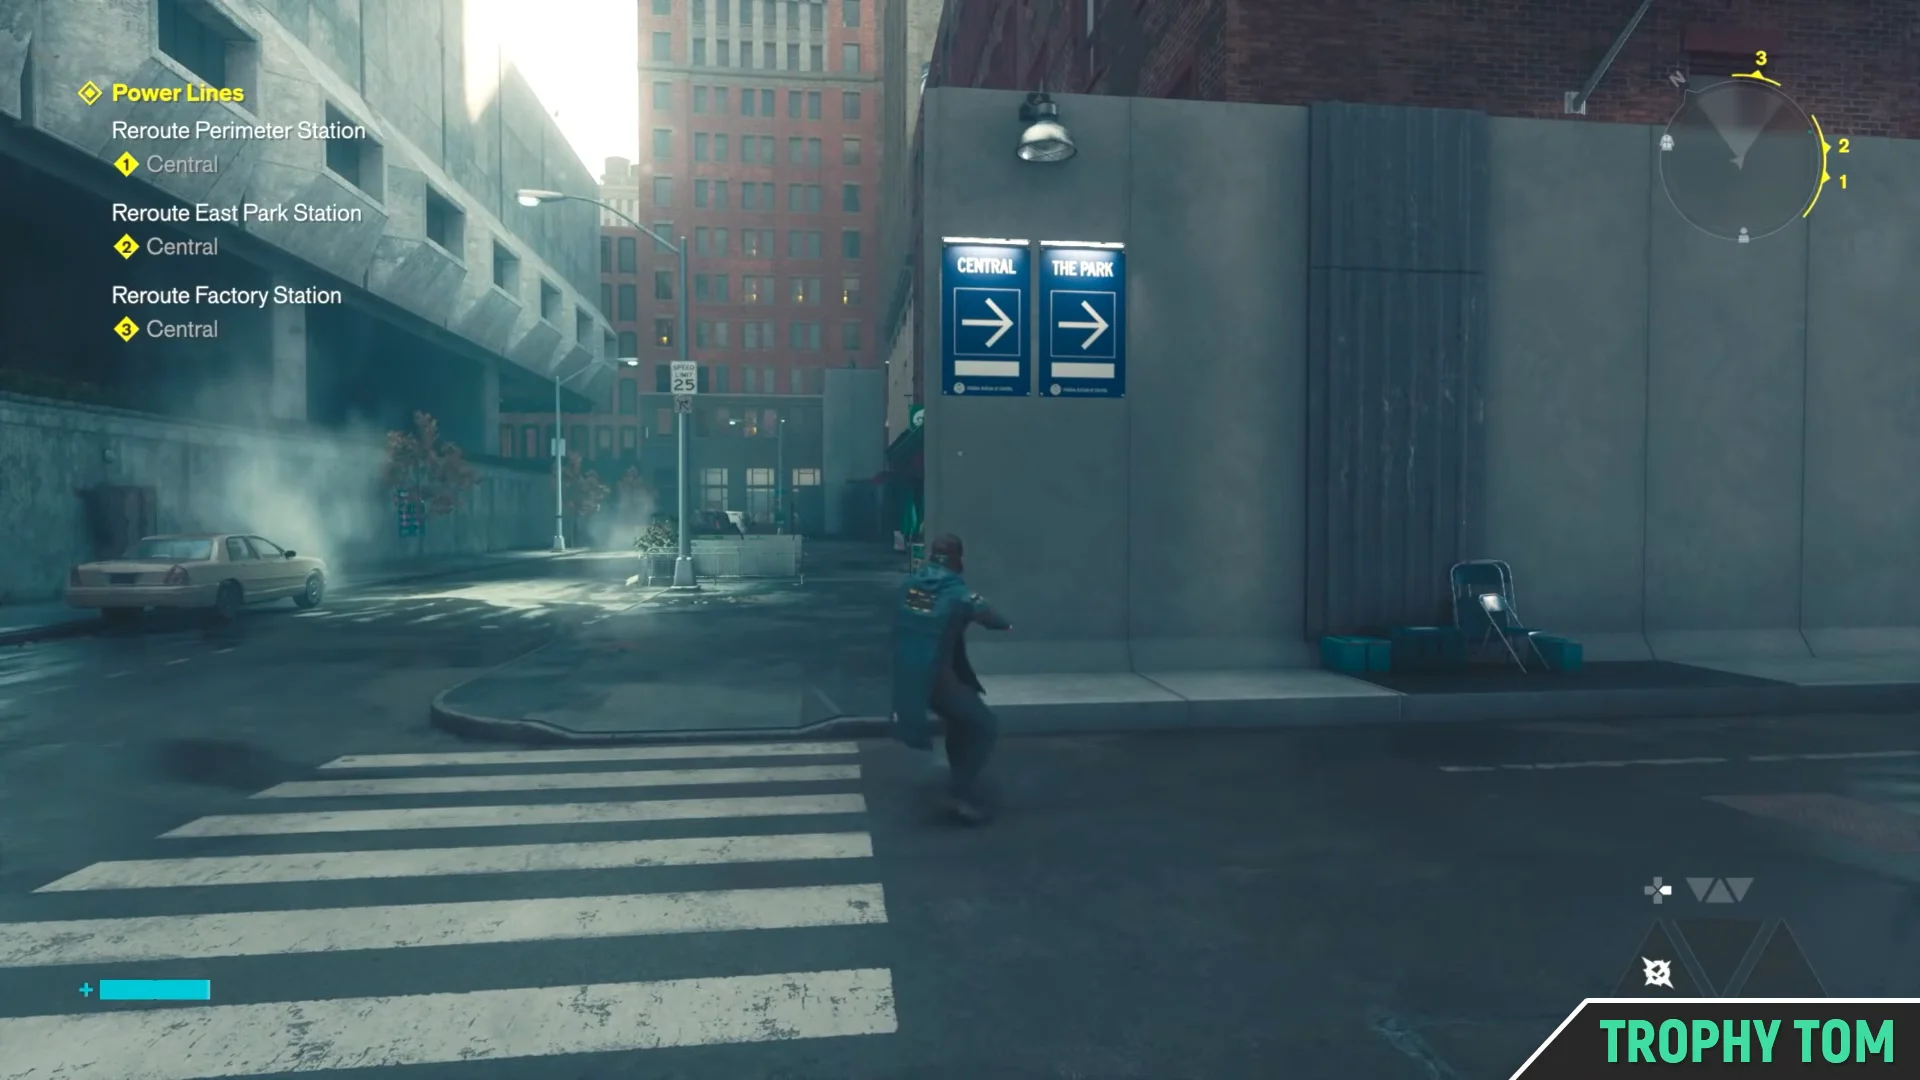
Follow that road and the subway entrance appears on your left. If you have already handled East Park Station, the shortcut is simpler still. Take the left-hand road out of East Park and it drops you into the same area.
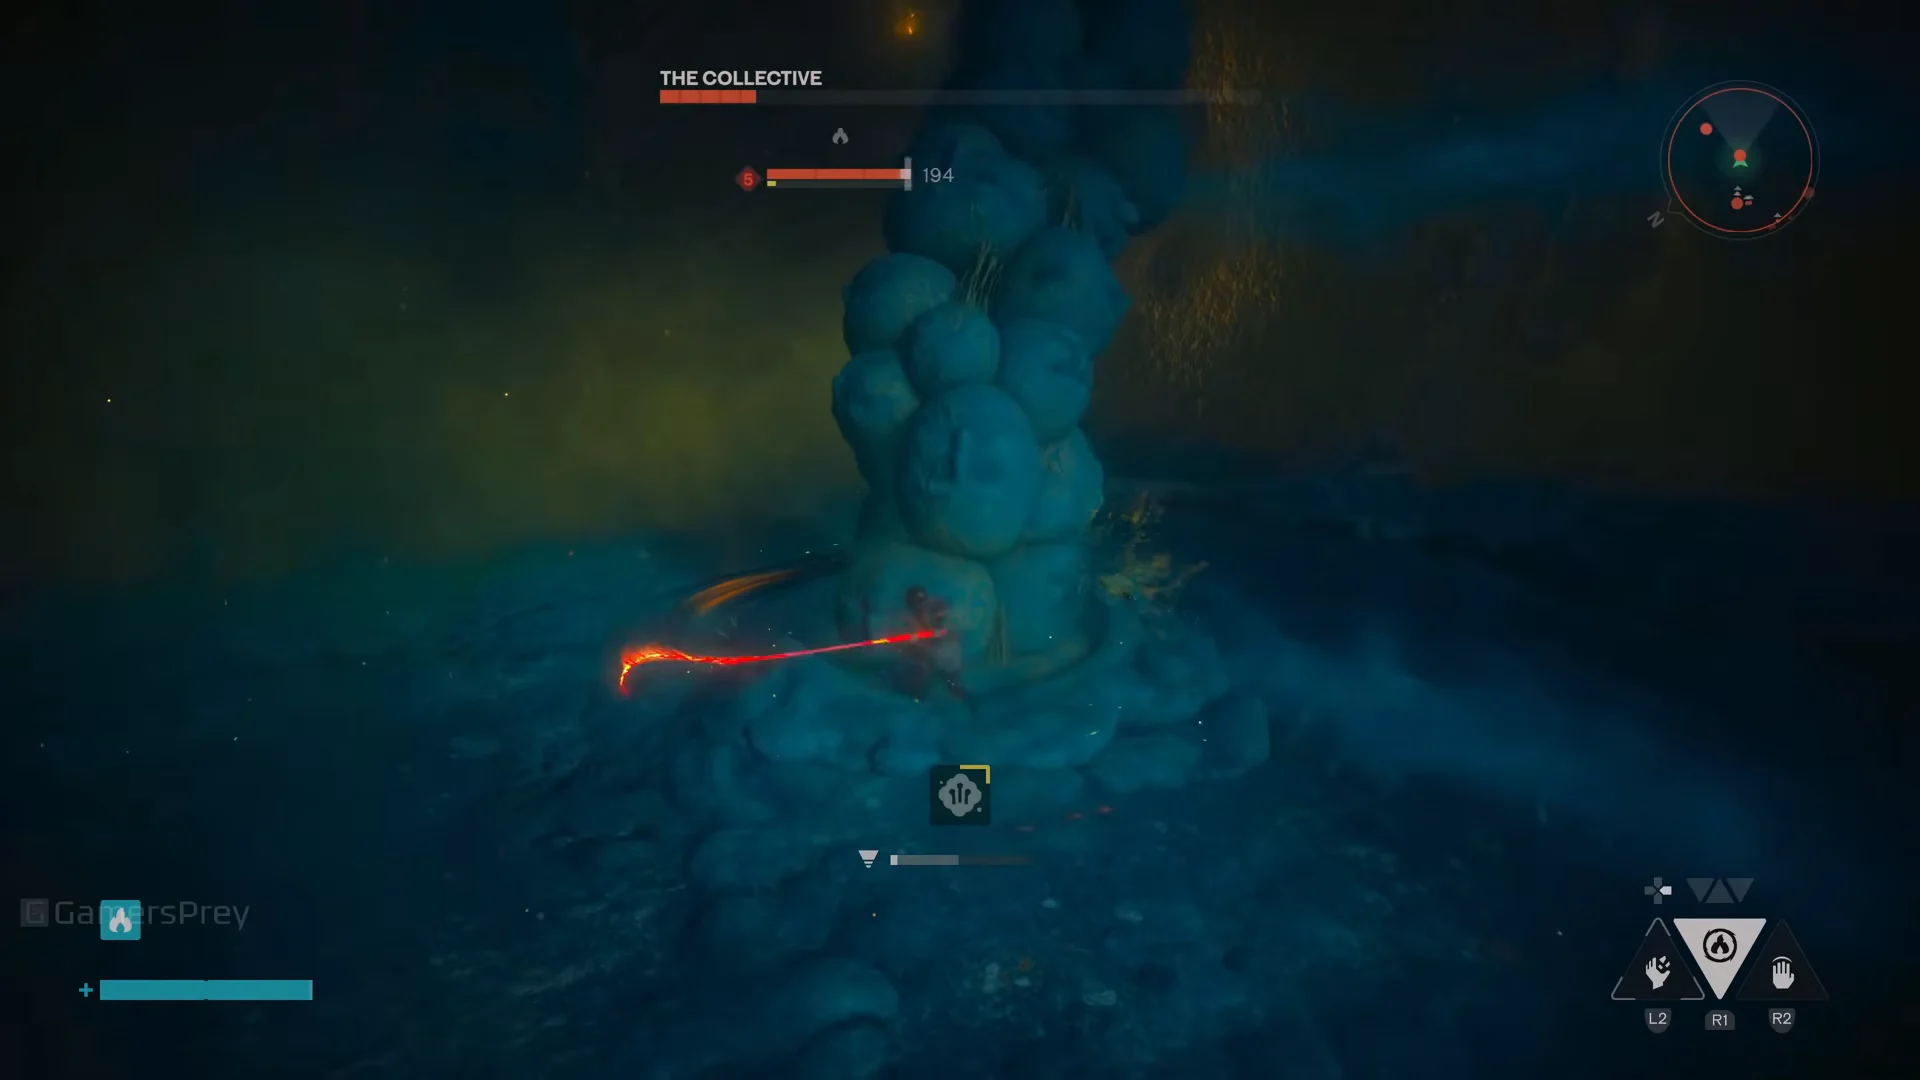
The entrance seals when you arrive, and you have to clear two waves of Hiss before it opens. These are Level 4 enemies, so if they are chewing through you faster than you can react, spend some time on side quests or World Feats and come back with better gear.
All three Calibration Unit locations in Perimeter Station
Head down past the ticket barriers and take the second flight of stairs to reach the platform. The Tuning Device is down here, along with a pair of notes spelling out that it needs three Calibration Units before it will do anything. Here is where all three sit and where each one ends up.
| Unit | Where to find it | Where to place it |
|---|---|---|
| 1 | Top of the stairs opposite the ones you came down, beside heavy mold | The taped square at the top of those same stairs |
| 2 | On the tracks, behind the stairs you entered by, in the moldy stretch | The square beside the bin and nearest the Tuning Device |
| 3 | Behind the double doors on the tracks, opened with the Power Core | The square inside the little shop |
The first two are straight pickups. Jump down onto the tracks for the second one rather than looking for a stairway, since the unit is tucked behind the staircase you originally used, near an audio log.
How to open the tunnel door for the third Calibration Unit
You will need that charge back upstairs later to open the shop door, so expect to run the same relay a second time in the opposite direction.
Placing the Calibration Units in the correct squares
There are more taped squares scattered around the platform than there are units, which is the whole puzzle. Ignore the extras and follow the yellow lines running away from the Tuning Device toward the two staircases.
That third unit keeps working even if you pull the electricity back out of the shop’s Power Core afterward, so you do not need to leave the current parked there.
Confirming the reroute worked
With all three units seated, walk back to the Tuning Device on the platform and activate it. A correct setup plays a cutscene in which Dylan has a distinctly rough time, and you are dropped into the Vanished Station on the other side of it.
If the device does nothing beyond a failed attempt, at least one unit is in the wrong square. Re-check the three positions listed above, since the extra taped outlines on the platform are decoys, and try again once each unit is in its correct spot.