Part two of the all-in-one RuneScape: Dragonwilds base turns the completed box-shaped shell into a livable home. Since stage one already supplied the walls and framing, this stage focuses on the roof, finishing trim, a dedicated crop greenhouse, and the workstation arrangement that completes the build.
Quick answer: Finish the main house with 45° and 30° roof panels plus two dormers, add window awnings, build the fenced greenhouse beside it, then fill both floors with workstations and storage.
What needs to be standing before you start
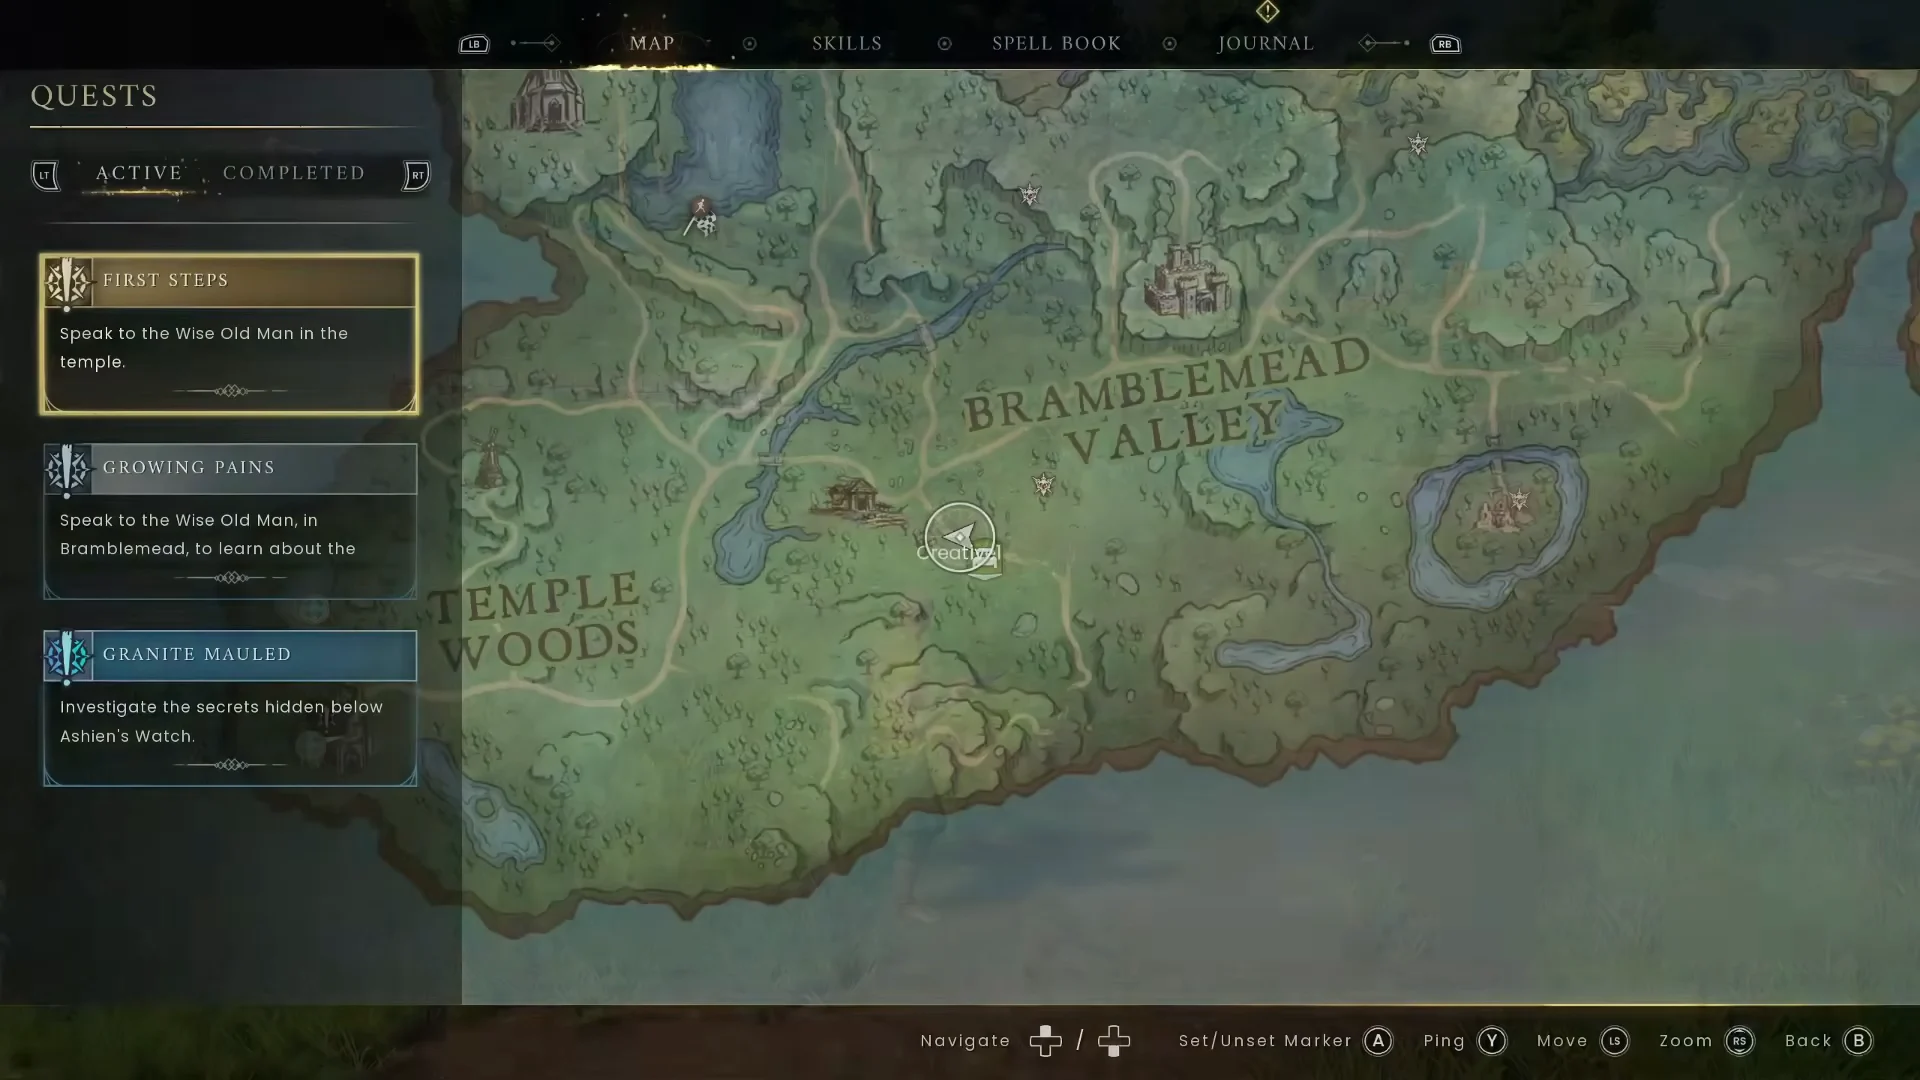
The build sits in Bramblemead Valley, on the flat ground below the temple, with the trees cleared so shadows do not fall across the plot. Two structures share the site: a rectangular main house on a 7×5 Cottage Square Foundation, and a circular stone roundhouse built from Square and Triangular Foundations rotated into a ring.
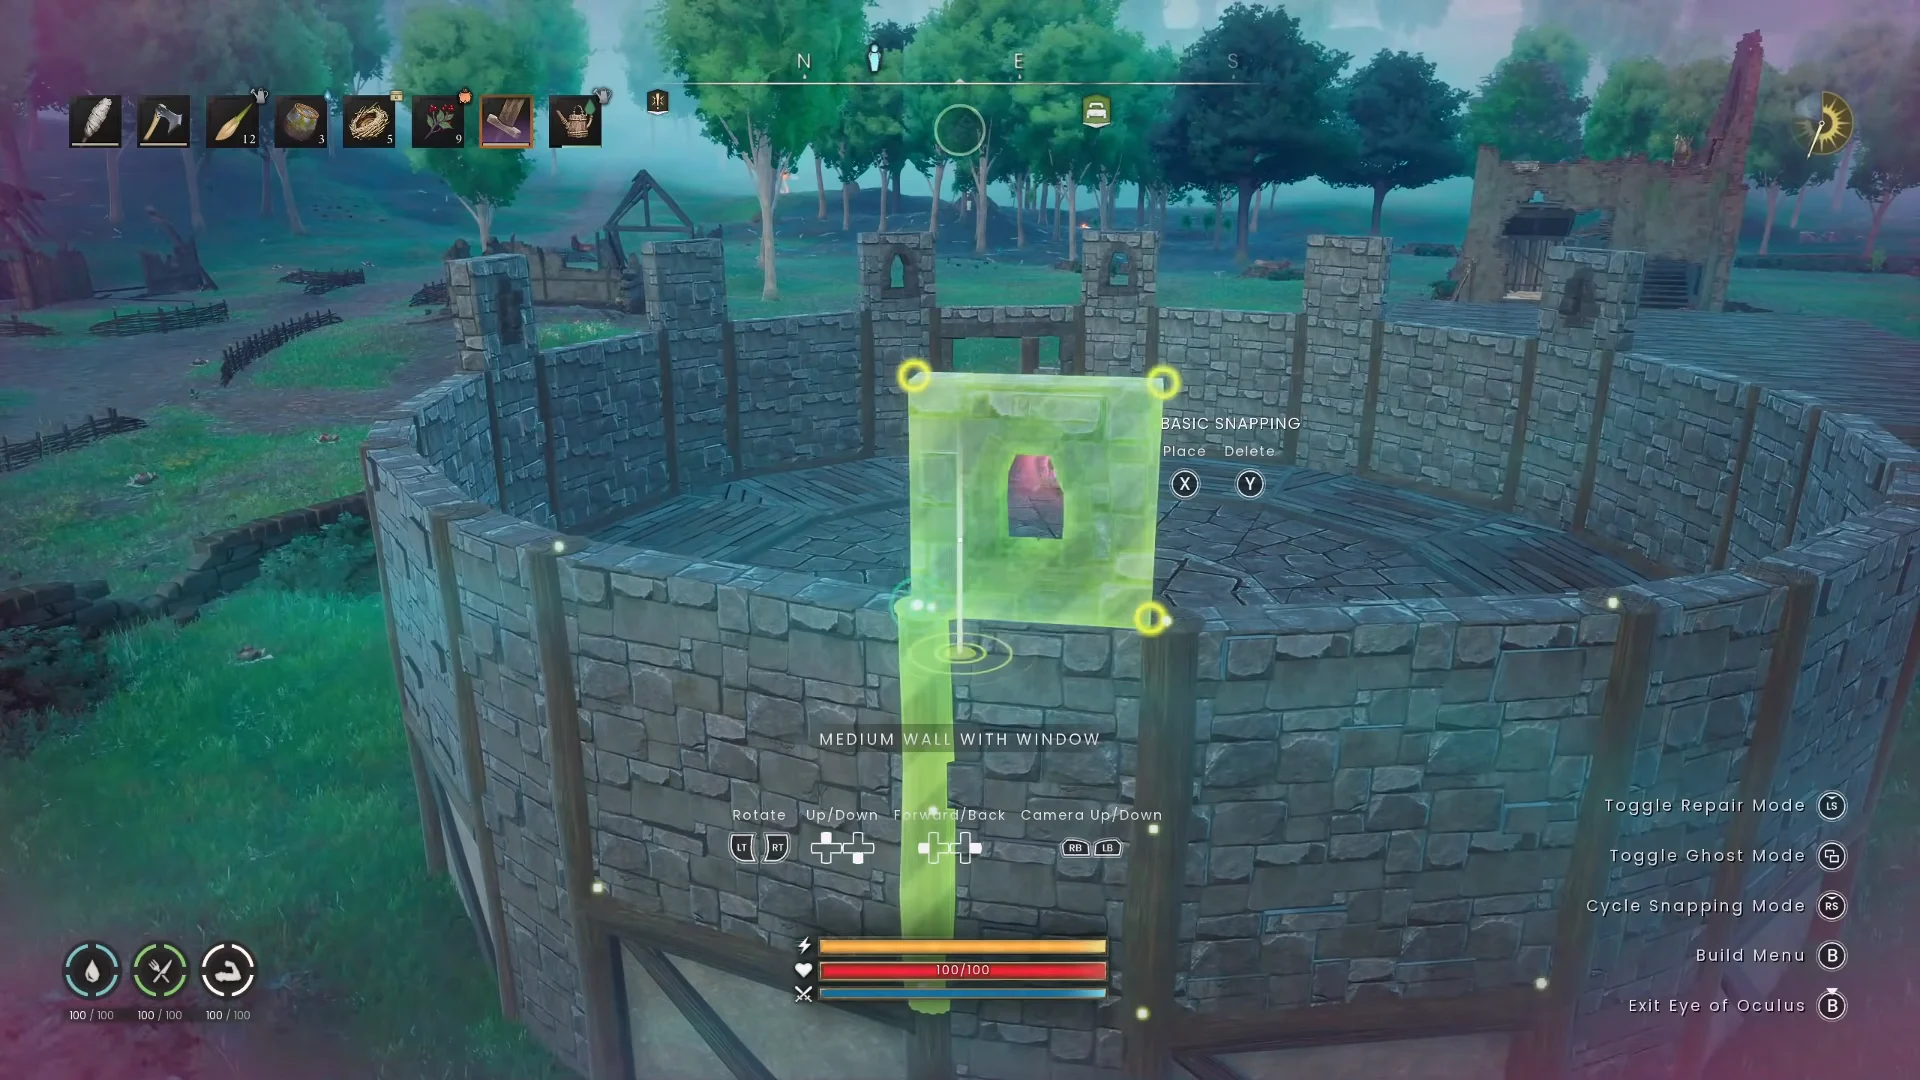
By this point the roundhouse should already have its two tiers of Castle Stone Walls, its window and door openings, and its conical Castle roof closed off at the apex. The main house needs its ground and upper wall courses, the ash beam framing, the front and rear decks, and the raised interior platform at the back that becomes the bedroom.
Keep a reserve of Ash Logs and Stone on site. Roofing eats materials in bursts, and running out mid-slope means climbing down and walking off for more.
Build modes that make roofing manageable
Roof work happens at height, at awkward angles, and often on pieces you cannot physically reach. Four tools handle almost all of it.
| Mode | What it does |
|---|---|
| Eye of Oculus | Detached free camera for placing pieces you cannot stand next to |
| Ghost Mode | Places translucent blueprints without spending resources |
| Repair Mode | Completes blueprints, repairs damage, and dismantles pieces to recover materials |
| Advanced Snapping | Shows every connection vertex on a piece, instead of the default few |
The build menu groups pieces by category, and each entry lists its material cost on the left panel, so you can check what a roof ring will cost before committing to it.
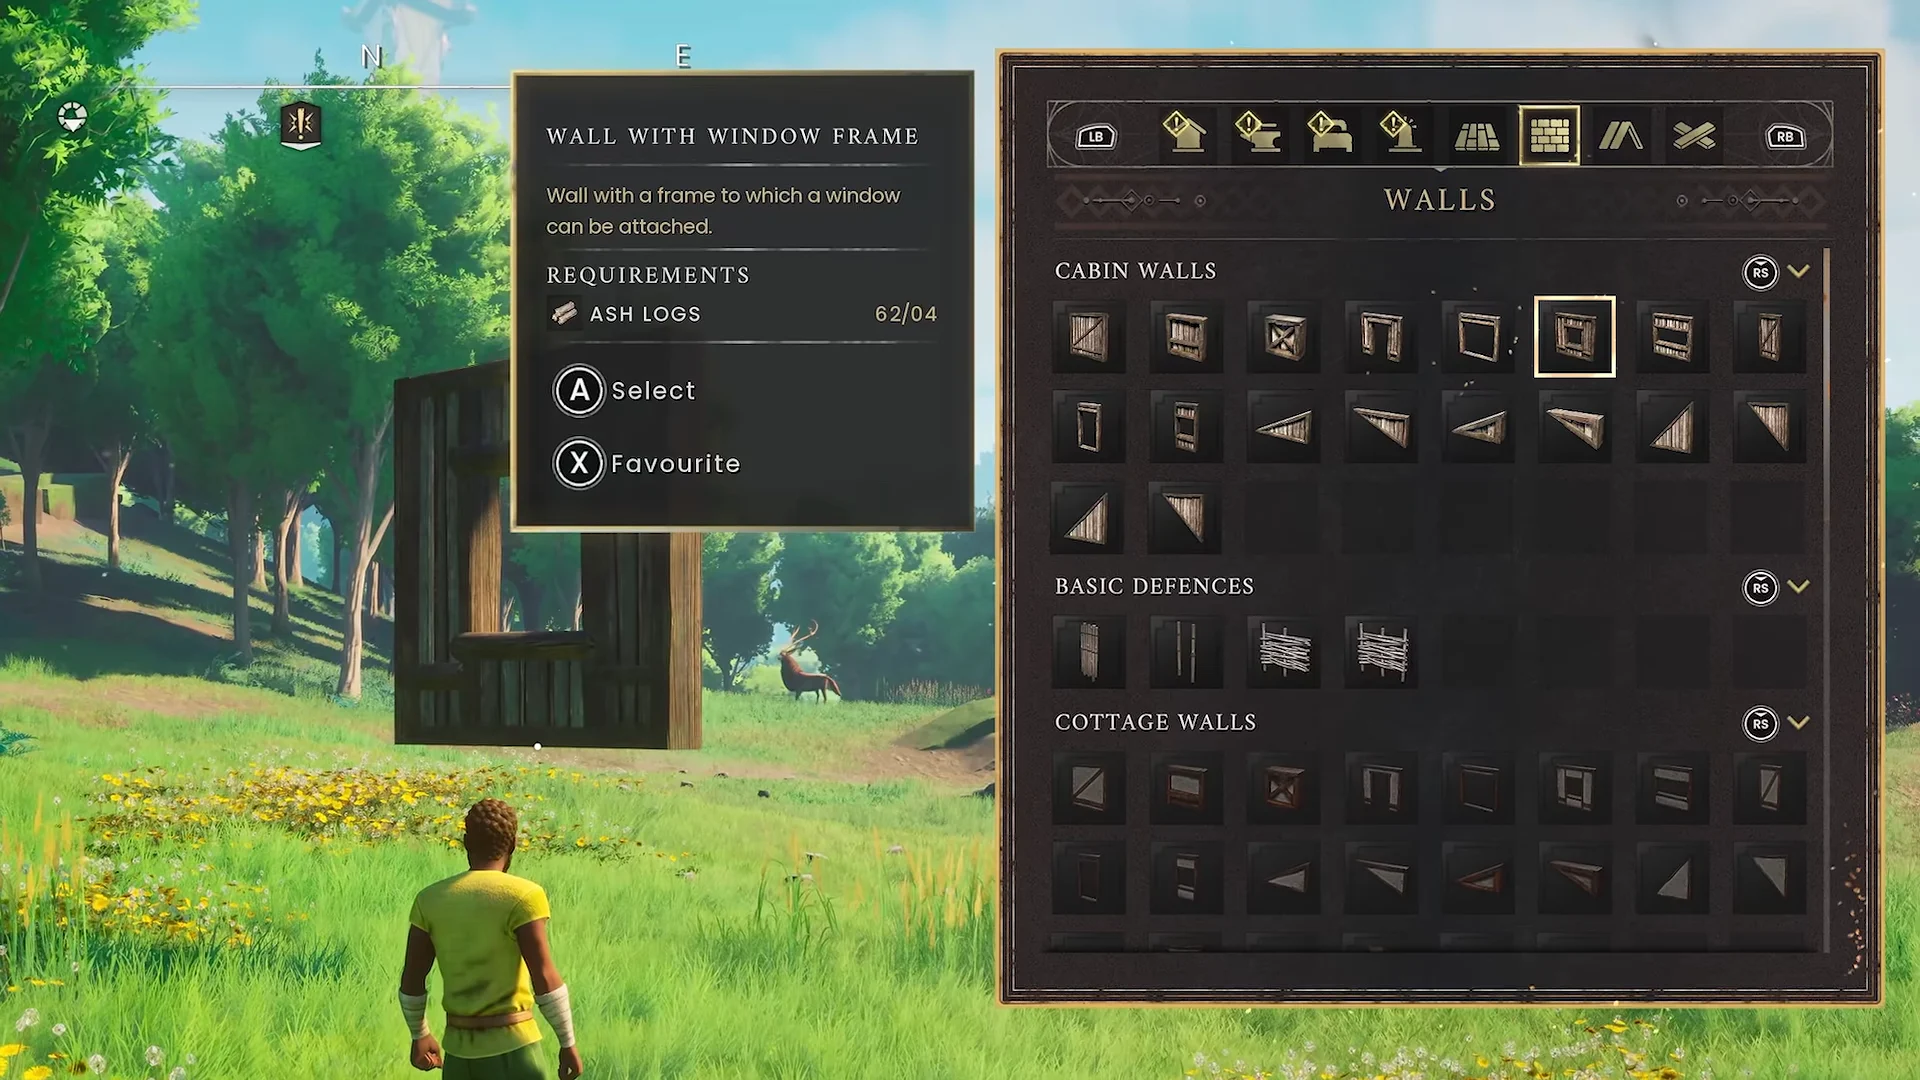
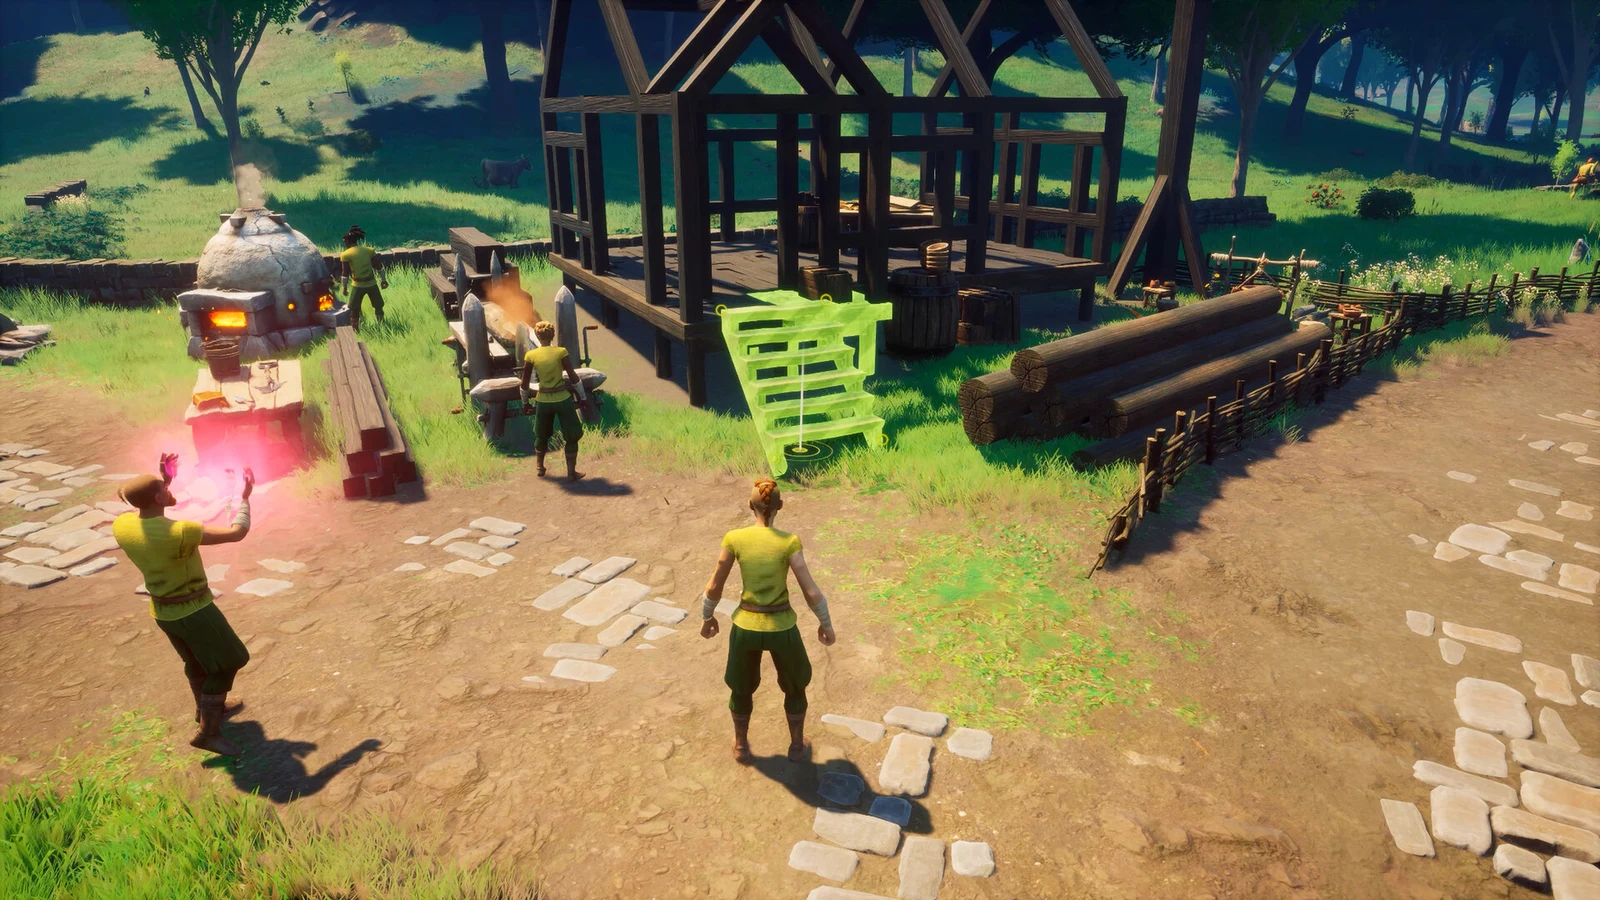
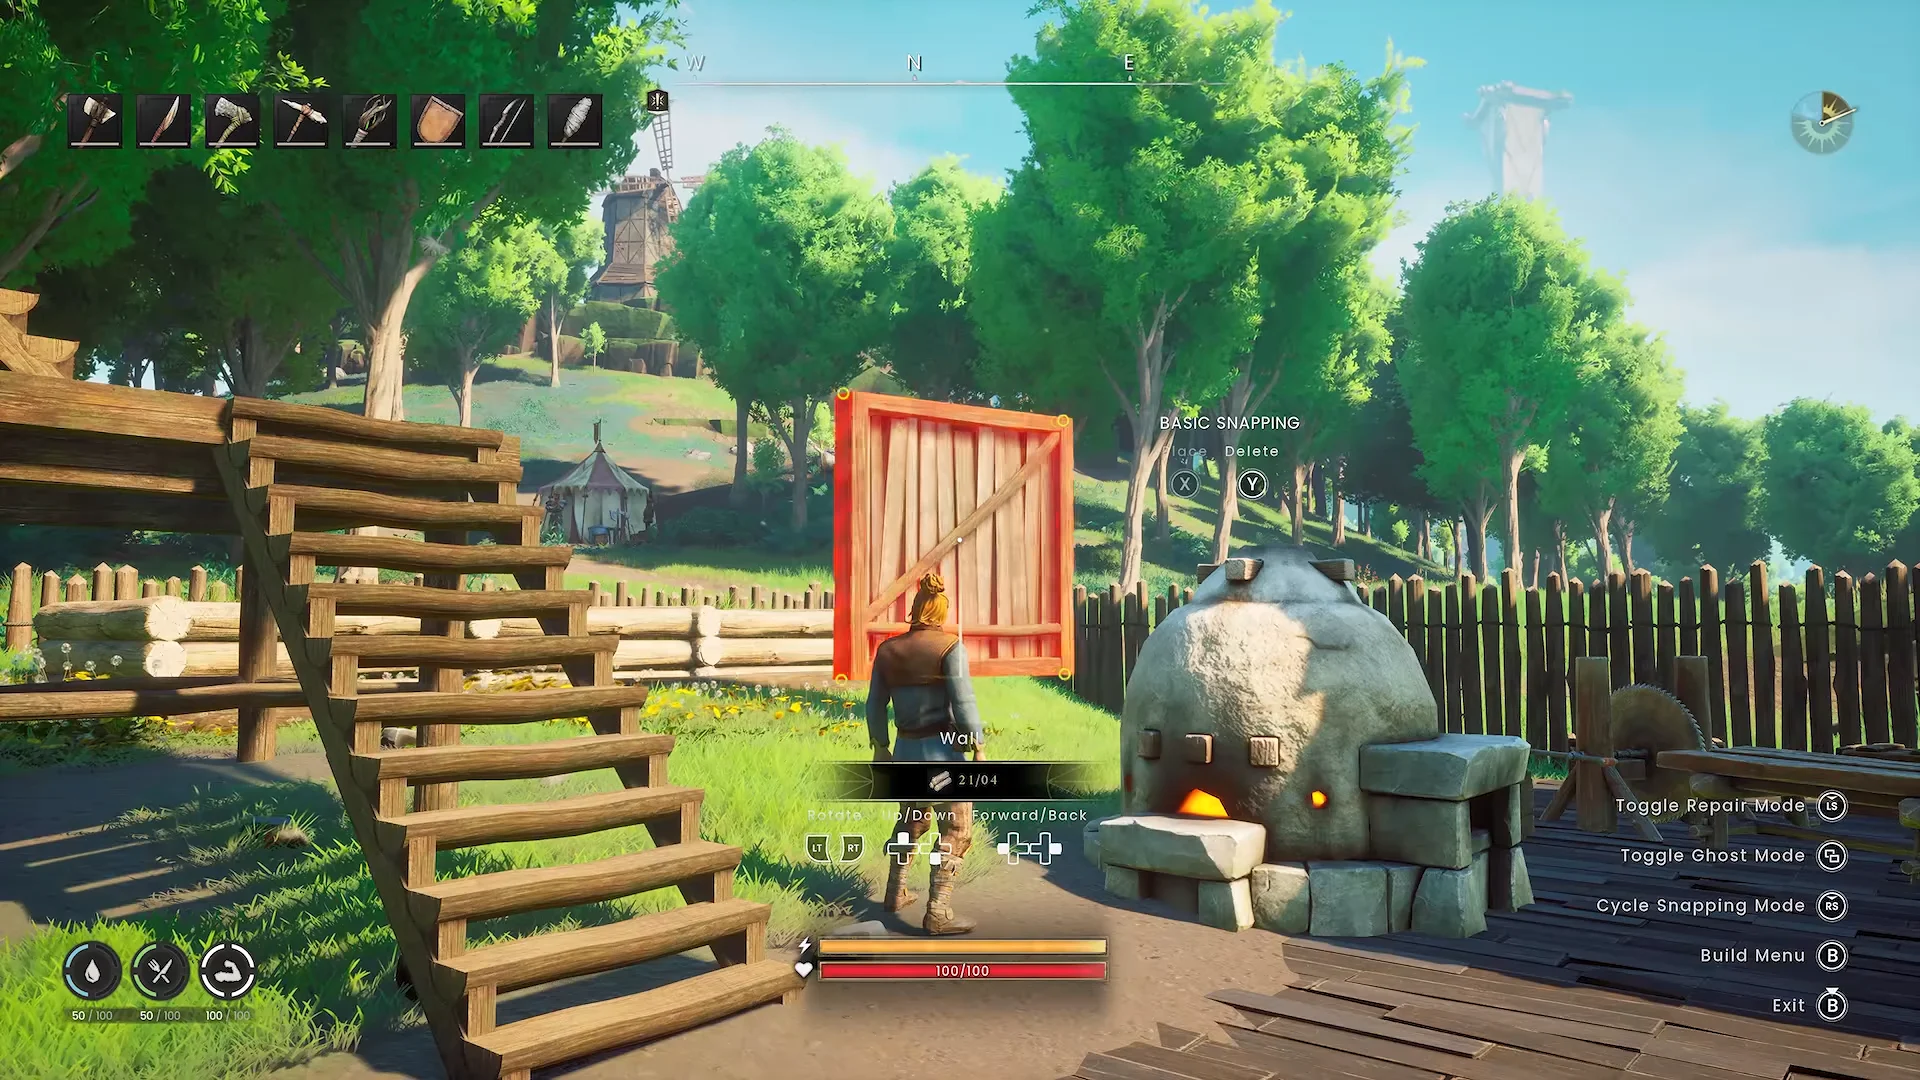
A green preview means the piece will place. A red one means an obstruction, a missing connection to a supported piece, an unstable position, or not enough materials. Check those four things before you assume the design is wrong.
Add window awnings and exterior trim
Start low, before the main roof goes on. The awnings sit above the window openings on all four sides and are the cheapest way to break up flat wall panels.
The left side gets a peaked awning instead of a flat one, combining Medium 30° Roof and Small 30° Roof pieces with beams and inverted support walls underneath. The back windows take Medium 30° Roof panels with angled thick beams below. While you are down here, seal the gap beneath the stairs to the raised living quarters with Medium Walls so the under-stair nook becomes usable storage space.
Close the main roof and frame both dormers
The main house roof is two tiers. The lower band is steep, the upper band is shallow, and two dormers break the upper slope on opposite sides.
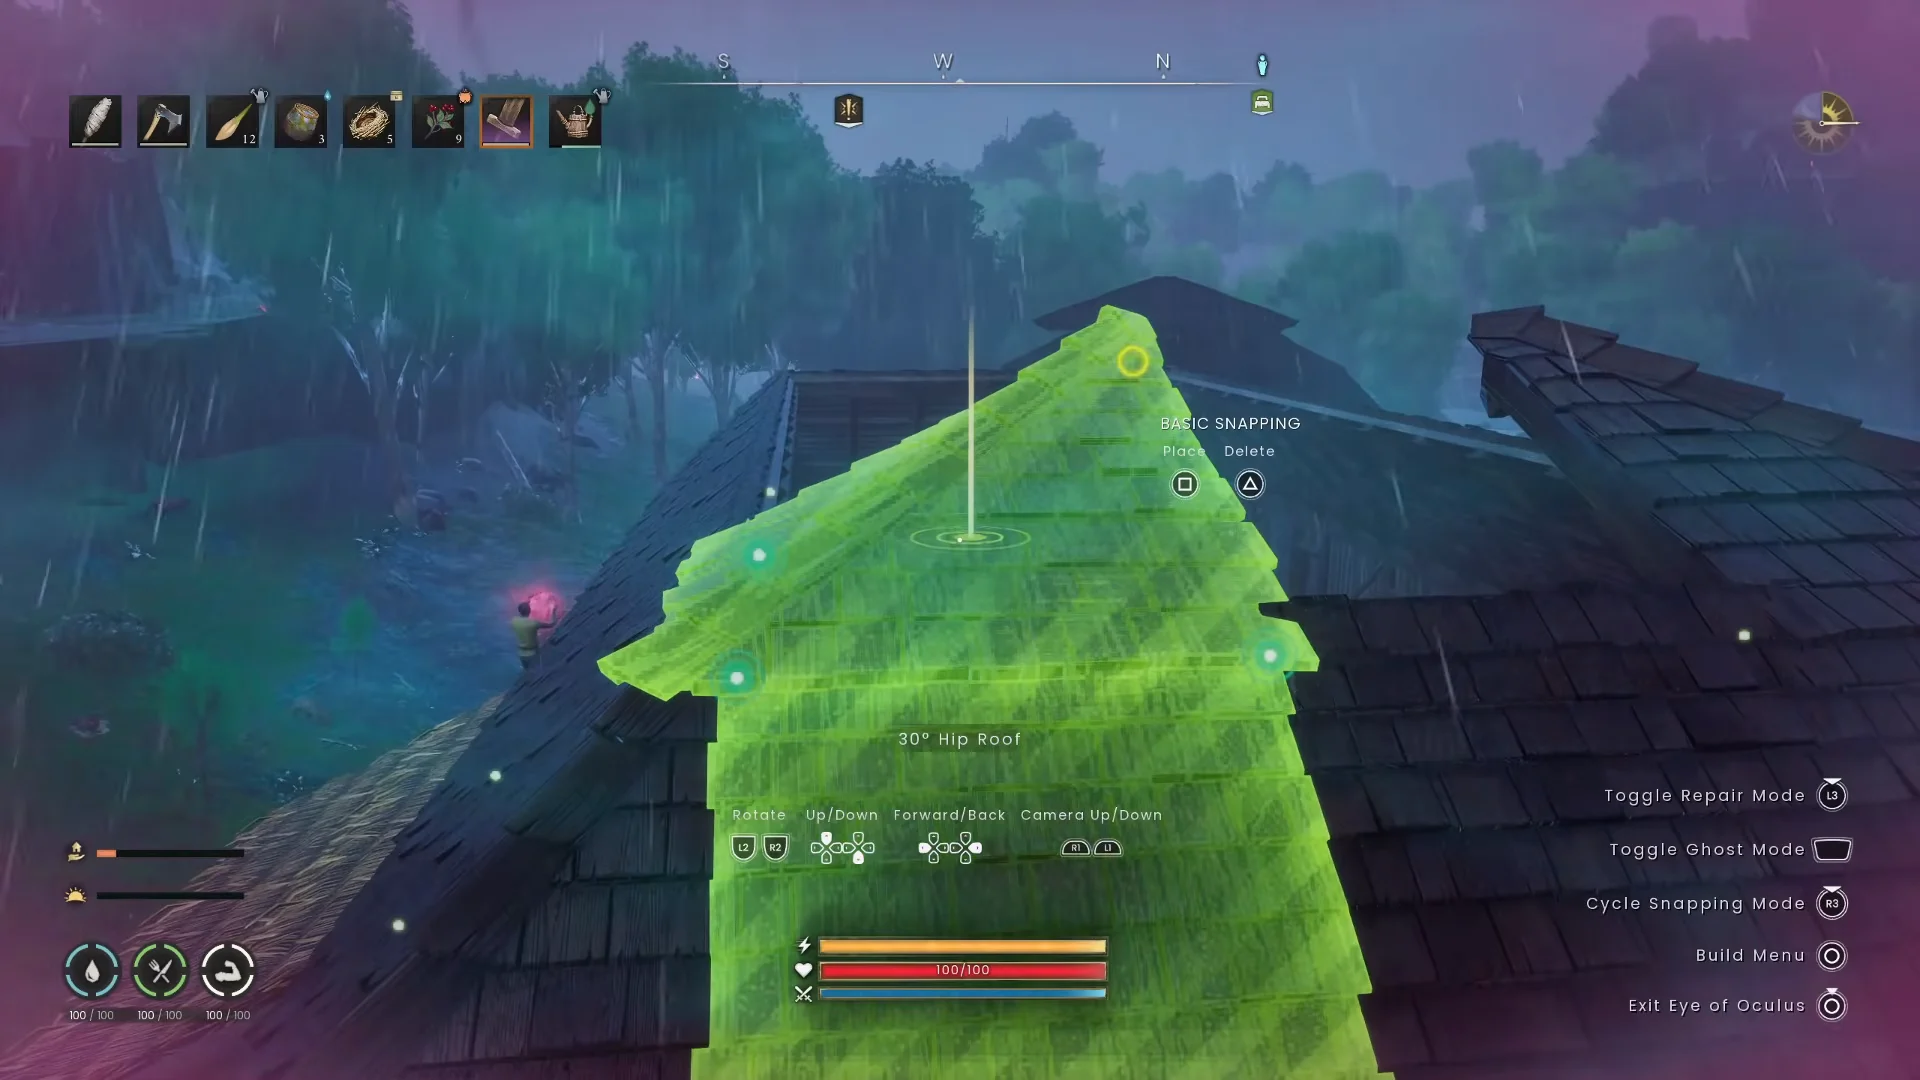
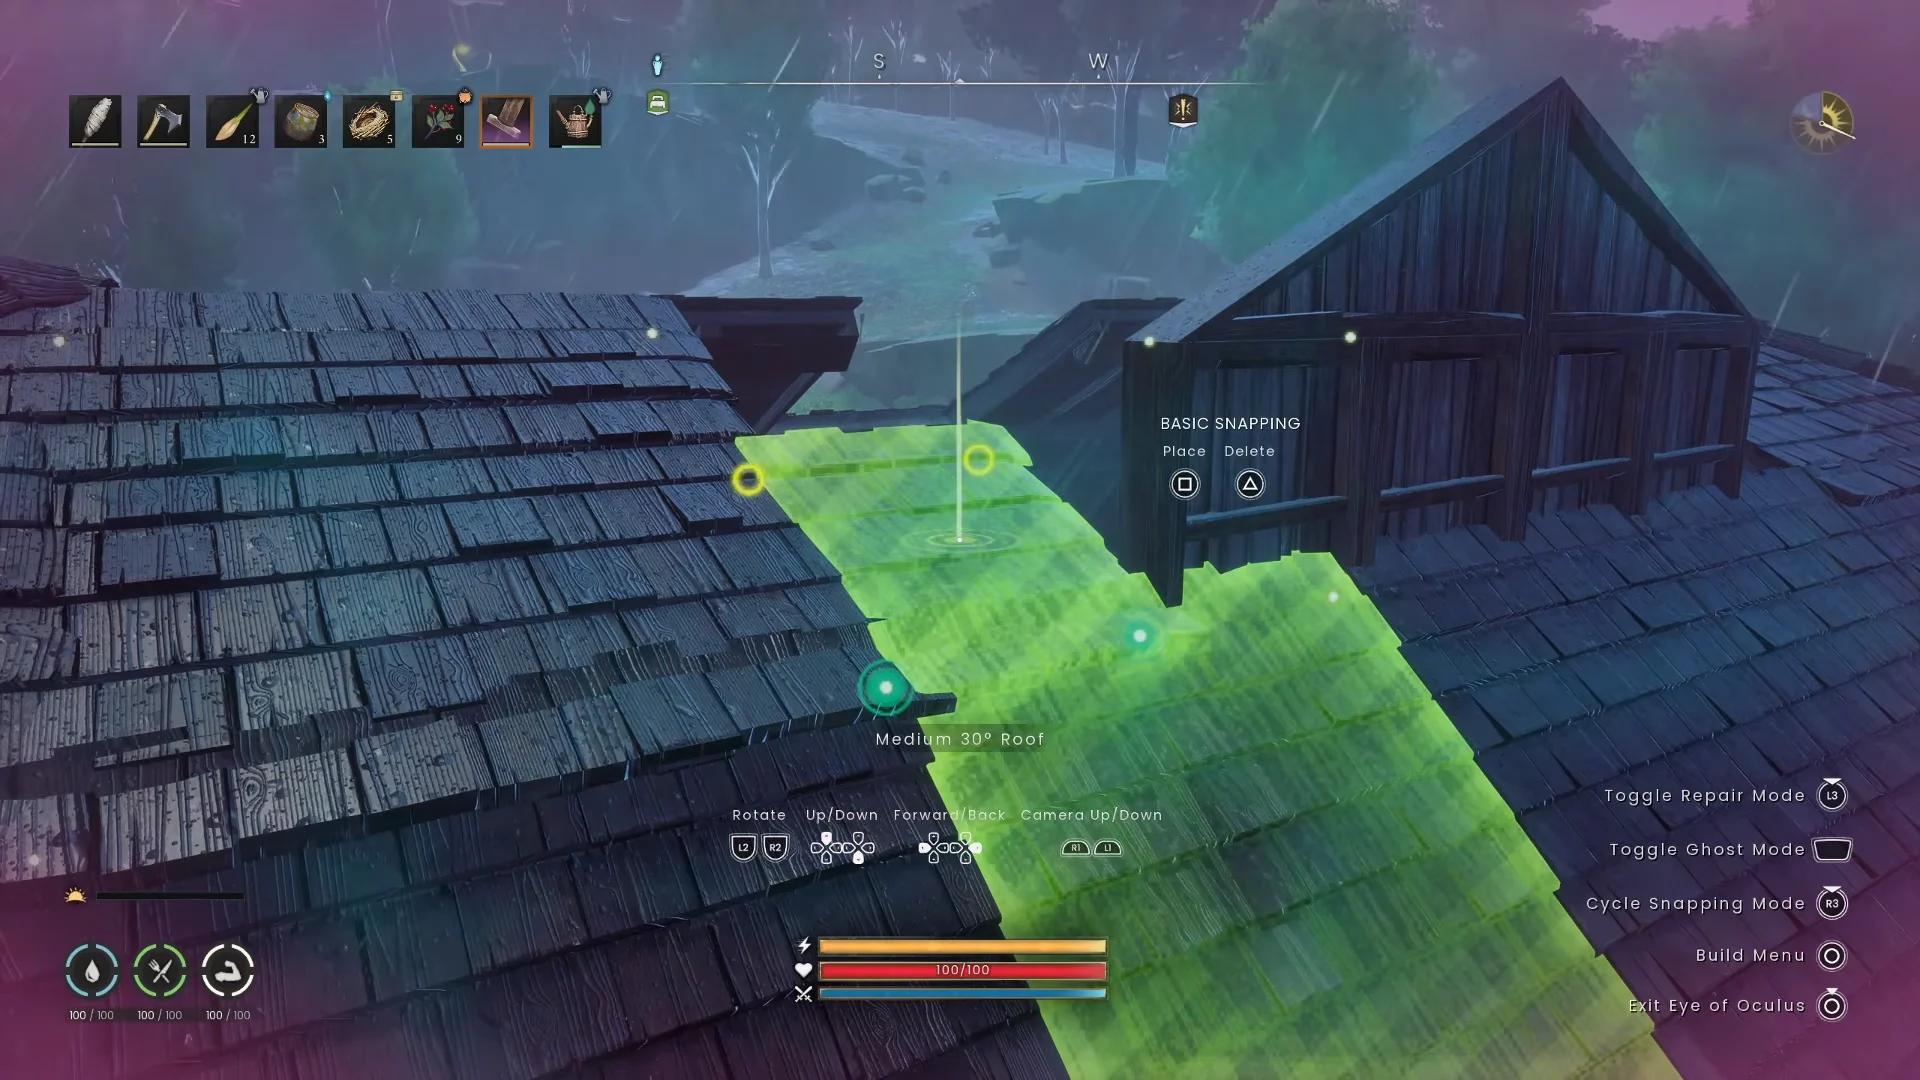
Valley pieces are the ones people miss. If a dormer leaves a triangular hole where it joins the main roof, that gap is a valley, not a missing panel.
Build the farming greenhouse
The greenhouse is a separate structure on the ground beside the house, built as a raised walkway ring around a sunken planting area. The roof only covers the walkway, leaving the crops open to the sky in the middle.
Dividers between plot sections use Short Vertical Thick Beams and Hedge Ends. If the hedges block your path to the middle rows, pull the centre ones out and replace them with cross-walkways of beams and fences. Small Square Foundations with basic stairs flank the entrance, topped with Rain Catchers and torches.
The finished interior holds the whole farming loop in one place:
- Water barrels and Rain Catchers for irrigation
- Scarecrows along the plot rows
- Seed chests near the entrance
- Composters for soil upkeep
- Cooking ranges for processing harvests on the spot
- Torches and decorative plants along the railings and posts
Workstation and storage layout
Every station in the game has a home somewhere on this plot. Splitting them by zone keeps the noisy, smoke-producing ones outside and the fiddly crafting ones within a few steps of your storage.
| Area | Stations and storage |
|---|---|
| Front porch | Blast Furnace, Furnace, Ore & Stone Storage, Lumber Storage |
| Back deck | Lodestone, Sawmill, Lumber Storage, Stonecutter |
| Ground floor | Kiln, Pottery Wheel, Brewing Cauldrons, Blacksmith’s Bench, Crafting Table, Fletching Bench |
| Ground floor perimeter | Armour Bench, Jeweller’s Bench, Cooking Range, Grill, Grindstone |
| Upper tier | Bed, Oak Chests, Storage Ledgers, Rune Altar, Mystic Forge |
| Upper alcove | Loom, Loom Harness, Spinning Wheels, Tannery, Tanner’s Kit |
The Lodestone goes in the centre of the back deck. That puts your arrival point a few paces from the Sawmill, the Stonecutter, and a Lumber Storage bin, so a full inventory of logs gets unloaded without crossing the building.
Doubling your chest capacity upstairs
Run a row of Oak Chests under the railing of the raised bedroom tier, then build Small Square Tiles directly over them as a shelf. A second row of chests sits on that shelf, doubling the storage in the same floor space. Place Storage Ledgers in the middle of the chest rows so pulling materials for a recipe works from one spot.
Decoration and lighting
Wall-Mounted Torches and Blue Wall-Mounted Torches go above the window dormers, along the railings, and over the entries. Inside the upper suite, a Bookcase filled with Skill Tomes and mounted tapestries dress the walls, with Muncher’s Basket and a Sleeping Chinchompa beside the bed.
The roundhouse as a trophy room
The circular stone building next door has no workstations in it at all. It holds dragon heads, full armour sets on mannequins, weapon racks, and regional banners around the curved wall, which is what the tiered interior stone floor was built for.
Confirm the base is finished and working
Once the Bed is in position, interact with it to set the respawn point—a detail that is easy to miss after spending so long building. Construction experience comes from every piece you place, so open the Skills menu, choose Construction, and check the progress earned from the roofing and greenhouse work.
Then do a slow lap. Walk the front porch past the smelters, up through the ground-floor crafting hub, up the stairs to the bedroom tier, out onto the back deck, and over to the greenhouse. If you can reach the Lodestone, a chest, a Cooking Range, and a farming plot without moving furniture or squeezing past a beam, the layout is done. Anything that still blocks a route can be pulled with Repair Mode, which refunds the building resources so you lose nothing by adjusting it.