Silent Hill Townfall does not let you go back. There is no chapter select and no free roam after a story beat closes behind you, which means every Document, Clue, phone number and CRTV signal in Act 1 is technically missable. That matters more than usual here, because your total discoveries are weighed against your kill count to decide which ending Simon and Zoe reach.
Quick answer: Act 1 is Part 1: Arrival, Chapters 1 through 4. Clear the pier, Town Square phone booth, the hotel, Zoe’s house, the clinic and Jess’s house before each story trigger fires.
What Act 1 collectibles count toward
Townfall tracks 138 collectibles across the full game, split into categories that each have their own counter and their own reward. Act 1 only touches four of them.
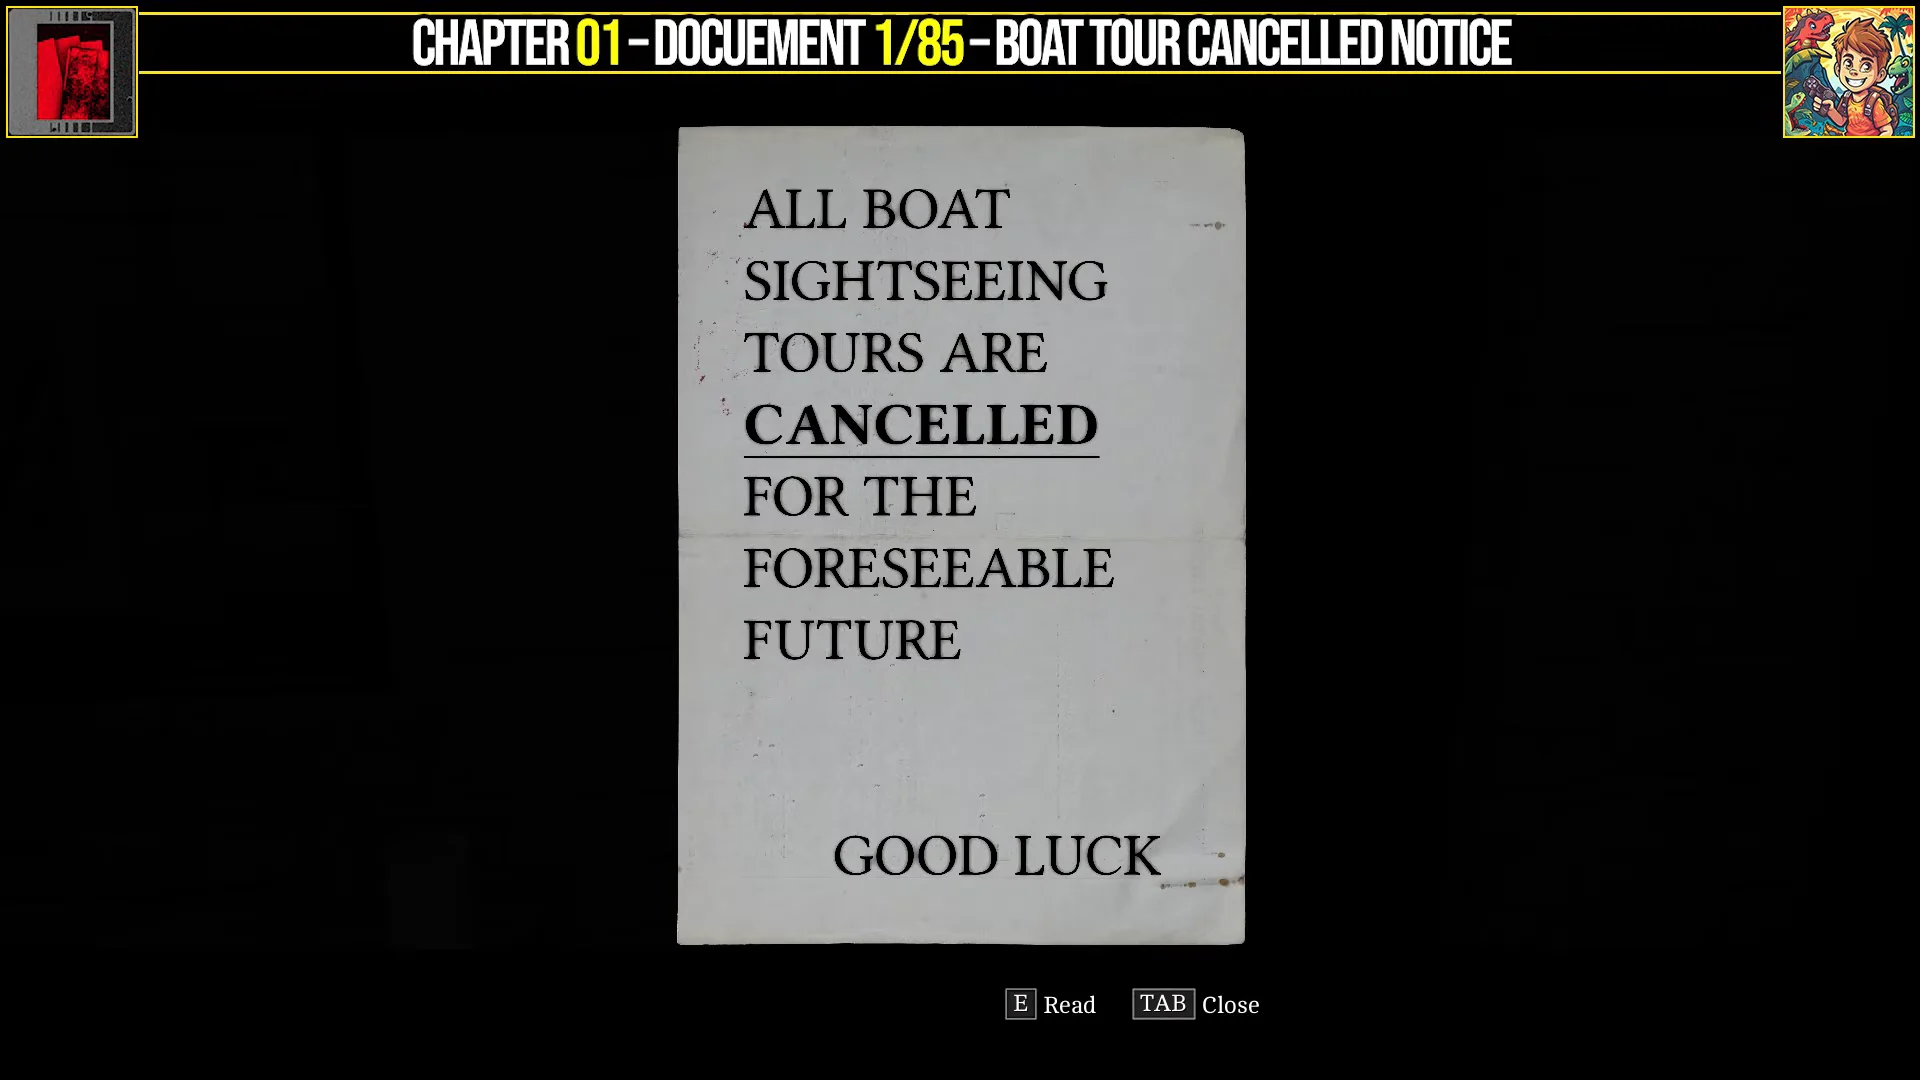
- Clues and Documents — 85 in total, pooled into the discoveries statistic that helps determine the Justice, Forever or Abandoned ending.
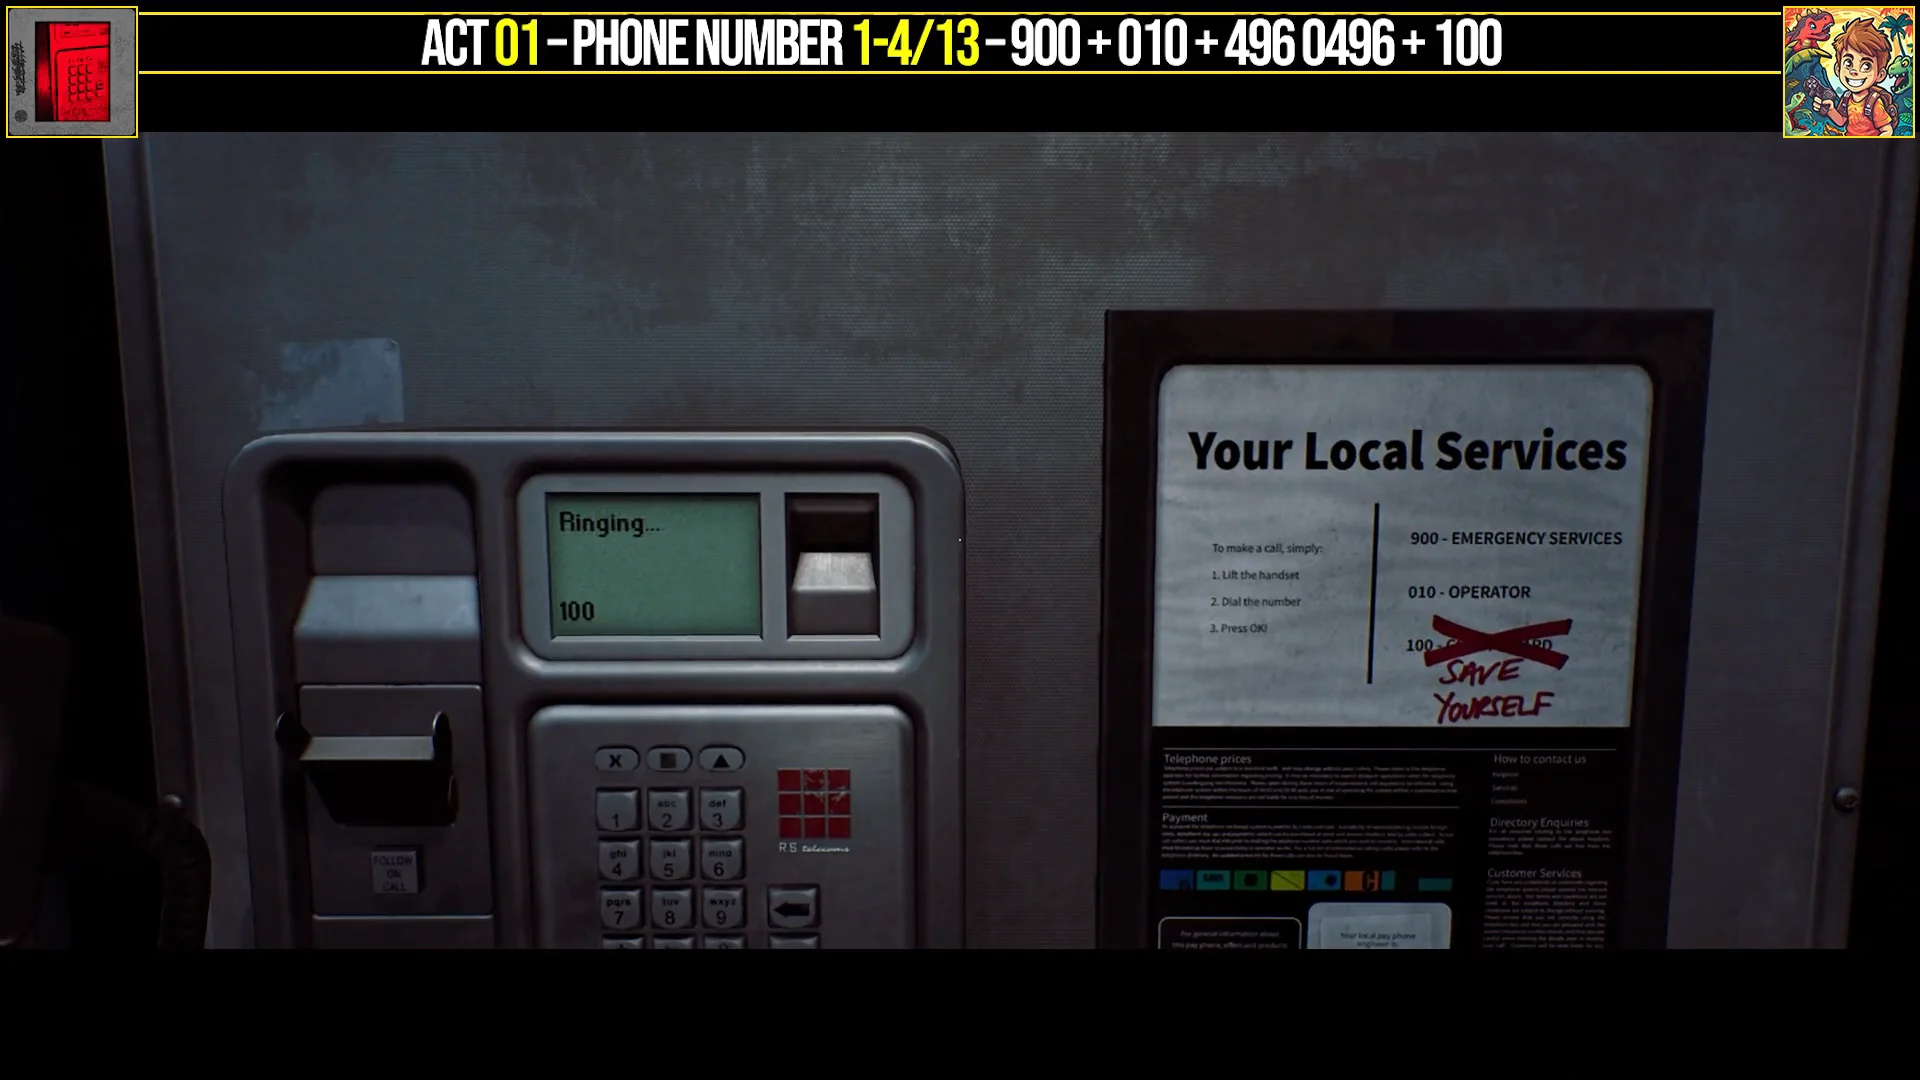
- Phone Numbers — 13 must be dialled somewhere in St. Amelia for a silver trophy. Four of them are in Chapter 1.
- CRTV Signals — 18 must be tuned on the handheld set. The first two arrive in Chapter 2.
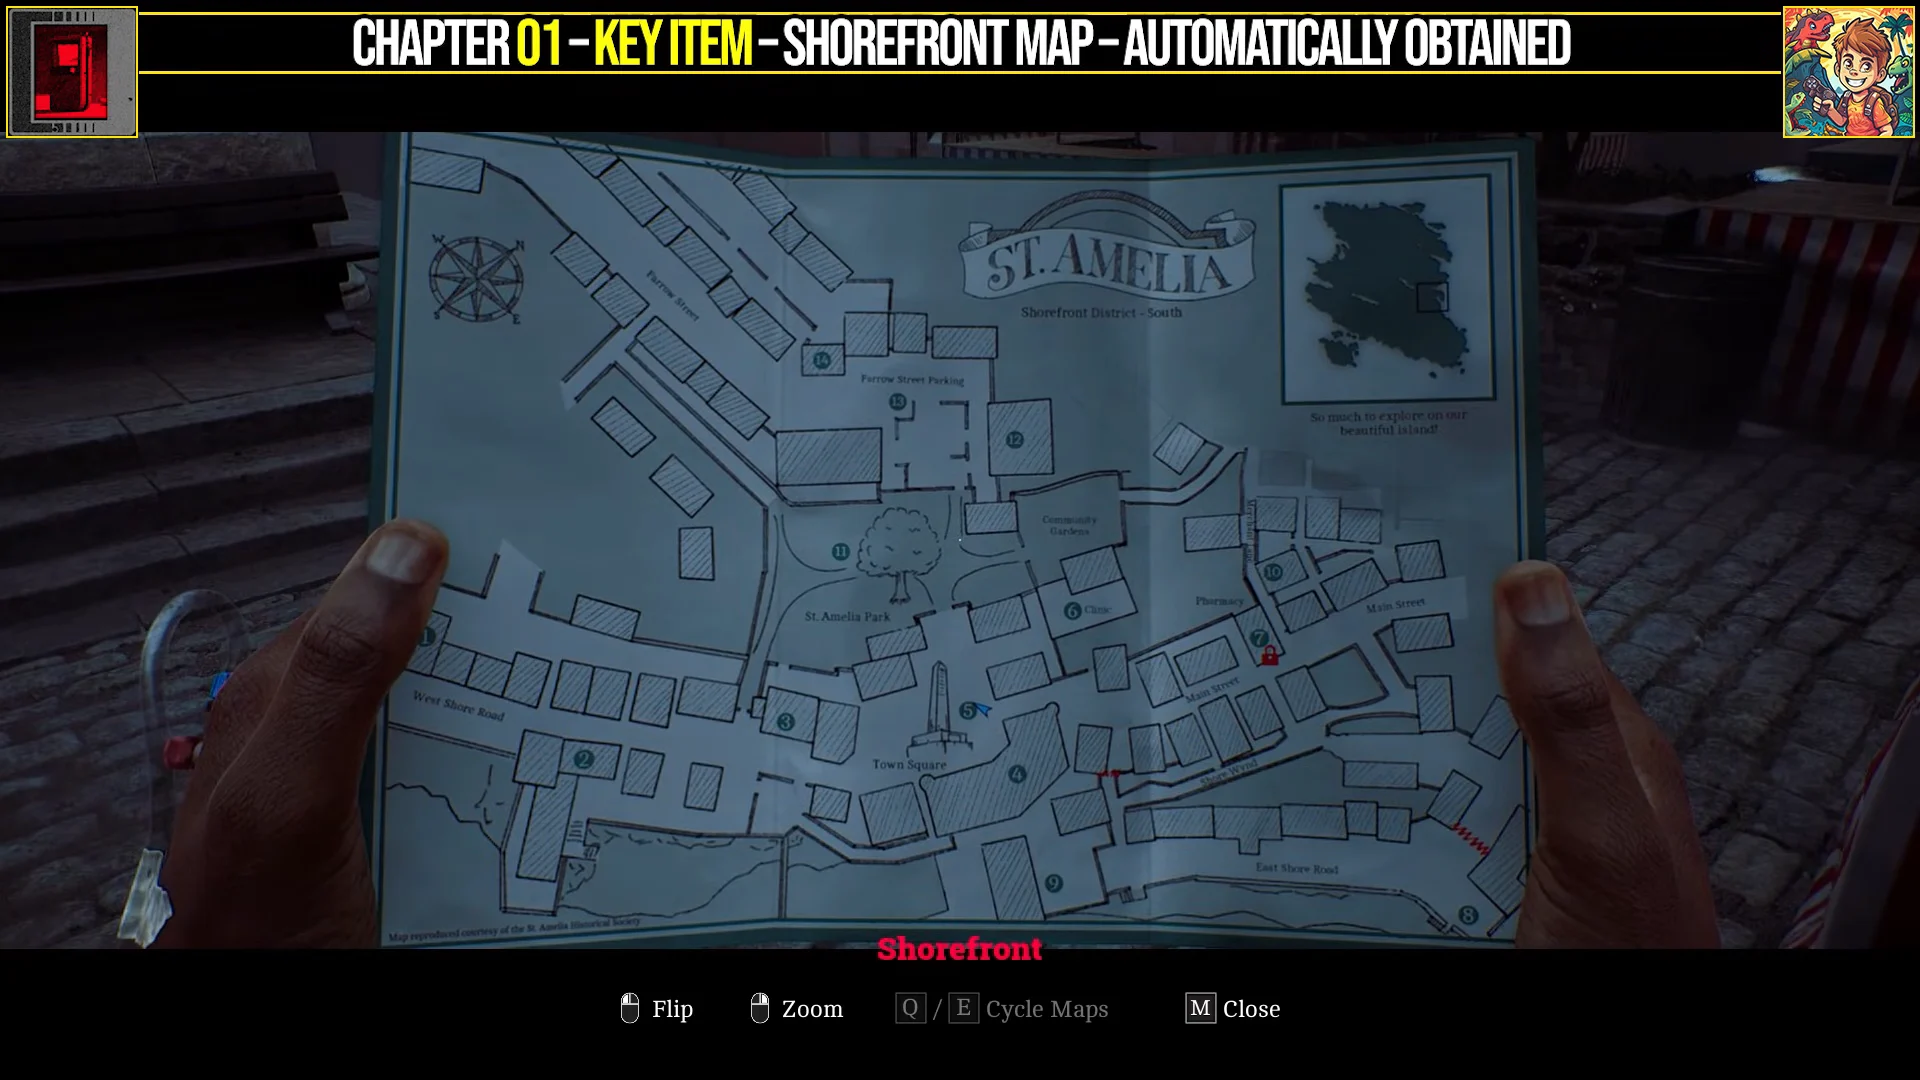
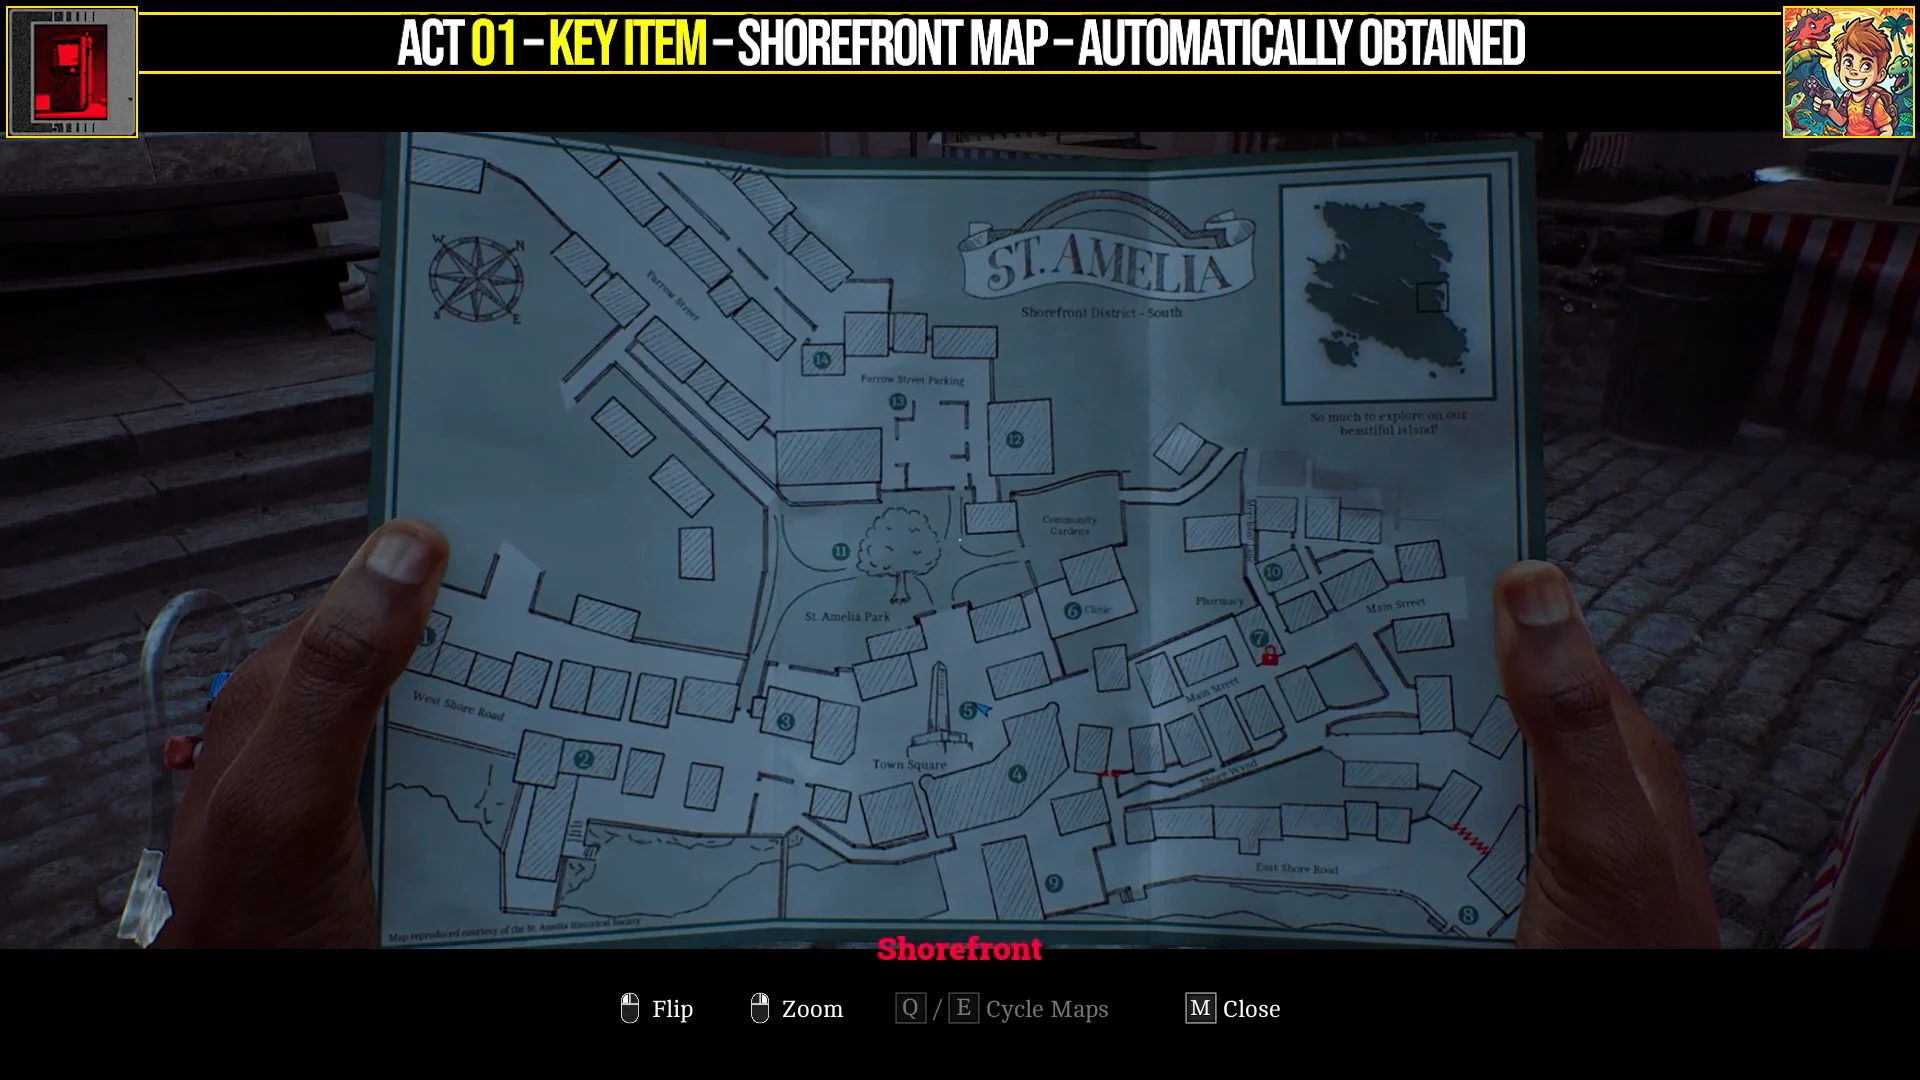
- Key Items — story-critical pickups such as the Shorefront Map and the Room 204 Key. They are not optional, but they anchor where the optional pickups sit.
Manual saving is done by calling 100 from any phone in St. Amelia, and you get 20 slots alongside the autosave. Grabbing that number in Chapter 1 is also your save system for the rest of the run.
Chapter 1: Cold Start collectibles in Shorefront District South
Chapter 2: Escape collectibles in the hotel and the Other Place
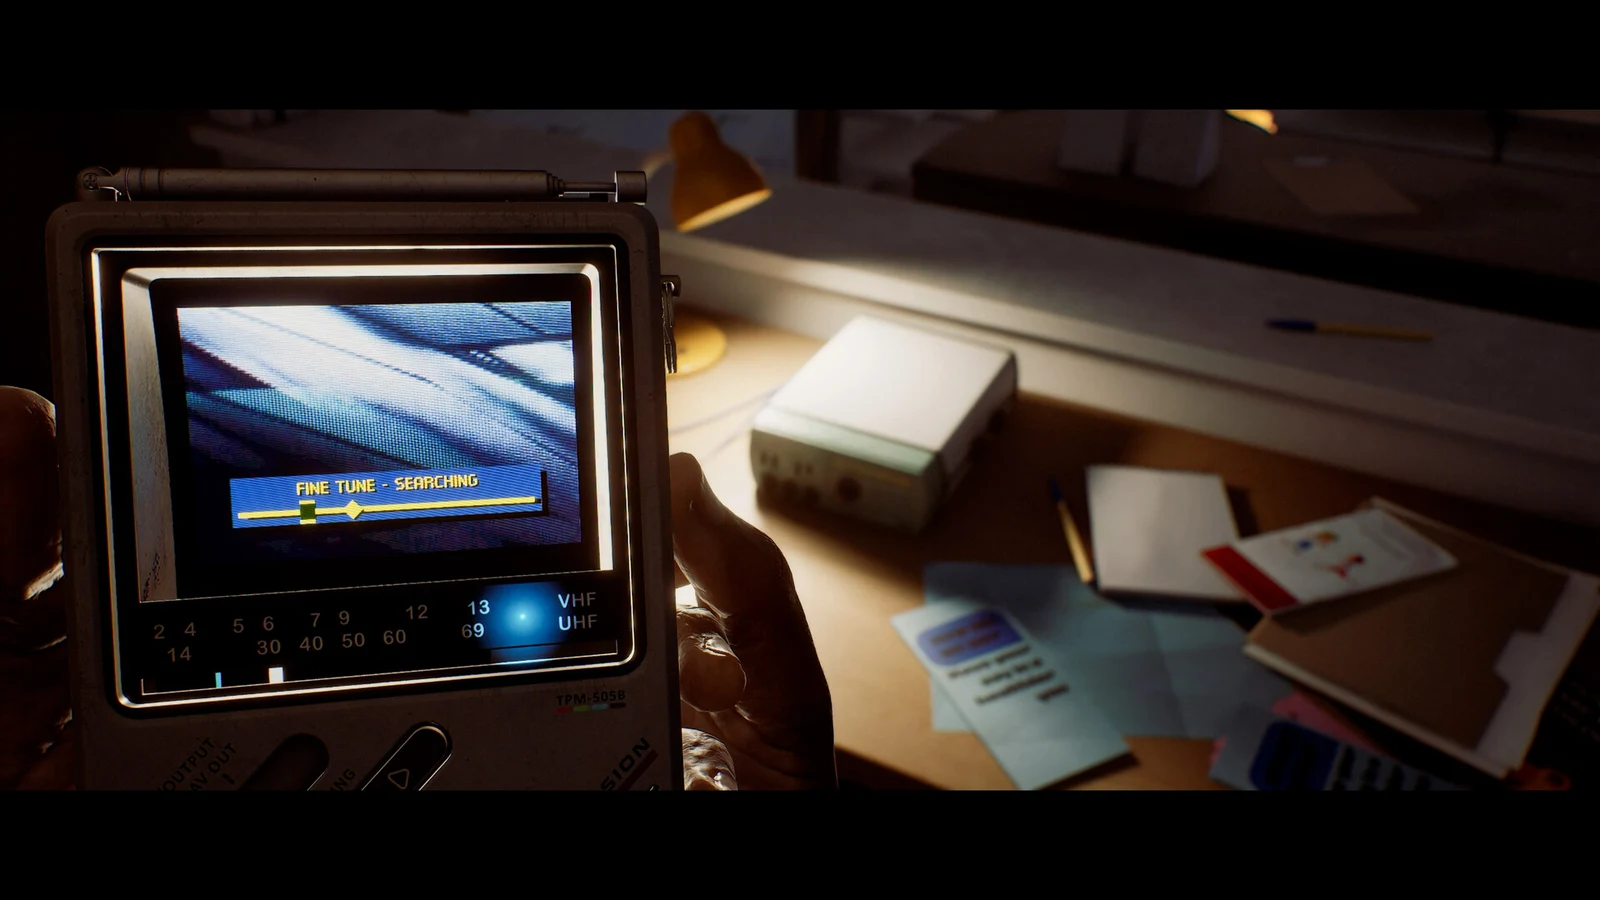
Chapter 2 hands you the CRTV, the handheld television you use to tune signals for the rest of the game. It is not a map overlay. You physically raise it and lose your view of the room while you work the dials, so tune while you are somewhere safe.
Chapter 3: Connection collectibles in Town Square and Zoe’s house
Eight pickups sit in a tight loop around Town Square and Zoe’s house, west of the square. Three of them live on a single computer, and that computer does nothing until the house has power.
| Collectible | Type | Location |
|---|---|---|
| Vigil and Protest Flyer | Document | Bench on the west side of the Town Square column, under the red “LET THE FERRIES IN” poster |
| Hand-Delivered Letter | Document | Living room table, Zoe’s house |
| Organ Transplant Card | Clue | Bathroom floor upstairs, through the room on the right |
| Power Card Credit Guide | Clue | Crawlspace beside the stairs, flashlight needed |
| Newsstand Note | Document | Counter inside Peters’ Newsstand |
| “Your Letter” and “Please Get in Touch” | 2 Documents | Top and bottom emails on Zoe’s computer |
| “For Participating…” | Clue | Middle email on the same computer |
Restore power to Zoe’s house first, switch the computer on, then refresh the inbox before reading anything. All three messages only appear after the refresh, and the middle one registers separately as a Clue rather than a Document, so open each of the three individually instead of skimming the list.
Chapter 4: Looking for Zoe collectibles in the clinic, pharmacy and Jess’s house
This is the densest stretch of Act 1, with ten pickups spread across the clinic corridor, the pharmacy, an apartment building and Jess’s house. Two of them are hidden behind desk drawers, which the game never prompts you to open.
| Collectible | Type | Location |
|---|---|---|
| Patient Medical Records Note | Document | Desk drawer in Dr. Stevenson’s office, first door on the right inside the clinic |
| Resignation Letter | Clue | At the corridor’s end, go to the Z Ellis office and find the paper positioned to the left of the scales. |
| “Where Are You?” email | Clue | Computer in the Z Ellis office |
| Reception Answering Machine Message | Clue | Same computer, second entry |
| Nurse Rounds Sheet | Document | Clinic reception desk |
| Restocking Problems | Document | Front counter inside the pharmacy |
| Feeling Unwell Note | Document | Dresser in the left bedroom, Apartment 1/2, second floor |
| Note on Jess’s Door | Clue | Attached to the back door of Jess’s house |
| Assignment Distribution | Document | Kitchen counter, Jess’s house |
| Legal Advice for Jess | Document | Living room table, Jess’s house |
Read the note on Jess’s back door before you go inside. Once you are in the house, the story moves quickly, and the two interior Documents are in rooms you can walk straight past on the way to the objective.
How to confirm you finished Act 1 at 100 percent
Every pickup writes to a visible counter the moment it lands, and those counters are your only verification while the act is still open. Documents and Clues share the x/85 discoveries tally, phone numbers run to 13, and CRTV signals run to 18.
- Phone Numbers should read 4/13 or higher once you leave Town Square in Chapter 1.
- CRTV Signals should read 2/18 before you leave the hotel bedroom behind.
- Emails and printed files only register once opened individually, so check the counter after each one rather than after the inbox.
- Call 100 from a phone before any door or cutscene you suspect is a one-way trigger.
Collectible progress carries between playthroughs, so an Act 1 miss can be cleaned up on a second run. The exception is Strange Postcards, which do not reappear in New Game Plus. None of the 15 are in Act 1, but the rule is worth knowing before you decide to push on rather than reload.
Where Act 1 hands off to Act 2
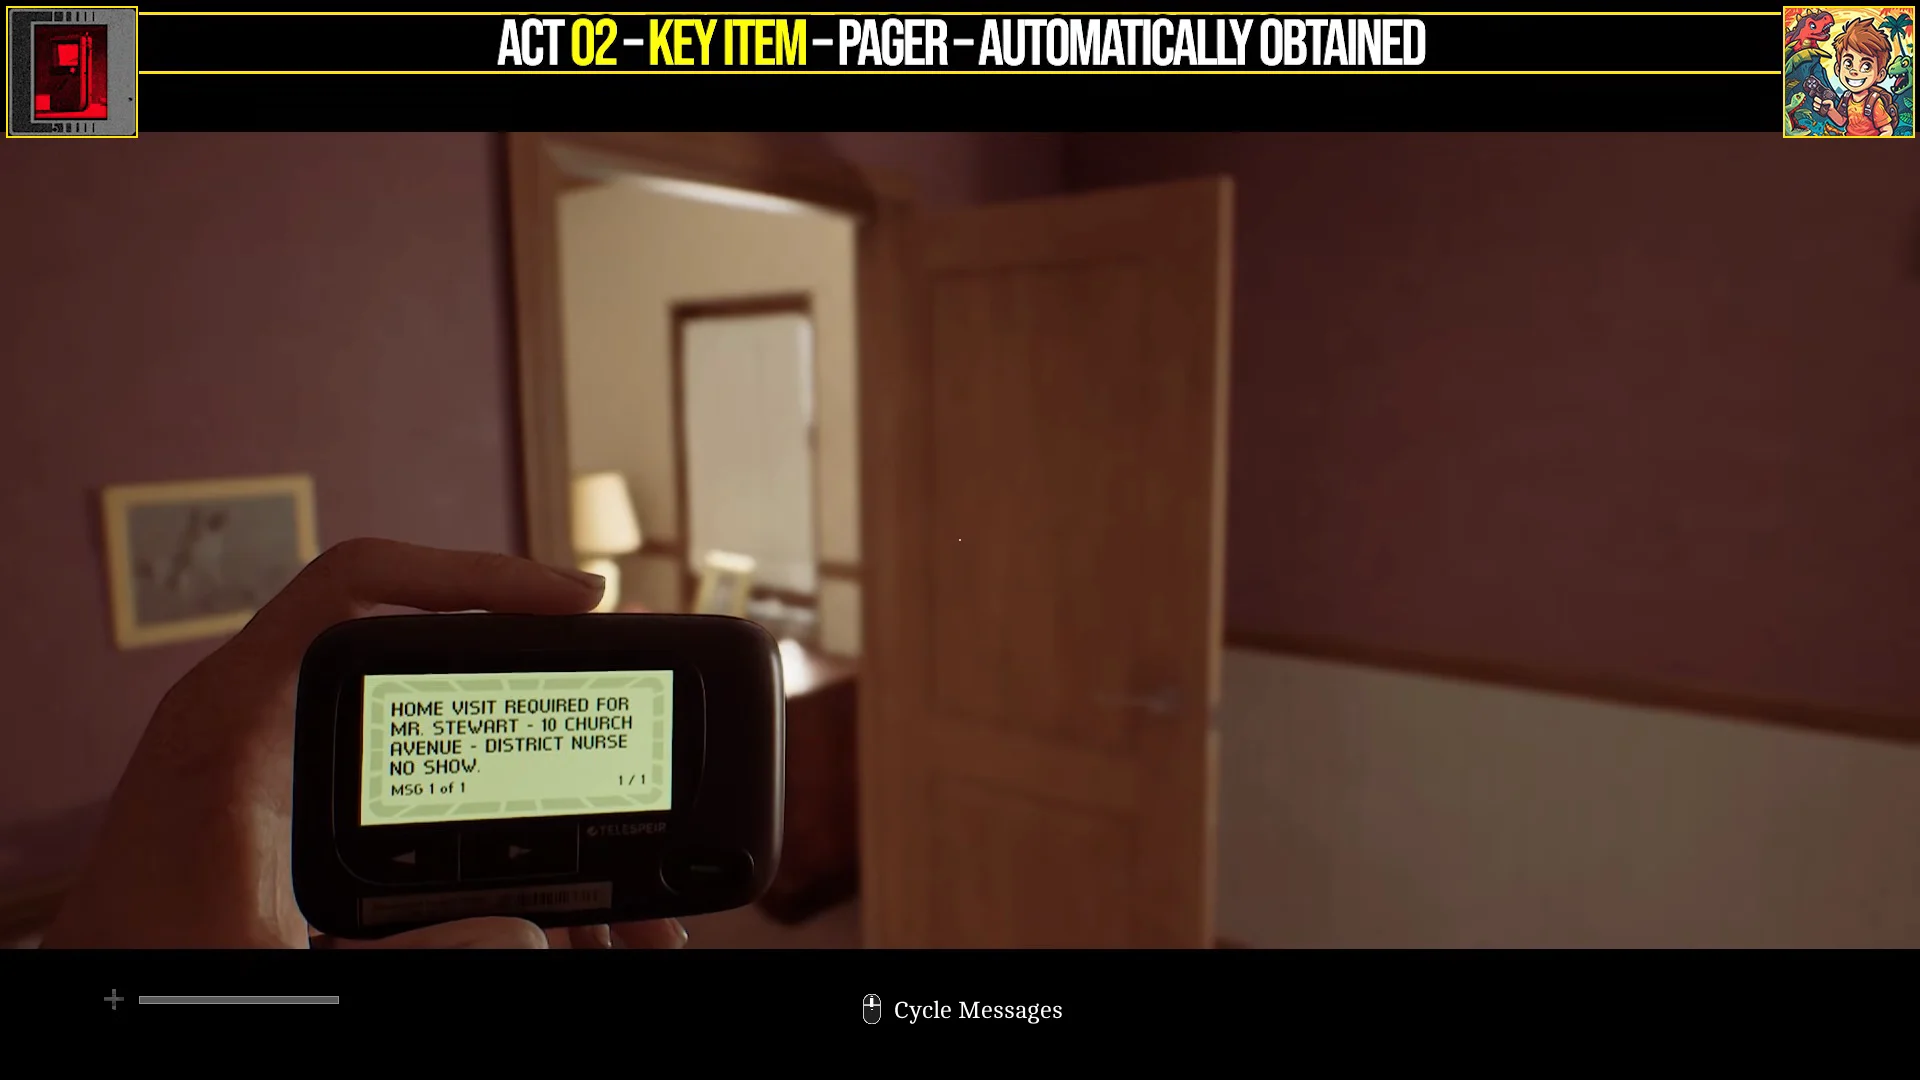
Act 2 opens by giving you a pager automatically, with a message flagging a required home visit for Mr. Stewart at 18 Church Avenue after the district nurse failed to show. The first Document of the act, the Water Warning on Zoe’s living room coffee table, registers as 23/85, which is a clean way to check your Act 1 total after the fact.
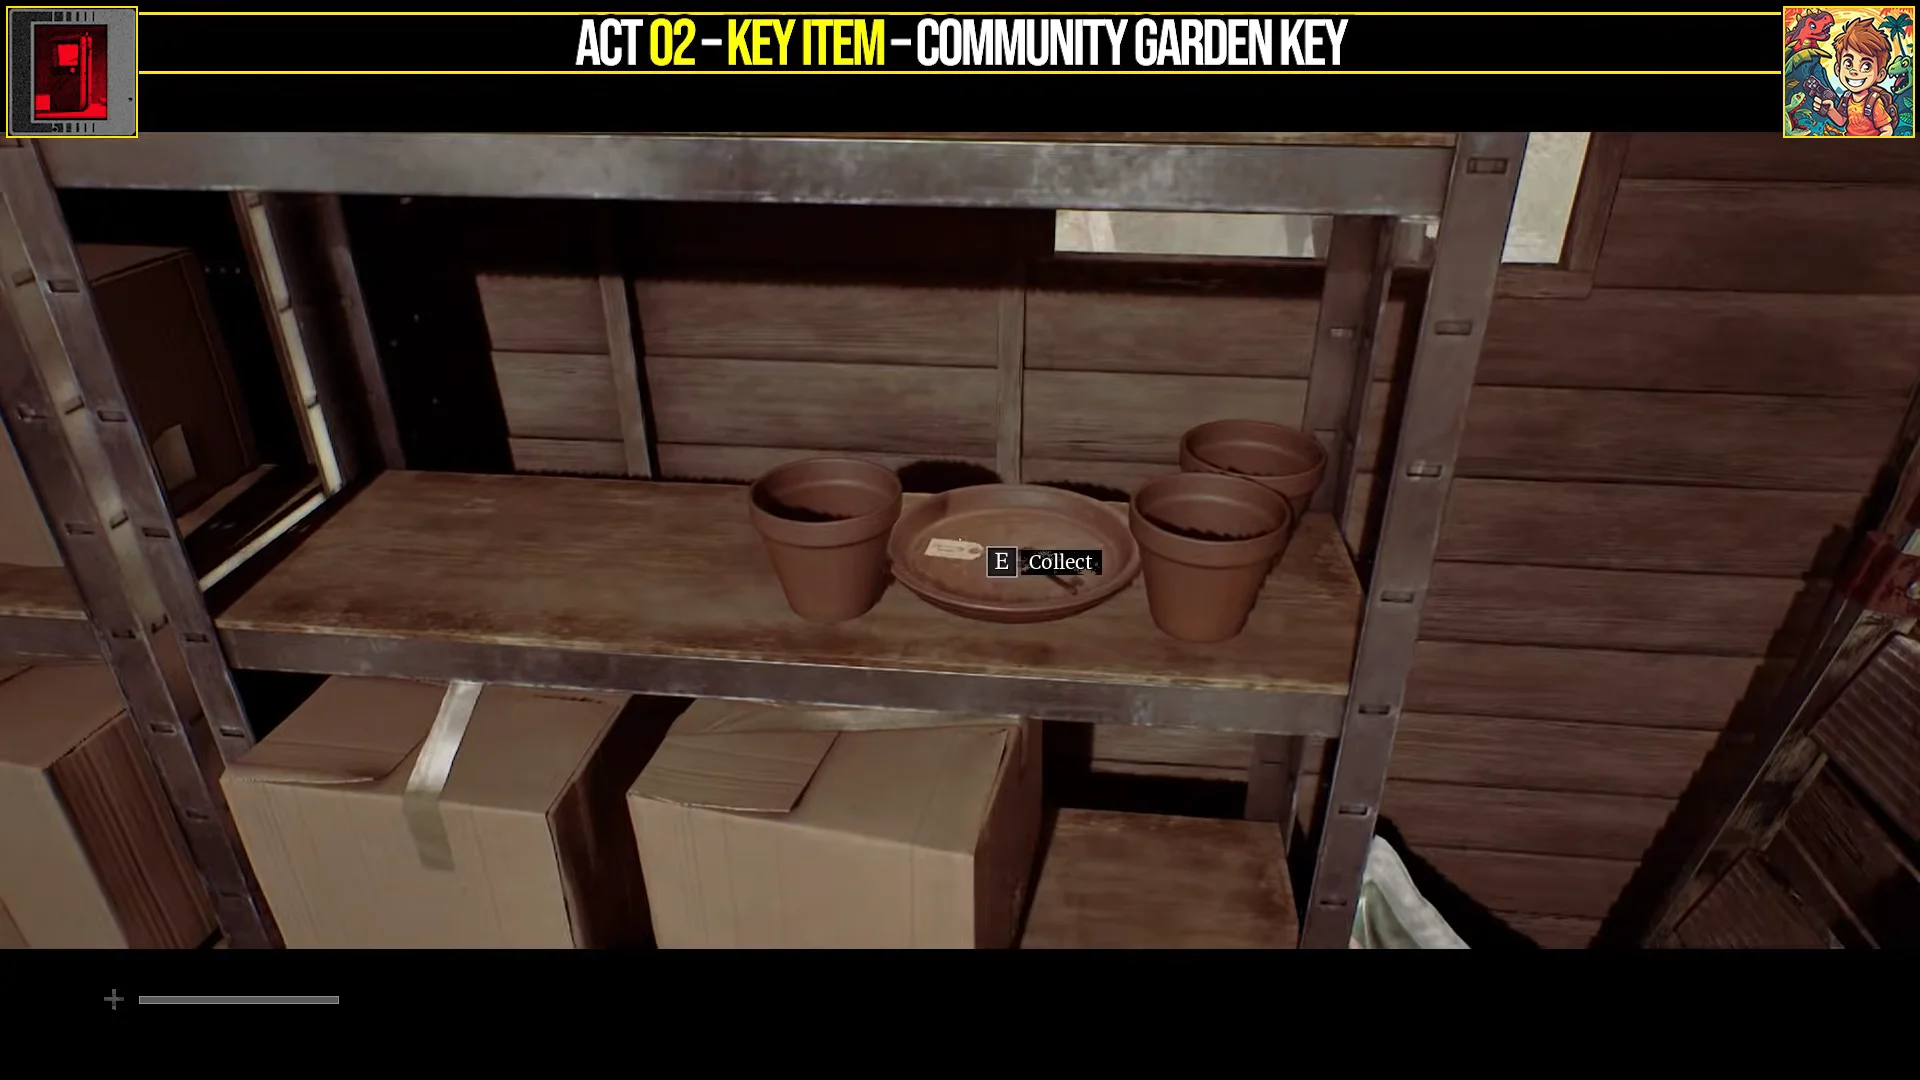
Shortly after, the shed in the Community Gardens becomes your next stop. Its padlock takes the combination 1934, and inside you will find Jane Chalmer’s obituary alongside the Community Garden Key sitting on a wooden plate.
Act 1 is the cheapest place in Townfall to be thorough, because the enemies are not yet hunting you the way they will be once the CRTV starts pulling signals in open streets. Clear the pier, the booth, the hotel lobby and both houses properly, and the discoveries counter does the rest of the work toward the ending you want.