Trust No Tile is a troll obby built around one idea: the floor is not your friend. Platforms vanish, doorways that look like the route drop you into the void, and red blocks turn lethal the moment you touch them. The run is laid out as a straight sequence of numbered checkpoints, so the fastest way through is knowing which parts are real obstacles and which are bait.
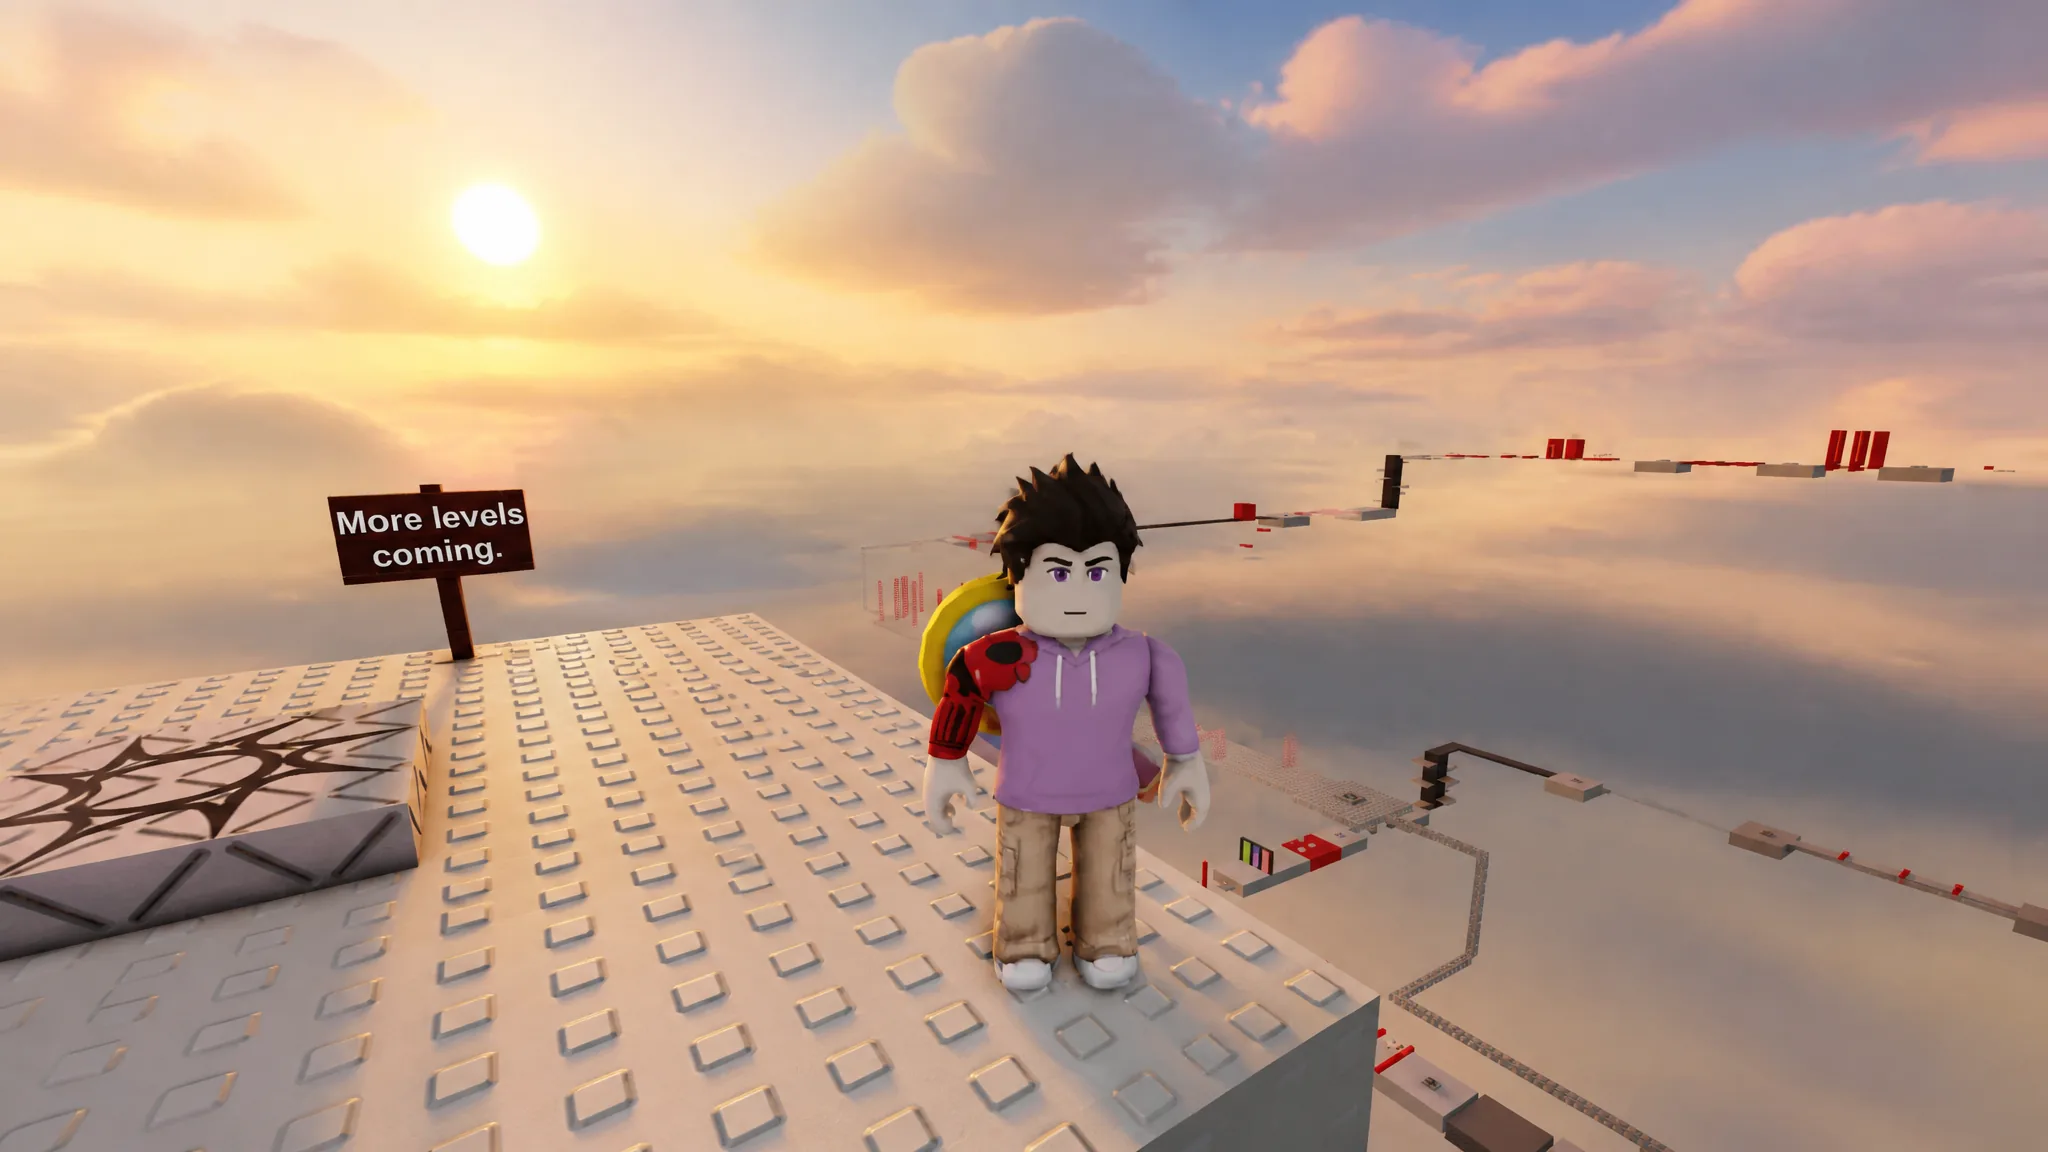
Quick answer: Touch every numbered checkpoint pad in order — a fall only sends you back to the last pad you reached. The run ends past stage 31 on a platform signed “More levels coming.”
How checkpoints and stage numbering work in Trust No Tile
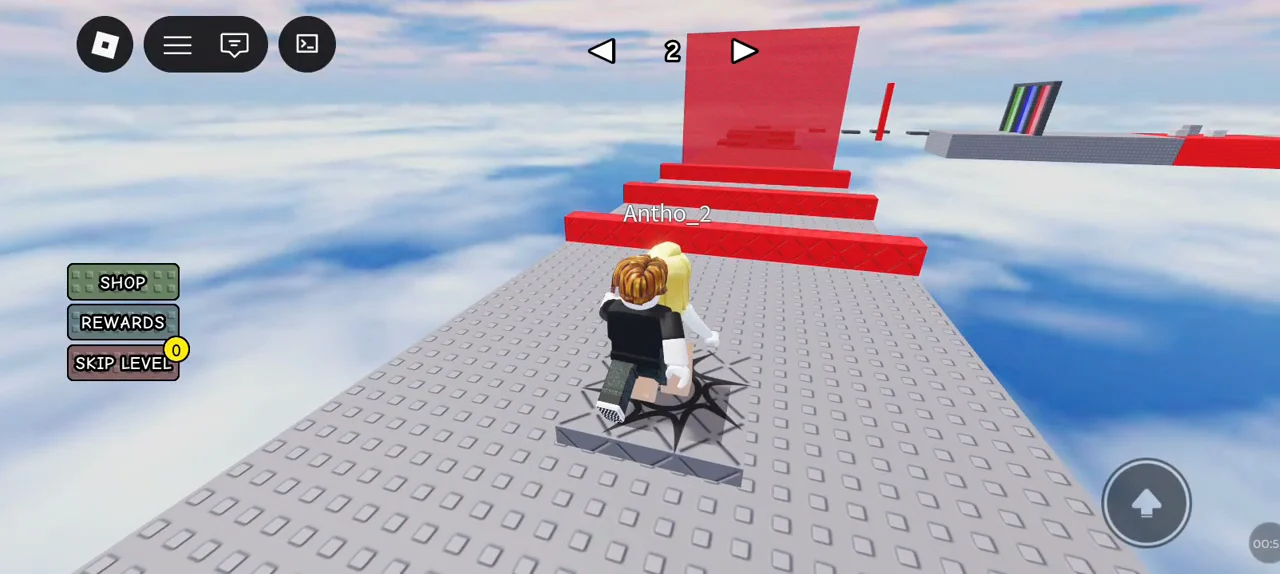
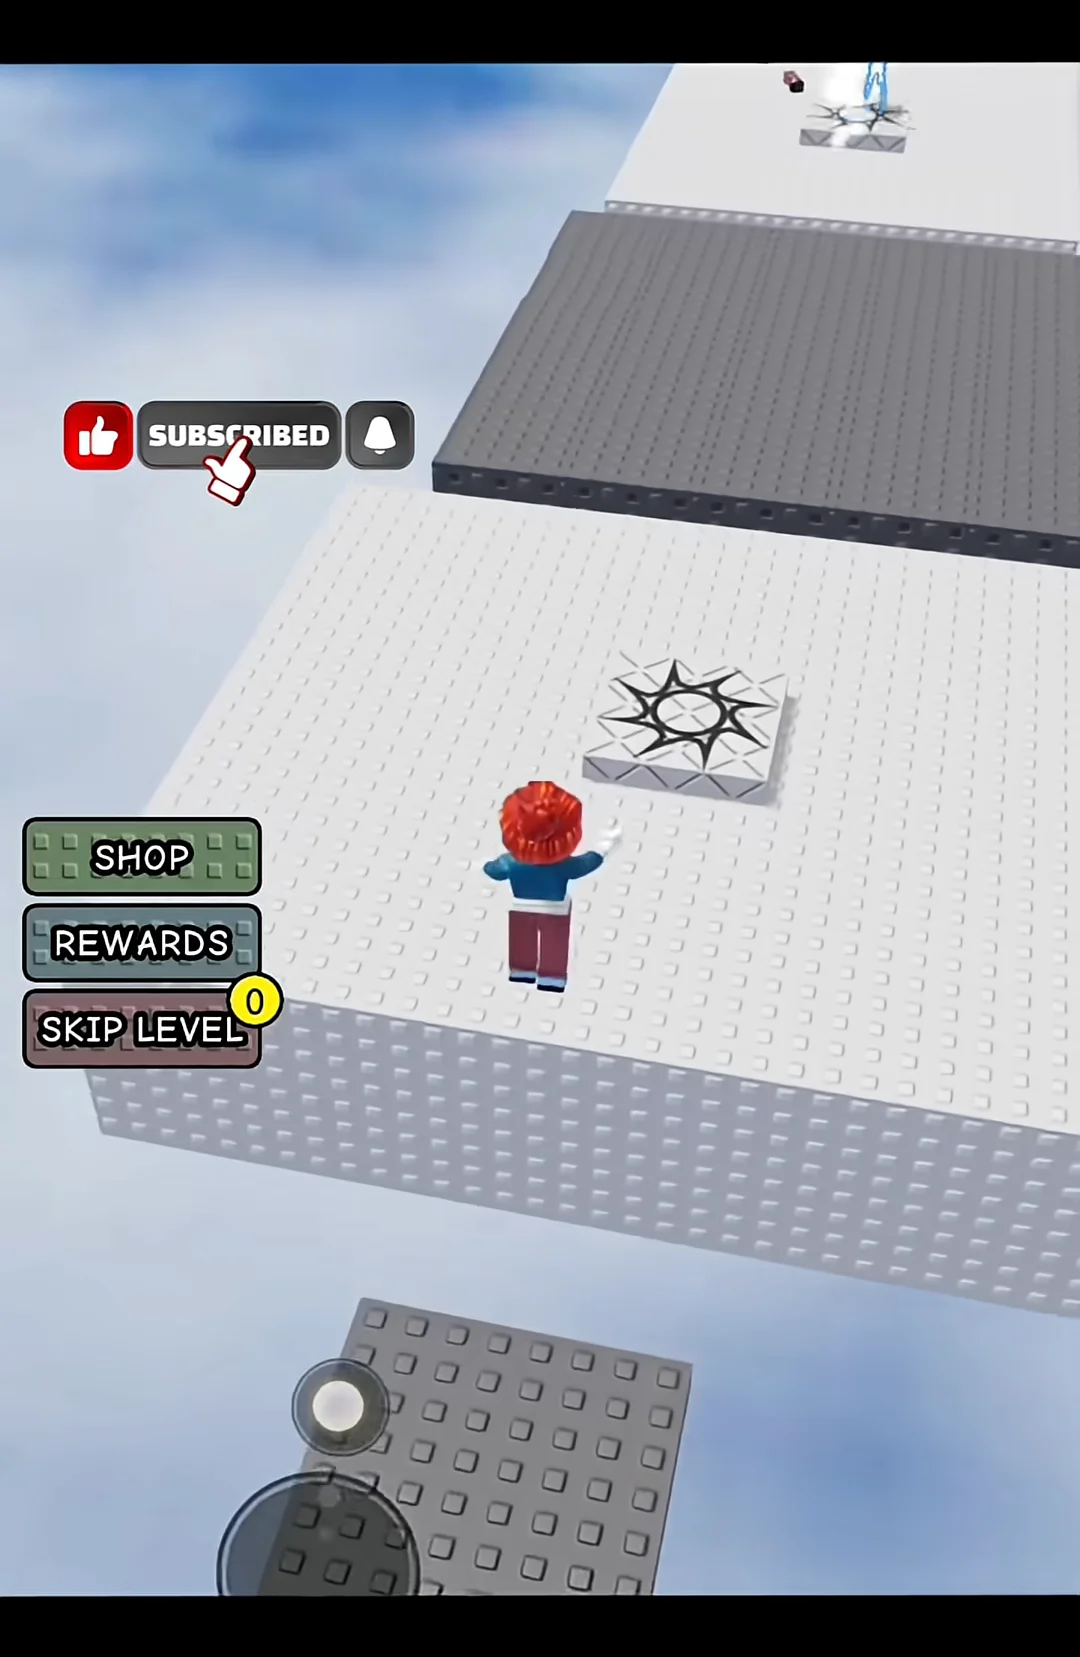
Each stage begins on a circular star pad. Stepping on it locks in your progress, and the stage number shown at the top of the screen updates. Dying anywhere after that returns you to that pad, never to the start of the obby, so there is no penalty for testing a jump beyond losing a few seconds.
SugarBlox Studios advertises 30 levels in the Roblox experience listing, but the checkpoint counter climbs past stage 31 before the final platform, which is why full runs are described as 32 stages. Numbering can also drift by one on some servers, so treat the descriptions below as the order obstacles appear rather than fixed labels.
| Hazard | Where it shows up | What happens |
|---|---|---|
| Red tiles and beams | Throughout, from stage 2 onward | Instant reset on contact |
| Disappearing blocks | Stages 12, 19, 22 | Floor drops mid-step |
| Fake doorways | Around stages 4–5 | Walking through drops you |
| Floor spikes | Stages 8 and 30 | Kills on touch and on landing |
| Moving objects | Stages 5–6, 11, 29 | Knocks you off the platform |
Stages 1 to 8: opening jumps, checkered tiles and the door trap
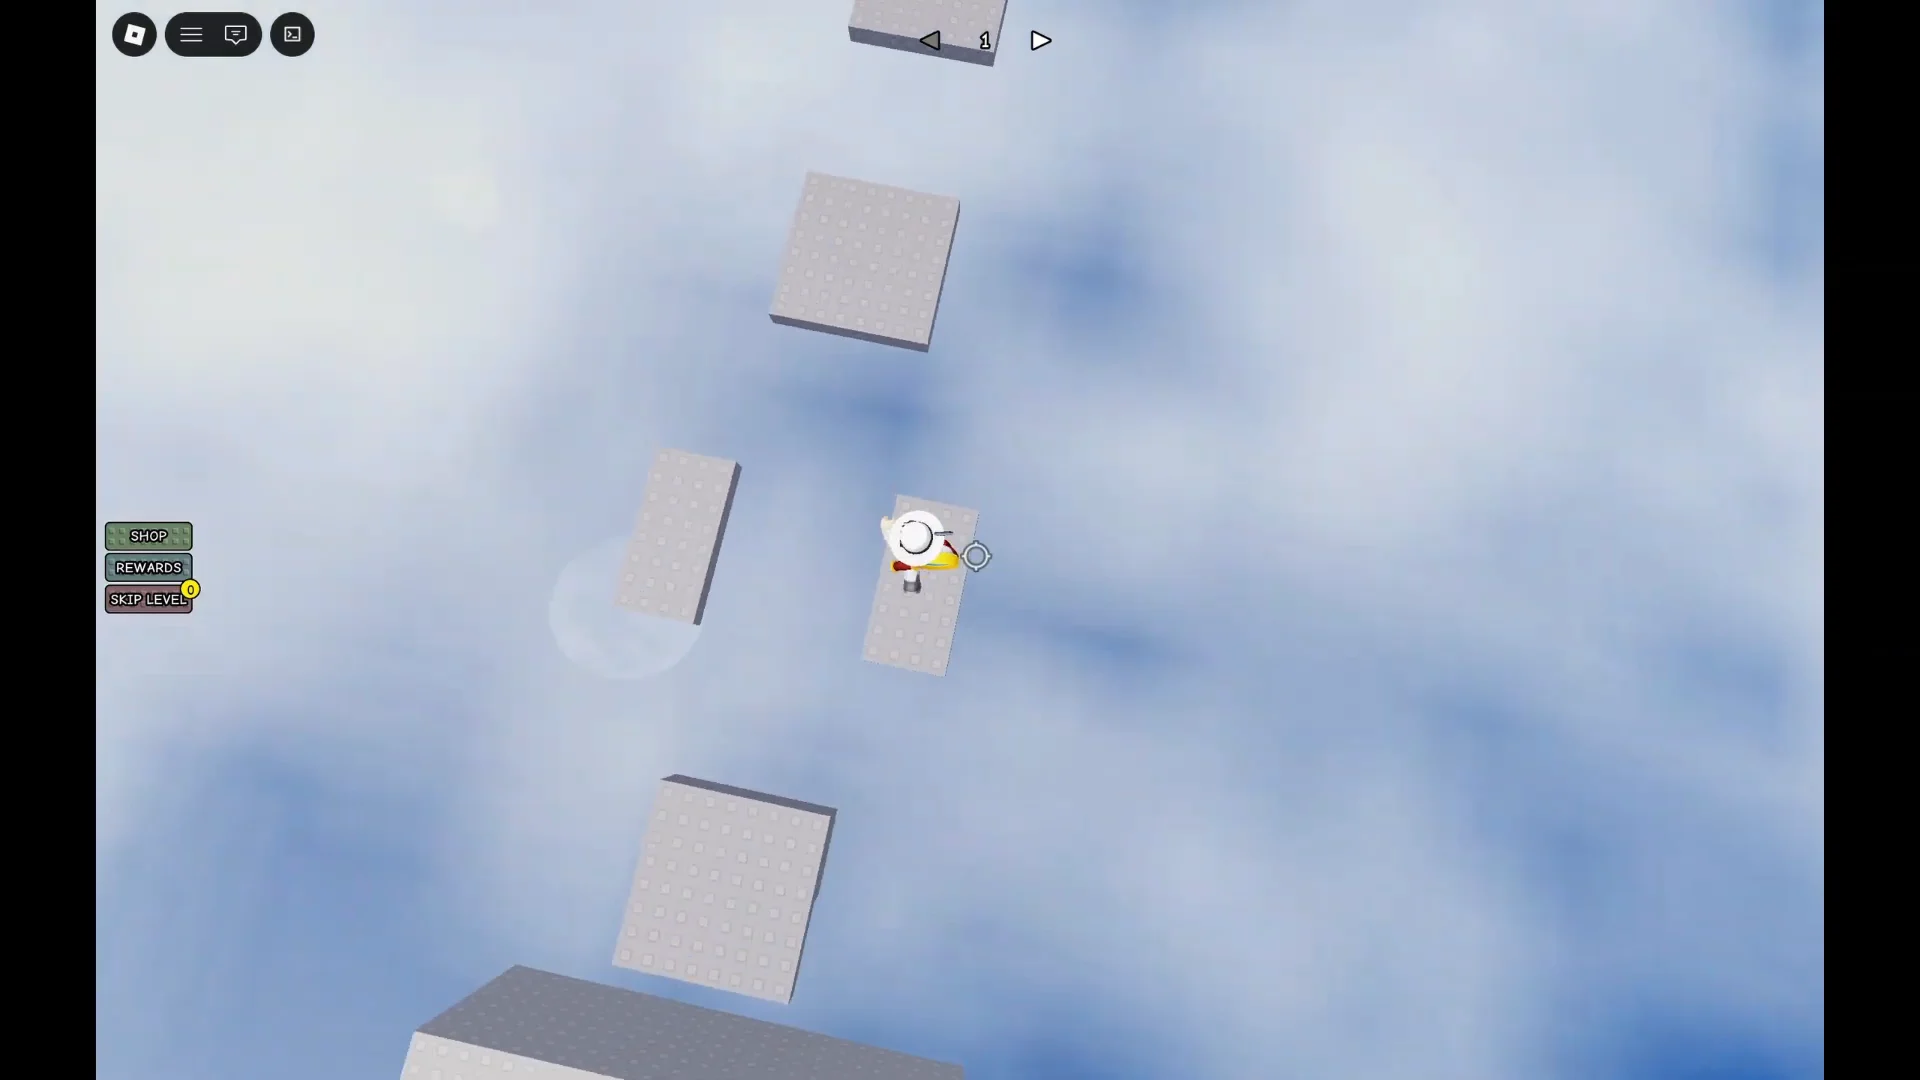
Stage 1 is a plain gap-jumping course over floating grey blocks high above the clouds. Line the camera up behind your character and take the jumps one at a time; the blocks are narrow enough that a running leap overshoots the far edge and drops you into the void.
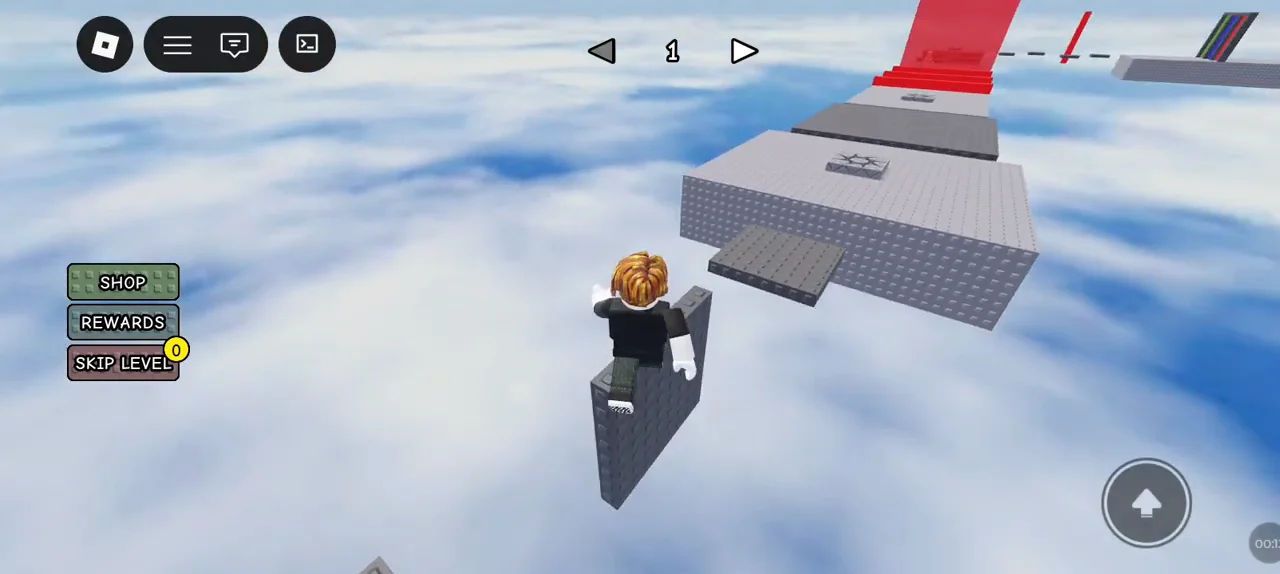
The stage arrows at the top of the screen confirm which section you are on, which is useful when a fall sends you back and you are not sure where you respawned.
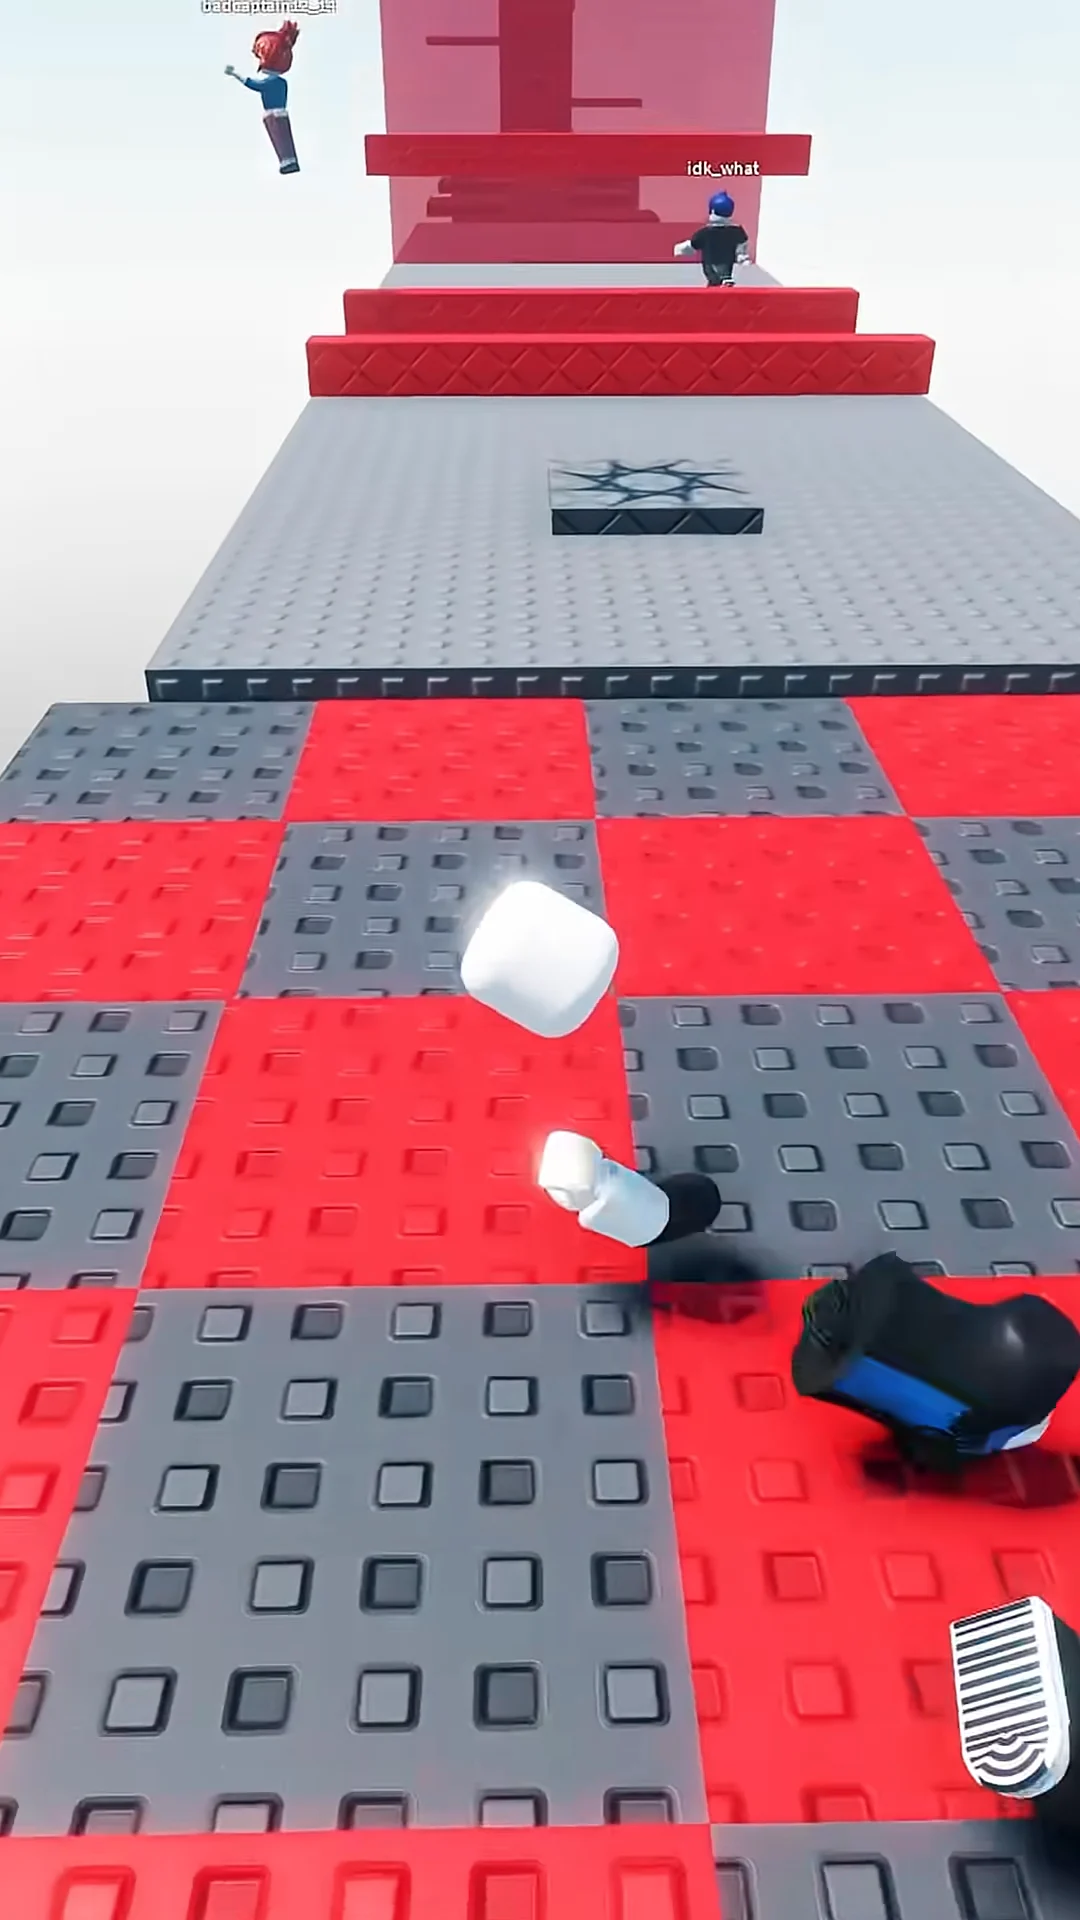
Stage 2 swaps the gaps for a red and grey checkered floor. Stay on the grey squares and treat every red tile as a kill brick, then step onto the pad at the far end.
Stage 3 lines low red laser beams across white platforms. These are jumped, not walked around, and a red wall barrier spawns into the path partway through. When the wall appears, go around or duck under it rather than pushing forward.
The colored doorways are a trap
After the red pillar and the grey stepping stones, three glass doorways appear in green, blue and red. All three drop you. Instead of picking one, walk the narrow outside ledge that runs past the frames and step onto the platform behind them.
Beyond the doors, a solid red surface fills the floor with small white blocks scattered across it. Only the white blocks are safe. Hop between them to the checkpoint.
Stages 5 and 6 move onto grey spheres suspended in the air. Some of them shift direction, so jump as soon as your footing is stable rather than waiting for the arc to line up perfectly. A curve of floating balls carries you to the next pad.
Stage 7 is the dark brick tower. Follow the exterior ledges around the outside, then take the interior stairwell up to the elevated bridge at the top.
Stage 8 runs that bridge through rows of red floor spikes. Jump the sets rather than sprinting through, and keep your jumps low — hitting your head on the overhead structure mid-jump also kills the run.
Stages 9 to 19: monster wall, truss climbs and disappearing blocks
This middle block mixes precision jumping with two sections that punish standing still. Nothing here needs speed except the monster corridor.
- Stage 9: small stepping stones straight ahead, no side routes.
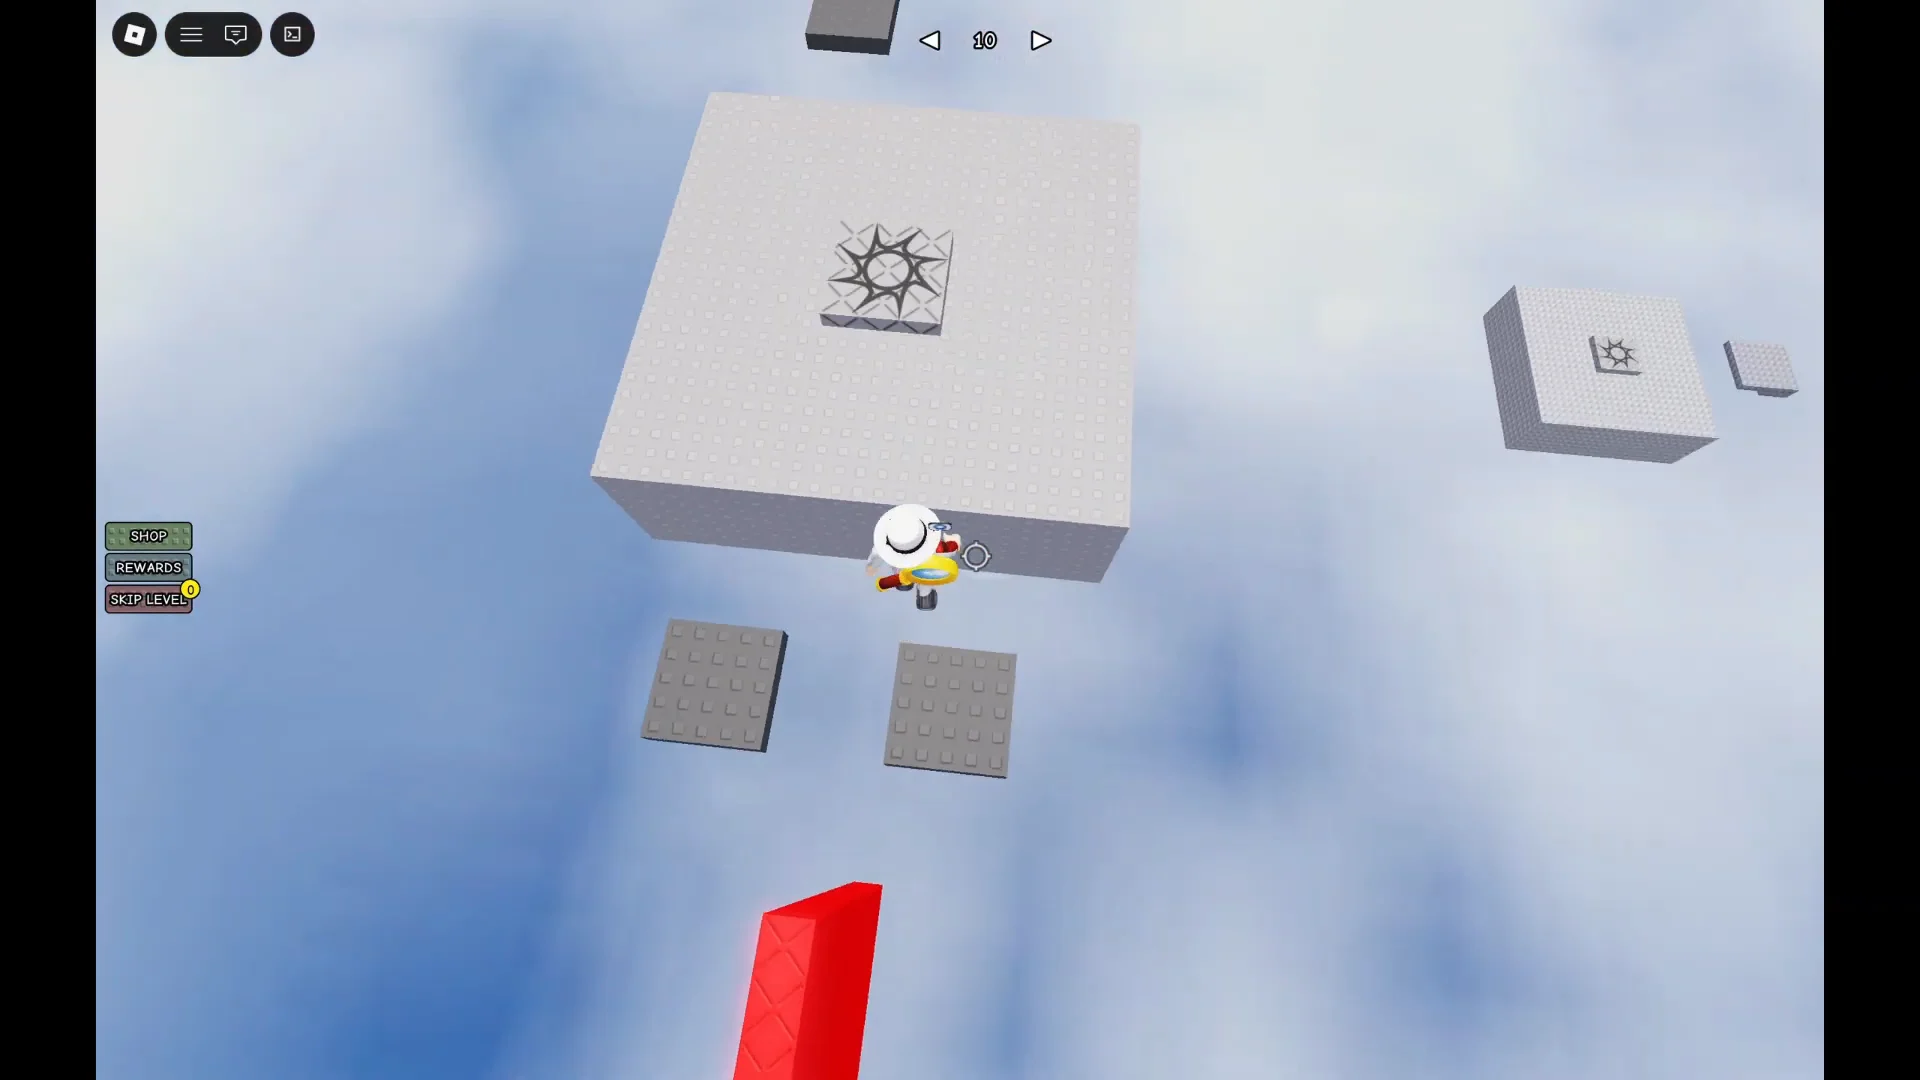
- Stage 10: a long, narrow track broken up by red striped segments.
- Stage 11: a red block monster with teeth advances down a wall corridor shouting “You must die” — keep moving and dodge around the corners.
- Stage 12: staggered red and grey raised blocks with thin red barriers along the edges.
Stage 13 is pure spacing. A run of separated grey squares sits over open air, and each one needs a committed jump from the edge of the last.
Stages 14, 15 and 17 bring in metal trusses. Climb the vertical truss column, walk the thin overhead beams, then run the truss runway and jump through the gaps in the red truss hurdles. Stage 17 repeats the pattern between vertical red pillars before another thin beam crossing.
On beam walks, pull the camera in behind your character. A side-on camera makes it far easier to drift off the edge without noticing.
Stage 16 offers red and green floating cubes as alternate paths, and stage 18 is a long red ramp scattered with white blocks that you run straight up. Stage 19 is the disappearing floor — red tiles sit over empty air in a pattern, and the sequence takes several attempts to read. Move in short bursts and note which tiles hold when you respawn.
Stages 20 to 28: slime climb, grid jumps and the narrow beam
Stage 20 switches to vertical movement. Sticky green wall columns with red ledges let you climb upward, so work around the columns instead of trying to jump the whole height in one go.
Stage 21 brings back the alternating red-block pattern, but now the red pieces are tall bars you must clear. In Stage 22, red and grey square pillars form a 3×3 layout. Then, in stage 23, pass through openings in successive red walls while making your way upward.
Stage 24 pairs thin red floating bars with tall stone towers. Land on the bars square, since a glancing landing slides you off.
Stage 25 is the single narrowest section of the obby, an extremely thin white beam that has to be walked rather than jumped. Stage 26 splits into bridges — drop to the side ramp and follow the elevated path to the next pad.
Stages 27 and 28 close out this run with spaced square blocks past a red block obstacle, then another long beam dotted with small red hurdles. That beam feeds directly into a large walled arena.
Stages 29 to 32: rolling ball arena, spike pole and the final platform
Stage 29 puts a giant red sphere bouncing around a walled platform. There is no safe corner, so track the ball’s path and cross the arena while it is moving away from you.
Stage 30 combines both hazard types from earlier in the run. Cross the sets of red floor spikes, then climb the vertical pole studded with protruding red bars, weaving around each bar as you ascend.
Stage 31 is the last real obstacle: short hops between small platforms, tall grey vertical blocks and red beam obstacles that lead to the final landing area.
How to confirm you finished the run
The end is unmistakable. You land on a final platform holding a checkpoint pad and a wooden sign reading “More levels coming.”, and victory music plays as the pad registers. If you hear the music and see the sign, the run is complete.
Because the developer has flagged further stages, the ending platform is a stopping point rather than a hard cap, and the route past stage 31 may extend in a future update. Until then, reaching that sign is the full clear.