
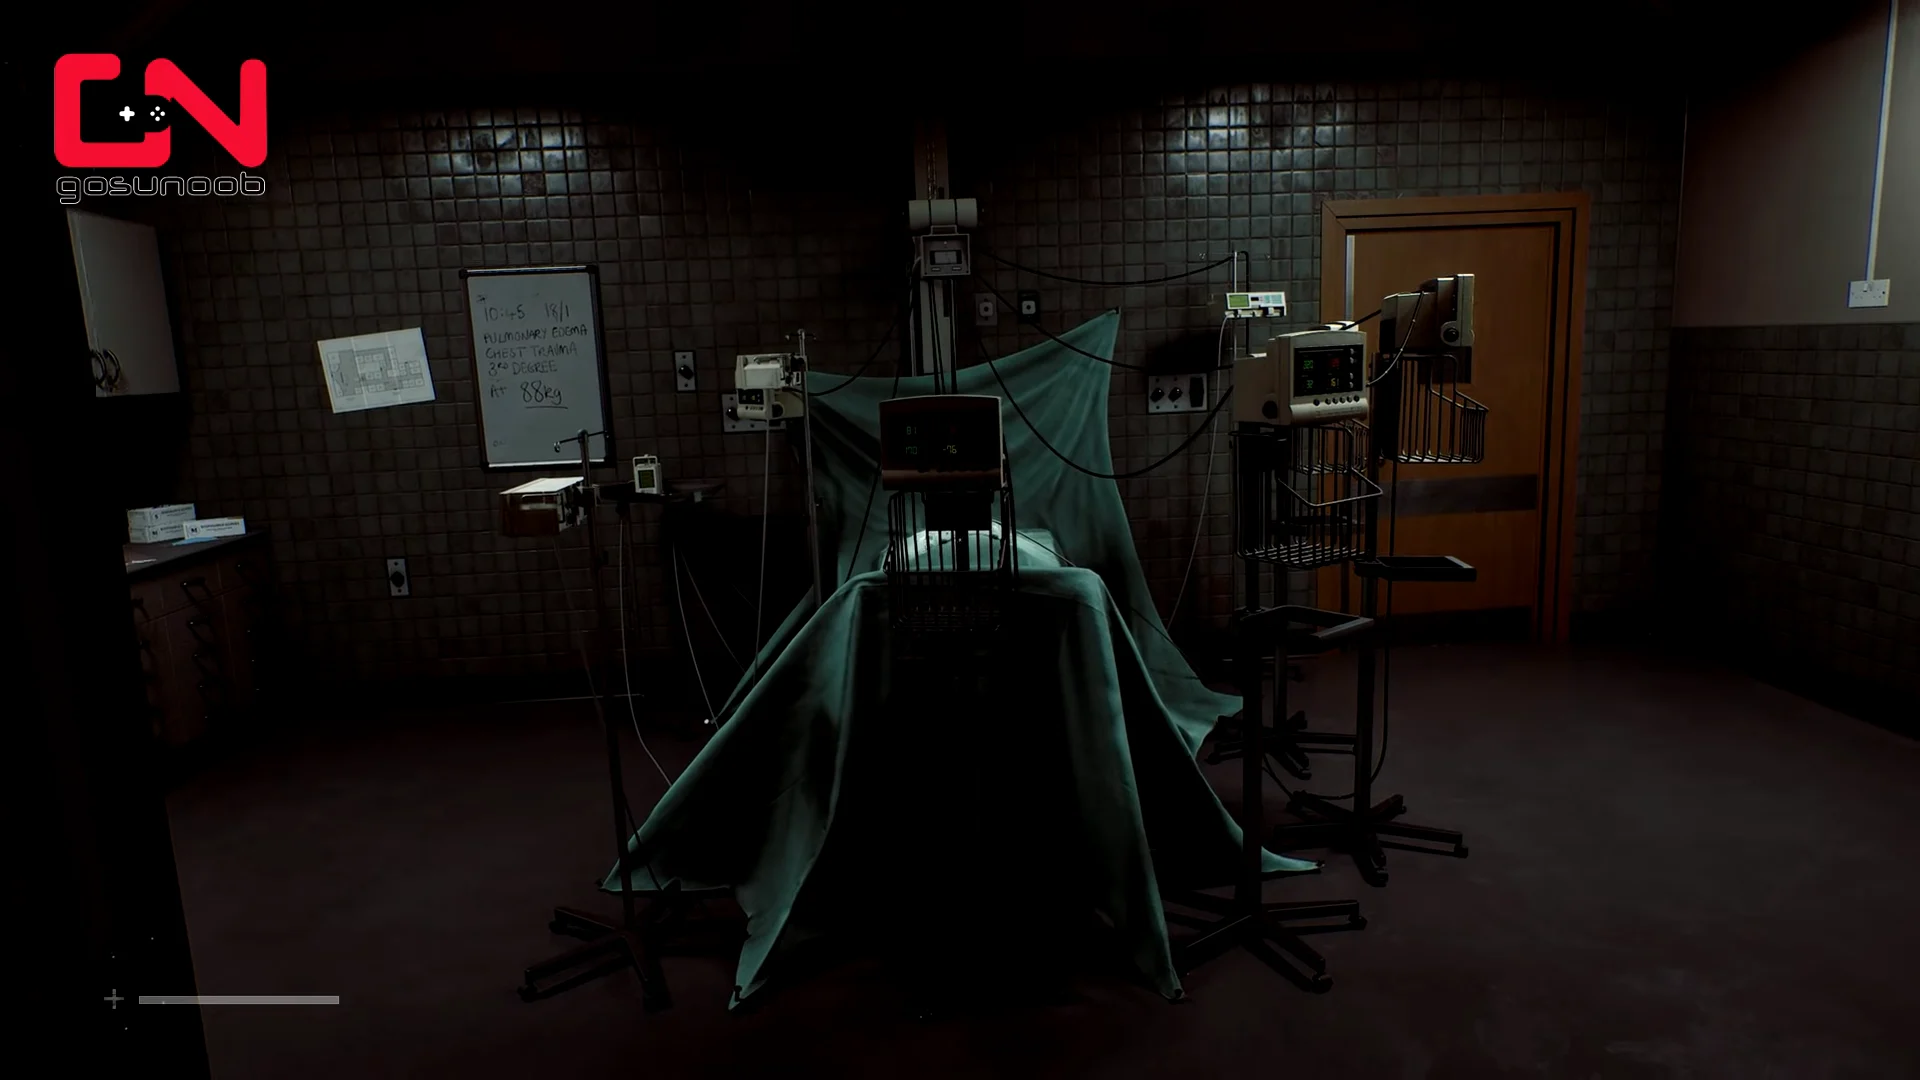
Part 3: The Patient drops Zoe into the surgery room of St. Amelia Medical Center with a man in critical condition and a doctor barking questions over the intercom. Several monitors are wired to the patient, most of them faulty, and picking the wrong screen costs Zoe health. Enough wrong answers in a row will kill her.
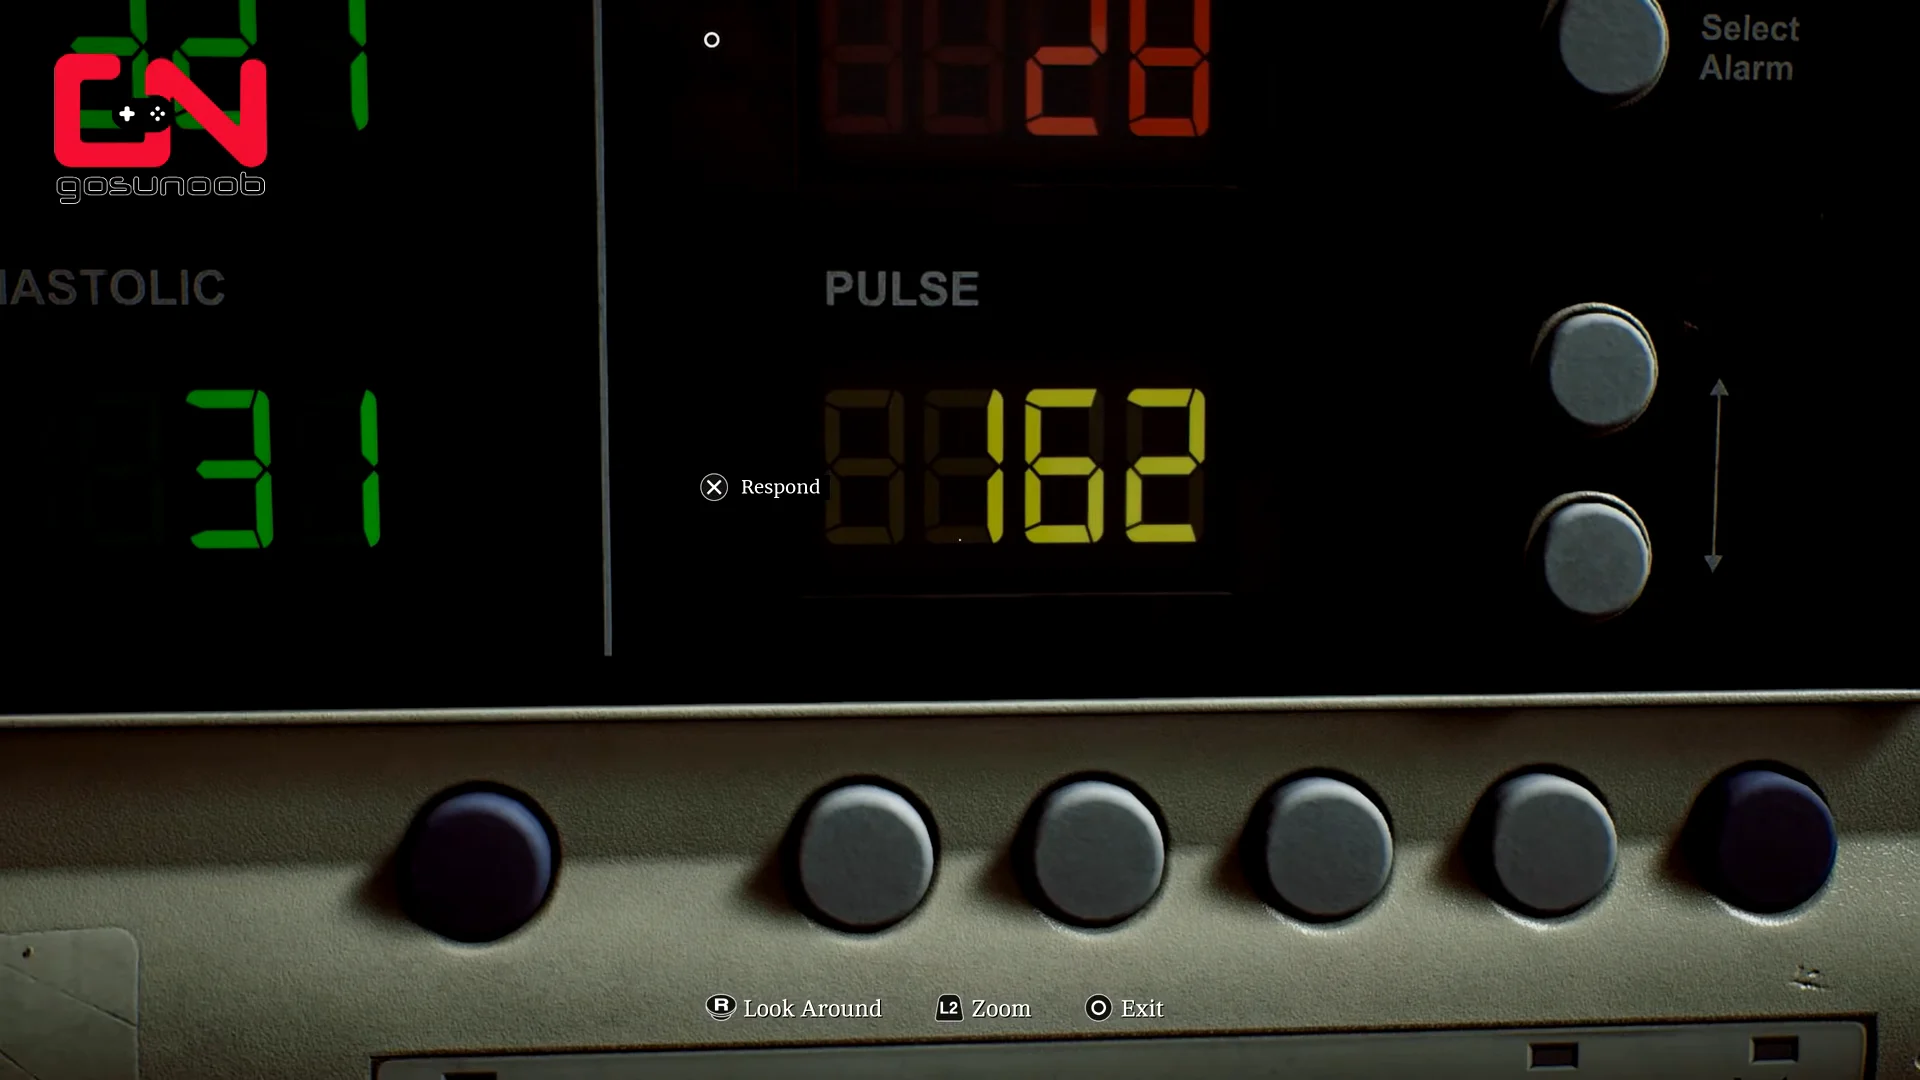
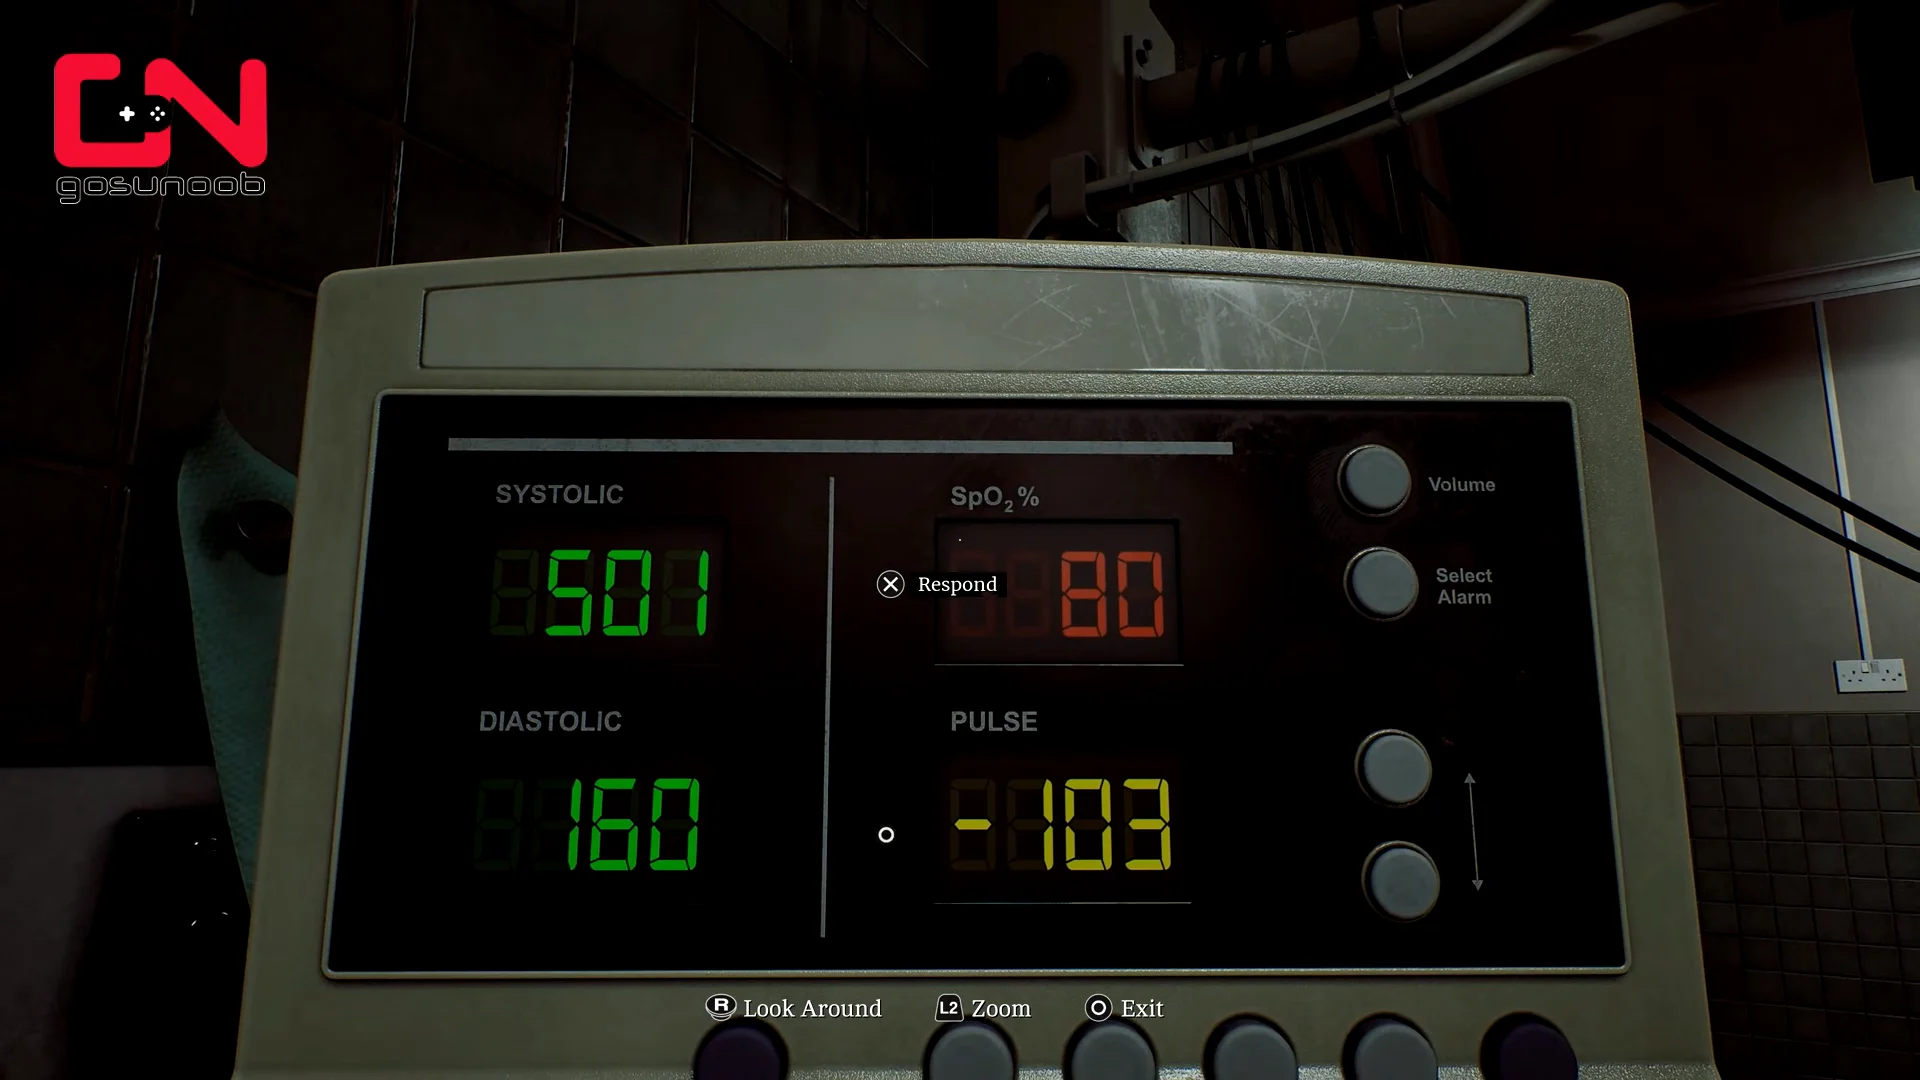
Quick answer: Report blood pressure 70 Systolic / 40 Diastolic, a pulse of 162, and blood oxygen at 80% SpO2, using the monitors on the right, at the foot of the bed, and on the left in that order.
Correct vitals readings and which monitor to use
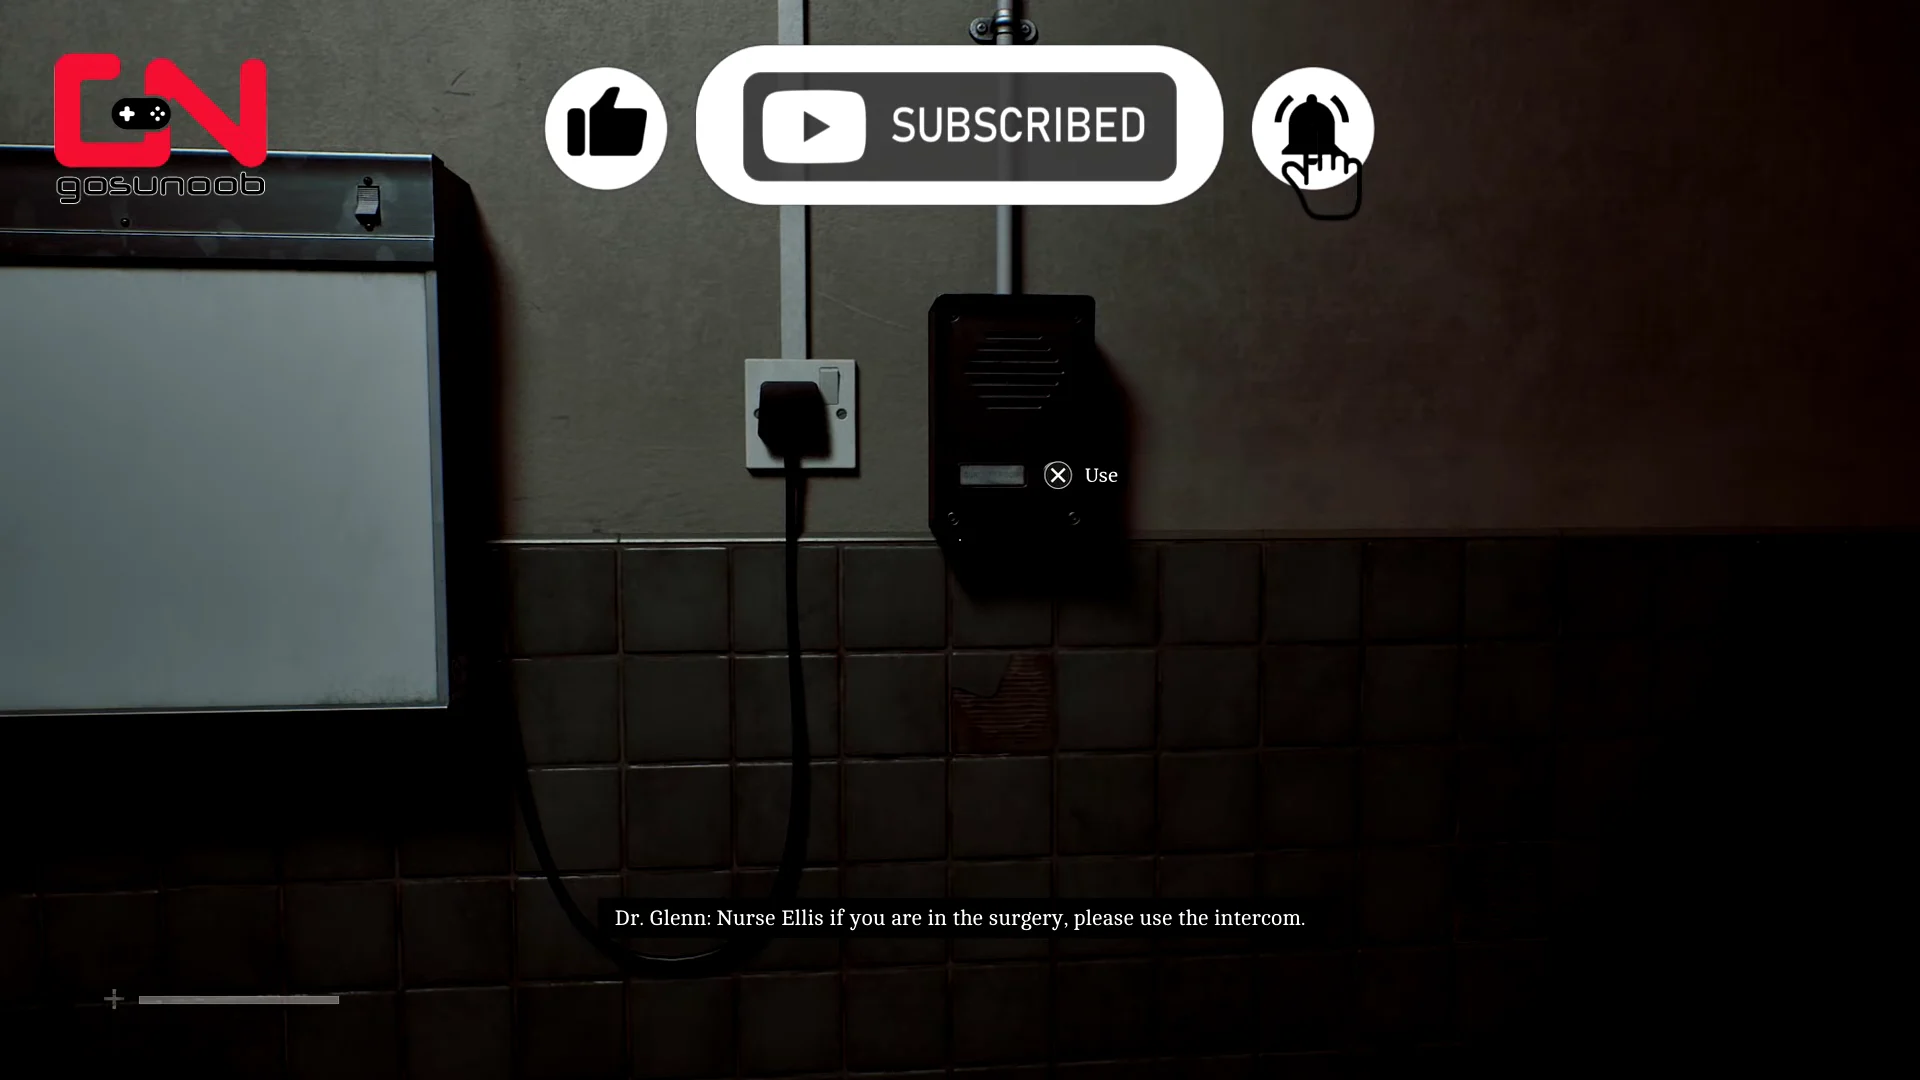
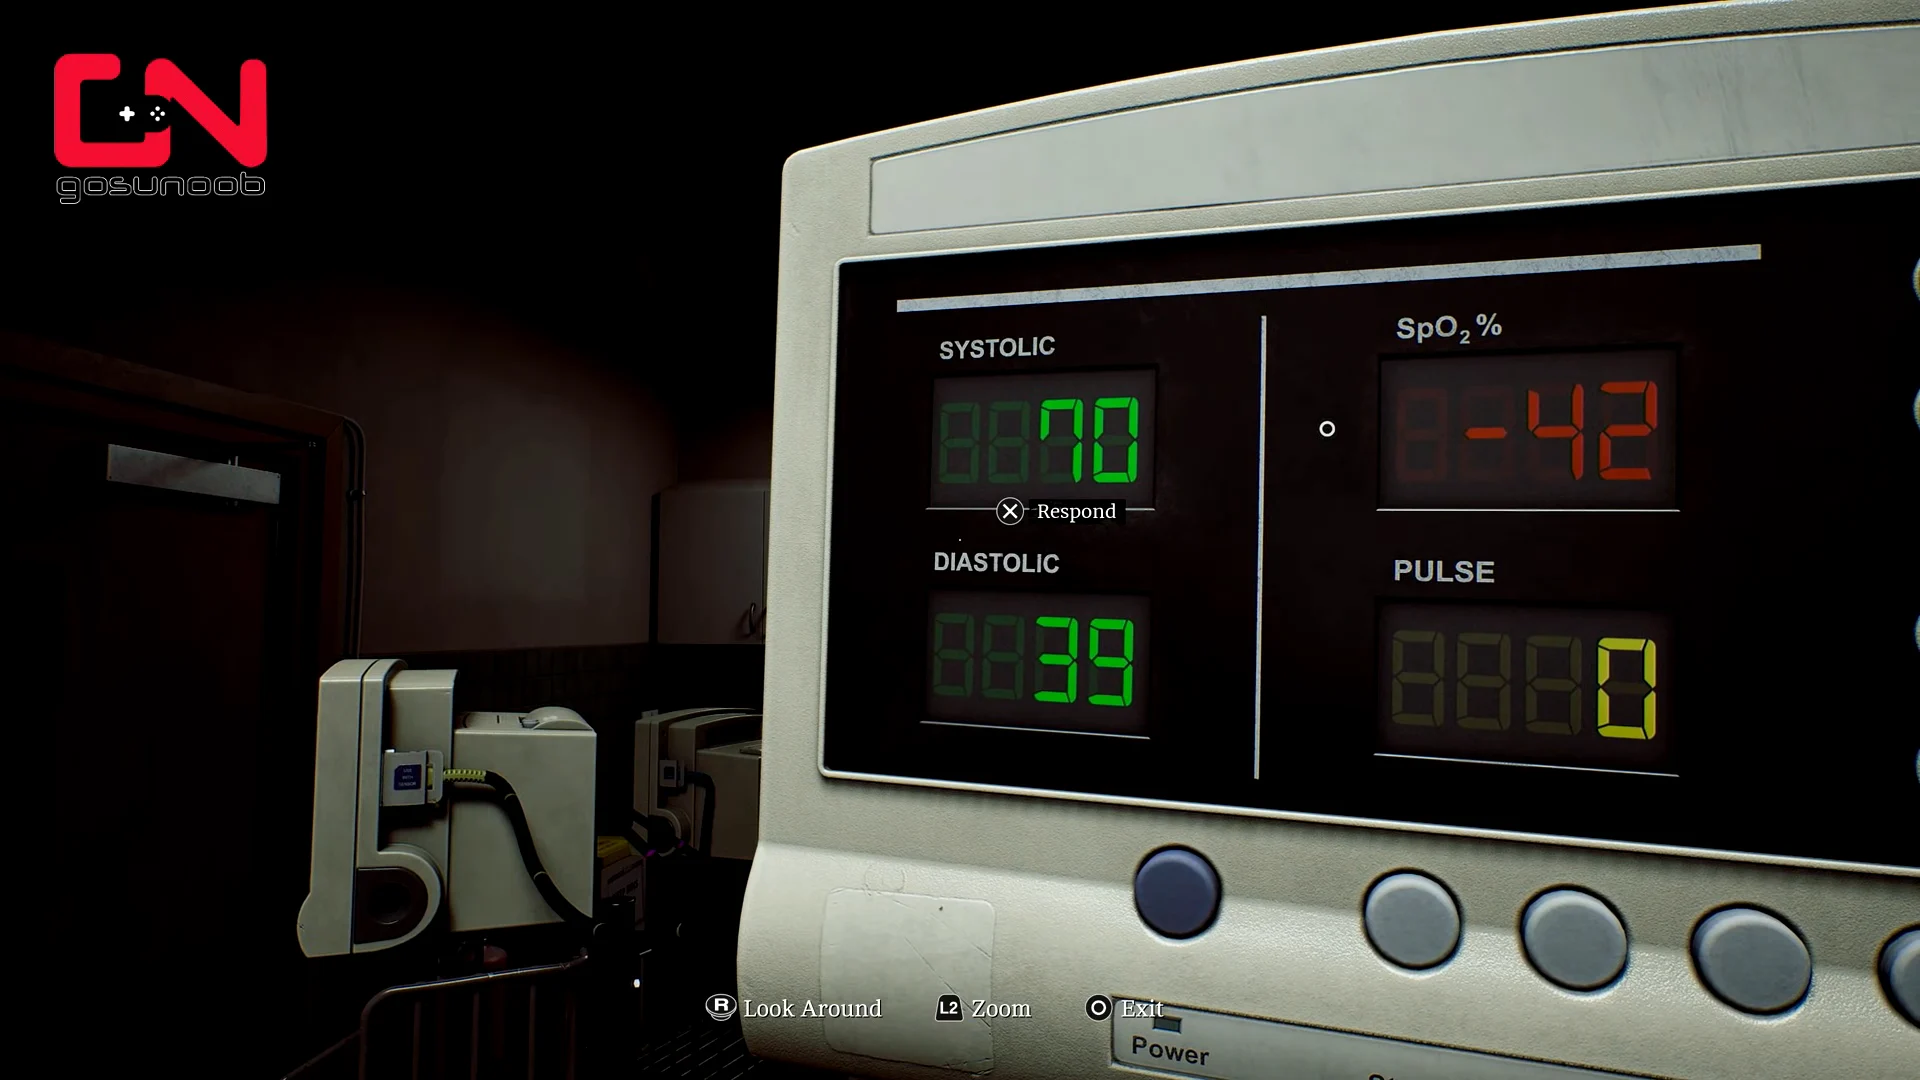
Dr. Glenn asks for the three vitals in a fixed order, and each one lives on a different machine around the bed. The numbers drift by a point or two between playthroughs, so treat the values below as targets rather than exact matches.
| Vital | Report | Monitor | Number colour |
|---|---|---|---|
| Blood pressure | 70 Systolic / 40 Diastolic | Right side of the patient | Green |
| Pulse | 162 BPM | Foot of the bed (centre) | Yellow |
| Blood oxygen | 80% SpO2 | Left side, by the 88 Kg whiteboard | Red |
The room itself is the easiest reference point. Stand with your back to the X-ray lightboard and intercom, and the three machines you need run right to left in the same order Dr. Glenn asks for them.
Why most of the monitors are wrong
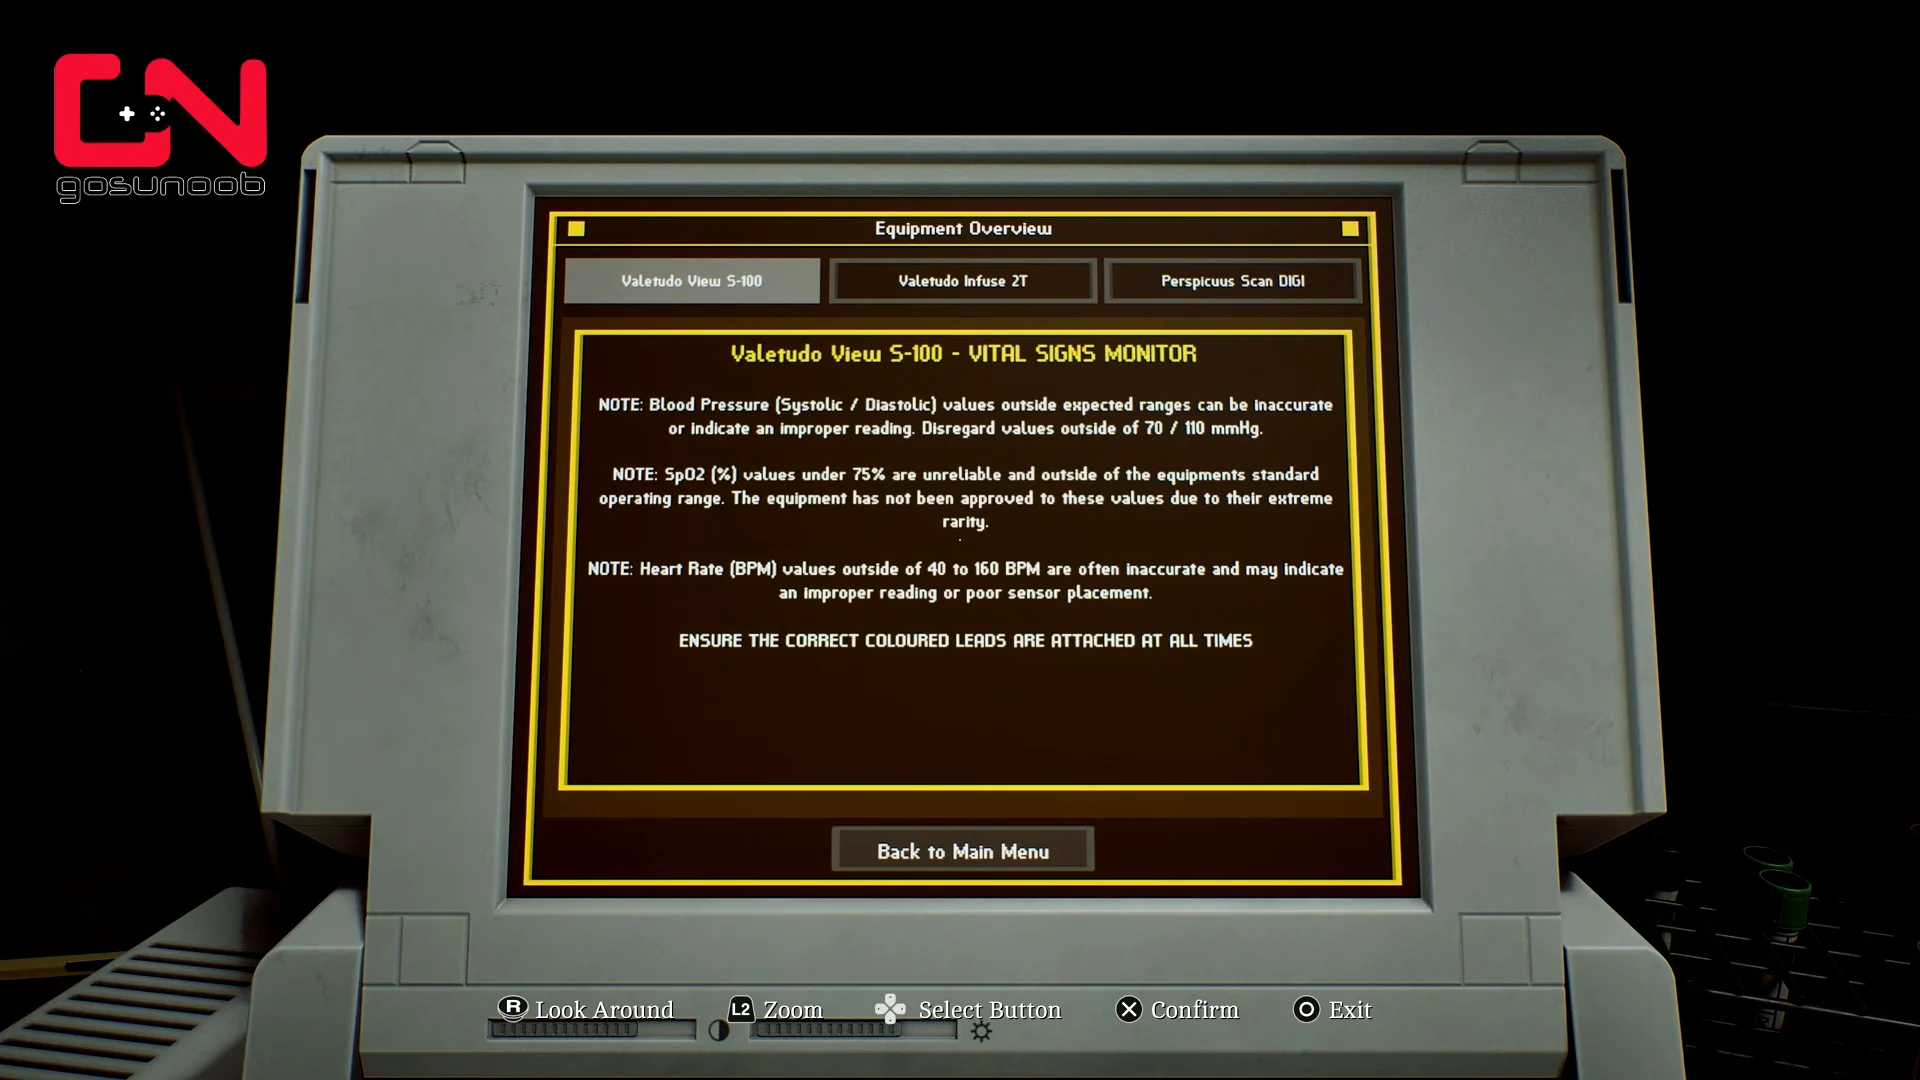
The vintage laptop on the counter holds an Equipment Overview entry for the Valetudo View S-100 vital signs monitor. That entry is the actual puzzle solution. It lists the range each reading is trusted within, which lets you throw out every screen showing a nonsense figure.
- Blood pressure: disregard anything outside 70 / 110 mmHg.
- Heart rate: values outside 40 to 160 BPM are often inaccurate.
- Blood oxygen: anything under 75% is unreliable.
The pulse is the one designed to catch people out. The stated safe band tops out at 160, but the reading Dr. Glenn wants sits just beyond it at 162, flickering between the two. Every other pulse display in the room is far outside the range, so the number that sits a hair over the limit is still the correct one.
Every incorrect response damages Zoe, and there is no partial credit. Read the laptop entry before you answer anything if you are low on health.
Reporting the vitals to Dr. Glenn
How to confirm the vitals check is complete
You know all three readings landed when Dr. Glenn stops asking for numbers and moves Zoe on to imaging. He tells you to use the X-ray system in the room next door, and a nurse pages the door code 7103 to you shortly after. Check the pager if you miss it the first time.
Taking health damage is the only sign you picked a bad monitor, and it does not lock you out of the puzzle. If Zoe is hurt after a wrong guess, go back to the laptop, re-read the range for whichever vital Dr. Glenn is still asking for, and answer on the monitor whose number falls inside it. The 88 Kg written on the whiteboard is worth remembering too, since the patient’s weight decides the infusion rates later in the chapter.