Dungeons in Project Slayers 2 look random on the surface. Every floor hands you a fresh set of cards, every modifier changes the rules slightly, and two runs with the same build can end thousands of points apart. The system is far more predictable than it appears, though, because leaderboard placement is decided by total points, not by how deep you climb. Solo runs suit that math well, since nothing you pick up gets split with anyone else.
Quick answer: Unlock the portal past the bridge in the Mist Village area, queue Ouwigahara Normal alone, then take Lucky Draw and Vampiric on sight, stack Damage, and accept every point multiplier your survivability can handle.
Unlock the dungeon portal in Mist Village
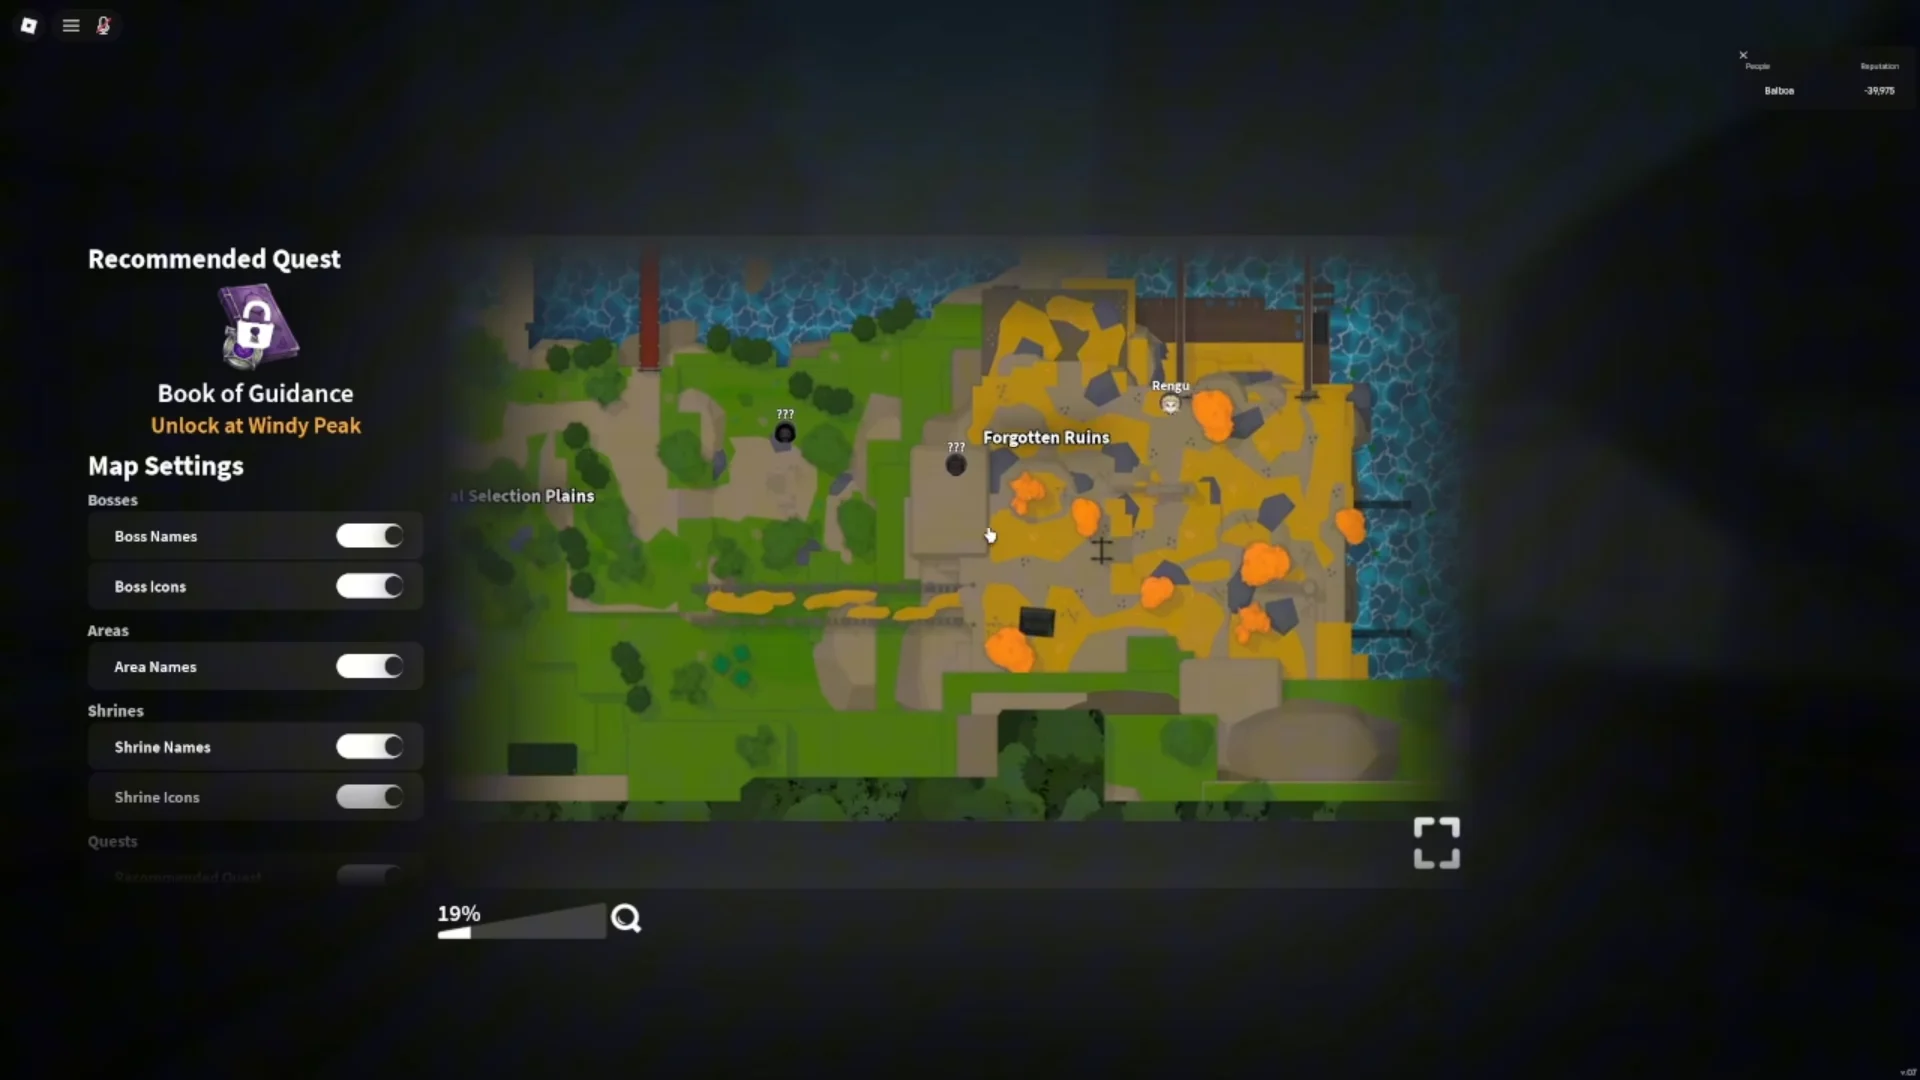
Dungeons do not appear in the hub menu until you have physically touched the portal once. The route runs through the mist below the village.
Queue modes and why solo scores higher
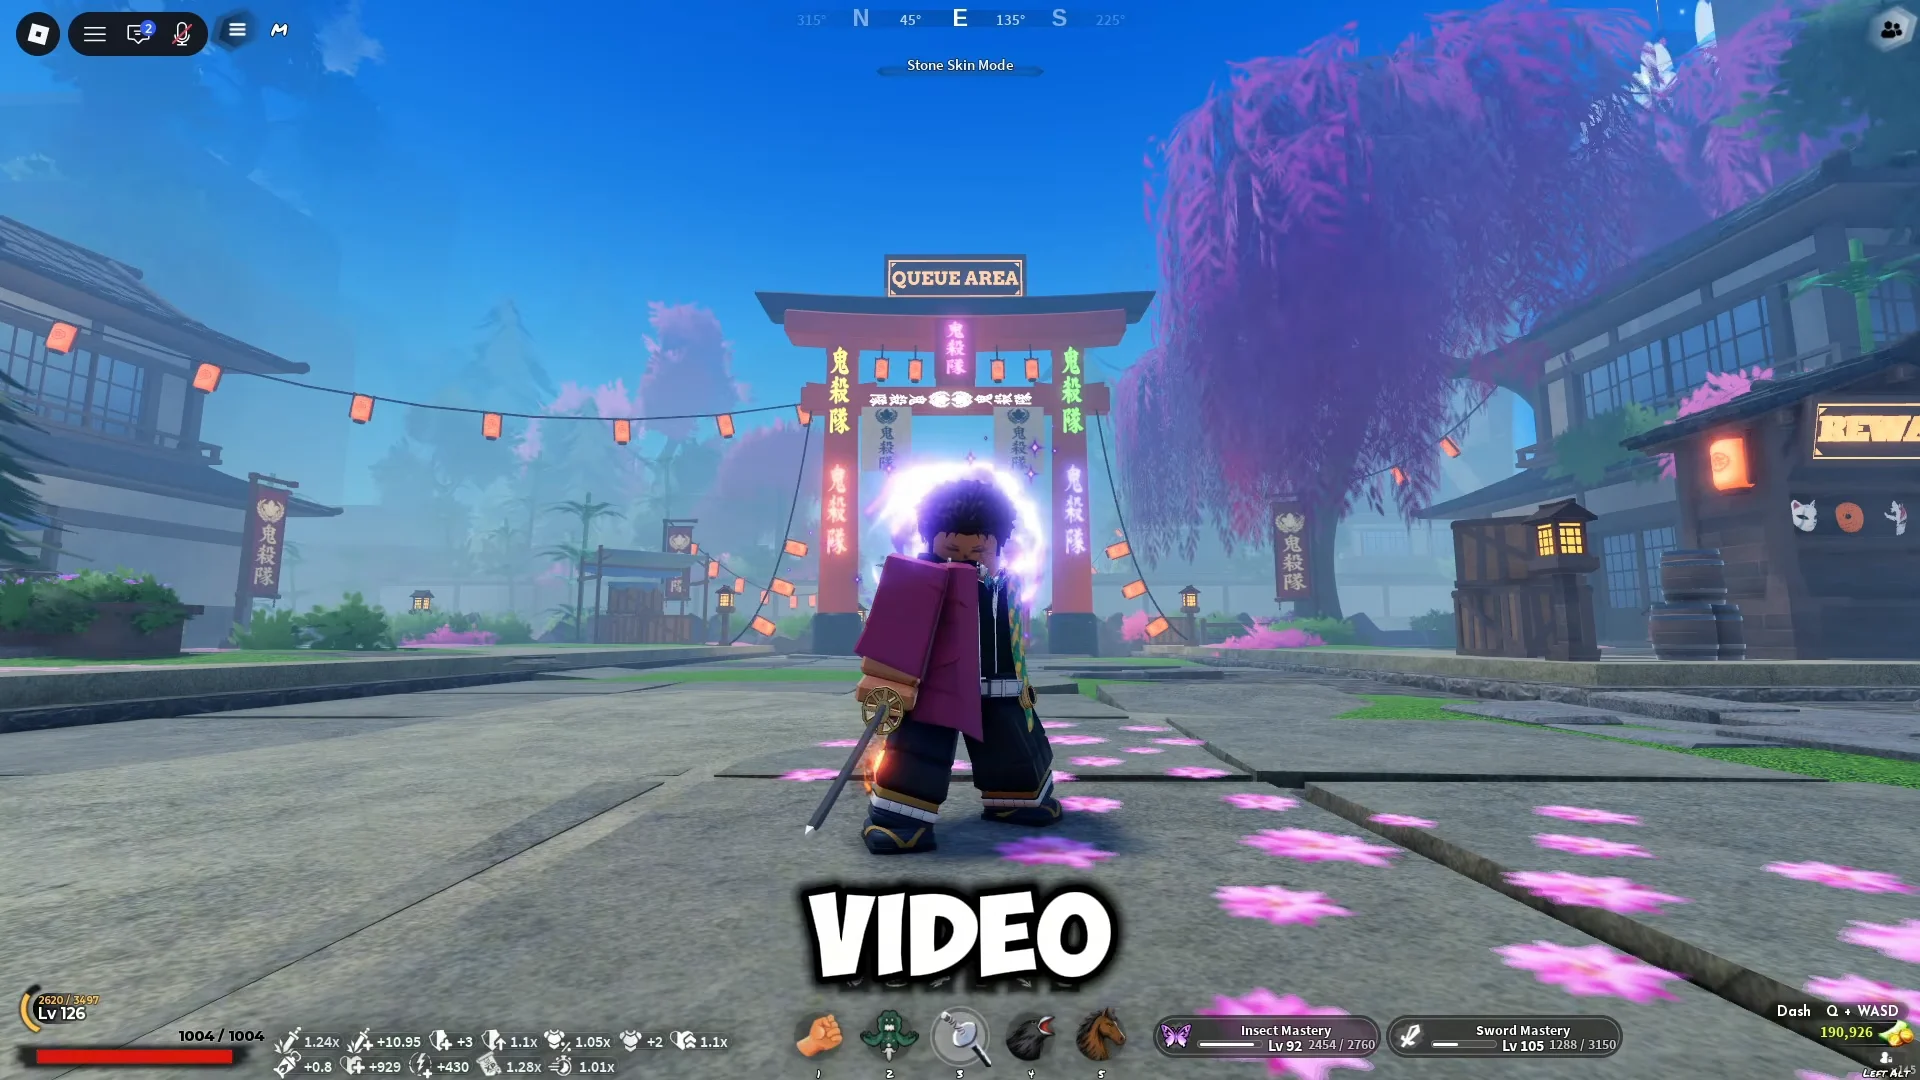
Open the main menu, enter the HUB, and you will see the queue list: 1v1, 2v2, 3v3, Zenith, and Ouwigahara Normal. Ouwigahara Normal is the standard dungeon climb, and the lobby next to it holds the Ranked Normal leaderboard so you can see what the top scores currently look like.
Running alone keeps every card, every multiplier, and every point on your own account. You also control the pace of each floor, which matters because clear speed feeds directly into your score. Group runs are only competitive if someone picks up the Shared Points card. Without it, a co-op run usually returns less than the same effort spent solo.
Recent changes also made solo climbing less punishing. Free chests now drop every 10 floors, and spending accumulated points has been loosened up.
Build and gear to bring before you queue
Top-tier gear is not a hard requirement, but survivability is. Enemy damage scales harder than enemy health, so a defensive stat spread beats a glass-cannon setup once you are past the first handful of floors. Stack HP and damage reduction from your armor rather than chasing raw DPS numbers.
- Demons: Blood or Akaza, paired with Sickles for wide crowd clear.
- Slayers: Snake, Insect, Sound, or Thunder Breathing.
- Armor: Bulwark set, Black Dragon Armour, Scarred Warding Mask, Kintsugi Haori, Bamboo Muzzle.
- Clans: Kamado for demons, Rengoku for slayers.
- Consumables: HP potions, restockable from Alchemist Meku in the dungeon lobby.
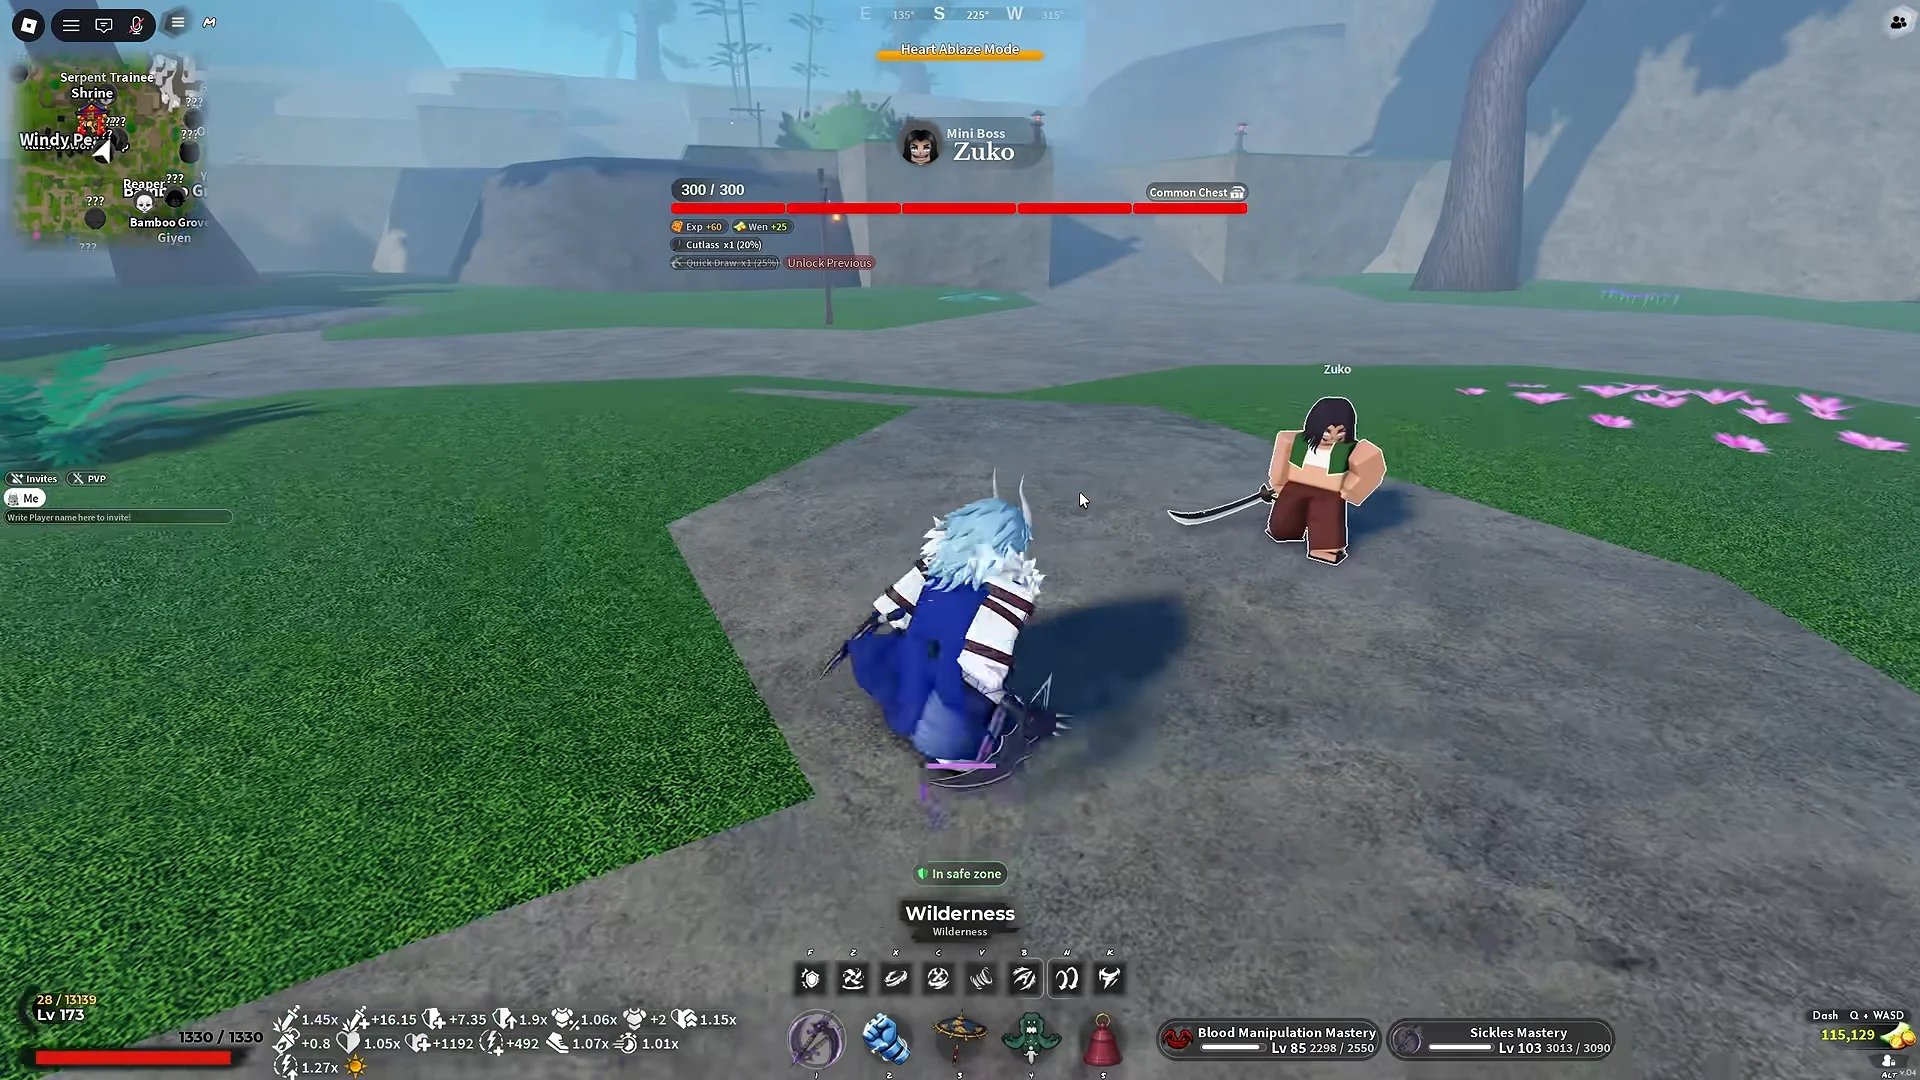
If you are still on starter equipment, the bandit boss Zuko is worth farming first. His Cutlass has a 20% drop chance and carries the Quick Draw skill, which makes it one of the few early weapons with a real moveset attached.
Breathing mastery matters more than the style you picked
Each breathing style is taught by a trainer and locked behind a short test. Flame Breathing, for example, requires finishing the cup shuffle mini-game with Flame Trainer Rengu and then beating the Flame Trainee before the style is granted.
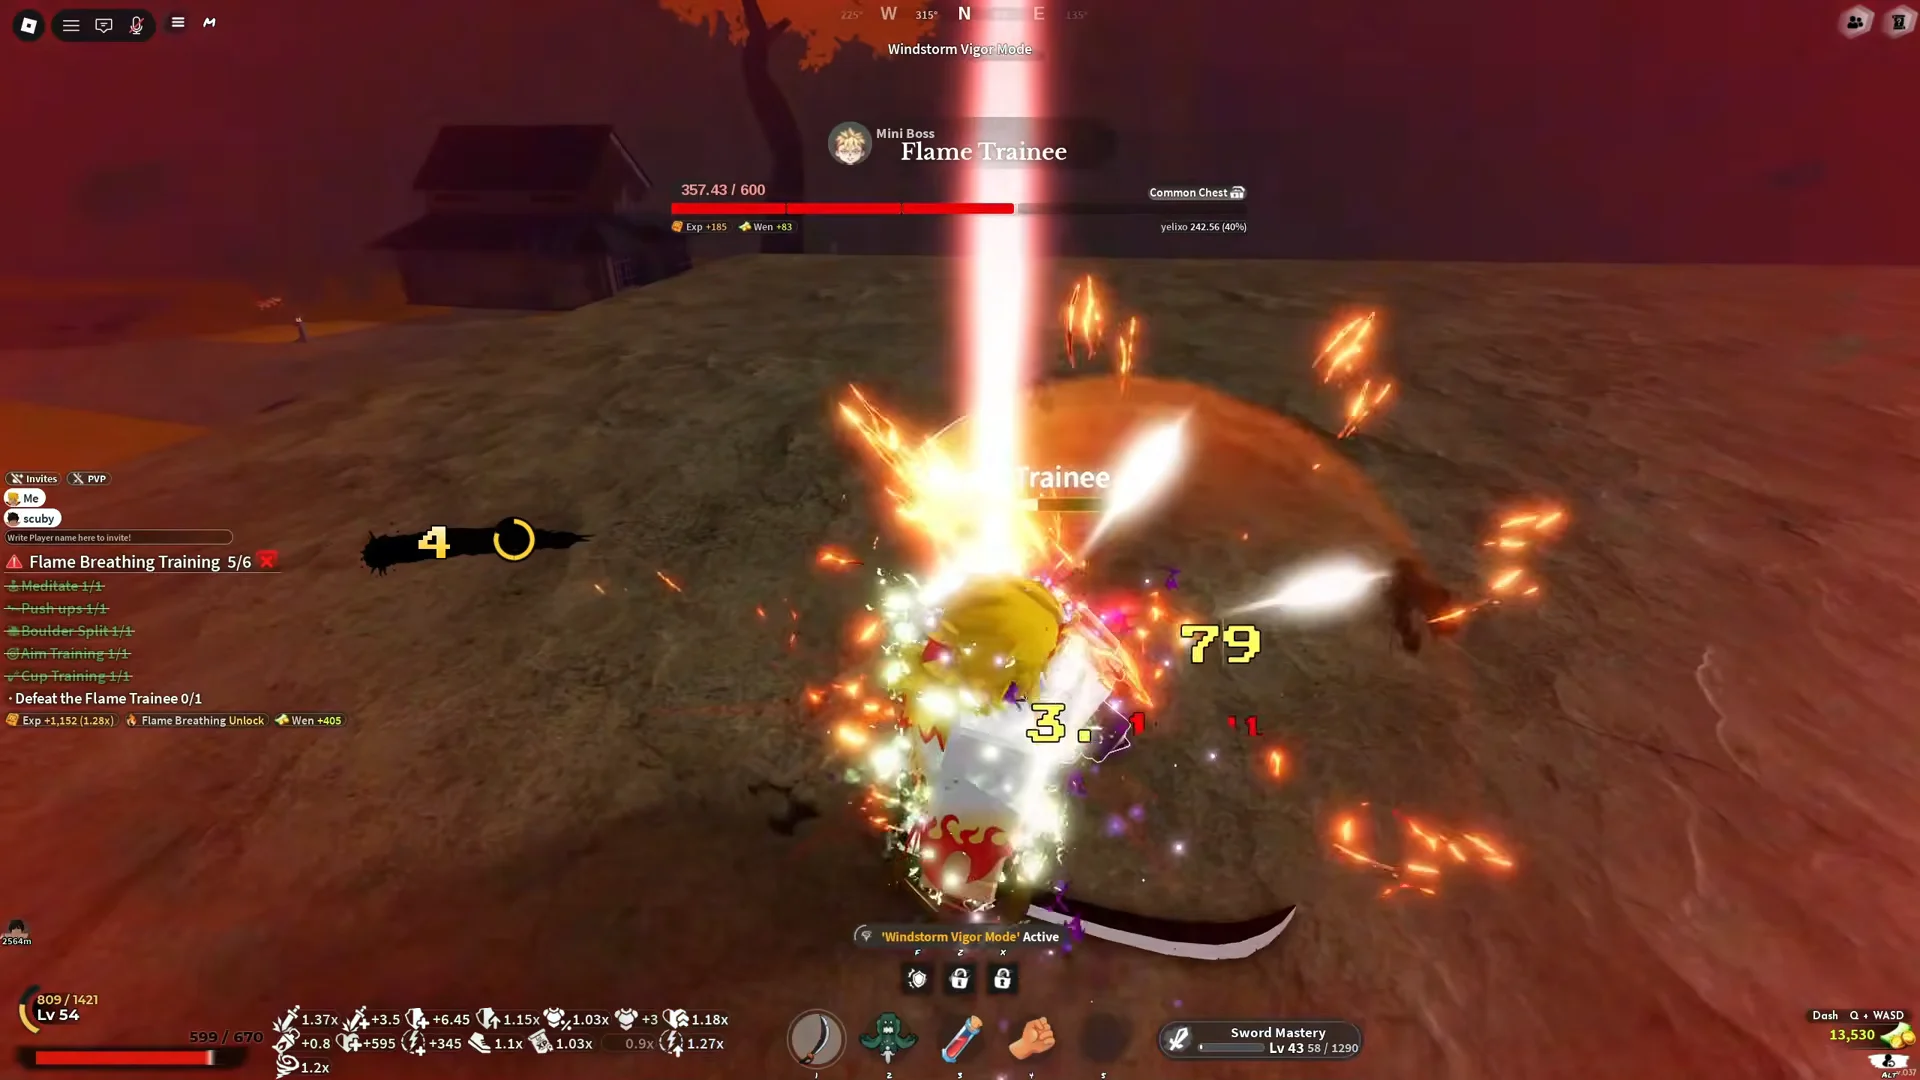
What actually decides your clear speed is mastery. Skills unlock at fixed thresholds in the skill tree, so an under-leveled style leaves you swinging basic combos into scaling enemies. Flame Undulation, as one example, needs Mastery 27 before the Unlock button becomes available, and Flame Tiger arrives at Mastery 40.

Flame Breathing lands around a 7.5 out of 10 next to Serpent’s 8.5, which is why Snake sits on the recommended list for dungeon clearing.
Card priority: What to take first
Two card types show up each floor. Stat cards adjust your character, and modifier cards change the dungeon in exchange for a point multiplier. The multipliers apply for the rest of the run, which is why an early pick is worth far more than a late one.
| Card | Effect | Points |
|---|---|---|
| Lucky Draw | Legendary, improves later draws | — |
| Vampiric | Heals you on every kill | — |
| Gold Rush | Point modifier | x2 |
| Cursed Coin | Point modifier | x2 |
| Blood Moon | Enemies hit harder, half health | x1.5 |
| No Guard | Harsh defensive modifier | x1.3 |
| Double Time | Speed modifier | x1.3 |
| Boss Hunt | Boss spawns per floor | x1.25 |
| Thin Air | Floor modifier | x1.25 |
| Fair Fight | Changes enemy spawns | x1.2 |
| Fog of War | Reduces visibility | x1.2 |
| Thick Skin | Tougher enemies | x1.2 |
| Ascension | One extra elite per floor | +1.2 |
| Elite Guard | Adds elite enemies | x1.15 |
| Berserkers | Aggressive enemy modifier | x1.15 |
| Streak | +5% per clean floor | Scaling |
Lucky Draw is the single most valuable card in the pool and should override anything else on the screen, including a big damage roll. Vampiric is the second automatic pick, because health-on-kill removes most of your reliance on potions during long waves.
Among the modifiers, the boss-spawning card is the one to hunt for. It appears in the multiplier row rather than the stat row, makes each floor noticeably harder, and roughly doubles your point rate for the remainder of the climb. Fair Fight is the safest recurring pick, and Blood Moon is excellent once your damage is high enough to delete the half-health mobs before they reach you.
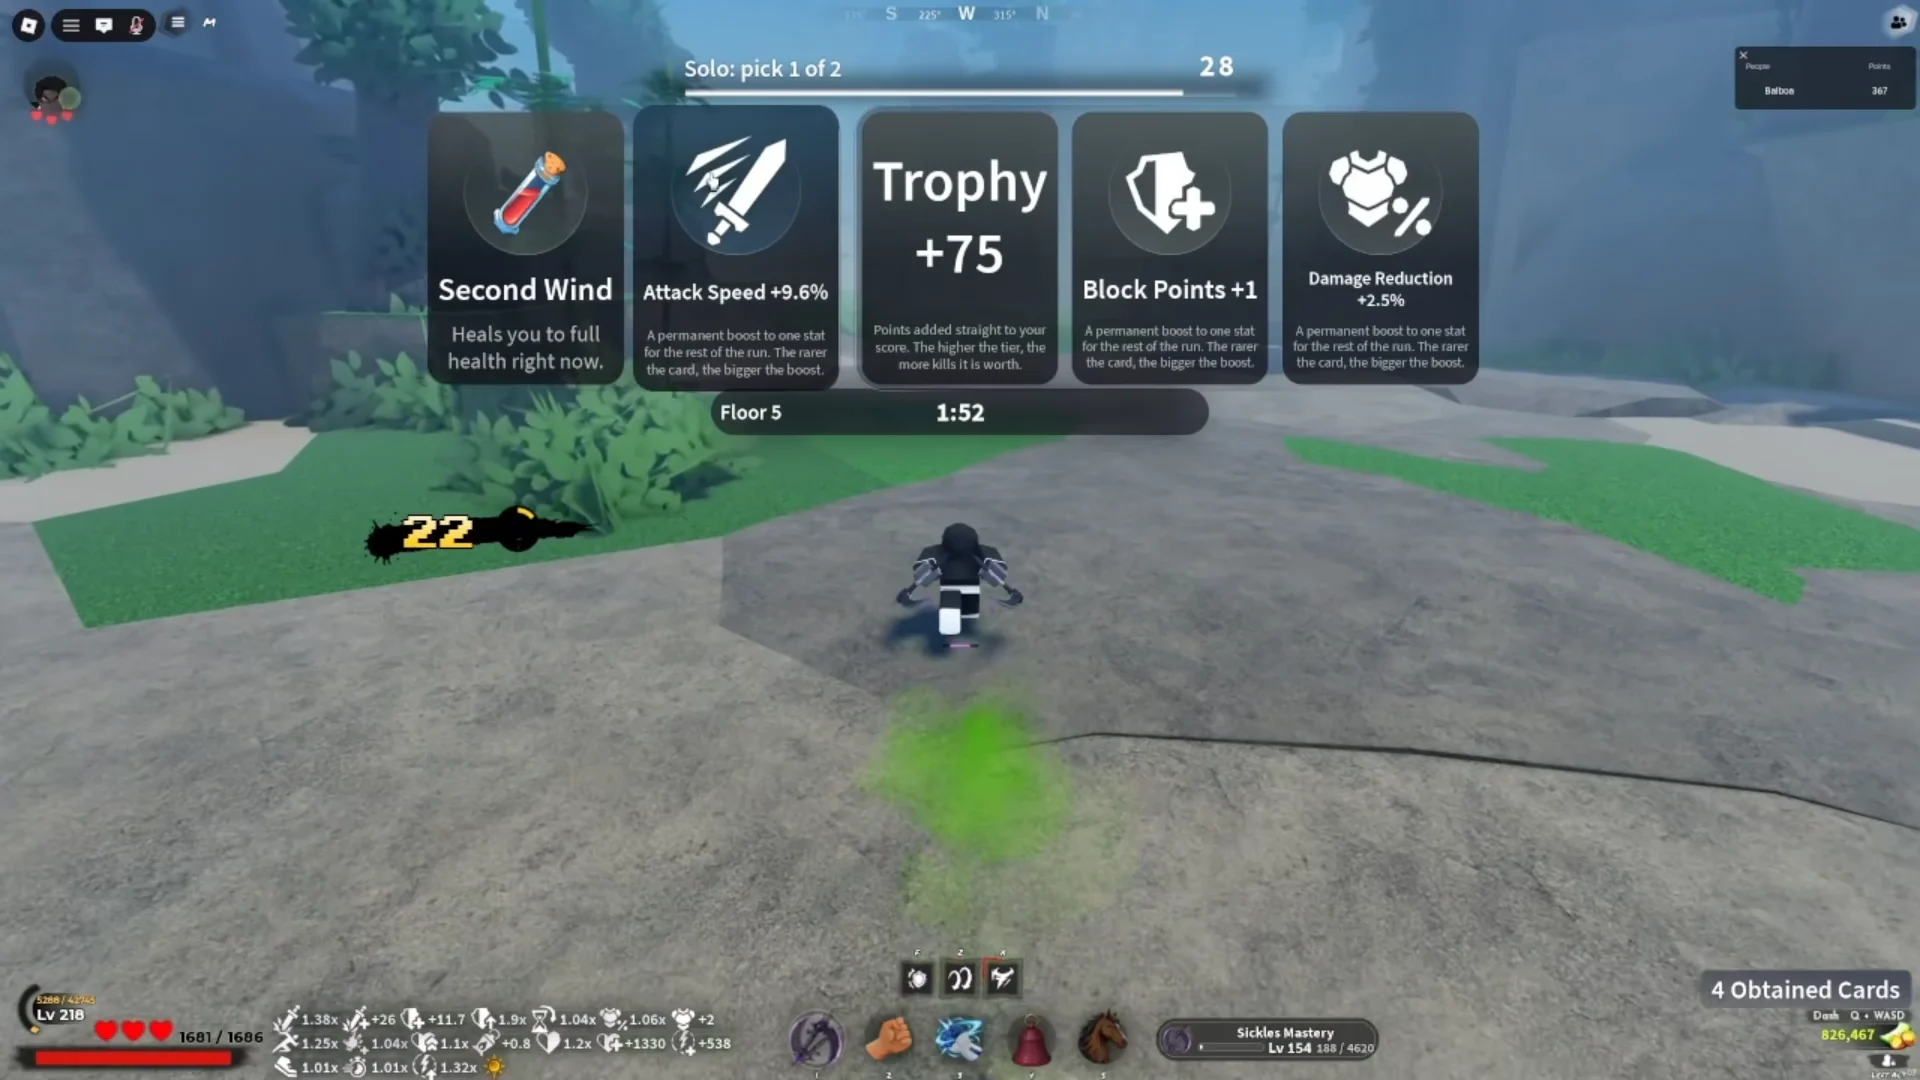
Trophy cards deserve a note of their own. Fine Trophy, Greater Trophy, Grand Trophy and Fortune hand you a fixed lump of points, so they are worth very little early and quite a lot deep into a run. Skip them on the opening floors in favor of stats and permanent multipliers, then take them freely once your multipliers are locked in.
Stat priority for solo runs
Once the run-wide modifiers are settled, stat cards follow a simple order: Damage → HP → Cooldown Reduction → Block Points → Stamina Regen.
- Damage: Flat and percentage rolls are both fine. Faster kills fix every other problem.
- HP: Becomes the deciding stat from the double-digit floors onward.
- Cooldown Reduction: Worth prioritizing if your clear relies on breathing skills.
- Block Points: Real survivability, just not before damage and health.
- Stamina Regen: Take it only when the alternatives are weak.
Attack Speed reads well but underperforms. A damage multiplier moves your clear speed more reliably than a small swing-rate bump, so pick Damage whenever both are offered. Damage Reduction cards are also a strong early grab, since the accumulated reduction plus clan armor buffs is what keeps you standing past floor 10.
Modifiers to avoid or delay
Not every multiplier is worth its cost. A run that ends on floor 12 with a big modifier stack scores worse than one that reaches floor 20 cleanly.
- Grounded removes dashing and double jumping. Painful early, tolerable once your damage is enormous.
- Half-health modifiers feel harmless on floor 3 and end runs on floor 14.
- Iron Discipline is one of the harsher picks and is usually skippable.
- Enemy health modifiers such as +50% HP are fine early, expensive later.
Any card that cuts your survivability should be weighed against your current floor, not against the multiplier number alone. Enemy damage keeps scaling; your health pool does not.
Clearing floors and handling boss waves
Solo clearing comes down to one habit: never fight enemies one at a time. Pull the roaming mobs into a single cluster, then open with a wide area-of-effect skill. Sickle whirlwind attacks and the broader breathing techniques are built for exactly this, and chaining multi-target combos keeps your Streak intact for the bonus points.
Boss waves interrupt the rhythm. Floor 10 typically puts the Yeti Demon or a Hand Demon in front of you, with more appearing around floors 12 and 15. Spin-and-slash combos work well here, but the laser beam attack is the one to respect, since it can break your guard outright. Keep your distance during the wind-up rather than trying to tank it.
Floor layouts shift as you climb, moving from snowy arenas into desert maps, and the mob types change with them. Reaching roughly 9,000 points by floor 16 in about ten minutes is a solid benchmark for a clean run, and a fully stacked solo climb can push toward 400,000 points.
Spending dungeon points in the hub
Points are spent back in the dungeon hub, and the crafting side is the main reason to grind floors at all. At the Nichirin Forge, Blacksmith Togane lists recipes for V2 Damascus weapons and the Butterfly Katana, priced in points plus Mythic Refinement Ore. Tier 2 upgrades such as the Damascus Sickles also call for bulk materials like 500 Metal Scraps and 500 Silk Thread.
The Exp Area shop trades Tower Crystal points for mastery boosts across weapon types including Claws, Scythe, Reaper, and Gauntlet, which is the fastest way to close the mastery gaps that gate your breathing skills. The Ouwigahara Chest covers general rewards, and Changer Zeni in the Wen Area converts what you have earned into Zeni.
Confirming your run counted
Two checks tell you everything worked. First, Ouwigahara Normal should appear in the hub queue list after you touch the portal; if it does not, the portal was never entered. Second, your score posts to the Ranked Normal leaderboard in the lobby once the run ends, either by death or by using the respawn prompt to return to the hub.
If the number is lower than expected, it is almost always a multiplier problem rather than a floor problem. Reaching floor 20 with no permanent multipliers scores worse than floor 14 with Lucky Draw, a boss modifier, and Streak running since the opening floors.