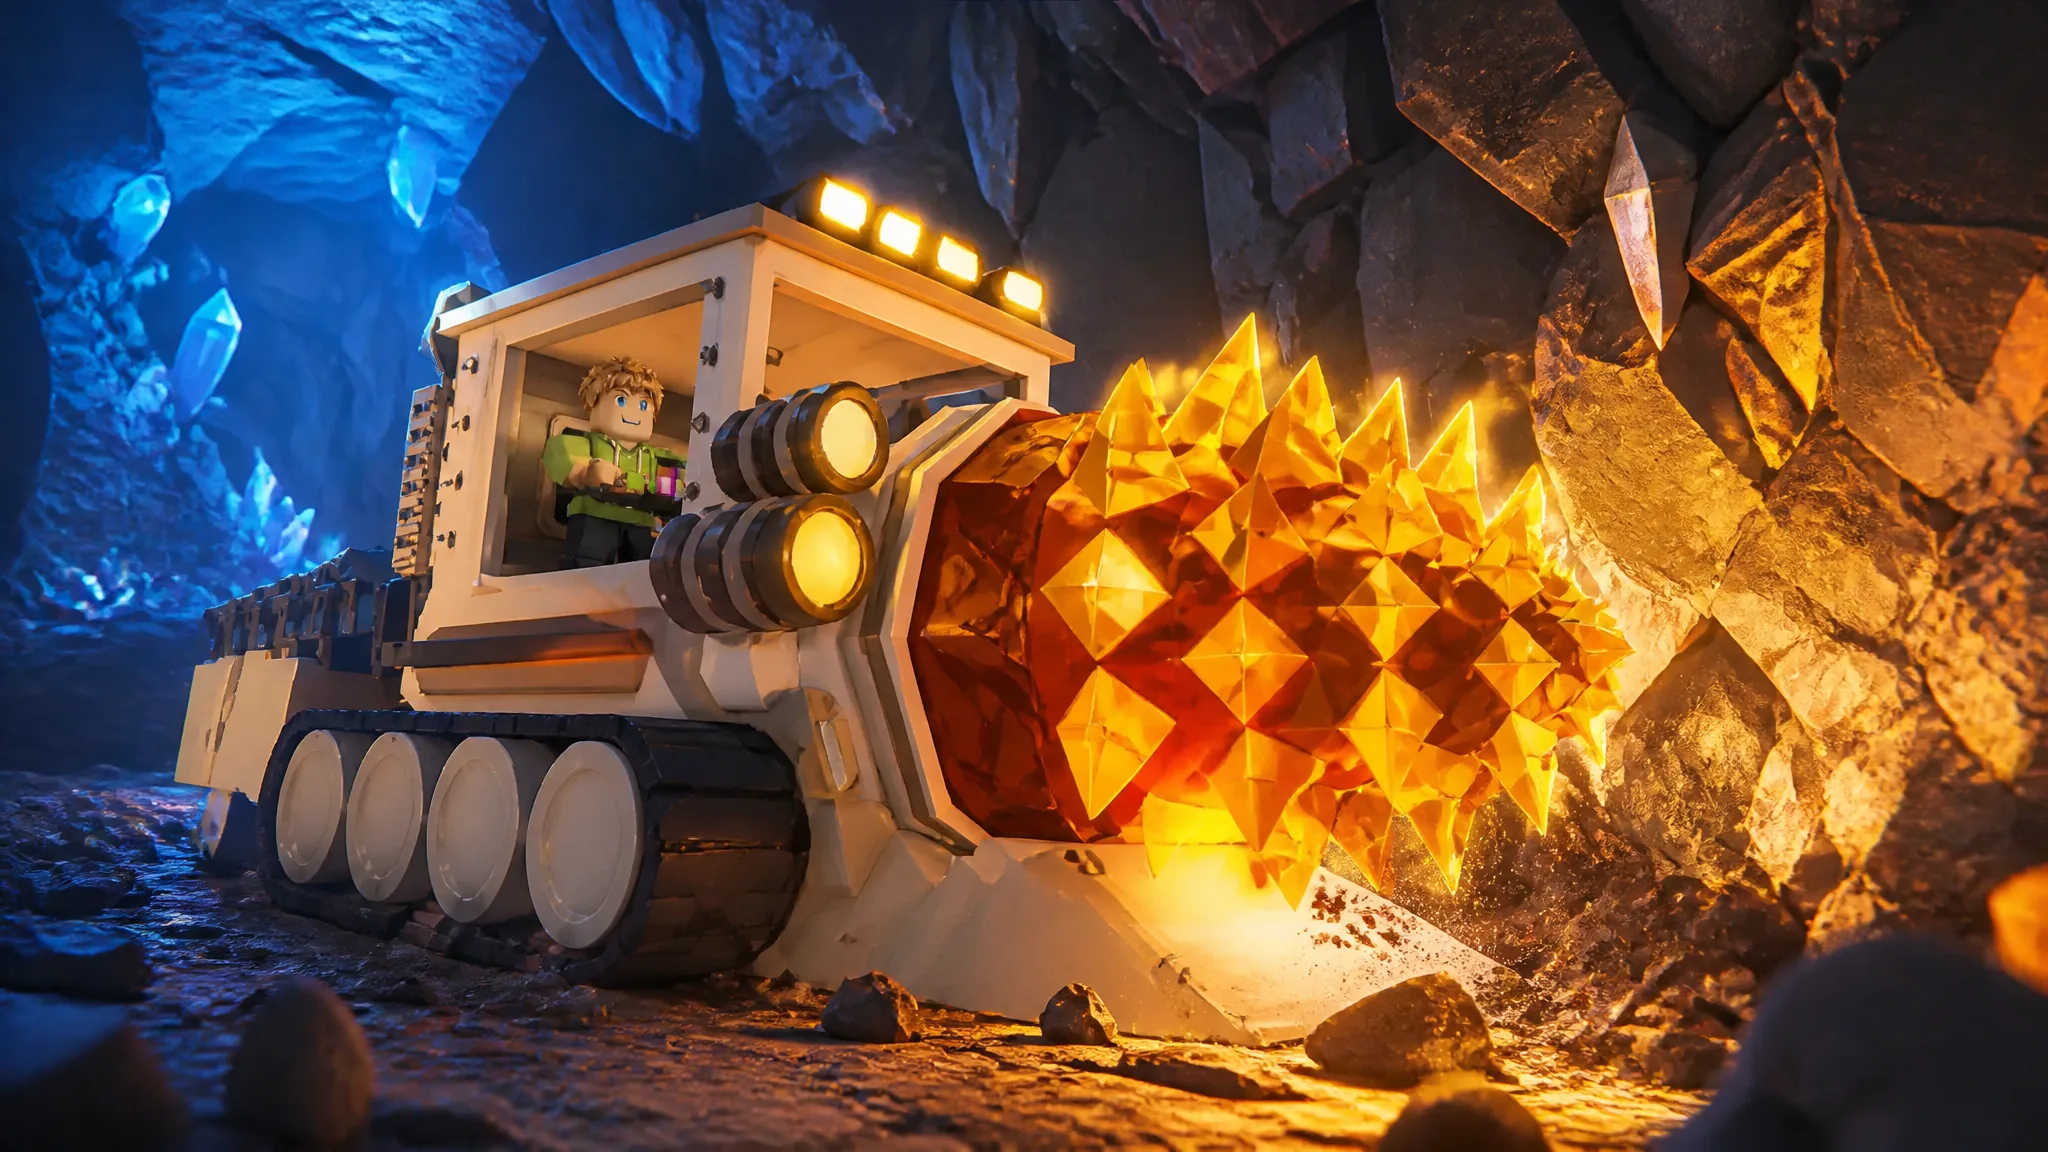
Classes decide how you play a run in Drill to Earth’s Core. Each one is an archetype you buy at the hub with Cores, and each hands you starter gear plus a set of passive bonuses built around a single job, whether that is mining faster, fixing the drill, healing the team, or clearing rooms.
Quick answer: There are 27 classes in total, sorted into five tiers. You unlock them with Cores at the hub, and every class in the same tier costs the same. Tier 1 is 100 Cores; Tier 5 is 30,000. The class shop restocks every 12 hours.
How to unlock classes with Cores
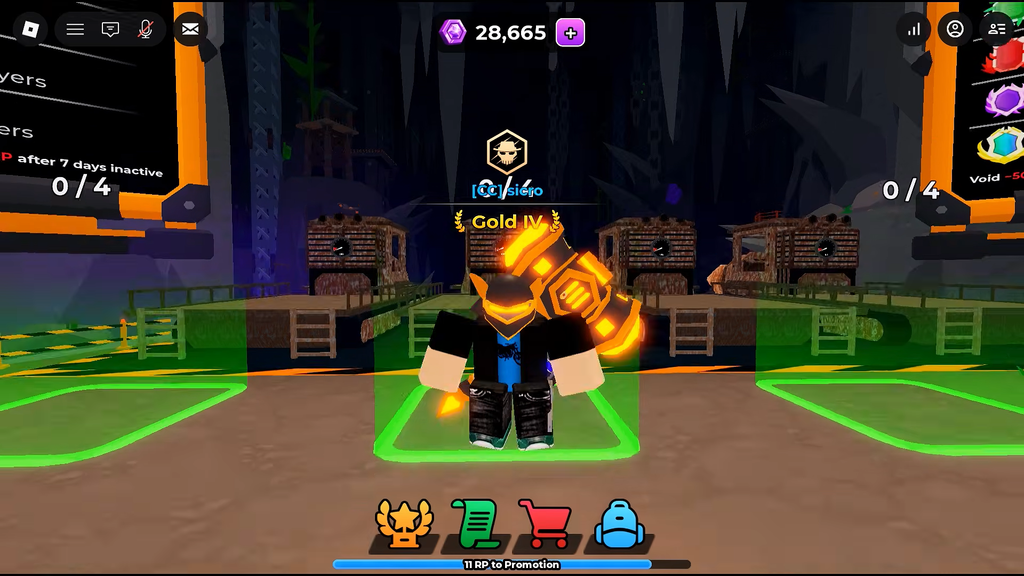
Cores are the currency that buys classes, and they are separate from the Coins you spend in a run. You earn Cores steadily the deeper you push, and the shop only ever shows a random slice of the roster at once, so you cannot grab everything the moment you have the money.
You pick up Cores from these sources:
- Opening Chests
- Completing daily quests
- Earning achievements
- Breaking boss walls
Leveling a class does not cost extra Cores. Every kit has four bonuses, and levels 1 through 3 unlock as you meet in-run requirements such as mining ore, defeating enemies, or reaching a total depth. Level 4 is always the team bonus for every class, and it only helps the whole lobby once you hit that class’s depth gate.
The default class is None, which costs nothing, comes with no gear, and cannot level up. It is what you run before you buy anything.
Every class by tier and unlock cost
| Class | Tier | Unlock cost |
|---|---|---|
| Miner | 1 | 100 |
| Recruit | 1 | 100 |
| Scout | 2 | 3,000 |
| Healer | 2 | 3,000 |
| Mechanic | 2 | 3,000 |
| Racer | 2 | 3,000 |
| Witch | 2 | 3,000 |
| Driller | 3 | 5,000 |
| Tank | 3 | 5,000 |
| Gunslinger | 3 | 5,000 |
| Bruiser | 3 | 5,000 |
| Demolitionist | 4 | 10,000 |
| Princess | 4 | 10,000 |
| Crafter | 4 | 10,000 |
| Reaper | 4 | 10,000 |
| Lucky Looter | 4 | 10,000 |
| Nightcrawler | 4 | 10,000 |
| Salvager | 4 | 10,000 |
| Goblin King | 5 | 30,000 |
| Gunsmith | 5 | 30,000 |
| Bounty Hunter | 5 | 30,000 |
| Pirate | 5 | 30,000 |
| Prospector | 5 | 30,000 |
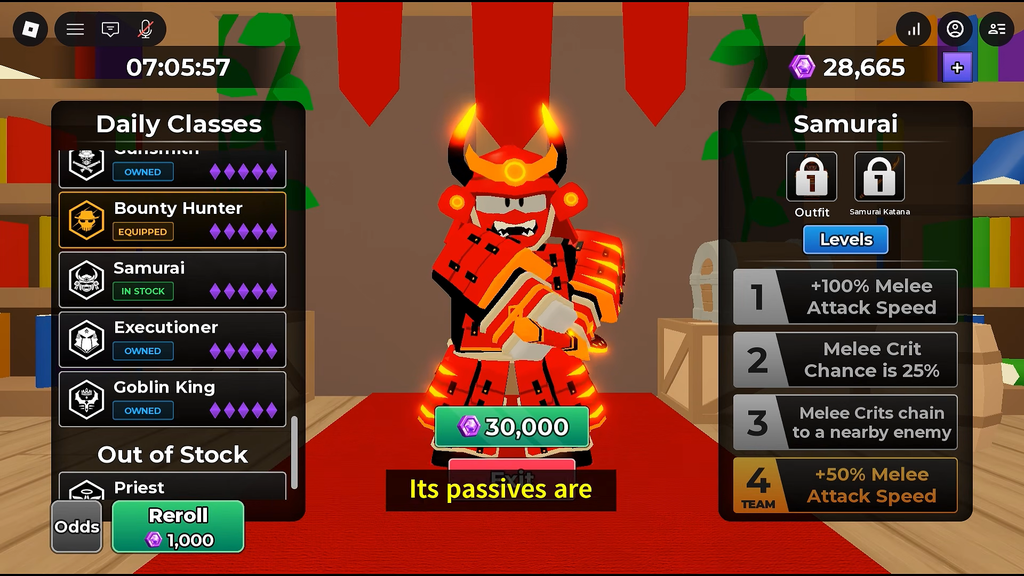
| Samurai | 5 | 30,000 |
| Executioner | 5 | 30,000 |
| Priest | 5 | 30,000 |
Tier 1 classes (100 Cores)
Miner
Starter gear: Rusty Pickaxe and Miner Armor. This is the cheapest buy and the one built around digging ore.
- Level 1: +50% Pickaxe Damage
- Level 2: Pickaxe Damage has a 25% chance to increase by 300%.
- Level 3: Selling Ores and Bars yields 100% more Coins.
- Level 4 (team): +25% Pickaxe Damage
Recruit
Starter gear: Rusty Sword. A basic all-rounder that leans into melee and guns.
- Level 1: +20% Melee and Gun Damage
- Level 2: +20% HP
- Level 3: Scrap sells for +25% Coins
- Level 4 (team): Melee and Gun Damage increase by 10%.
Tier 2 classes (3,000 Cores)
Scout
Starter gear: Scout Armor Set, Speed Potion, and a Large Sack at level 3. Built for movement and spotting loot.
- Level 1: +20% Movement Speed
- Level 2: Dungeons reveal Scrap and Chests with highlights.
- Level 3: Boots can be crafted
- Level 4 (team): +10% Movement Speed
Healer
Starter gear: Medkit, Medic Armor, and a Revive Kit at level 3. The team’s dedicated support kit.
- Level 1: +100% Healing
- Level 2: Shops charge 50% less for Medical items.
- Level 3: Medkits can be crafted
- Level 4 (team): +50% Healing
Mechanic
Starter gear: Gas Can, Mechanic Armor, and a Magnet at level 2. Focused on keeping the drill fueled and running.
- Level 1: +50% fuel contribution
- Level 2: You begin with a loot-attracting magnet, and gas cans become craftable.
- Level 3: Each defeated enemy sends its fuel straight into the drill.
- Level 4 (team): +25% fuel contribution
Racer
Starter gear: Racer Armor. This kit rewards the person driving the vehicle.
- Level 1: As the Driver, your Drive Speed and Acceleration are 50% higher.
- Level 2: Drive Speed, Power Drive, and Engine Overdrive cost 50% less
- Level 3: While fuel remains below 50%, the Driver receives 100% increased Drive Speed and Acceleration.
- Level 4 (team): Engine Overdrive III becomes available.
Witch
Starter gear: Witch Armor Set, Strength Potion, and Invisibility Potion. A potion specialist that can share effects with the team.
- Level 1: Potions last 100% longer
- Level 2: The Crafting Shack gains the ability to make Potions.
- Level 3: Using potions gives the effects to nearby allies
- Level 4 (team): Potions last 50% longer
Tier 3 classes (5,000 Cores)
Driller
Starter gear: Rusty Pickaxe and Driller Armor. The wall-breaking kit for anyone piloting the drill on a deep run.
- Level 1: +50% wall damage as the Driver
- Level 2: Drill Power, Mega Drill, and Power Slam are available at 50% reduced cost.
- Level 3: With fuel under 10%, the Driver deals 100% additional damage.
- Level 4 (team): The Driver inflicts 25% more Wall Damage.
Tank
Starter gear: Tank Armor, plus a Taunt Banner at level 2. A survivability pick that soaks damage for the group.
- Level 1: +100% HP
- Level 2: A Taunt Banner is provided at the start; it draws enemies toward you, and taunted enemies inflict 25% less damage on you.
- Level 3: +150% HP
- Level 4 (team): +50% HP
Gunslinger
Starter gear: Revolver and Gunslinger Armor. A firearms kit that scales gun damage hard.
- Level 1: +100% Gun Damage
- Level 2: A defeated enemy has a 10% chance of dropping Pistol, Shotgun, or Rifle Ammo.
- Level 3: Guns fire 100% faster
- Level 4 (team): +50% Gun Damage
Bruiser
Starter gear: Steel Sword and Bruiser Armor Set. The melee bruiser that rewards staying in a fight.
- Level 1: +100% Melee Damage
- Level 2: The damage required to cause a stagger is reduced by 50%.
- Level 3: Landing hits in succession builds up a 5% Melee Damage bonus.
- Level 4 (team): +50% Melee Damage
Tier 4 classes (10,000 Cores)
Demolitionist
Starter gear: RPG and Demolitionist Armor Set. Built around explosives for both walls and enemies.
- Level 1: +50% Explosive Damage
- Level 2: Explosives can cause broken walls to produce ores, with a 50% chance.
- Level 3: Settlements sell Explosives for 50% less.
- Level 4 (team): +25% Explosive Damage
Princess
Starter gear: Princess Staff and Princess Armor Set. A support kit with a healing staff and a money-sharing angle.
- Level 1: The run begins with the Princess Staff and 1,000 Coins.
- Level 2: The staff slowly heals teammates in range; gain 5% of the money allies collect from Money Bags
- Level 3: Gems sell for +50% Coins
- Level 4 (team): All players receive 500 Coins at the start.
Crafter
Starter gear: Crafter Armor Set, Resource Scanner, Wrench, and Furnace. Focused on cheaper crafting and better scrap value.
- Level 1: Prices at the Crafting Shack are 10% lower.
- Level 2: Shredding Scrap gives back Coins equal to 50% of its value.
- Level 3: Drill Boost’s distance, speed, and Wall Damage are increased by 50%.
- Level 4 (team): Crafting Shack prices receive a further 5% reduction.
Reaper
Starter gear: Reaper Armor Set, plus a Soul Lantern at level 2. This is a combat-and-sustain kit that stays useful long after basic weapons fall off.
- Level 1: Enemies can drop Soul Orbs at a 20% rate; each one restores 25 HP.
- Level 2: A Soul Lantern that harms nearby enemies is equipped from the start.
- Level 3: Defeat 10 enemies to gain 5 max HP.
- Level 4 (team): Soul Orbs can drop from enemies with a 10% chance.
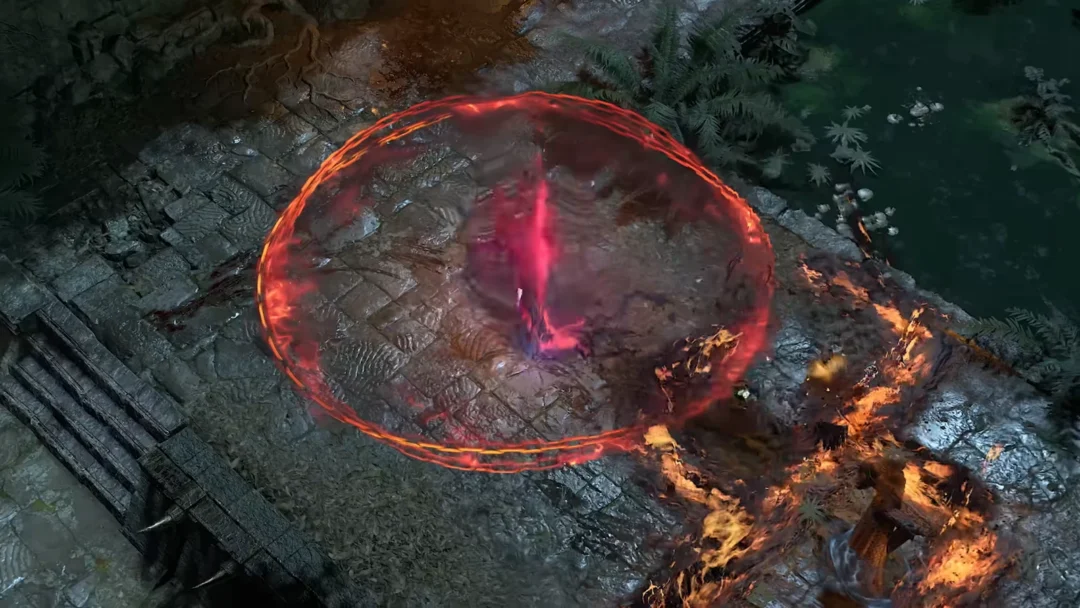
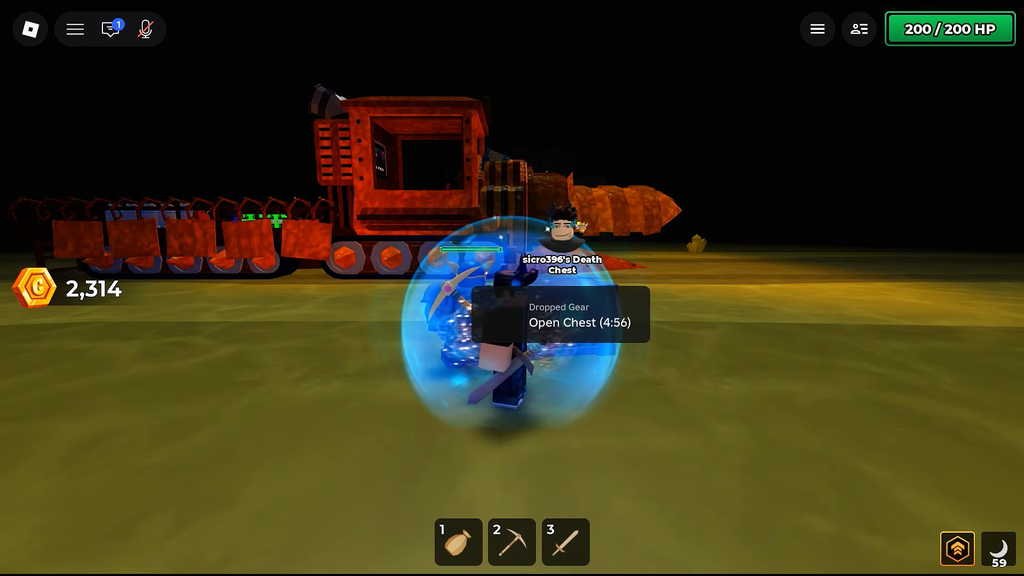
The Soul Lantern sits in the utility slot and throws out a circular aura that deals 50 damage per second to any enemy inside it, so worms hitting the drill and goblins swarming a boss wall die without you swinging. It also gives off light, which lets the Reaper mine in the pitch-black Mineshaft without a miner helmet.
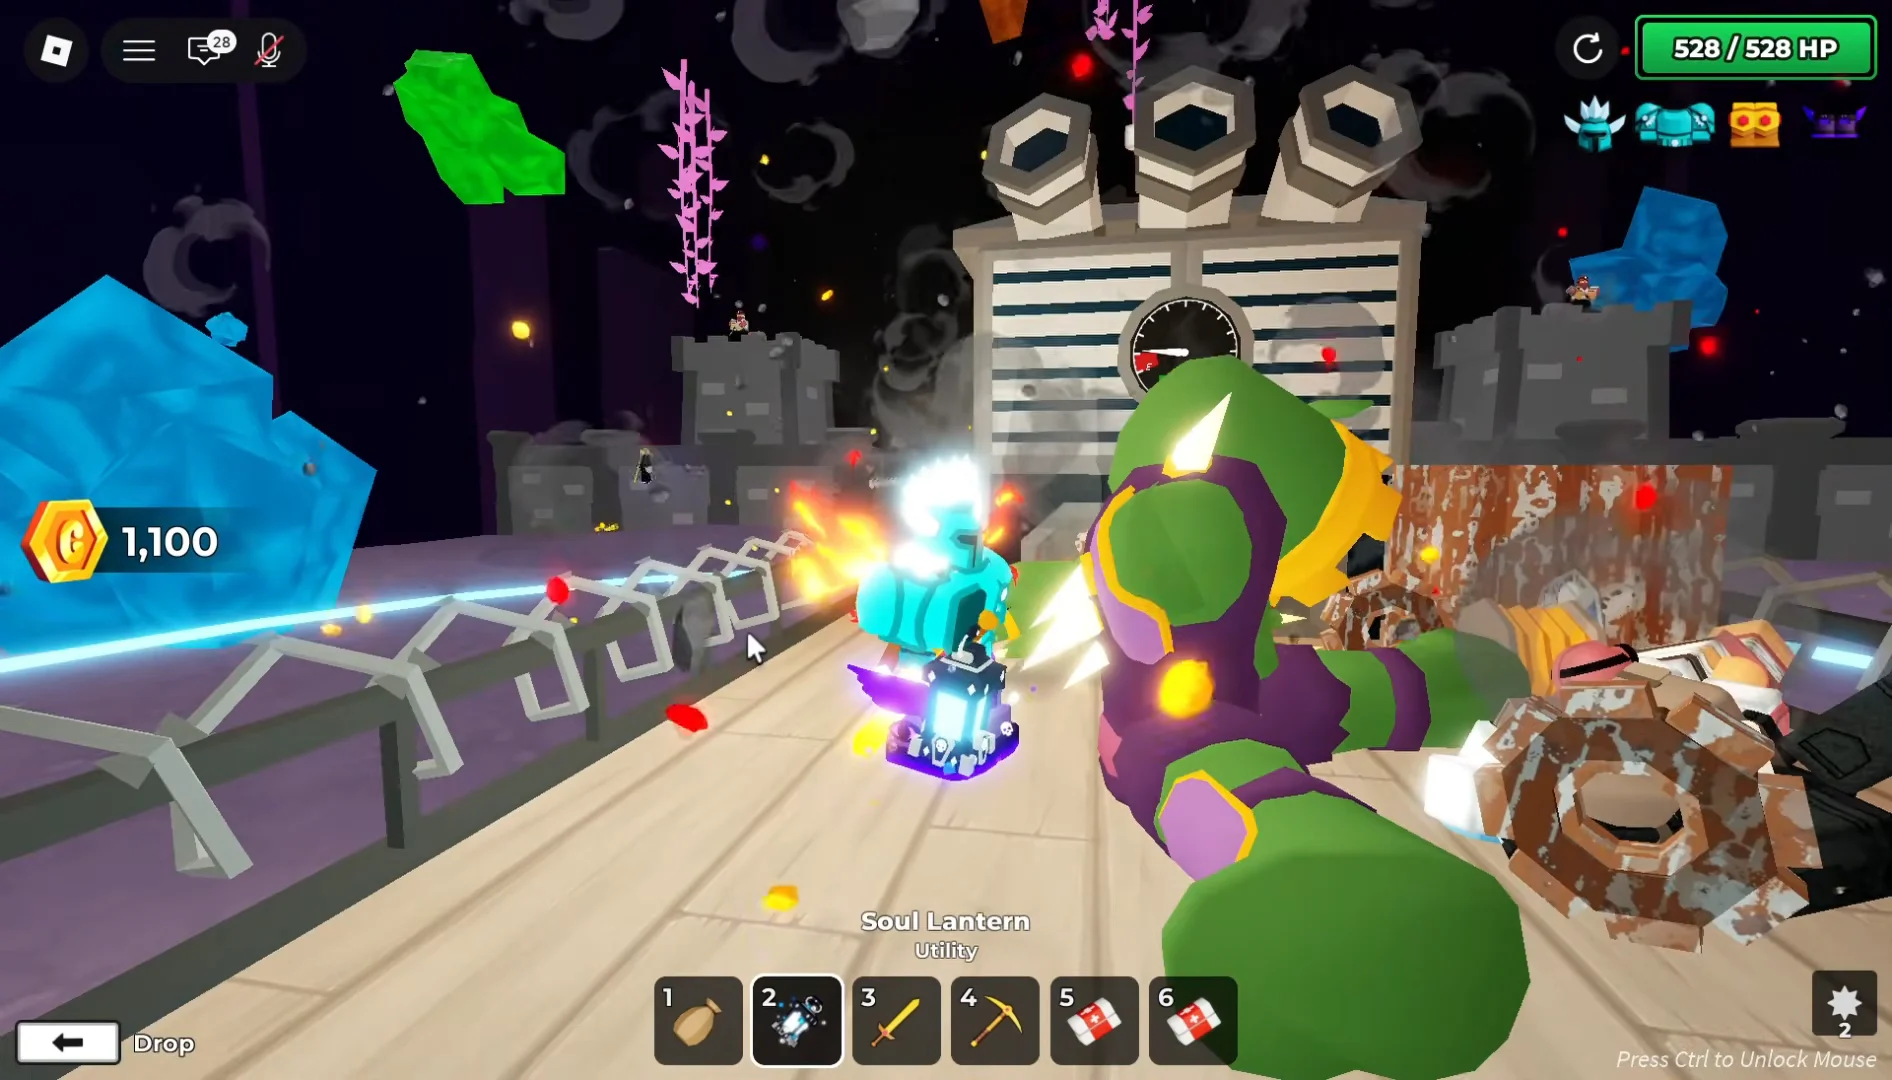
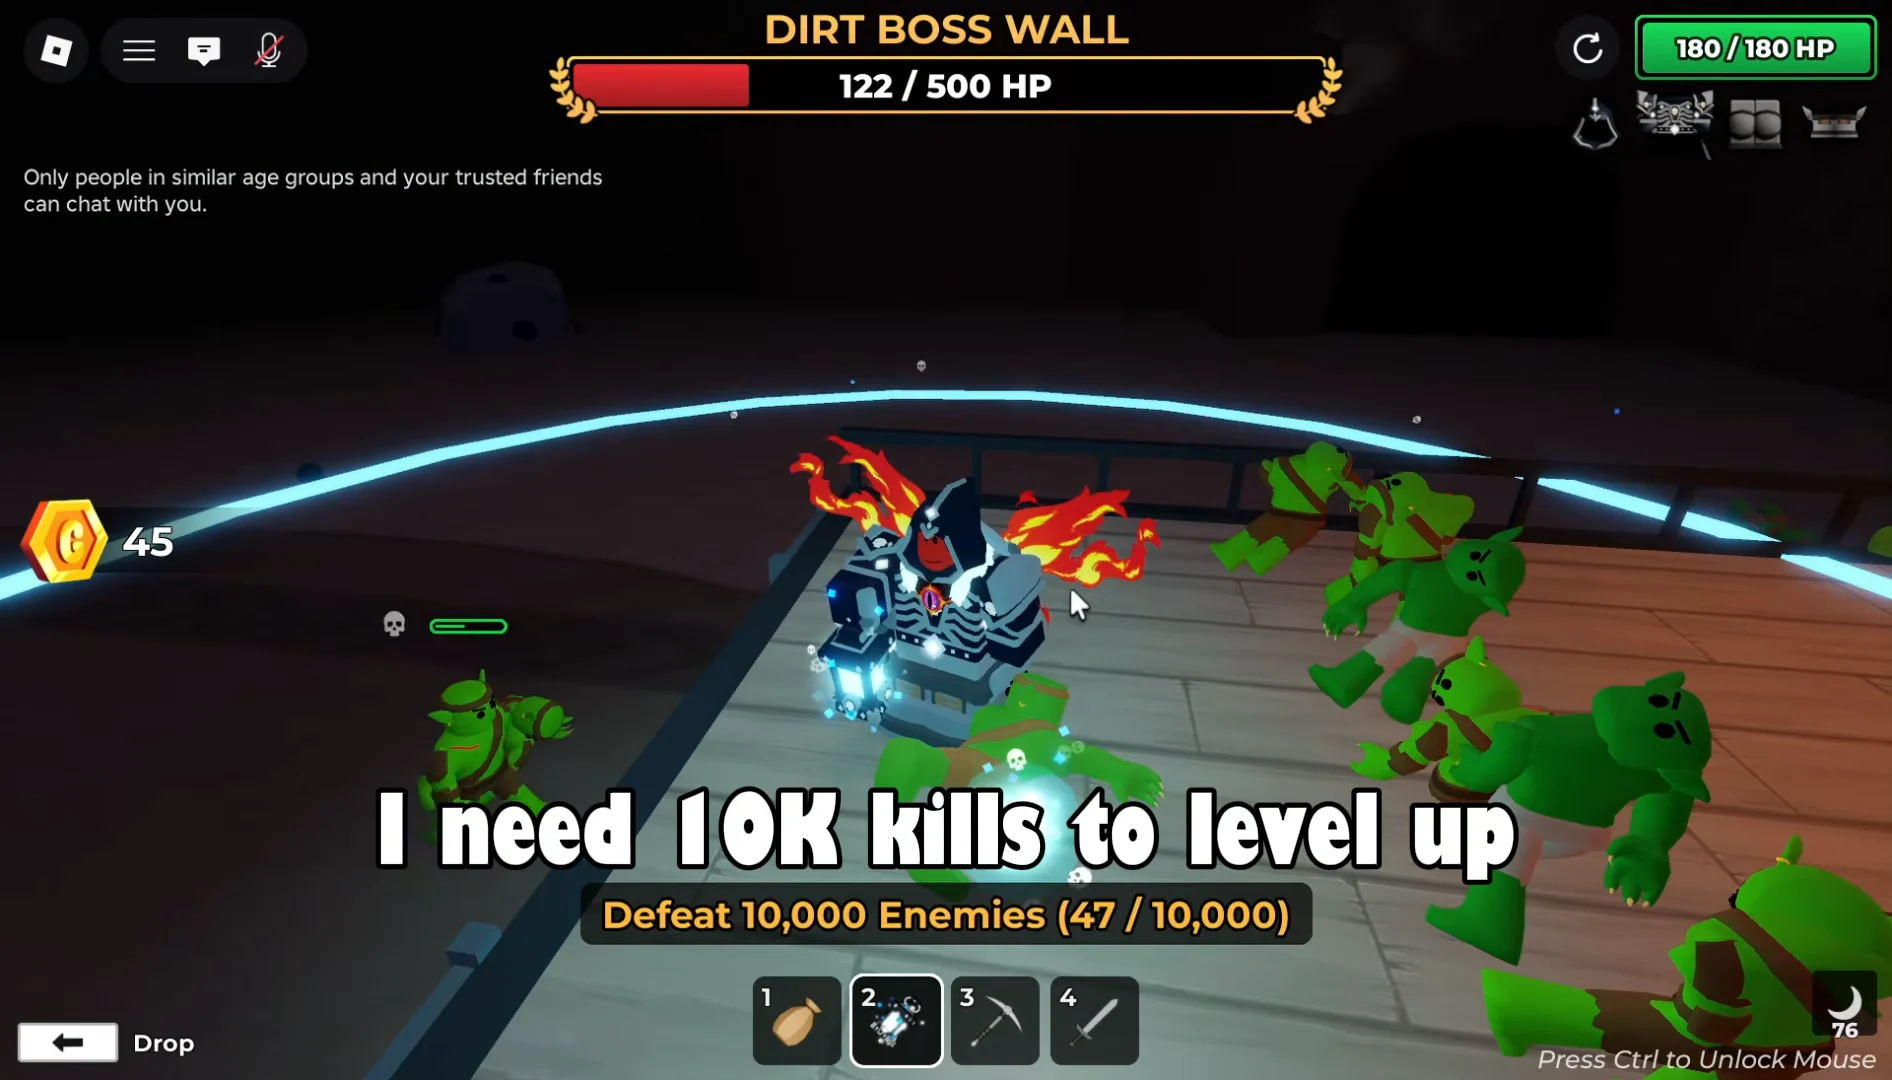
Leveling the Reaper is a kill grind. Level 2 needs 2,500 enemy defeats, and Level 3 needs 10,000. Because enemies spawn faster around boss walls, players farm those counts by parking the drill against a wall and letting the lantern clear the waves.
Lucky Looter
Starter gear: Lucky Looter Armor Set. A loot-economy kit that multiplies what chests and ores drop.
- Level 1: Chests and Ores are more likely to yield several items, with a maximum of 4.
- Level 2: Chests give bonus Coins
- Level 3: Each Chest is guaranteed to contain at least two items.
- Level 4 (team): +25% Money Fog chance
Nightcrawler
Starter gear: Nightcrawler Armor Set. A stealth-and-melee kit that gets stronger in the dark.
- Level 1: Night vision is included, while darkness provides 20% more Melee Damage and Movement Speed.
- Level 2: In darkness, enemies remain unaware of you until you attack.
- Level 3: Your opening melee strike while in darkness inflicts 200% extra damage.
- Level 4 (team): Darkness grants 10% additional Melee Damage and Movement Speed.
Salvager
Starter gear: Salvager Armor Set. Built around squeezing more value out of scrap and enemy drops.
- Level 1: Defeated enemies can drop iron bars with a 10% chance.
- Level 2: Scrap shredding produces 50% more Cogs.
- Level 3: Scrap sells for an additional 100% Coins.
- Level 4 (team): Iron bars can drop from enemies, with a 5% chance.
Tier 5 classes (30,000 Cores)
Goblin King
Starter gear: Goblin King Scepter and Goblin King Armor Set. A summoner kit that turns goblins into allies.
- Level 1: Goblins sell for +100% Coins
- Level 2: Recruit Goblins with the scepter; each active recruit adds +5% Melee and Gun Damage.
- Level 3: Defeating a Goblin Lord adds 1 to the recruit limit, with 20 as the maximum.
- Level 4 (team): A Goblin Knight joins your team at the start.
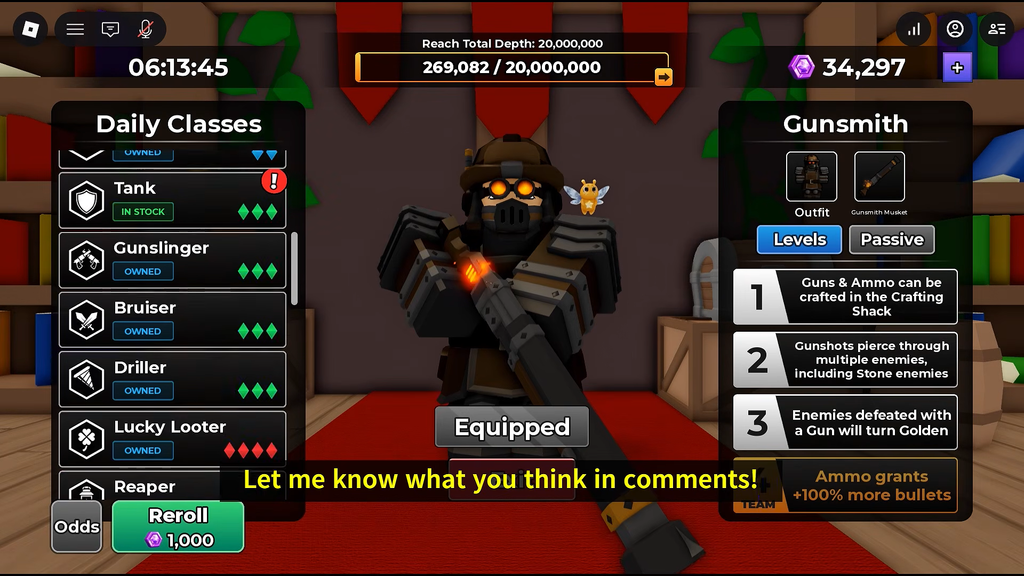
Gunsmith
Starter gear: Gunsmith Armor Set and Musket. A firearms crafting kit with piercing shots.
- Level 1: Guns and Ammo can be crafted
- Level 2: A single gunshot can pass through several enemies.
- Level 3: Any enemy killed by gunfire becomes golden.
- Level 4 (team): Ammo grants 100% more bullets
Bounty Hunter
Starter gear: Bounty Hunter Armor Set and Bounty Hunter Cleaver. Built to hunt marked targets for bonus Coins.
- Level 1: Bounties give 100% extra Coins
- Level 2: +50% Gun and Melee Damage
- Level 3: Dungeon bosses you defeat are turned into bounties.
- Level 4 (team): Enemies have a 5% chance to become Bounties
Pirate
Starter gear: Pirate Armor Set. A gold-economy kit that ends with a cannon.
- Level 1: Gold Bars can drop from enemies at a 10% rate.
- Level 2: Selling Gold items yields 100% more Coins.
- Level 3: A cannon becomes available, firing cannonballs at enemies.
- Level 4 (team): Tunnels gain a +5% chance to spawn a Dig Site.
Prospector
Starter gear: Prospector Armor Set and Prospector Pickaxe. A mining kit that multiplies ore and gem yields.
- Level 1: Ore and Gem Veins can produce extra drops more often, reaching a maximum of 4.
- Level 2: Mined Ores automatically become bars.
- Level 3: Ore and Gem Veins always drop two or more items
- Level 4 (team): A mined Gem has a 5% chance of being Pristine.
Samurai
Starter gear: Samurai Armor Set and Samurai Katana. A fast-hitting melee kit built around crits.
- Level 1: +100% Melee Attack Speed
- Level 2: +25% Melee Crit Chance
- Level 3: A melee critical hit jumps to an enemy nearby.
- Level 4 (team): +50% Melee Attack Speed
Executioner
Starter gear: Executioner Armor Set and Executioner Sword. A boss-killer kit that pays off at the deepest fights.
- Level 1: +200% Damage to Bosses
- Level 2: Defeating a boss randomly increases one of max HP, Melee, Gun, or Explosive Damage by +5%.
- Level 3: Every boss drops a Gem: Diamond 60%, Emerald 30%, or Ruby 10%.
- Level 4 (team): A defeated boss awards a Drill Upgrade at no cost, with three options available.
Priest
Starter gear: Priest Armor Set and Priest Staff. A regeneration and revival support kit.
- Level 1: Your maximum HP recovers at a rate of 1% per second.
- Level 2: Teammates under the Blessing revive immediately upon defeat.
- Level 3: When a Blessed teammate kills an enemy, their Blessing lasts 5 seconds longer.
- Level 4 (team): +50% Church spawn rate
Because the shop only stocks a random set at a time and refreshes twice a day, the practical order most players follow is Miner first for cheap early Cores, then a tier 3 or tier 4 kit that matches the job they want, whether that is drilling walls, printing Coins, or clearing rooms. Whatever you equip carries over to the next descent, so you can own many classes and swap one in before each run.