Control Resonant Freeze Frame Walkthrough: All 14 Camera Locations
Where to find and disable every Altered Camera across all seven zones, plus how to clear the Downtown finale.
Where to find and disable every Altered Camera across all seven zones, plus how to clear the Downtown finale.
by AllThingsHow Staff · Edited by Pallav Pathak
Image: Remedy Entertainment
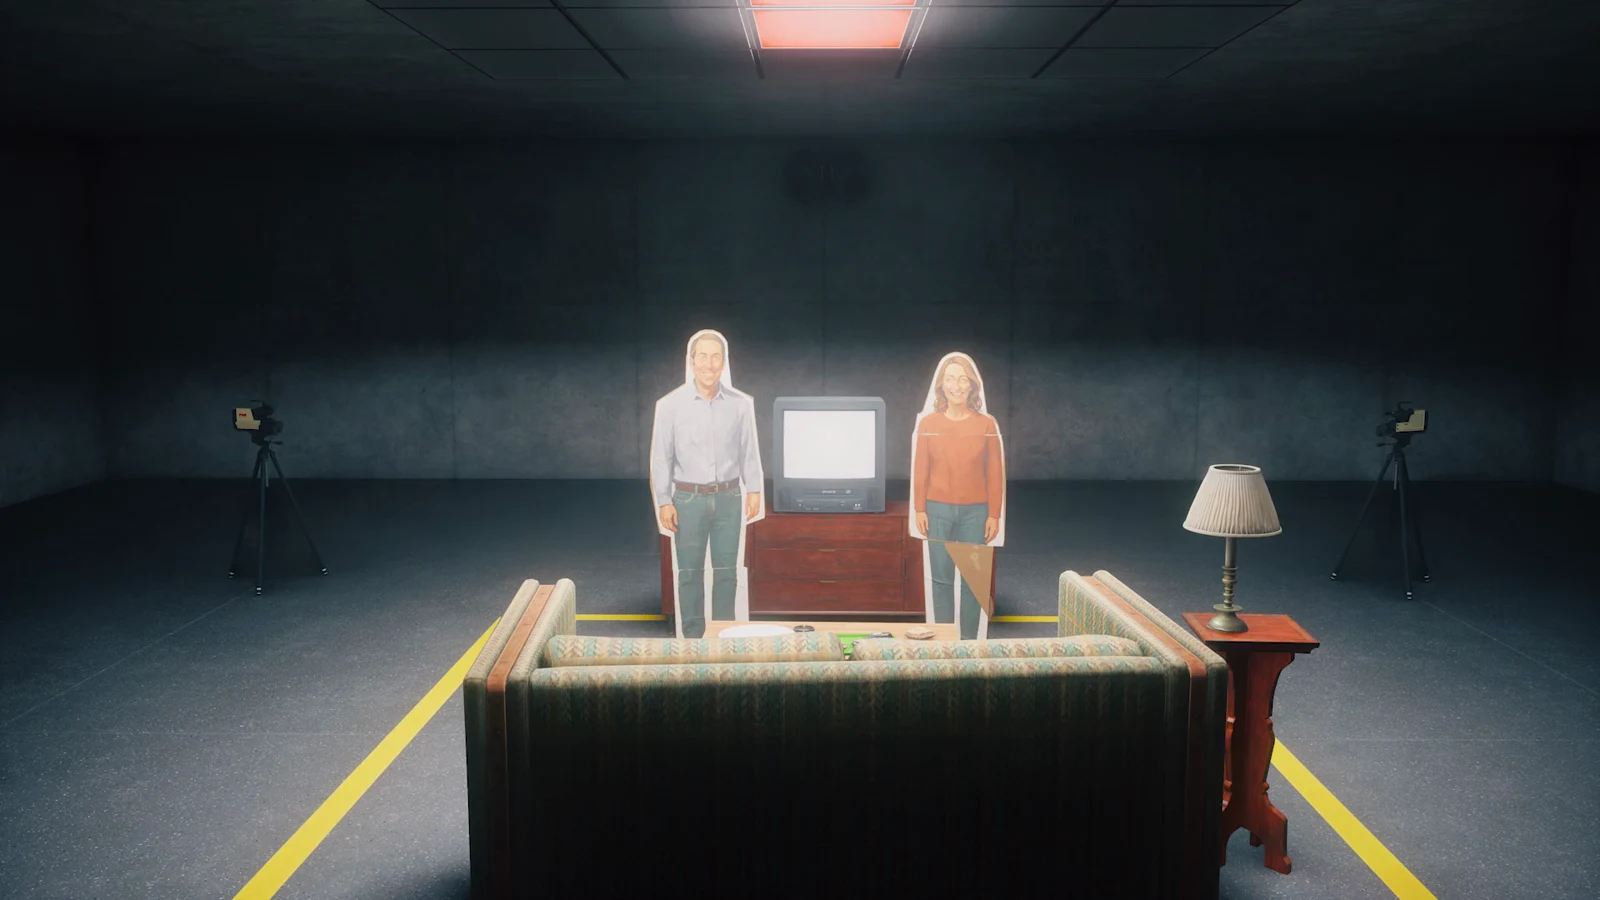
The Freeze Frame side story sends Dylan Faden after a rogue Altered Item: a tripod-mounted camera that freezes anything caught in its lens. Fourteen of these cameras are scattered across Manhattan, two per zone, and each one temporarily locks you in place and vanishes the moment it sees you. The only way to contain one is to sneak up on it from behind and shut its lid.
Quick answer: Track down all 14 Altered Cameras across the seven zones, approach each one out of its line of sight, and press the prompt to shut its lid. Then return to Downtown to clear the final cluster.
Image credit: Remedy Entertainment via YouTube/@GosuNoob
How the Freeze Frame quest works
The side story starts automatically the first time any of these cameras snaps you. Each camera hides behind a short traversal puzzle. You locate its position, then work out a route that lets you reach it from behind without stepping into its view. Walking into the lens freezes you and makes the camera disappear, after which it respawns in the same spot so you can try again.
You will need most of Dylan’s movement kit to reach them, including Shift, Reach, Levitate, and a fire ability such as Ignite or Inferno for one blocked path. Several cameras sit behind locked doors that require rerouting power through charge cubes before the timer on each charge runs out.
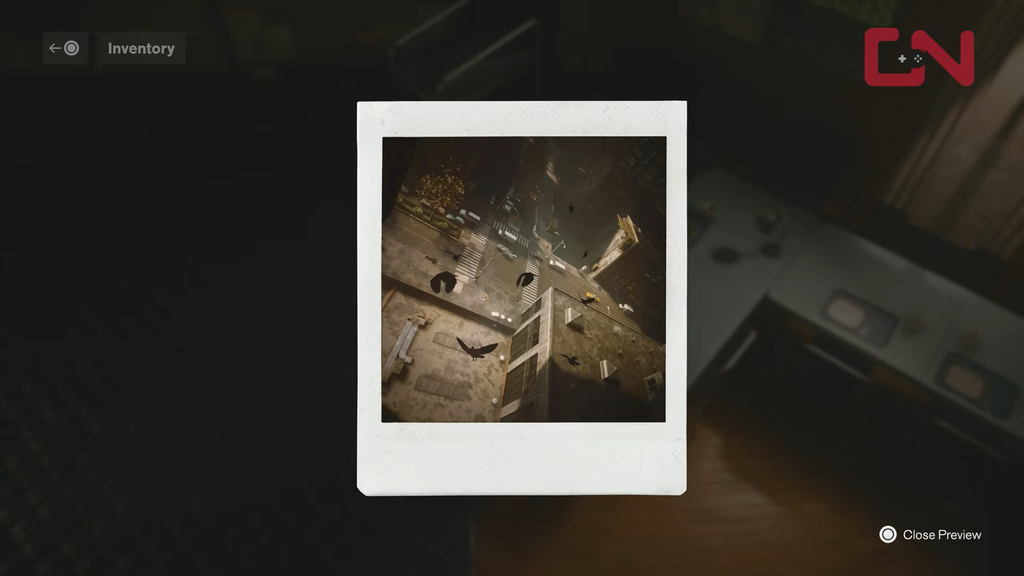
Finishing Freeze Frame gives you the Shiny Pebble artifact. During a Gravity Anomaly, it gradually replenishes health to a maximum of 50%. It also counts toward the Panopticon Intern trophy, which requires completing all Altered Item side stories.
Image credit: Remedy Entertainment via YouTube/@GosuNoob
Downtown camera locations
Camera 1 – upside-down building at Dense Patterning
From the Gravity Town Fast Travel Door, head to the left of where the door faces and use Shift to drop down. You will land on a surface covered in Hiss Spikes.
Smash the hatch open with a heavy attack or weapon, drop through, and you will come out behind the camera. Shut the lid.
Camera 2 – FBC office near The Chasm
This camera sits in eastern Downtown, reached through the Lookout Point entryway using Reach to grapple across. It is inside a portable FBC office just down the street past The Chasm Fast Travel Door, and the door is locked, so you need to charge a power cube to open it.
Stand facing the office entrance and turn left toward the alley teeming with Hiss Spikes. Follow it, make two right turns, and fight through the enemies to the office’s sealed rear entrance.
Head back to the Power Core Station down the road. Grab the charge from atop the green crate, then dash toward the back alleys, using the three Reach grapple points along the way.
Deposit the charge in the rooftop cube past the third Reach point, then hit that cube to carry the power to the locked back door. Enter and shut the lid from behind.
Image credit: Remedy Entertainment via YouTube/@GosuNoob
After meeting Zoe, find this camera on the floor beneath her office. Starting at the Watchtower Fast Travel Door, go straight to the sign marking the Underground Supply Route.
Take the first flight of stairs down, then turn right and go down another flight. Turn right into the room lit by an orange glow and climb the platforms in the corner to reach the camera’s landing.
Do not walk into its view. Turn around, Levitate up through the hole in the floor above, then take the rear of the two holes ahead so you drop into the corridor behind the camera. Grab it.
Look for this camera on a rooftop southwest of here, near Central Supply, atop a brick building. Enter the neighboring white building and climb its multi-storey parking lot to the top. Jump toward the blue double doors; they burst open and expose the camera.
Once it freezes you and vanishes, enter the doorway, head downstairs into the warehouse, and drop to the lower floor. Moving toward the red door exit triggers a fight that traps you inside.
Clear the waves of enemies, exit the building, then re-enter and climb back up the way you came. The camera will be back in place looking out the doorway, so approach it and shut the lid.
Image credit: Remedy Entertainment via YouTube/@GosuNoob
Evacuation Zone camera locations
Camera 1 – rooftop south of the Sinkhole
This is the quest’s most difficult charge relay. The camera peers out from a small rooftop building. Before each charge runs out, redirect power through multiple cubes to unlock the door behind the camera.
Take the final charge, climb the truck down the road, hop onto the platform near the building, and deposit it in the last cube beside the door. The door opens so you can walk in and disable the camera.
On Railyard Street, locate the camera on a roof beside a billboard, next to the Mold-covered wall blocking the street. Allow it to spot you, then go inside the building.
Take the elevator to the lowest floor. First, look in the room nearby for the “Master of Many Minds” TV recording; then summon the elevator and ride it down.
Collect the chest nearby and leave through the door. A click and flash indicate the camera has returned; ride the elevator up again and use the stairs to disable it.
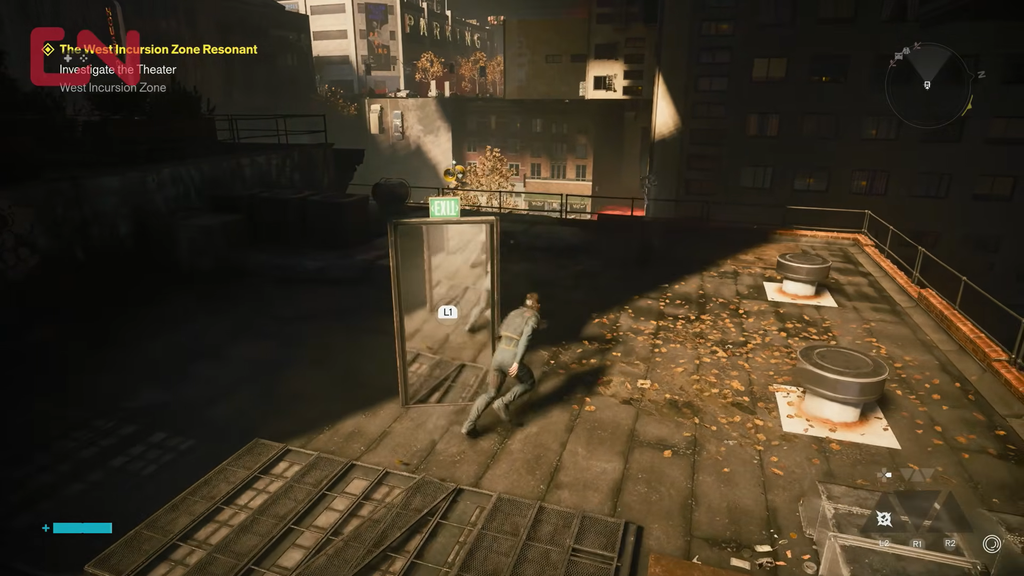
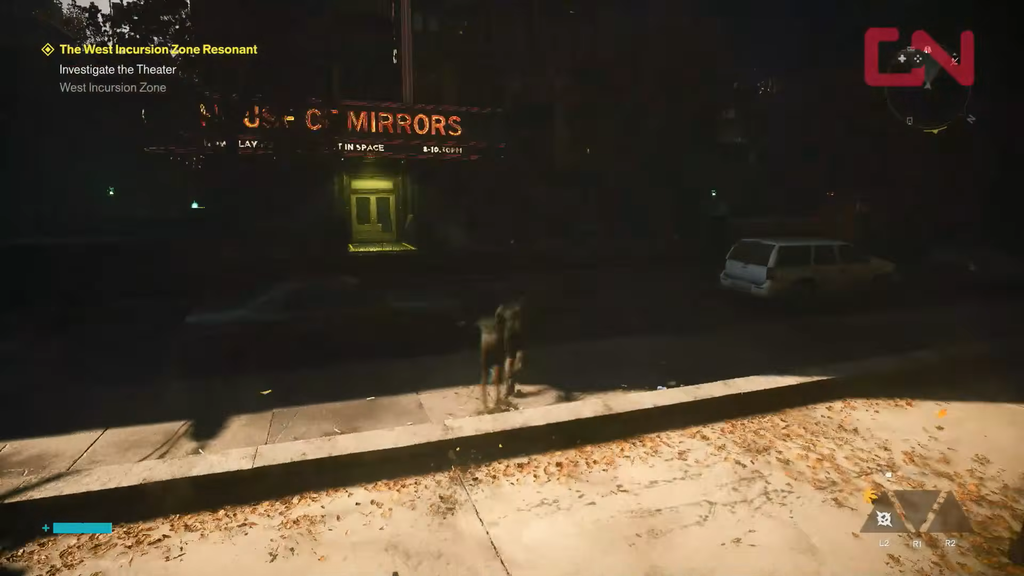
West Incursion Zone camera locations
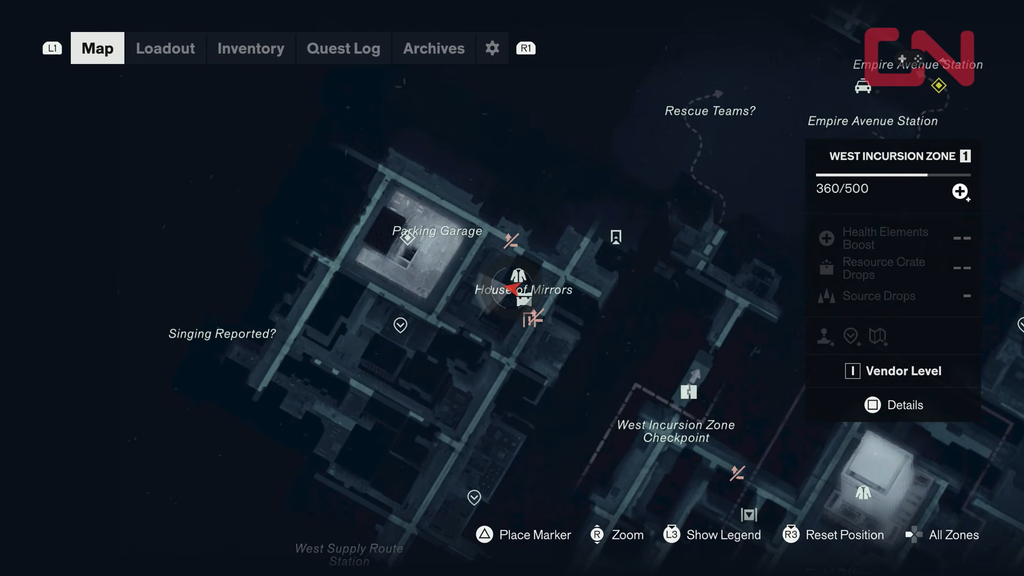
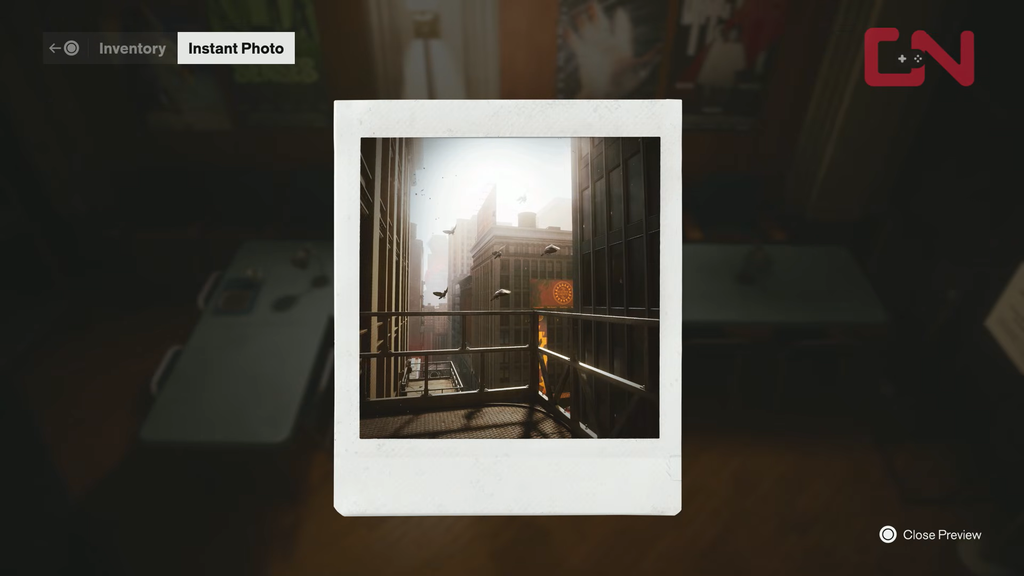
Camera 1 – gravity wall north of the Parking Garage
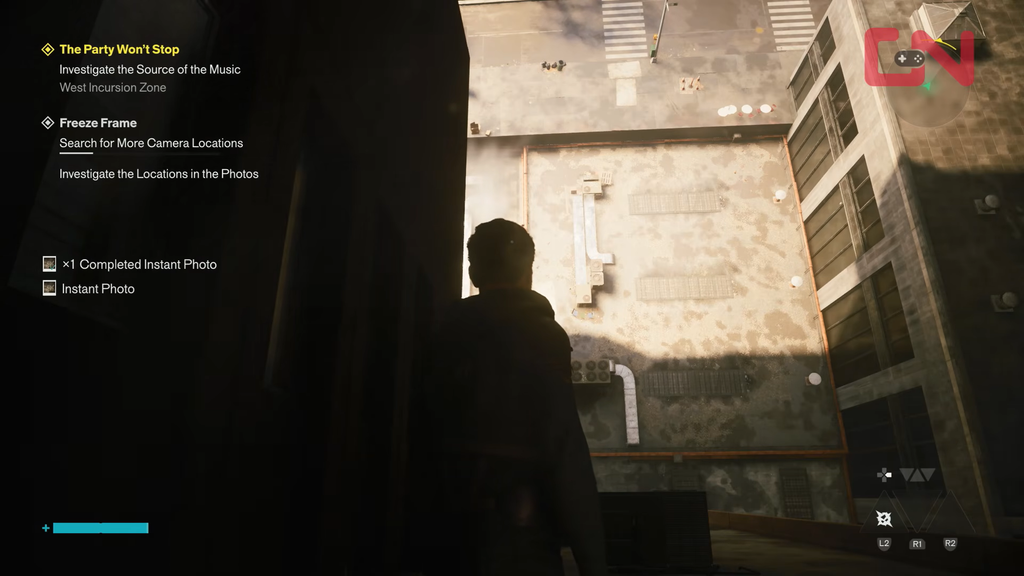
Grapple up, then use the floating platforms to climb to the window-washing platform. The camera is on the vantage point above to the left, so leap up behind it and shut the lid.
Image credit: Remedy Entertainment via YouTube/@GosuNoob
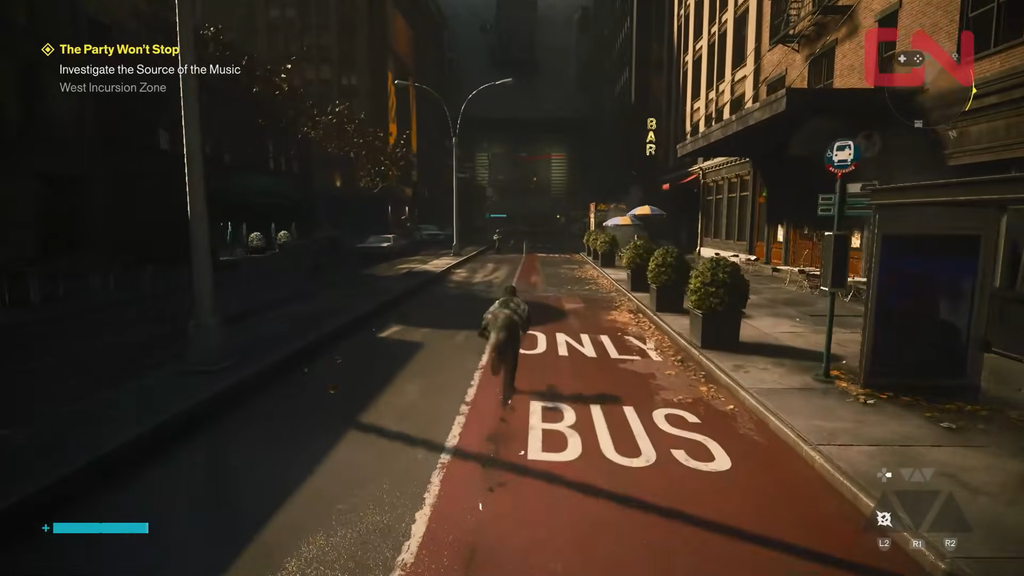
On the street near Nomad Avenue Station, head down into the subway and pass through the security point ahead, then turn right into the underground area.
Climb the stairs, take a right, and keep going straight until a web blocks your way. Burn through it with a fire element, for example Ignite or Inferno.
Get onto the platform, then glide and dash toward the hole; mid-air attack combos can add to your dash if necessary. Or follow the red path to the hole in front of the camera, then use Shift to drop through.
Image credit: Remedy Entertainment via YouTube/@GosuNoob
Unknown camera locations
The two Unknown cameras unlock once your story progress is sufficient to open the region’s Resonant. It is tied to a mission on the Field Office island to the north.
Grapple to the construction site far northeast of the laundromat and explore the ground floor. Look for a health pickup in the distance with a lit staircase to its right leading down.
Follow the stairs down to a hole in the ground and drop through. In the moldy area ahead, look left to reach the final camera from behind.
Image credit: Remedy Entertainment via YouTube/@GosuNoob
Freeze Frame finale in Downtown
Once all 14 cameras are contained, head back to Downtown, where a new search area opens up at the central plaza. Frozen FBC agents stand surrounded by a ring of active cameras placed on balconies, walls, and raised platforms.
Work your way around the plaza and shut every camera lid from behind. If any camera spots you, the objective resets and the layout changes, so the camera positions differ on each attempt. Shutting the last lid breaks the freeze, and the agents wake up.
You will know the side story is done when the “Quest Completed: Freeze Frame” message appears, Dylan reports the camera contained, and the Shiny Pebble artifact drops into your rewards alongside the completed Instant Photos. Every contained camera also hands over crafting materials such as Instant Photo and Undefined Reading, and any photos you missed will turn up in Dylan’s apartment after the main story wraps.