Back in the Fold Walkthrough: Gears of War E-Day Act 1 Chapter 4
Escort Mayor Shaw to City Hall, grab all four collectibles, and take down the Brumak that closes out Act 1.
Escort Mayor Shaw to City Hall, grab all four collectibles, and take down the Brumak that closes out Act 1.
by AllThingsHow Staff · Edited by Pallav Pathak
Image: The Coalition
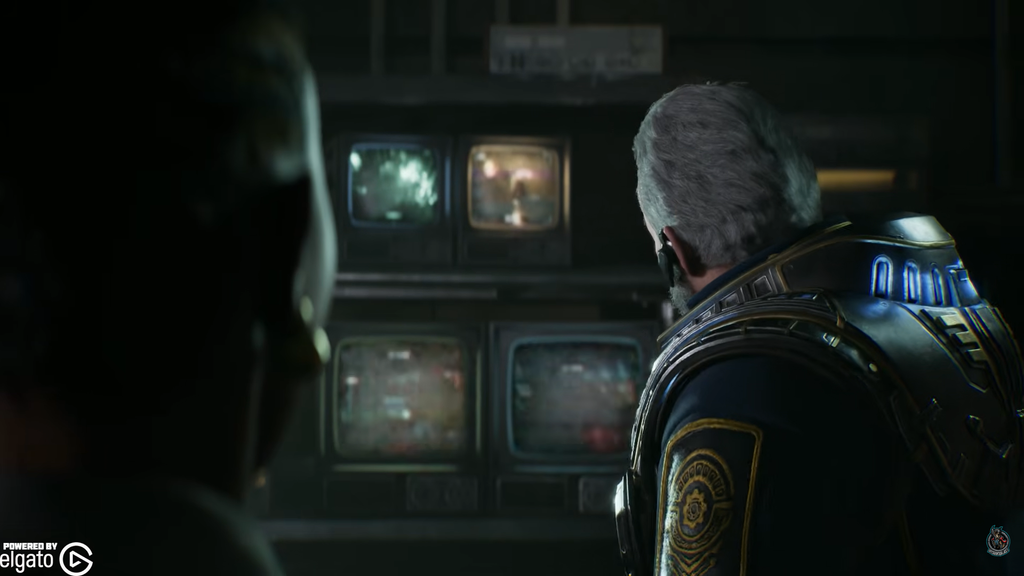
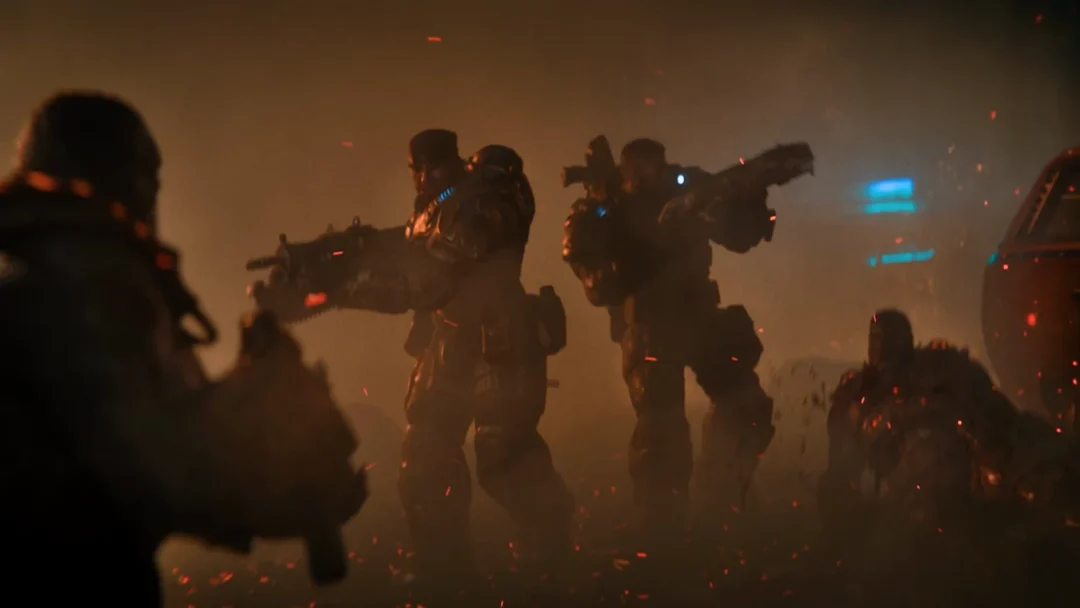
In Gears of War: E-Day, Back in the Fold opens Act 1’s fourth chapter after Marcus and Dom reunite with Tai at a fortified spot sheltering Gears and civilians. To learn how much of Kalona the Locust have overrun, Mayor Shaw sends the squad toward City Hall. Along the way, expect several firefights, a medical-clinic detour, four collectibles, and a final clash with a Brumak to close out the Act.
Quick answer: Escort Mayor Shaw to City Hall, fighting through the street, market, Landa Medical, and Echo Park, then kill the Brumak at the City Hall steps to finish the chapter and end Act 1.
Image credit: Xbox Game Studios via YouTube/@JayShockblast
All four Back in the Fold collectible locations
The chapter holds four collectibles, spread evenly across its main stops. Each one sits just off the critical path, so a few seconds of looking keeps you from a second run.
Collectible
Where to find it
Frontpage of the Tyran Chronicle
Near the end of the opening street, by the overturned burning car, in the doorway on the right
Anti-UIR Propaganda Poster
After exiting the market, turn right and follow the footpath to the wall
Landa Memorial Medical Supplies Memo
On the reception desk by the computer inside Landa Medical
COG Tags of Private Brick Rosso
Left side of the parking lot before Echo Park, on a fallen Gear
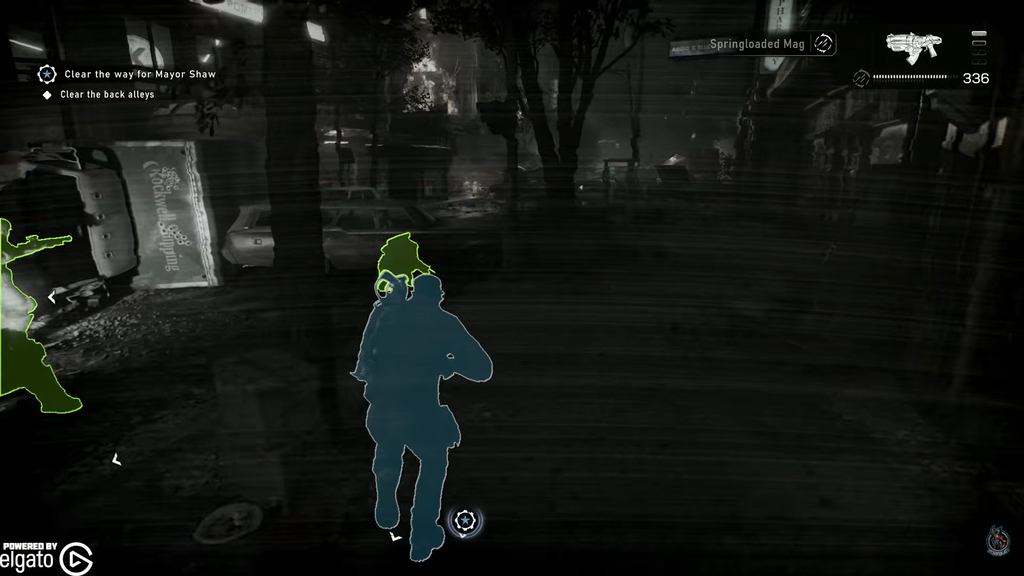
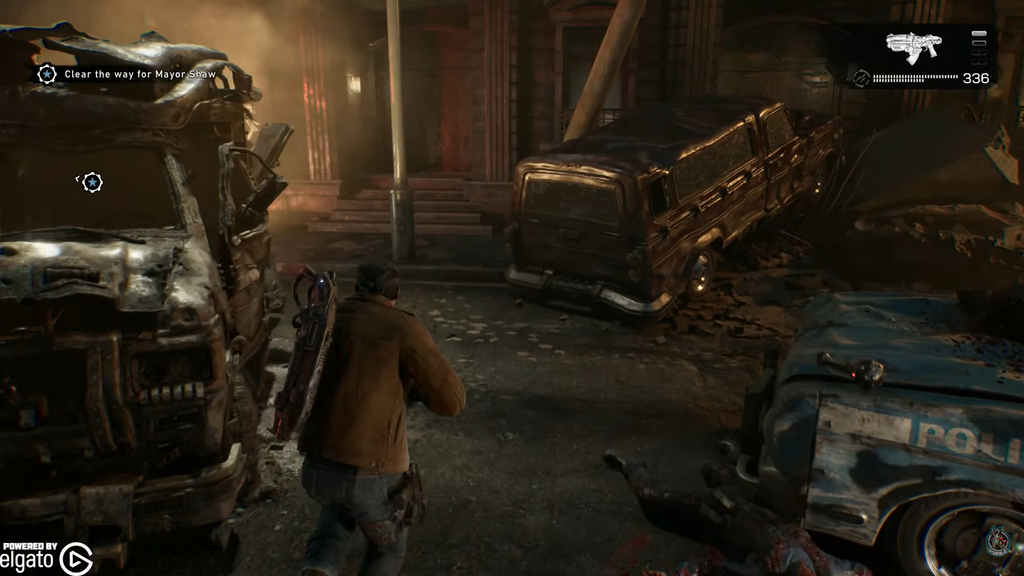
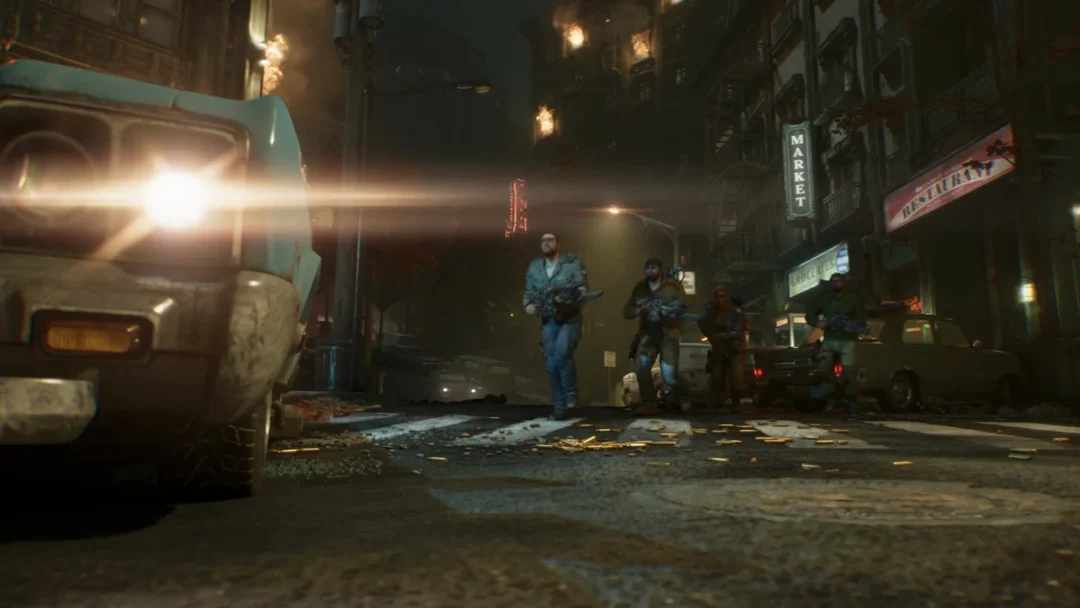
Follow the squad down the street. As gunfire starts up near the far end, look for the overturned burning car and check the doorway on the right to collect the Frontpage of the Tyran Chronicle.
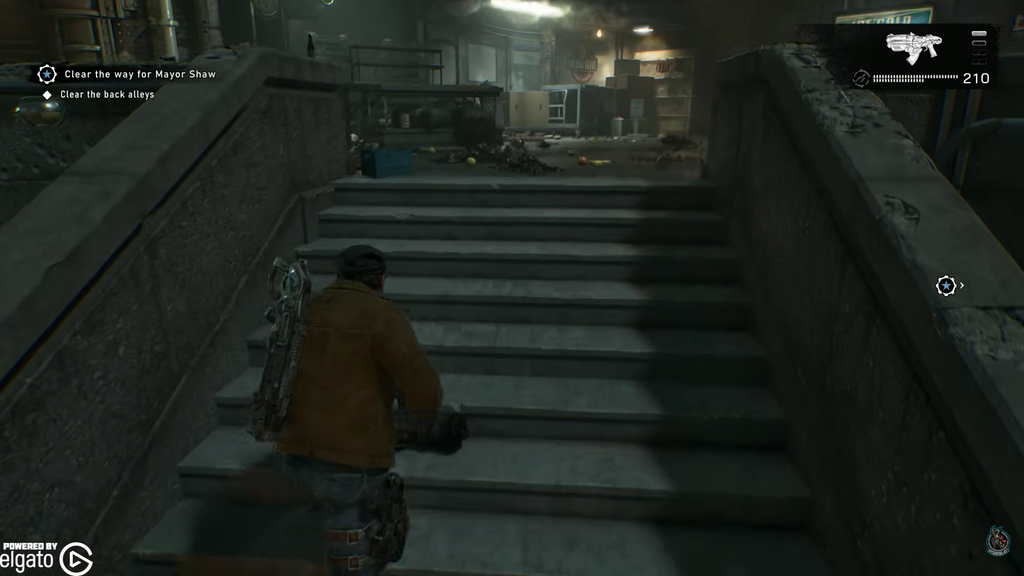
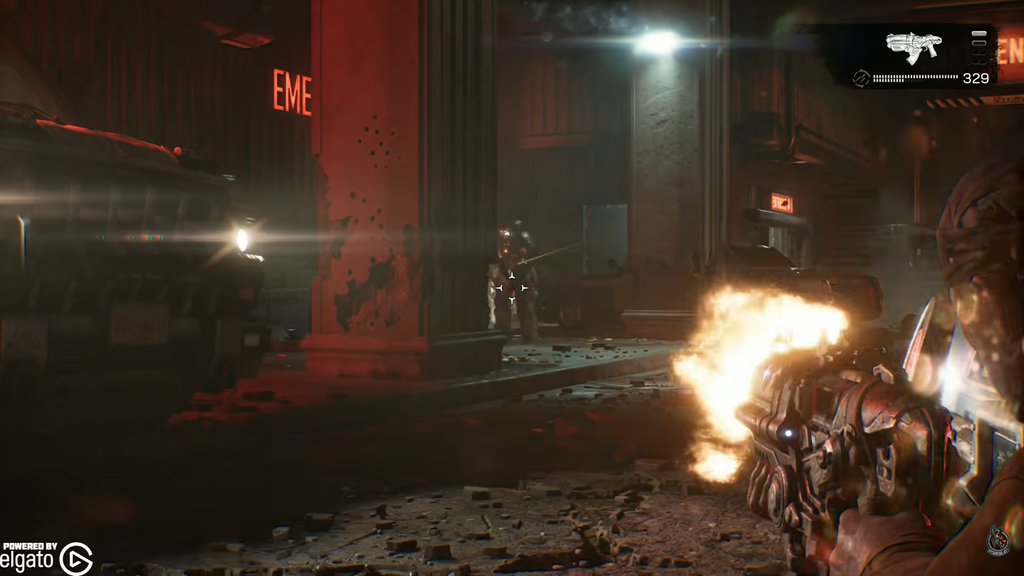
Open the fence gate across the street to trigger the first combat section. Take cover, grab the Frag Grenades nearby, and clear the Locust blocking the path. Head down the stairs afterward.
Push through the market and deal with the next wave. Coming out of the alleyway, use the trash can for cover and clear the drones and grenadiers, including the ones on the balcony above.
Cross the street toward the Gears stationed at Landa Medical. A short scene plays before SGT Milani is cut down and another firefight breaks out among the ambulances and police cars. Clear it out.
Inside the clinic, Shin treats injured civilians and soldiers. Go through the building behind him, then let the conversation wrap up; the door at the corridor’s end will unlock.
Before leaving, check the reception desk by the computer for the Landa Memorial Medical Supplies Memo. Then head outside to trigger the next encounter.
Image credit: Xbox Game Studios via YouTube/@JayShockblast
Close the Emergence Holes and secure the parking lot
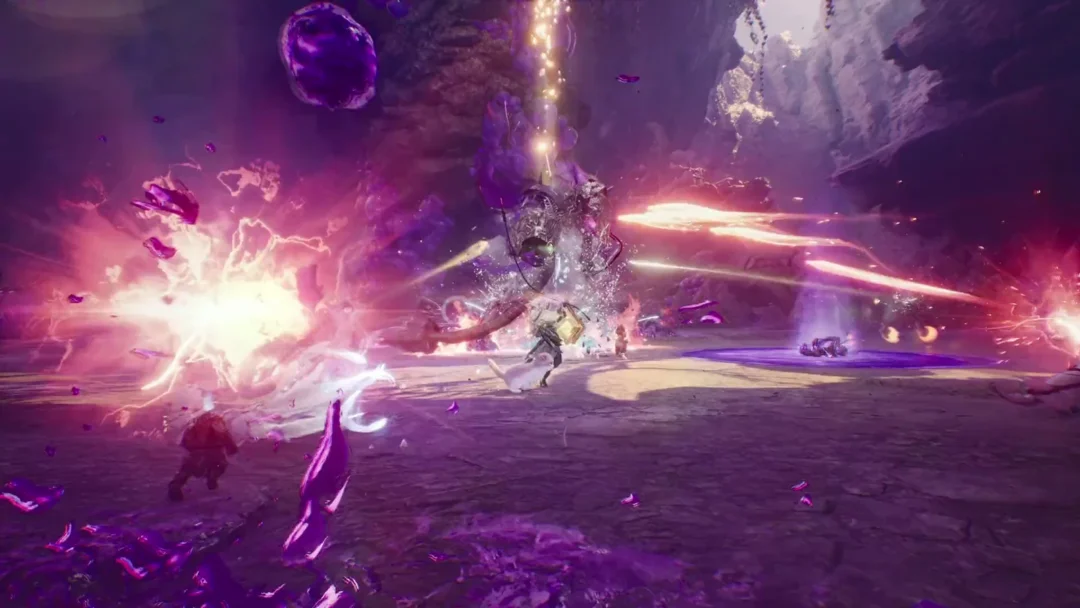
Stepping out of the clinic, the ground ruptures and Emergence Holes open in the courtyard, pouring out Locust. Mags walks you through the mechanic for sealing them.
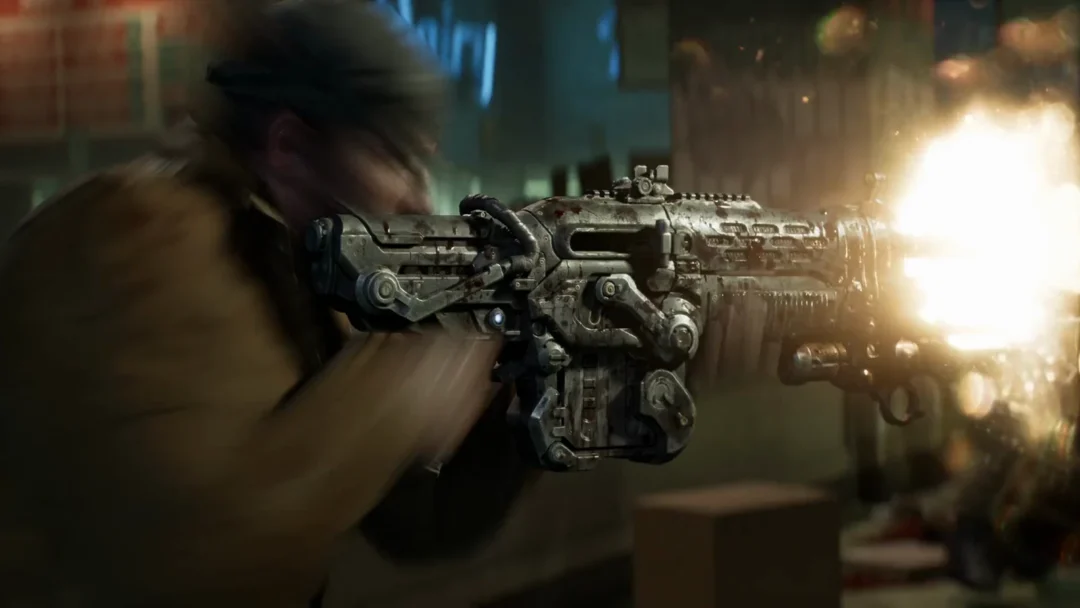
As the next wave hits near City Hall, grab the Gut Puncher grenade launcher and ammo from the supply crates. Use it to seal the new Emergence Holes while cutting down the drones and crawlers on the road.
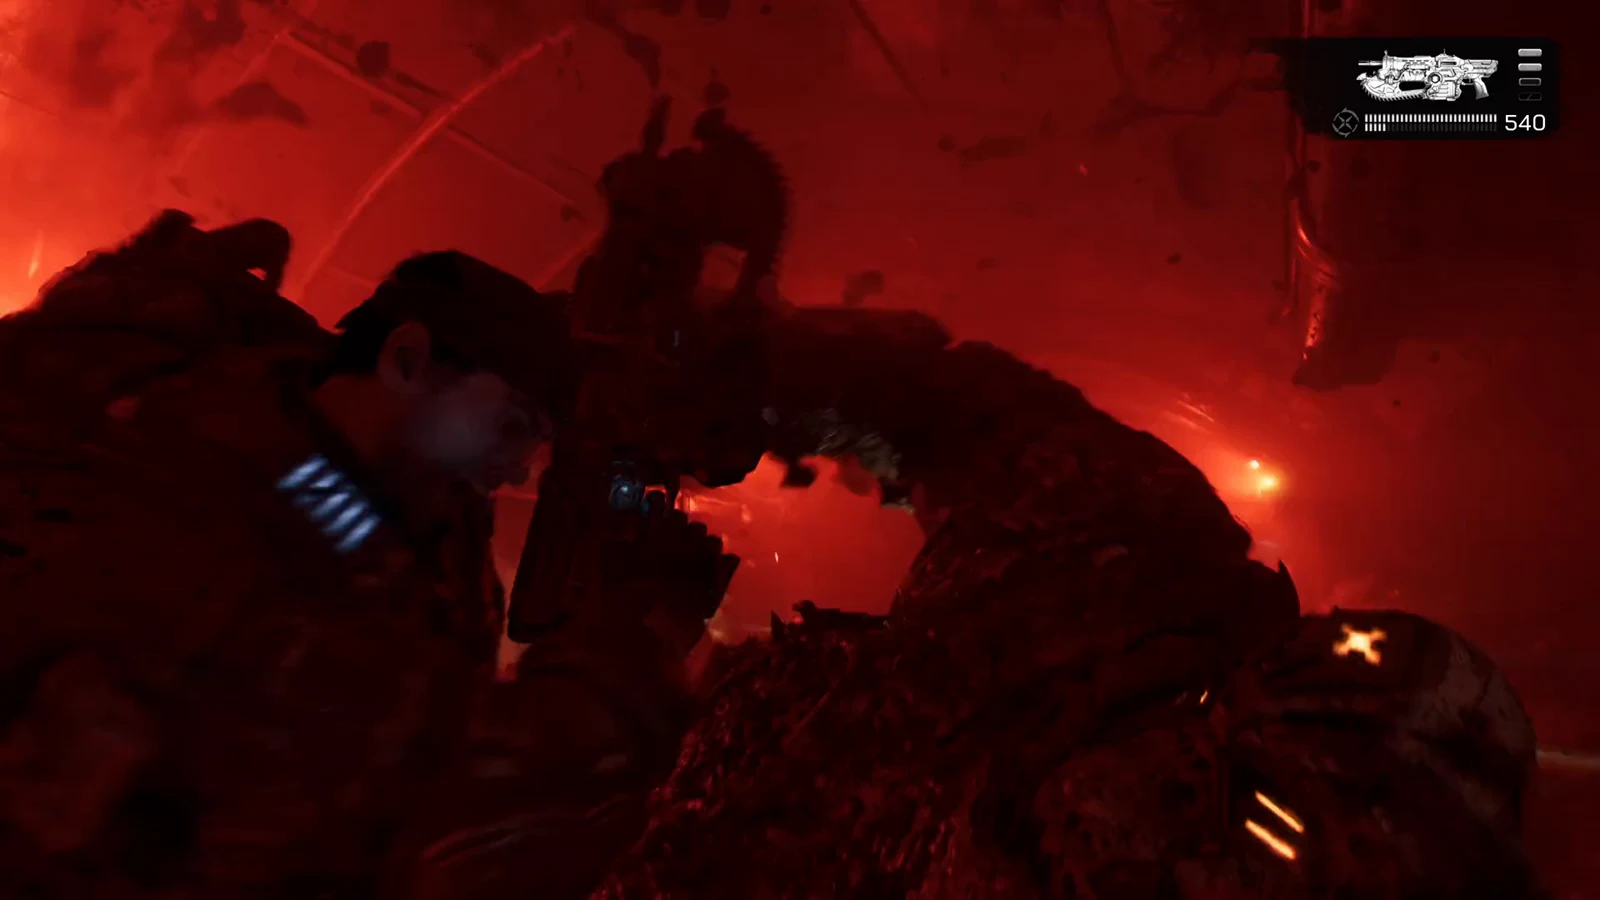
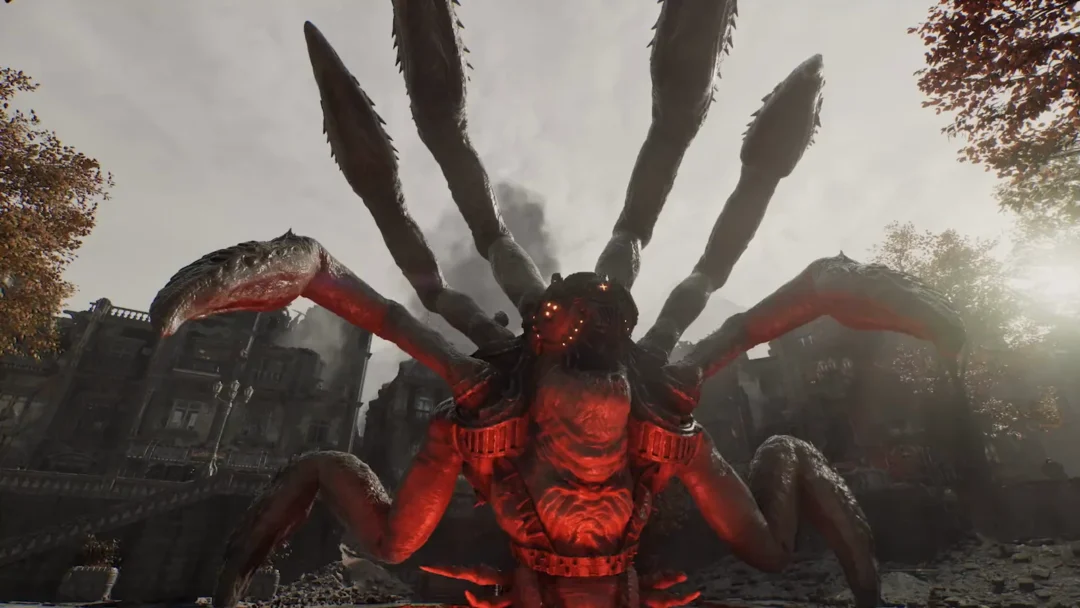
With the plaza secure, approach the main City Hall entrance and interact with the door. A cutscene plays, and a chained Brumak smashes into the street.
Image credit: Xbox Game Studios via YouTube/@JayShockblast
How to kill the Brumak boss
The Brumak is the final encounter of Act 1 and carries a very large health pool, so expect the fight to run several minutes. Staying static gets you killed, so treat the whole plaza as space to work with.
Around the halfway point, more Emergence Holes open and crawlers spawn in. Throw grenades into those holes to shut them before the battlefield gets crowded, keeping your distance from the Brumak as you do.
Image credit: Xbox Game Studios via YouTube/@JayShockblast
Rotate through ammo pickups between damage windows so you never run dry mid-fight. Consistent chip damage from safe angles beats trying to burst it down from one spot.
Once its health is gone, the Brumak collapses in the street and a cutscene takes over. Dropping it unlocks the Xbox achievement The Bigger They Are, confirming the kill. From there the group enters City Hall, Captain Akila Grey designates Marcus, Dom, Mags, and Lucas as Bravo Squad, and Act 1 ends as Act 2 Chapter 1 begins.