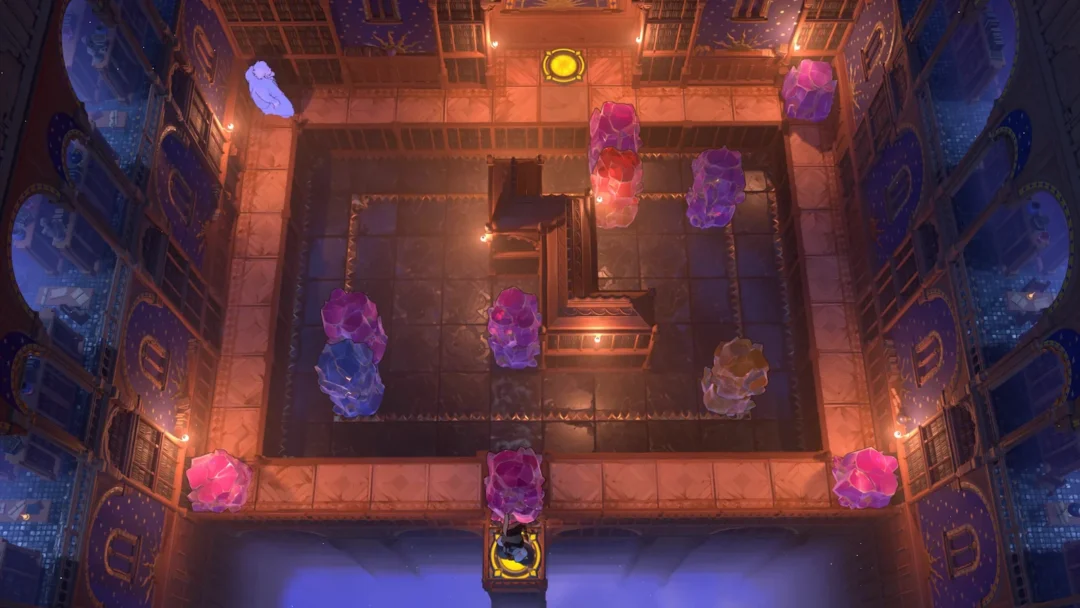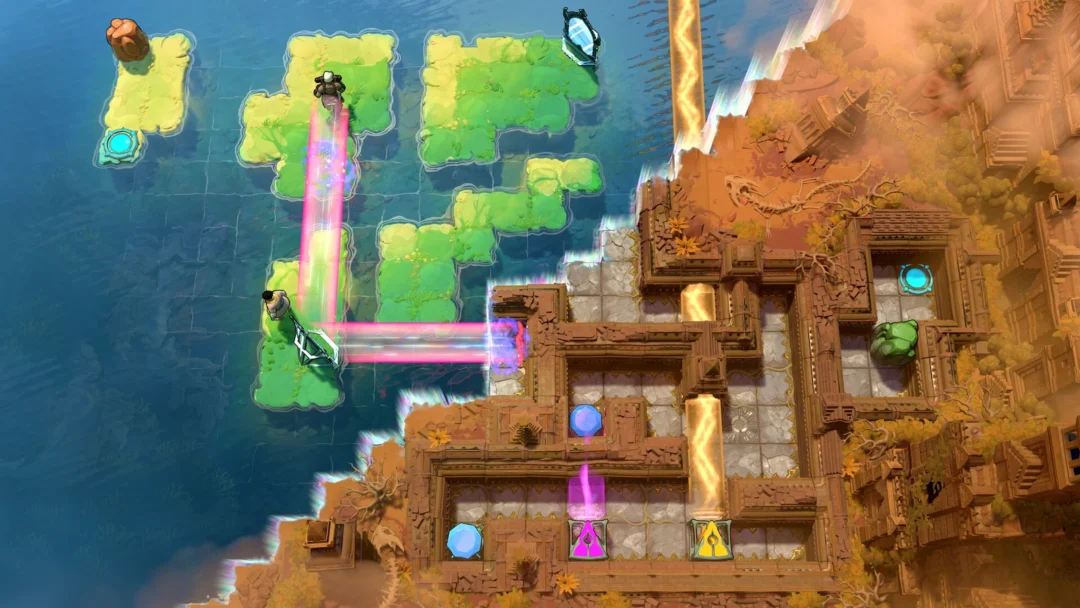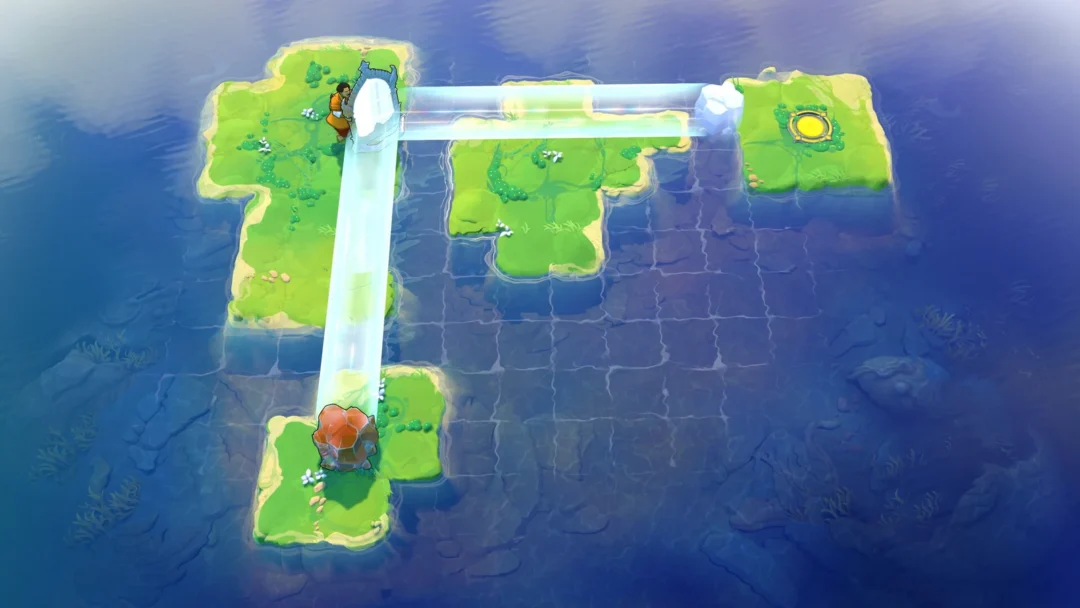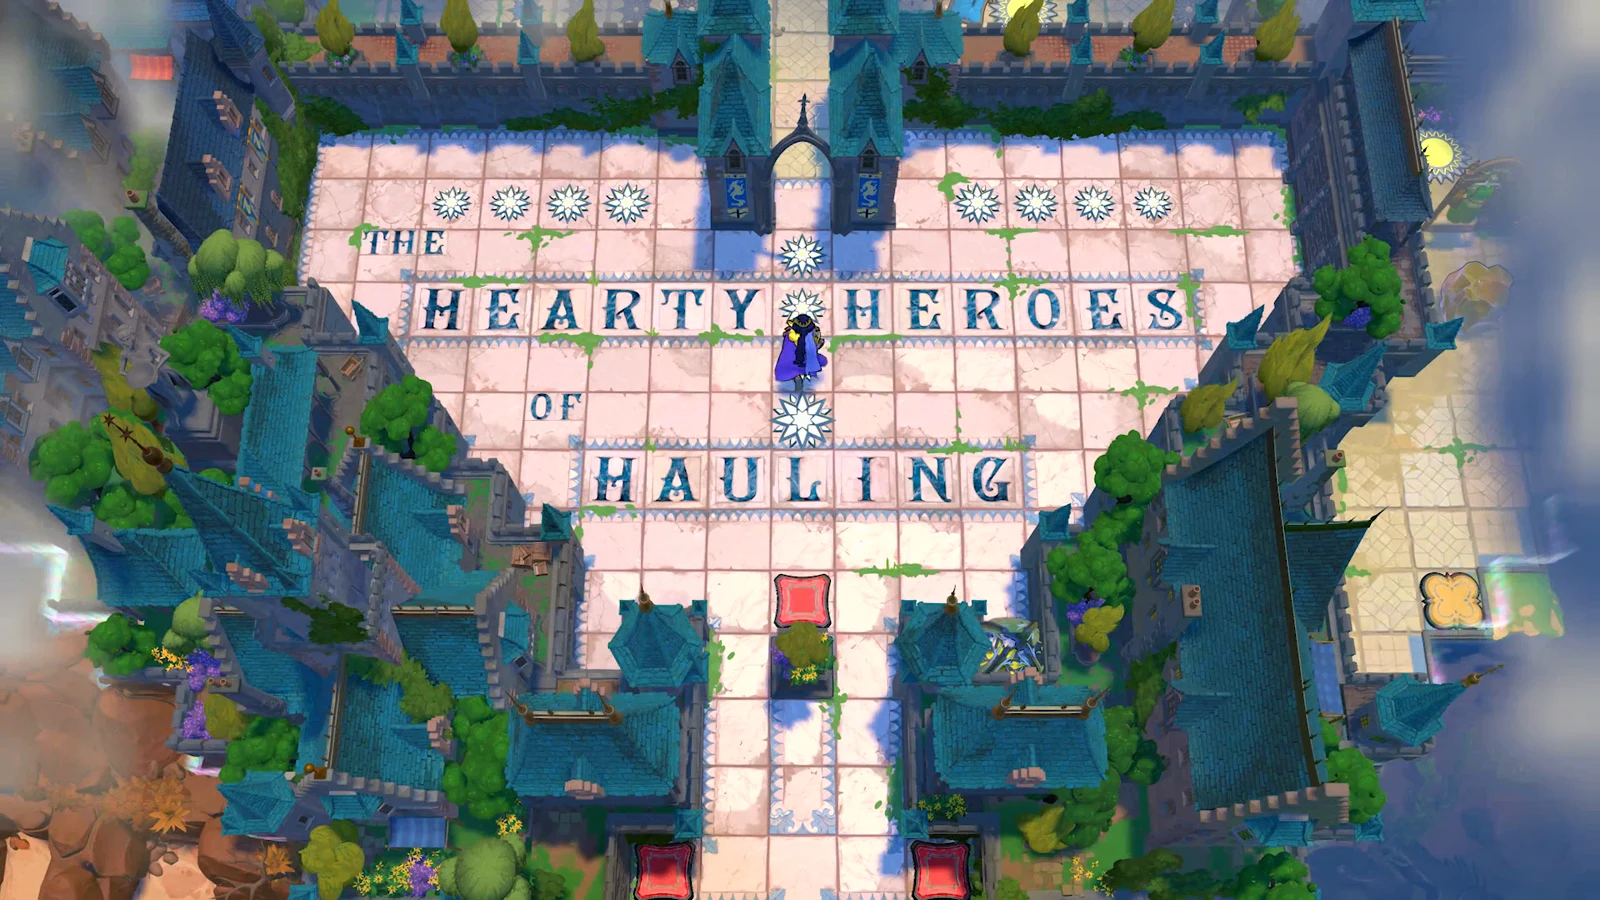
At the northern end of Order of the Sinking Star lies Hearty Heroes of Hauling, a world of crystal-sliding puzzles spread over several screens. The opening pair of screens gives you three screens’ worth of button-and-barrier challenges before the world branches into its later areas. Solve each puzzle series in sequence to unlock every teleporter.
Quick answer: Clear all three puzzle series on screen one to open the overworld path north, then solve screen two’s bottom series, both single puzzles, and the left series, and finally push the red crystal in the overworld onto the blue button to open Heroes 2: Monsters.
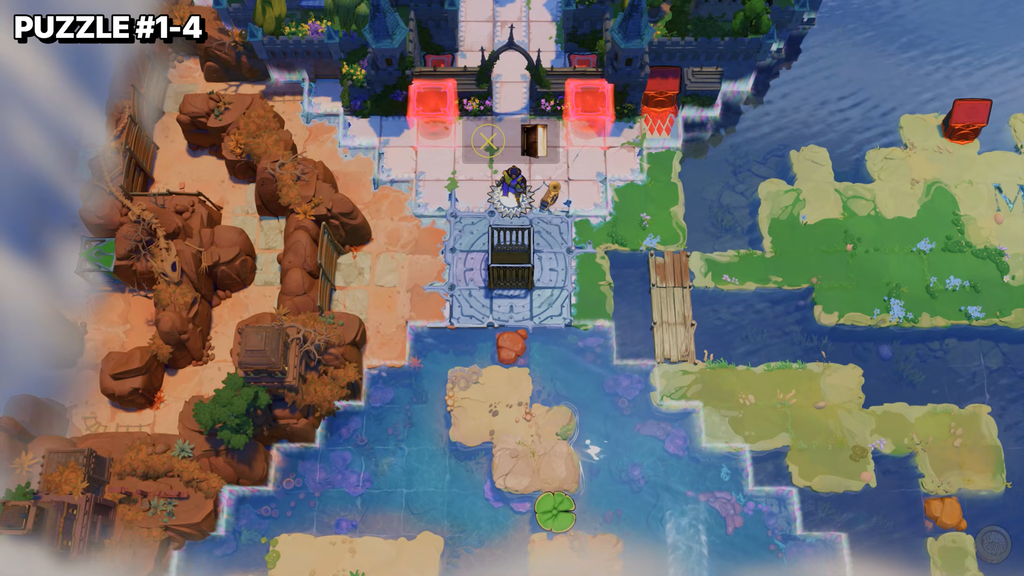
How the heroes move crystals and read directions
Three abilities carry the north world, and the solutions below refer to each hero by colour.
- Red pushes a crystal in front of it.
- Green pulls a crystal toward it.
- Purple swaps places with a crystal (or another hero) in line of sight.
Directions follow a fixed shorthand. A plain direction such as “move left” means one square that way. A direction with a count, like “x3”, means that many squares. “All the way” means keep going in that direction until a wall or barrier stops you.
Undo is always available, so test a single move and reverse it rather than restarting a whole puzzle when a crystal lands wrong.
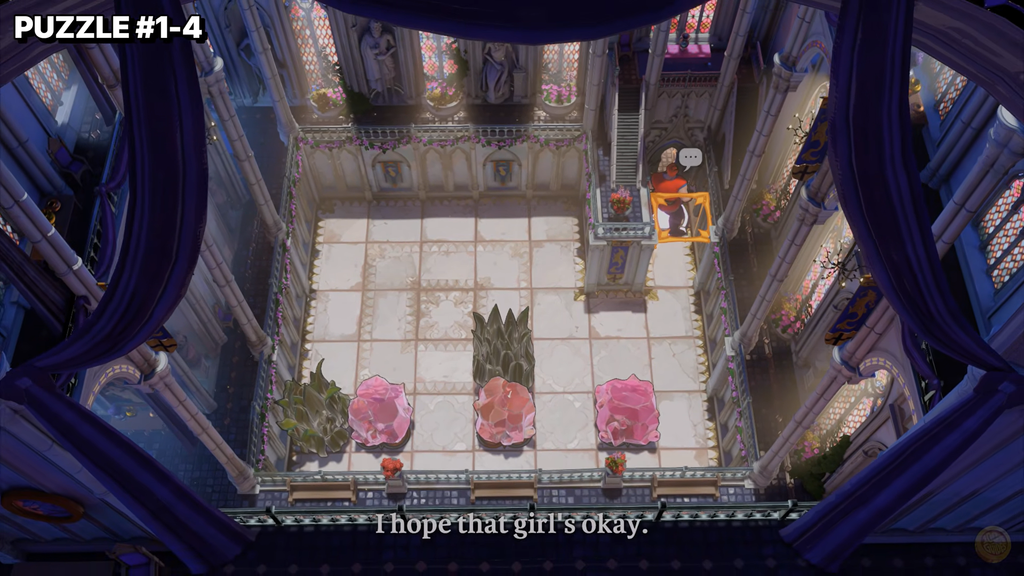
Screen 1 puzzle solutions
Screen one splits into a middle, right, and left series. Finishing all three clears the barrier at the top of the overworld and lets you advance north to screen two.
Middle series (red)
Puzzle 1: Push the two crystals right to open the teleporter.
Puzzle 2:
- Shift the first two crystals right twice, then send the right-hand one downward to reach the next chamber.
- Push the bottom crystal in that chamber all the way down to open the following chamber.
- Send the crystal beside red on its left downward.
- Shift the three-crystal row left x2. Take red upward, then across to the far-left spot above a blue crystal, and push that crystal down.
- Push the two-crystal row left x2 to enter the last chamber, then push the crystal off the teleporter by pushing it down.
Puzzle 3: Stand red to the right of the crystal and push it left x4 onto the yellow button to drop the yellow barrier, then step onto the teleporter.
Puzzle 4:
- Send the crystal beside red on its right two spaces right, then three spaces down, positioning it between yellow buttons two and three.
- Send the center crystal downward twice to place it between buttons one and two.
- Shift the crystal on the right onto the button at the right.
- Slide the central crystal right until it rests on the center button.
- Push the left crystal down x2 onto the left button to drop the barrier, then step onto the teleporter.
Right series (green)
Puzzle 1: Pull the two crystals left to reach the teleporter.
Puzzle 2:
- Drag the first crystal left until it can go no farther.
- Go around to the crystal’s right side, then travel right twice and down into chamber two, leaving the crystal where it is.
- Go right, up, right, then up to dislodge the crystal blocking entry to chamber three. Next, move left x2, down x2, and right x5 to stand beneath the crystal there.
- Move down x2 and left into the bottom-right chamber to drop the crystal. Step onto the yellow button (down, right) and pull the pink crystal up onto it to drop the yellow barrier.
- In the next chamber, stand alongside the blue crystal on the left; pull it all the way right, then pull it down.
- Pull the pink crystal that blocks the teleporter straight to the right from a position beside it.
- Step onto the teleporter.
Puzzle 3: This one is a long single-crystal routing job. Work the crystal around the room with these pulls, keeping green on the stated side each time.
- From the right of the crystal, pull right.
- From below, pull down.
- From the left, pull left x3.
- From below, pull down x4.
- From the left, pull all the way left.
- From the top, pull all the way up.
- From the left, pull left.
- From below, pull all the way down.
- From the right, pull right x4.
- From below, pull all the way down.
- From the left, pull left.
- From the right, pull all the way right.
- From the left, pull left x4.
- From the top, pull all the way up.
- From the right, pull all the way right.
- Starting from its left side, pull the crystal left three times. Then go down, leaving it on the button to keep the barriers lowered.
- Go to the upper room and cross the lowered barrier to reach the teleporter.
Puzzle 4:
- From below the bottom-right crystal, pull it all the way down, then pull it left onto the left button.
- From below the right crystal, pull it all the way down, then pull it right onto the middle button.
- Route the last crystal: pull it all the way right, down one, all the way right, left one, all the way down, then right onto the right button.
- Go up to the teleporter.
Left series (purple)
Puzzle 1: Swap purple past the two crystals to reach the teleporter.
Puzzle 2:
- Place purple beneath the crystal, then press up to exchange positions.
- Move up, right x4, down x2 to line up with the crystal, then press left to swap.
- With purple, go up x2, travel all the way right, then down, right x3, down x4, and left x4 until he is in the crystal’s column. Press up to swap.
- Guide purple right, up, right three times, down four times, then right until he reaches the wall in the crystal’s row. Press left to swap.
- Take purple up four times, right four times, all the way down, then right onto the yellow button. Press up to swap with the crystal.
- Go left to the teleporter.
Puzzle 3: Move purple to the green button in the bottom-left corner (left x3, down x5, left). Then swap your way to the teleporter room with right, up x2, right x2, and finish by moving down, left, up onto the teleporter.
Puzzle 4:
- Reach the left button by going left, down three times, then right; press up to swap places with the crystal.
- Move to the middle button without swapping (left, down, right x2, down, right), then press left to push the crystal onto the middle button.
- Move to the right of the left button without swapping (up, right, down), then press up to swap.
- Move onto the left button without swapping (left, down x2), then press right to seat the crystal there.
- Move down, all the way left, all the way up, all the way right, down to sit one space right of the remaining crystal, then press left to swap.
- Without swapping, go down, right x2, then down x2 to stand left of the right button. Press up to swap.
- Move onto the right button without swapping (left, down, right x2, down x2), then press left to seat the crystal, then head to the teleporter.
After clearing all three series, the route along the overworld’s top opens; walk north to reach screen two.
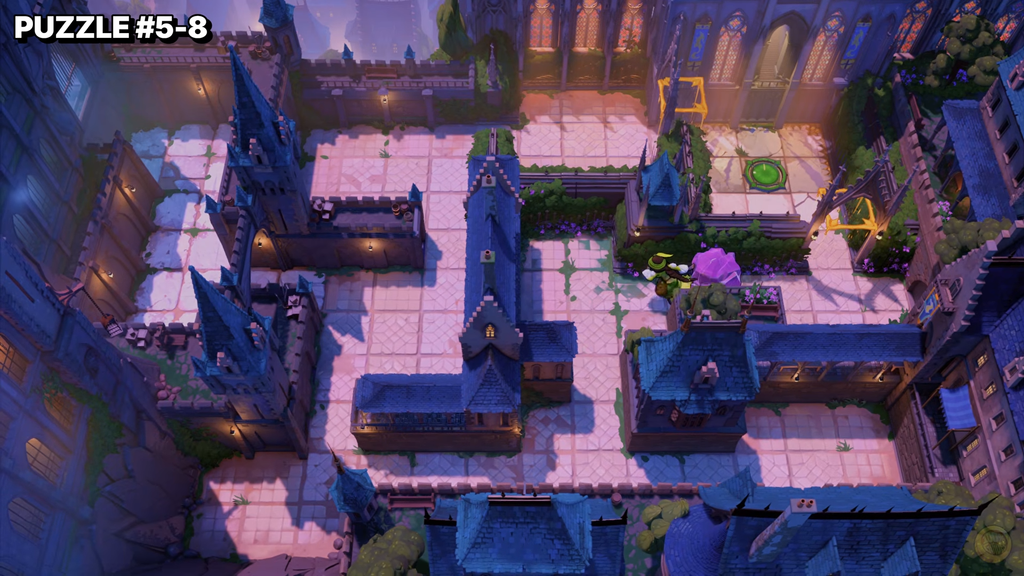
Screen 2 puzzle solutions
Screen two mixes two and three heroes in the same room, so swaps between characters matter as much as swaps with crystals. Clear the bottom series, both single puzzles, and the left series.
Bottom series
Puzzle 1:
- Put red on the top button and purple on the bottom button.
- Switch to purple and press up to trade places with red.
- Send red to the bottom teleporter.
- Position purple above the upper teleporter, then press down twice to swap onto it.
Puzzle 2:
- Use red to push the crystal right.
- Use green to pull it all the way down.
- Have red push crystal two onto the upper yellow button.
- Move green left.
- Have red push crystal one downward, placing it beside green.
- Use green to pull it all the way left.
- Move red into the alcove with green.
- Move green as far right as possible, then use her to pull the crystal into the hallway.
- Move green upward to free the crystal, then have red push it right.
- Move green up and right to pull the crystal and open the route; then use red to push it up beside green.
- Use green to pull it all the way right, then move her to the left of the bottom button out of the way.
- Push the crystal onto the bottom button with red, then make your way to the teleporters.
Puzzle 3:
- Position green to the left of the upper crystal.
- Control purple and press right x2 to swap into the right corner.
- Use green to pull the crystal left.
- With purple, press left to swap places with the crystal, then go down x3 to leave the corridor.
- Pull the crystal left x2 with green. Switch to purple and press up to swap, placing the crystal in the button row.
- Move purple right to clear the path, then have green pull the crystal left x2 onto the left button.
- Move purple down to the left of the bottom crystal and press right to swap.
- Move green above the crystal, pull it up x2, then from its right pull it all the way right.
- Move purple above the right button, press down to swap with green, then left to swap with the crystal.
- Have green drag the crystal onto the button on the right.
- Place purple between the two teleporters. Then put green to the left of the left-hand crystal.
- Take control of purple and press right to trade places with green.
- Move both heroes onto the teleporters.
Puzzle 4:
- Guide red into the alcove’s top-right corner, where the button is.
- Put purple on the button, then press right to trade places with the crystal.
- Move red to the left of purple, then control purple and press left to swap with red.
- Move both heroes to the teleporters.
Bottom-right single puzzle
- Move purple above its crystal and press down to swap.
- Move purple onto the left yellow button (left, up, left x2), then press right to seat the crystal there.
- Without swapping, move purple up, left, then down onto the right yellow button.
- Have red shove its crystal upward into the position of the right yellow barrier.
- With green, pull her crystal down x2 to the left yellow barrier’s position.
- Move purple up off the button to reactivate the yellow barriers and destroy those crystals, then step back down onto the button.
- Pull the remaining crystal fully left with green, then move her down.
- Use red to push the crystal left so green can pull it down to the left yellow barrier position.
- Move purple off the button to destroy the last crystal, then put him back on it so green and red can get to the top teleporters.
- Move purple to its teleporter.
Reaching the top-right puzzle
Before you can solve the top-right single puzzle, you need to route a crystal through the overworld by swapping between cloaks.
- Go through the opening in the center to gain green powers, then pull the bottom-right crystal fully left.
- Leave and re-enter through the left opening for red powers, then push the crystal right x3 to the bottom of a vertical corridor.
- Switch back to green and pull the crystal all the way up that corridor.
- Switch to red and push the crystal up, placing it left of the crystal beyond a fence.
- Enter through the right opening for purple powers, move up to the crystal row, and press right to swap with the crystal you just moved.
- Move all the way down, all the way right, and press up to swap with the crystal next to the puzzle to reach it.
Top-right single puzzle
- With green, pull the crystal to the far right, then move her all the way down to clear the way.
- Move purple to the right of the crystal and press left to swap.
- Use green to pull the crystal down x5, then move her left.
- Control purple and press down to swap with the crystal.
- Move purple down and press up to swap again, leaving the crystal to green’s right.
- Use green to pull the crystal all the way left.
- Use red to push the crystal onto the yellow button, removing the barrier.
- Move purple down to red’s row and press left to swap.
- Move purple up.
- Move green right, then control purple and press down to swap with green so she reaches the teleporters without disturbing the crystal.
- Move red and purple to the teleporters.
Left series
Puzzle 1:
- Put the heroes on the blue buttons: purple on the left, green in the middle, red on the right.
- Control purple and press up to swap with the crystal.
- Move green down out of the way.
- Use red to push the crystal onto the right button.
- Move red to the left button and green to the middle button.
- Control purple and press down to swap with red.
- Send red to the top-right teleporter, purple to a middle teleporter, and green to the last one.
Puzzle 2:
- Move purple all the way left and press down to swap with green.
- Use green to pull the two crystals down into the teleporter row.
- Move green above purple, then control purple and press up to swap.
- Move purple up to the left of the left crystal and press right to swap.
- Move purple between the left crystal and green, then press down to swap.
- Move green right, then control purple and press up to swap the crystal into the bottom-left cell.
- Move purple to the right of the right crystal without swapping (up, right x2, down x2, right x2, up), then press left to swap.
- Move purple between the right crystal and red, then press down to swap.
- Move red left, then control purple and press up to swap the crystal into the bottom-right cell.
- Move all heroes to the teleporters.
Puzzle 3:
- Use red to push its crystal onto the yellow button in the top-right of its cell, then stand on the button in the bottom-left corner.
- Use green to pull her crystal onto the yellow button on the left side of her cell, then stand on the button in the top-right corner.
- Use purple to swap its crystal onto the button in the bottom-right corner (down, left, down, right x2, up), then stand on the top button.
- Control purple and press down to swap the crystal onto the button.
- Move purple to the left of green and press right to stand on the button, freeing green.
- Move green all the way down, then all the way up to bring a new crystal into her cell.
- Use purple to swap that crystal onto the top-right button (down, left, up, right, down).
- Move purple and green out of the cell.
- Use green to pull the remaining bottom crystal up to the teleporter row, two squares left of the left teleporter.
- Move purple to the left of that crystal and press right to swap.
- Move purple into red’s cell, stopping just above the yellow barrier’s position, then press down to swap the crystal into red’s cell.
- Use red to push the crystal onto the button he was standing on, freeing him.
- Move all three heroes to the teleporters.
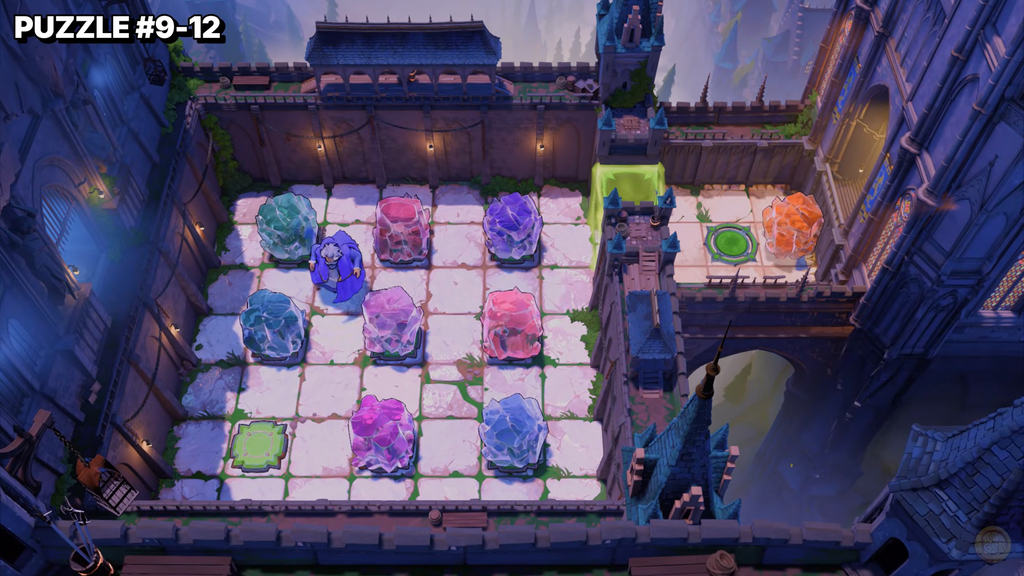
Opening the path to Heroes 2: Monsters
With screen two cleared, one overworld move stands between you and the next screen. Push the red crystal in the bottom-right corner of the overworld onto the blue button beside the left series. That drops the nearby blue barrier and opens the route into Heroes 2: Monsters, the third screen of the north world.
You know a puzzle is done the moment its teleporters unlock and the heroes can step onto them. Screen one’s progress shows when the top overworld path clears, and screen two’s progress shows when the blue barrier drops. From there the north world continues through Heroes 2: Monsters and then Heroes 3: Bard, Druid, each a separate screen with its own set of crystal and button puzzles.