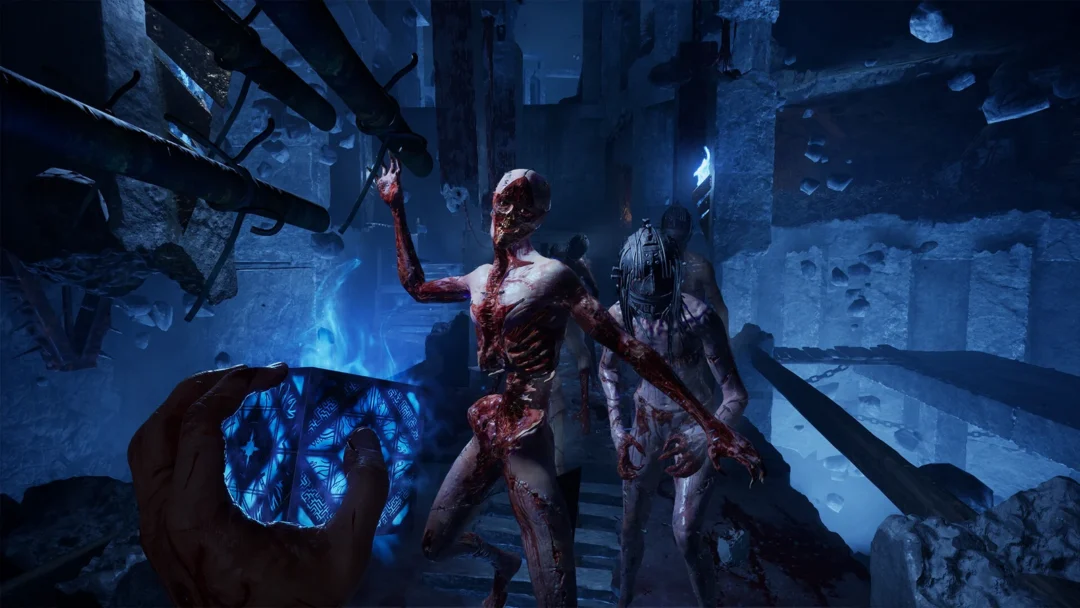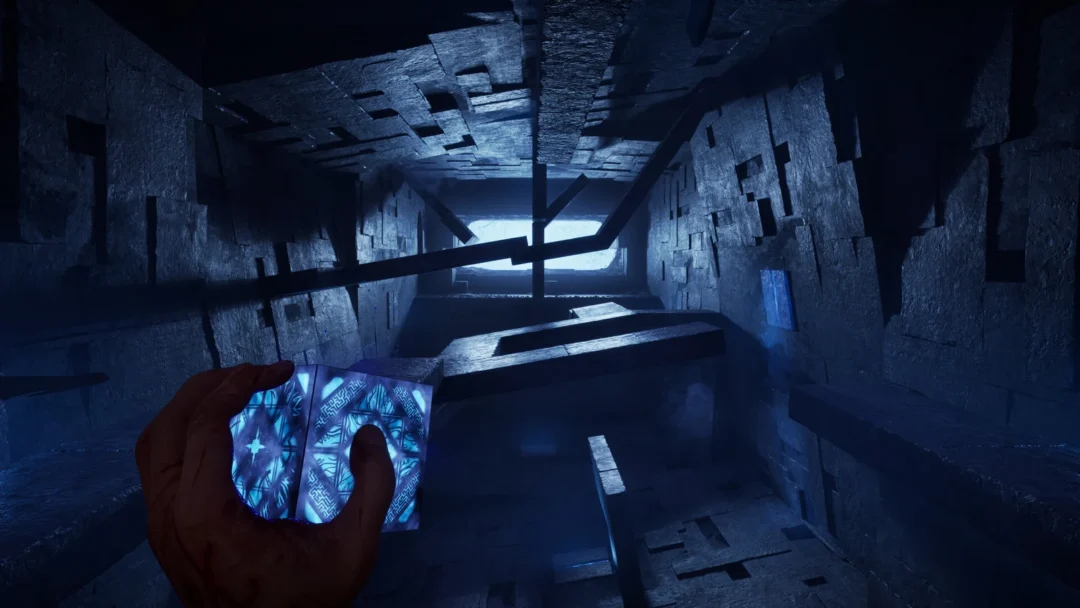
The opening of Clive Barker’s Hellraiser: Revival starts with Aidan Lynch holding the Genesis Configuration in his apartment, pushes through the Labyrinth as you chase Sunny, and ends with the long escape out of the Scarlet Church compound once you wake up a prisoner. The route below takes you from that apartment all the way to the staircase up into the club, with the puzzle answers stated outright and grouped by area.
Quick answer: You need nine key items in order — Blemished Fragment, Blemished Diamond, Key, Tongue Key, Bruno’s Keycard, The Collected Poems of Emily Dickinson, Flashlight, Leviathan Tip, and S&M Duckie — and the exit opens when you fit the S&M Duckie into the duck-shaped lock by the EXIT door.
Prompts below are for PC keyboard and mouse. The steps are the same across difficulties as far as the game shows, though on the highest setting (“Hellraiser”) you can only save manually by spending a Save Token.
Prologue: finding Sunny in the Labyrinth
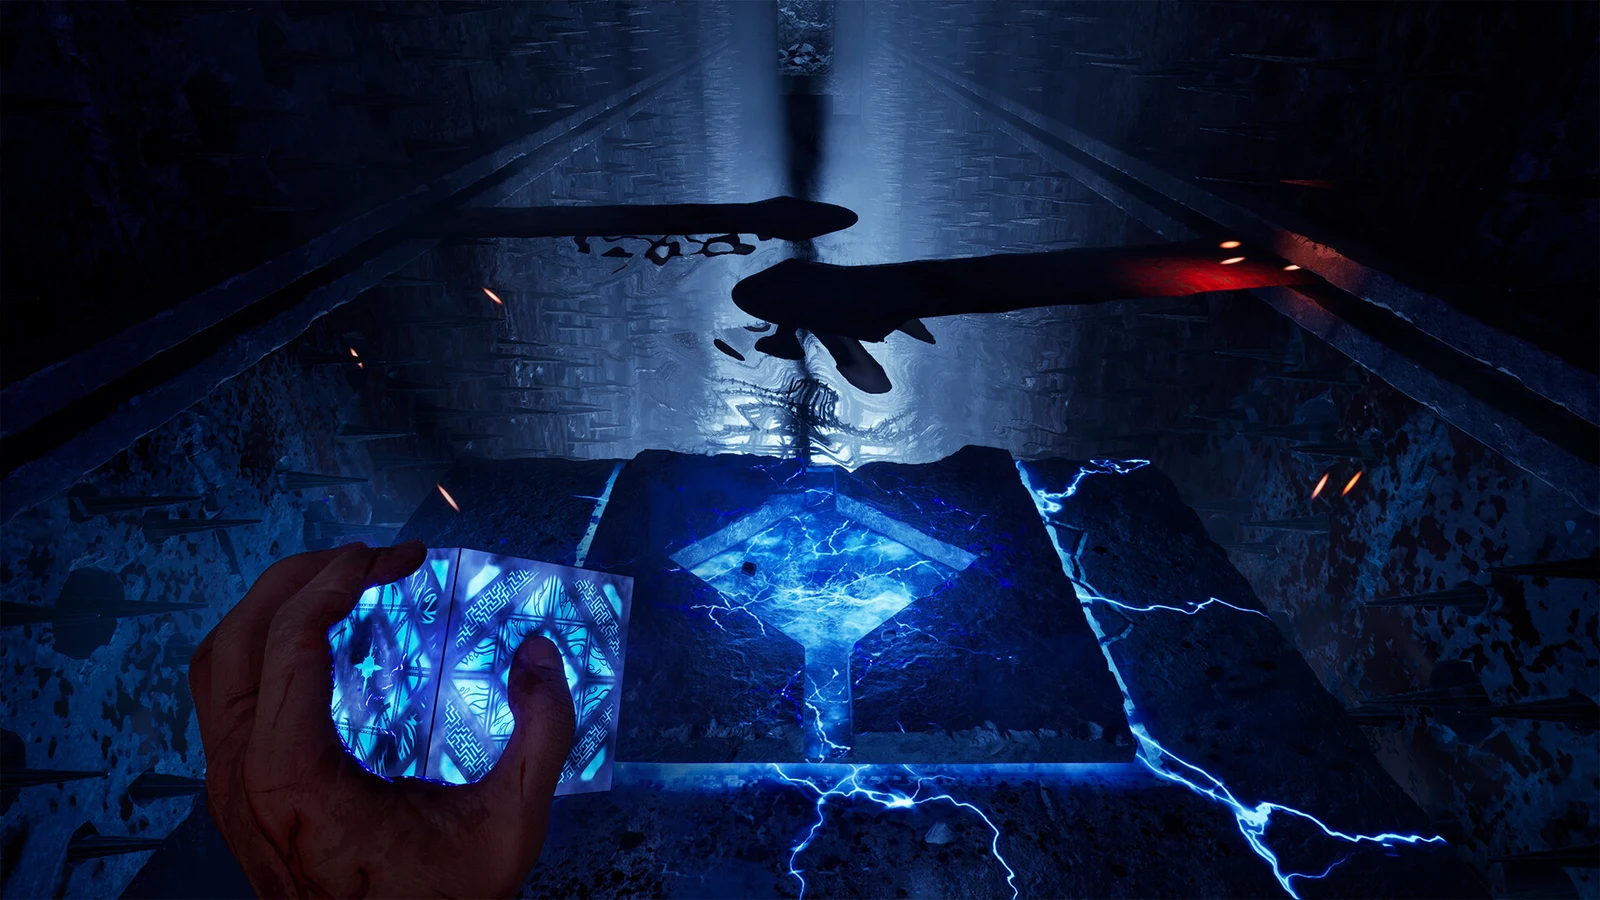
Aidan starts holding the puzzle box, with a hole already torn open in the brick wall. The inner door is locked, so step through the breach. In the stone corridors, the wall opens to your right at the barred gate. Push through the room of hanging chains, crouch (C) through the narrow crevice, and keep following Sunny each time she appears ahead.
Up the stairs onto the raised walkway, sprint with L Shift + W. When a stone gate begins dropping, keep sprinting and slide under it with L Shift + W + C. A portcullis then slams down in front of you, so turn right into the red cave with shallow water and follow it to a broken wall that leads back into the apartment.
The apartment now loops: its door just brings you back into the same room. Look at the brick wall above the table until writing appears in blood, reading “YOU ALWAYS PREFERRED DARKNESS, AIDAN. RETURN TO IT.” Turn around and a pitch-black doorway has opened. Walk into the dark.
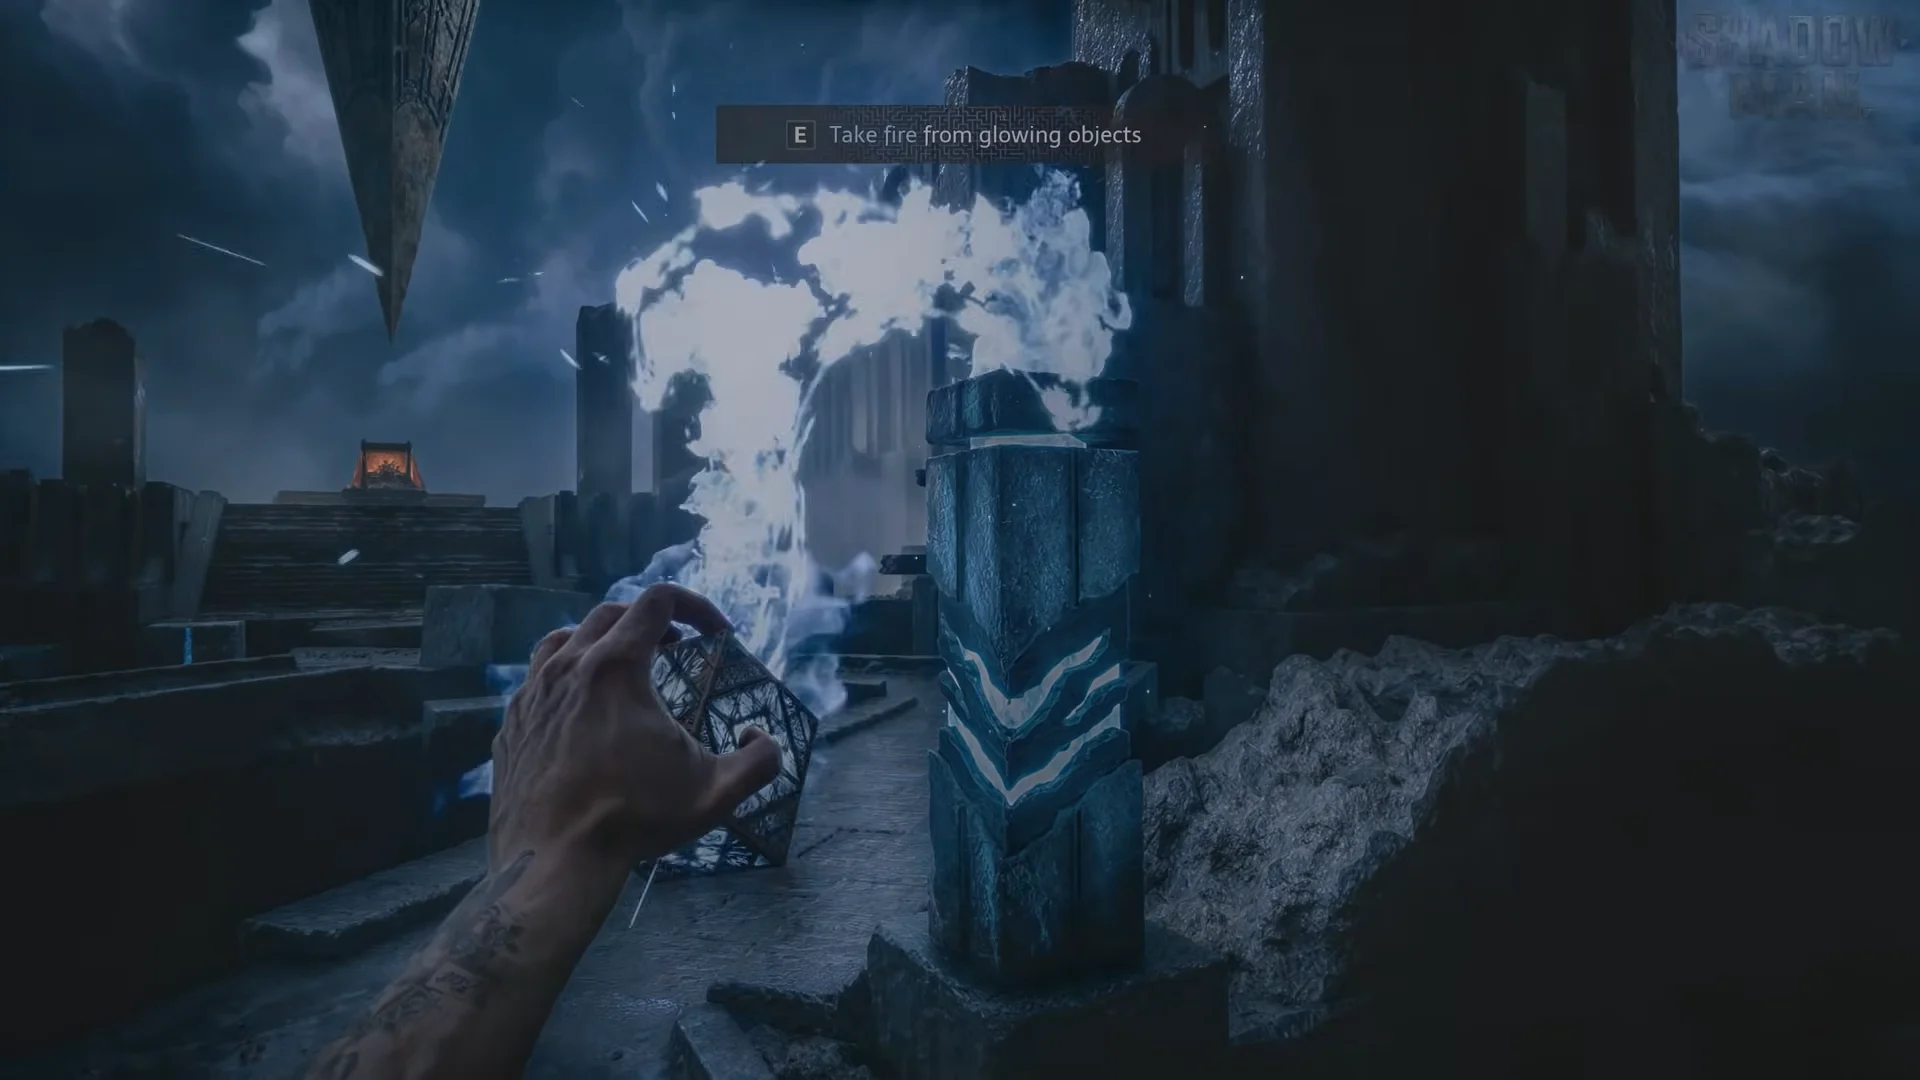
On the bridge over the Labyrinth, take the beating heart from the pedestal (“F Take”) and the bridge collapses. Two box tutorials follow. Use “E Take fire from glowing objects” on the lit pillar, then “E Throw fire to activate highlighted objects” on the unlit pillar to your left.
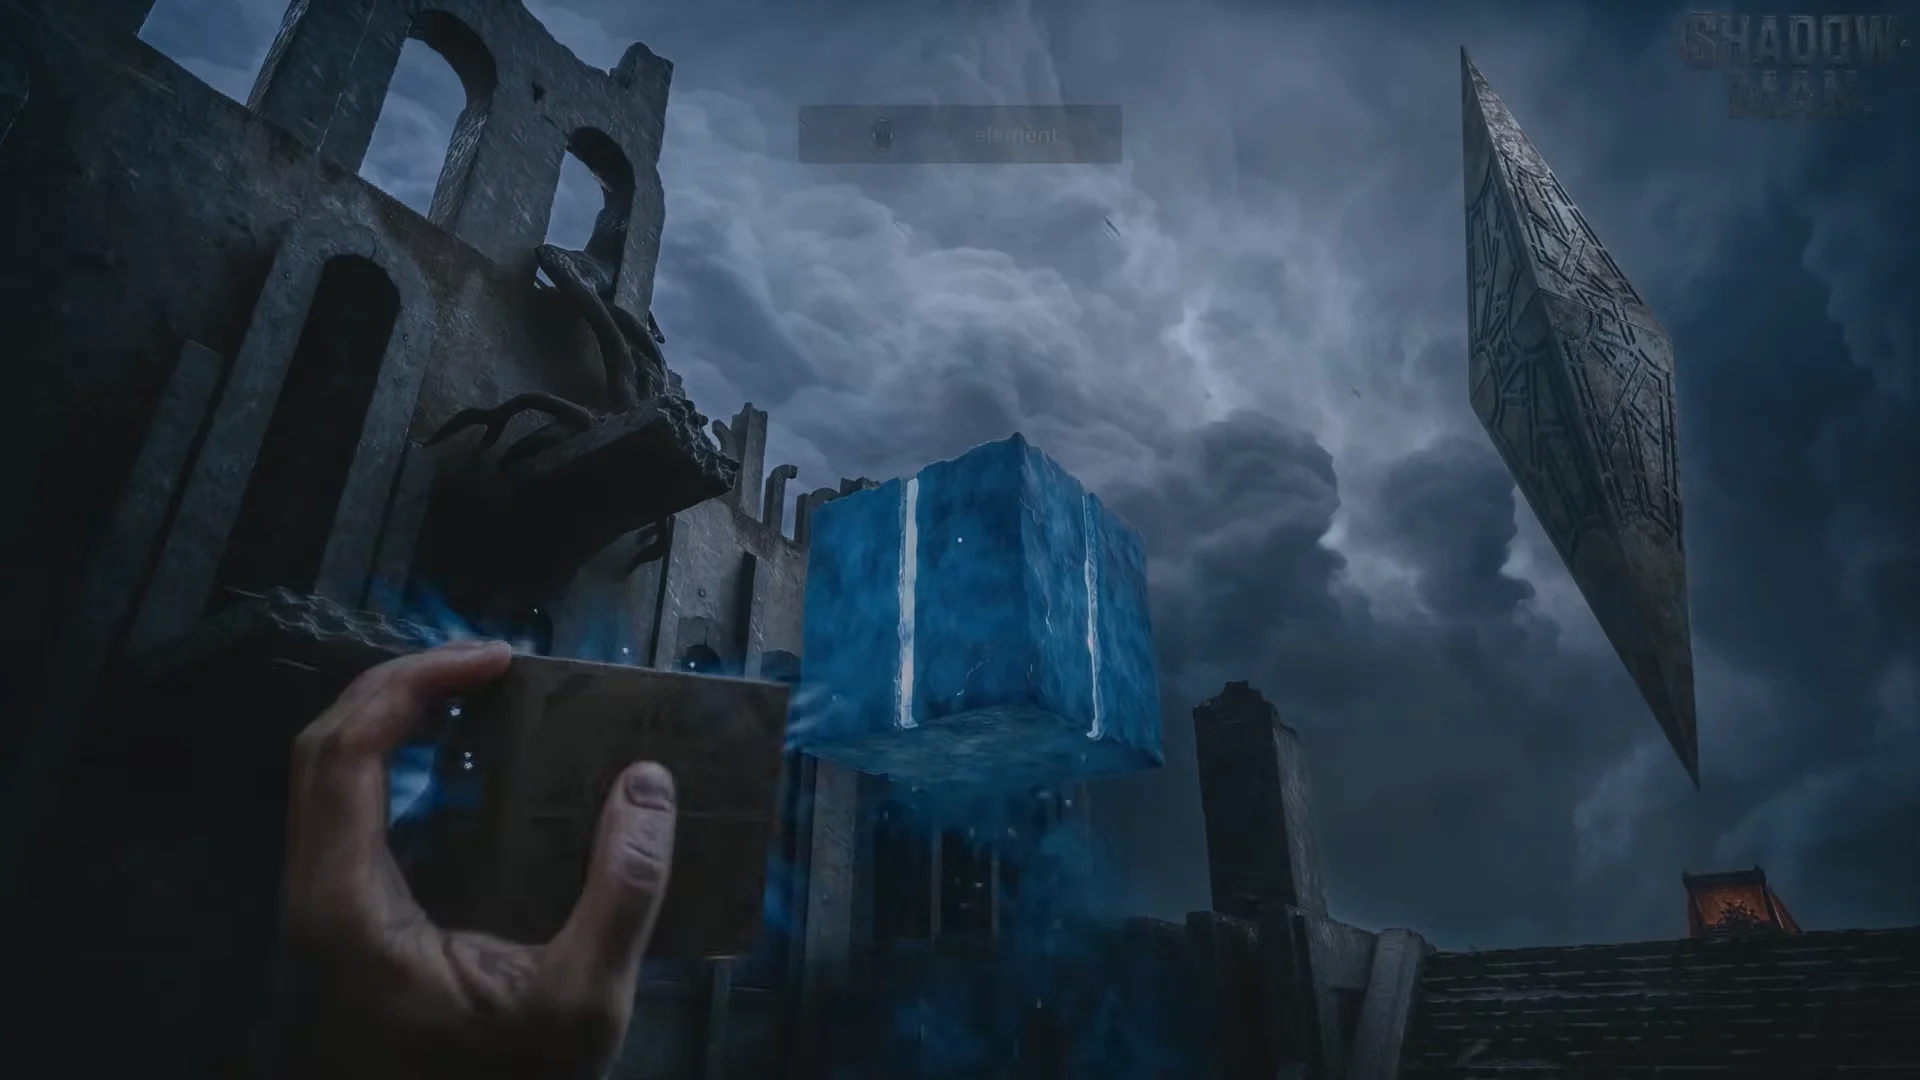
At the gap before the stairs, use “E Interact with Labyrinth element”, aim with the mouse, and “E Release”. Lift the floating cube out of the way first, then slide the flat slab into the gap to form a bridge. Climb the stairs and a cutscene closes the prologue — Aidan is drugged and strapped to a chair by the Scarlet Church, where Marlowe and the Prophet take the Genesis Configuration.
The prologue has no save points, no enemies, and no pickups, so there is nothing to collect here.
Unlocking Door M359
You get control already free of the chair, standing in the holding room. Grab the reports on the desk and the Cloth in the medical cabinet, then head out into the corridor. Door M359 is a heavy metal door with a two-part diamond lock mounted on the wall plate to its right. You need both halves to open it.
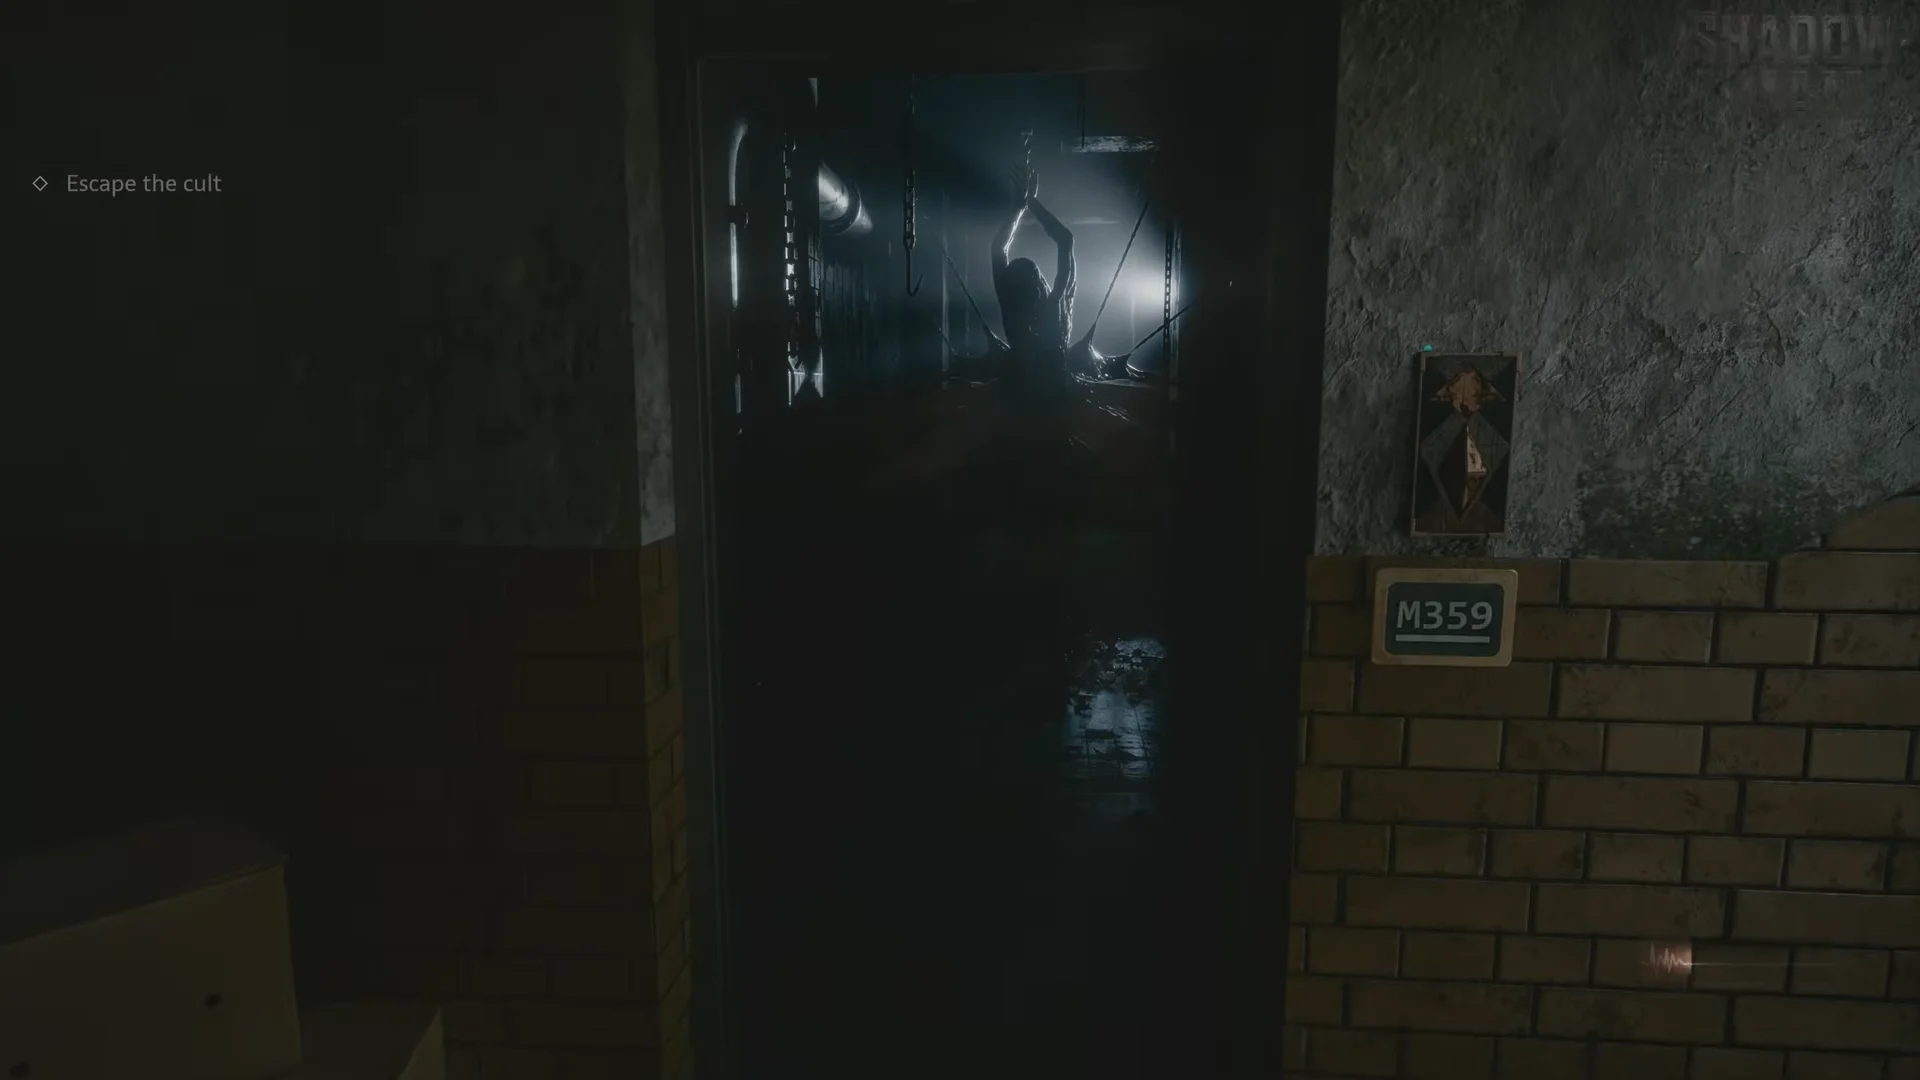
Beyond the door, the fridge holds Soda and Chemicals, with coins, Herbs, and Cloth spread across the ward.
Lockpick, crafting, and the courtyard key
Where cultists are holding a prisoner behind bars, crouch and slip through the low barred crawlspace under their room. The barred door leads into a studio where a Lockpick sits on the easel tray. Open the Crafting tab and make a Bandage using 1 Cloth + 1 Chemicals, holding F to assemble it.
The cabinet lock in the studio is optional. The lockpicking minigame is about finding the right position, not timing — turn the pin with the mouse, turn the lock with W, and let go when the pin shakes. A second Lockpick waits in the duffel bag in the freight elevator at the far end of the hallway to the right, and the cabinet rewards +19 Coins and Herbs.
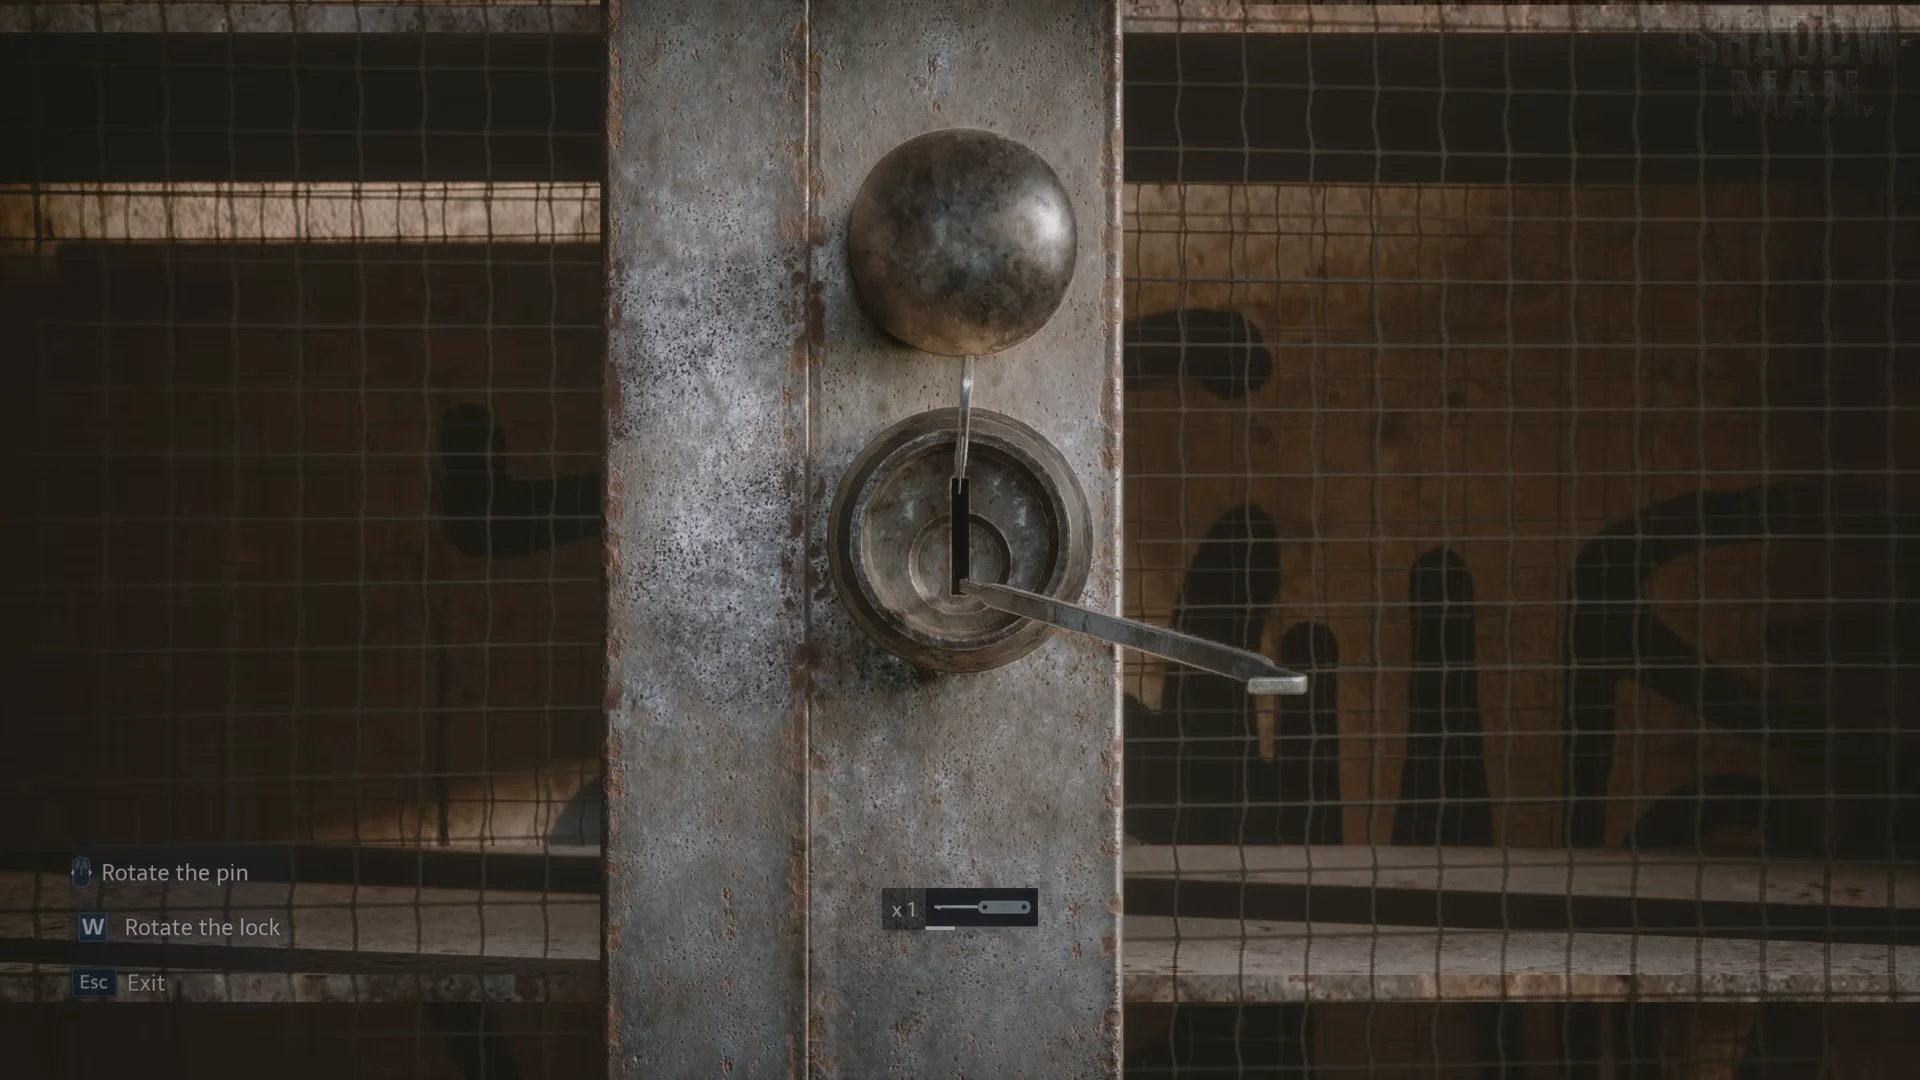
At the alcove with a pit, search the bucket for +4 Coins, climb down the ladder, and follow the flooded tunnel. Go right through the arch and drop into the courtyard. The blue door needs a key — cross to the utility room opposite, use “F Put clothes on” at the table, then take the Key that was sitting under them. Search the blue crate for Scraps and open the blue door.
The Tongue Key and getting past Bruno
In the lit corridor, crouch into the dark room on the left behind the screens and let the guard pass. Work through the office (+10 Coins), the bedroom, and into Bruno’s studio, reading the desk note and photos on the way.
Inspect the skull on the desk and rotate it. Press F on the three nails that show “F Press” around the top and back of the cranium, then press F on the diamond plate that rises on top. The jaw opens and gives you the Tongue Key.
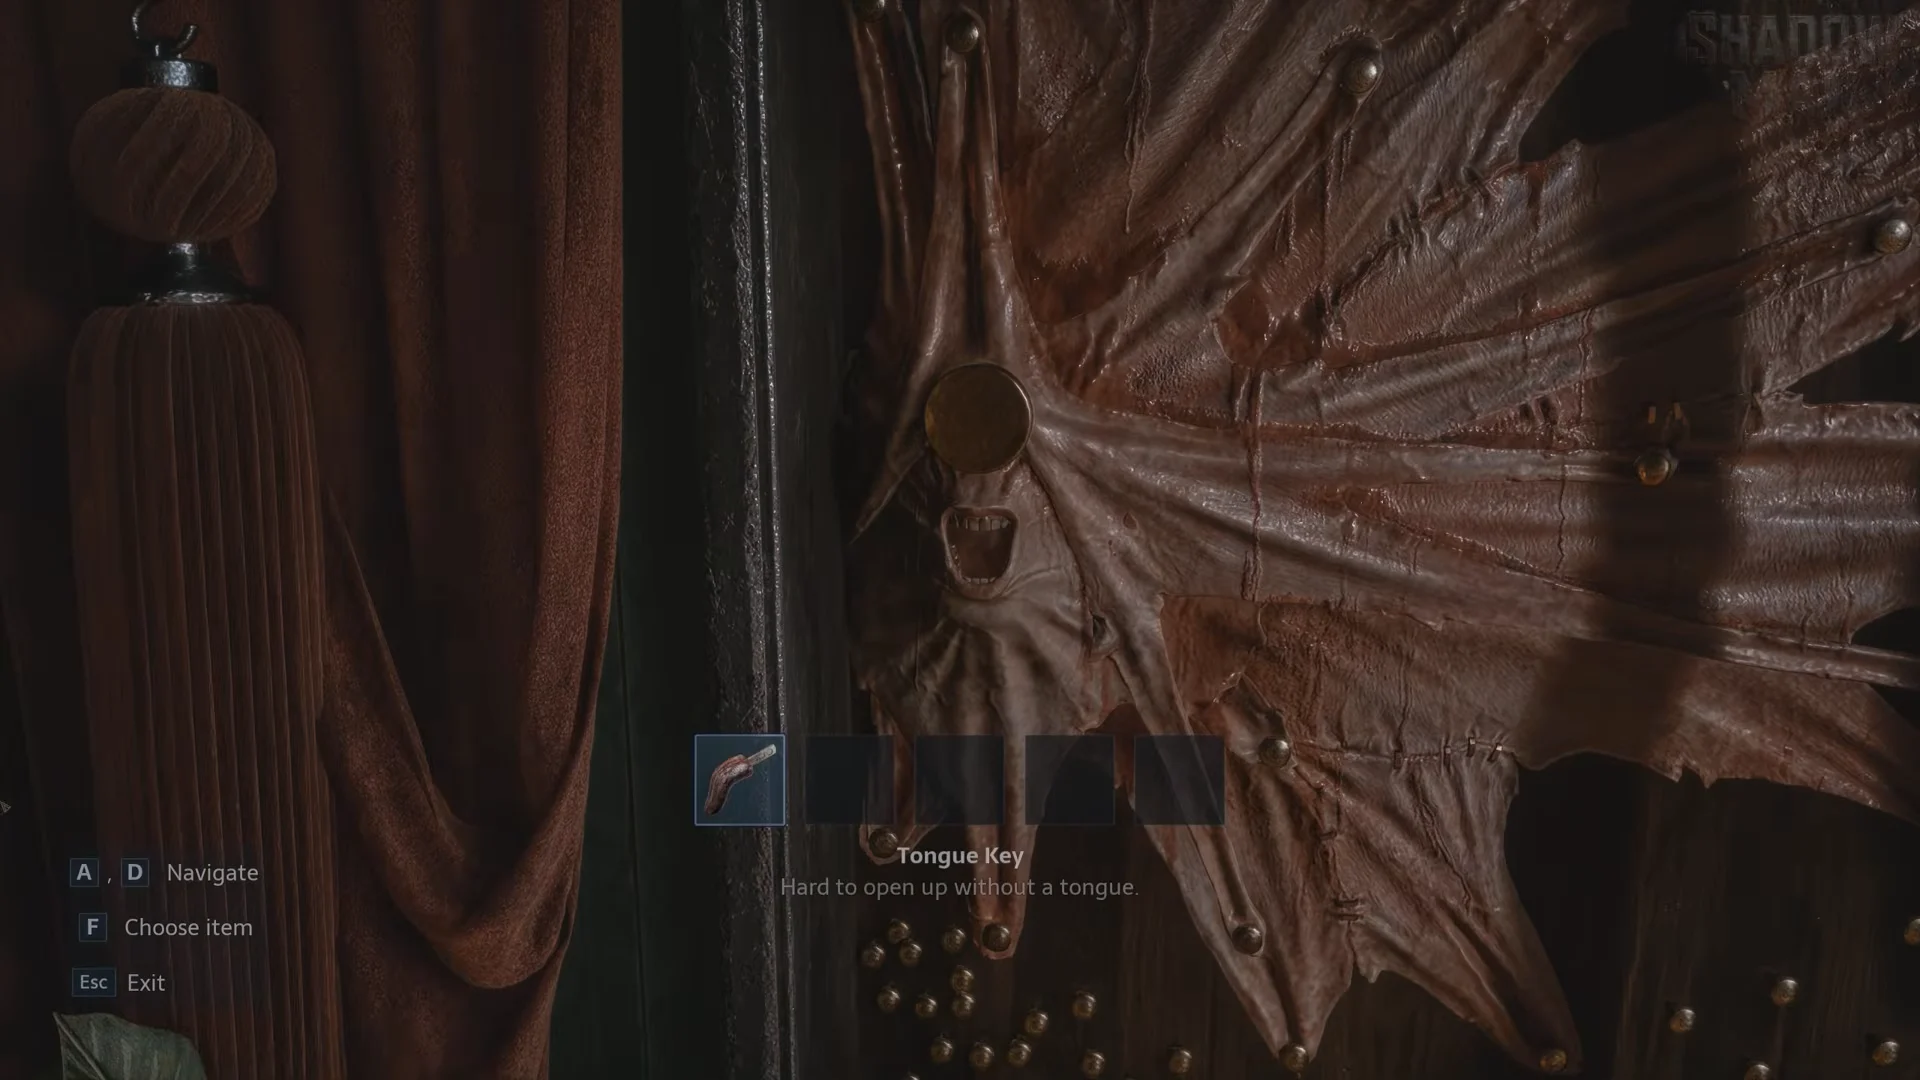
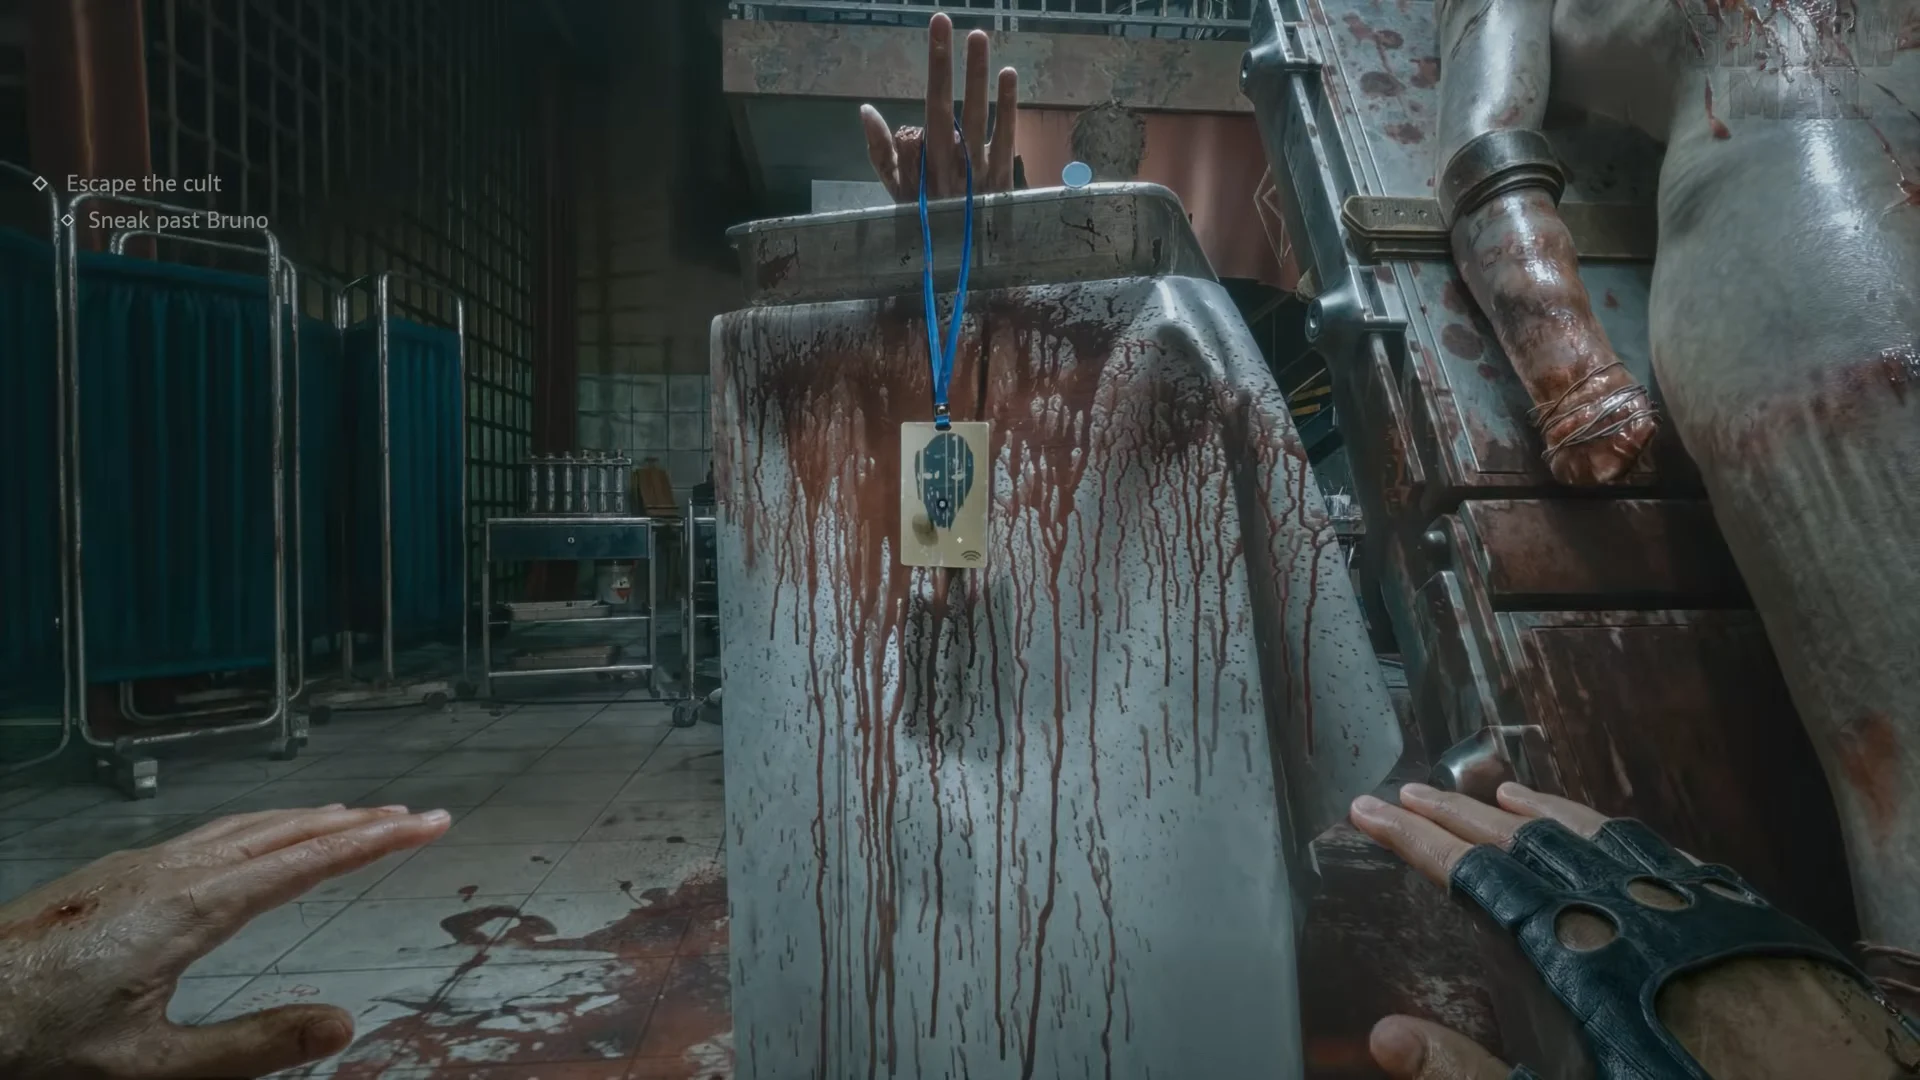
Use the Tongue Key on the skin-covered door with a mouth, next to the glass case. It opens onto a catwalk above the operating theatre. For the “Sneak past Bruno” objective, stay crouched along the catwalk (+6 Coins on the round table), take the metal stairs at the far end, and move under the benches and counters to the shelf unit facing the operating chair. Bruno stays at the chair and only walks to the back of the room once, so wait for him to move away.
Take Bruno’s Keycard from the cart to the left of the chair. Leave through the doorway under the green EXIT sign and use the card on the reader by the heavy door in the anteroom.
The painting hall and the Chatterer chase
The keypad cabinet on the left of the hall opens with the code 9901, read from the plaques “Marlowe Succeeds ’99” and “The Prophet’s Visions ’01”. Inside you get 2 Gunpowder, a Bandage, and Coils. The diamond pedestal and the lattice gate at the end of the hall cannot be used yet, so take the open door by “The Prophet’s Pilgrimage to Gnosis” and head downstairs.
Save at the first wall-mounted Labyrinth orifice in the tiled corridor, then open the barred gate to trigger the Chatterer chase. Quick Turn (Ctrl) at the start, sprint, and turn away whenever a flash of lightning puts him ahead of you. Mash F at the “Tap to escape” prompt, avoid the side passages blocked by fleshy growth, and finish by running through the doorway of white light.
Knife, Save Token, and the hidden bookshelf
Back in the tiled corridor, take the green swing door on the left and use “F Pull knife out” on the hanging man. Win the knife fight that follows with LMB to attack and A/S/D to evade. In the next room, a Save Token and an Apple sit on the gurney.
At the bookshelf, interact so a book falls, pick up The Collected Poems of Emily Dickinson, and place it in the gap on the shelf. The bookcase swings open. Crouch under the shelf into the hidden corridor and perform a takedown (“F Takedown”) on the kneeling cultist, then grab the Gunpowder in the cabinet under the blocked gurney.
Continue through the bathroom and the corridor toward the archive. Several cultists patrol here, so sneak and take the ones whose backs are turned. A wall save point sits by the staircase beyond — spend your token here on the highest difficulty.
The wards and the Skullcrusher
From the save point, go through the push-bar door, past the hanging body, through the exam room, and under the tilted table into the room of bodies. The bathroom on the left holds a Bandage in the green-cross cabinet. The route then runs through a string of rooms, each with items and patrols. Clear them quietly and pick up the weapons as you go.
- Archive: take down the cultist at the bookshelf. The Machete is under the wash basin, with a sermon book on the desk and +7 Coins.
- Washroom with tubs: take down the cultist at the tub. The Cleaver is on the tub, with Chemicals on the drip stand.
- Ward with gurneys: two takedowns on the cultists with their backs turned, plus a Bandage on the tray and Scraps.
- Shrine room: the Occult Codex sits in the middle (a valuable to sell later), with a placard and Bread.
- Room 208: Basic Repair Kit (use it on the Skullcrusher) and Scraps.
- Room 207: +6 Coins.
- Room 206: Herbs, plus the green override button to the right of the observation window.
The workshop with the table saw has an armoured patrol. Crouch to the saw table for the Skullcrusher, which is blunt and breaks armour. Wait for them to turn, follow the left wall past the bathtubs to the far door, grab the Gunpowder in the bin in the side corridor, and leave through the EXIT door.
Power cut, Room 206, and the Pistol
The lights go out. Grab the Flashlight and Scraps on the table to the right and press X to switch the light on. The note on the security door points you to Room 206. Follow the numbered rooms to get there.
Press the green button in Room 206 to open the shut security door in the corridor. Through it, you find Pistol Ammo, a badge and tape, and the Pistol on a dying detective, along with the Pistol Ammo recipe (1 Scraps + 1 Gunpowder = 7 rounds). Drop a spare blade if your inventory is full.
Storeroom, living quarters, and the ladder
The green door by the fire alarm leads to a storeroom of boxes. Loot the open case on the cart and the shelves for Scraps, Gunpowder, and Pistol Ammo, then craft ammo. A hallway with a dresser (Cloth) and a red gas cylinder leads into the living quarters — kitchen, lounge, restroom (Gunpowder), and bunk room with a book on a lower bunk.
Take down the cultist at the kitchen counter. If it turns loud, fall back to the hallway and shoot the gas cylinder as they push through. Leave by the back of the quarters through the plastic-sheeted shaft and up the concrete steps. The candlelit storeroom ahead holds two cultists and an explosive barrel, so do not fight in the doorway.
Climb the wooden wall ladder (“F Go up”) to a concrete hallway with a save point, then go through the low opening into the chapel.
The chapel and the S&M Duckie exit
In the chapel, take down the kneeling cultist at the altar and grab the Bandage on the altar ledge. Fight the other three with the Skullcrusher, keeping clear of the fire one of them throws.
Go through the lattice gate at the back to the diamond pedestal. Fit the Leviathan Tip on top, rotate the bands of the upper half (“F Rotate”) until the maze lines join, then press F on the tip. Take the S&M Duckie.
Cross back across the chapel and go right along the panelled corridor to the lounge. Put the S&M Duckie in the duck-shaped lock beside the EXIT door, then climb the long staircase up into the club. That ends the escape section.
Codes and answers at a glance
| Puzzle | Answer |
|---|---|
| Door M359 | Blemished Fragment (top) + Blemished Diamond (bottom) |
| Painting hall keypad | 9901 |
| Skull | Press three nails, then the top plate |
| Bookshelf | Make the book fall, place it back in the gap |
| Power door | Green button in Room 206 |
| Final exit | S&M Duckie from the diamond pedestal |
The weapons you pick up over this stretch, in the order they appear, are the Knife, Machete, Cleaver, Skullcrusher, and Pistol. The Skullcrusher is the one to keep repaired, since it is blunt and breaks through the armour that blades struggle against.