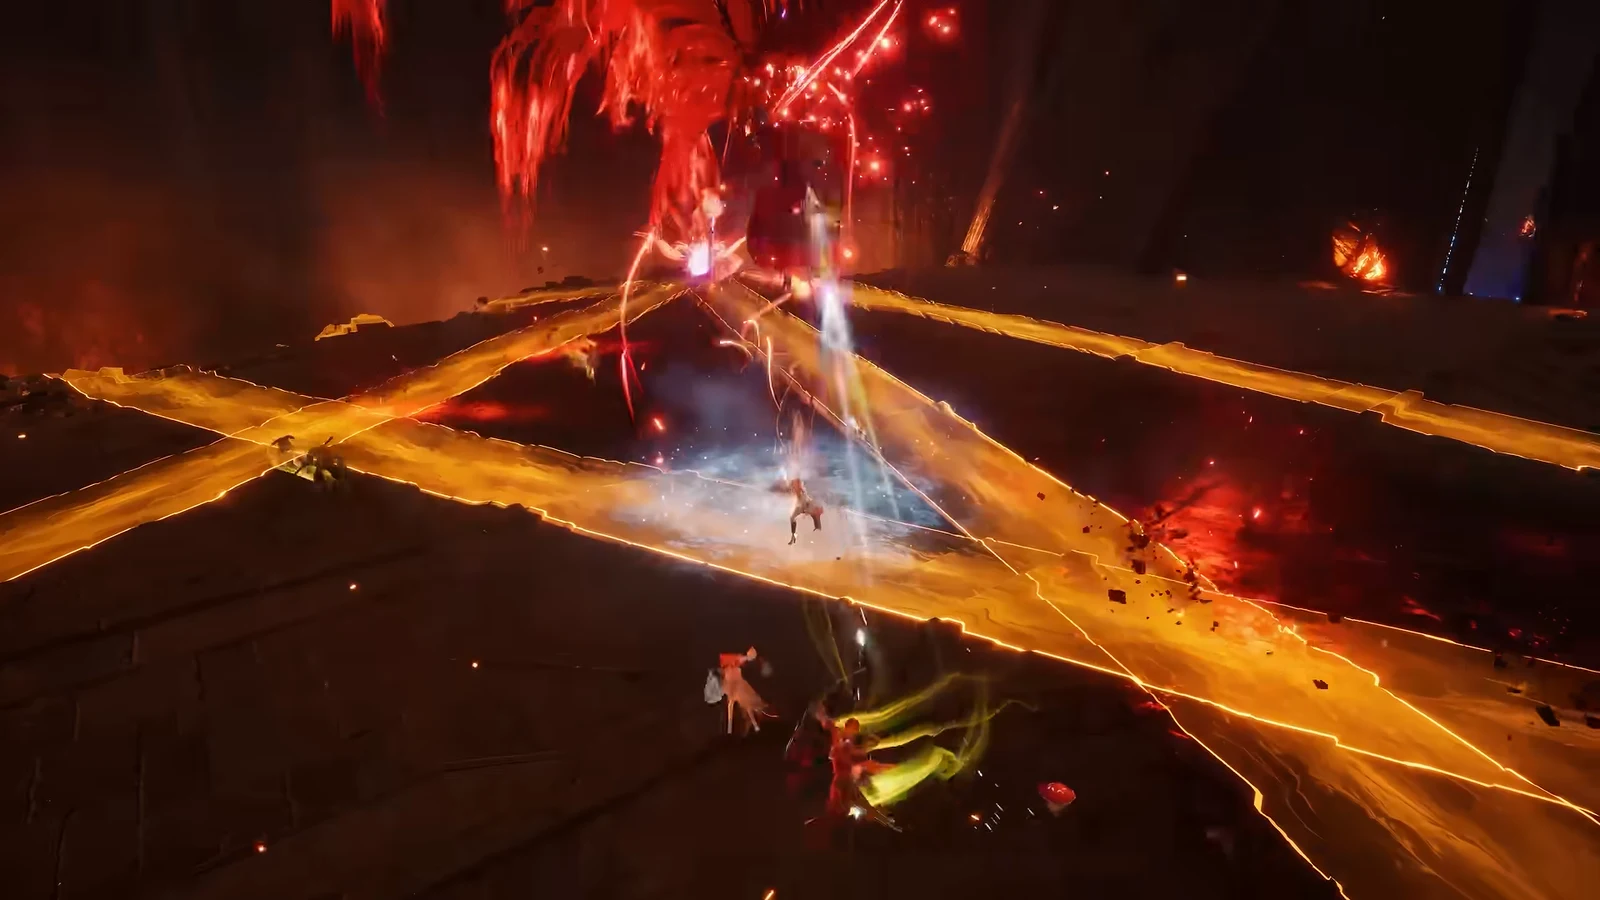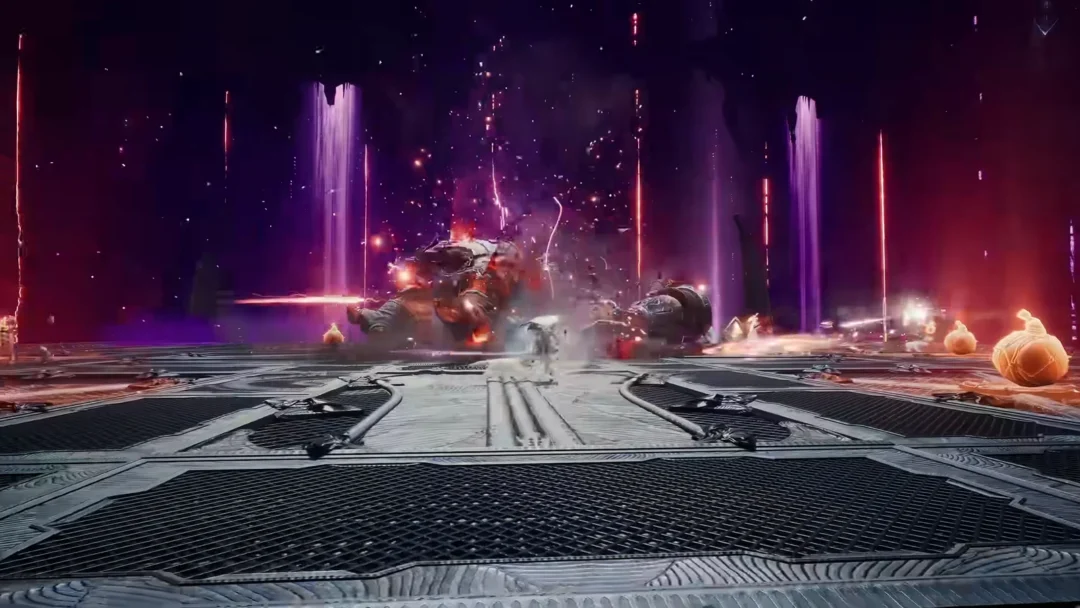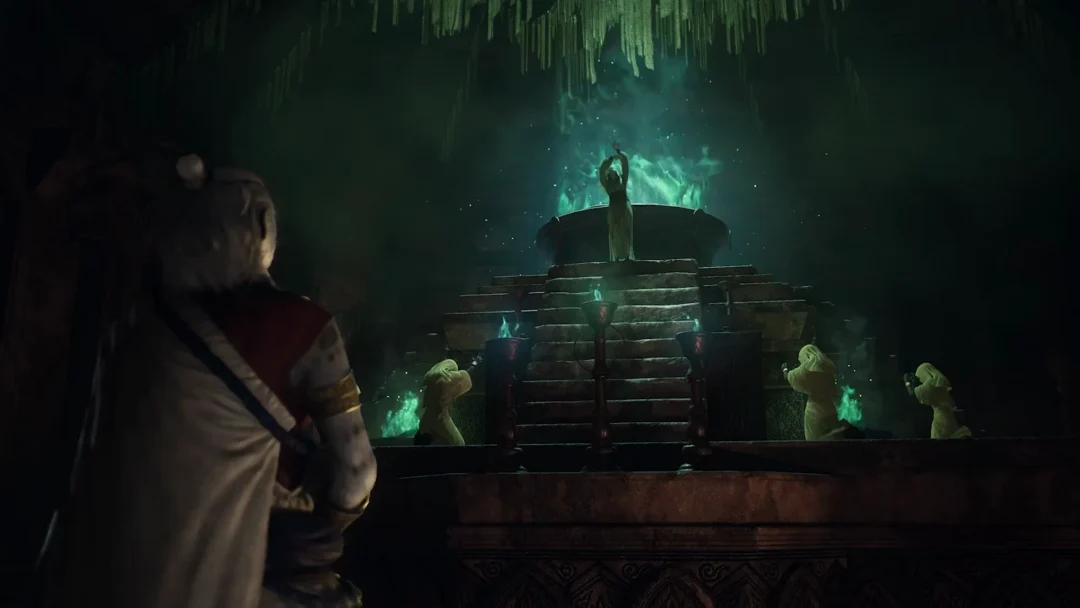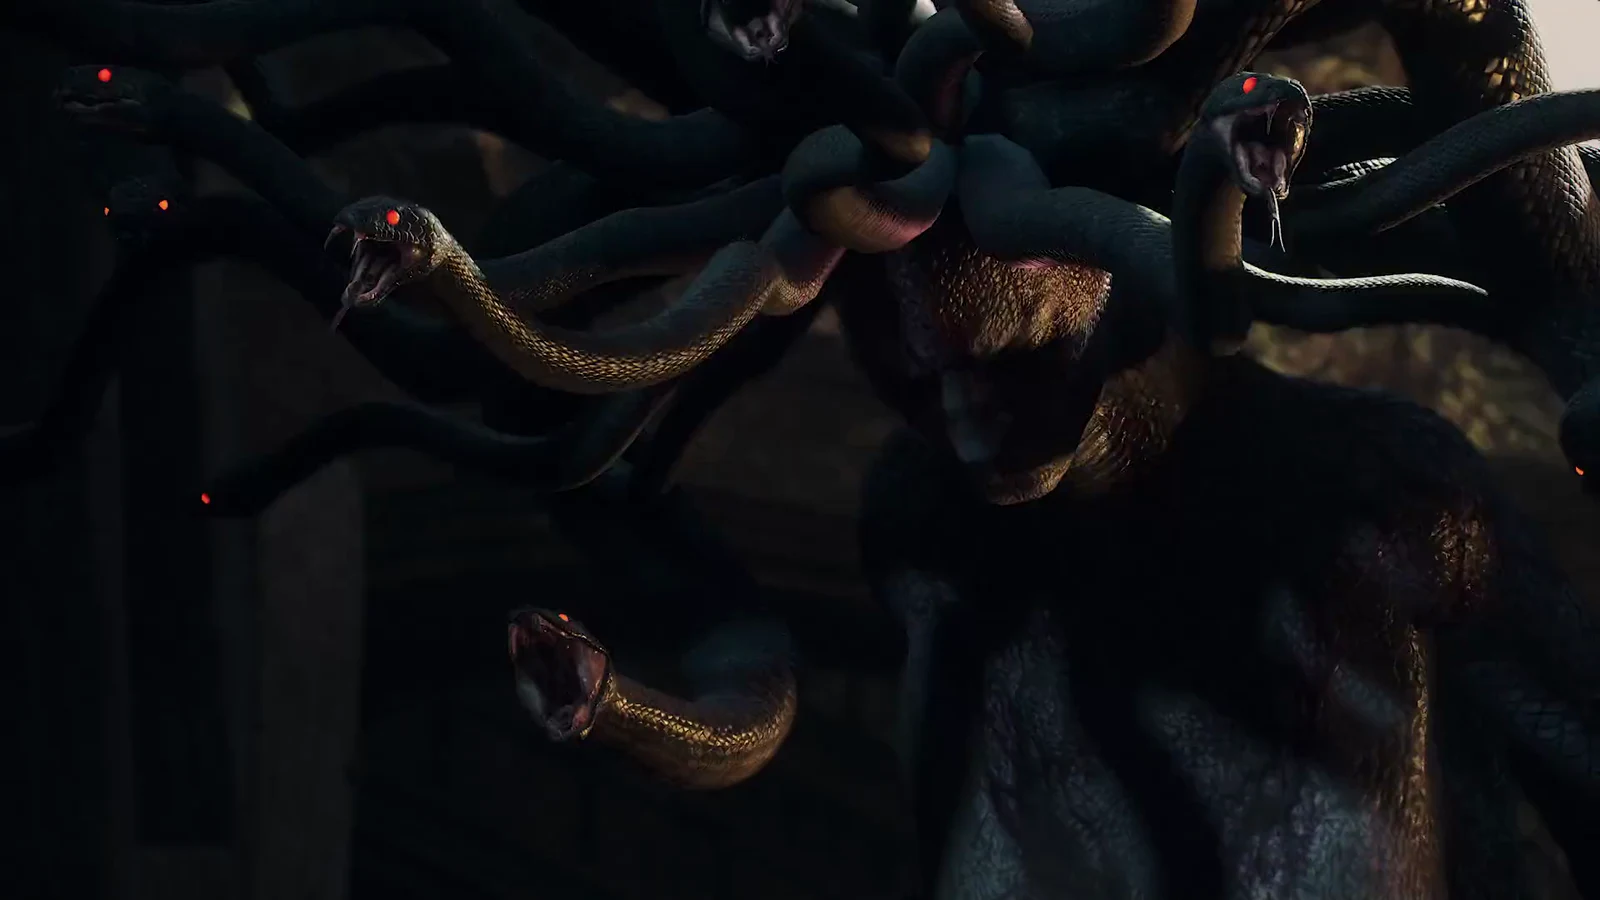
Lost Rites are repeatable challenge dungeons scattered across the existing Vermund and Battahl map in Dragon’s Dogma 2: Dark Arisen, each one dropping gear once carried by past Arisen alongside the Offering Flames that fuel the new Obelisks of Benediction. You can start them extremely early, well before the snowbound Norgan region, and the first clear hands you the tool that reveals every other trial at once.
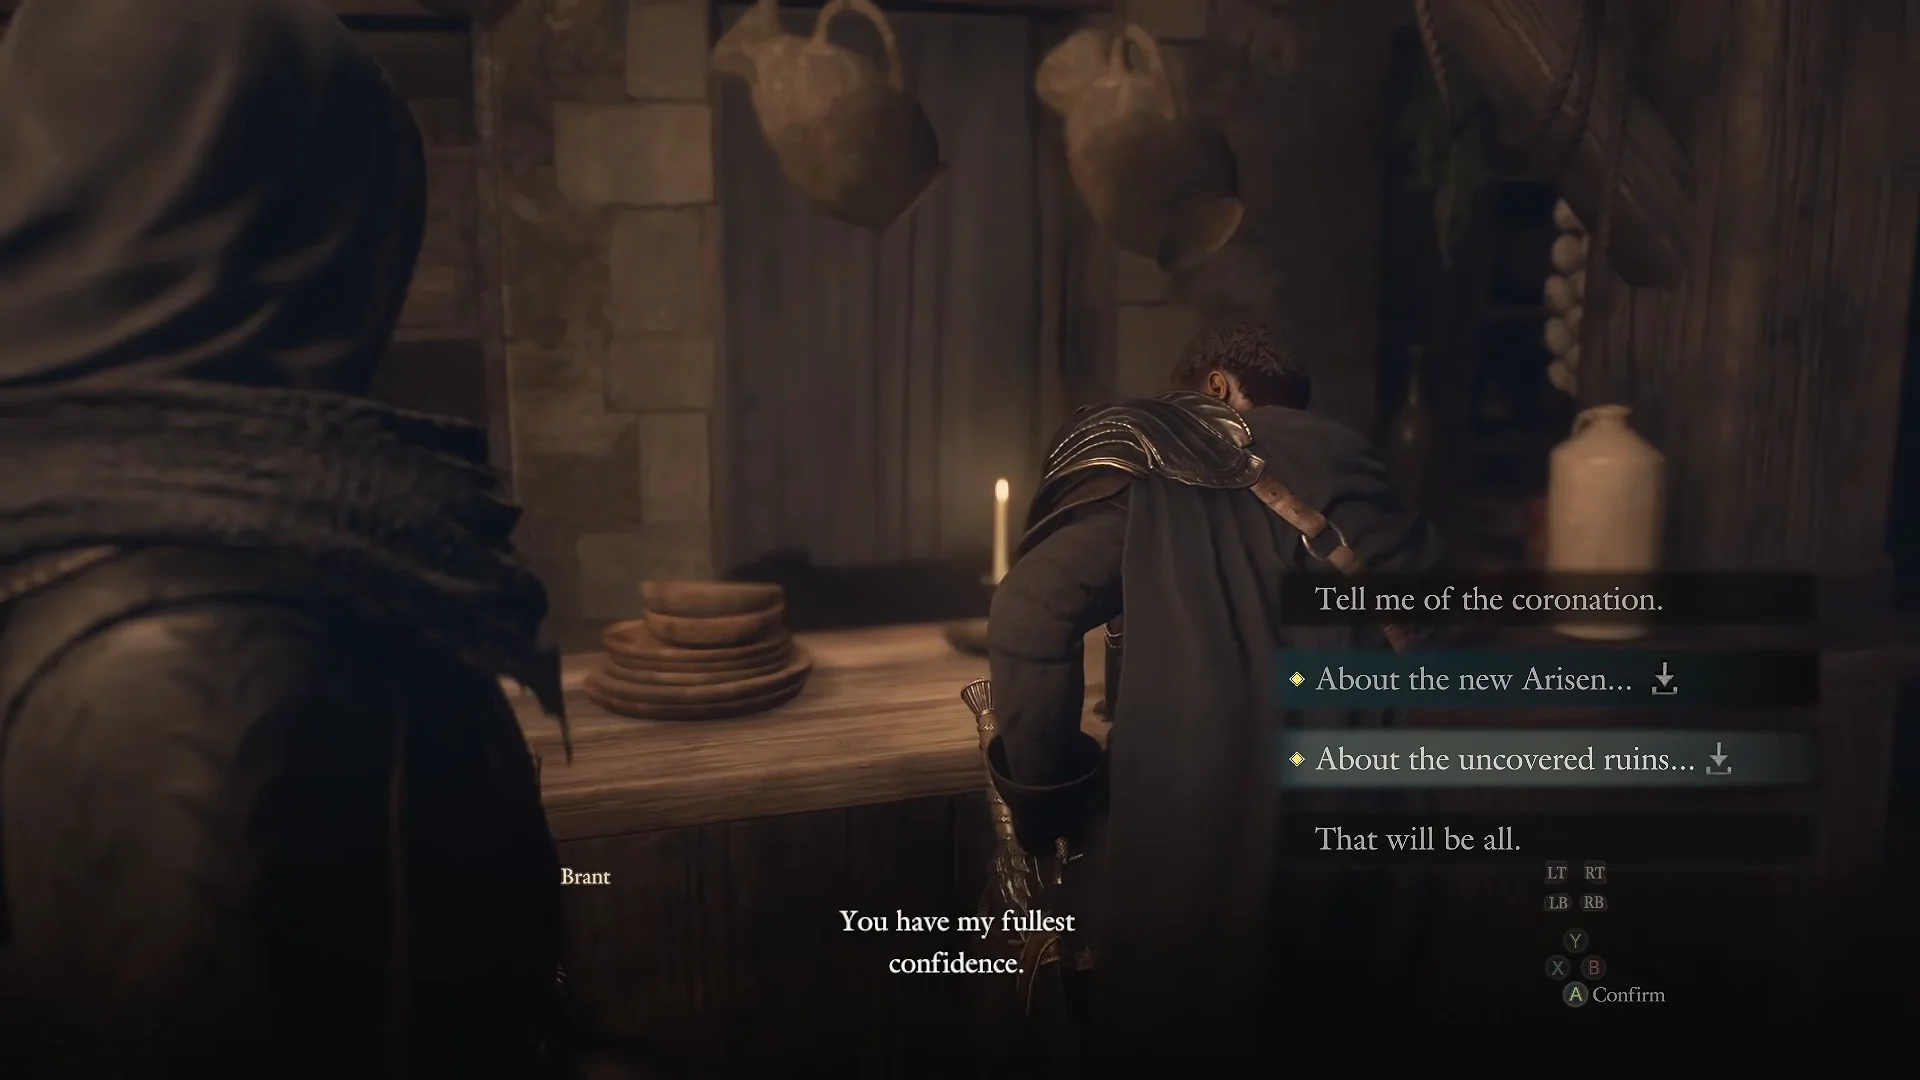
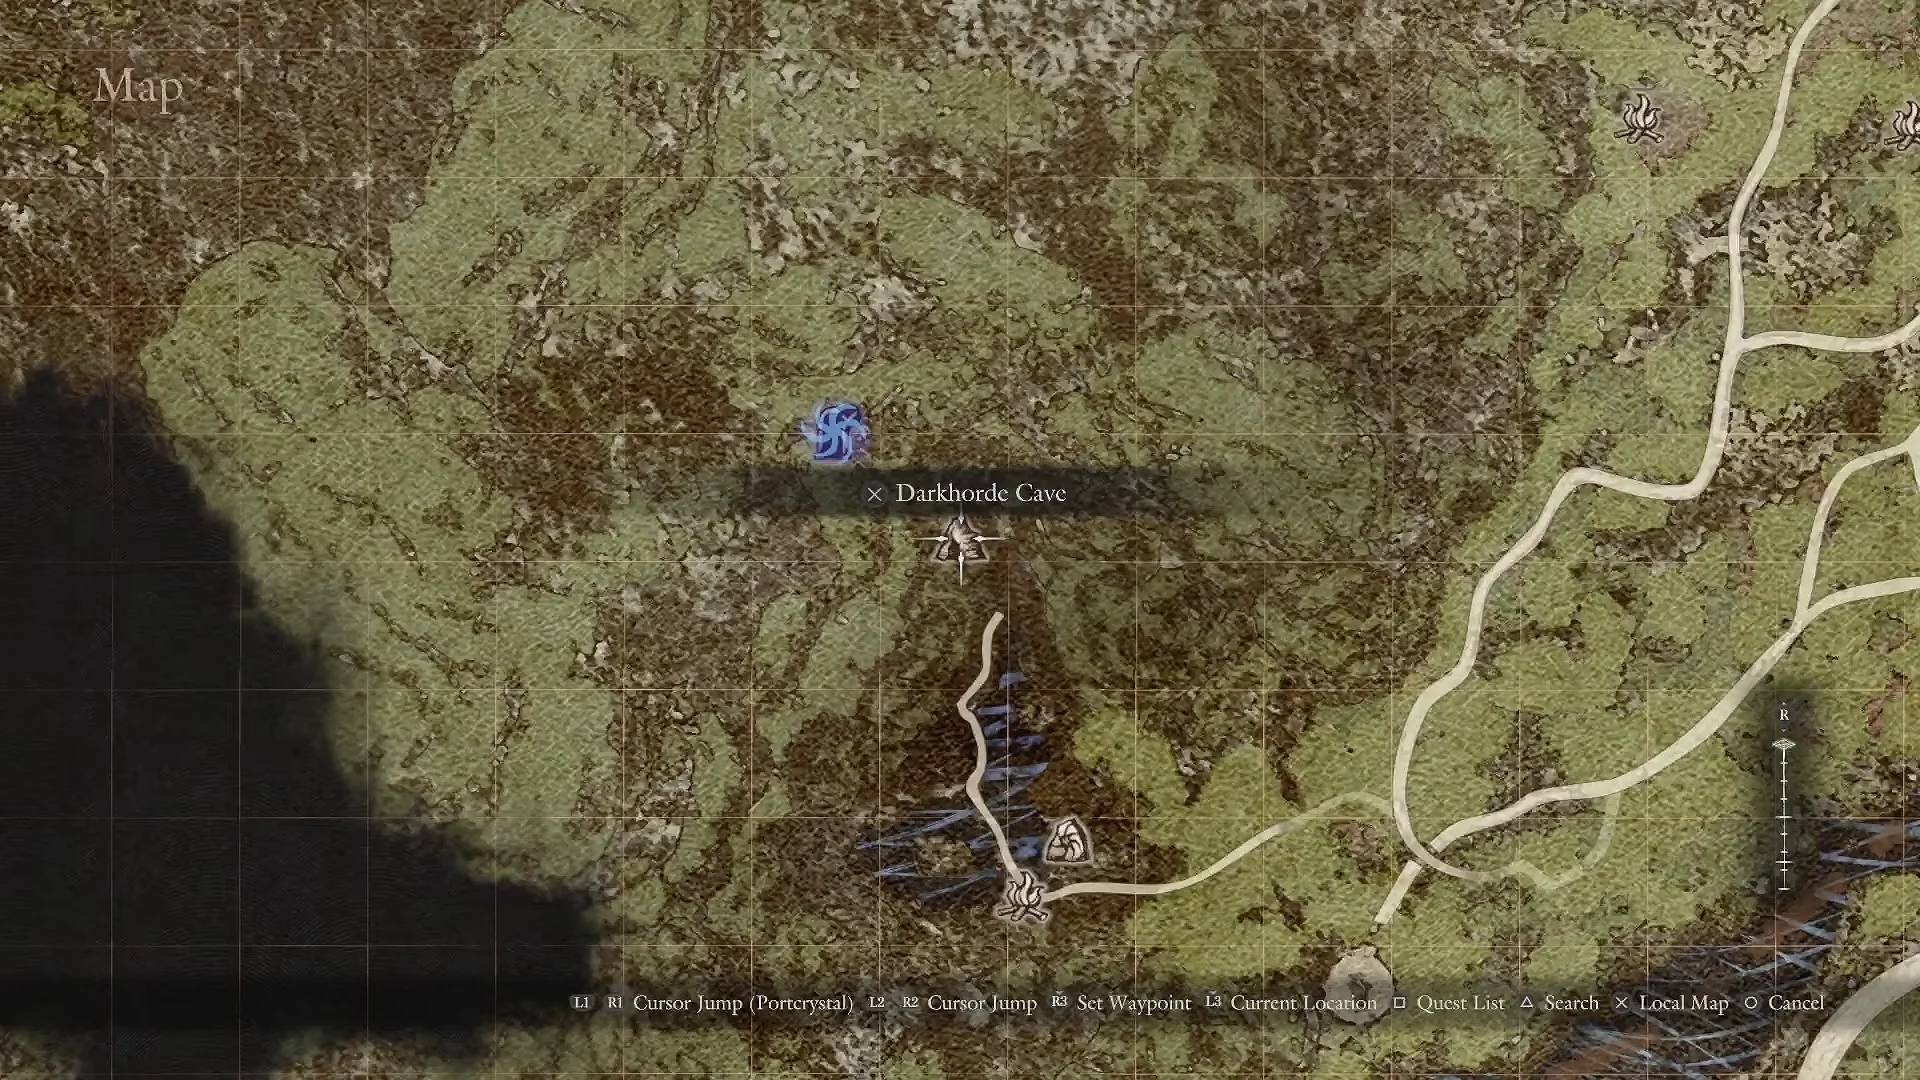
Quick answer: At night, go to The Stardrop Inn and choose “About the uncovered ruins…” when talking to Captain Brant. Defeat the enemies in Devilkin Hollow, inside Darkhorde Cave, to earn the Proving Ground Compass, which marks all twelve Lost Rites on your map.
Unlock the Lost Rites through Captain Brant
Everything starts with a short conversation in Vernworth. Brant only offers the relevant dialogue after dark, so rest or wait until nighttime before approaching him.
Reveal every trial with the Proving Ground Compass
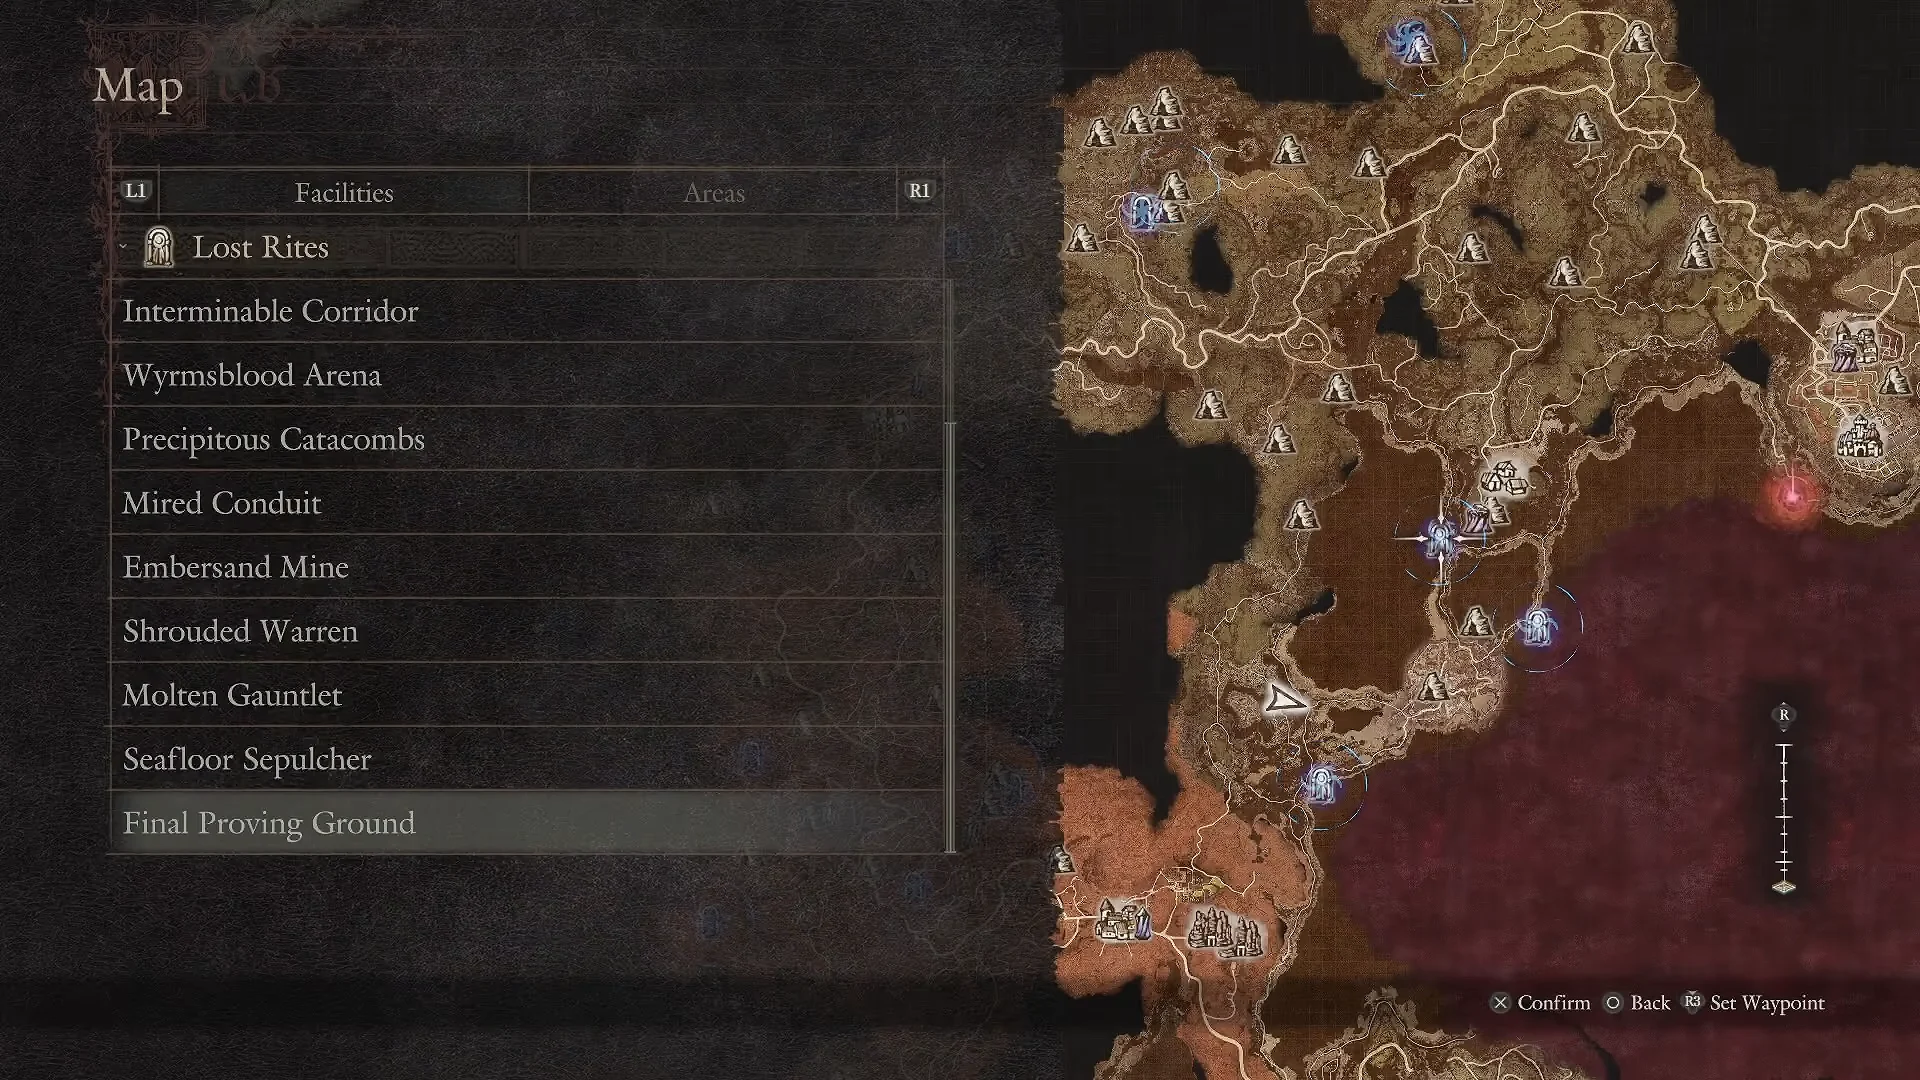
Open your inventory and use the Proving Ground Compass once. It marks all forgotten proving grounds across the world map with a glowing circular swirl icon and fills in the Lost Rites facility list, so you no longer have to stumble onto sealed doors by chance.
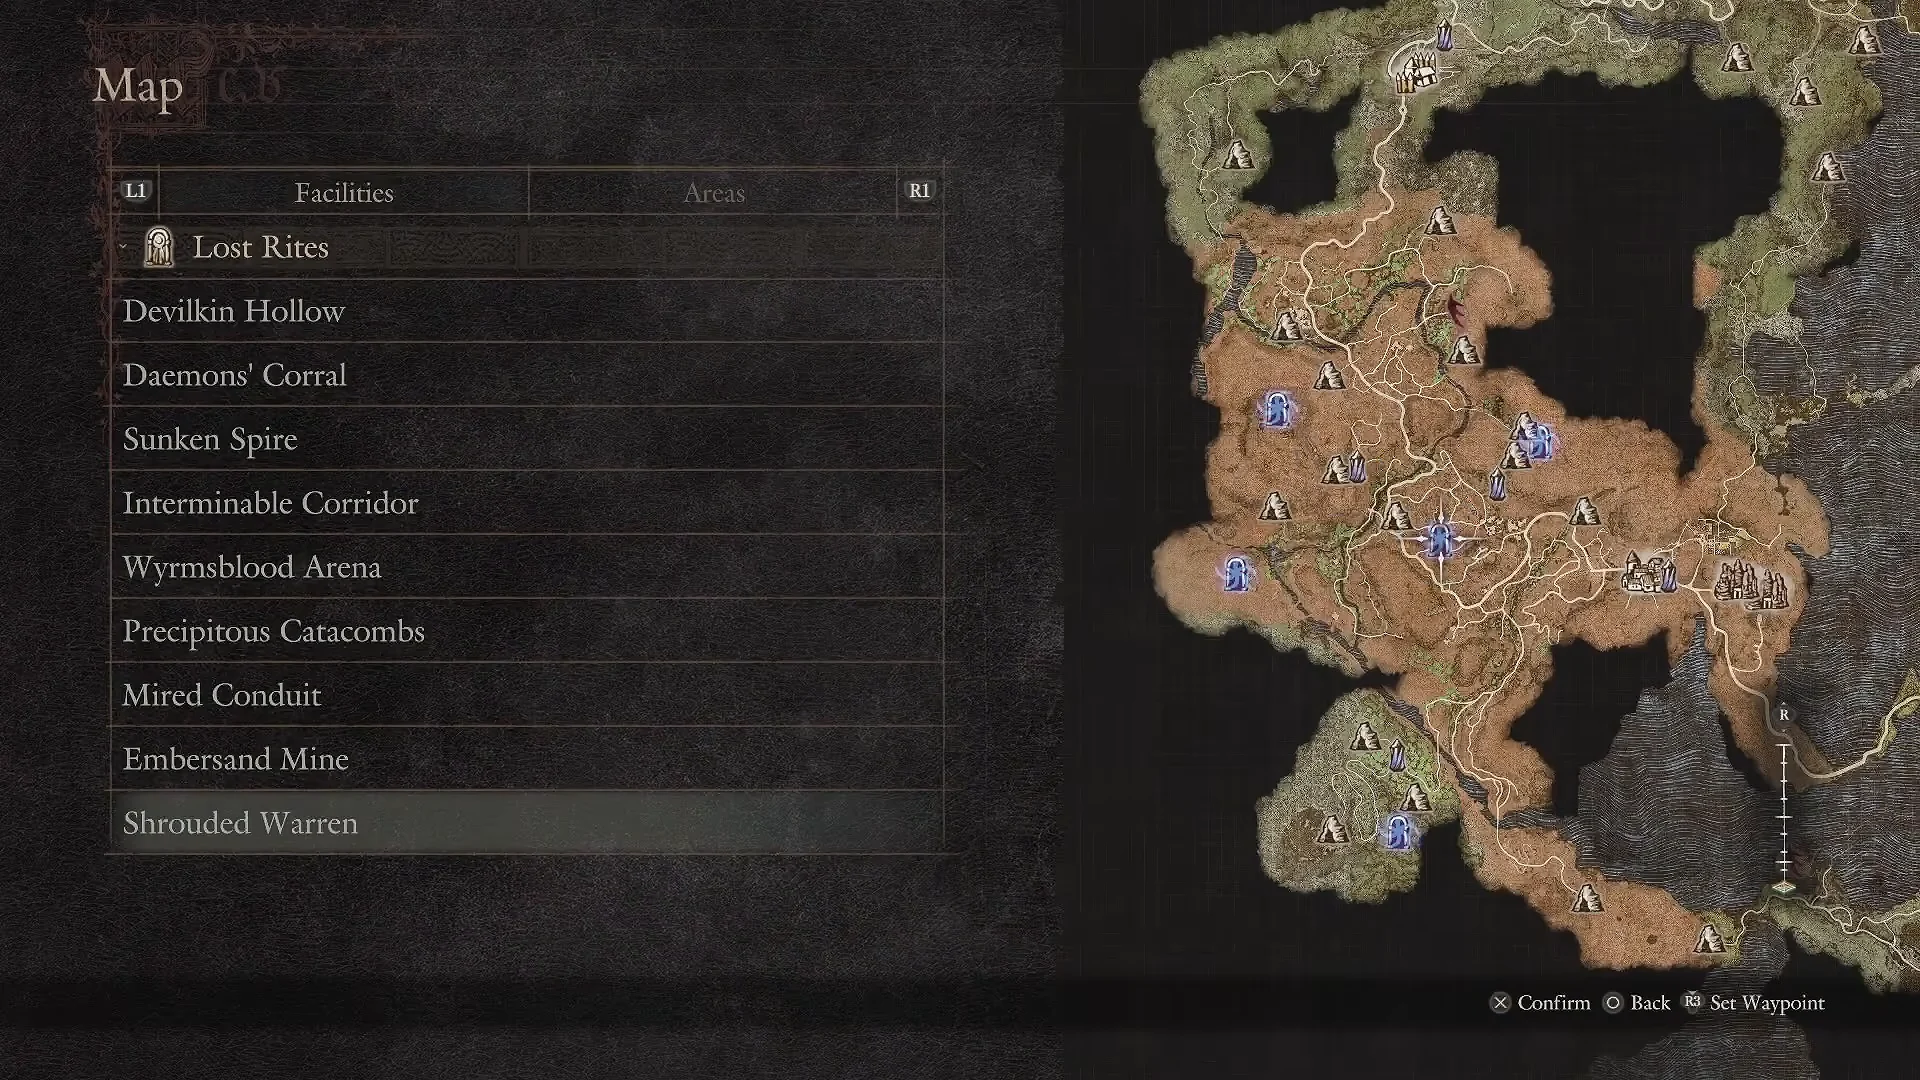
The base game holds nine Lost Rites, split between Vermund and Battahl. Three more sit in the Unmoored World. Each marker shows that dungeon’s entry restriction, so you can plan a party before you travel.
Vermund trial locations
- Devilkin Hollow — inside Darkhorde Cave, northern Vermund.
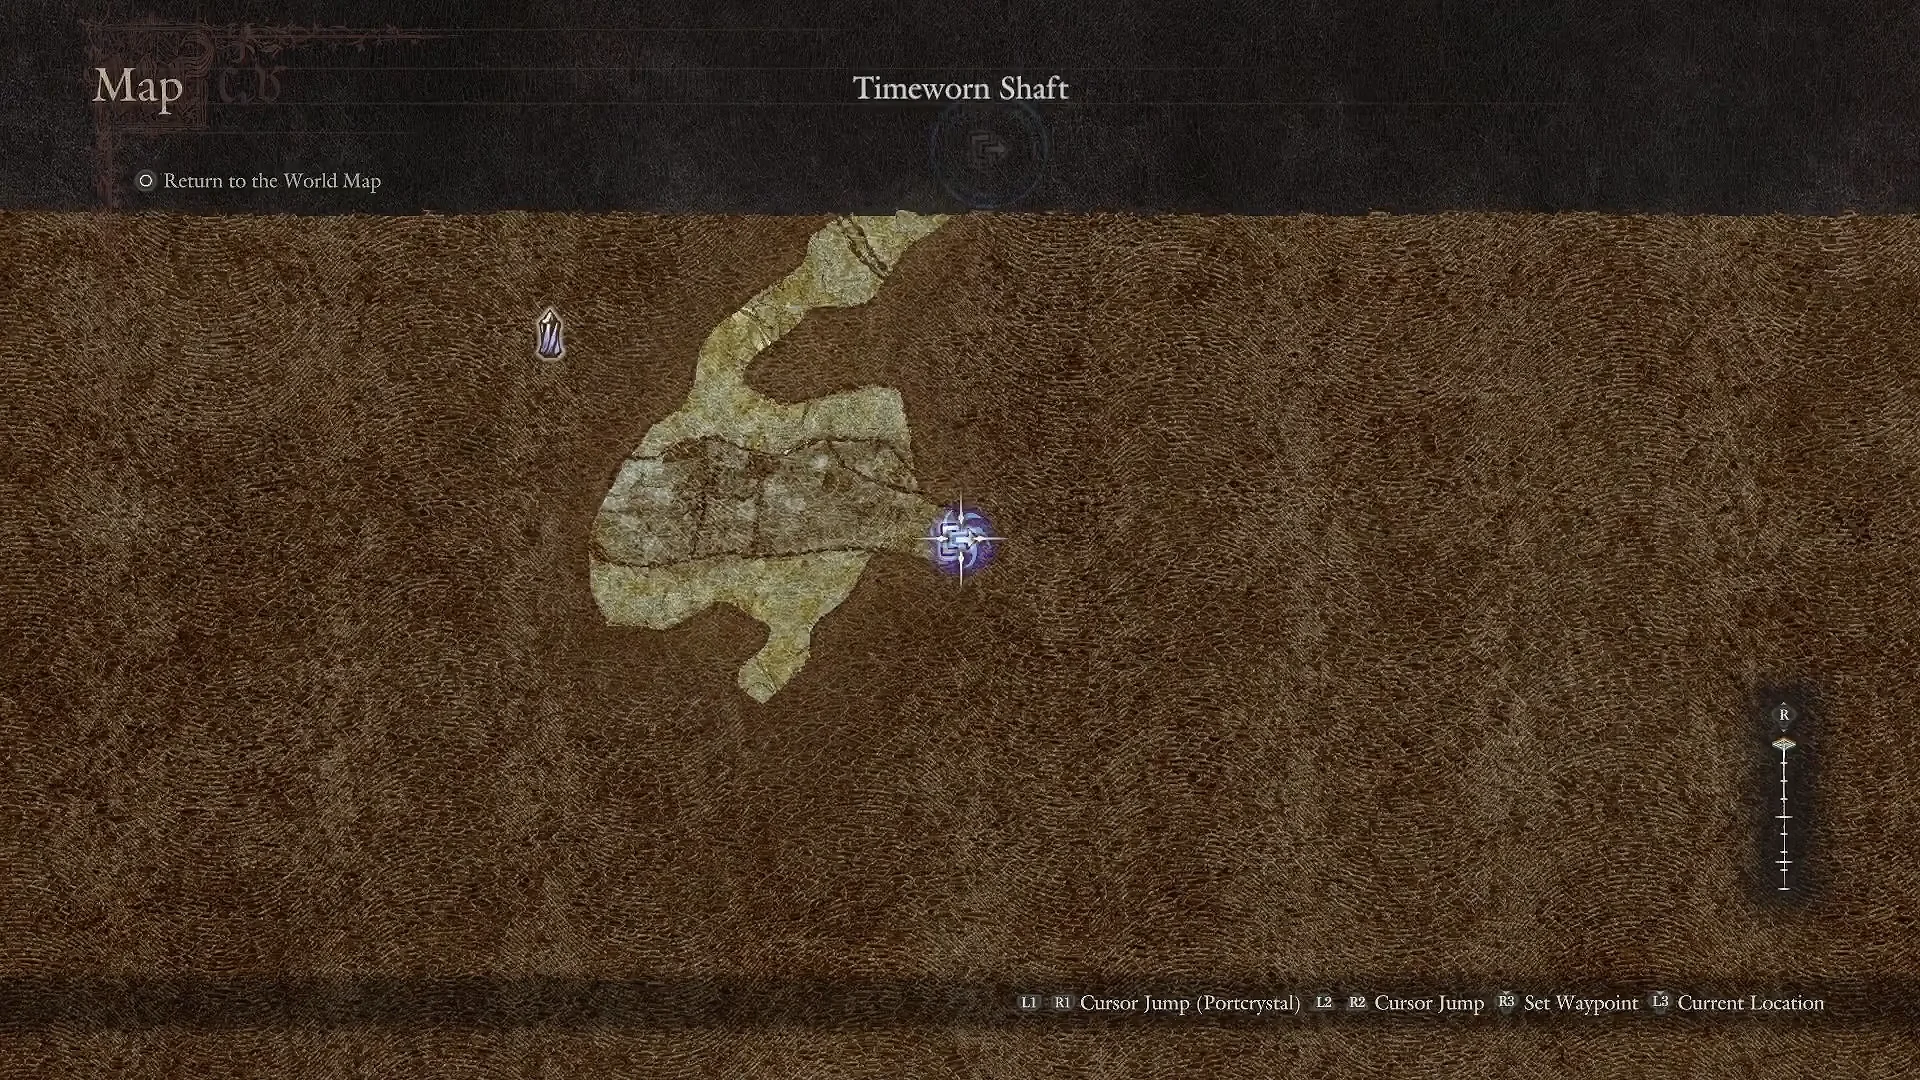
- Daemons’ Corral — reached through Timeworn Shaft, east of Vernworth.
- Sunken Spire — north of Checkpoint Rest Town, across the bridge.
- Interminable Corridor — in the Misty Marshes.
Battahl trial locations
- Embersand Mine — through Sandsear Cave, northeast of Bakbattahl.
- Shrouded Warren — near the Tomb of Rerot/Lebarr in central Battahl.
- Mired Conduit — via Coral Snakes Hideout.
- Precipitous Catacombs — along the valley ledge west of Battahl.
- Wyrmblood Arena — south through Wyrmblood Forest to Saffbattahl Cavern.
Entry restrictions for each Lost Rite
Several trials lock out certain loadouts until you clear them once. Match your party and vocation to the condition before you travel, because you cannot pass the door otherwise.
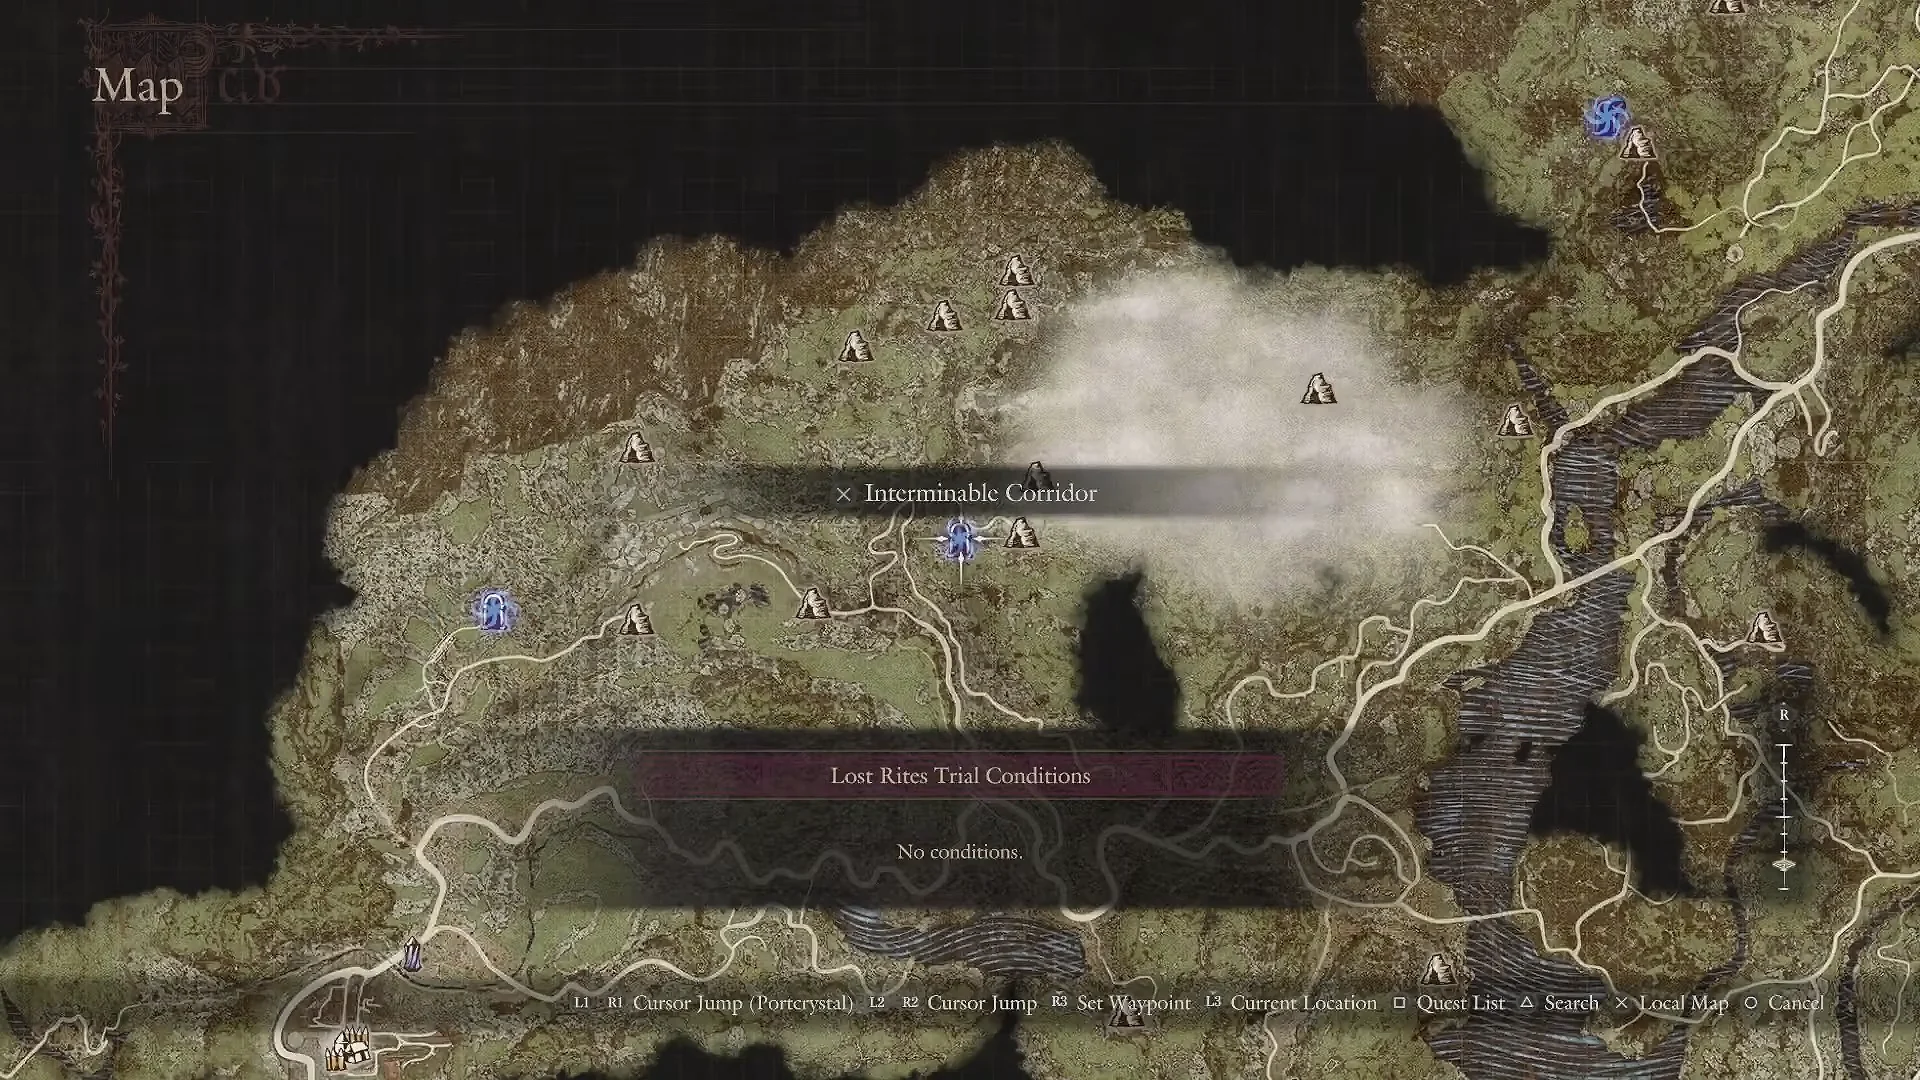
| Trial | Region | Entry condition |
|---|---|---|
| Devilkin Hollow | Vermund | None |
| Daemons’ Corral | Vermund | None |
| Sunken Spire | Vermund | None |
| Interminable Corridor | Vermund | All members at Very Light weight |
| Embersand Mine | Battahl | No grimoires, enchanted weapons, or elemental/holy skills |
| Shrouded Warren | Battahl | Arisen and main pawn only |
| Mired Conduit | Battahl | None (gate opens after “Mercy among Thieves”) |
| Precipitous Catacombs | Battahl | Arisen must be Archer or Magick Archer |
| Wyrmblood Arena | Battahl | None |
Once you clear a trial, its entry restriction is lifted for every repeat run, so you can return later with any build to farm its rewards.
The Godsbane blade unlocks the sealed doors
Devilkin Hollow is the exception, since its seal is already broken. Every other trial sits behind a sealed stone door that opens only with the empowered Godsbane blade.
The blade gains its power after you advance the main story to “Convergence” and hand Ambrosius 15 Wyrmslife Crystals. Repeated visits before then won’t open the sealed doors. For the complete trial list, the Godsbane blade—not just the compass—is what unlocks the way.
The three Unmoored World trials
The compass also exposes three additional proving grounds inside the Unmoored World: Molten Gauntlet, Seafloor Sepulcher, and Final Proving Ground. These scale higher than the base-game rites and expect relic-tier gear.
Trial difficulty scales roughly one tier above the surrounding region, and inside the dungeons you can free imprisoned pawns from gaol cells. Those pawns carry traits and elemental weapons tailored to that trial’s bosses, which is worth doing on tougher runs.
What clearing a trial rewards
Every completed rite drops one Offering Flame from the final chest, along with high-tier weapons and armor. The weapons follow their own upgrade path and require Brinebeast Fragments, earned from defeating the corrupted enemies inside the trials, to improve. That makes Lost Rites gear a dependable power track, since you can keep strengthening a weapon you already earned rather than waiting on randomized relic drops.
Carry your Offering Flames to an Obelisk of Benediction in Norgan to spend them. Each obelisk sells new high-tier vocation skills, permanent stat enhancements, and a one-day boost to a vocation’s relic spoil drop rate, all paid for in Dcp.
| Boon | Cost | Effect |
|---|---|---|
| Vocation skill (Fanged Schism, Virtuous Bolt, Brontide) | 2,500 Dcp | Unlocks a new high-tier weapon skill |
| Stat Enhancement | 5,000 Dcp | Permanent stat boost tied to the vocation |
| Spoils Spawn Rate Boost | 7,000 Dcp | One-day boost to that vocation’s relic drops |
Trial gear also feeds the Norgan tailoring system, which lets any vocation wear the cosmetic model of armor it finds. That transmog layer is purely visual, so it never interferes with the stats of whatever you have equipped.
How to confirm it worked
You know the content is live once “The Lost Rites” tutorial pop-up appears after your first clear and the Proving Ground Compass sits in your key items. Using the compass should immediately populate the map with swirl icons and the facility list; if those icons do not appear, you have not yet looted Devilkin Hollow’s hoard.
The game recommends level 20 for the Lost Rites and level 40 for the Norgan expansion content, so an early trial makes a far better practice run than a deep northern trip. Clear a few rites, upgrade a weapon that fits your party, and you will enter Norgan with a stable gear base behind you.