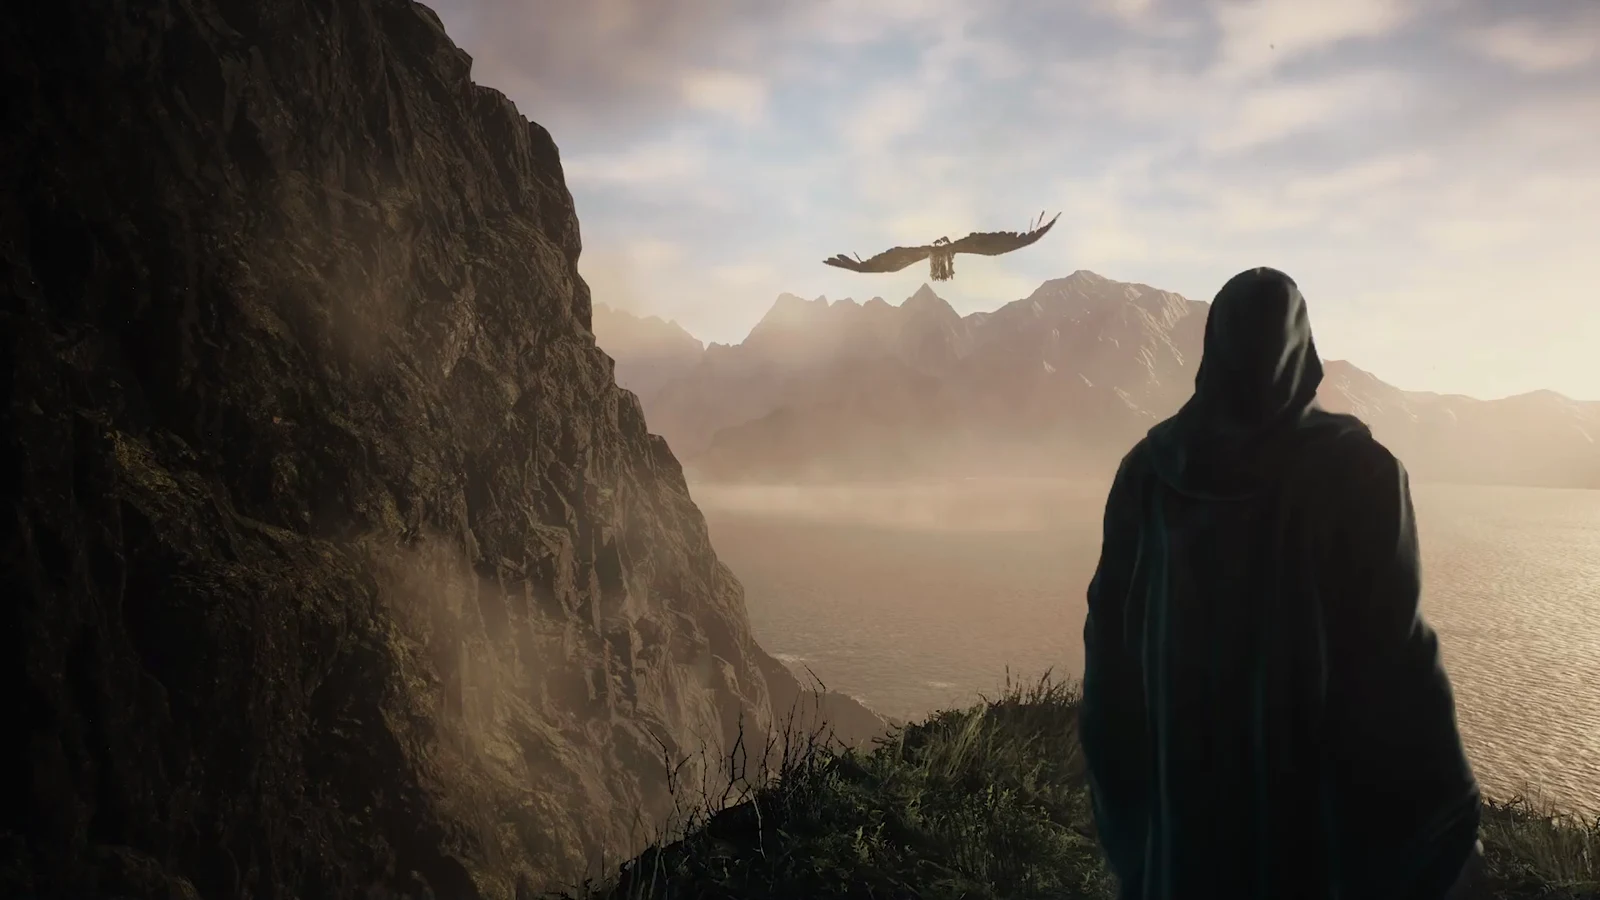
Dark Arisen’s transmog option unlocks through a single side quest in Norgan. Jiera wants an old tome recovered from a cave across Lake Norgan, but brine makes the lake impassable. Kill the ice wyrm Fimbl to freeze the water and create a path on foot. Complete the quest chain, then bring your find to Hal; he can then change your gear’s appearance.
Quick answer: Complete Reaching the Far Shore from Jiera, weaken the Fimbl until it flees to Lake Norgan, kill it with the shoreline ballistas, retrieve the Taillour-Crafte Treatise, and give it to Hal to unlock the Tailor Equipment menu.
When Reaching the Far Shore becomes available
Reaching the Far Shore is a Forsaken Dominion side quest. It opens once you have cleared Rumbles in the North, and it tends to surface as the Norgan story turns toward resurrecting the Fallen Dragon, around the point where you finish the Soul Searching main quest. Jiera, who runs a shop in the Norgandian Settlement, hands it to you.
You need the Dark Arisen content active, since both the quest giver and the tailor live in Norgan. Capcom tunes the region for characters around level 40, so arrive geared for a draconic fight rather than a fetch errand.
- Prerequisite quest: Rumbles in the North
- Reward: 10,000 gold, 50,000 experience, 1,000 rift crystals
- Key NPCs: Jiera, Polyeidus, Ryatt, Hal
- Unlocks: the Tailor Equipment service (transmog)
Expect heavy backtracking between the settlement, the stronghold, and the lake. Keep the Eternal Ferrystone on hand so you can fast travel each leg instead of walking it.
Learn how to cross Lake Norgan
The opening is a short conversation loop that points you toward the Fimbl. The bridge that once spanned the lake collapsed long ago, so the Commission scholars are your only lead on an alternative route.
Weaken the Fimbl at two sites
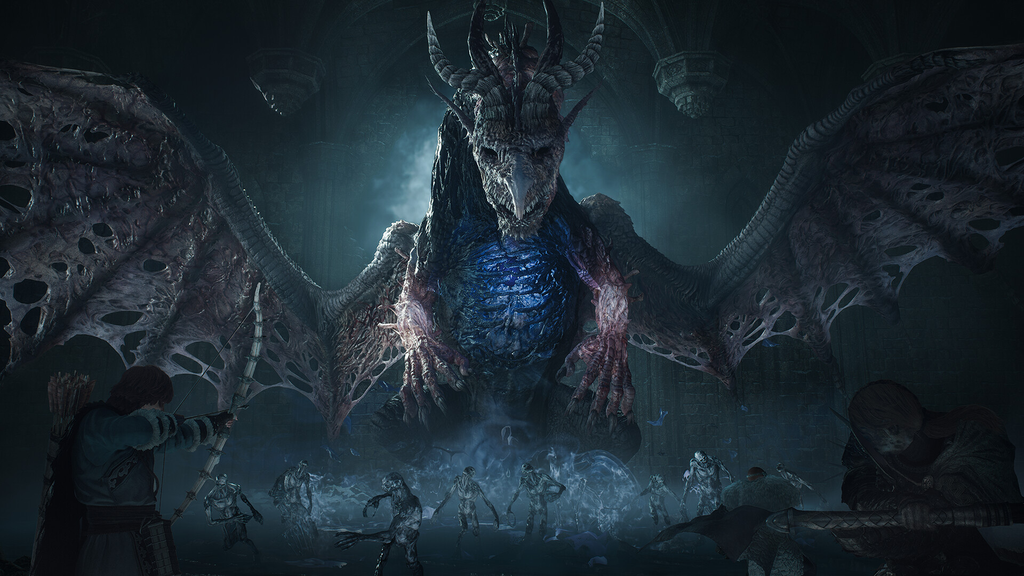
The first two encounters are about driving the Fimbl away, not killing it. Inflict enough damage to send it to its next stop, and keep your strongest consumables for the battle at the lake. Fire is effective against it, and a Mage who can imbue your party’s weapons will speed up the fight.
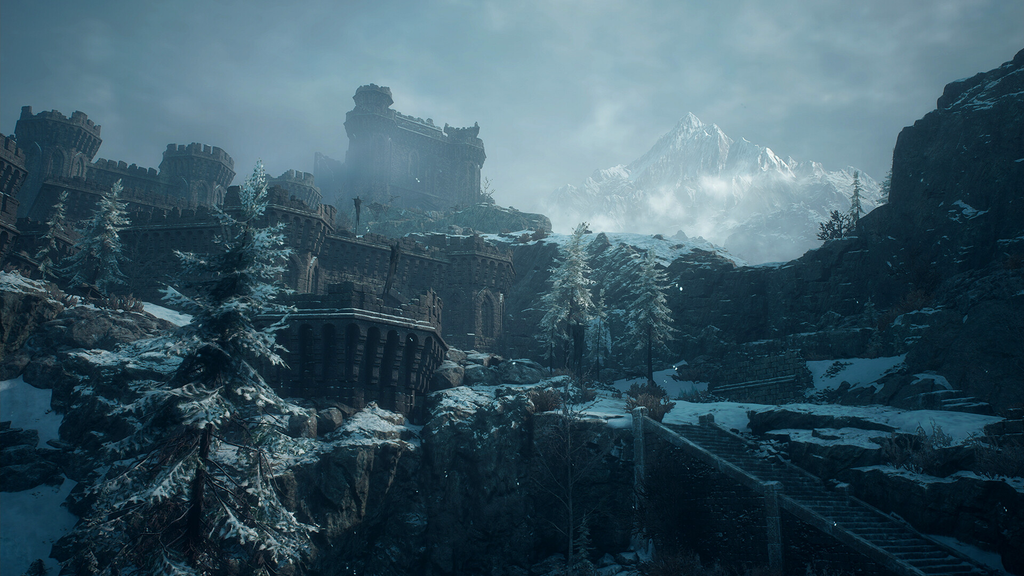
North of the mountain stronghold
Travel to the marked spot, where the Fimbl lies in the snow, and attack it. Stay near its legs to avoid most of its sweeping strikes; ranged vocations can inflict damage from farther away. As its first health bar approaches zero, it flies off and heads back toward the stronghold.
Inside the mountain stronghold
Follow it to the arena where you first met it earlier in the expansion. Use your climbing rope near the old arena to reach the courtyard. This fight runs longer, so aim to drop its health to roughly a third before it escapes. When staggered, it exposes its heart, which is the moment to unload. After enough damage it flies off again, this time to Lake Norgan.

Kill the Fimbl at Lake Norgan
The final fight plays out on the north shore, near the ruins just south of Beorcan Stronghold. The Fimbl hovers over the middle of the lake, out of reach of melee swings, so the only way to finish it is with the ballistas lining the structure. There are around five or six of them.
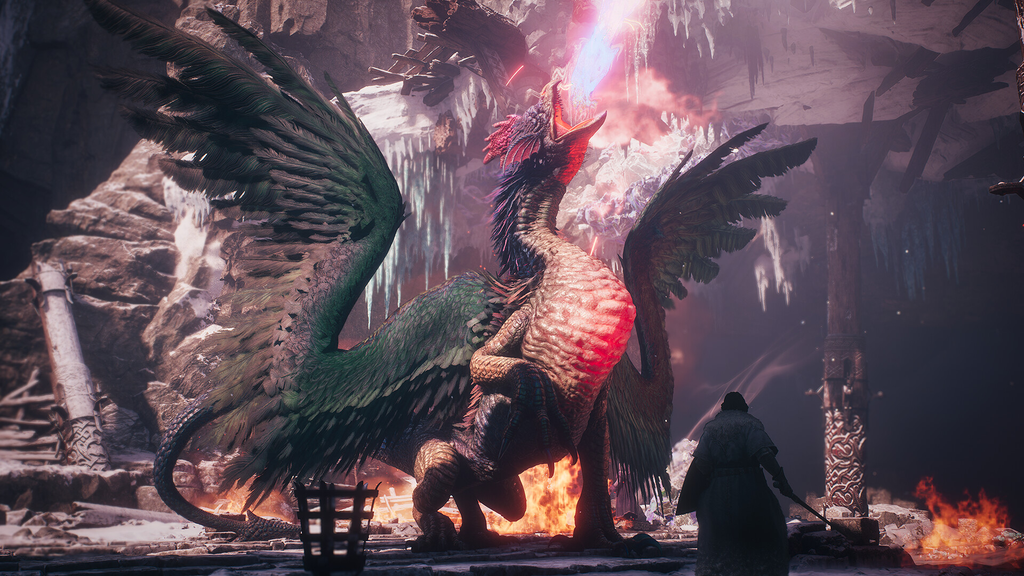
Switching to the Archer vocation gives you a mobile alternative to the stationary ballistas. Fire arrows reach the Fimbl from the shoreline and let you reposition behind cover, which matters if the fight drags long enough for it to begin a draining Hailstorm.
Freeze the lake and collect the Taillour-Crafte Treatise
The corpse does not form the bridge instantly. Return to Jiera, who tells you to wait for the cold to spread from the body. Rest at the settlement inn for a day or two until a quest notification confirms the lake has frozen. If nothing arrives after one night, rest again.
Head back to the shore, where the Fimbl’s remains are frozen in the water’s center. Search its body for spoils and a Wintry Dragon Scale while crossing. Afterward, climb a damaged part of a nearby ruin to open a chest with a Wakestone and a Norgan Ducat.
Follow the frozen path to the southern shore and enter the cavern. The quest marker leads to a chest holding the Taillour-Crafte Treatise. Grab it, then head back to the settlement.
Deliver the treatise to Hal to finish the quest
Begin by presenting the treatise to Jiera. She directs you to deliver it to Hal, her husband and the village smith, because he can bring the techniques it contains back into use. Locate him and hand him the volume. After reading it, Hal says the book records a forgotten way to change equipment’s appearance while leaving its effects intact.
You know it worked when the quest log reads Completed: Reaching the Far Shore and a new Tailor Equipment option appears in Hal’s dialogue. That menu is the transmog system, and it stays open from this point on.
How Tailor Equipment works
Tailoring alters a gear piece’s appearance without changing its existing stats or properties. You can use the look of any weapon or armor you own or previously owned, including base-game pieces. Each alteration costs gold, but consumes nothing, so you can restore a former look later without losing anything.
| Rule | Detail |
|---|---|
| Gear you can restyle | Norgan Relic weapons and armor assessed by Jiera |
| Supported slots | Weapons, shields, helmets, chest armor, leg armor |
| Not supported | Masks, glasses, and cloaks keep their original look |
| Cost | Gold per change; 80% cheaper when you already own the look |
Base-game weapons and armor cannot have their appearance altered; tailoring is reserved for Relic gear. Those pieces can still serve as the appearance source. Equip a powerful Relic item, give it the style of a set you like from Vermund or Battahl, and retain the Relic’s stats.
Keep the base-game pieces whose appearance you want instead of selling them. Having a piece in your possession when you tailor qualifies you for the 80% discount, and applying this to a full outfit quickly lowers the total cost.