Pushing past 500,000 points in the Ouwigahara Dungeon comes down to two things: picking a map with a safe perch, then letting enemies pile up below you while you hit them from range. Done right, a single run clears Floor 86 and dumps a stack of chests in the win area. The method relies on the Cartographer card, a handful of point-multiplier cards, and a few known ledge spots on the Desert, Grass, and Ice maps.
Quick answer: Equip the Cartographer card, use Tectonic Shift to load a map with a ledge, then climb up and spam ranged AoE while enemies cluster below until you clear Floor 86.
Active Ouwigahara Roguelike codes
Two codes are currently working for the Roguelike dungeon mode. Enter them exactly as shown, including capitalization, since the redemption field is case-sensitive.
| Code | Status |
|---|---|
ROGUELIKE | Active |
ROGUELIKERACERESET | Active |
Codes in this game expire without warning, so redeem both as soon as you log in rather than saving them for later.
Set up the Cartographer card first
The whole strategy depends on reaching a map you can cheese. Equipping the Cartographer card unlocks Tectonic Shift, which lets you swap the current floor into the Desert, Grass, or Ice map at any point during a run. Without it, you are stuck with whatever layout the dungeon hands you, and most of those offer no safe perch.
Carry at least two ranged or area-of-effect abilities into the run. Flame Mastery and the Serpent moves both reach enemies well beyond melee range, which is exactly what keeps you safe while standing on a ledge. Hold block whenever an enemy does manage to reach you, then go back to attacking.
Cheese spots by map
Each map has a raised position where melee enemies cannot reach you but your ranged attacks still land. Use Tectonic Shift to switch into whichever one you are comfortable with, then hold your ground.
Desert map ledge
Climb onto the tall stone wall pillar that appears around Floor 59. Enemies gather at the base and cannot climb up, so you can hold block and keep firing Flame Mastery or Serpent attacks into the crowd with almost no risk. This same perch keeps working through the harder floors, from roughly Floor 75 up to Floor 99, where the AoE damage stays safe even as mobs scale up.
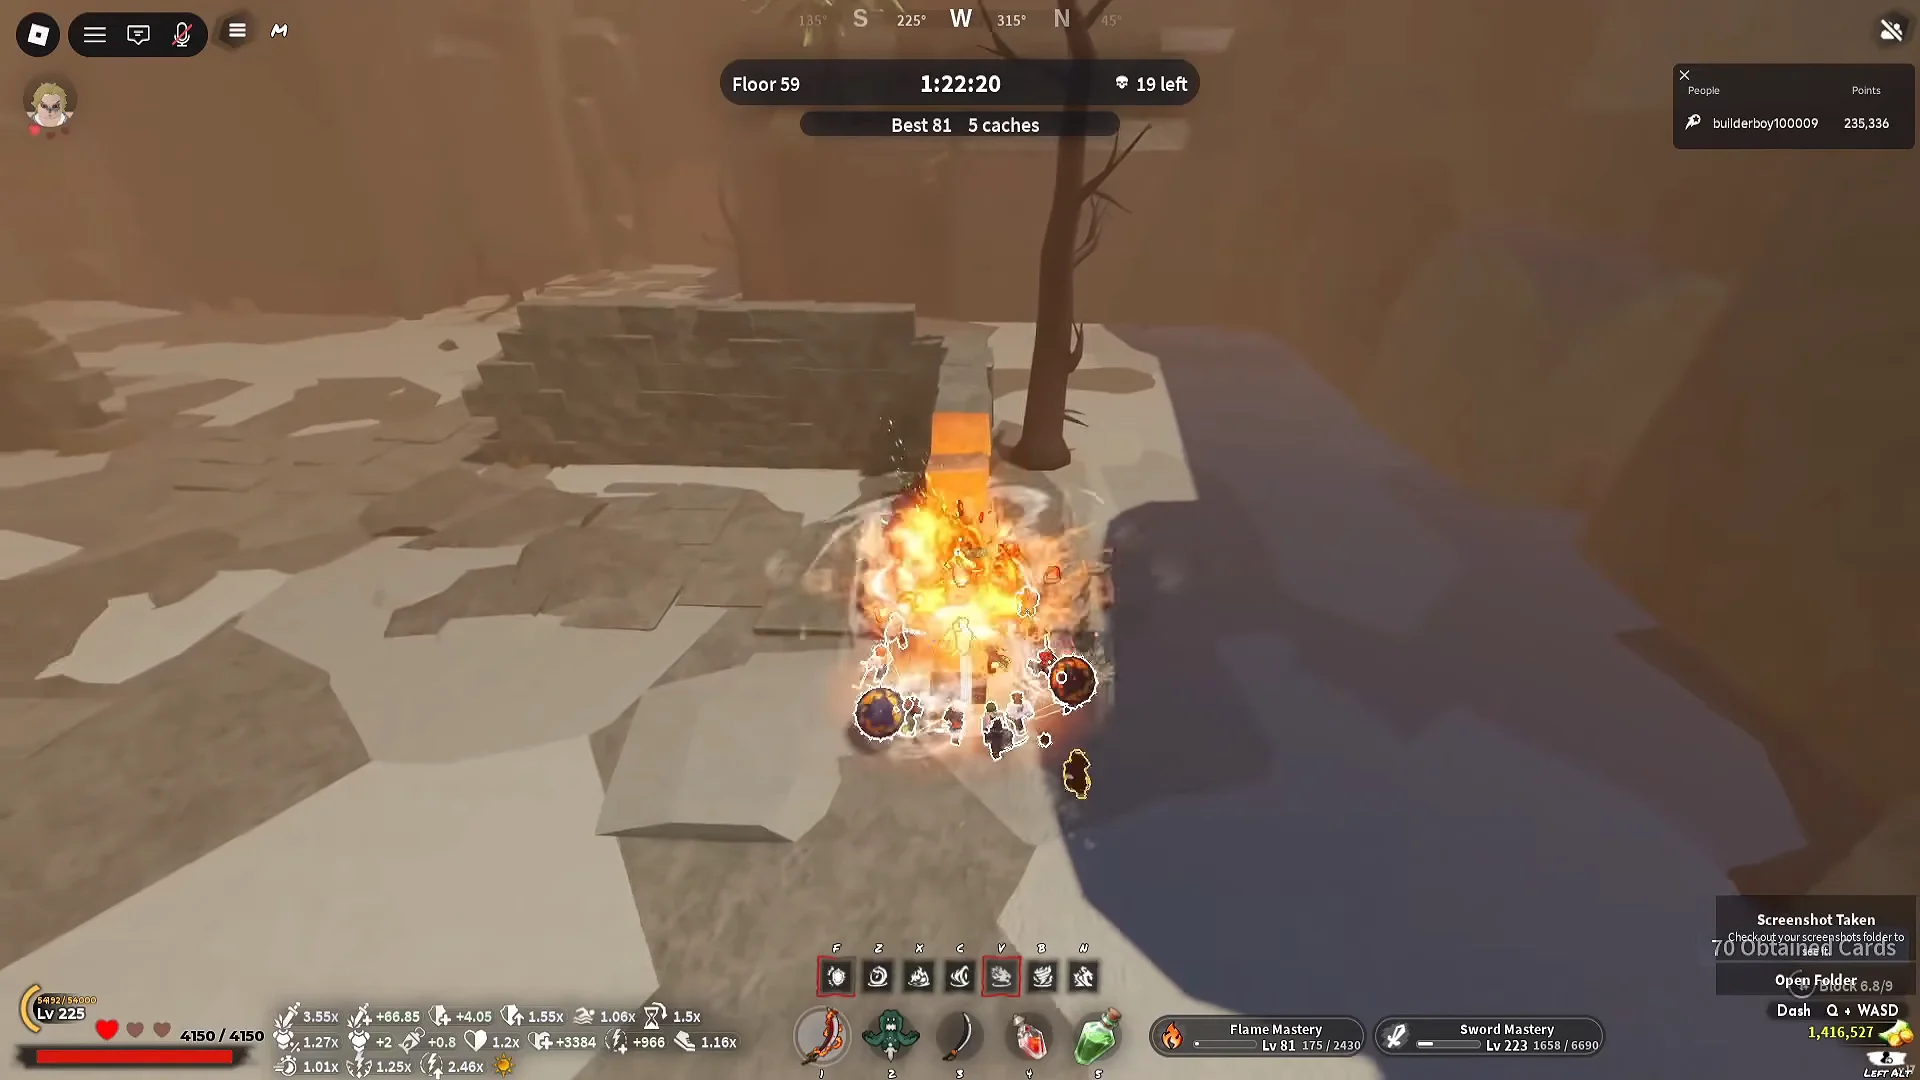
On the higher Desert floors you stand on a narrow stretch of the same wall, high enough that ground enemies have no path up to you.
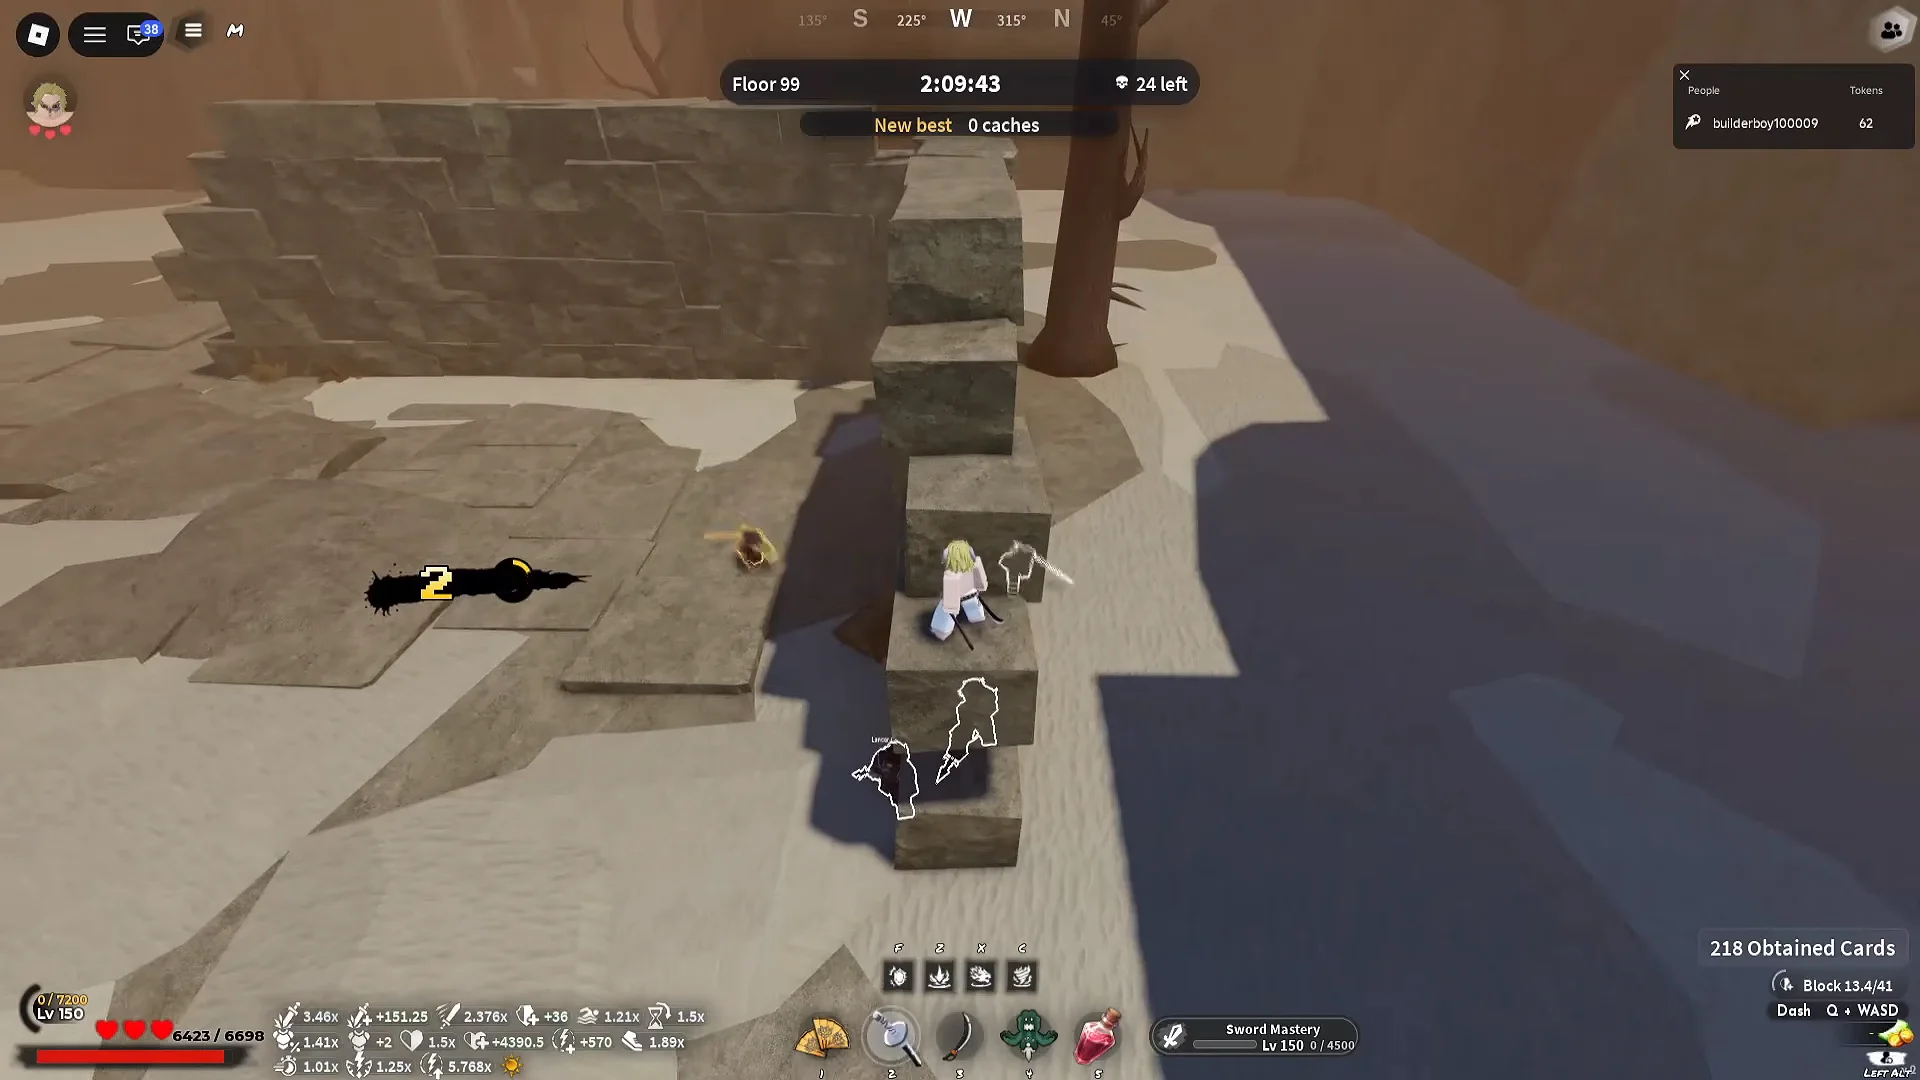
Grass map plateau
On the Grass map, around Floor 70, climb the elevated stone cliff plateau. From there every approaching enemy funnels into one narrow pathway below you, so a single AoE ability covers the whole group as they line up. This makes clears fast because you are rarely waiting on scattered stragglers.
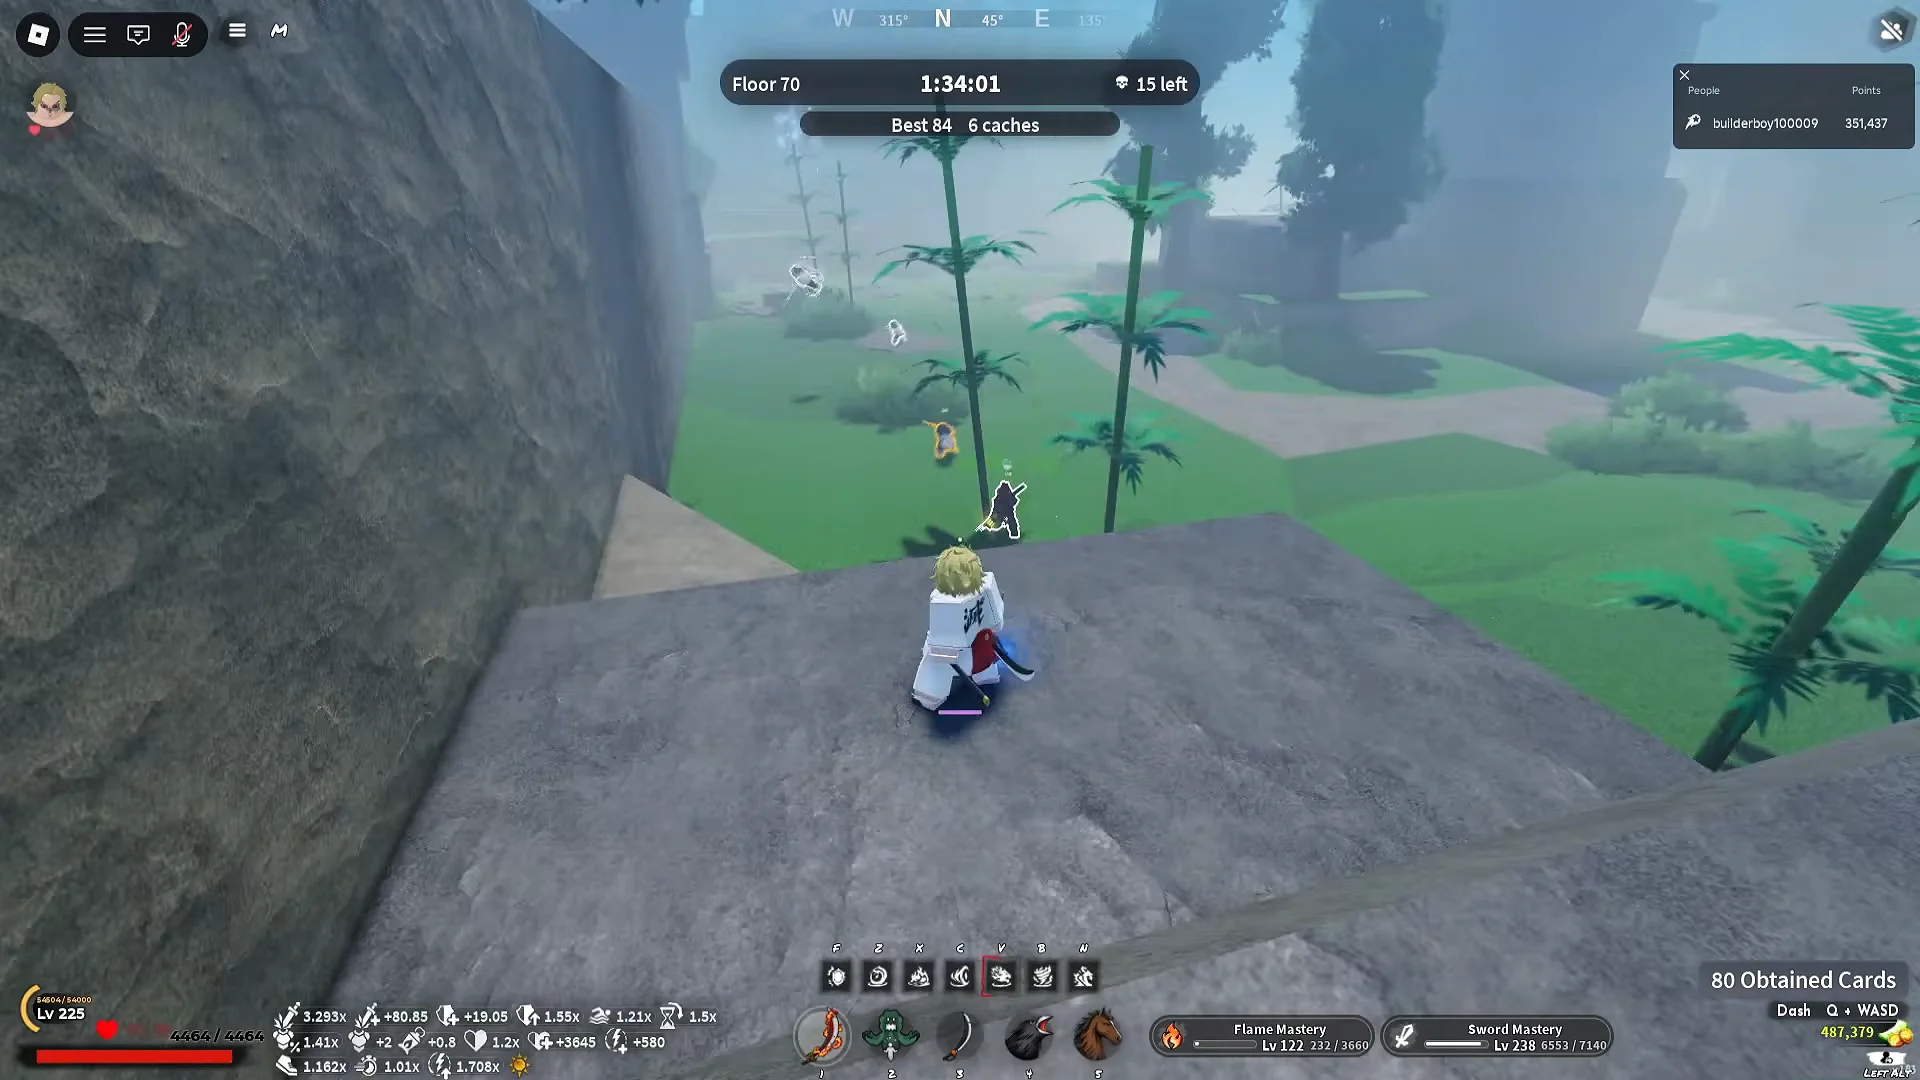
Ice map ledges
The Ice map has both ledge corners and an elevated icy rock pillar you can climb onto. These spots work across a wide range of floors, from Floor 50 all the way up to Floor 105, and melee enemies simply cannot connect while you sit on top of the rock wall. This is the safest place to catch your breath or briefly go idle between waves.
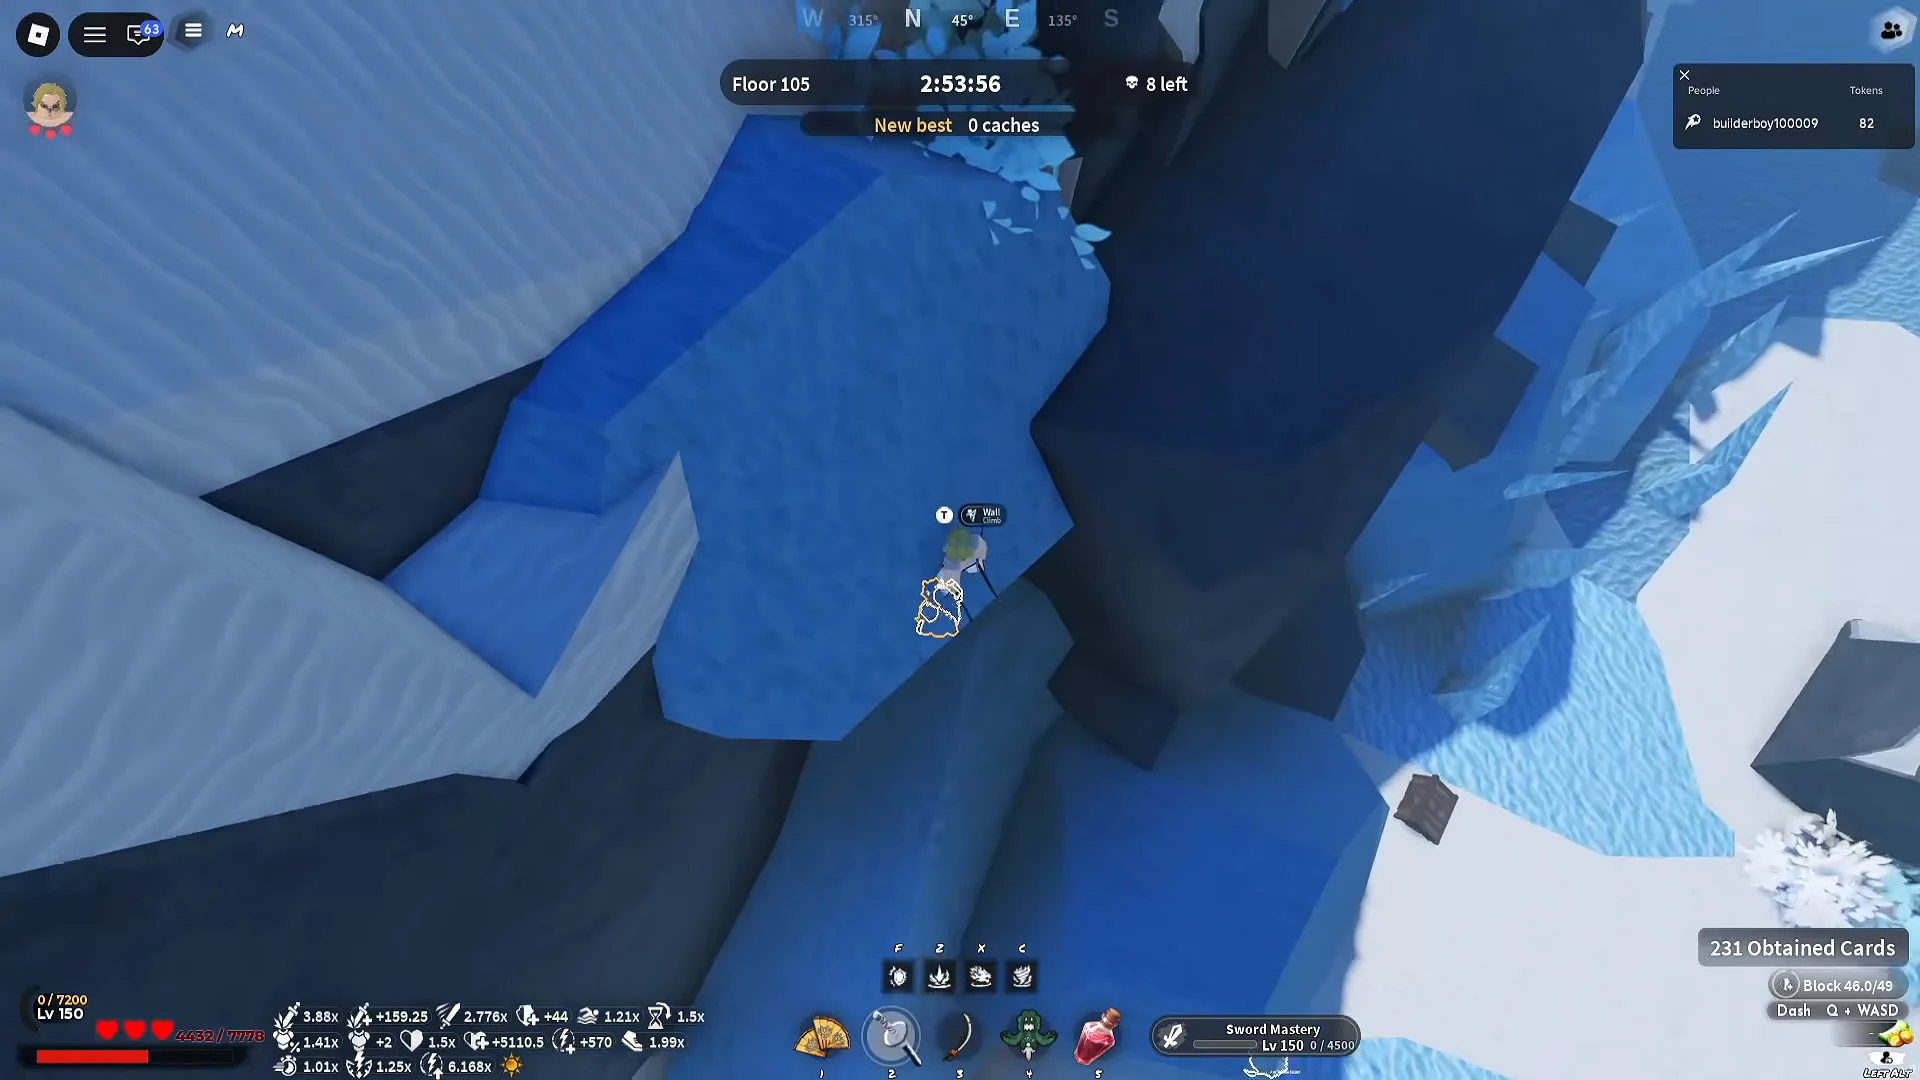
Cards that boost points and clear speed
Positioning keeps you alive, but card choices decide how fast the score climbs. Four picks matter most for this method.
- Cooldown reduction — lets you fire your ranged AoE moves more often so the crowd never fully recovers.
- Raw damage — faster kills mean less time for enemies to swing back.
- Horde — raises the number of enemies that spawn, which feeds more kills and more points into your AoE.
- Blood Moon — a x1.5 point multiplier, at the cost of enemies hitting harder.
Horde and Blood Moon both make the floor busier and riskier, which is fine from a ledge where almost nothing can reach you. Stacking the multiplier on top of a larger mob count is what carries the total past the 500,000 mark.
Reaching the win area and collecting rewards
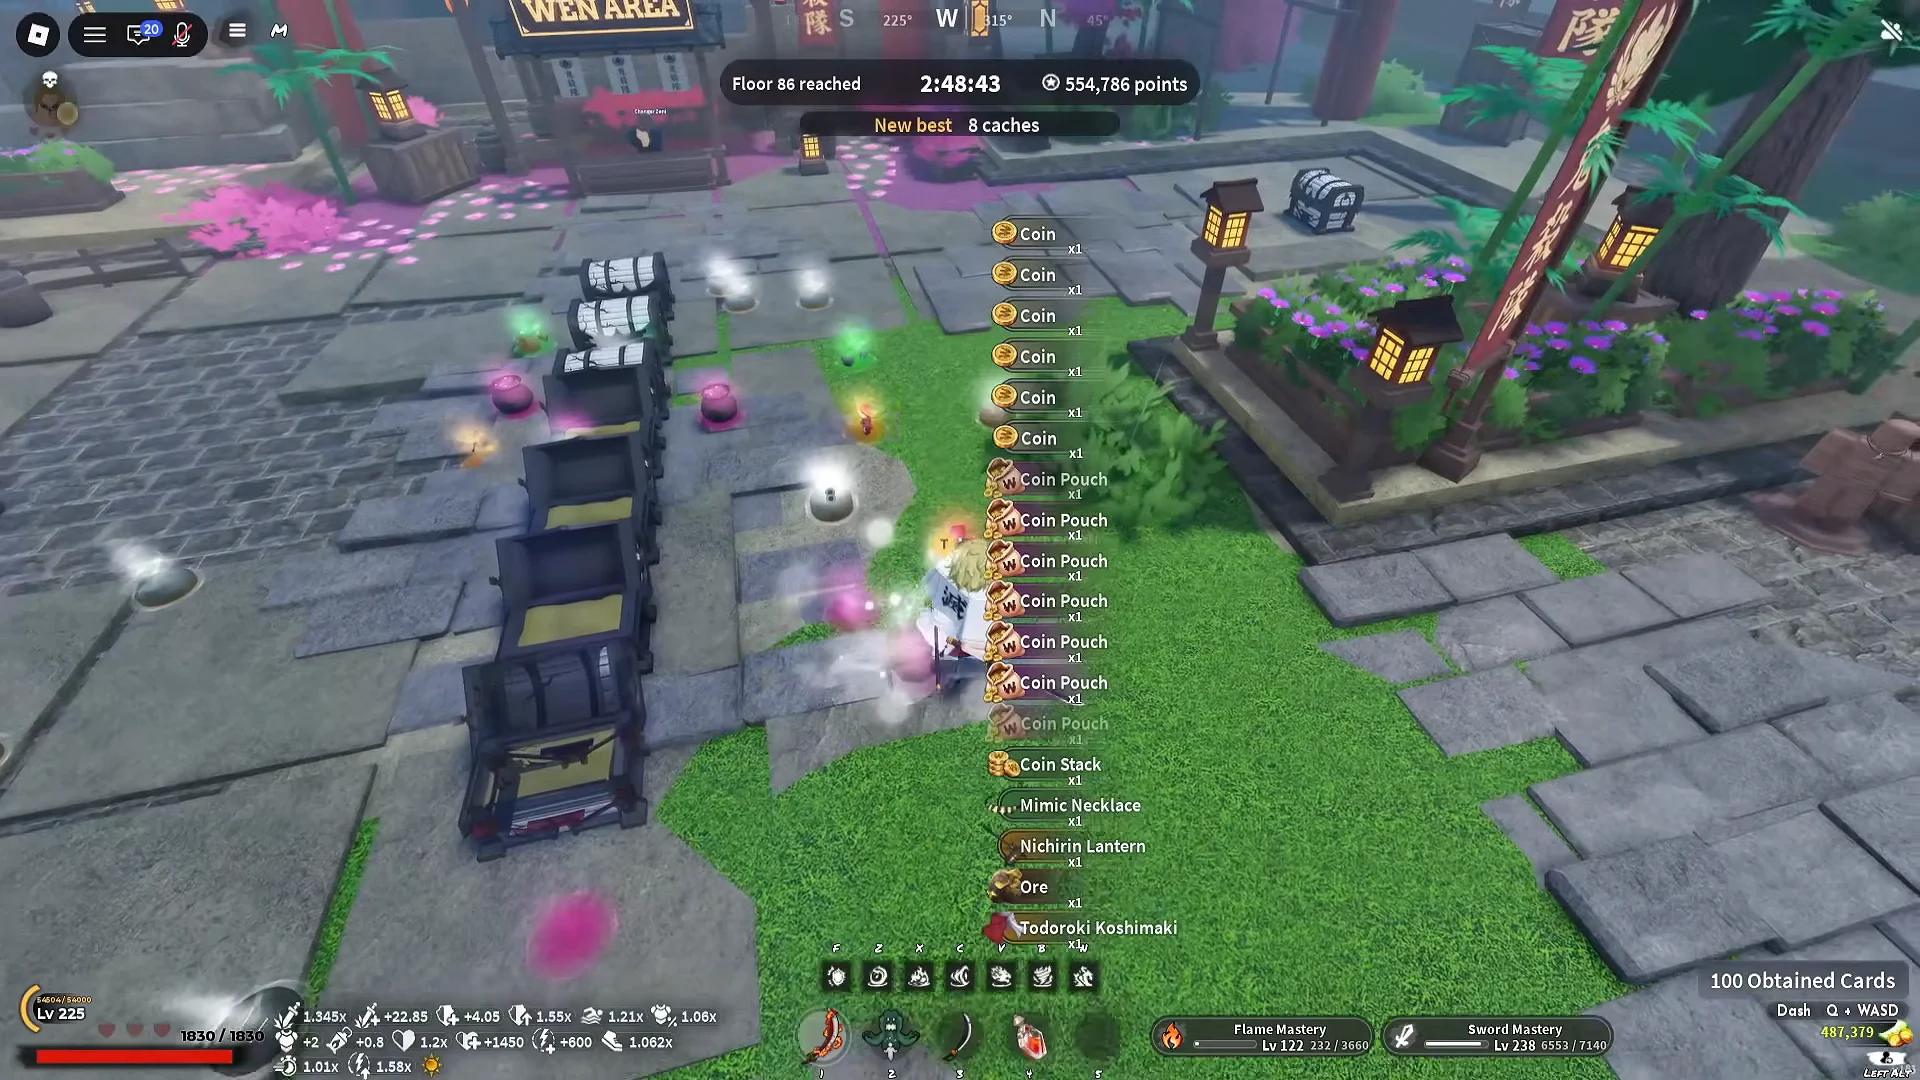
Keep clearing from your perch until you reach the win area around Floor 86. Hitting this depth with the multipliers active pushes the score above 500,000, and the run ends with several chests waiting to be opened.
You know the run worked when the win area loads and the chests unlock. Opening them drops yen, accessories, masks, and crafting materials. Seeing the point total read past 500,000 on the leaderboard confirms the method landed.
Once you are comfortable with one map’s ledge, the loop repeats cleanly: shift into your preferred layout, climb the perch, stack Horde and Blood Moon, and fire ranged AoE until the win area opens. Each run resets the same way, so a single reliable spot is enough to farm points at a steady pace.