Where There’s a Will, There’s a Way is a Forsaken Dominion main quest that sends you to help the pawn Eir protect the remains of her master, Ser Rovall, and retrieve his stolen will. It runs across three places: Lorade Castle in the Snowfall Valley Cavity, a Sphinx flight from the Shrine of Wisdom, and the long descent through Mordria Temple that ends in two fights against the demon Willan Barbatos. You cannot begin until Sealed History is finished.
Quick answer: Bring your main pawn to Eir at Lorade Castle and choose “I am.”, light both barrier statues and seal the rift, fly the Sphinx from the Shrine of Wisdom to Mordria Temple, take the Temple Key from the dead soldier after the blemmyae, then defeat Willan Barbatos twice.
Before you start
A few things need to be in place before any of the steps below will work. The quest only opens once Sealed History is complete, and Eir will refuse to move unless the right pawn is with you.
- Finish Sealed History first; it unlocks this quest.
- Your main pawn must be in the party when you talk to Eir. Hired pawns do not count.
- Carry at least one Climbing Hook for the first barrier statue.
- Both Lorade Castle and the Shrine of Wisdom have a Norgan Portcrystal, so Ferrystones save a long trek.
- Pack a Wakestone or two; the temple fights hit hard.
If your objective reads “Speak with Eir when your main pawn is with you,” nothing else will happen until you return with that specific pawn. Bring it back to Lorade Castle before trying to continue.
Raise the barrier at Lorade Castle
Travel to the Norgan Portcrystal at Lorade Castle. The map names this area Snowfall Valley Cavity. Descend the stairs lined with braziers to the large shut door, where Eir is keeping the ghouls at bay.
Seal the rift in the frozen chamber
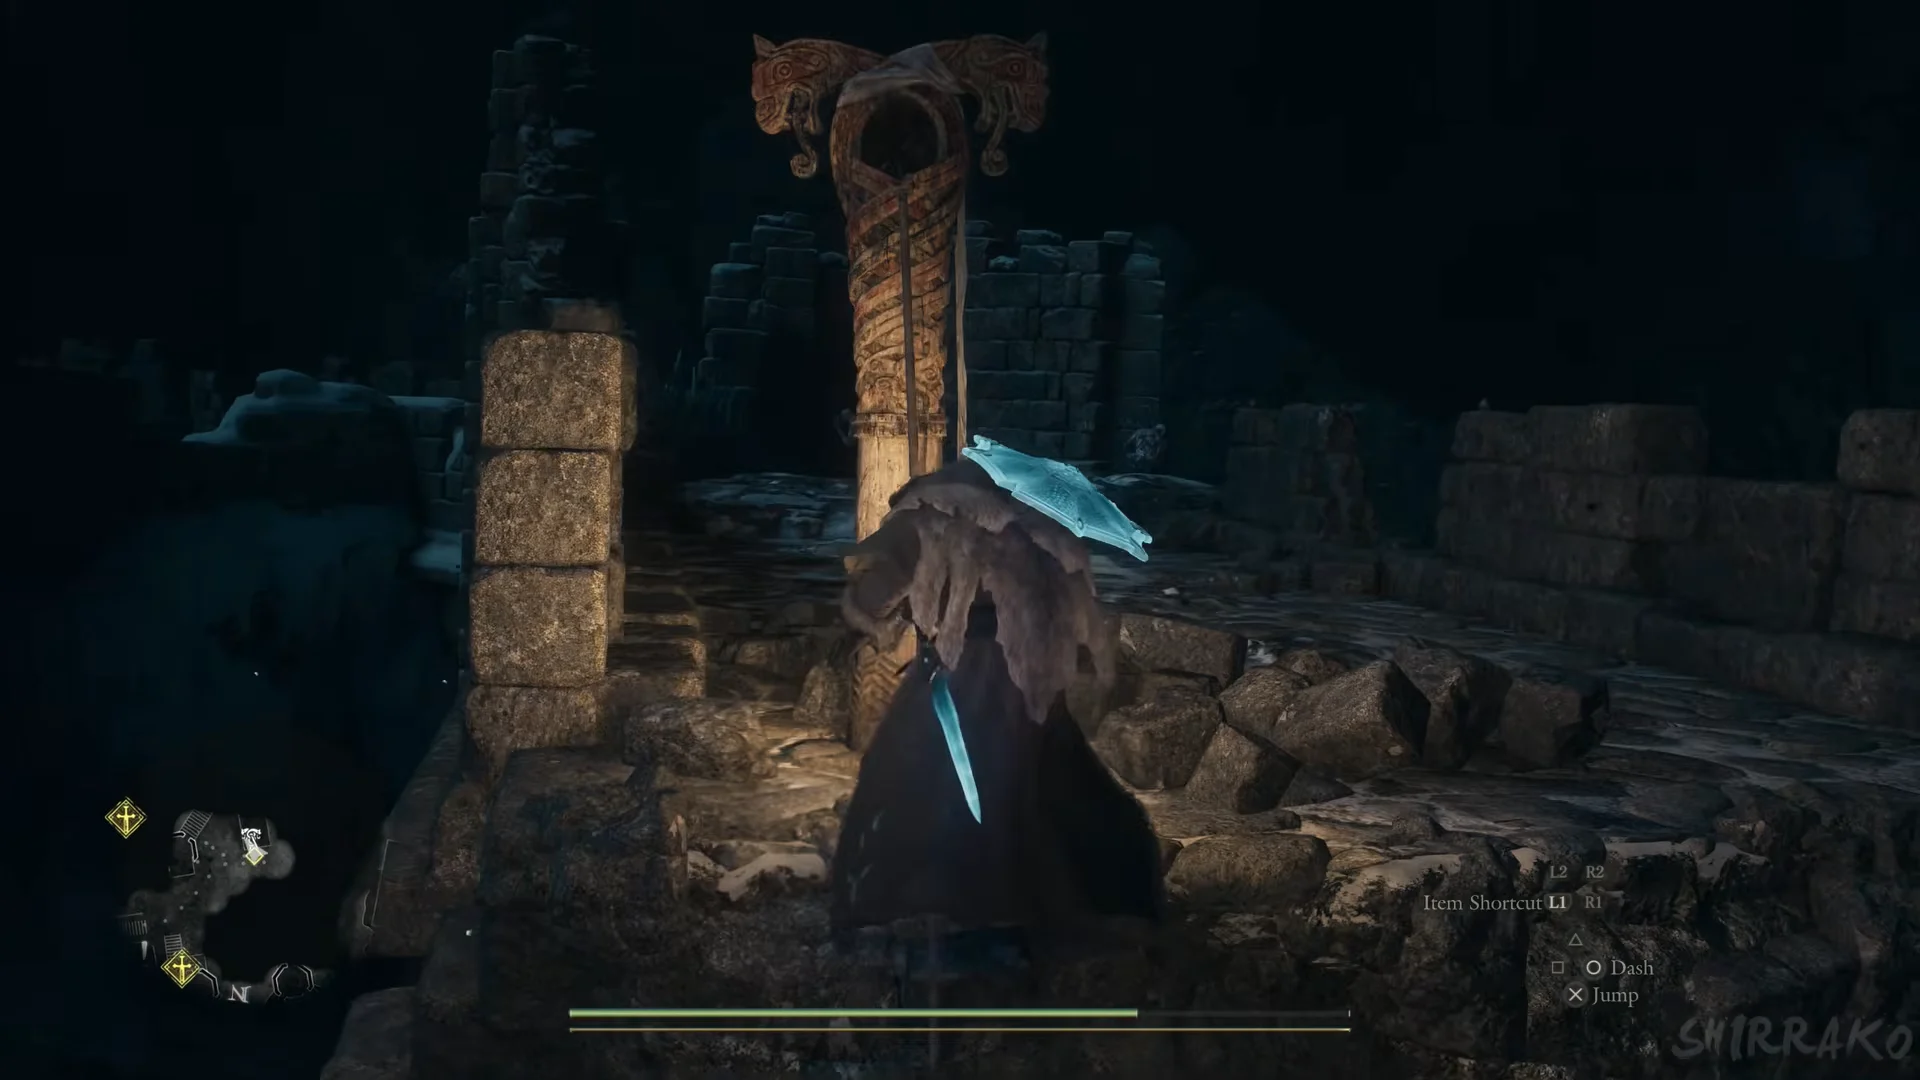
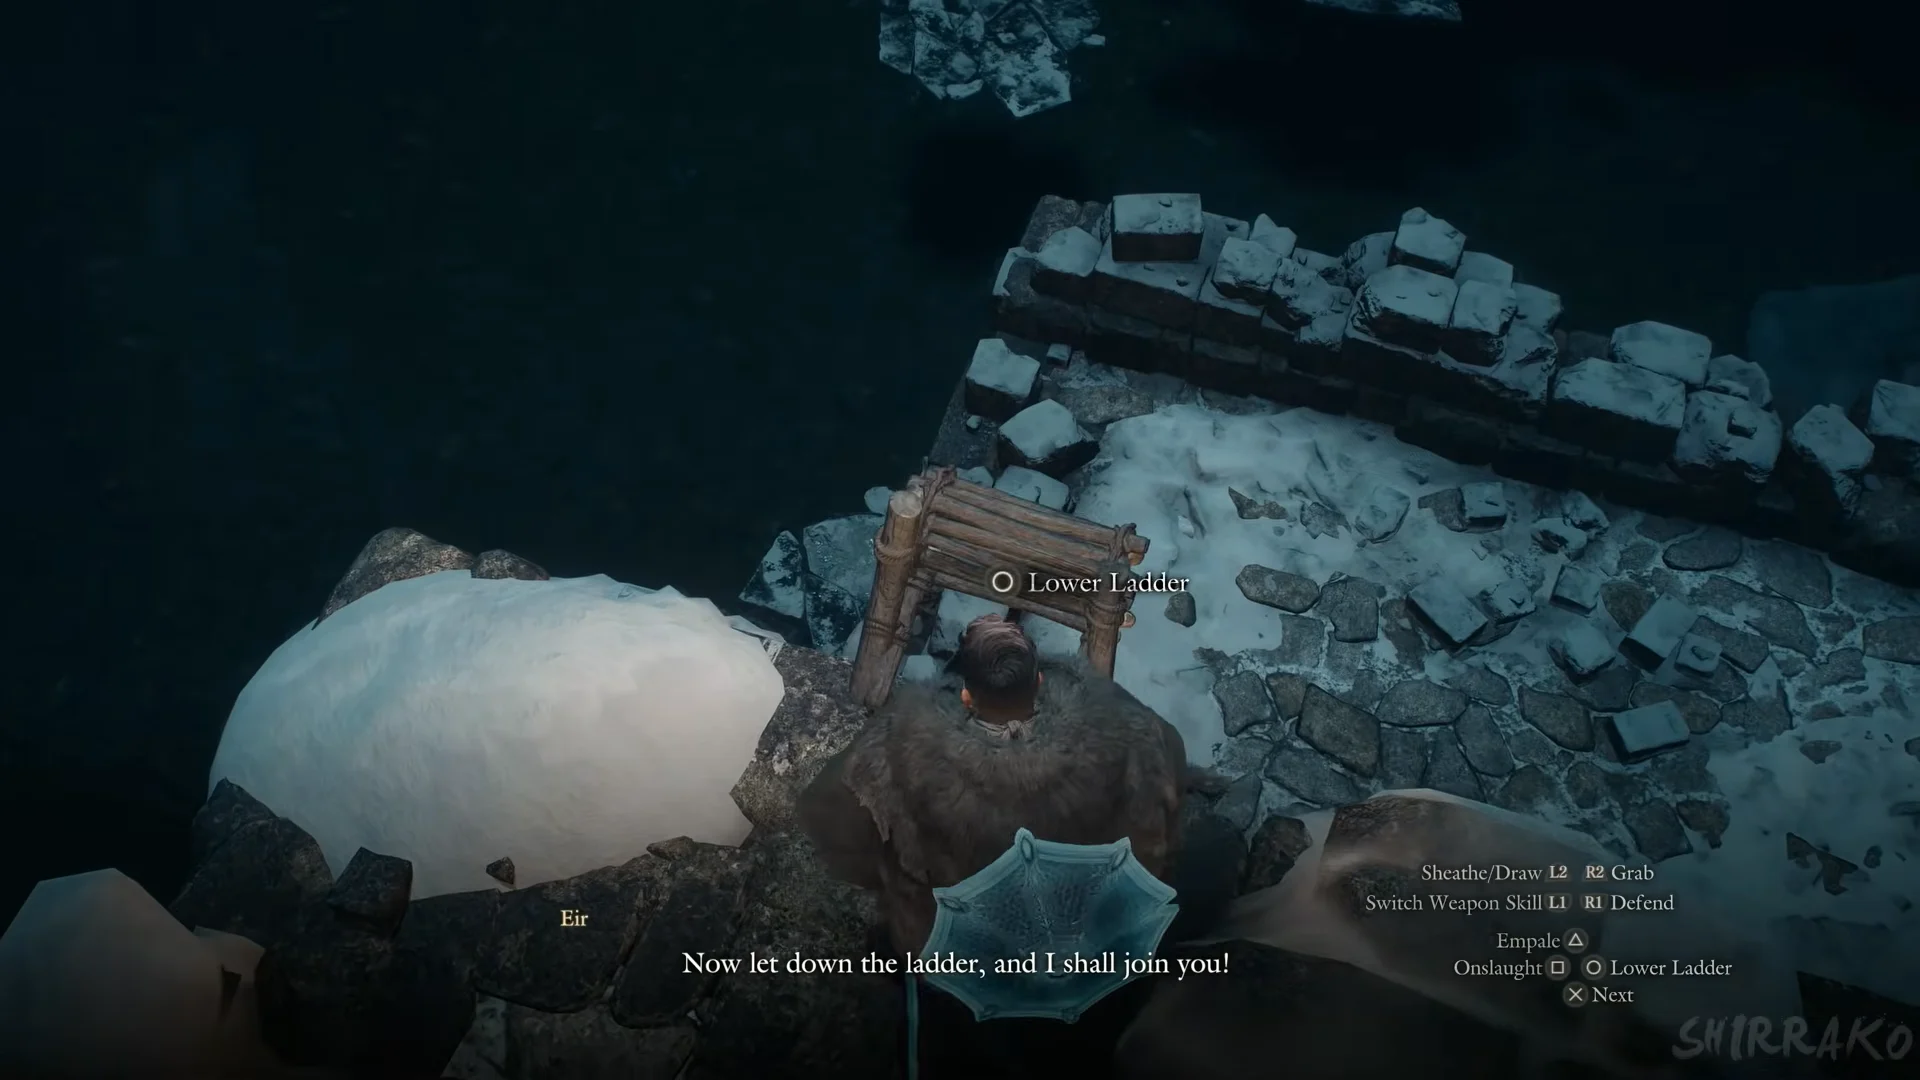
At the carved stone pedestal beside the iron portcullis, select “Examine” to lift the gate. Past it, you’ll find a Liquid Vim and a ladder leading down through the floor. Your pawns rejoin you at this point.
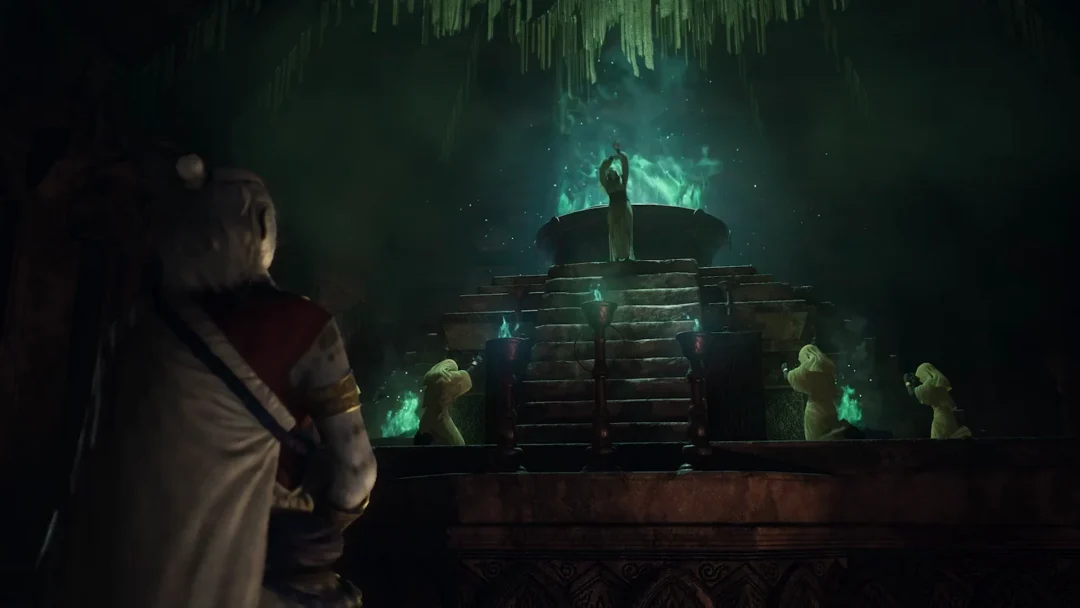
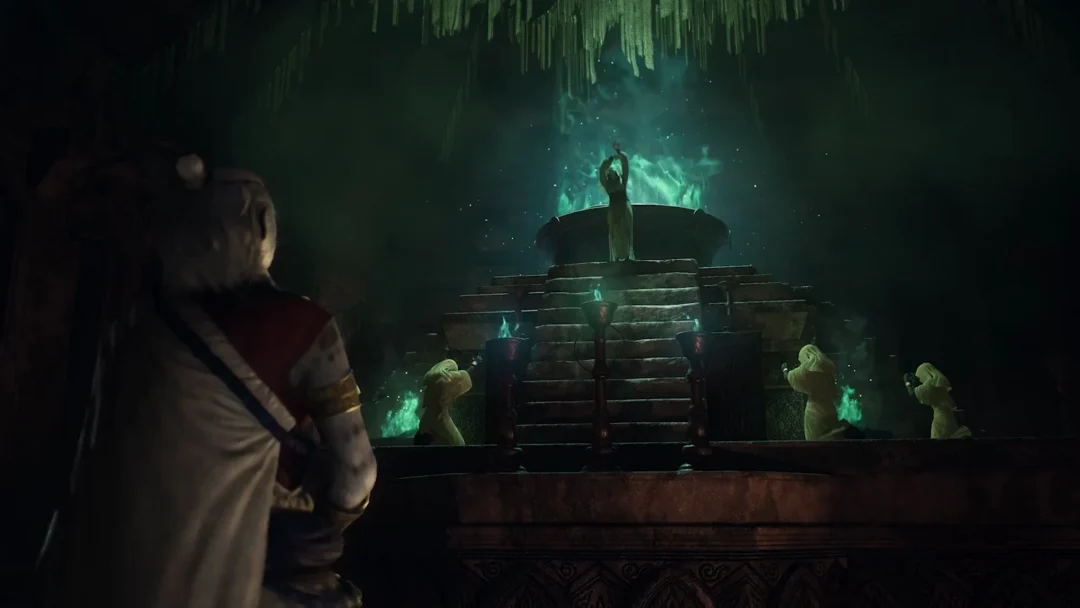
Make your way over the broken walls, then climb the stair tunnel to a frozen chamber containing a pool and a dark rift. Speak with Eir beside the rift and select “Yes.” to begin combat. Three hooded spectres emerge, but they share one purple health bar and have no displayed name. Their attacks include homing bolts, lightning rings across the ice, and magenta blasts. If you play a sword-and-shield Fighter, jump-slash from the rocks when a spectre hovers near the ground or pauses to cast.
When the third spectre dies, a scene plays and the objective becomes “Search for the soul while Eir traces the will.” The quest now pauses while you complete the separate quest Soul Searching.
Reach Mordria Temple on the Sphinx
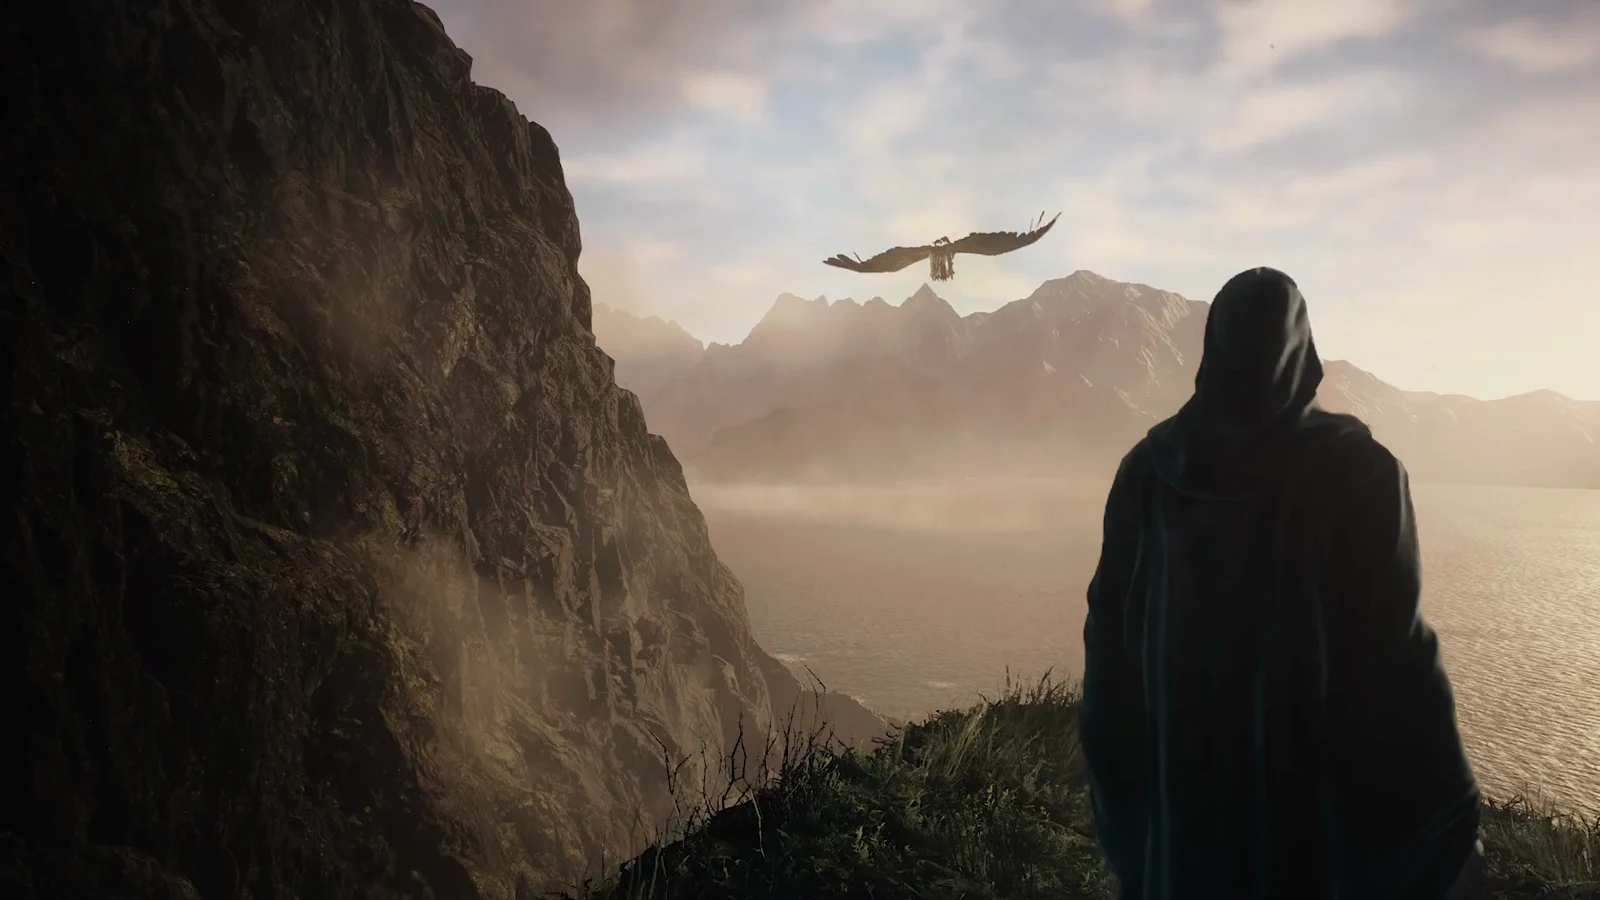
After Soul Searching, the quest updates outside the Norgandian Inn with “Find a means of traveling to Mordria Temple.”
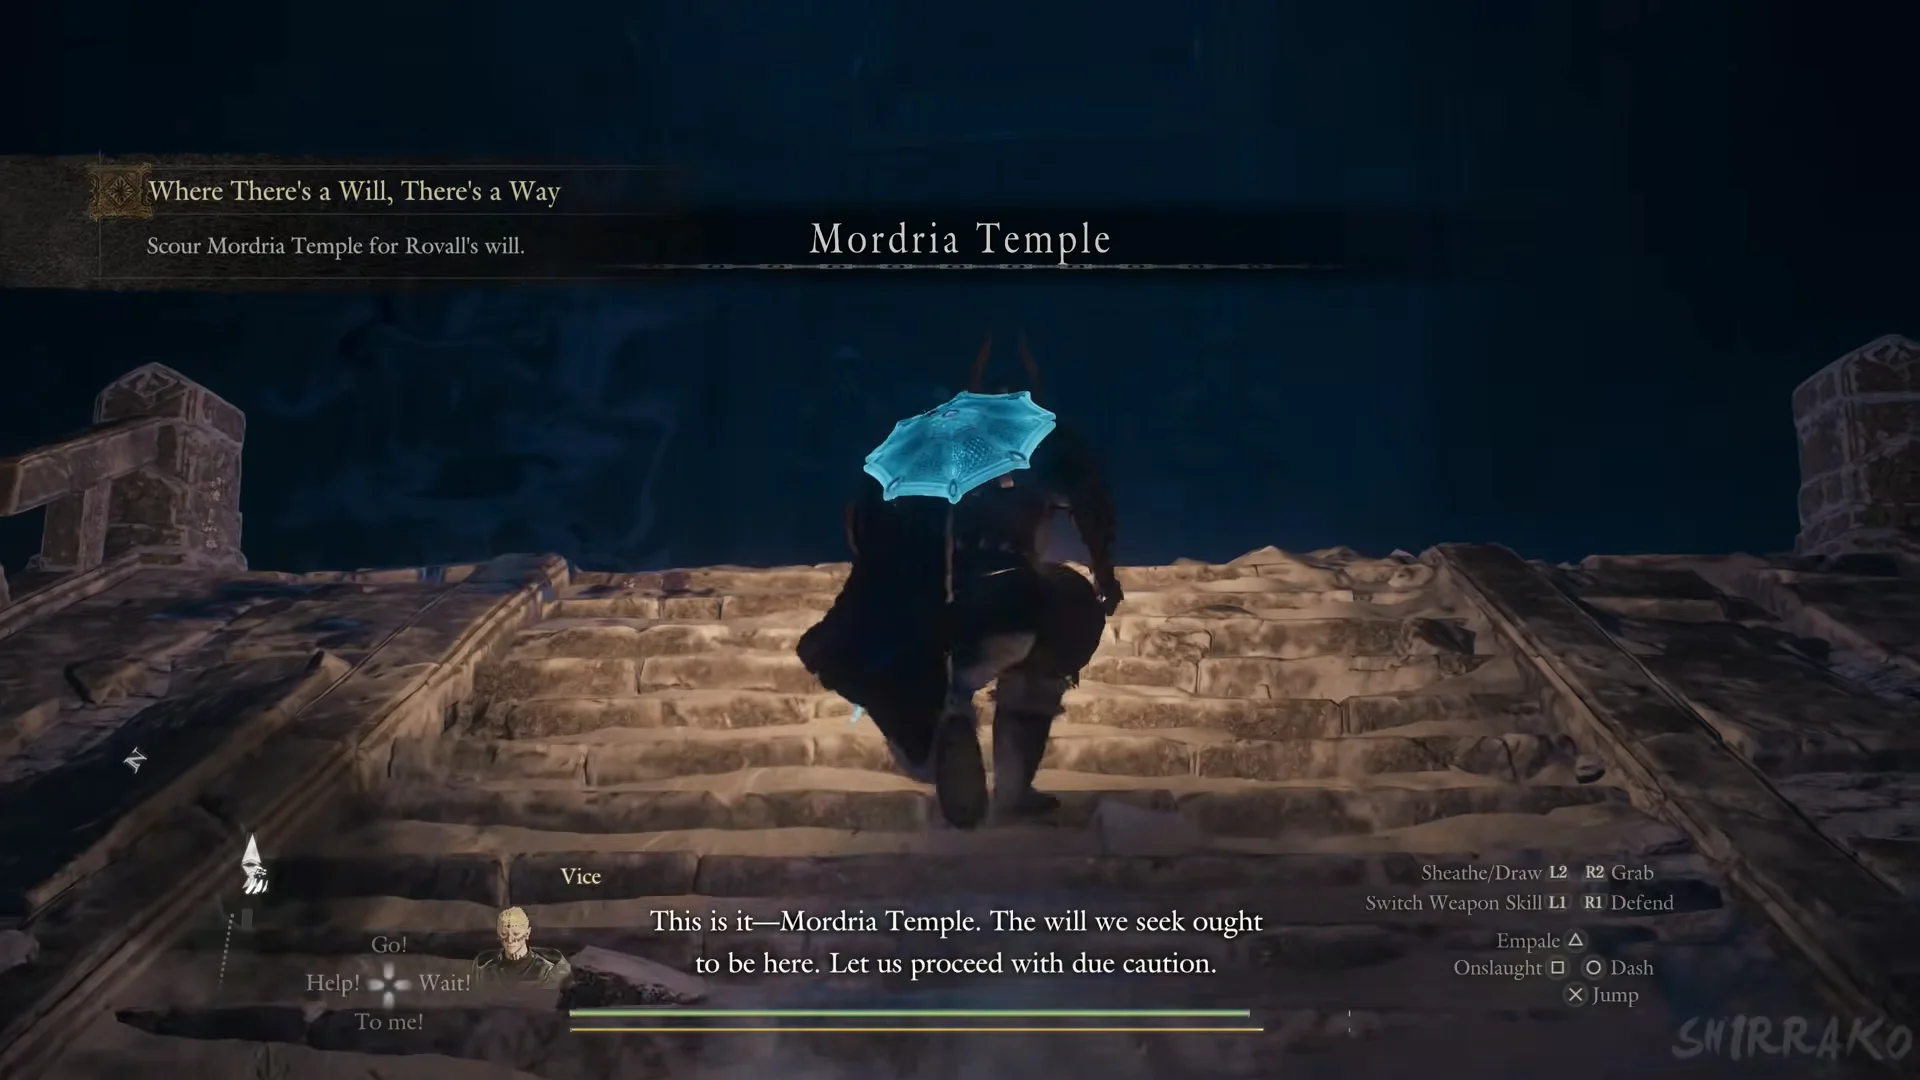
The Sphinx will not fly you back. Shop, restock and rest before you speak to her, because once you land you are committed to the temple.
Descend to the locked gate
Go upstairs to Eir and accompany her through the hall of pillars, then through the opening in the wall. Follow the icy cave passage to an iron gate braced by a wooden beam; cut through the beam to get past.
The elevator is in the next round chamber, identifiable by its large gears and pedestal. Don’t take it: Eir says it travels upward, but your destination is underneath. Instead, exit through the wall breach and descend via the snowy ledges.
Break through the ice crystals covering the ledge, then fight the armoured undead waiting on the other side.
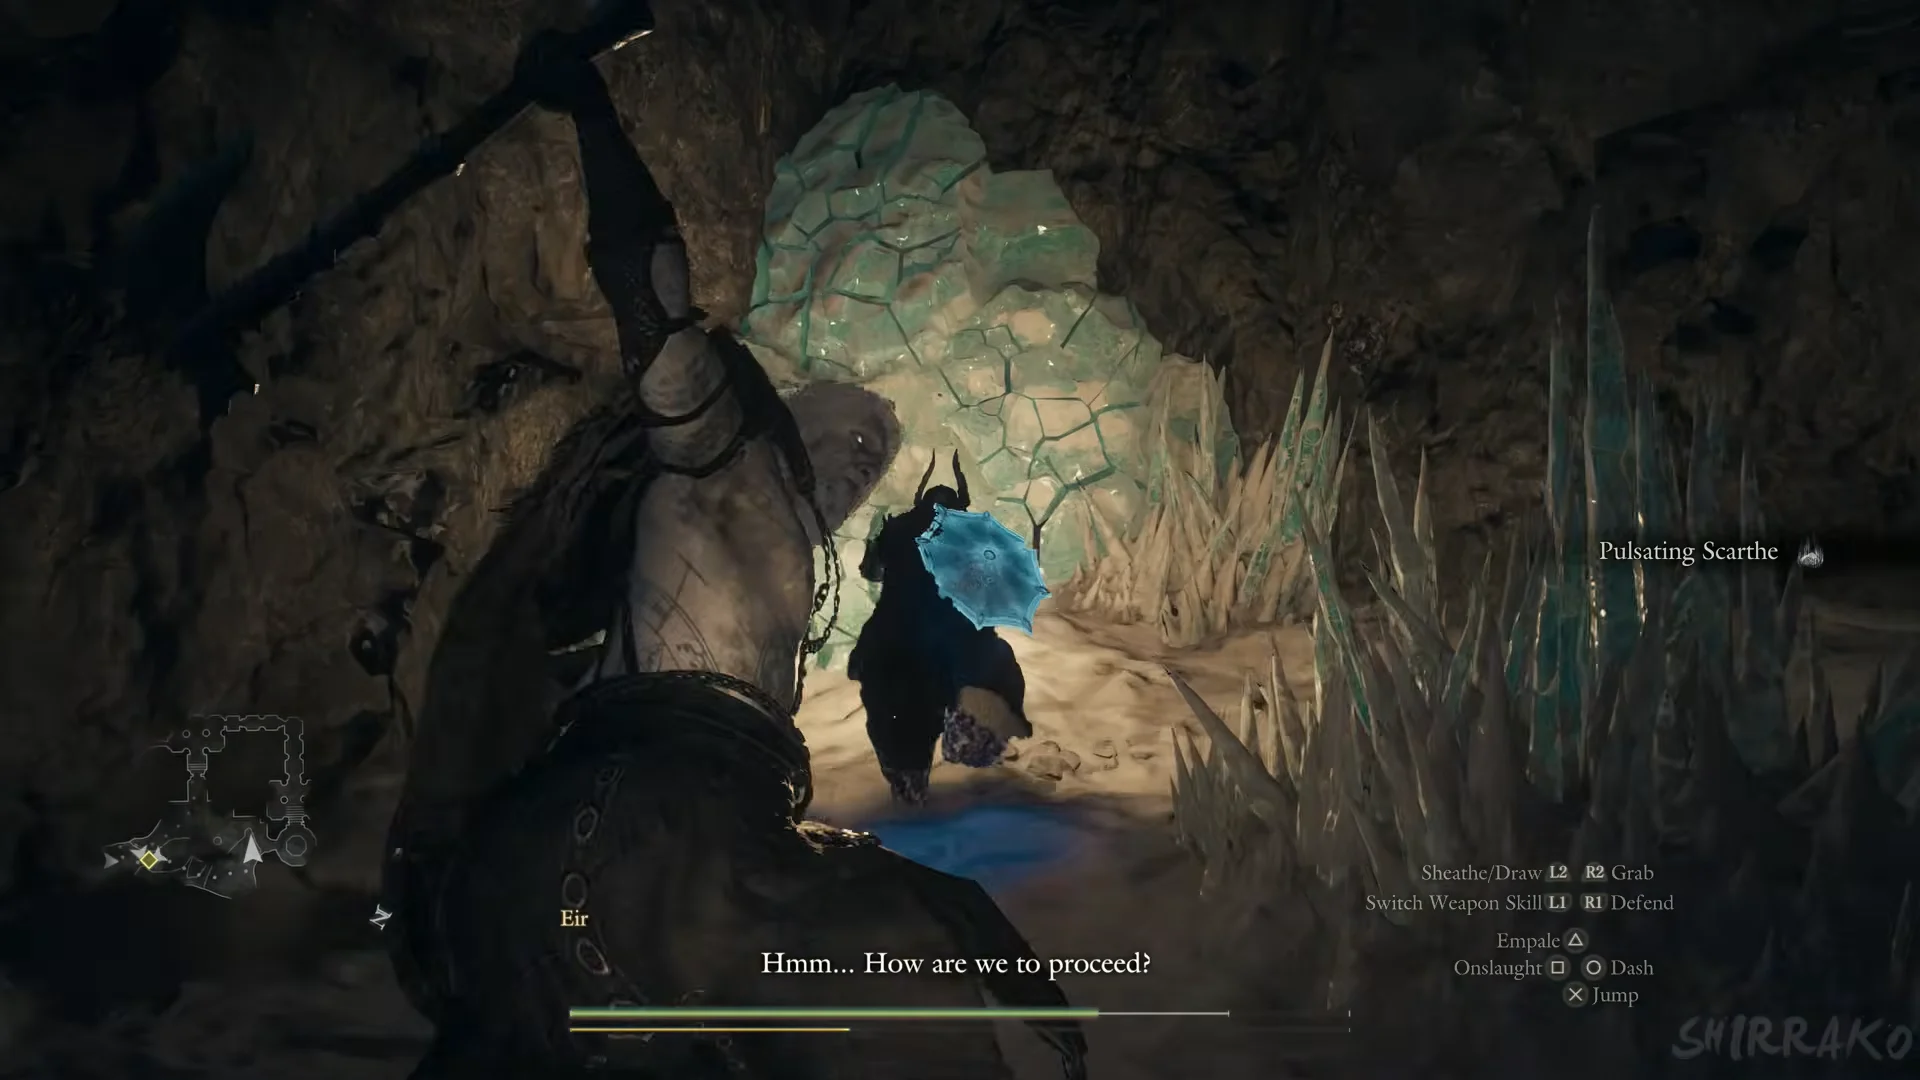
Pick up the loot as you descend: the bone pile contains 300 RC and Lv. 3 Ancient Greaves, a Wakestone lies at the cliff edge, and Lv. 4 Ancient Greaves are concealed by barrels in a crevice. Slide down the snowy chute and continue dropping one level at a time until you reach a hall. There, an iron portcullis is fitted into a carved stone frame. It’s locked, and the objective says “Search for a key to the door.”
Find the Temple Key
Touching the gate brings a blemmyae crashing into the hall. This huge, ape-like creature stomps, swings its arms, charges into walls, coats the floor with oil and bile, and can clamp a pawn in its jaws. Since the oil makes fire dangerous for you, don’t rely on fire. It is weak to Lightning and immune to Sleep and Frostbite. Have your pawns use lightning attacks while a Fighter climbs onto its back or chest and stabs it. When it falls, use “Examine” on the body to collect loot.
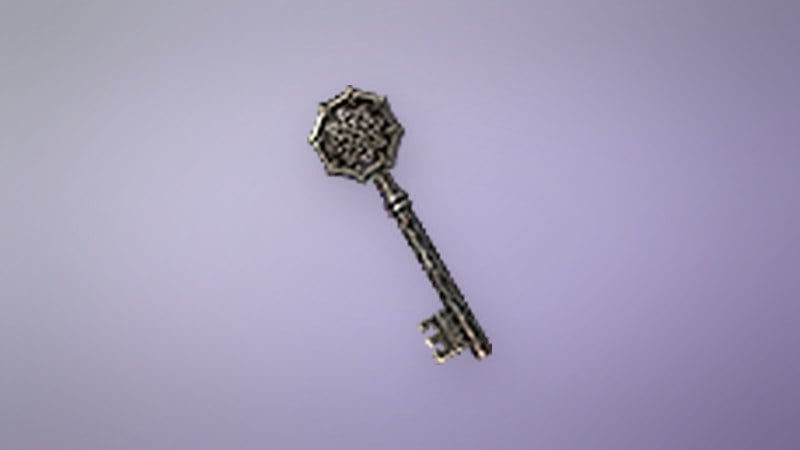
The key is on a dead soldier. Several bodies lie around the hall, and the one holding the key rests on the snow at the foot of the wall beside a carved stone pillar, next to a Curvestone ore vein, a few steps from the gate. Use “Pick Up” to take the Temple Key along with Vitalic Drench, Stoutness Extract, Regeneration Elixir and Threshing Blaze. The item text reads “Key held by the skeleton of a soldier at Mordria Temple. It seems to have been used to lock something away,” and it weighs 0.01 kg.
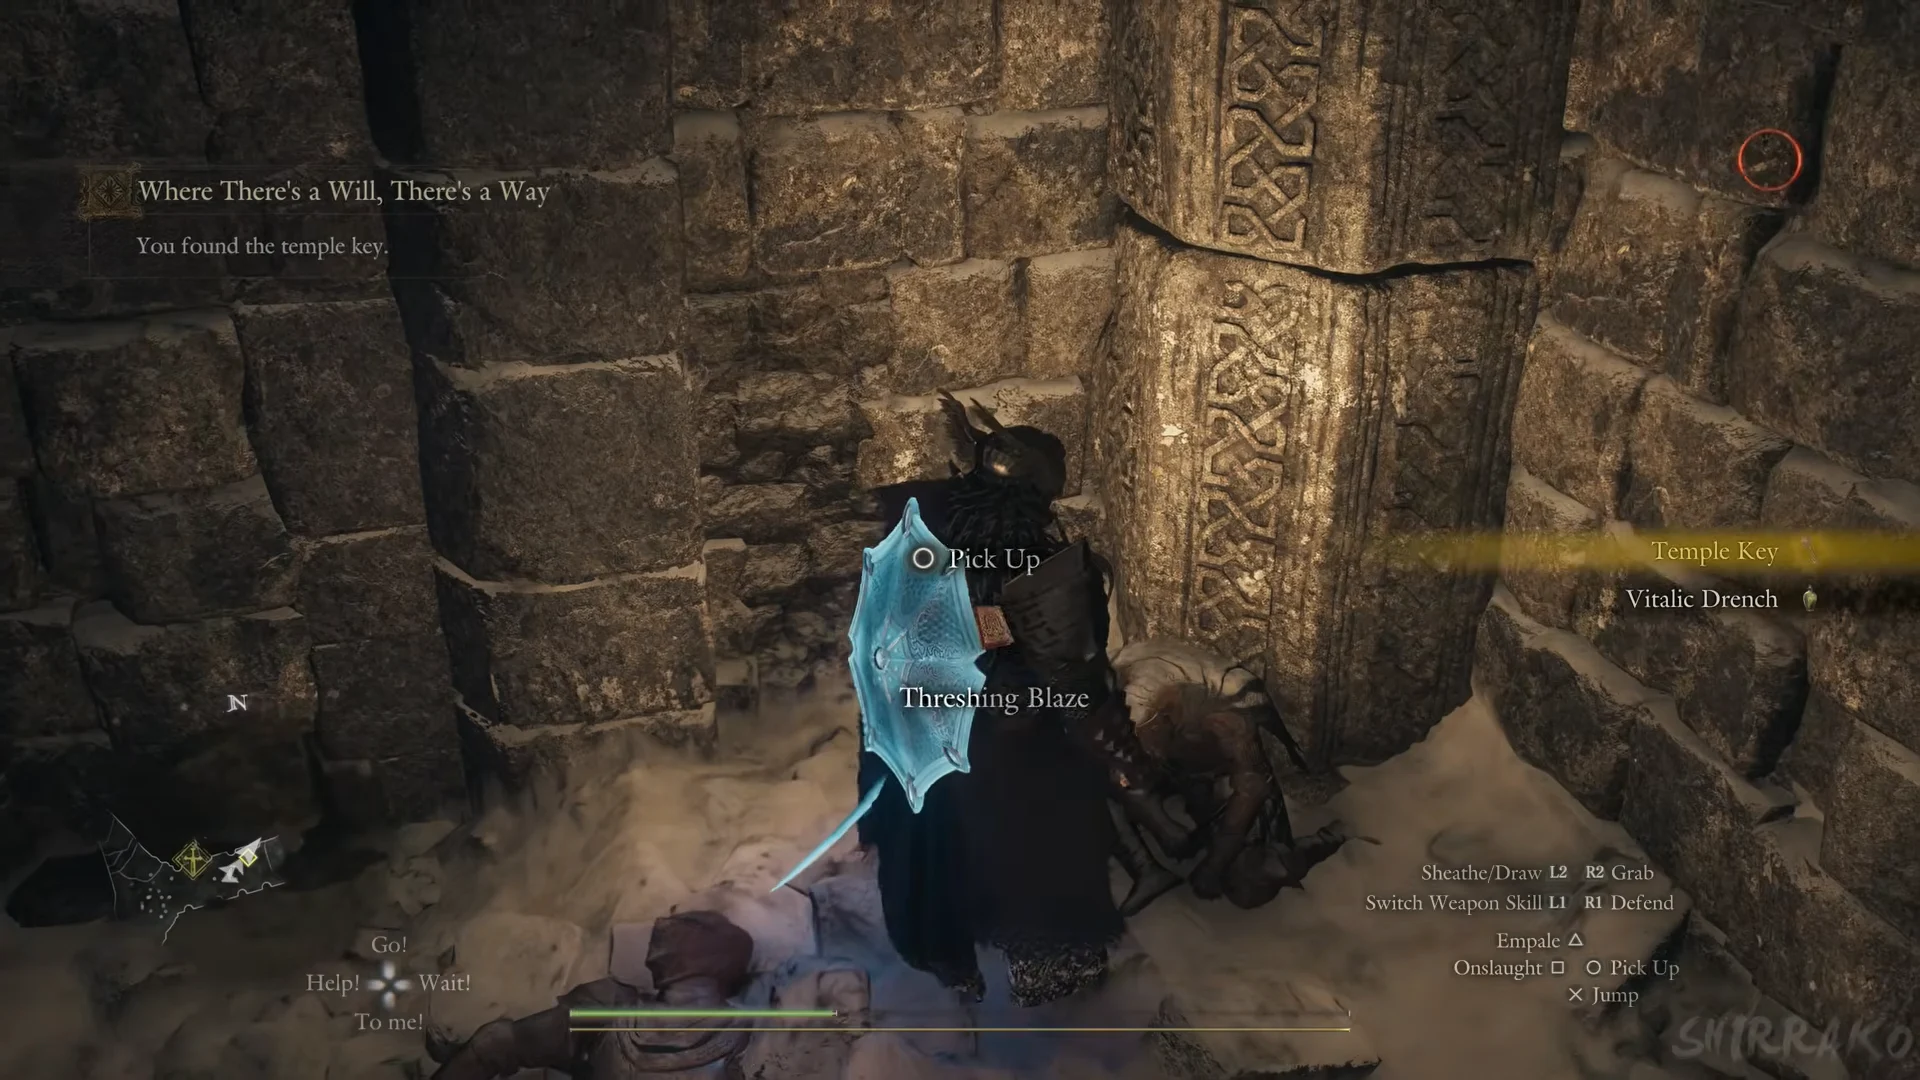
Return to the gate, now reading “Open the door.” Select “Open,” choose the Temple Key in the Items window and confirm. The objective updates to “You used the temple key to open the door,” and then back to “Scour Mordria Temple for Rovall’s will.”
From the gate to Willan Barbatos
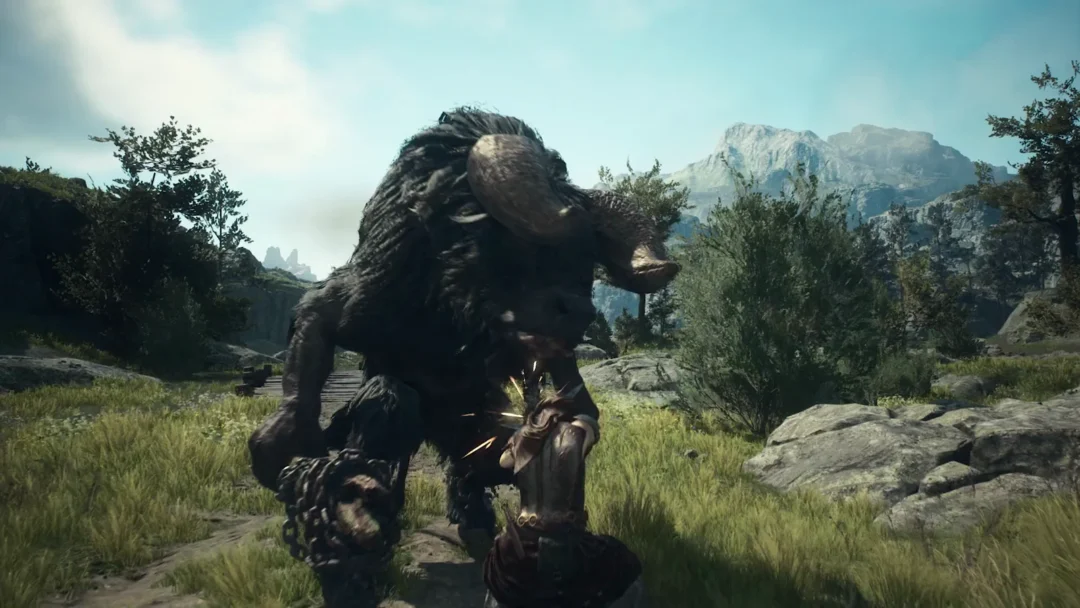
Eir sprints across an elevated path, which collapses and leaves you separated. Descend by the broken steps and follow the cliff path. An ornate chest on the way contains Lv. 4 Ancient Plastron. You land in a ruined courtyard where Eir is waiting, and a nameless boss bar appears. A huge horned beast and undead foes attack with ice spikes and fire. Your pawns recommend targeting its horns and warn that cold barely affects it. Consider keeping a Wakestone ready.
After the fight, pass through the archway into a rocky tunnel. Along the route, collect 90 RC from a glowing pedestal, 32,000 G from a stone chest, and a Norgan Portcrystal from a larger chest in the next room. Continue through the distant archway to a rock bridge, then enter the sanctum.
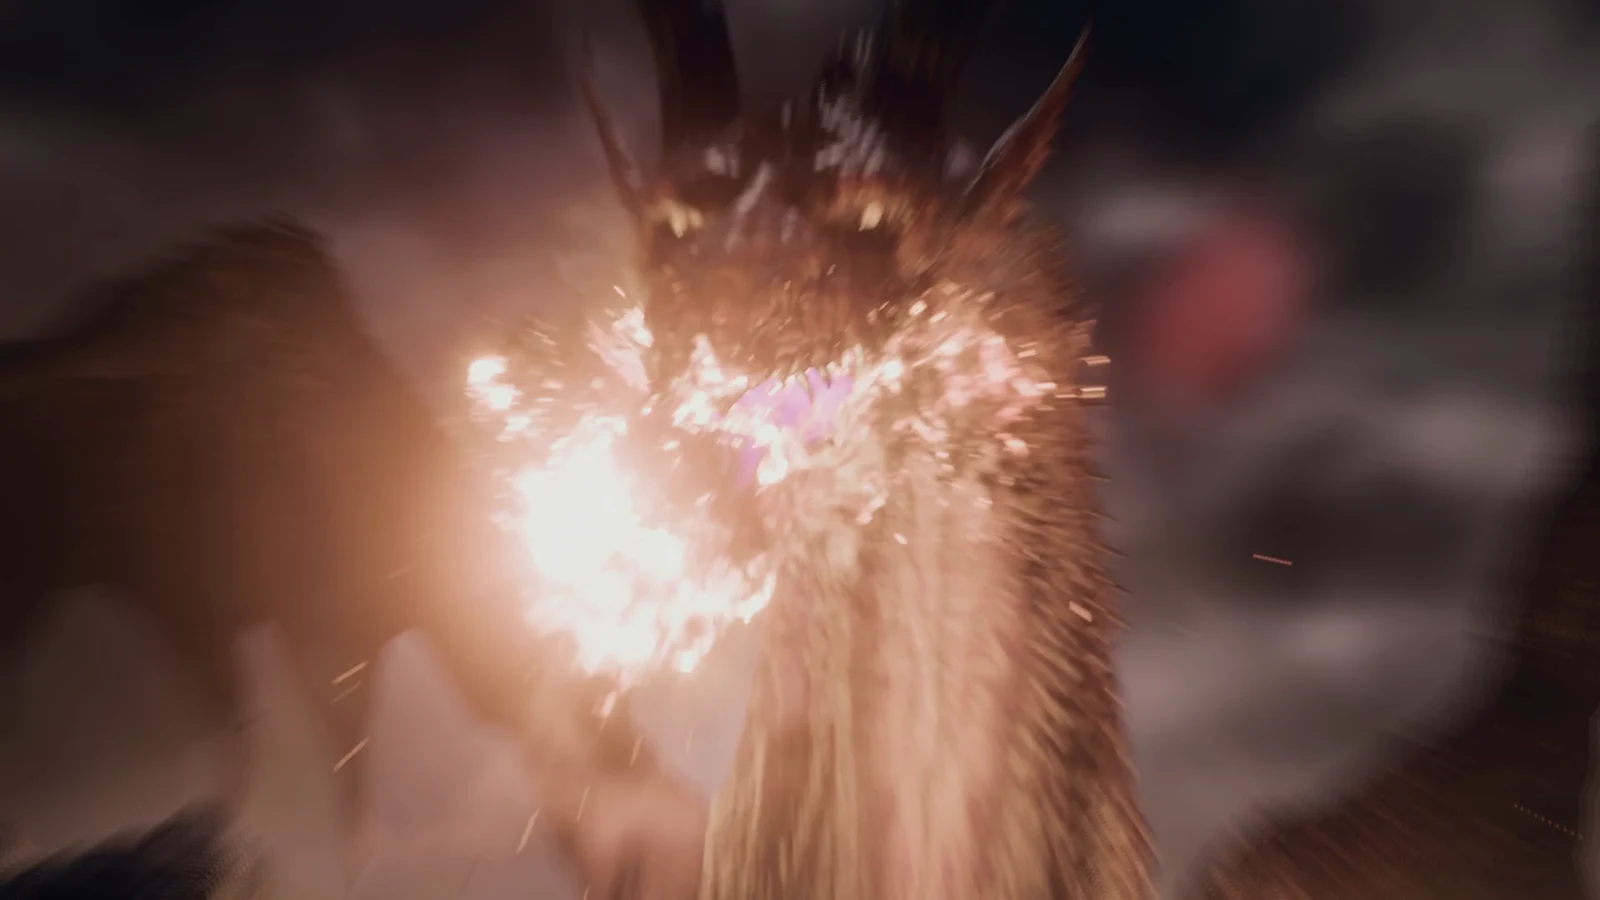
Inside the sanctum, face Willan Barbatos, the demon with the heart. The objective reads “Defeat Willan Barbatos, the demon with the heart.” Emptying his bar makes him flee through a portal. Talk to Eir and select “Plunge in the Godsbane blade” to pursue him. In the battle on the other side, he also uses phantom copies and a life drain, and summons a lesser demon.
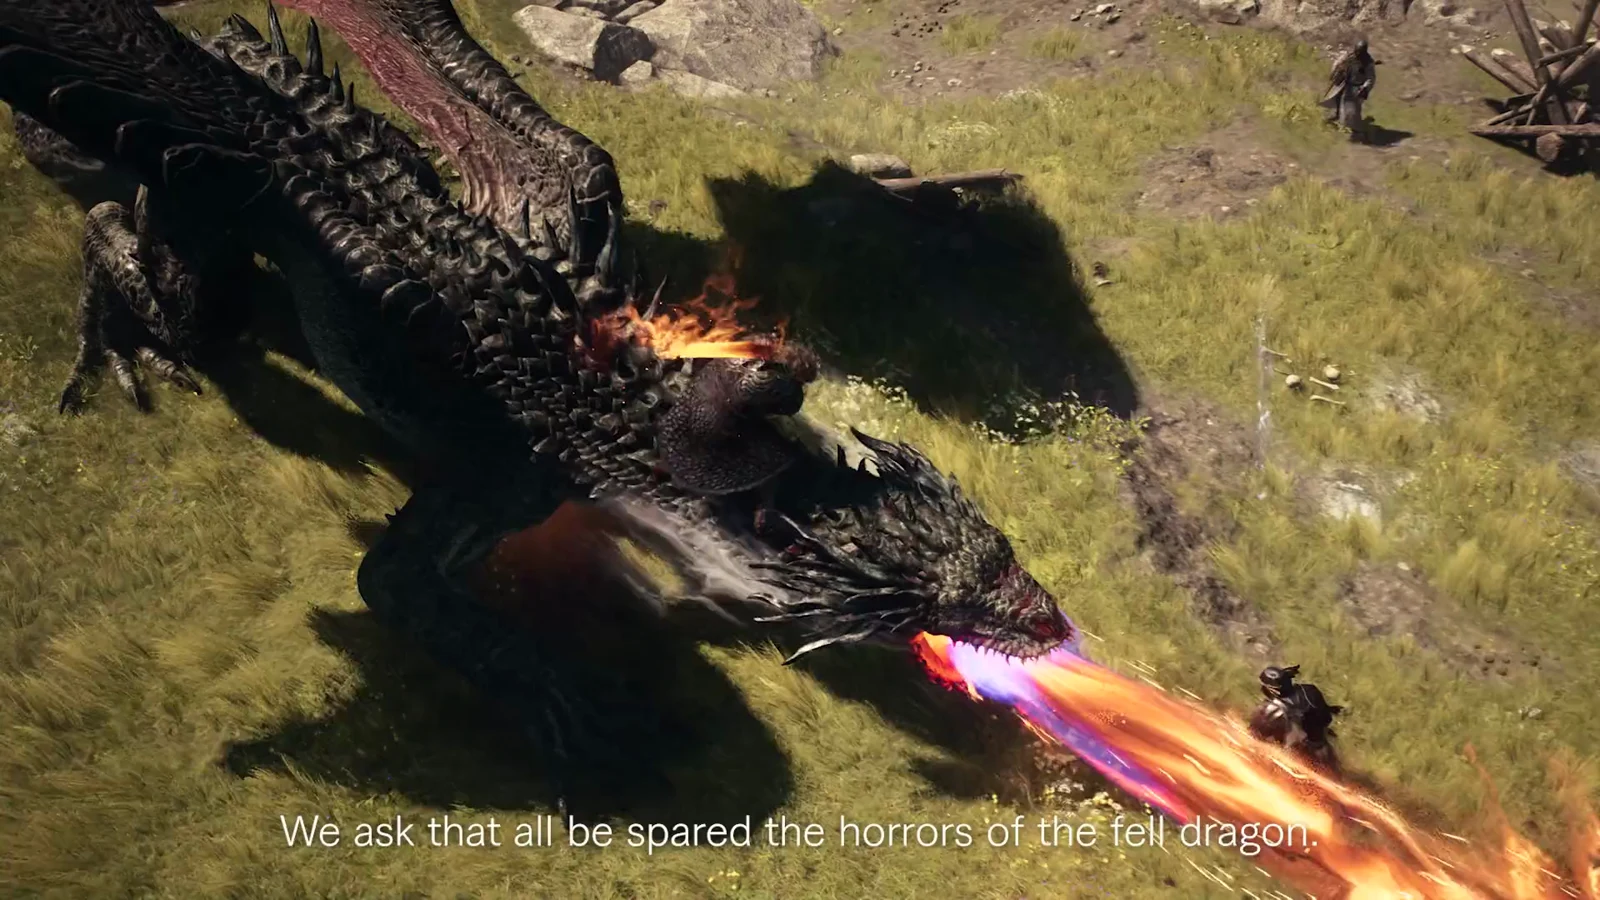
When he dies, the heart returns to the Fallen Dragon’s breast at Abyss Ridge and the log shows “Completed: Where There’s a Will, There’s a Way.” That completion message is your confirmation the quest is done, and it sets up the next quest, Reunion.
Quest rewards
Finishing the quest pays out a large chunk of experience and rift crystals on top of the gold and gear it hands you.
| Reward | Amount |
|---|---|
| Experience | 220,000 XP |
| Gold | 35,000 G |
| Rift Crystals | 3,000 RC |
| Spoils | Lv 4 Ancient Helm, Ancient Plastron x2, Ancient Greaves |
Enemy health and weaknesses
The three large enemies you fight in this quest carry deep health pools, and each responds to a different approach. Willan Barbatos takes full damage only from slash and strike, so physical weapons matter more than elements against him. The blemmyae folds fastest to lightning, while the lesser demon that attacks the Shrine of Wisdom is weak to ice and resists fire.
| Enemy | Health | Type | Notes |
|---|---|---|---|
| Willan Barbatos | 276,000 | Demon | Full damage from slash and strike; immune to most debilitations |
| Lesser Demon | 260,000 | Demon | Weak to Ice; resistant to Fire |
| Blemmyae | 300,000 | Abomination | Weak to Lightning; Sleep and Frostbite have no effect |
Keep in mind that the blemmyae and lesser demon both appear in more than one strength across Norgan, so treat the health figures above as a guide to which damage type to lean on before each fight, not as exact totals.