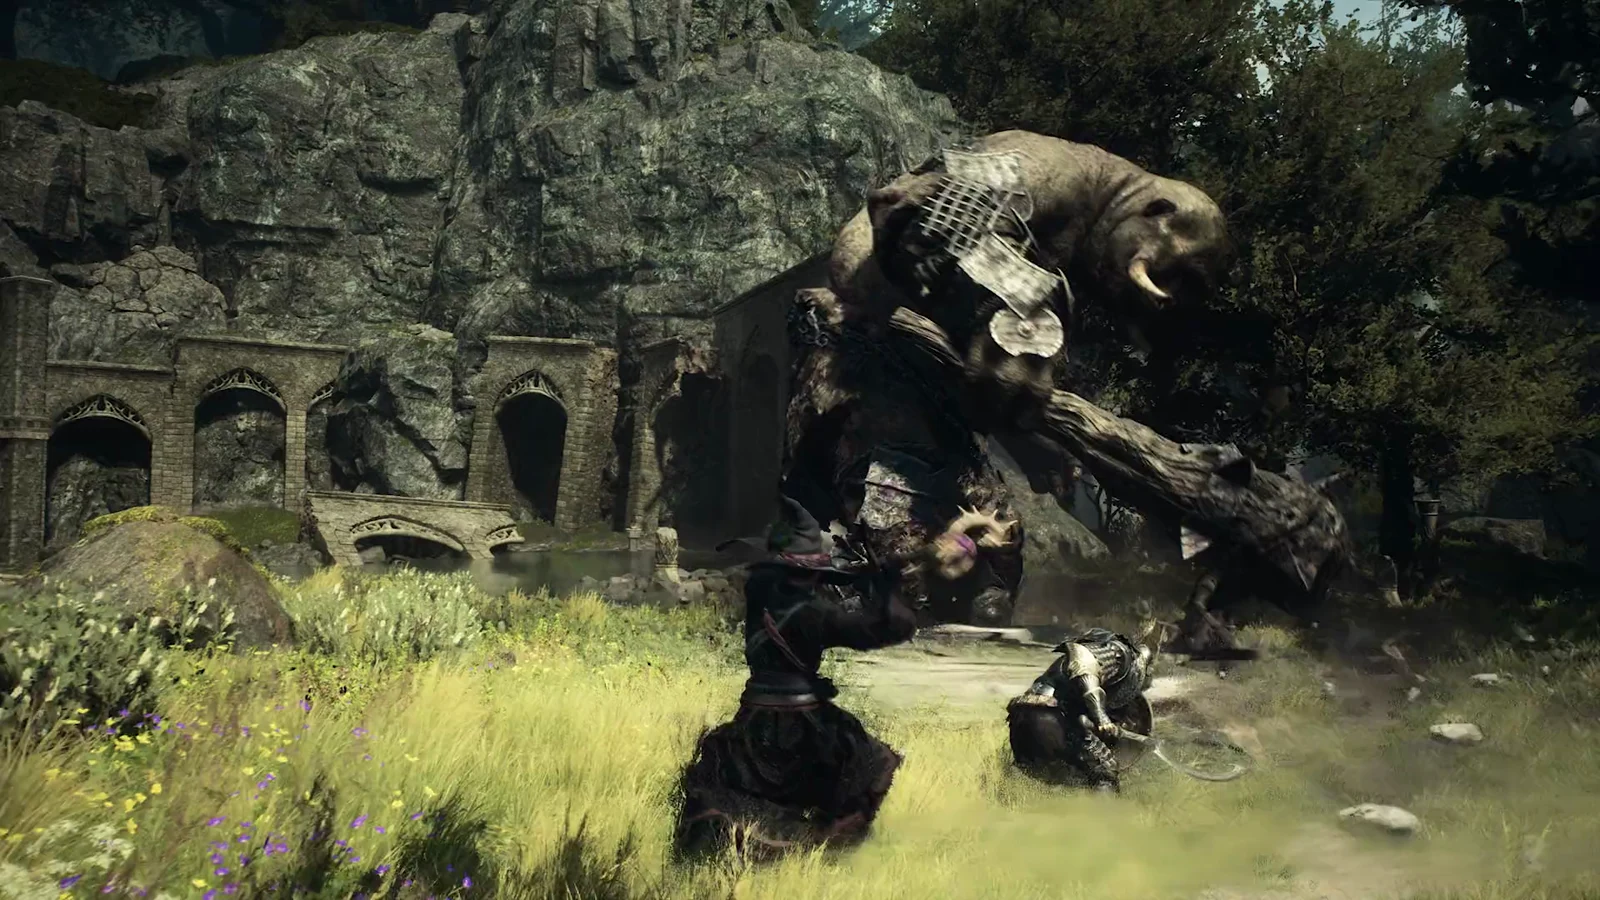
Daemons’ Corral is the second Lost Rites trial in Dragon’s Dogma 2: Dark Arisen, a fully enclosed combat gauntlet hidden at the back of a cave. It drops you into a string of walled monster pens that end at a chained Cyclops, and it asks for nothing before you enter. Any vocation, any party, any save can walk straight in.
Quick answer: Daemons’ Corral is Lost Rites trial 2, reached through the Timeworn Shaft cave. Its map card reads “No conditions.” Clear the three pens, open the spiral door, beat the Cyclops, then loot the final chest.
Where Daemons’ Corral is and how to reach the door
As you enter the cave, the “Timeworn Shaft” banner comes up. Go down the slope into the cavern occupied by human bandits. Fight them or slip past, then cross along the cavern’s opposite edge and enter the tunnel draped with roots. The area label switches from “Timeworn Shaft” to “Daemons’ Corral” as you go in. No door prompt appears, no payment is needed, and there is nothing to present.
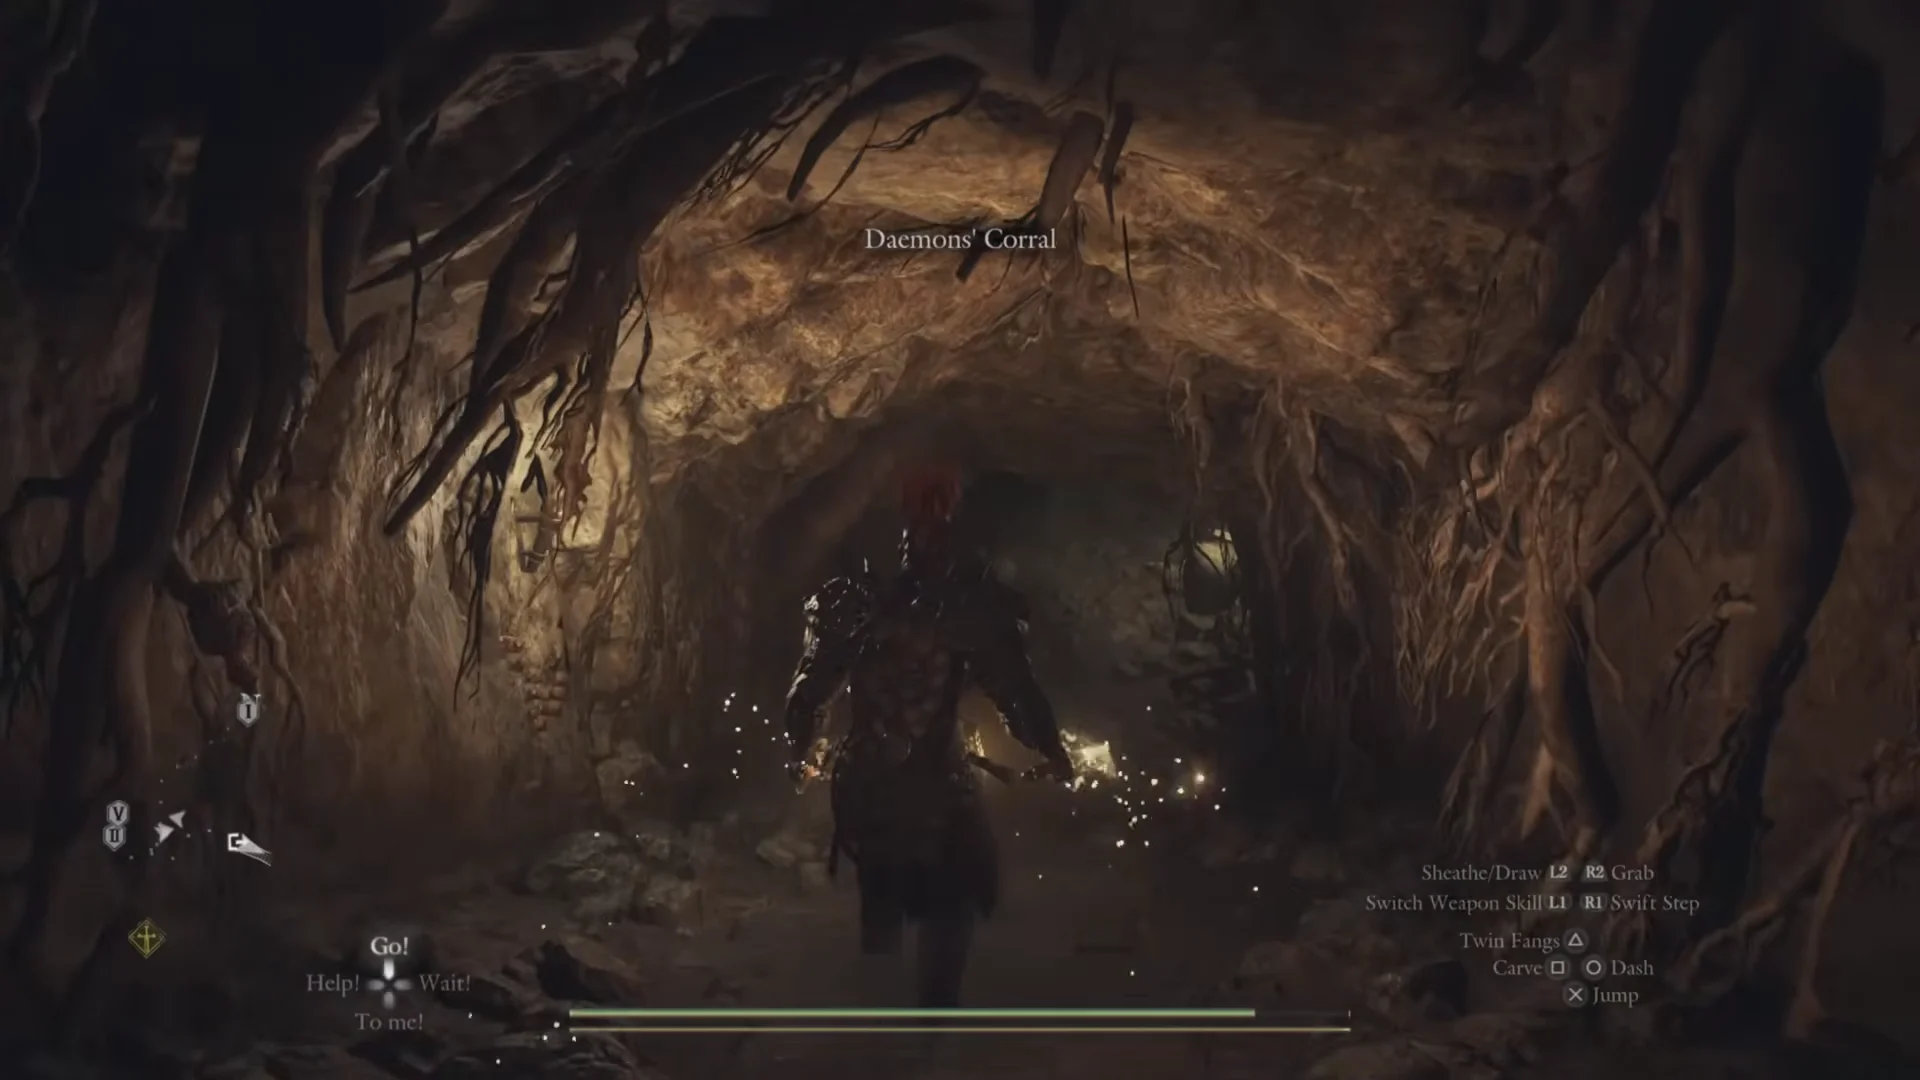
A swirling pink-purple seal fills an archway just ahead. Enter the first hall and an iron portcullis drops behind your party, leaving only the way forward.
How the pens work
A high metal gate with two leaves blocks each hall, braced from the outside by a heavy wooden beam. The gate remains shut until you attack and destroy the beam. It then swings open, letting the pen’s monsters spill into the corridor.
Once a pen is empty, a brief scene shows the seal—or a heavy chain—being removed from the next archway. A portcullis closes behind you whenever you enter a new hall, so heal and arrange your skills before striking a beam. The corridors are tight and the large monsters take up space, so fight near the gate entrance, where you can step back.
Enemy groups and their durability vary with game mode, so your save may have different monsters or health totals.
Clearing the three pens
The order inside is fixed: two Serpents, then one Minotaur, then two Garms. Break each beam, kill the pen, grab the chest, move on.
Pen 1: two Serpents
The first pen contains two quill-backed Serpents wreathed in lightning, each with roughly 21,000 health on the base line-up. A Thief-style steal can yield a Boltscale. Defeat both to raise the first seal. Check the rock wall on the hall’s right side for a chest containing Fine Roe Roborant x3.
Pen 2: the Minotaur
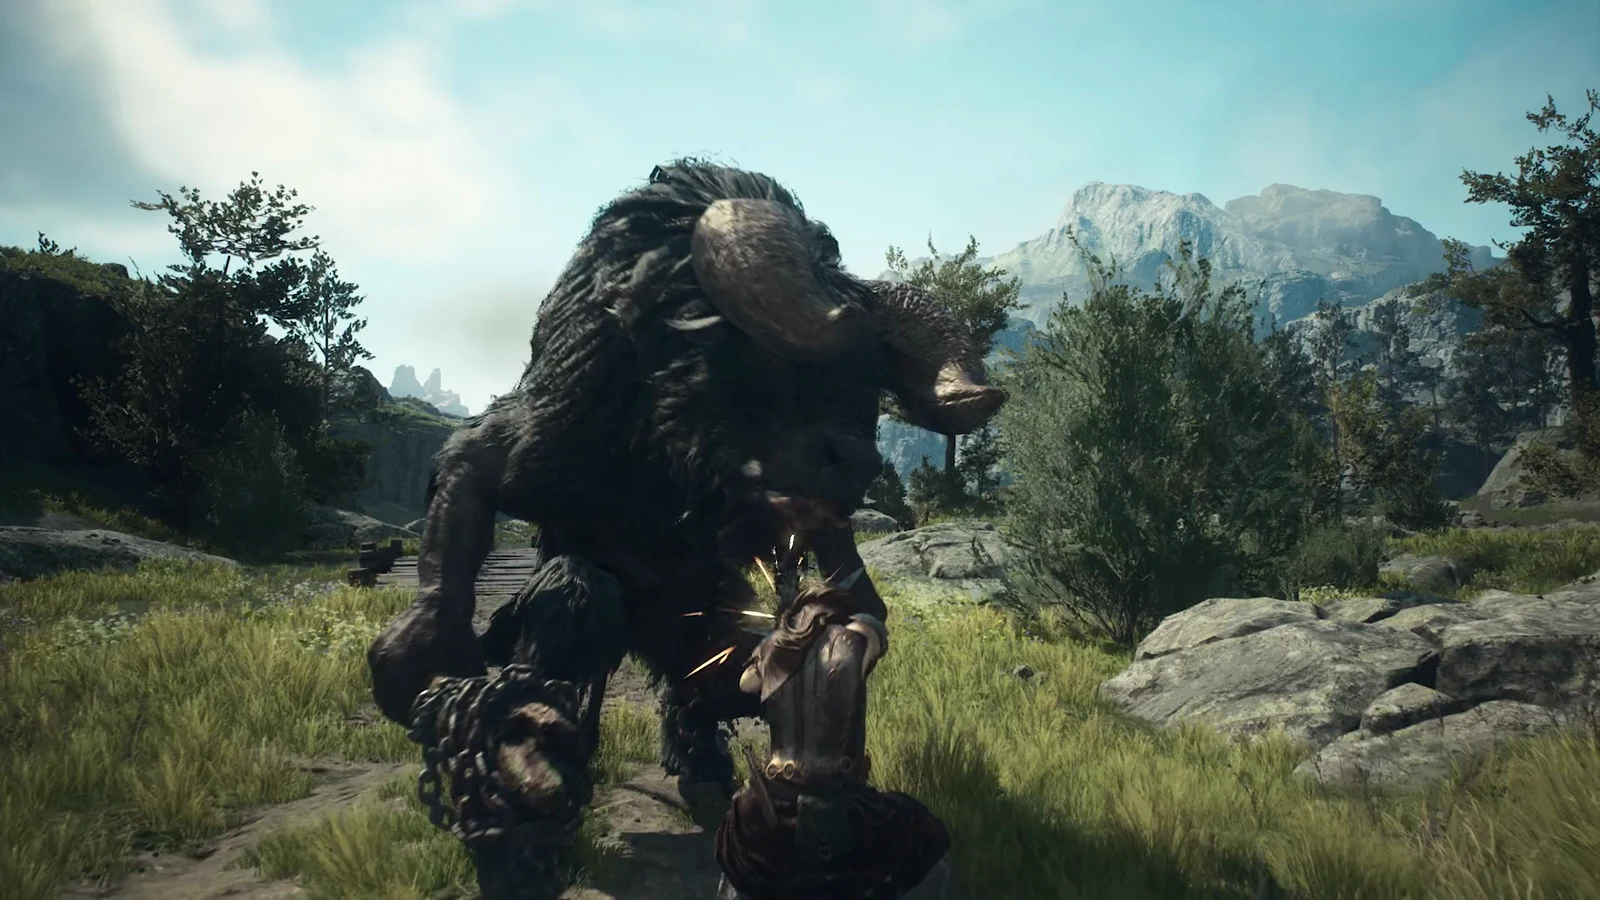
The second pen contains one Minotaur, shown with a boss bar and about 55,000 health in the base line-up. Its charges and swings are dangerous in the narrow corridor; mount its back and head as your pawns cast behind it. Carve its body after the fight to get Minotaur Horn and Beast-Steak.
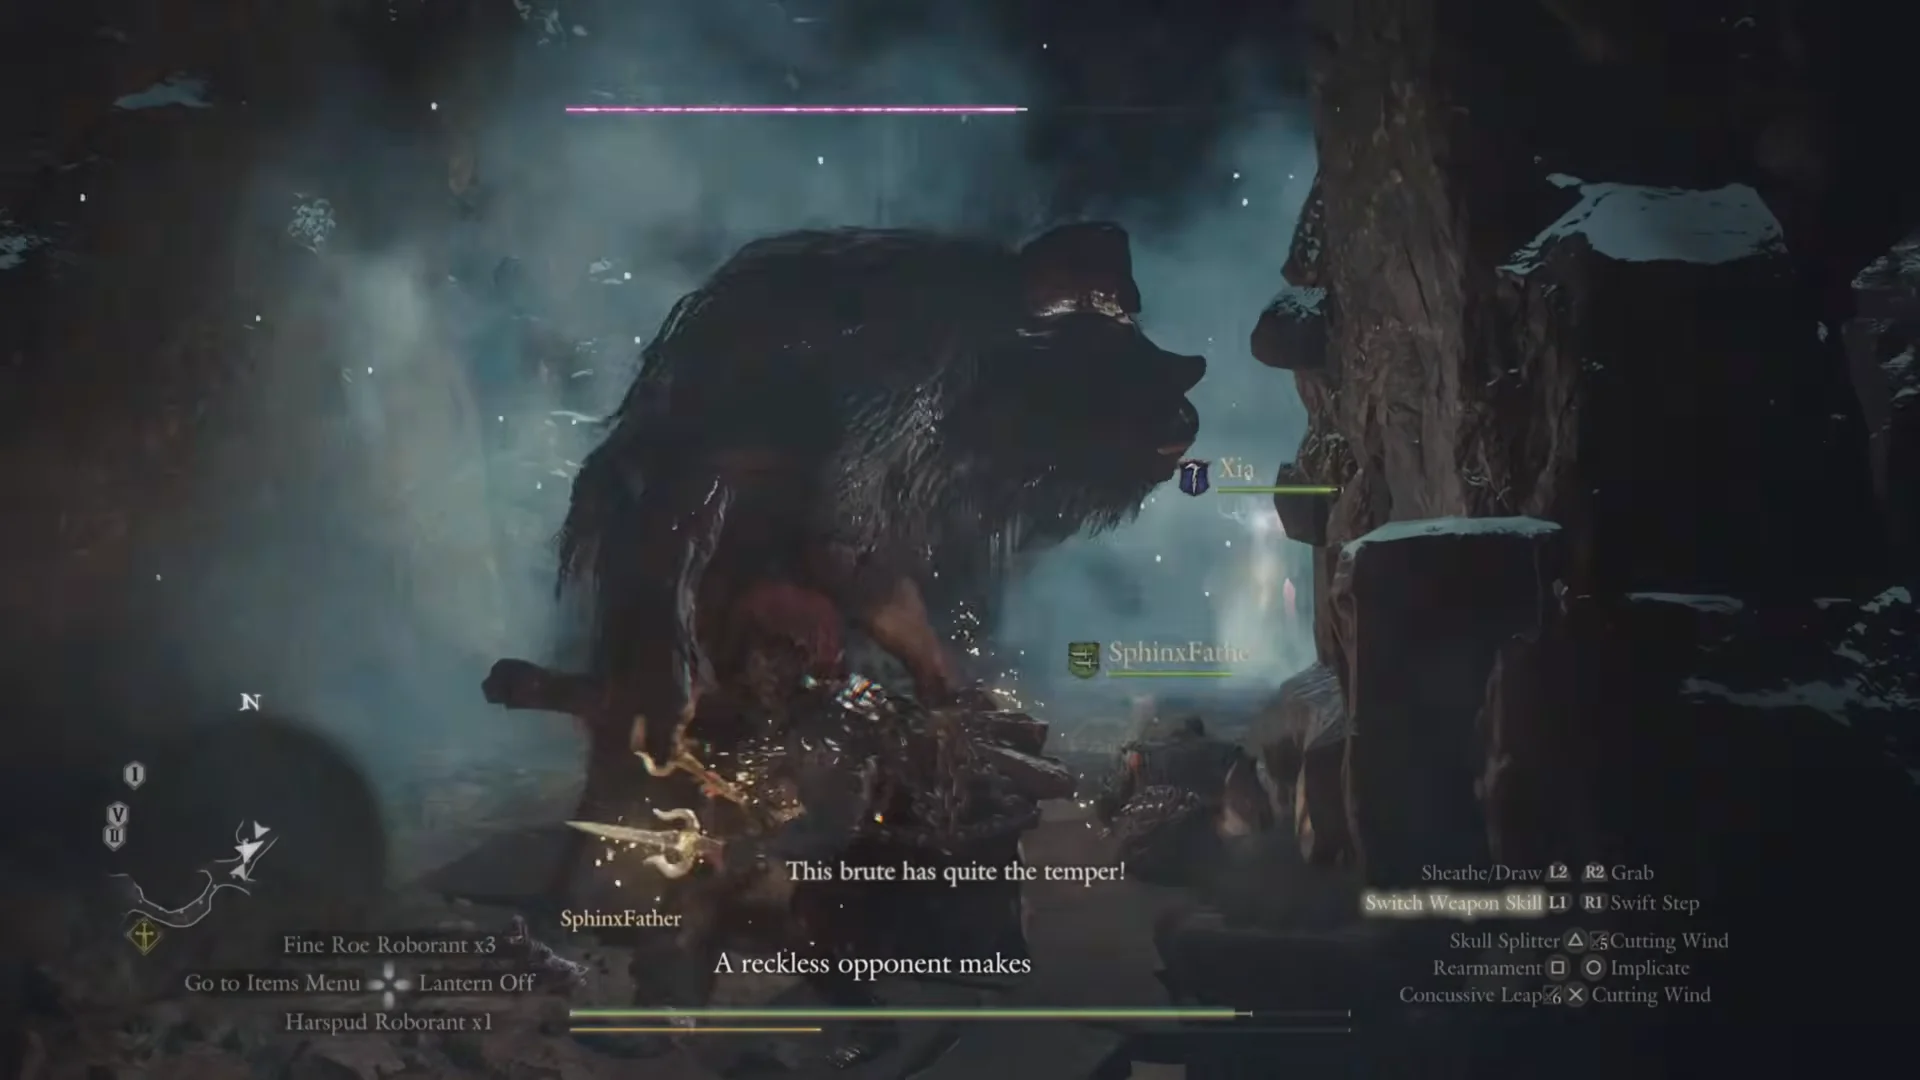
Search the cleared pen for two chests. The ornate one, among the crates and barrels, contains 12,000 G; farther inside, a second chest rests against the root-covered rock and holds Panacea.
Pen 3: two Garms
Two large, dark hounds called Garms occupy the third pen. Each has about 50,000 health on the base line-up and is weak to Fire. Their quick pounces and bites make it safer to stay grouped and bring them down one by one. When the second Garm dies, a heavy chain falls away from the next archway. Search the bodies for Sinister Fang and Monster Fang. Farther along, a chest containing Aged Scrag of Beast x2 sits in a rocky niche on the corridor’s right.
The masonry wall and the spiral door
Ahead, dressed stone blocks form a wall across the corridor. Climb and jump over it to continue. A few small enemies on the other side are easy to dispatch. The local map is named “Daemons’ Corral” and its floor tab reads B1F.
Follow the root-lined passage to a room where a round stone door bears a glowing blue spiral. Two chests are positioned to its right: the wooden chest contains 20,000 G, while the ornate one holds the Mystic Eye. This head piece is usable by every vocation and has protective power imbued by the Lost Rites.
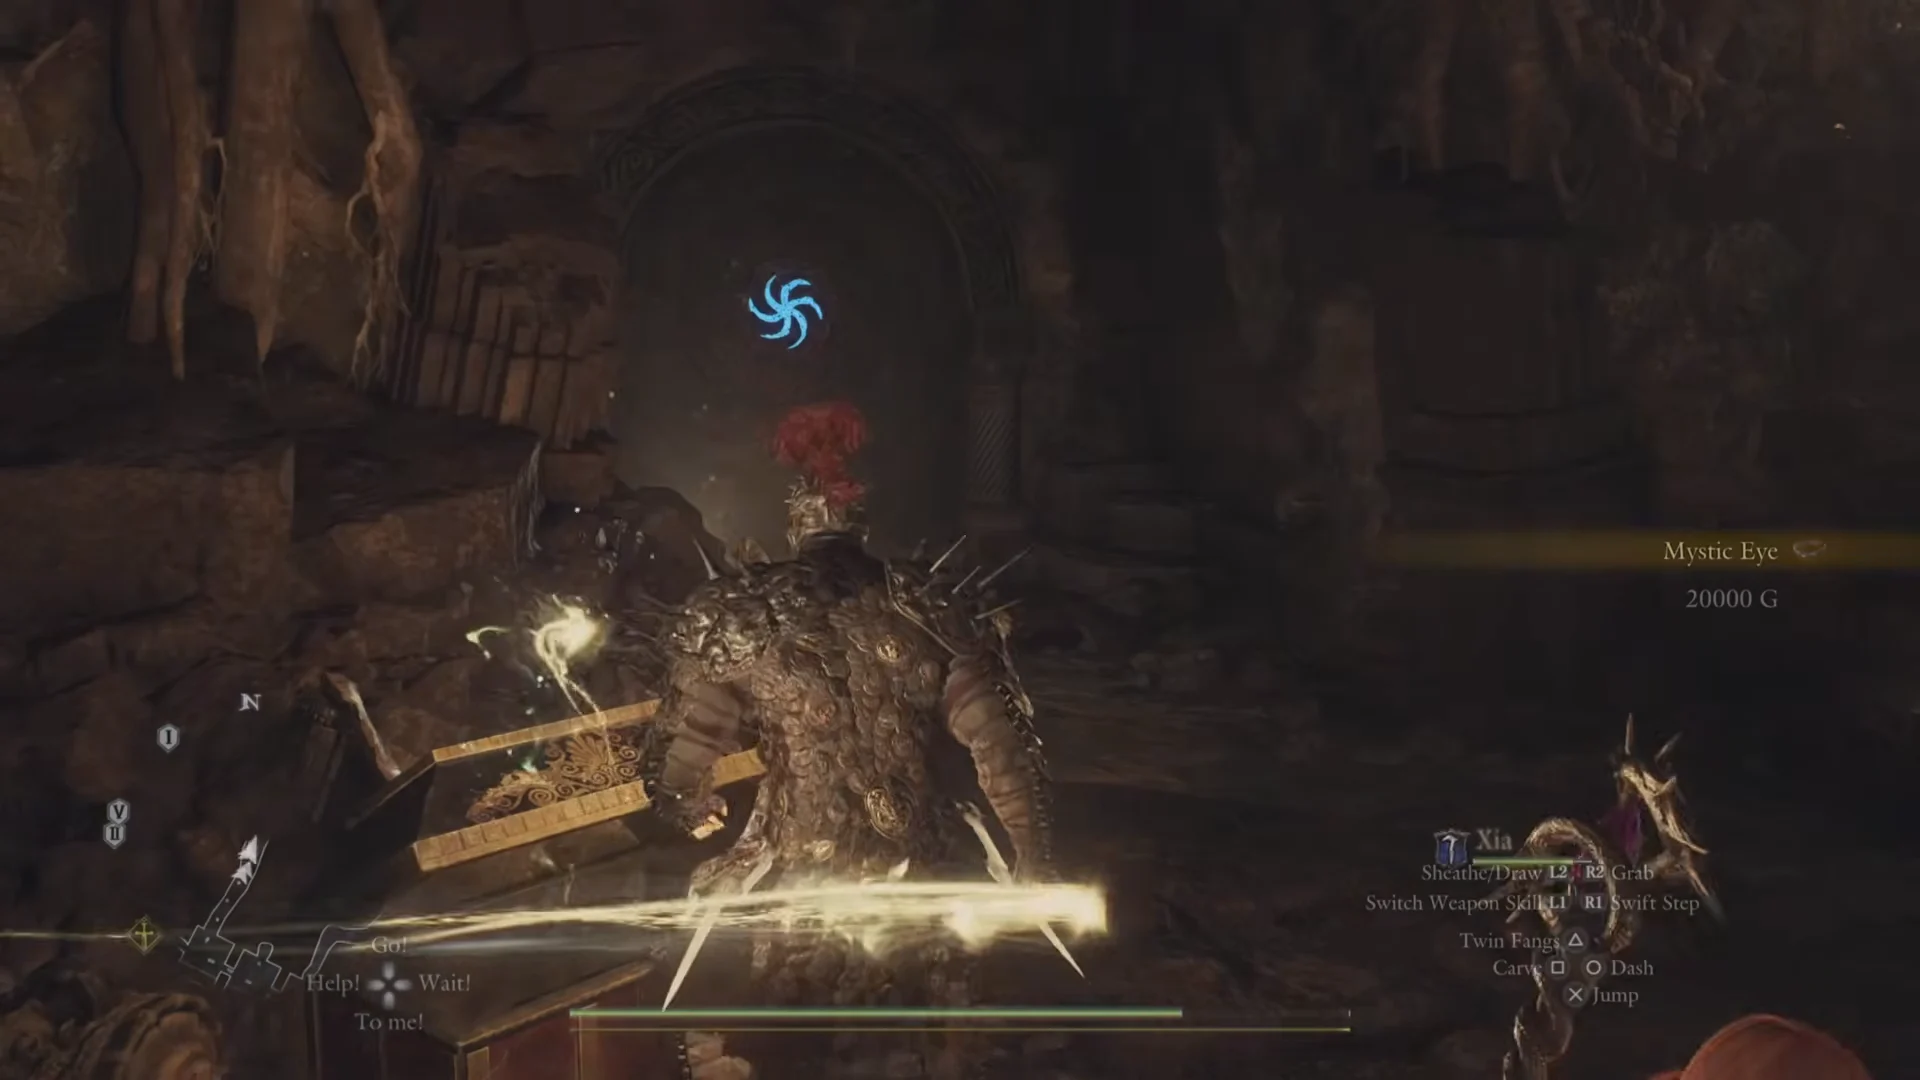
At the spiral, select Examine. Blue-script rings illuminate, and the door swings aside to reveal a tunnel leading to the Cyclops cavern.
How to beat the Cyclops
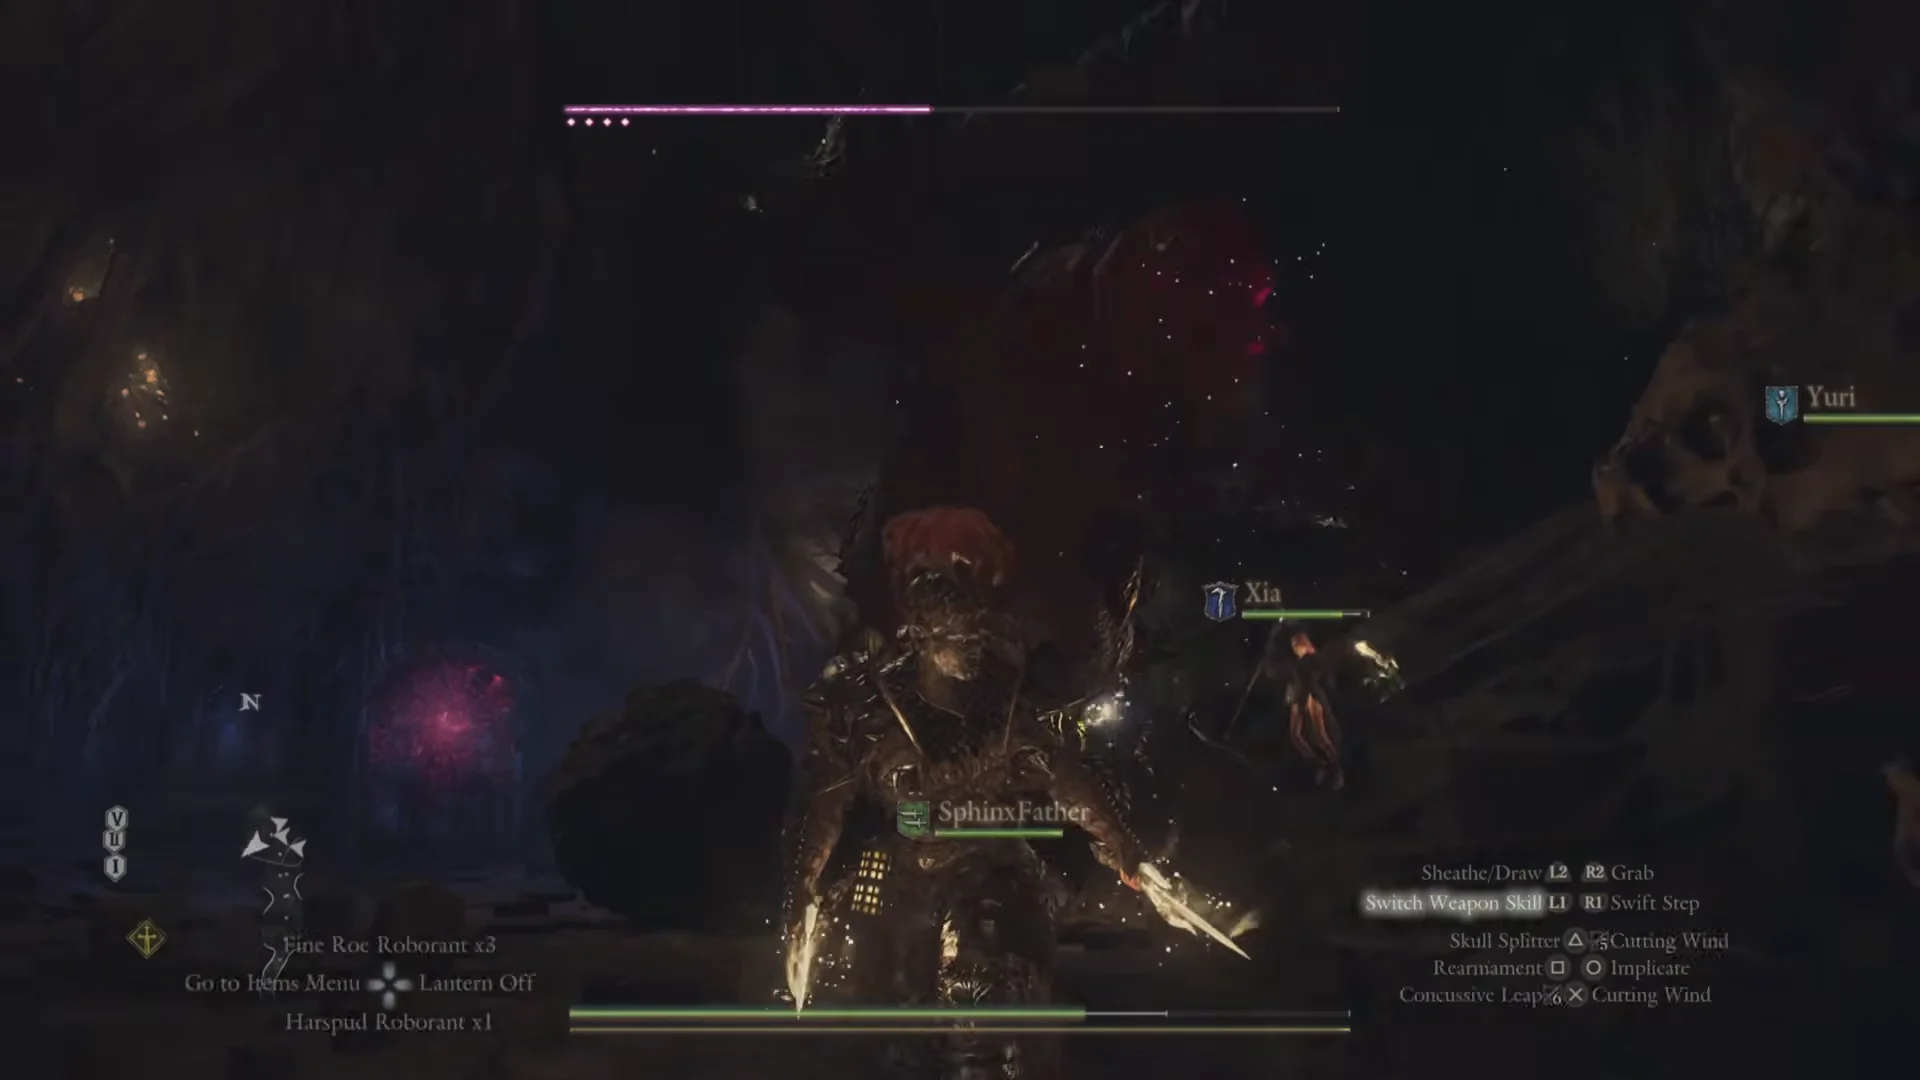
The passage finishes at a stone ledge above a broad cavern scattered with round boulders. Drop down to begin the battle with a helmeted, chained one-eyed giant. At the top of the screen, its purple bar has four dots beneath it. The base line-up gives it 40,000 health, and Lightning is its weakness. Use the boulders for cover against stomps, sweeping arms, and lumbering charges.
The final reward chamber
Through the unsealed archway, a short torch-lit passage opens into a small chamber with a stone chest between two kneeling warrior statues and daylight falling through a shaft above. Opening it gives four items.
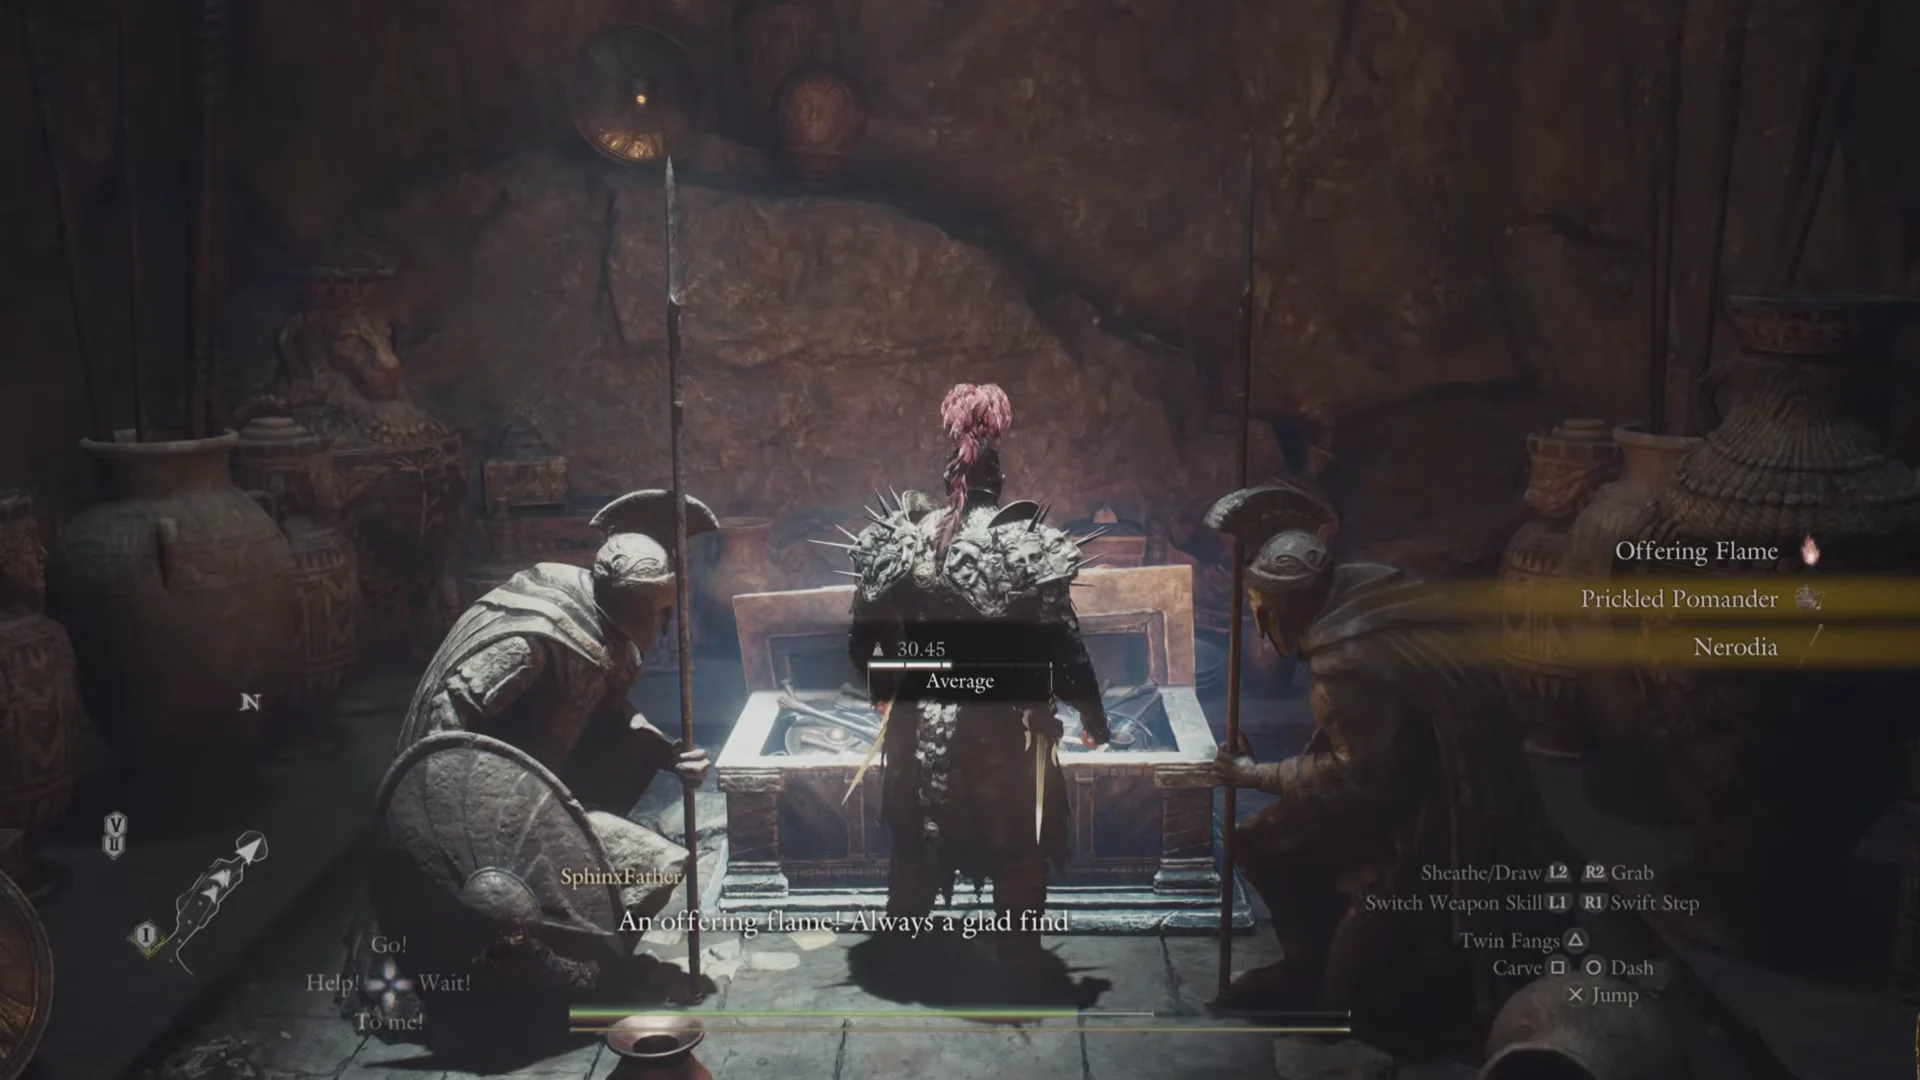
- Offering Flame — a valuable item that cannot be sold, believed to bring boons from the forgotten north’s Obelisks of Benediction.
- Scarbrand — a greatsword for the Warrior.
- Prickled Pomander — a Trickster’s censer.
- Nerodia — an archistaff for the Sorcerer.
All Daemons’ Corral chest rewards
Daemons’ Corral holds 7 chests. Their fixed contents, taken together, come to 32,000 G, Exquisite Roborant x3, Giant Hunk of Rift Crystal x3, Wakestone x1, Mystic Eye x1, and Ring of Projection x1. The two gold chests (12,000 G and 20,000 G) make up the full 32,000 G.
Six of those chests sit on the way through, at the spots below. Some of them hand over ordinary curatives rather than the headline items, so the Exquisite Roborant, Rift Crystal, Wakestone and Ring of Projection are part of the trial’s overall haul rather than a promise from any one chest.
| Location | Contents |
|---|---|
| First hall, right against the rock wall | Fine Roe Roborant x3 |
| Inside the Minotaur pen | 12,000 G |
| Deeper in the Minotaur pen |  Panacea Panacea |
| Niche on the right after the Garms | Aged Scrag of Beast x2 |
| Beside the spiral door (wooden) | 20,000 G |
| Beside the spiral door (ornate) |  Mystic Eye Mystic Eye |
The Ring of Projection boosts projectile damage; every vocation can wear the Mystic Eye, a circlet weighing 0.6 kg.
Enhancing the reward weapons
Prickled Pomander and Nerodia each require Brinebeast Fragments for their second and third enhancement stages, so the fragments picked up in the Cyclops fight can go toward improving them.
| Weapon | Type (vocation) |
|---|---|
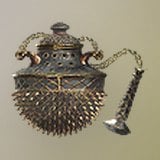 Prickled Pomander Prickled Pomander | Censer (Trickster) |
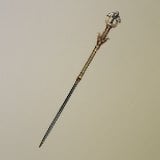 Nerodia Nerodia | Archistaff (Sorcerer) |
Scarbrand, the greatsword, rounds out the set for Warrior players.
How Daemons’ Corral compares to the other Lost Rites trials
Daemons’ Corral is one of the gentler Lost Rites to enter, since it imposes no conditions at all. Several later trials gate entry behind clearing other trials first or restricting your loadout. Here is where it sits among the set.
| Trial | No. | Chests | Entry |
|---|---|---|---|
| Devilkin Hollow | 1 | 1 | None |
| Daemons’ Corral | 2 | 7 | None |
| Sunken Spire | 3 | 11 | None |
| Wyrmsblood Arena | 5 | 6 | Only two weapon skills set |
| Mired Conduit | 7 | 13 | Complete 4+ trials |
| Embersand Mine | 8 | 7 | No grimoires, enchanted weapons or elemental/holy archmagicks |
| Shrouded Warren | 9 | 9 | Main pawn only |
| Molten Gauntlet | 10 | 9 | None |
| Seafloor Sepulcher | 11 | 16 | None |
| Final Proving Ground | 12 | 14 | Clear Molten Gauntlet and Seafloor Sepulcher |
You will know Daemons’ Corral is done when the Cyclops falls, the far seal dissolves, and the end chest in the statue chamber hands over the Offering Flame and the three weapons. A conquered proving ground can repopulate after a few in-game days, not always with the same beasts, and the map icon changes once it has.