Sunken Spire is the third Lost Rites trial in Dragon’s Dogma 2: Dark Arisen, a flooded cavern you drain by hand before fighting a red-furred brute in its depths. The entrance sits beside Guerco Mountain Road, and the far chamber hands out three weapons alongside an Offering Flame and a Ferrystone.
Quick answer: Use the Proving Ground Compass, walk into the cave mouth by Guerco Mountain Road, push the boulder to drain the water, open the chest at the end of the brazier corridor to wake the brute, kill it, then Examine the blue spiral door to reach the reward chamber.
Where Sunken Spire is and how to get in
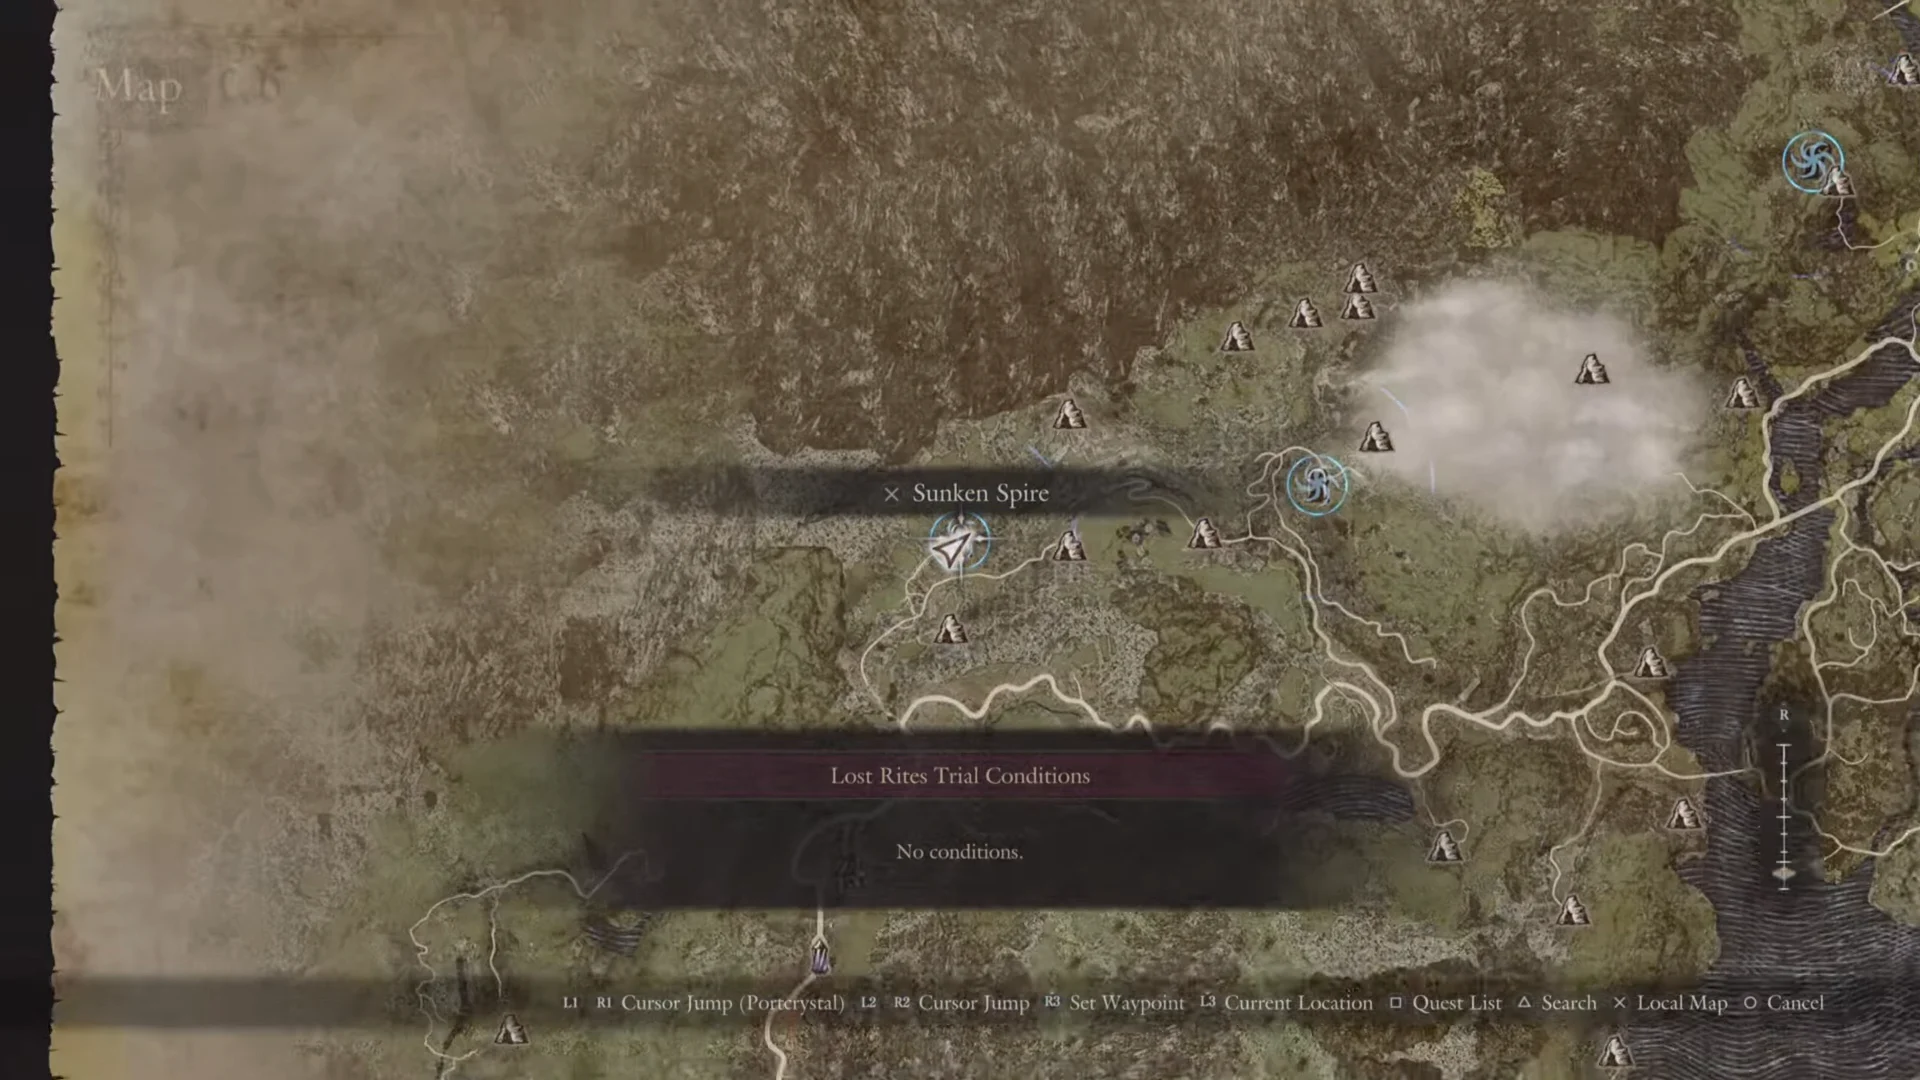
Open Items and activate the Proving Ground Compass. A message confirms that the forgotten proving grounds have been marked, and blue swirl icons appear on your map. Sunken Spire’s marker is on the charted land’s western edge, immediately beside a road that winds north-west up into the mountains.
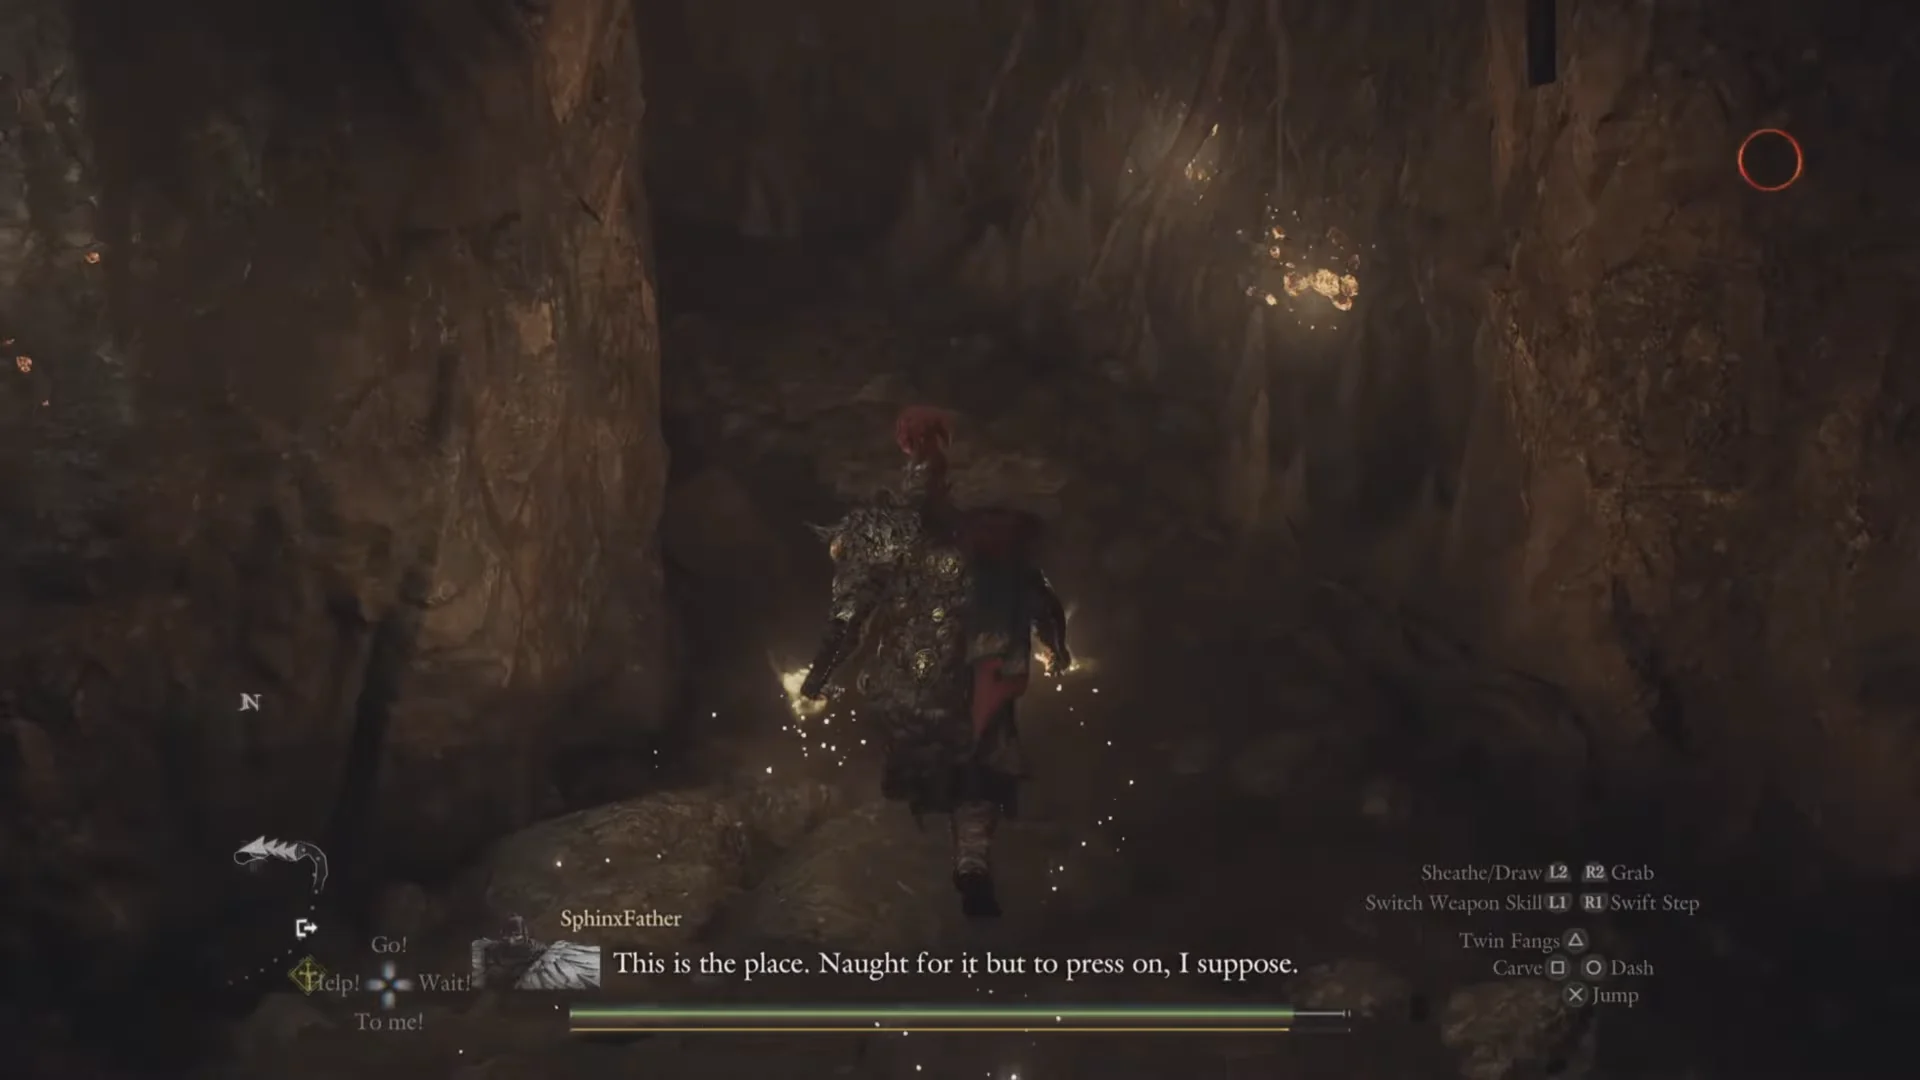
On foot, the location is named Guerco Mountain Road. Cut across the grass away from the road and approach the shadowy cave entrance in the cliff. After a few steps inside, the Sunken Spire banner appears. No door prompt comes up, and you don’t need to pay or present anything.
Entry condition
The map card lists the entry condition as “Lost Rites Trial Conditions” and “No conditions.” Any vocation, any party make-up, and any carry weight can walk straight in.
Draining the cavern and reaching the first chests
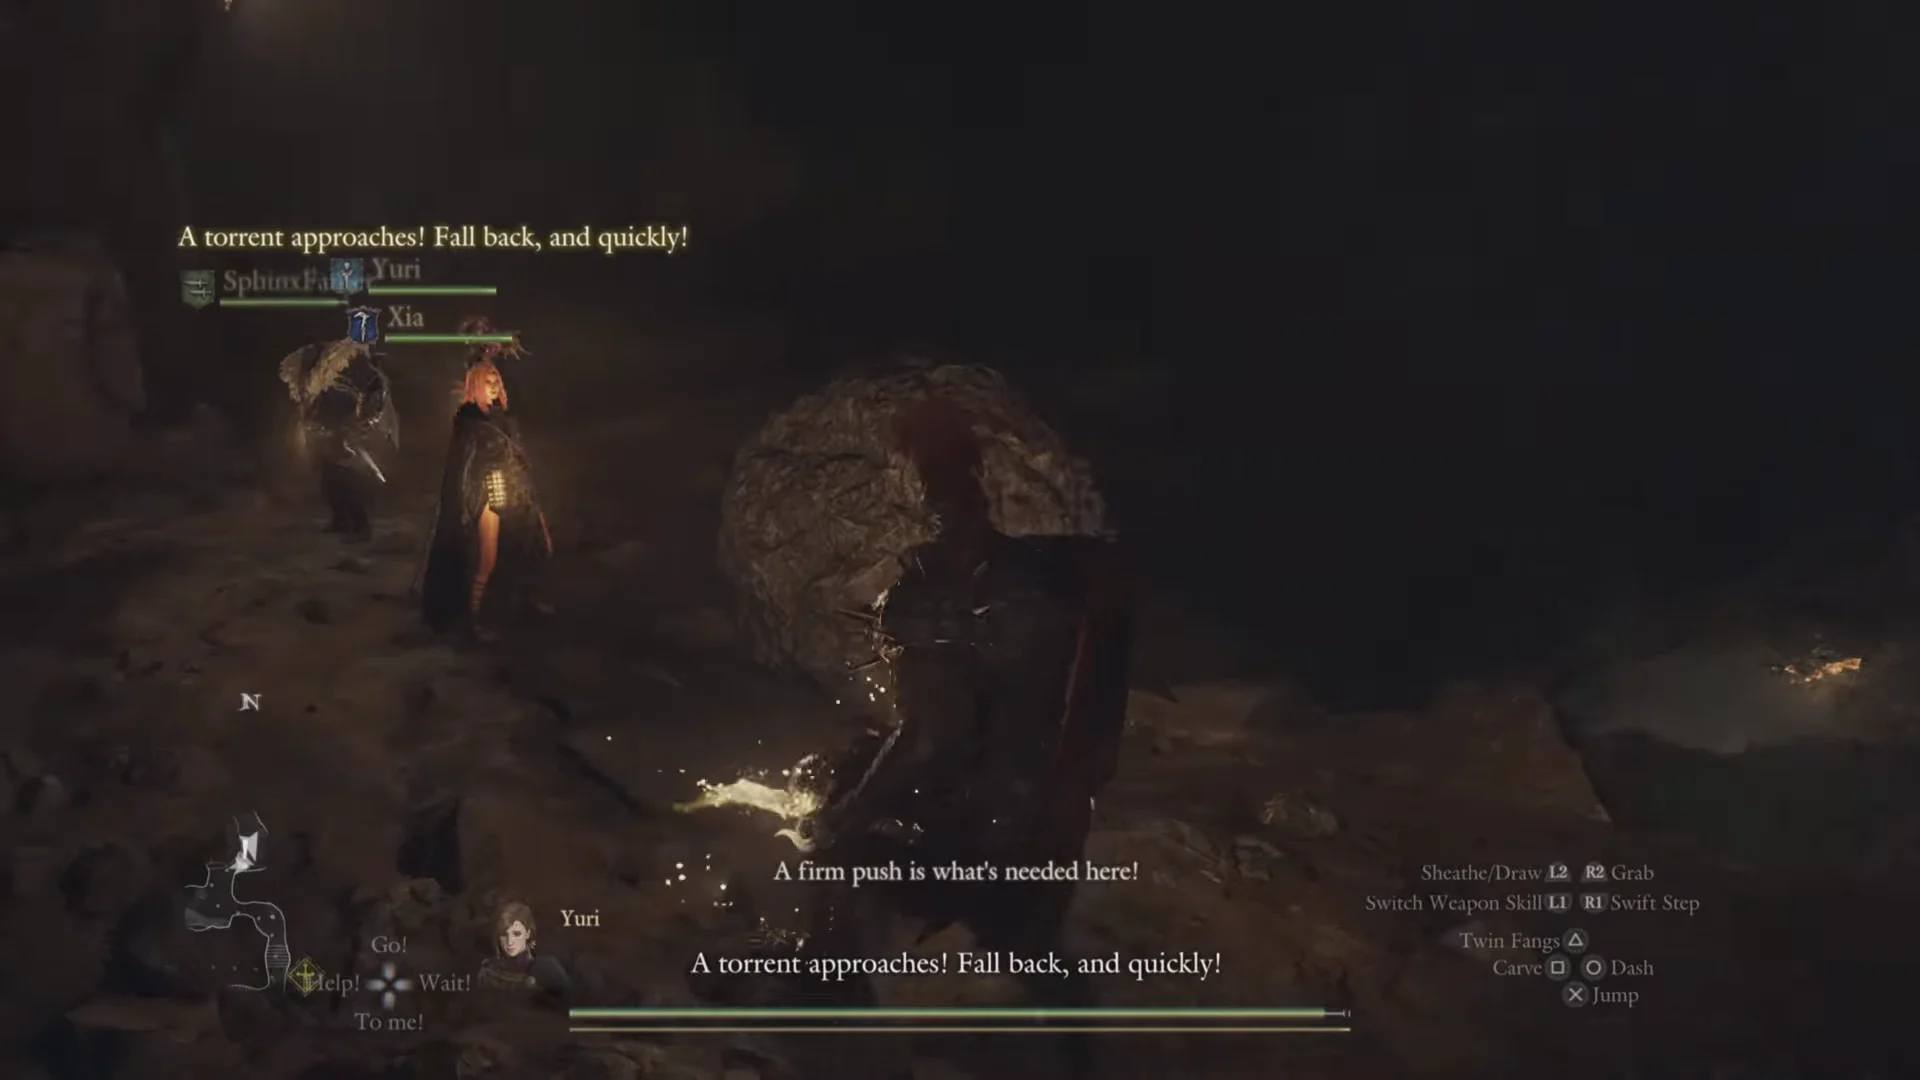
Behind the gate, the room contains two chests. The one by the wall next to a red drum contains 1,500 RC; find the other in the left-hand alcove for Blighting Arrow x3.
The chest that wakes the brute
Scale the rock steps to reach an upper stone hall. The round door marked by a blue spiral is here; leave it shut for the moment and use the side corridor, which has pillars and hanging braziers.
An ornate red chest sits at the corridor’s far end. Opening it grants Portcrystal along with Memento Draco, a Fighter’s shield. It also starts a short scene in which a red-eyed brute steps out of the darkness in the cavern below. Prepare your party before you open the chest.
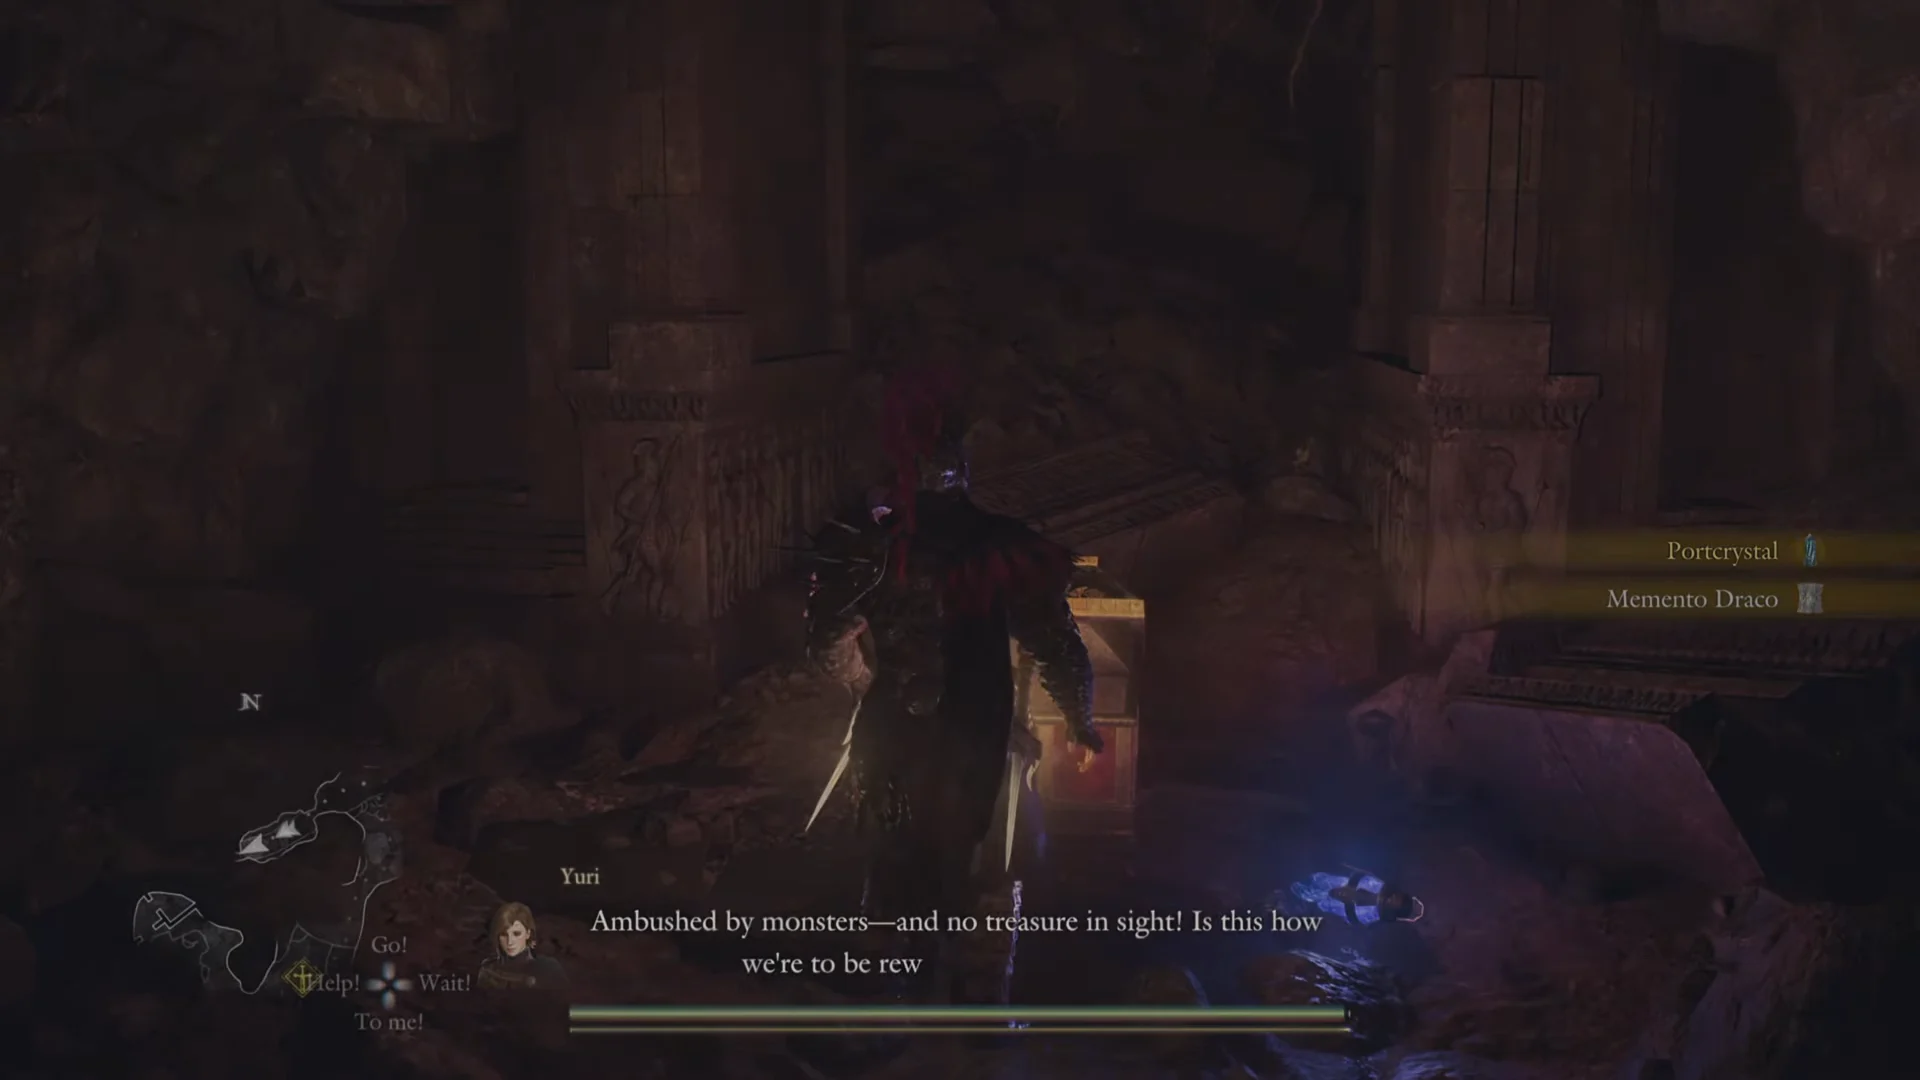
Fighting the red-furred brute
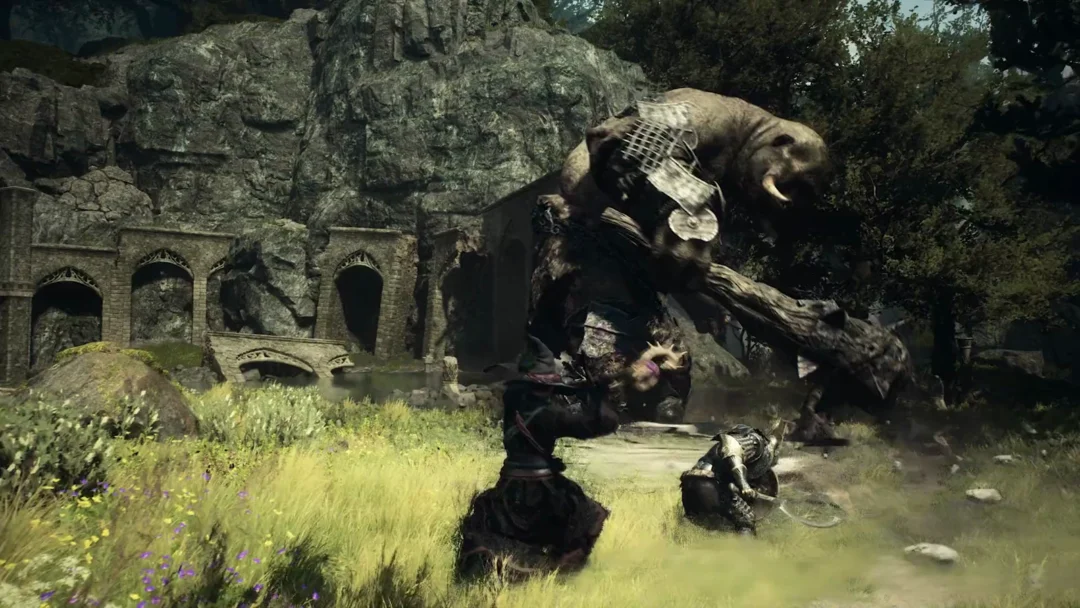
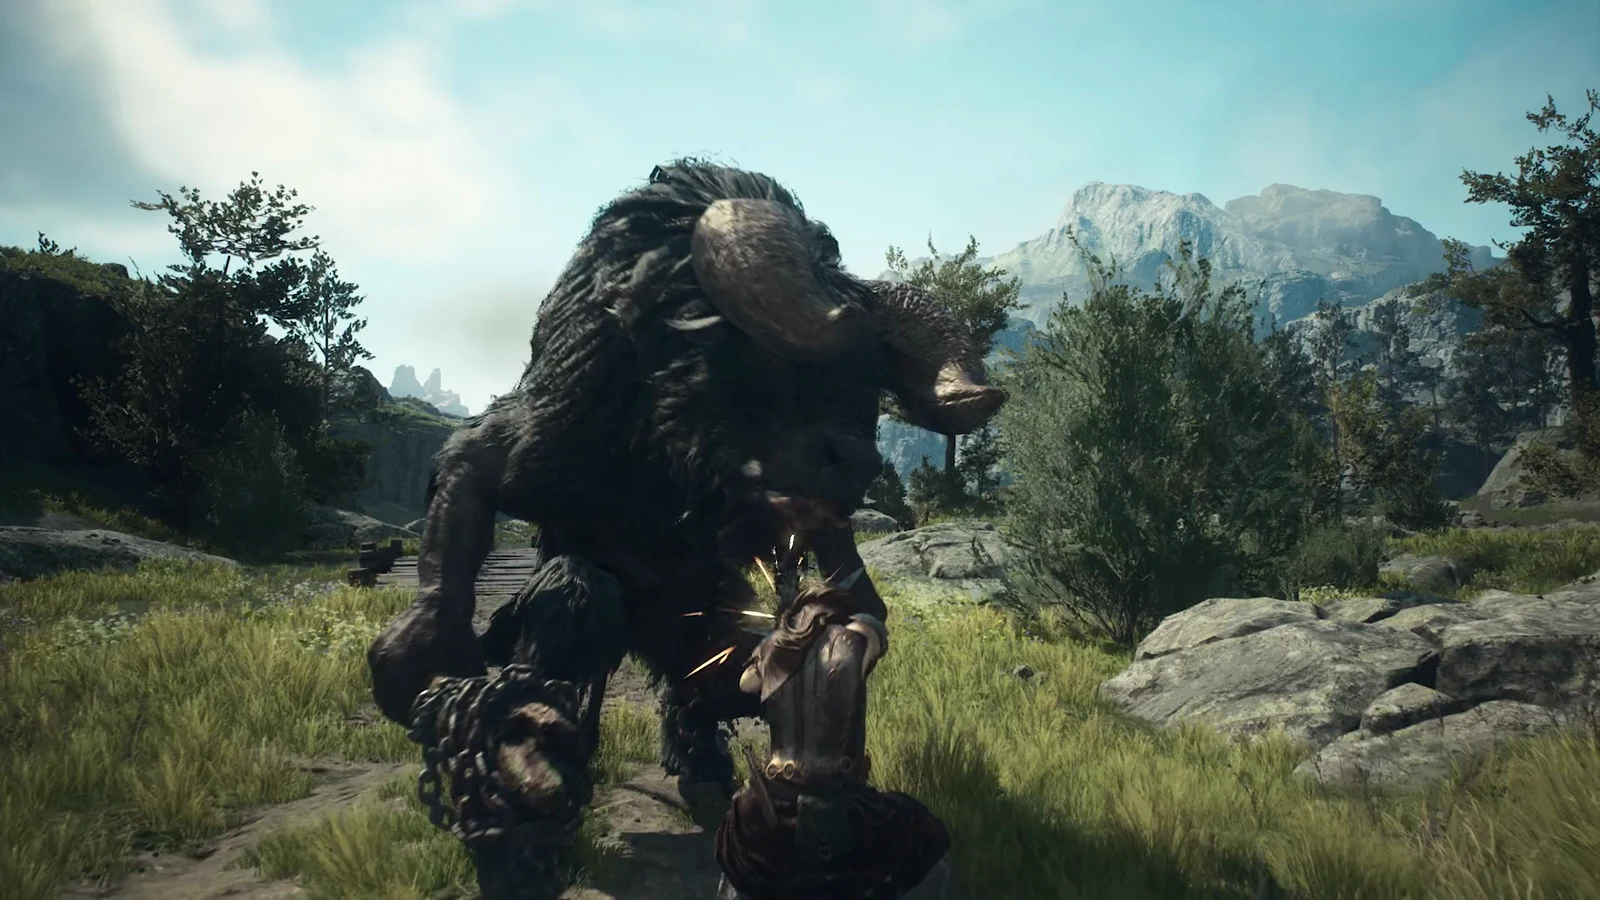
Return through the corridor with the braziers and step onto the high ledge above the drop. On the broad cavern floor below waits a towering, ape-like brute with glowing eyes and a shaggy dark-red mane. It roams the floor, lets out roars, and charges at the closest target.
Start the fight from the high ledge. With the brute below you, your party can hurt it from safety while it rages on the floor. Let a Mage and a Sorcerer pour ice and lightning into it to strip most of its health bar, and use a Thief’s Implicate, the hooked line, to reach it from above. When the bar is low, drop onto it and finish with a plunging dagger skill.
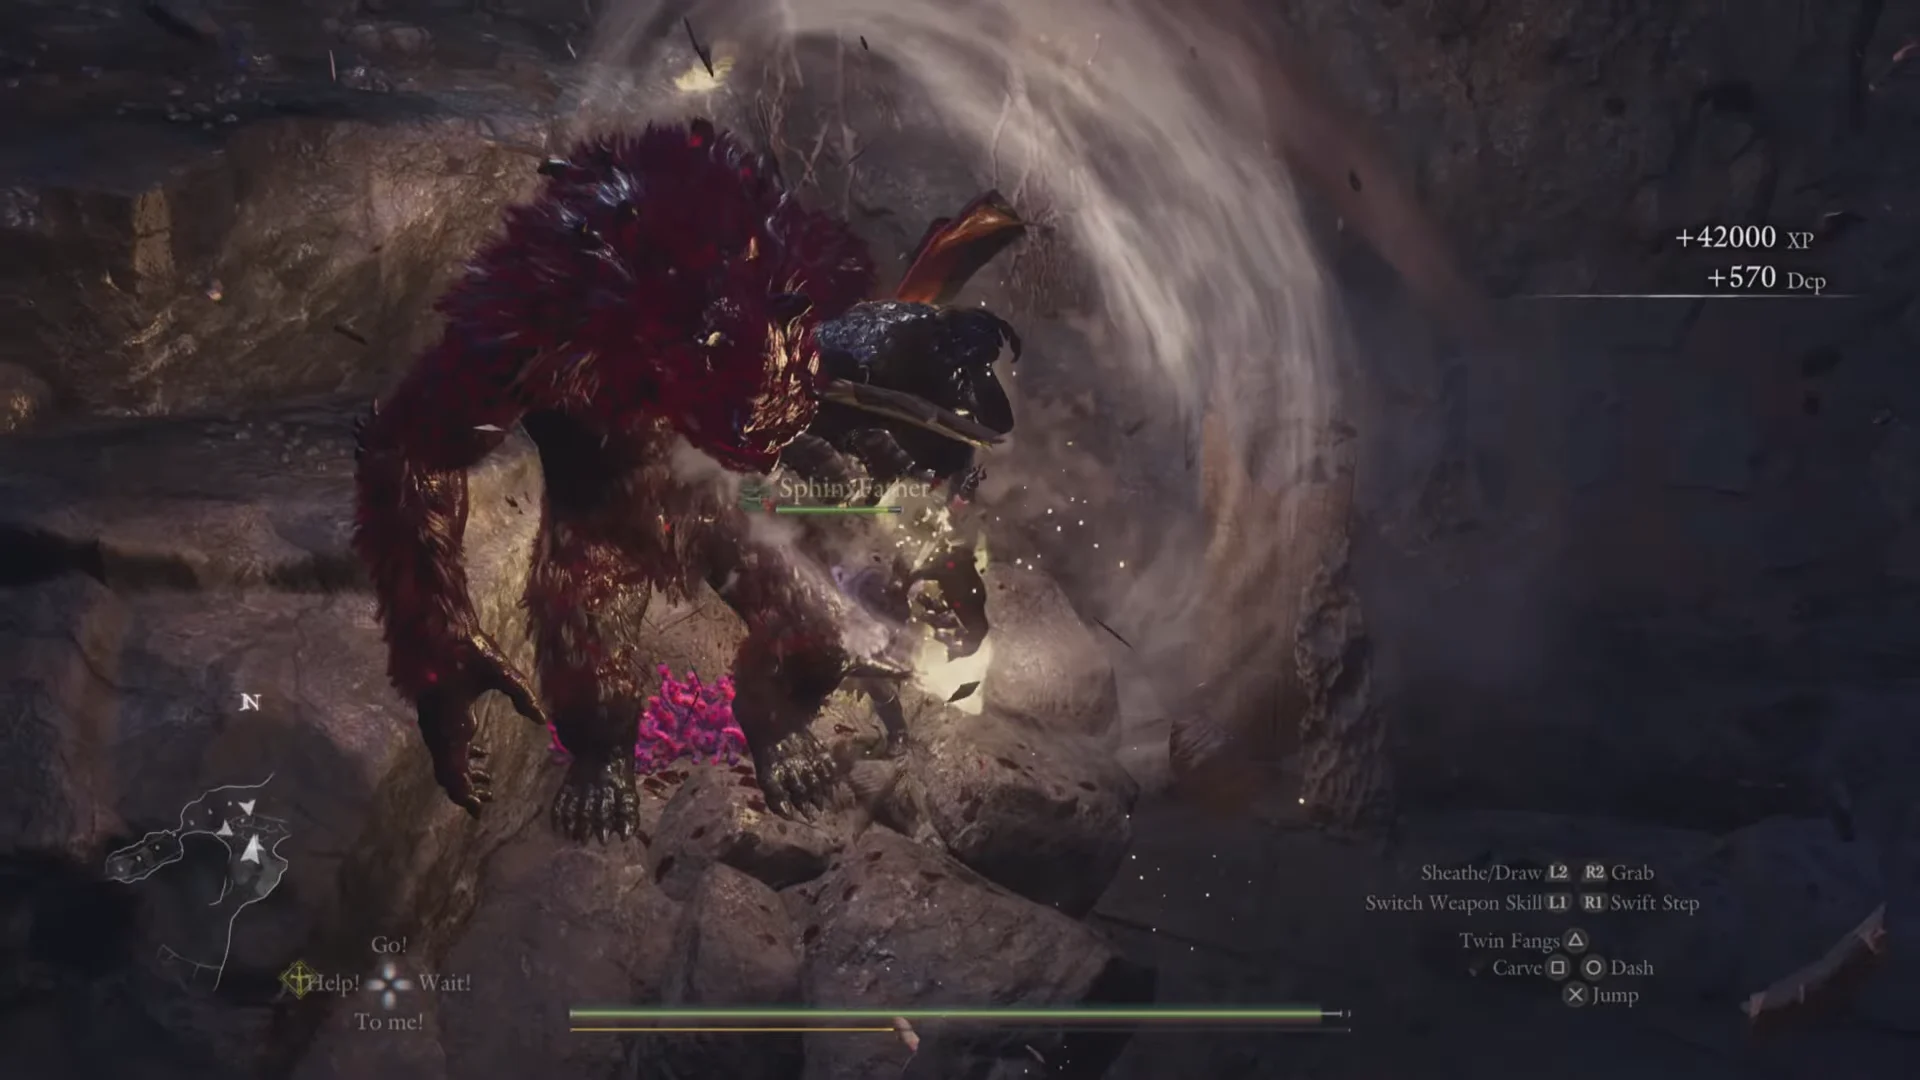
Pick up the Brinebeast Ore and Brinebeast Fragment x2 it leaves on the floor before climbing back up.
Opening the blue spiral door
Scale the rock ledges to return to the upper hall, then face the round door bearing the blue spiral. Select the Examine prompt; blue-script rings illuminate as the door opens in two halves.
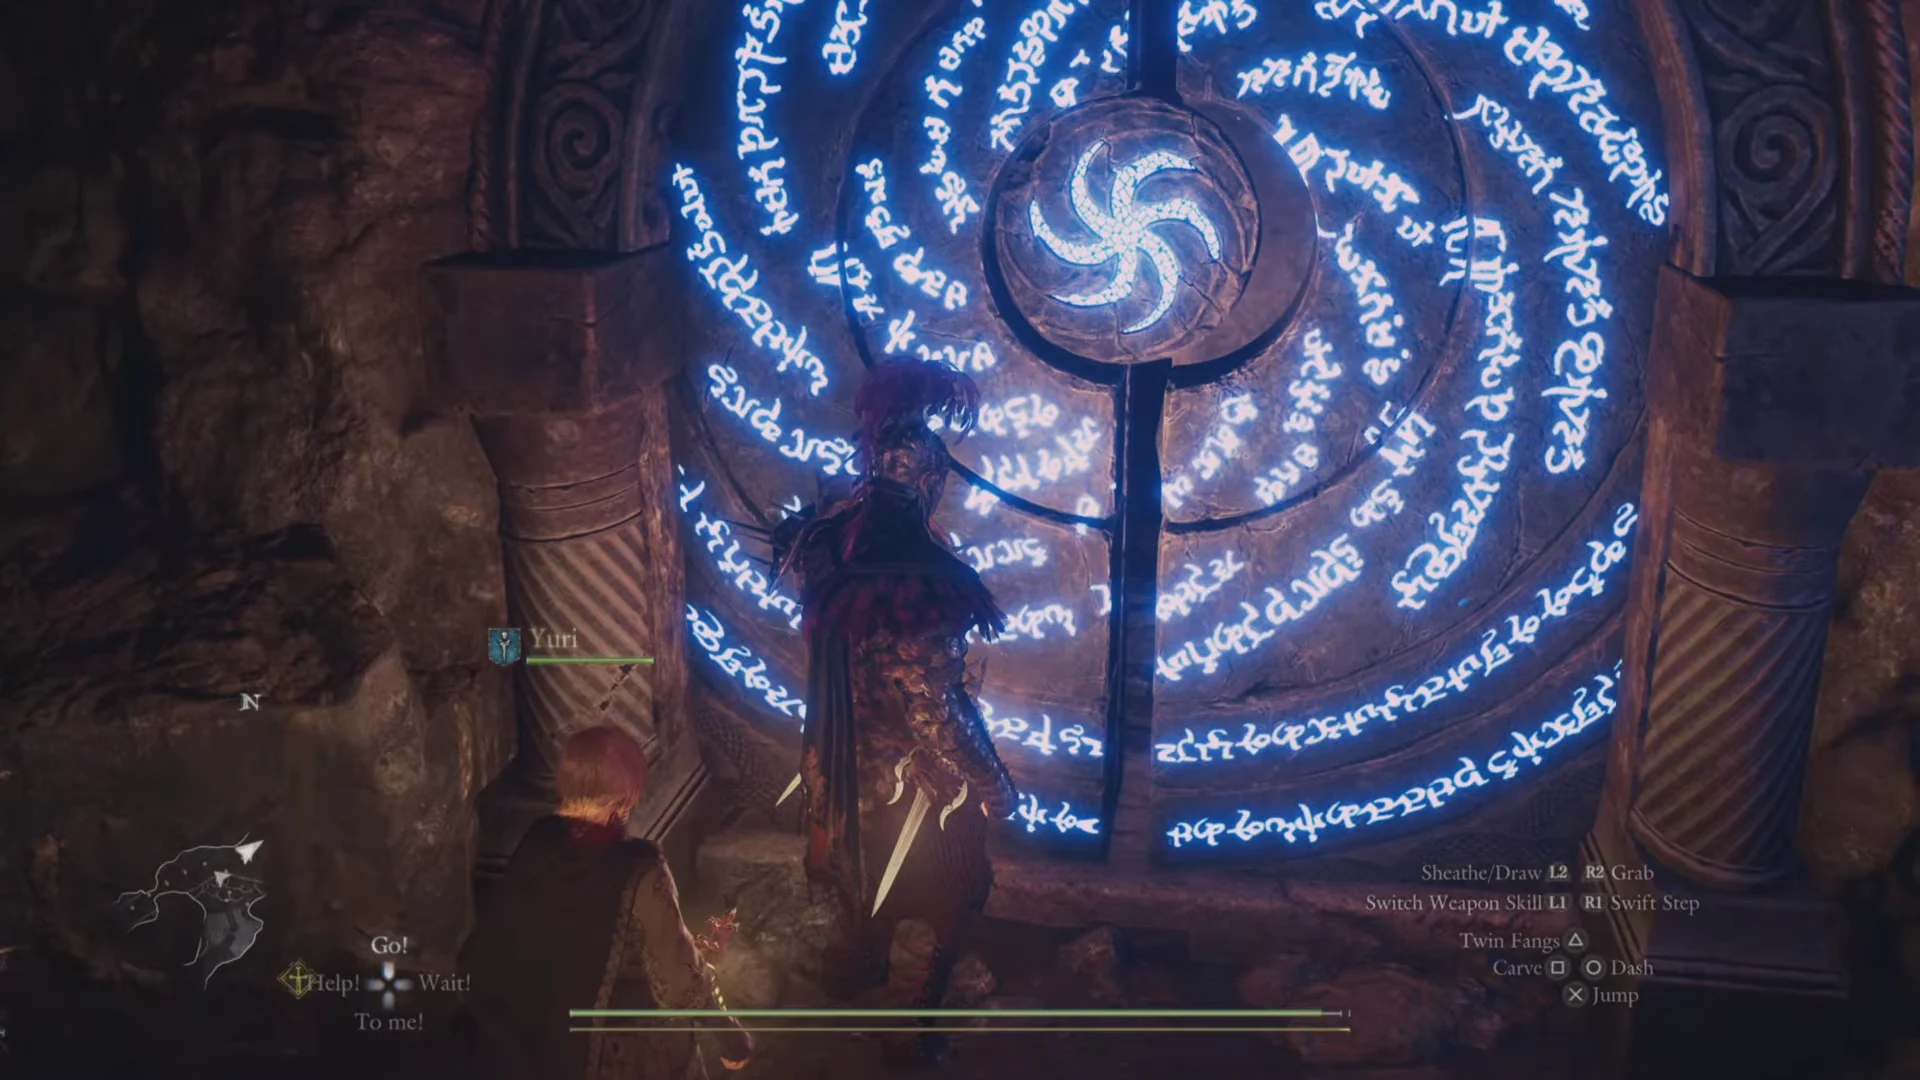
The vault behind it holds three chests: an Allheal Elixir on the left as you enter, 20,000 G against the right wall, and the Staunch Sabatons at the far end between the big urns. The sabatons are leg armor weighing 2.21 kg, built with a focus on frontal reinforcement.
Exit the vault and drop down into the lower cavern. A stone platform beside a pillar holds a lump of Miasmite. Hobgoblins occupy the area among the ruined columns: ordinary ones have 3,500 Health, while tougher variants range from 15,000 to 31,000, and all are weak to Lightning. Beyond them, climb the terraces to an ornate chest hidden in a hollow in the rock wall; it contains Wyrmslife Crystal x20. Continue past a hall of carved pillars to a guard at a grated double gate. Kill the guard to open the gate, then drop down into the corridor leading to the reward chamber.
The final reward chamber
In the chamber, an open stone coffer stands amid large urns, between two kneeling warrior statues. Each item has a separate Pick Up prompt. Take three weapons—one for each of Thief, Mystic Spearhand, and Magick Archer—as well as an Offering Flame and a Ferrystone.
| Weapon | Vocation | Weapon type |
|---|---|---|
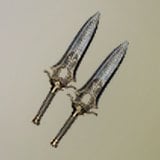 Iridian Sigils Iridian Sigils | Thief | Daggers |
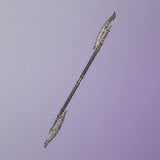 Kinslayer Kinslayer | Mystic Spearhand | Duospears |
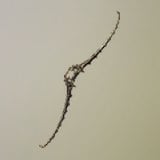 Cavicorn Bow Cavicorn Bow | Magick Archer | Magickal Bows |
The Offering Flame is unsellable and lets you claim boons at the Obelisks of Benediction in the forgotten north; keep it for Norgan.
As you leave, muddy water floods through the lower passage again. Immediately scramble onto the nearest rock ledges; from there, watch the floor flood instead of remaining in the channel.
Every chest in Sunken Spire
Sunken Spire holds 11 chests. Taken together, their fixed contents are 32,000 G, Wyrmslife Crystal x20, Giant Hunk of Rift Crystal x5, Blighting Arrow x3, Crown of the Mad Sovran x3, Allheal Elixir x1, Staunch Sabatons x1, Memento Draco x1, and Portcrystal x1.
The eight chests along the route above, in order, give:
- 1,500 RC (a Giant Hunk of Rift Crystal confers 300 Rift Crystals each, which covers the five on the list)
- Blighting Arrow x3
- 12,000 G
- Portcrystal and Memento Draco (one chest)
- Allheal Elixir
- 20,000 G
- Staunch Sabatons
- Wyrmslife Crystal x20
The 12,000 G and 20,000 G together make up the 32,000 G total. What is left over from the full list is Crown of the Mad Sovran x3, head armor usable by every vocation and once worn by the Mad Sovran.
Lost Rites trials, numbers and entry conditions
Sunken Spire is one of twelve Lost Rites proving grounds, each revealed by the Proving Ground Compass and each with its own entry rule and chest count. Use this as a quick reference while you work through the set.
| Trial | # | Chests | Entry condition |
|---|---|---|---|
| Devilkin Hollow | 1 | 1 | None |
| Daemons’ Corral | 2 | 7 | None |
| Sunken Spire | 3 | 11 | None |
| Interminable Corridor | 4 | 15 | All party members Very Light |
| Wyrmsblood Arena | 5 | 6 | Only two weapon skills set |
| Precipitous Catacombs | 6 | 11 | Archer or Magick Archer Arisen |
| Mired Conduit | 7 | 13 | Complete four or more trials first |
| Embersand Mine | 8 | 7 | No grimoires, enchanted weapons or elemental/holy skills |
| Shrouded Warren | 9 | 9 | Main pawn only |
| Molten Gauntlet | 10 | 9 | None |
| Seafloor Sepulcher | 11 | 16 | None |
| Final Proving Ground | 12 | 14 | Clear Molten Gauntlet and Seafloor Sepulcher |
The enemy groups and their toughness may change with the game mode, meaning your battles might not match the ones described here exactly. Monsters can reappear a few in-game days after you finish a proving ground, though the returning group may differ and they won’t keep coming back forever. The map icon changes when they have returned.