Embersand Mine is the eighth Lost Rites trial. Its sealed entrance lies just inside Sandsear Cave, and opening it is the trial’s central challenge: grimoires, enchanted weapons, and weapon skills that imbue gear with fire, ice, lightning, or holy magick are all prohibited. The placed chests hold 26,000 gold and several rare items, and the end coffer is separate from them.
Quick answer: Strip every grimoire and enchanted weapon from your whole party, unset any elemental weapon skill, then open the rune door inside Sandsear Cave. Fight through the mine to a minotaur in a crystal arena, kill it, and loot the coffer between the two spear statues.
Where Embersand Mine is and how to reach the door
If the marker hasn’t appeared on your map, open the Items menu and activate the Proving Ground Compass; it uncovers the hidden proving grounds and adds their locations to your map. Move the cursor over the proving ground marker on the world map. Its label reads “Embersand Mine”, and a box titled “Lost Rites Trial Conditions” displays the entry rule.
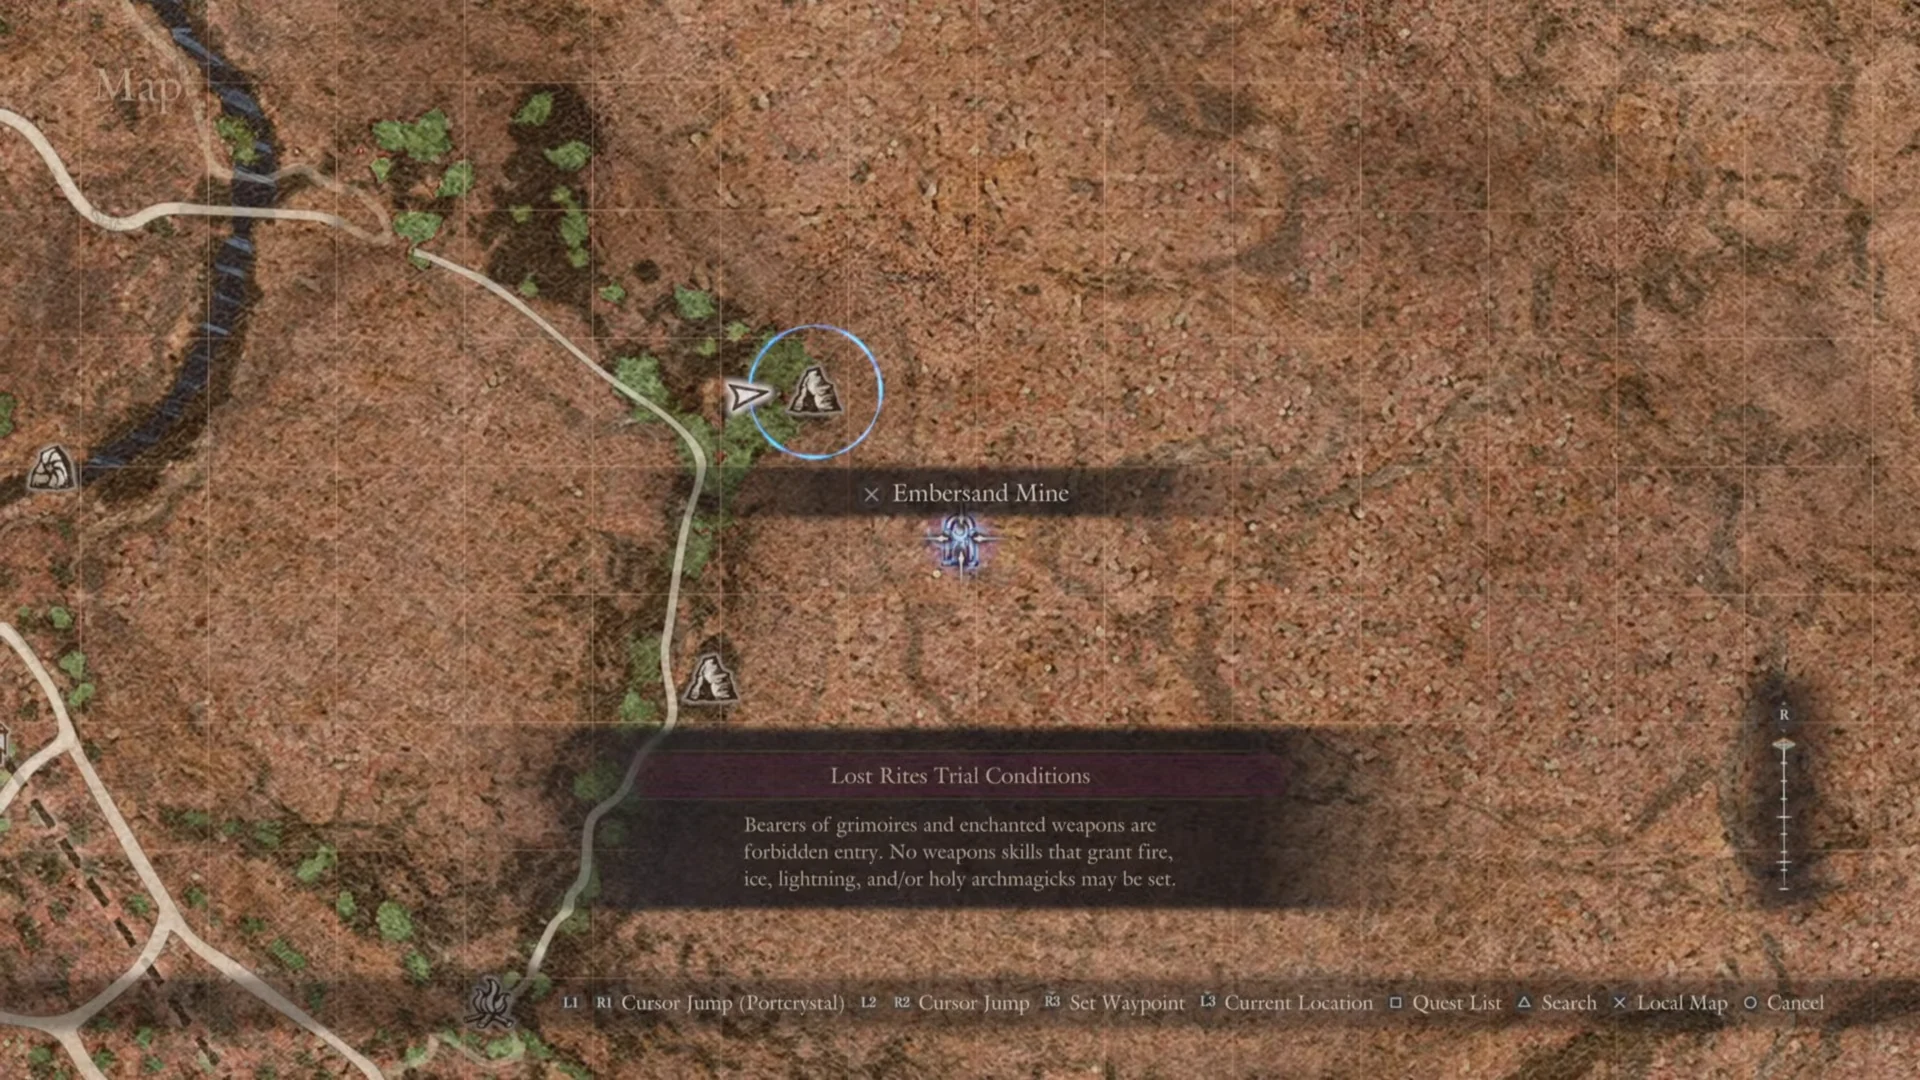
Skip the trial marker. The map symbol for “Sandsear Cave” is a little to its northwest, east of the road that crosses the orange desert from north to south. Head for the cave symbol.
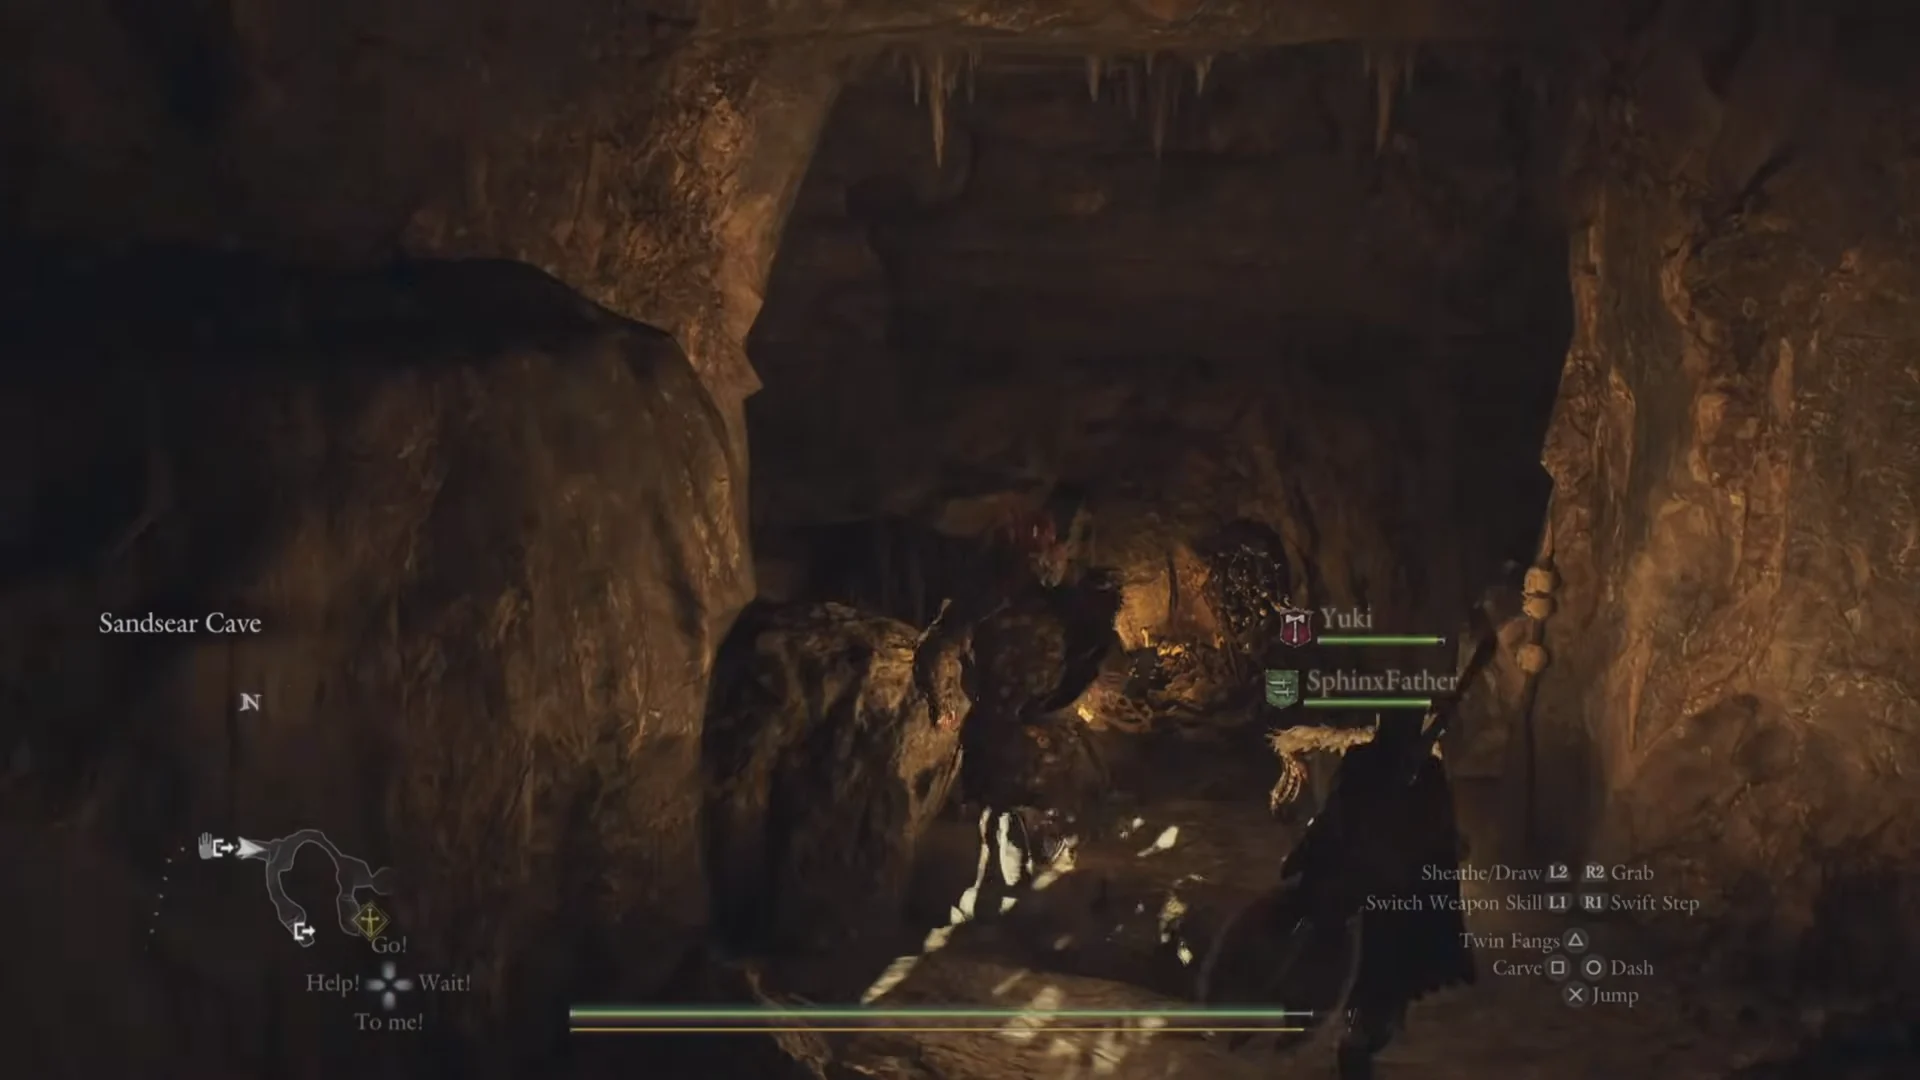
Walking into the cave mouth brings up the “Sandsear Cave” area label. The tunnel is short and dark, so a lantern helps. At its end is the door, a round stone seal with a spiral emblem and rings of carved script.
The entry condition and a loadout that passes it
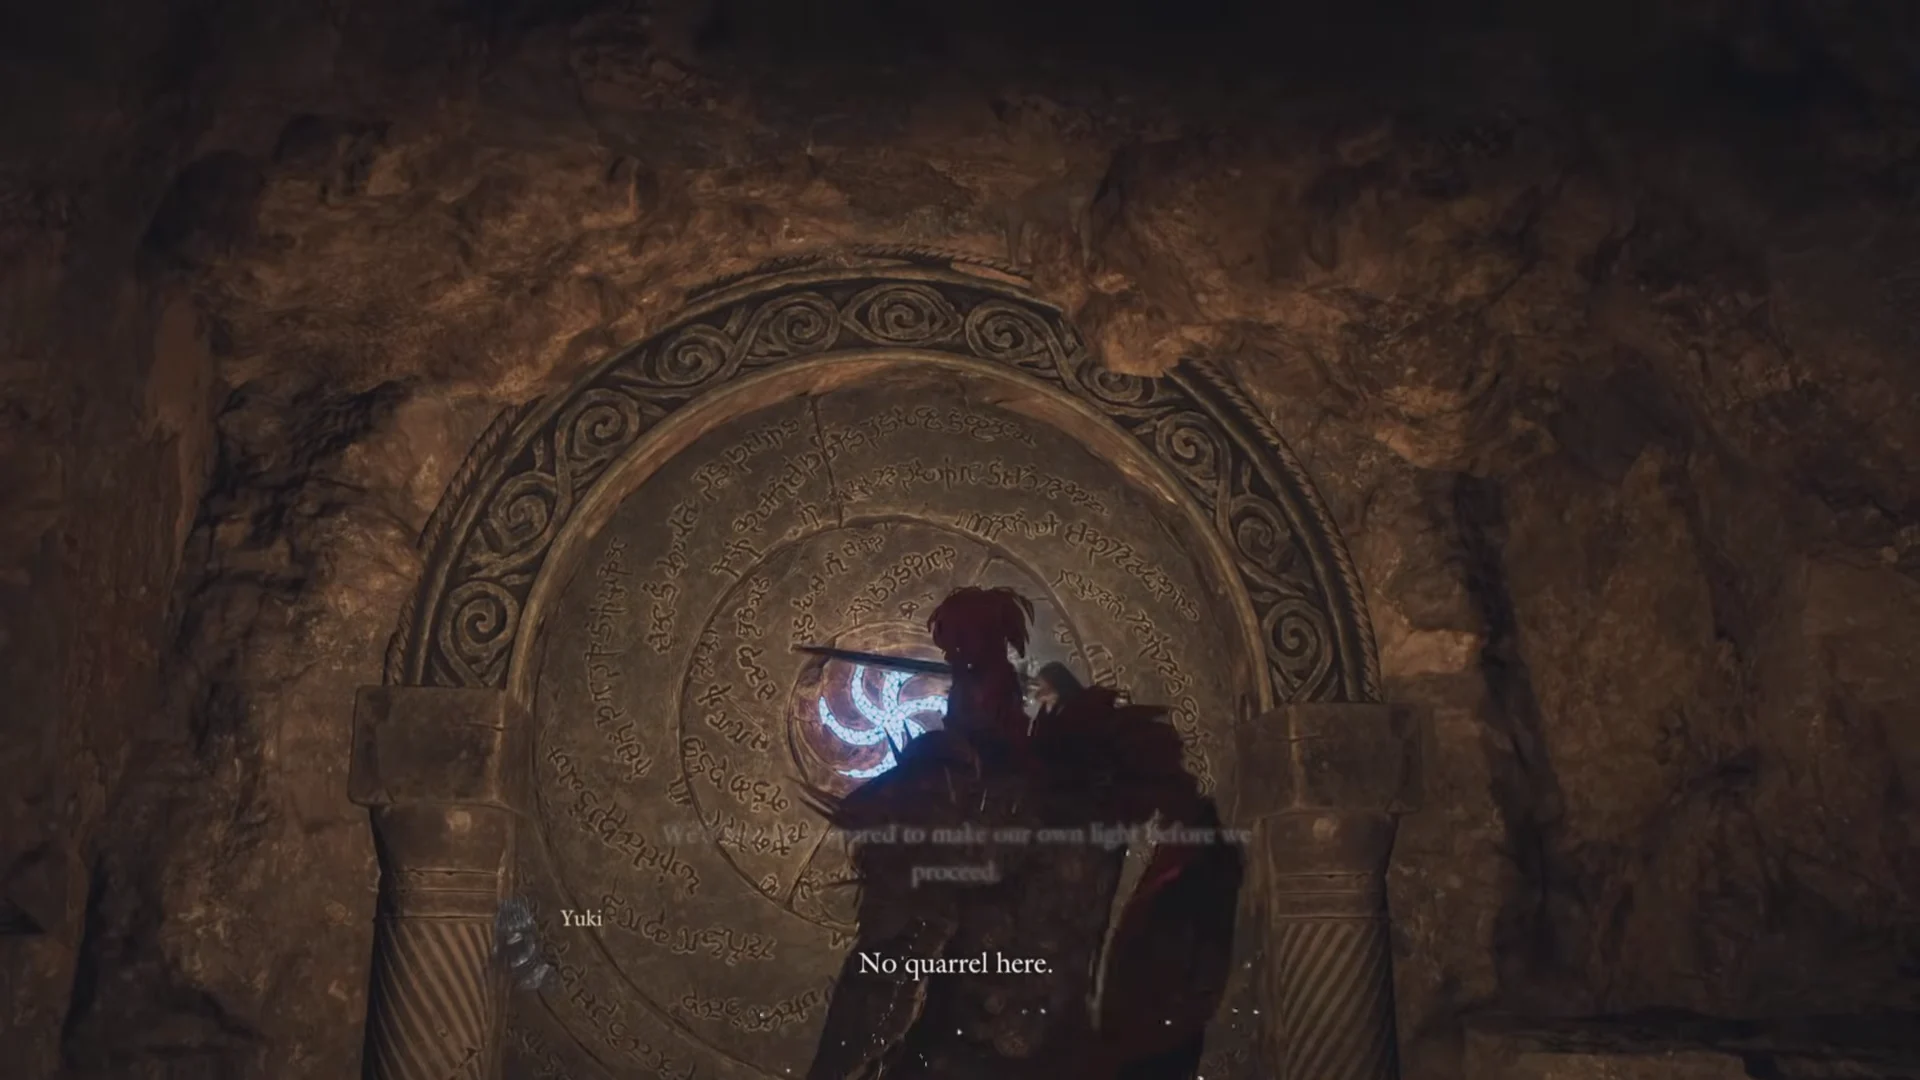
At the door the game shows two sentences with a Confirm prompt. The rule, word for word, is: “Bearers of grimoires and enchanted weapons are forbidden entry. No weapons skills that grant fire, ice, lightning, and/or holy archmagicks may be set.” In plain terms, nobody in the party may carry a grimoire or an enchanted weapon, and no weapon skill that puts an element on a weapon can be set.
Before setting out, inspect Status for the Arisen and every pawn, opening each character’s Vocation tab to check Weapon Skills. Remove any skill that imbues a weapon with an element. One qualifying setup is a Warfarer Arisen equipped with skills for daggers, bows, and a greatsword, with spellcasting left unset:
- Arisen: Masterful Kill, Skull Splitter, Cutting Wind, Implicate, Shadow Veil, Concussive Leap.
- Pawn: Plunder, Skull Splitter, Formless Feint, Implicate, Masterful Kill, Cutting Wind.
- Pawn: Manifold Shot, Spiral Arrow, Tempest Shot, Deathly Arrow, Cascade Shot, Heavenly Shot.
- Pawn: Heavenward Sunder, Ravening Coil, Windstorm Slash, Mountain Breaker, Tidal Wrath, Inspirit.
Once the party meets the restriction, blue light traces the carved rings and the seal opens. The “Embersand Mine” banner appears as you cross the threshold.
Walking the mine, room by room
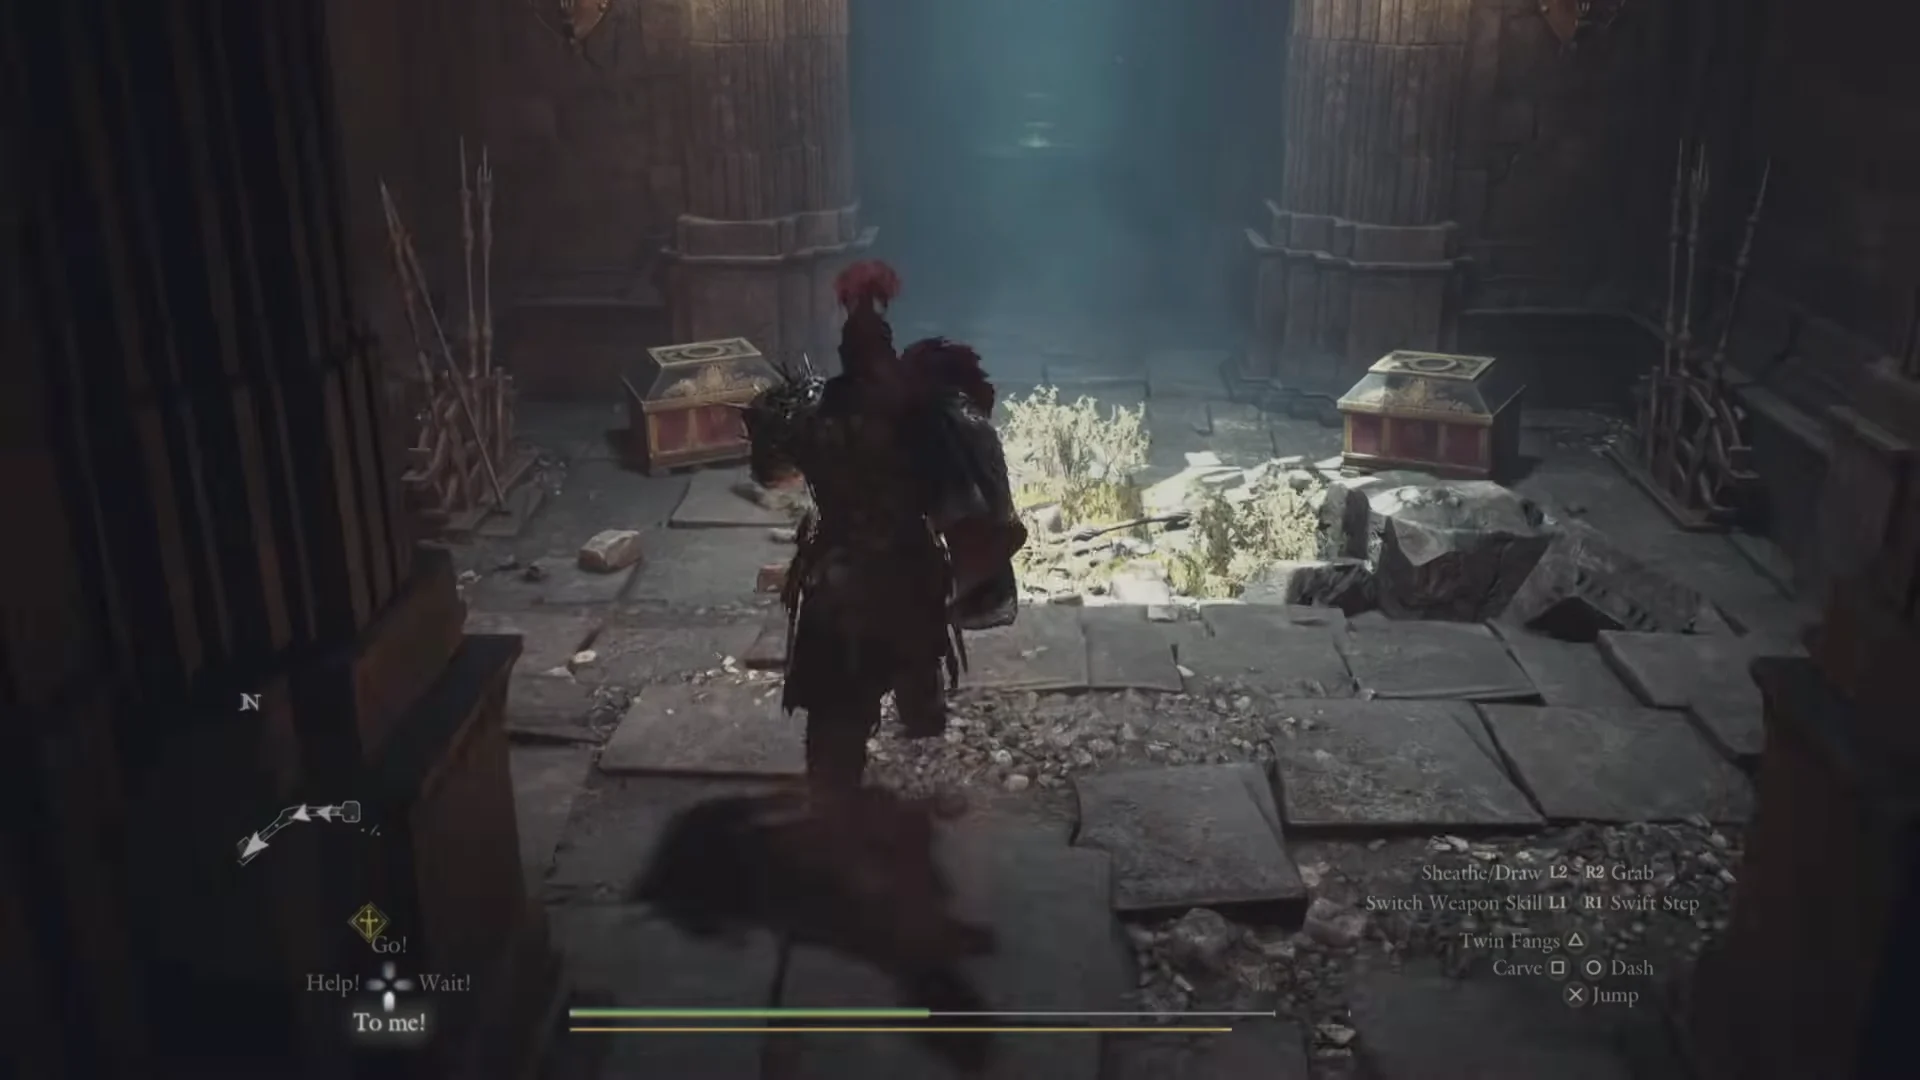
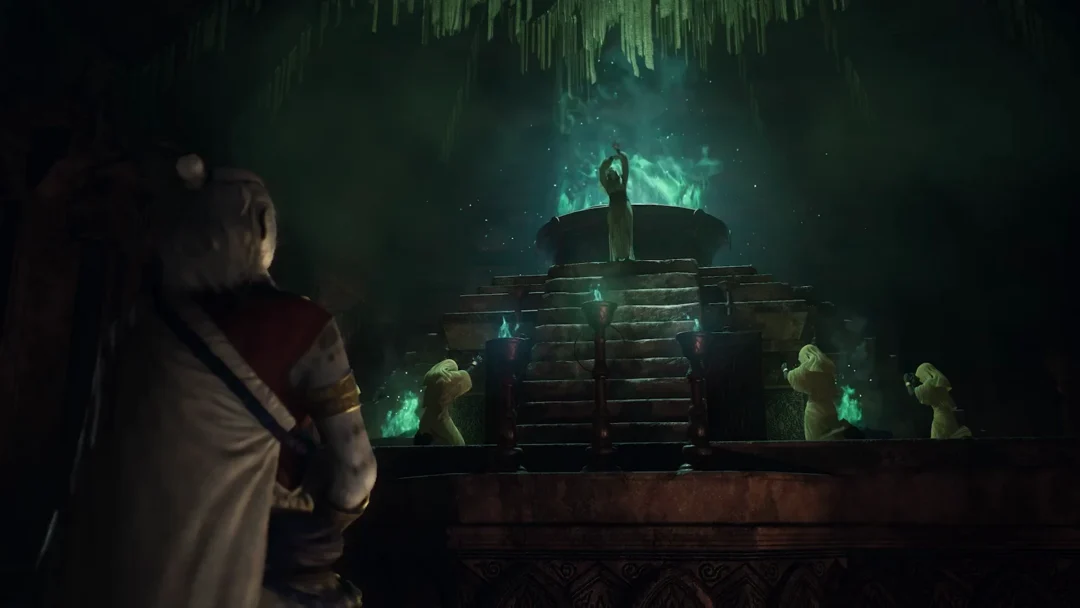
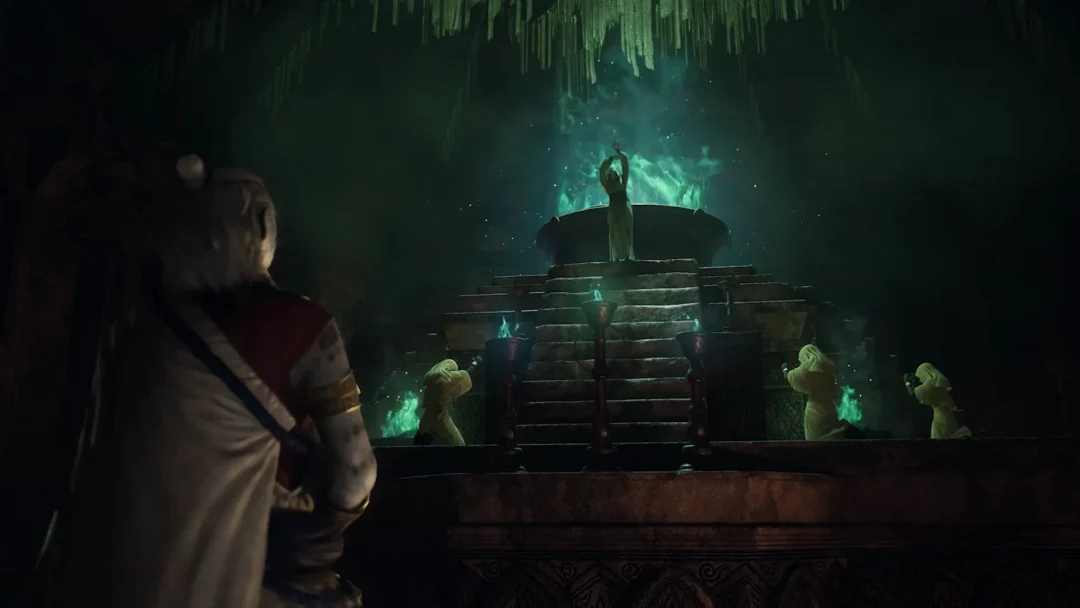
Beyond this room, the passage opens into the arena. A short scene plays as you arrive, and the way back closes once the fight begins.
The arena fight
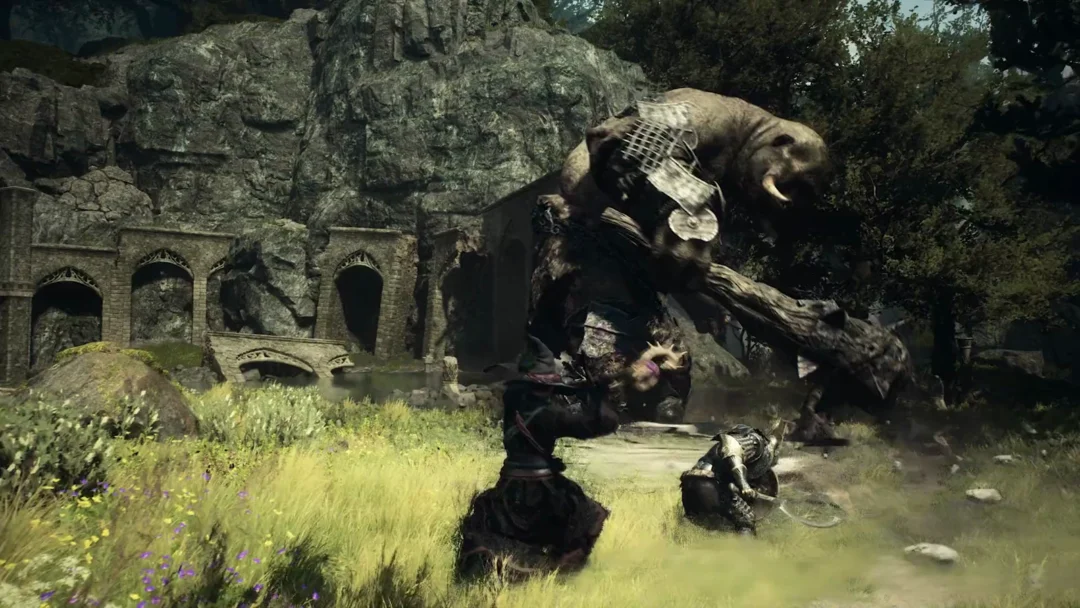
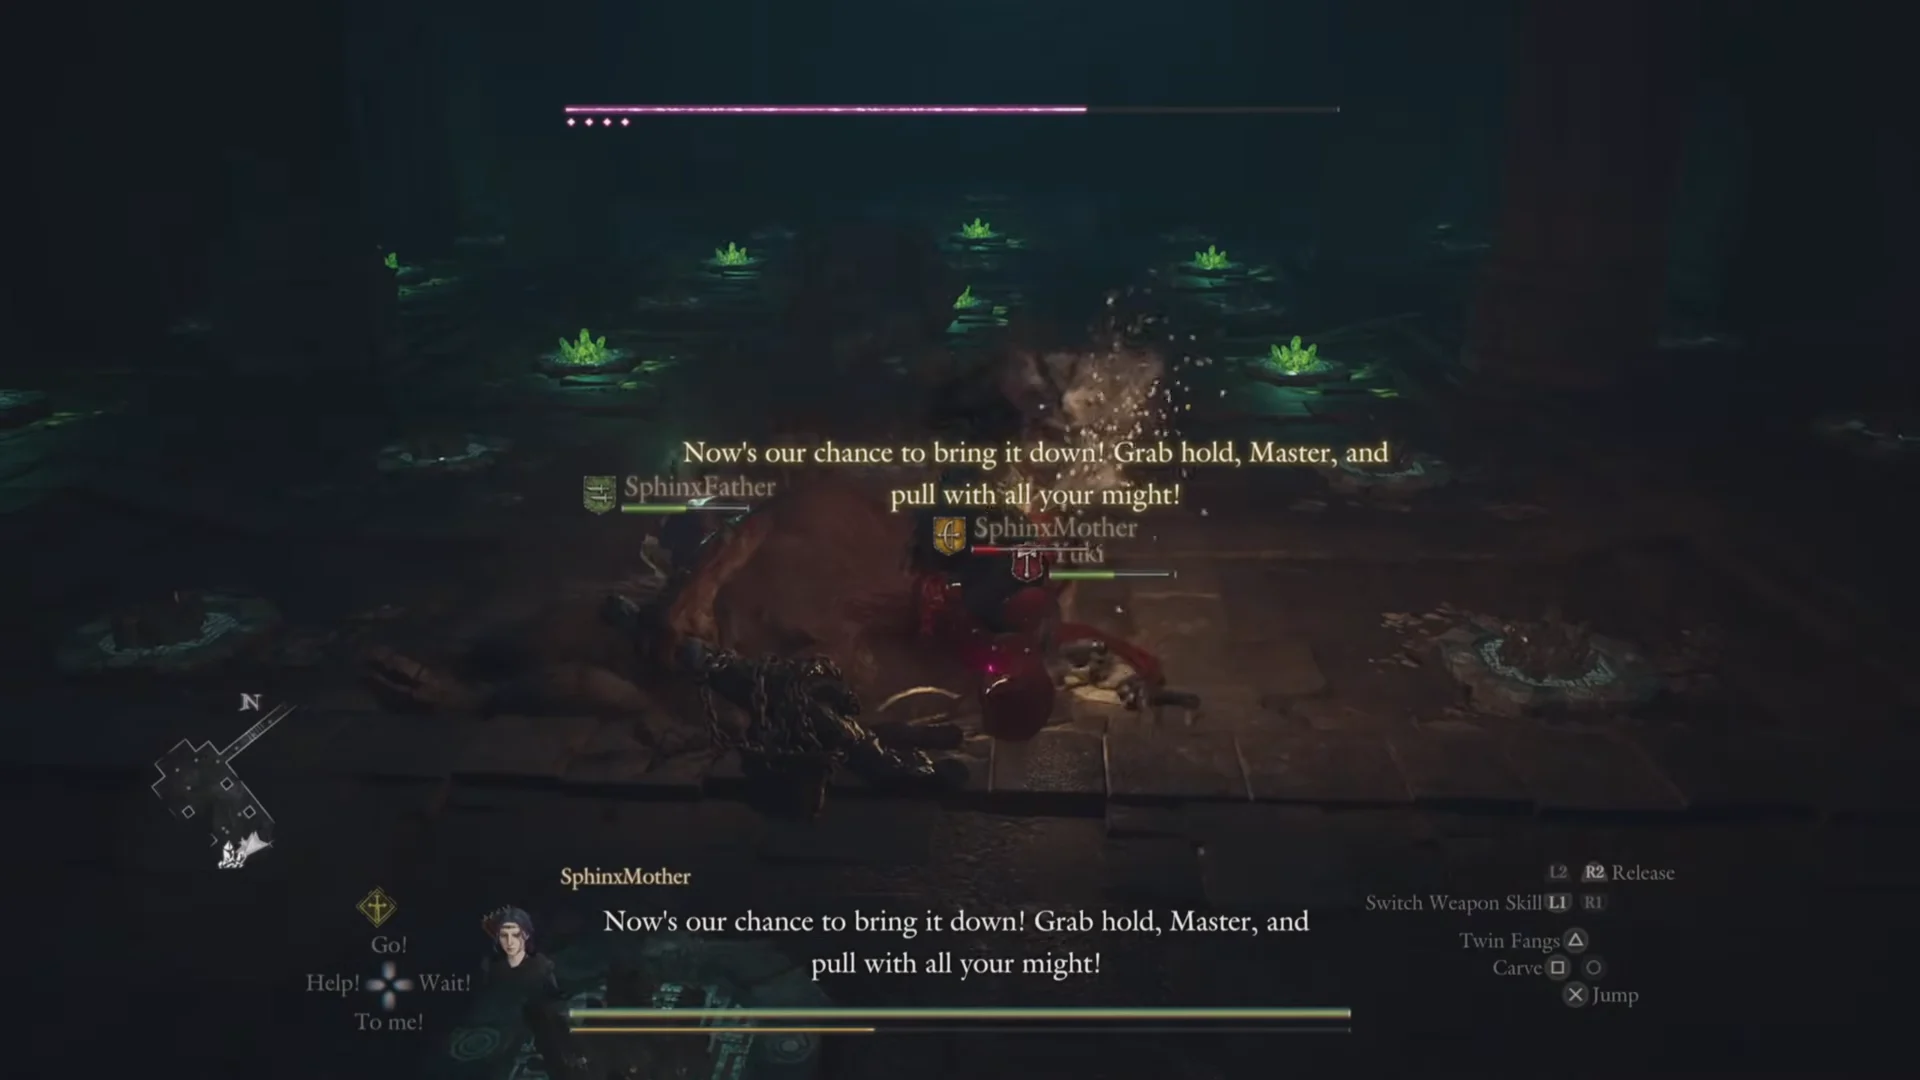
The arena is a broad, dim hall, with round stone plates in the floor and clusters of glowing green crystals. A large, dark-red-furred creature with horns emerges from a swirling pink-red seal above the far archway. Its health bar has four dots beneath it, but no name appears; a pawn identifies it as a minotaur. It rushes across the hall, swings its horns, and jumps, often knocking down pawns caught in front. Hold the Revive prompt when you reach a fallen pawn.
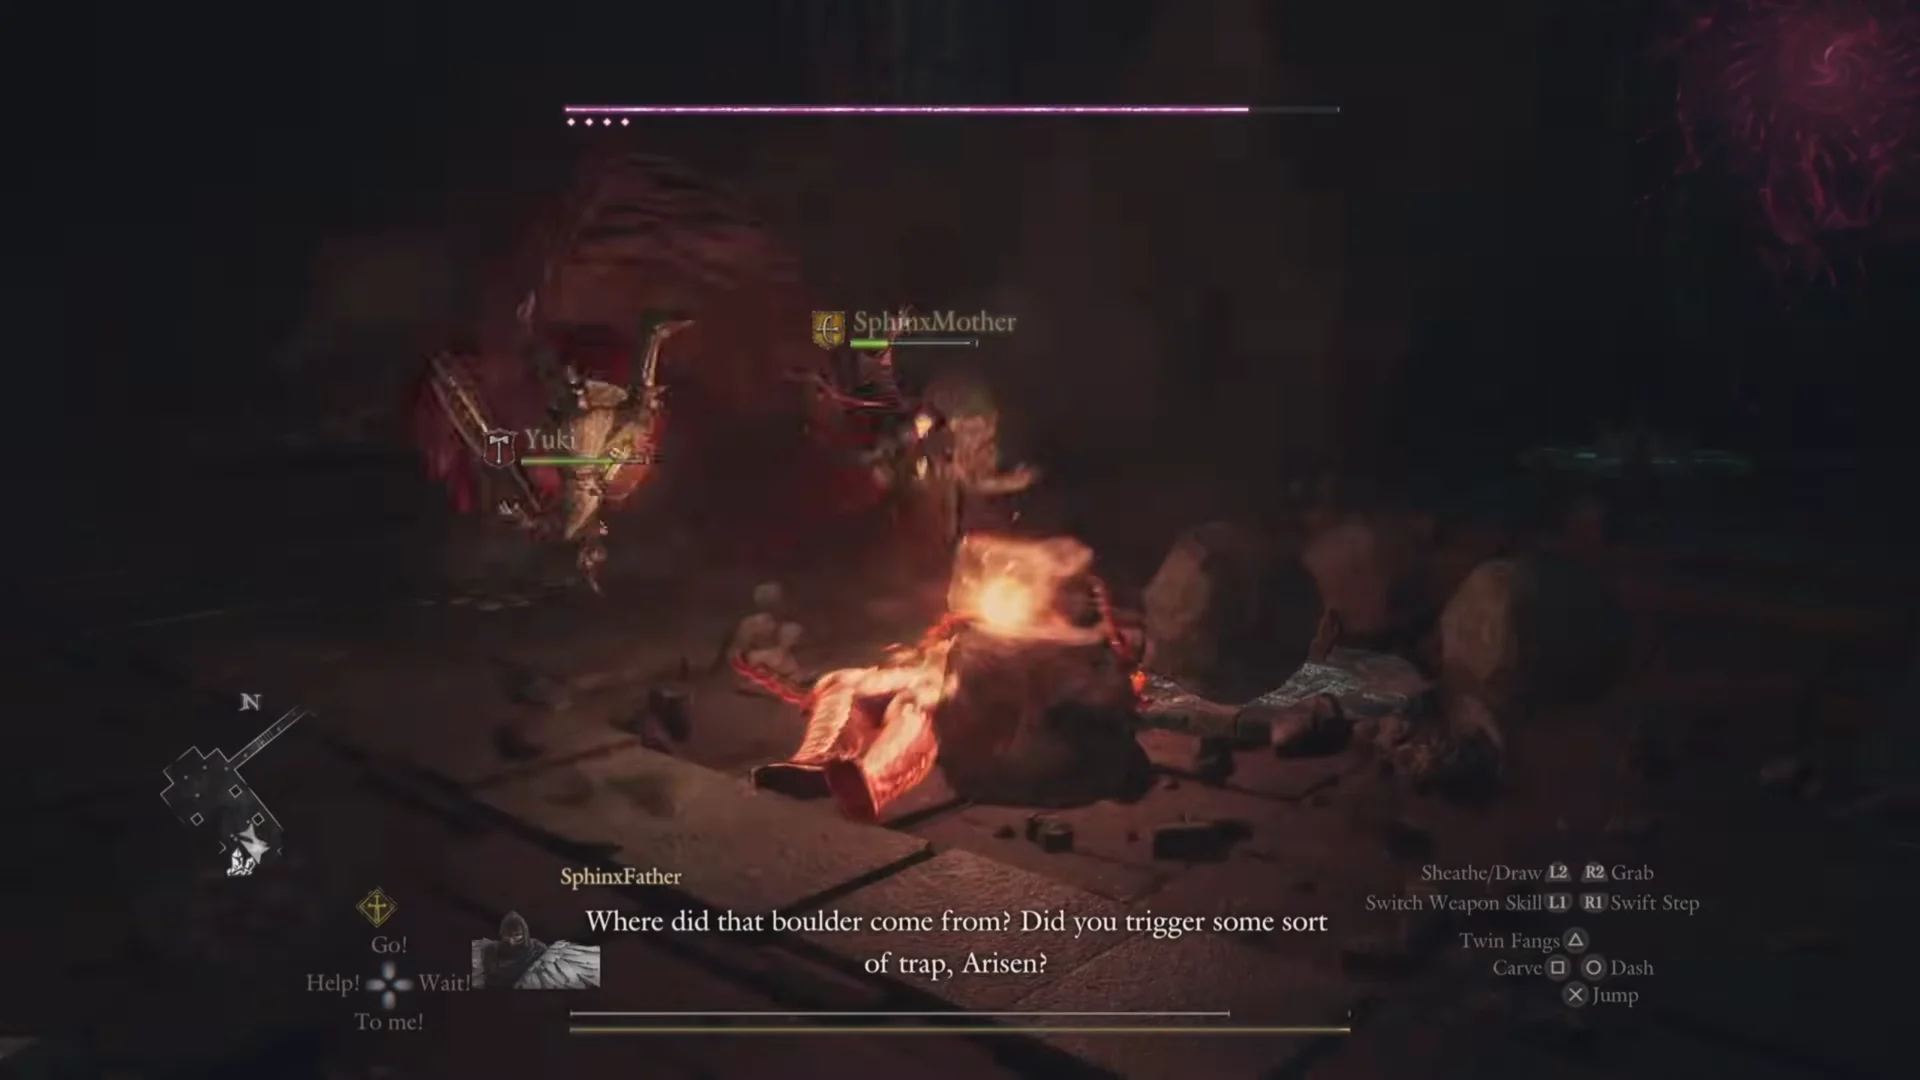
During the fight, a boulder crashes down in a burst of dust and can kill you even at full health. If that happens, the game displays “Use Wakestone?” with Yes and No choices. Keep an eye on the round floor plates, and bring Wakestones and an Allheal Elixir.
To bring it down, hit its legs until it topples forward. While it is down, grab hold and pull it over, then pile damage onto the head. It also leaves itself wide open right before a charge, which is a clean moment to grab on. A pawn skill that calms the foe helps buy space.
The end coffer and all chest rewards
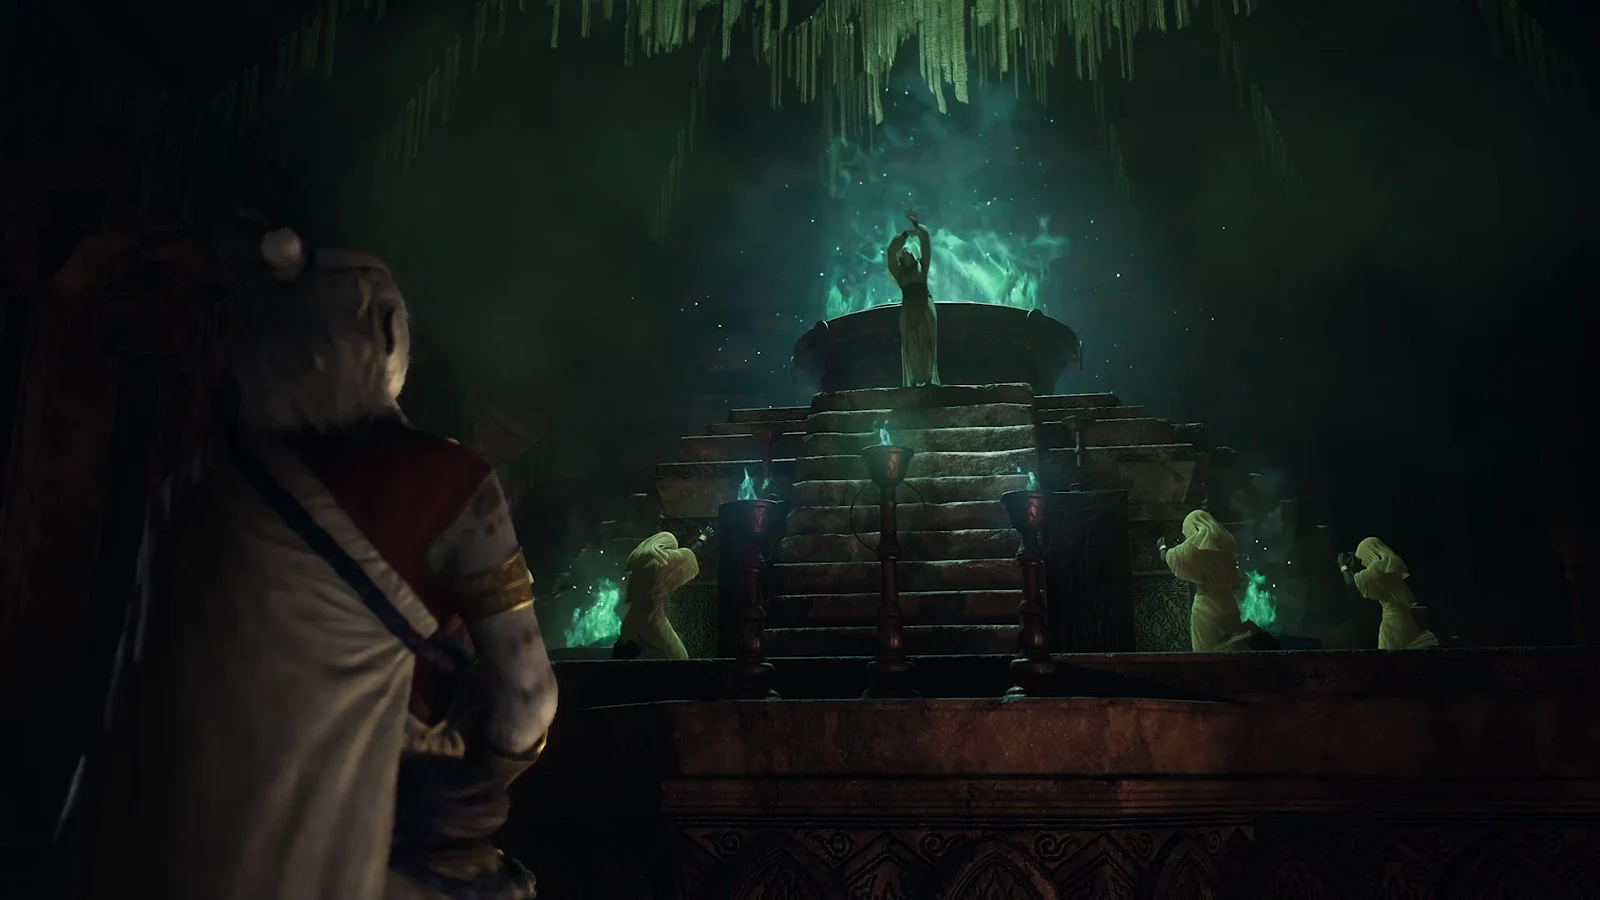
Go through the open archway and follow the corridor to a raised platform beneath tree roots. In front of two warrior statues with crossed spears sits a pale stone coffer. Inside are Offering Flame, Eldritch Threnody, and Glory Laurel. This reward coffer is not one of the seven chests placed around the mine.
- Offering Flame — This key item lets you claim boons at the Obelisks of Benediction, located in the forgotten northern region.
- Eldritch Threnody — body armour weighing 2.32 kg, with defensive power infused by the Lost Rites.
- Glory Laurel — head armour weighing 1.33 kg, carrying the defensive force bestowed by the Lost Rites.
The seven placed chests hold, between them: 26,000 gold, Giant Hunk of Rift Crystal x5, Fine Harspud Roborant x3, Canopy of Plenty x1, Padarn’s Wrap x1, Wakestone x1, and Allheal Elixir x1. Both Canopy of Plenty (head armour) and Padarn’s Wrap (leg armour) carry the Lost Rites protective line. Here is where the items on the way through are found.
| Reward | Where to find it |
|---|---|
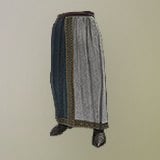 Padarn’s Wrap Padarn’s Wrap | Wooden chest, corner of the pillared hall |
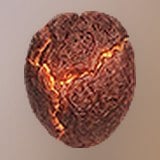 Wakestone Wakestone | Red-lined chest in the pillared hall |
| Fine Harspud Roborant x3 | One of the two red chests in the weapon-rack room |
| 1,500 RC | The other red chest in the weapon-rack room |
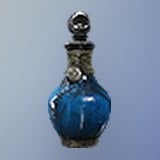 Allheal Elixir Allheal Elixir | Gather spot by the clay urns on the way down |
The trial is complete once the arena seal disappears and the end coffer opens with the three items above. Brinebeast Fragment and Brinebeast Ore improve equipment, while Glimmercoal is coal for the forge that gives off a faint glow in the dark.
Lost Rites trial reference
Every Lost Rites proving ground is found with the Proving Ground Compass, and each sets its own entry rule and chest count. If you are planning a full sweep, the table below lists the trial numbers, entry conditions, and chest totals so you can line them up against Embersand Mine’s trial 8.
| Trial | Proving ground | Entry condition | Chests |
|---|---|---|---|
| 1 | Devilkin Hollow | None | 1 |
| 2 | Daemons’ Corral | None | 7 |
| 3 | Sunken Spire | None | 11 |
| 5 | Wyrmsblood Arena | Only two weapon skills set | 6 |
| 7 | Mired Conduit | Four or more trials cleared | 13 |
| 8 | Embersand Mine | No grimoires, enchanted weapons or elemental skills | 7 |
| 9 | Shrouded Warren | Main pawn only | 9 |
| 10 | Molten Gauntlet | None | 9 |
| 11 | Seafloor Sepulcher | None | 16 |
| 12 | Final Proving Ground | Clear Molten Gauntlet and Seafloor Sepulcher | 14 |
After a few in-game days, enemies in a cleared proving ground may reappear. Their lineup can change, and respawns do not continue indefinitely; the map icon updates when they return.