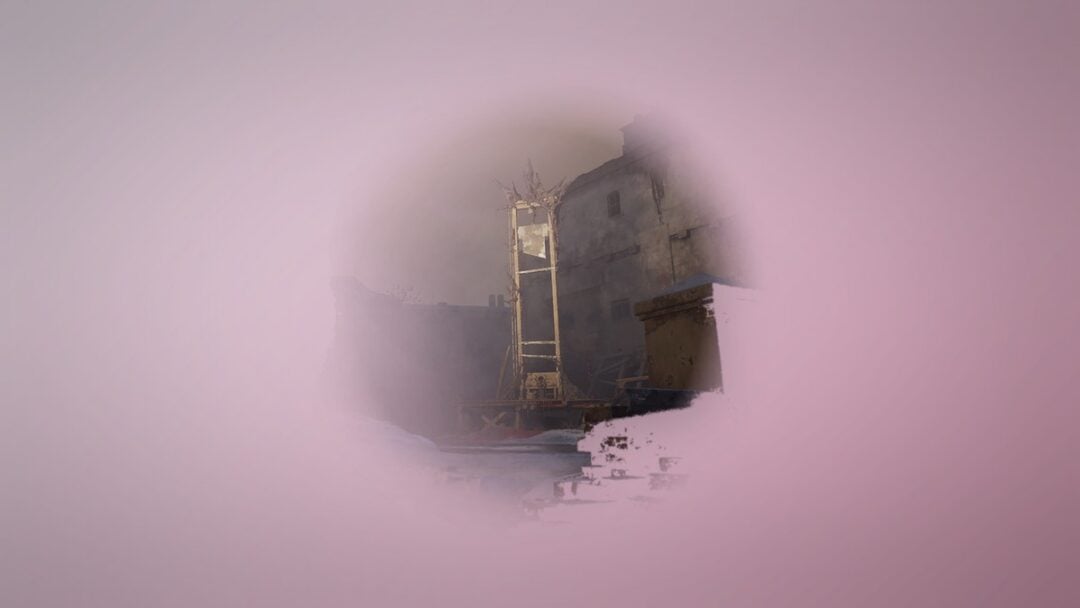
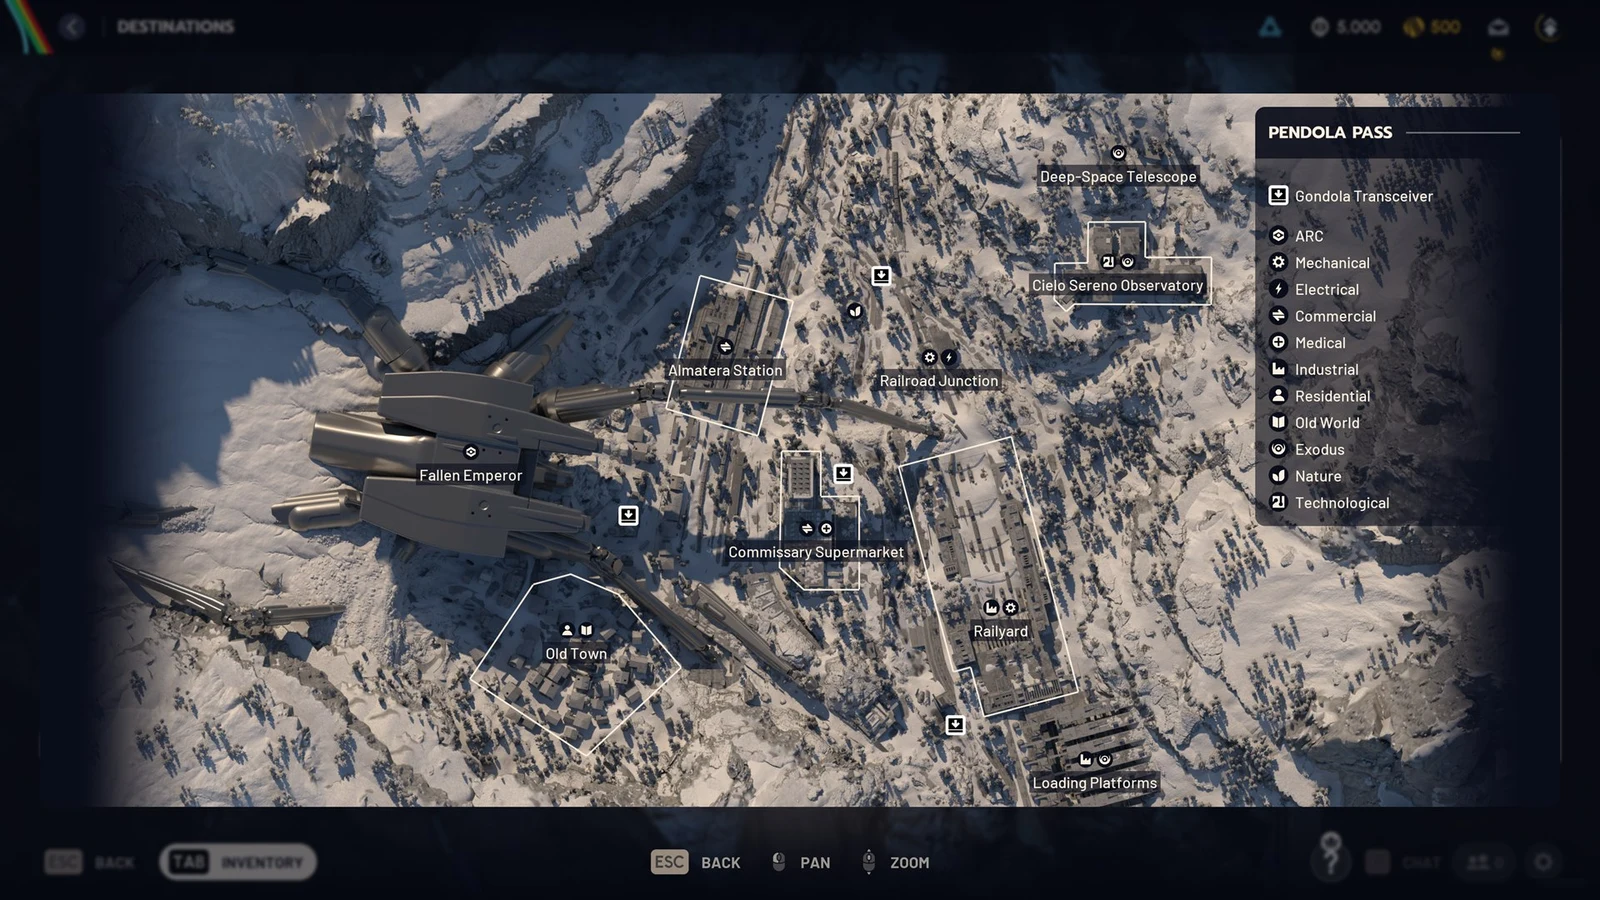
The Fallen Emperor slumps across Pendola Pass like a toppled god, and for the first time in ARC Raiders you can climb inside one of these giants. The reward for doing so is the Emperor Modulator, a Legendary crafting material that gates one of the final Gunsmith upgrades. Getting it means building a key, surviving a shifting dungeon, and extracting with the loot still in your pack.
Quick answer: Craft an Emperor Gateway Conduit (its blueprint plus one ARC Conductive, Insulated, and Plated Coupler at Workbench I), use it on the hatch at the Emperor’s base, then breach the pods and canisters inside to find the Emperor Modulator.
What the Emperor Modulator does
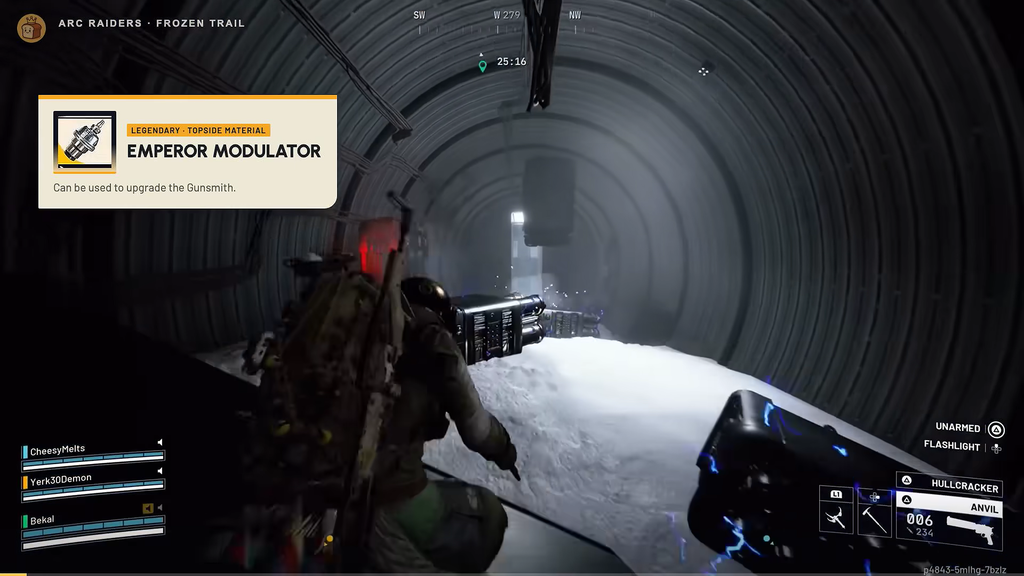
The Emperor Modulator is a Legendary Topside Material that weighs 0.5 and sells for 7,000 coins. It only appears inside the Fallen Emperor, and you need exactly one to push your Gunsmith from Level 3 to Level 4. That upgrade is the gateway to the amplified weapon system, so the first Modulator you find is worth keeping rather than selling.
If you ever end up with a spare, it salvages into two ARC Motion Cores. Hold onto your first one until the Gunsmith is handled.
Pendola Pass only opens once you have played 25 rounds, so newer accounts will need to clear that threshold before any of this is possible.
Build the Emperor Gateway Conduit to open the door
The hatch in the Emperor’s base remains sealed until you use the Emperor Gateway Conduit. This Legendary key requires a blueprint and three couplers at Workbench I. It can’t be made during a raid, and squadmates can’t combine their couplers, so stash every required part first.
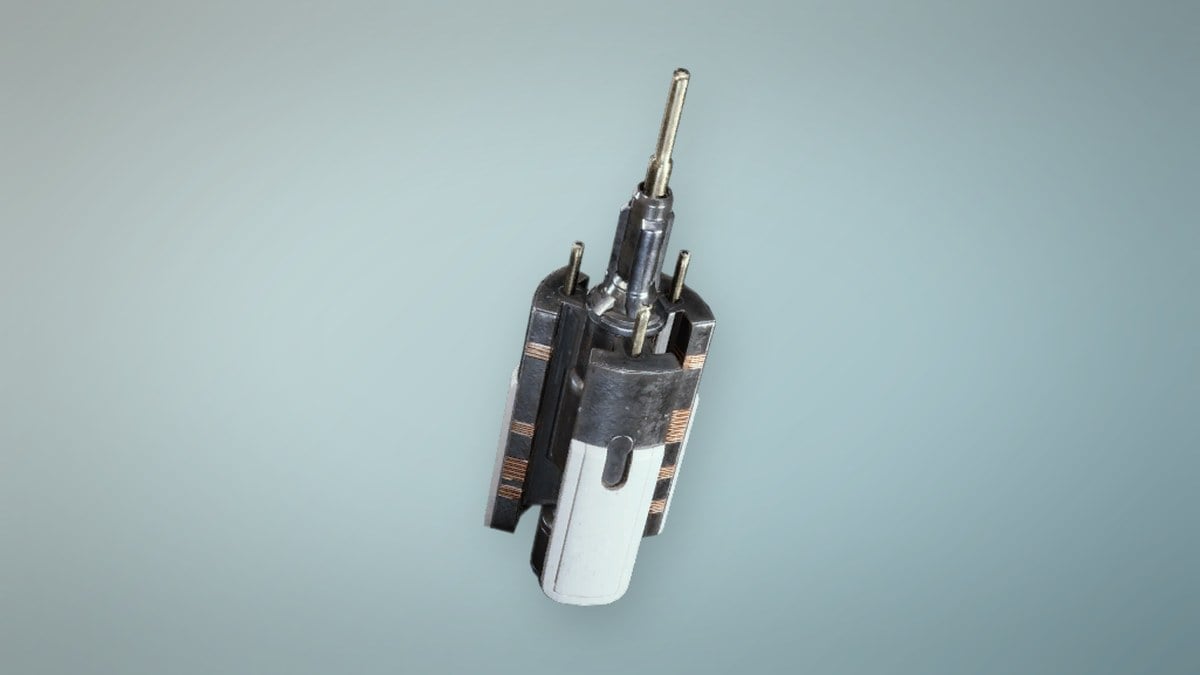
| Material | Rarity | Weight | Quantity |
|---|---|---|---|
 ARC Conductive Coupler ARC Conductive Coupler | Epic | 0.5 | 1 |
 ARC Insulated Coupler ARC Insulated Coupler | Epic | 0.5 | 1 |
 ARC Plated Coupler ARC Plated Coupler | Epic | 0.25 | 1 |
Couplers drop in bunches, so collecting the set is rarely the hold-up. The blueprint is the bottleneck. It is a rare container drop, and some runs take a single payload while others take twenty or more before it appears. If you would rather not farm it at all, the Conduit is also handed out at Tier 60 of the Reward Pass.
Farm the parts during Redirection
You must call in Harvester Payloads yourself during the Redirection condition on Pendola Pass to obtain the couplers and blueprint. Redirection disables Flash Freeze, activates the Emperor Relays, and causes debris to fall around the map. Since this condition only appears in some matches, queue up when it’s running.
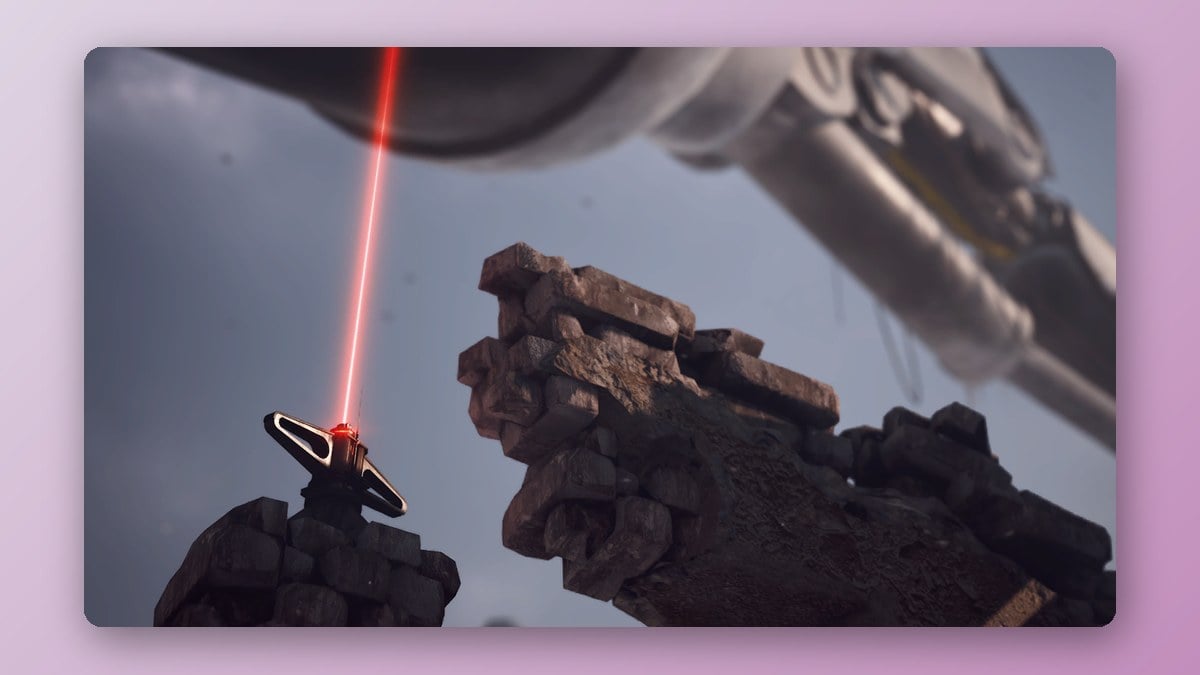
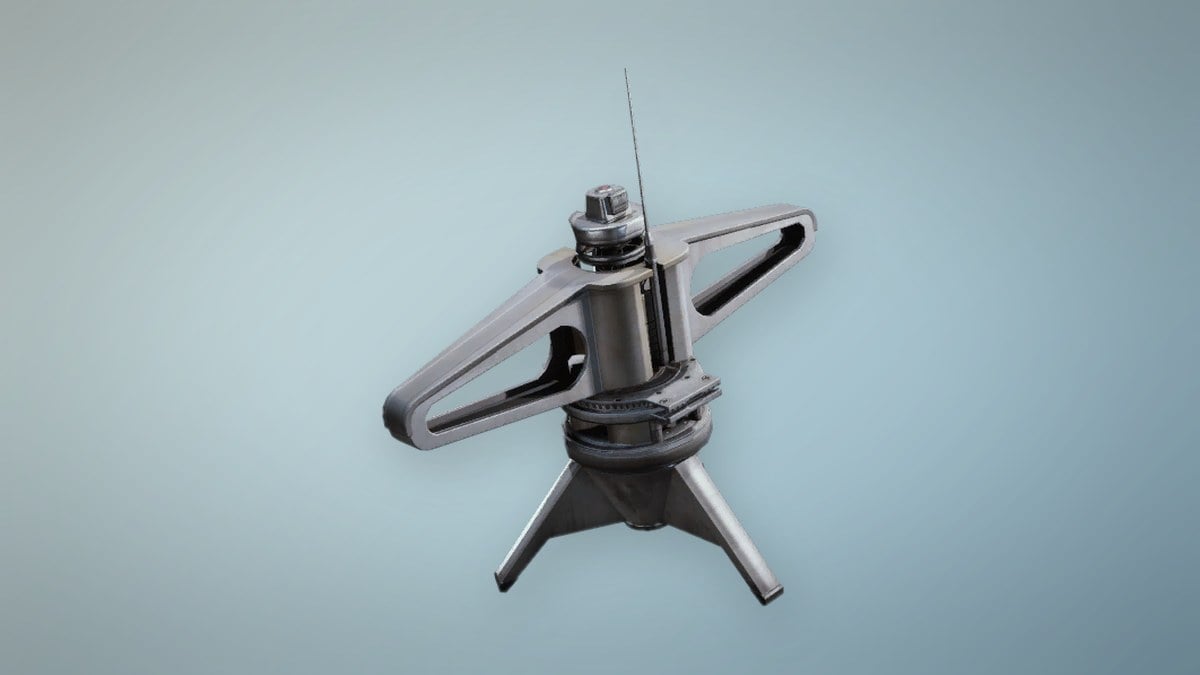
Every beam draws other Raiders, and Fireflies only spawn on Pendola Pass while Redirection is active. Put the blueprint in your safe pocket first since it is the rarest drop, then pocket one of each coupler so a death still leaves you a full set.
Enter the Fallen Emperor and search for the Modulator
Load a fresh Pendola Pass match with the crafted Conduit in your pack and head to the Fallen Emperor. The socket sits on the hull at the base of the giant walker. Interact with it, and the prompt reads Unlock 0/1 Emperor Gateway Conduit; use the key and the round hatch beside it rolls open.
This is the game’s first dungeon, a maze of enormous rings and shafts. Its ground floor and final loot hangar remain unchanged, while the trials between them appear in a new order each run. Since the Emperor Modulator has no set location, memorize the rooms instead of relying on a route.
Pack for a long, punishing run before you go in:
- A Snap Hook or Grappling Hook for the vertical climbs and gaps.
- An anti-ARC weapon such as the Hullcracker for the Hydra turrets.
- Shield chargers, heals, and Stims for the gas room.
- An augment with a Safe Pocket to protect anything you find.
As you climb, breach every round panel, pod, and canister you pass. The Modulator can appear in those containers anywhere along the route, not only at the top, so a full-clear mentality pays off even if you plan to leave early.
At the very top, the final loot hangar is accessible through a massive opening, not the nearby yellow-lit door. Destroy six nodes, three on either side of the hangar, to open the roof. ARC units arrive, including a Vaporizer, and the wall canisters emerge after every node is destroyed. Wait for the Vaporizer to leave before looting them, and avoid the orange canisters because they are bombs.
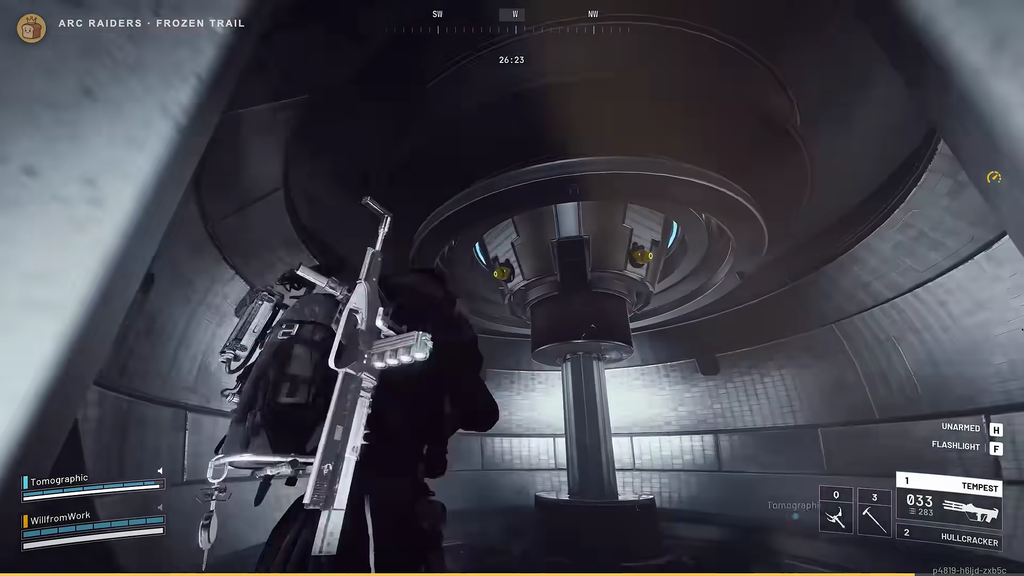
A knockdown can end your run: without a teammate to revive you, you lose everything in your pack. The Reckless Transceiver lies in the Emperor’s shadow and is the nearest exit, but it leaves you highly exposed.
Spend the Modulator on the Gunsmith
Once you extract with a Modulator, return to Speranza and open the Gunsmith. The Level 4 upgrade confirms once you supply the full recipe below, which unlocks the amplified weapon track you are working toward.
| Material | Quantity |
|---|---|
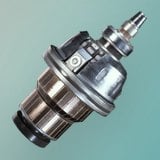 Emperor Modulator Emperor Modulator | 1 |
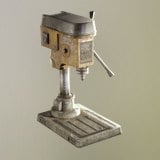 Radial Press Radial Press | 3 |
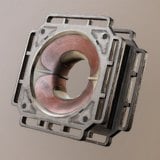 Magnetic Accelerator Magnetic Accelerator | 3 |
Because the Modulator is a random drop, a completed Emperor run does not guarantee one, so prioritize the special pods and canisters over ordinary supplies and extract as soon as you have what you came for. Hold your first Modulator for the Gunsmith, and treat any extras as salvage or sale fodder once that upgrade is locked in.