Mordria Fault throws two very different fights at you in a row. First the Fallen Dragon lands in a ruined snow arena and you are told to repel it, not kill it. Then, once it leaves, a nameless armoured spectre stands between you and Rovall’s soul. A level-100 Fighter with sword and shield and three pawns, a Mage among them, can win both, and the first is helped by the ballistas up on the rampart.
Quick answer: Fight the Fallen Dragon until the objective switches to “Repel the Fallen Dragon.” Then fire the rampart ballistas into its body until it withdraws on its own. Afterward, kill the spectre’s armoured companion first, guard its blade sweeps, and unload when it falls flat.
“Decide whether to aid Eir in this battle.” is not a menu choice
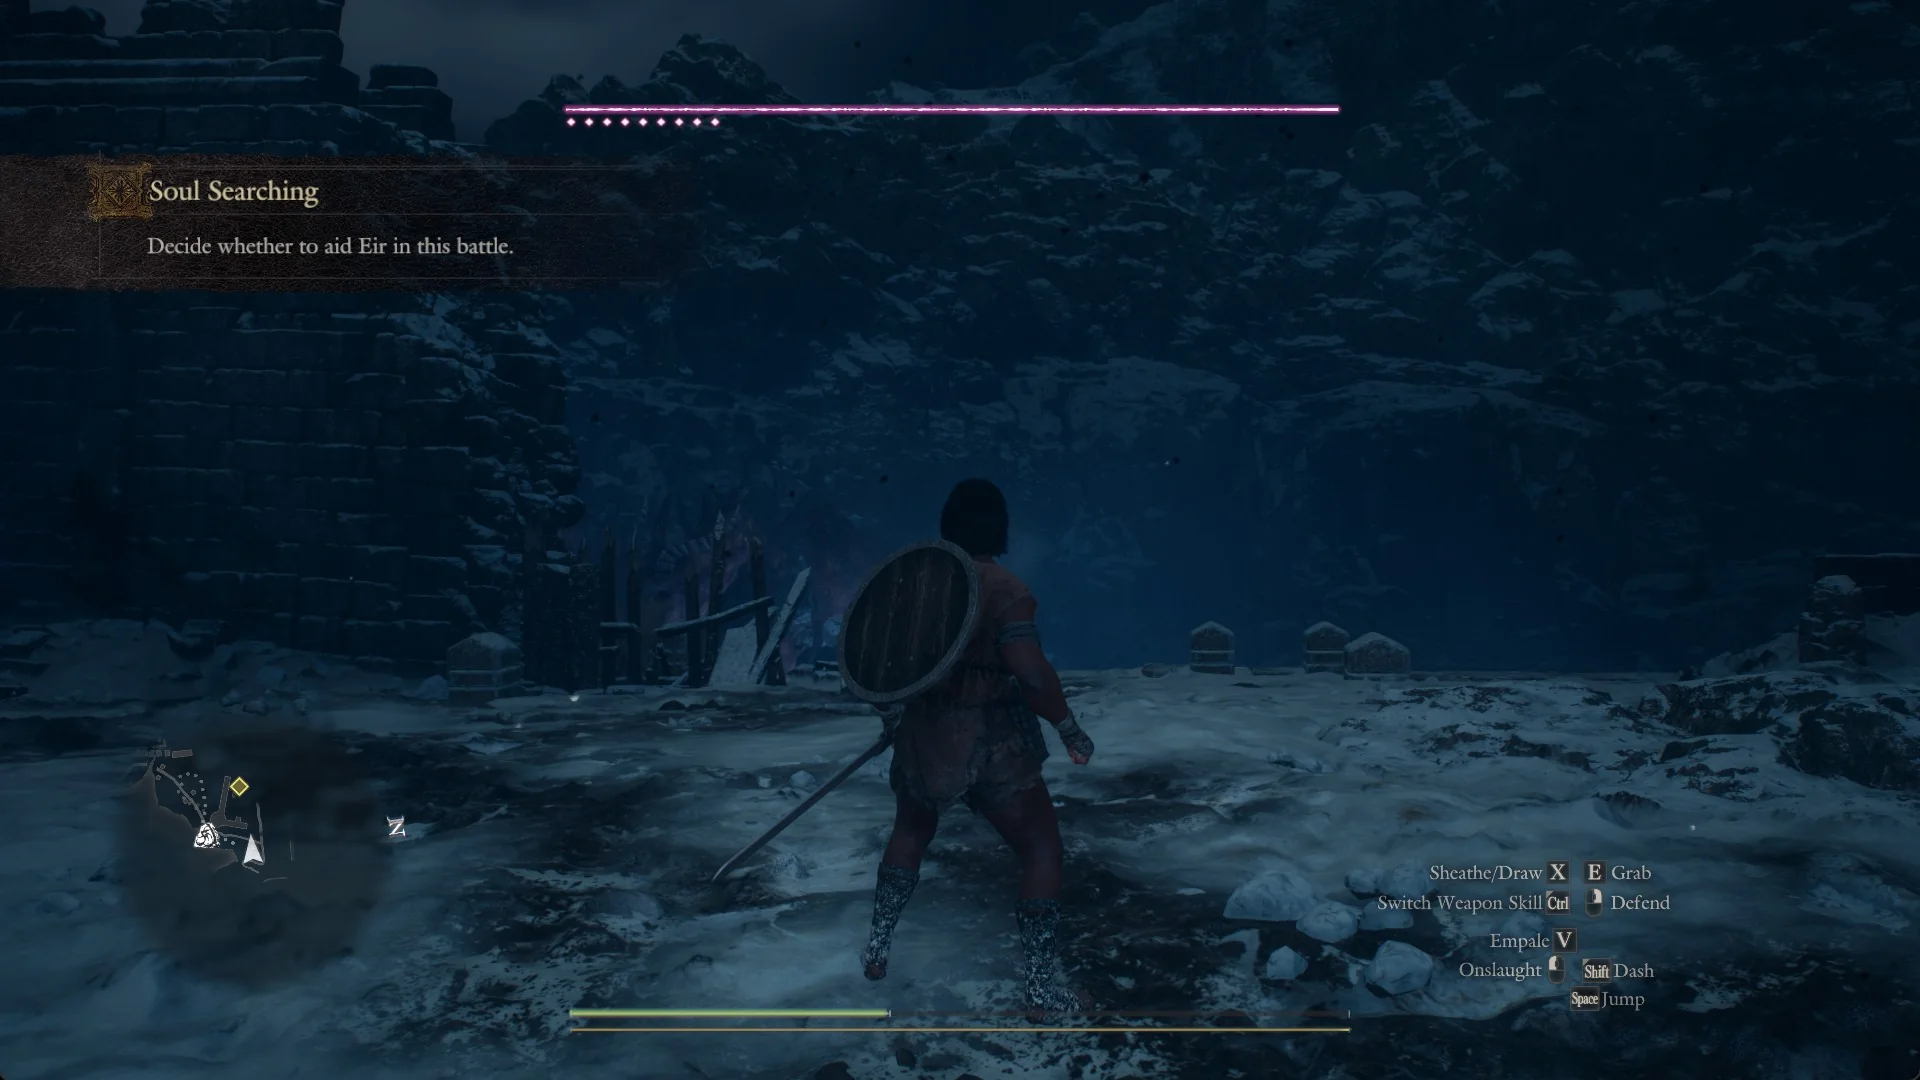
When the Fallen Dragon drops into the arena, the objective reads “Decide whether to aid Eir in this battle.” No dialogue box opens and no yes/no prompt appears. Control simply returns with the dragon in front of you, and you decide by what you do next. Seconds later comes “You encountered the Fallen Dragon.”
The game lays out two courses. You can leave the dragon to Eir and go straight for her master’s soul while its light fades, or you can stay and help her drive the beast off against her protests. If you stay, the objective later changes to “Repel the Fallen Dragon.” and the fight below begins in earnest.
Reaching the arena at Mordria Fault
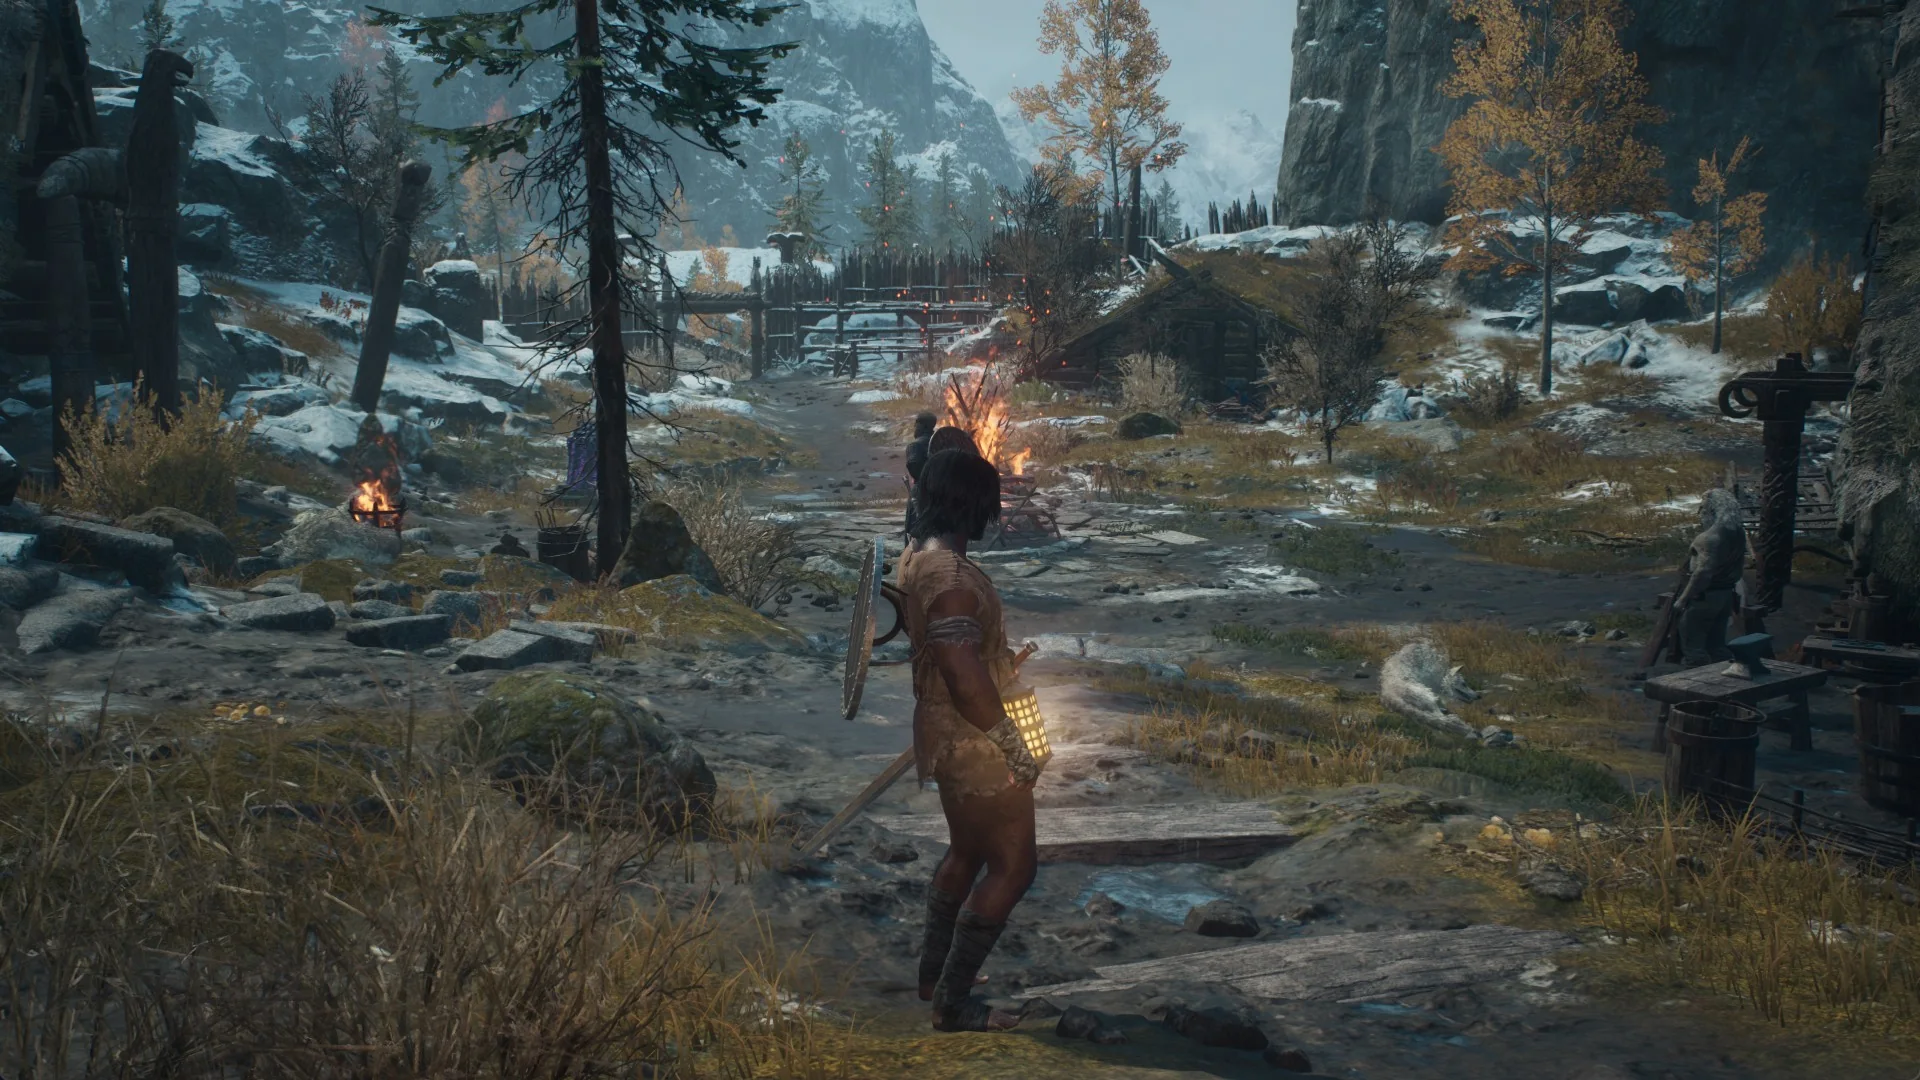
Begin at the soldiers’ camp in Castletown Campground, where a Norgan Portcrystal is located. Go past the tents and enter the stone hall occupied by Polyeidus. The way out of that hall leads onto snow-covered outdoor steps, and the area title “Mordria Fault” appears.
A short scene with Eir plays, after which you rejoin her and the objective becomes “Investigate Mordria Fault.” Climb the wide ruined stone stairway. A demon fight on the stairway comes first. Past it a scene plays and the Fallen Dragon lands.
Repel the Fallen Dragon with the rampart ballistas
This encounter does not end with the dragon’s death. The Fallen Dragon has 500,000 Health, shown as one magenta bar with nine pips under its left end; each pip is one more full bar in reserve. Its health bar and row of pips remain visible throughout, and it departs by itself long before the bar and its pips are spent. The three ballistas on the rampart overlooking the arena deal the most damage you can see.
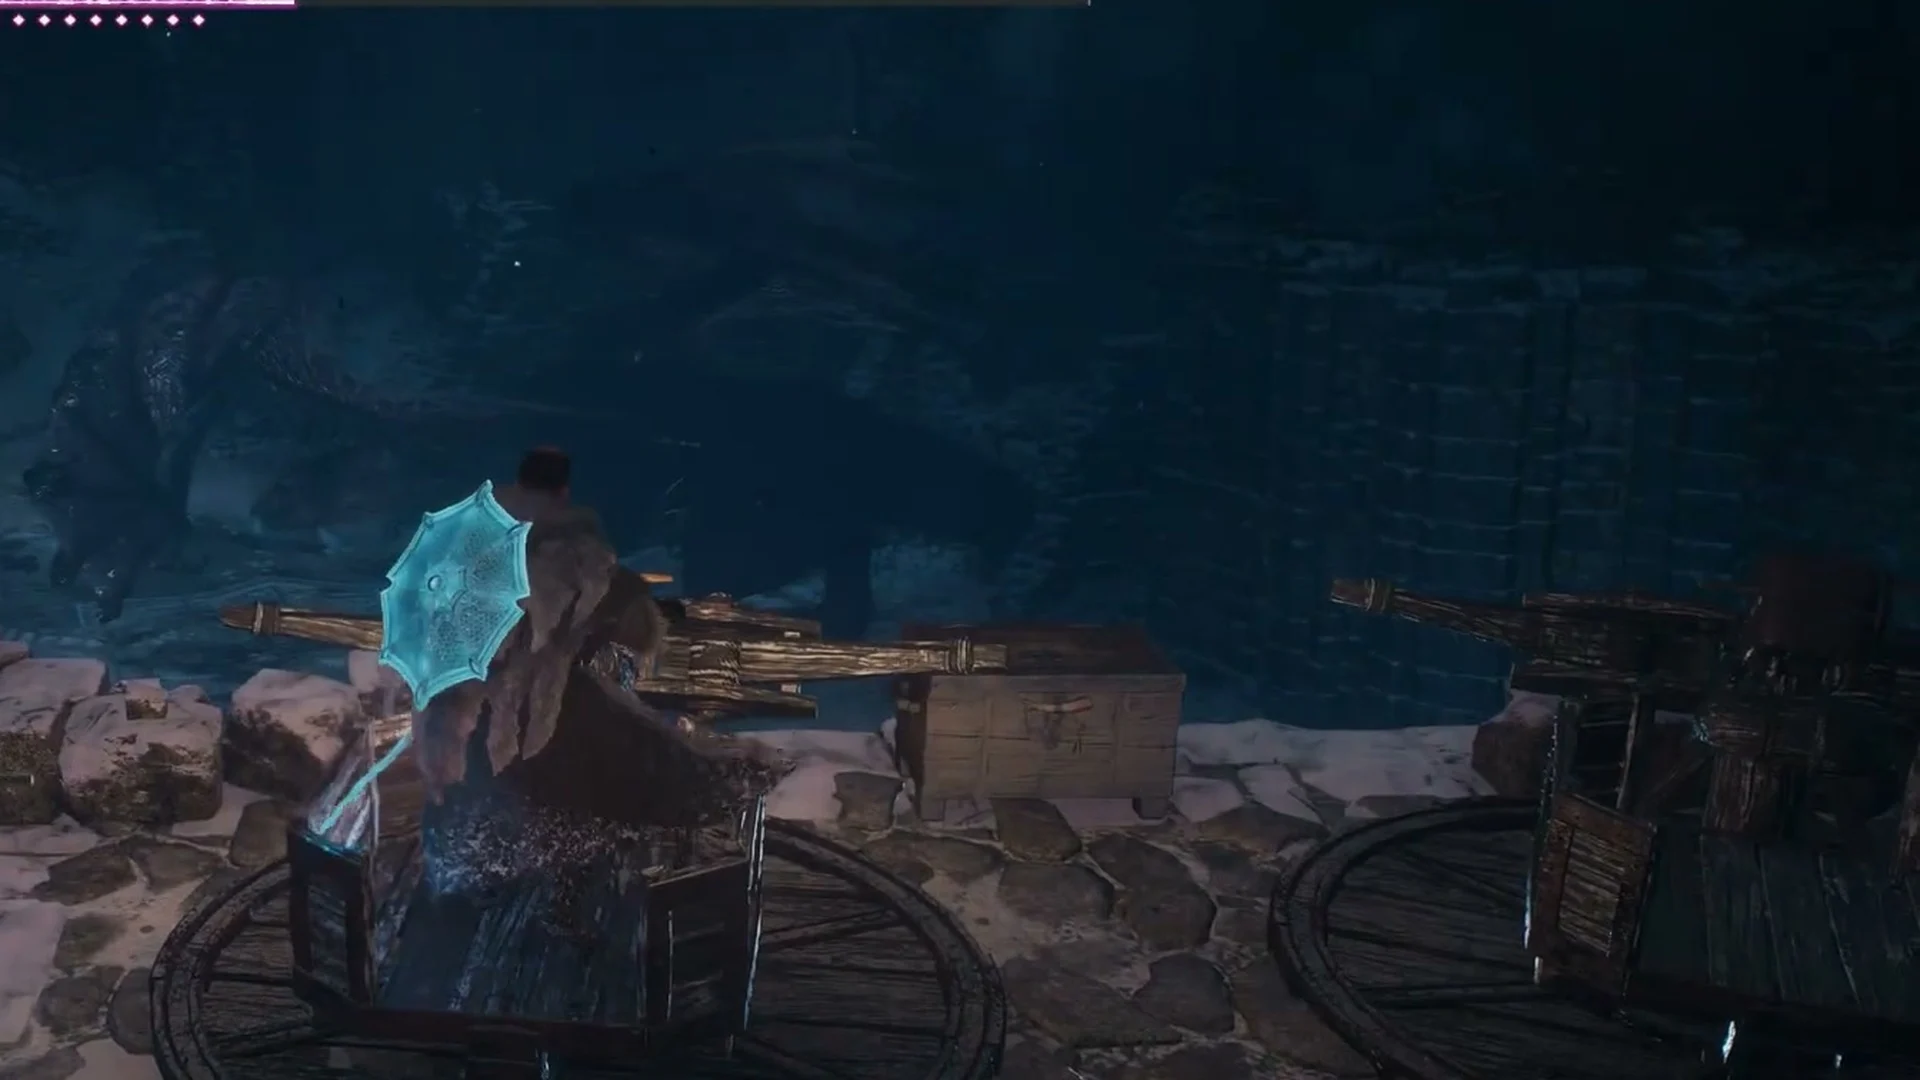
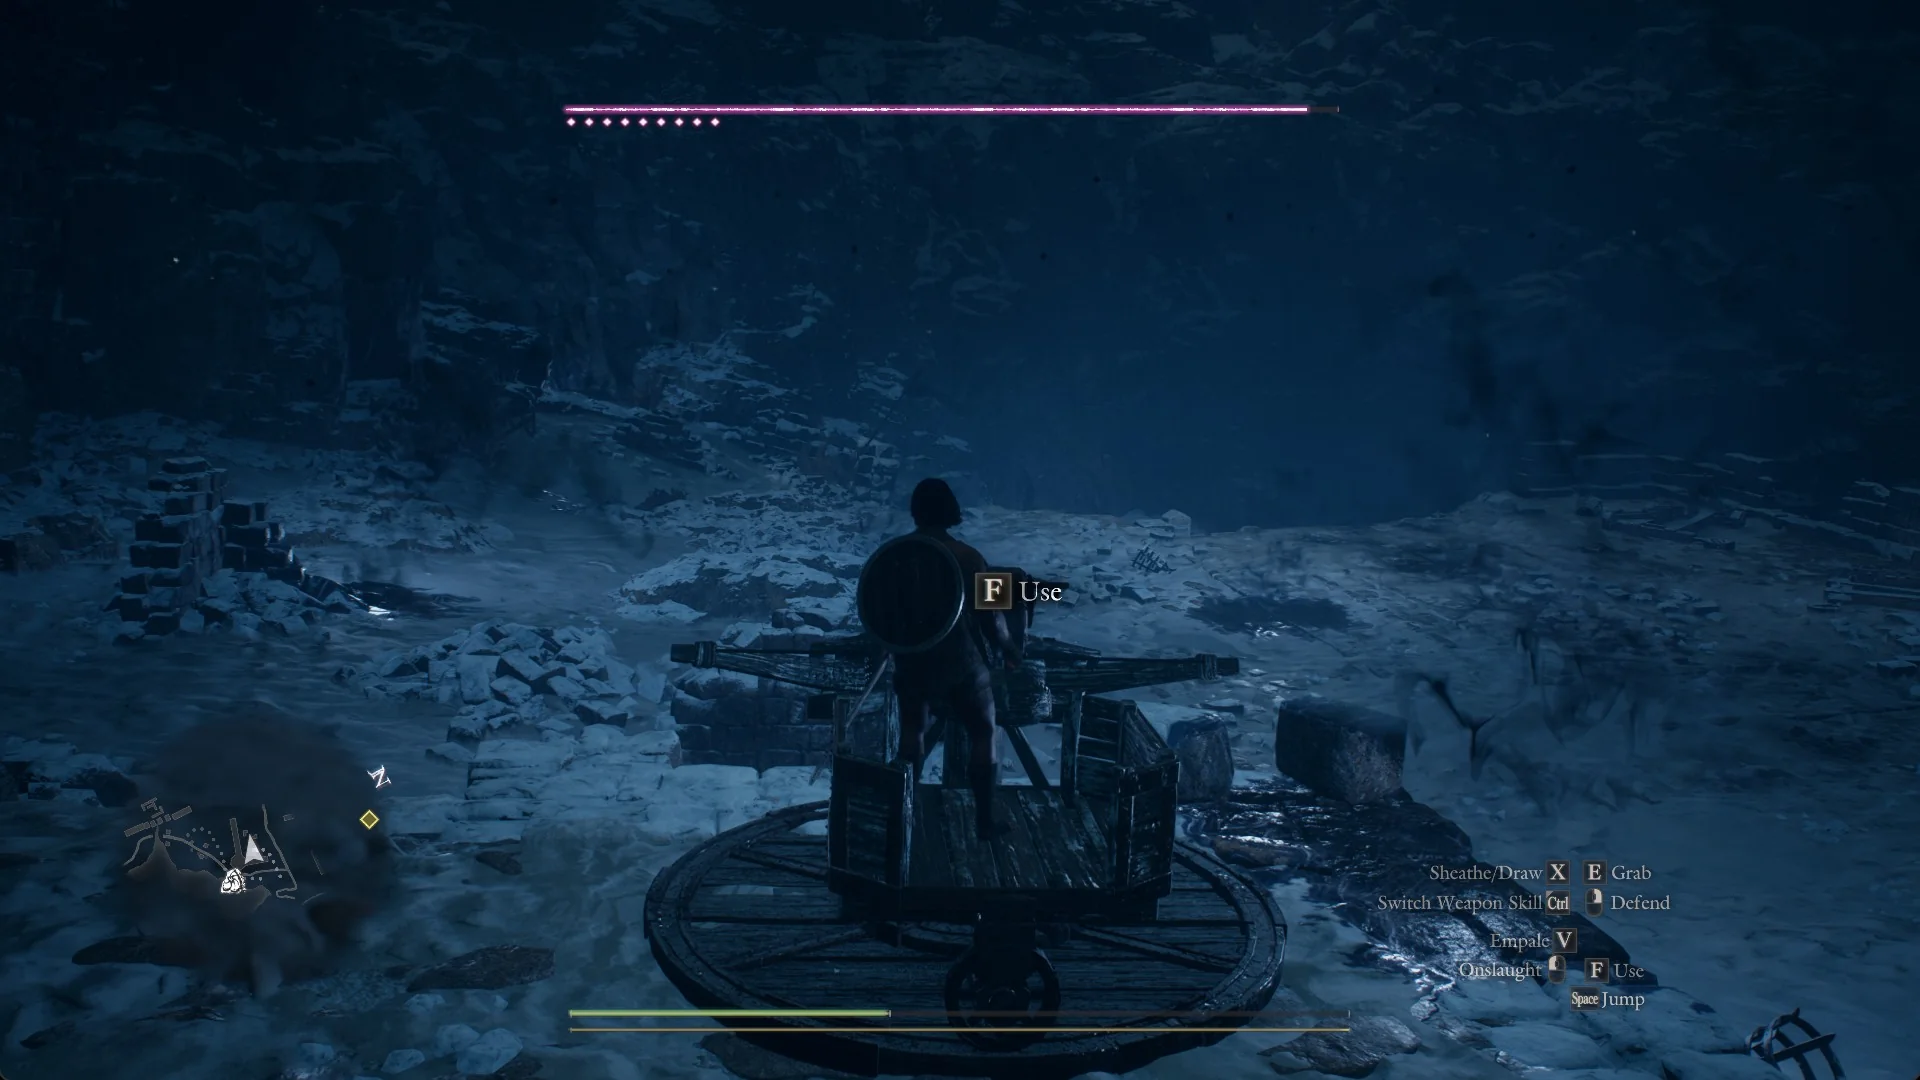
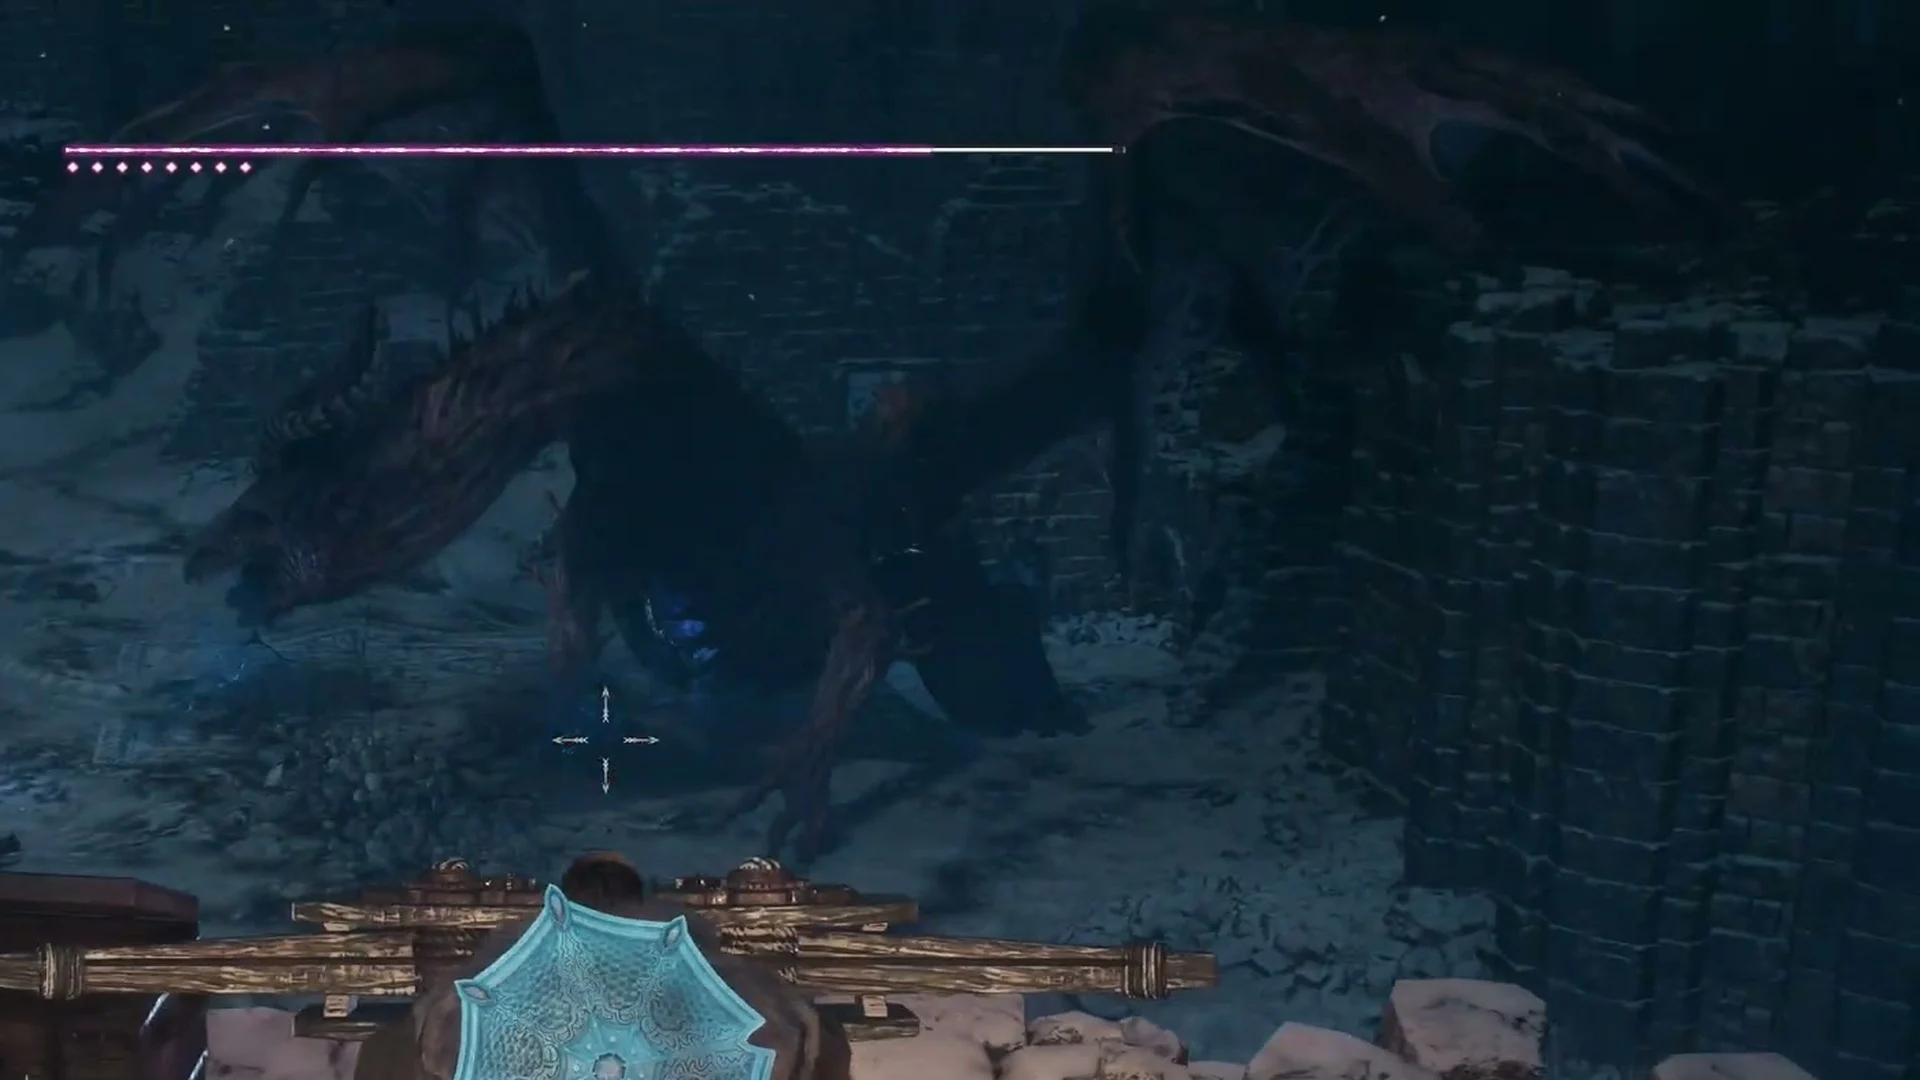
During the fight, the dragon loses its head before restoring its body. When it returns, its bar is full again and shows nine pips. The damage from before this change will not finish the fight, so stay calm when the bar fills back up.
Fighting it on the ground
On trips between the rampart and the arena, a Fighter can attack the dragon’s legs and feet, then grab hold and climb. Gutting Skewer becomes usable while you’re clinging to it, letting you strike the head and neck repeatedly. The dragon may shake you loose, dropping you among the undead that keep appearing; heal as soon as you hit the ground.
Pawns go down in this fight. Stand over a fallen pawn and use “Revive (Hold)” to bring it back. Keep a stack of curatives on your quick slot; Salubrious Draught (“Consume it to recover a fair amount of Health.”) does the job.
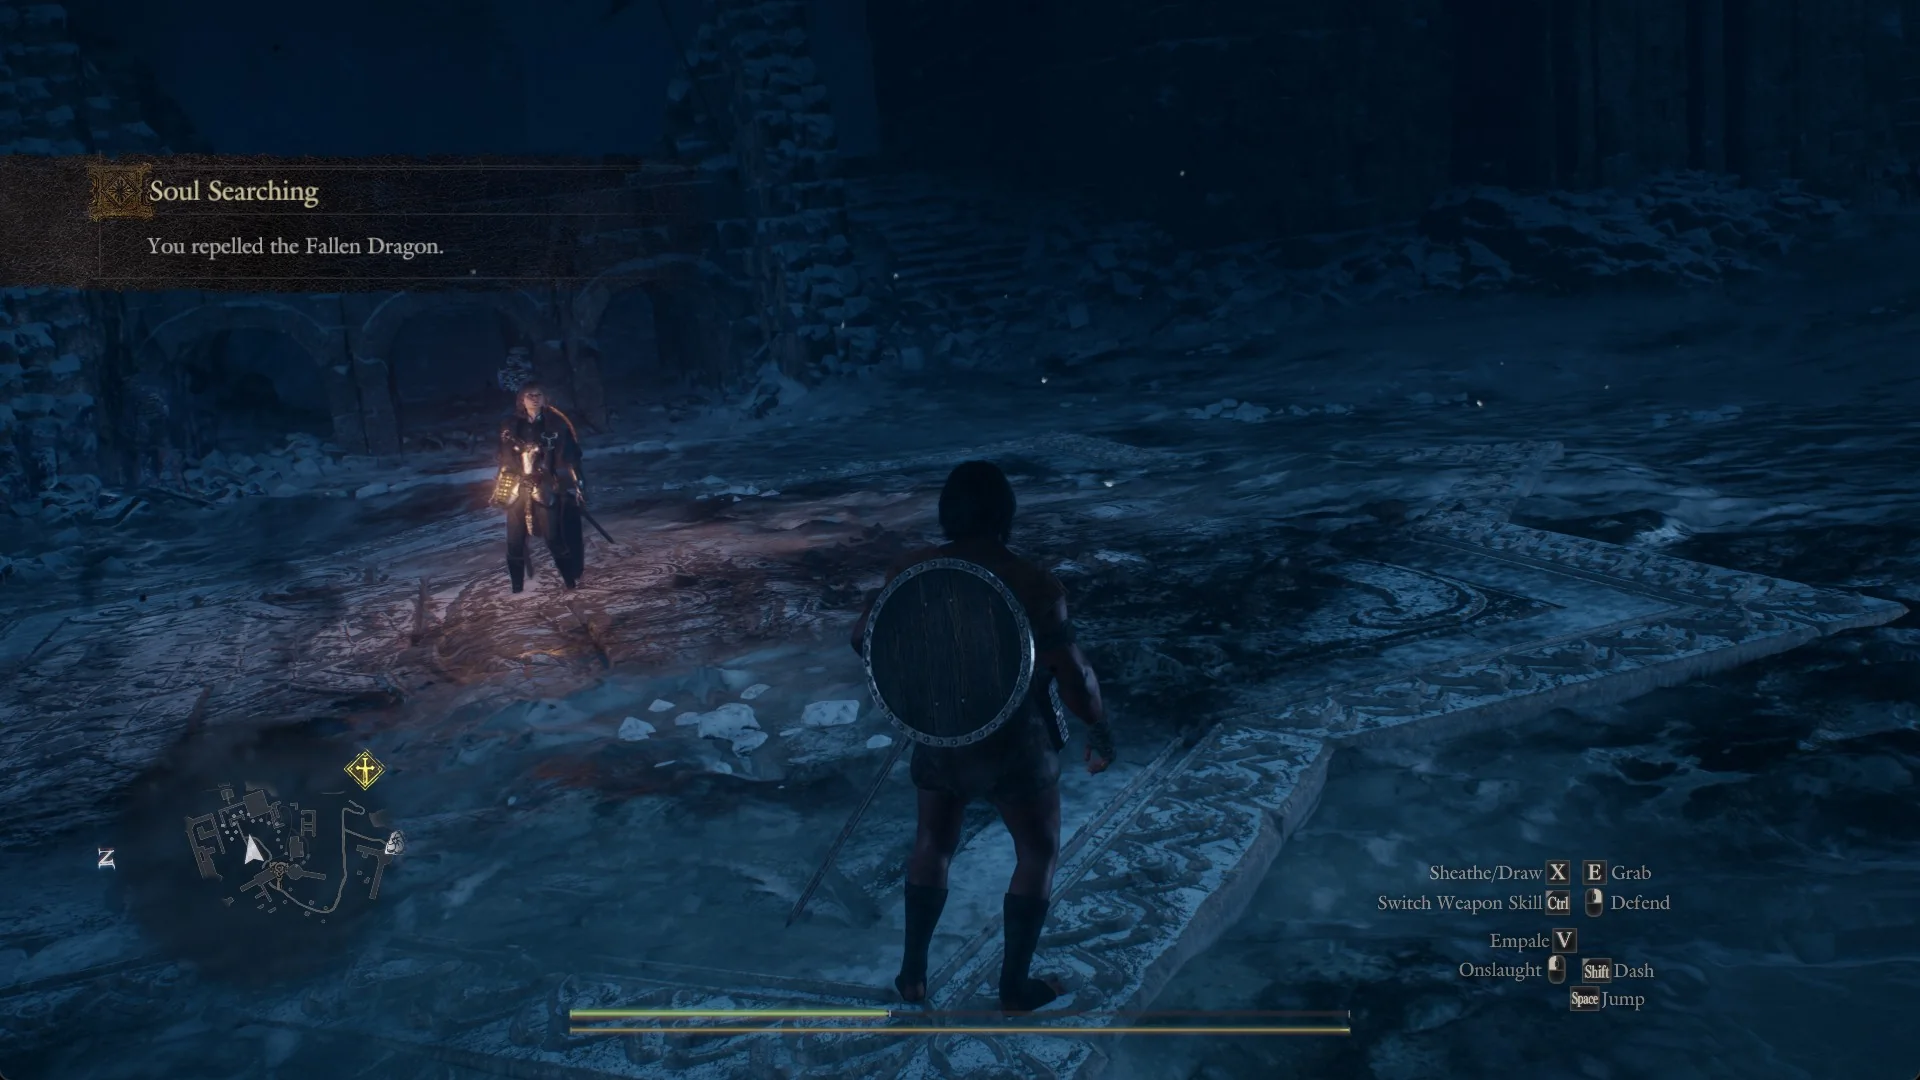
The dragon eventually withdraws while still upright, with pips left and much of its bar still showing. It disappears and leaves a slender golden beam in the arena. There is no loot or XP for this event. After a brief scene, the objective changes to “You repelled the Fallen Dragon.” and then to “Acquire Rovall’s soul.”
Getting from the arena to the spectre
Once the soul objective is active, look for the yellow search circle on the map a short distance from the arena. Climb the broad, crumbling stairways out of the arena, go across the upper terrace toward the cliff, then descend the rock ledges to a lower path. Open the chests placed along the way as you pass them.
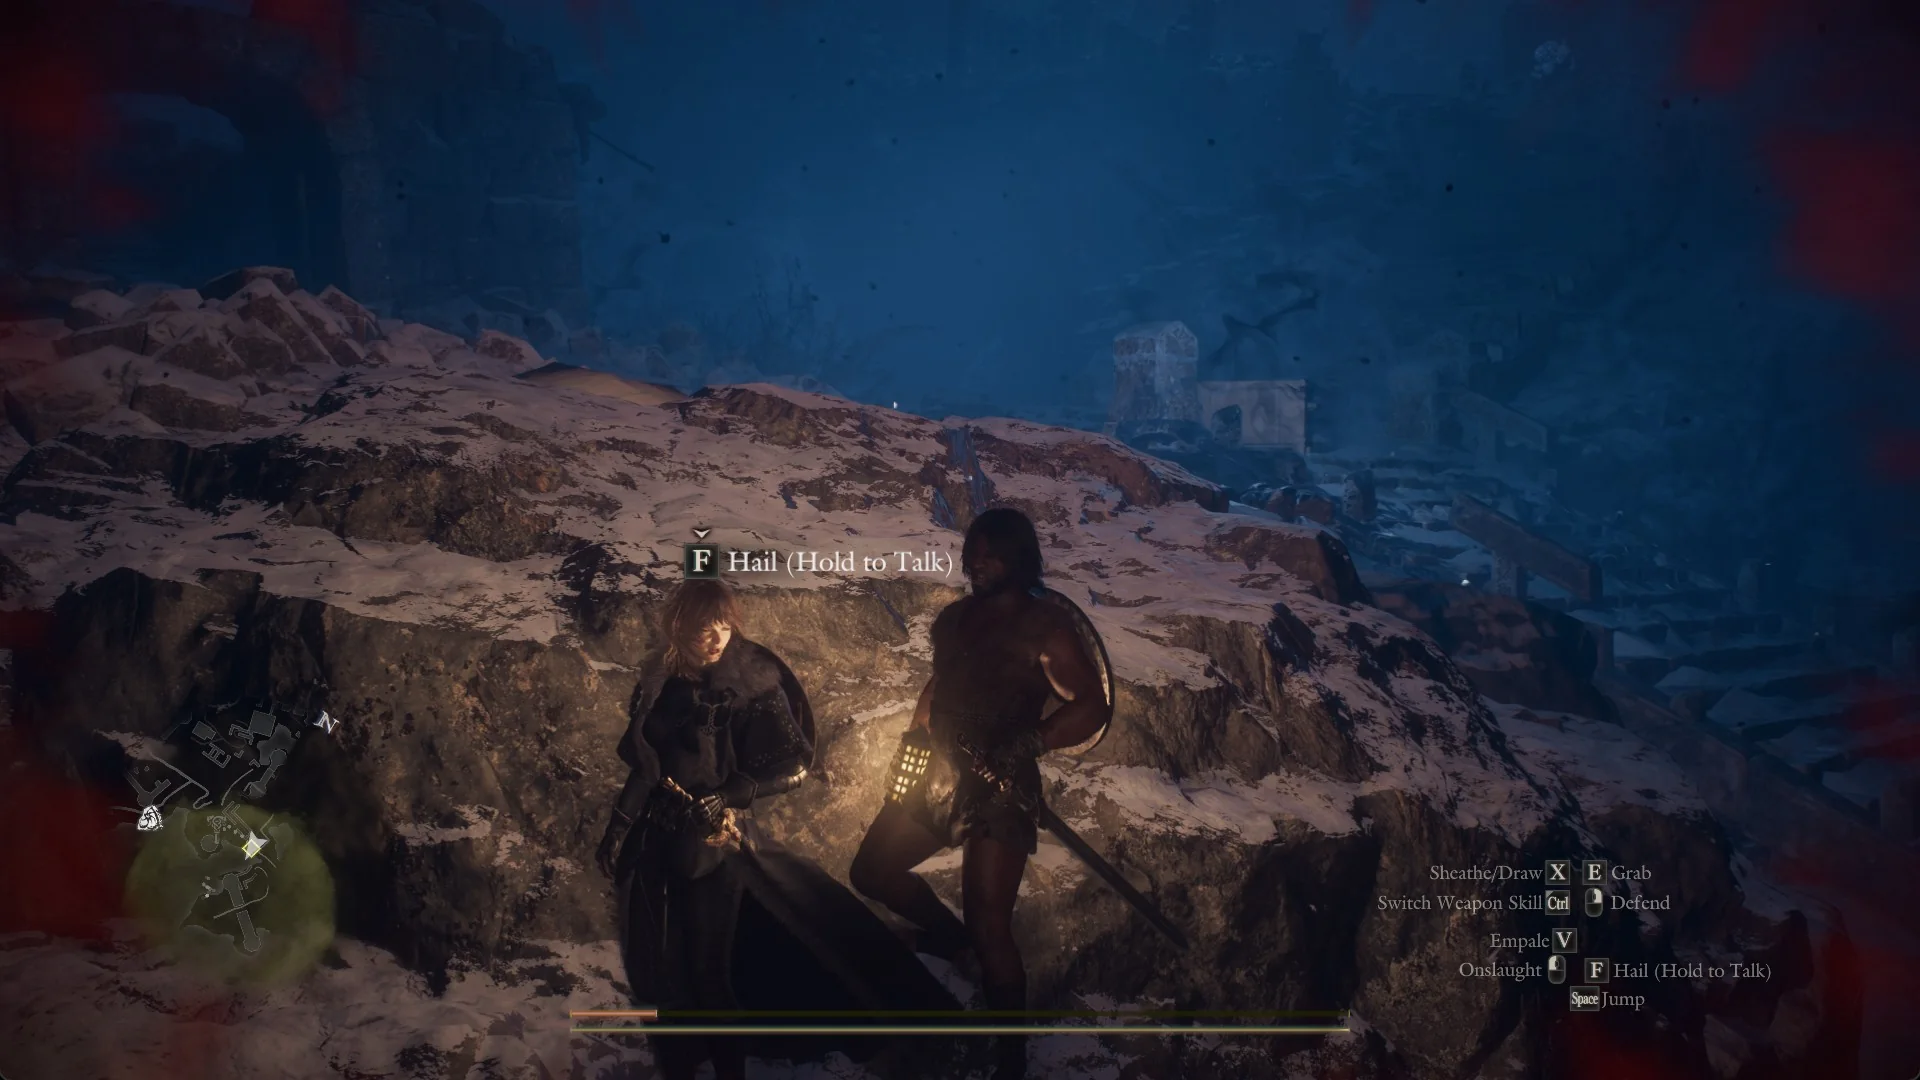
A short scene shows Eir catching up. Continue down the steps to a walled courtyard containing stone pillars and a large, shut portcullis. The spectre is waiting there.
Beat the armoured spectre guarding Rovall’s soul
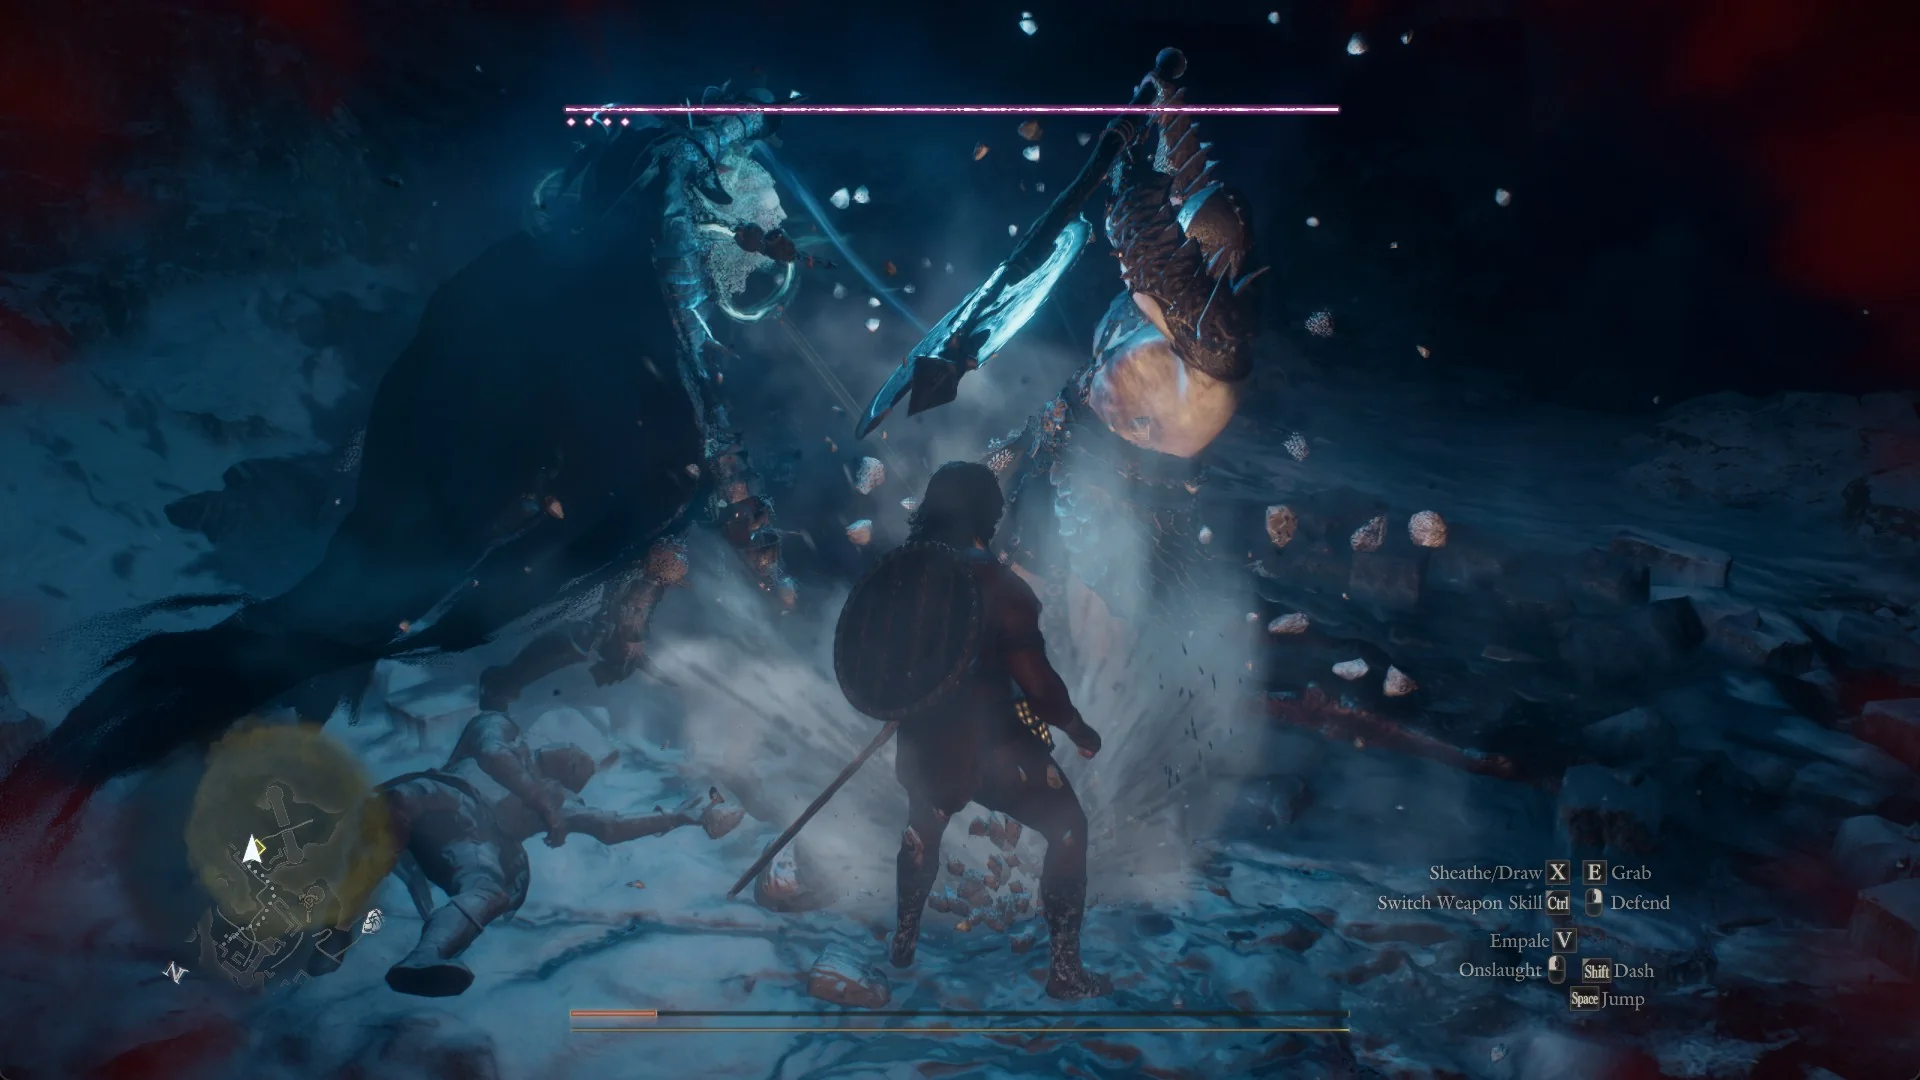
The encounter starts with the spectre and its armoured escort; sometimes two armoured companions stand in the court. One is a tall knight surrounded by pale blue light, wearing a ragged black cloak and wielding a long blade. Its health bar has four pips and no name, giving it five bars total. The other is a heavy armoured companion carrying a polearm, with a small health bar of its own. Neither enemy has a name displayed.
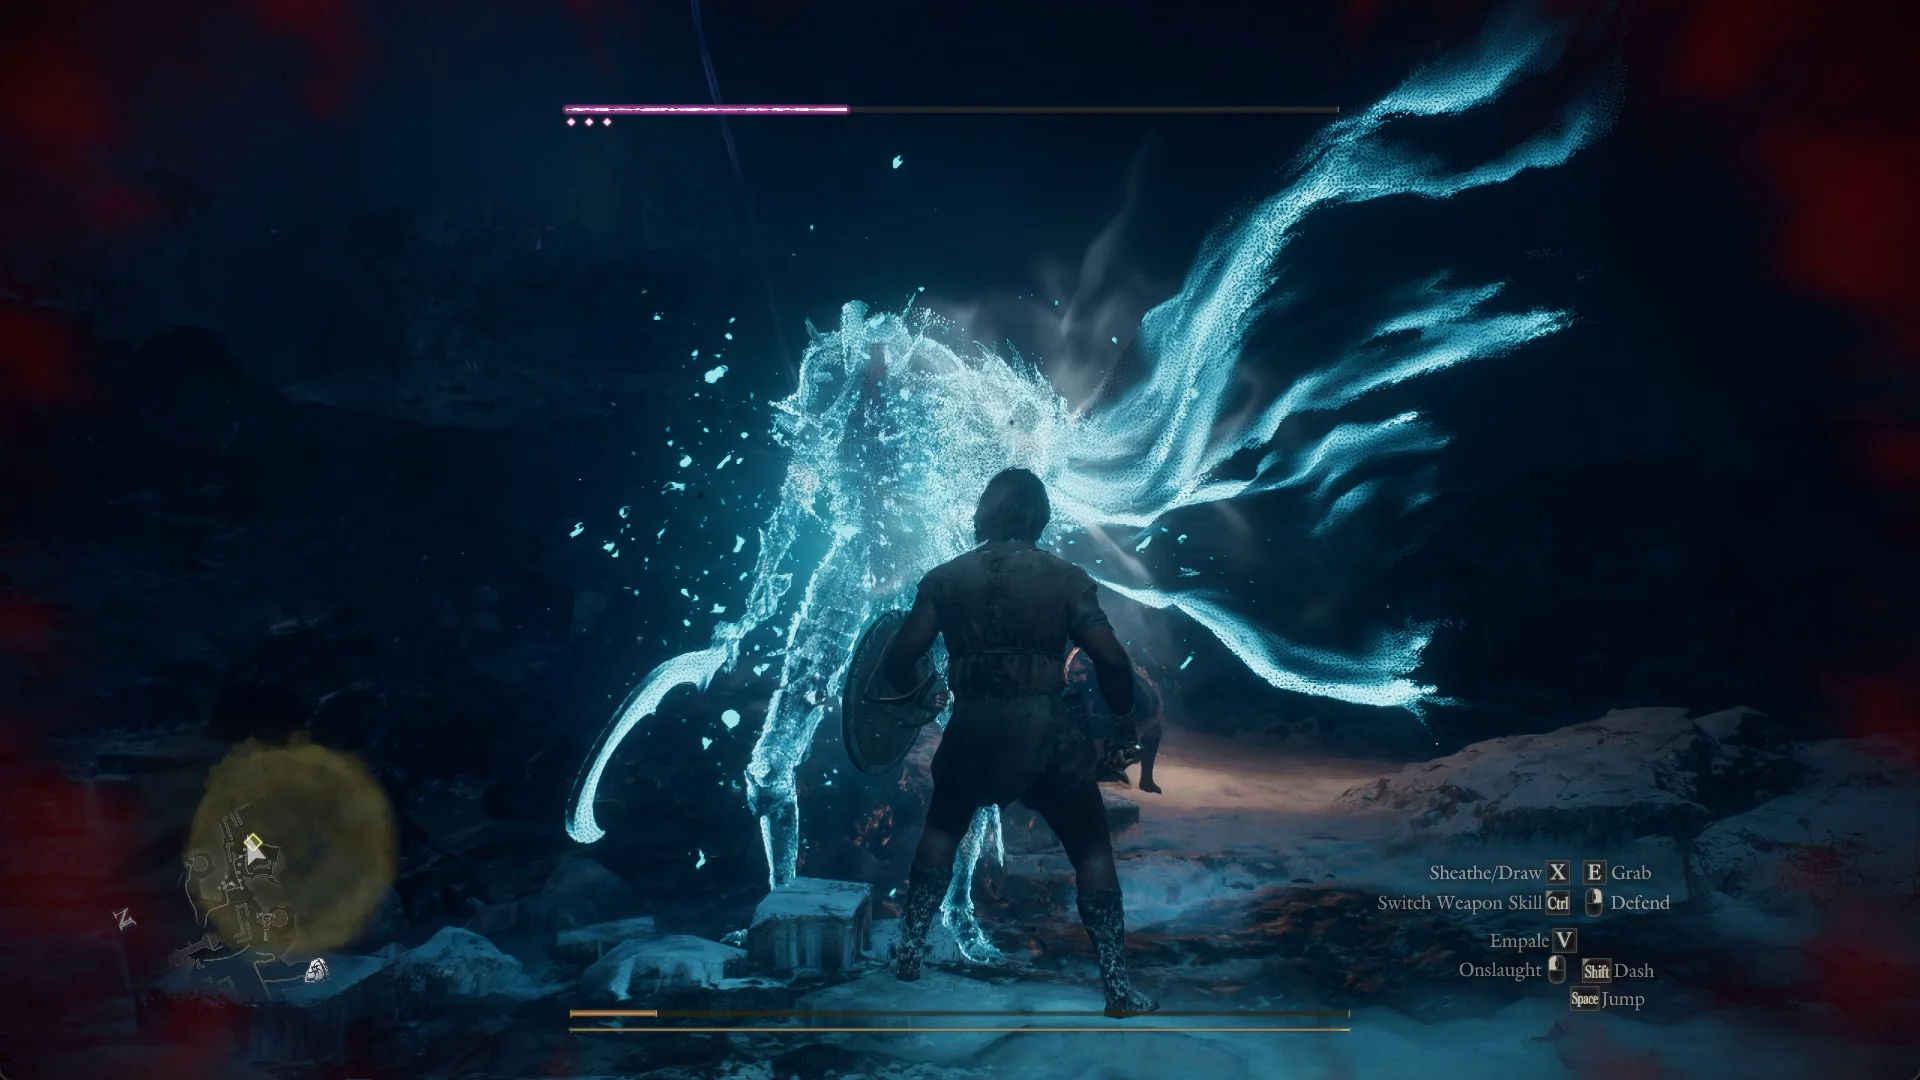
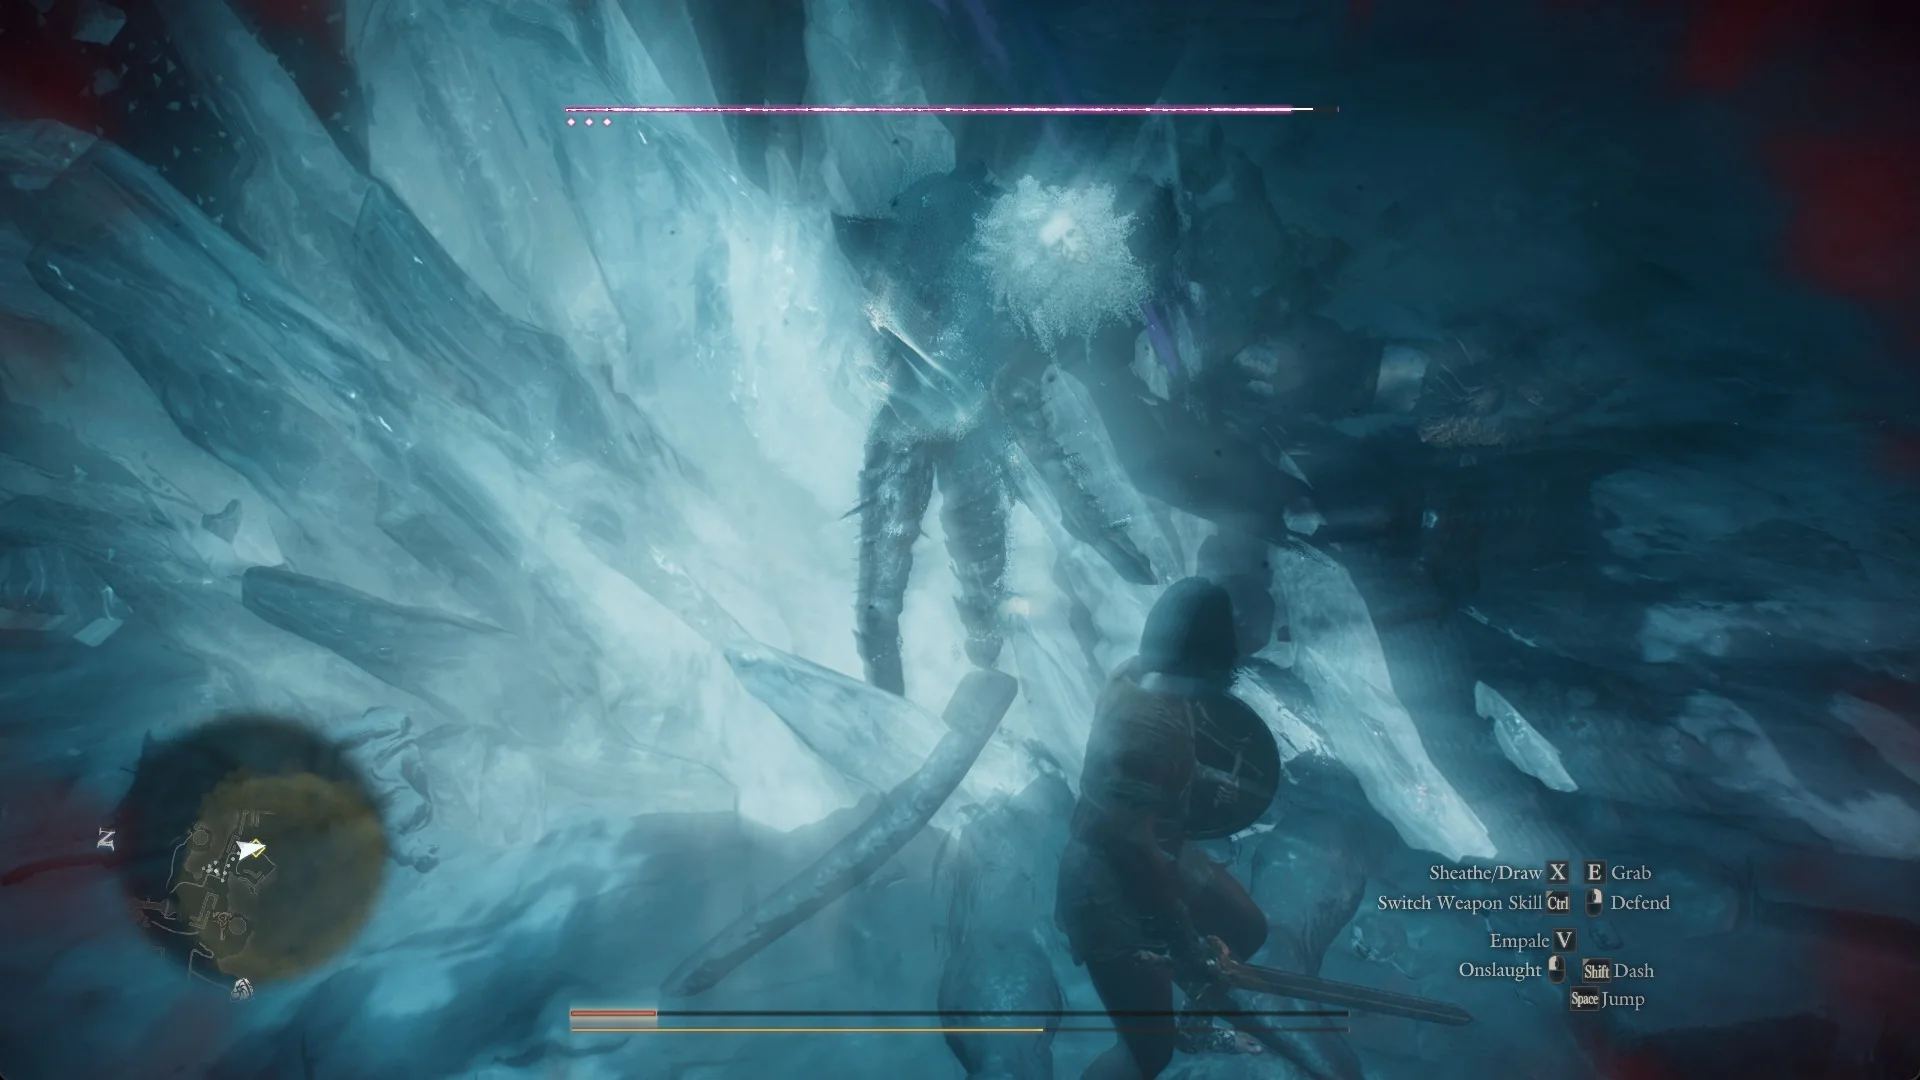
When the final bar empties, the spectre bursts into blue light by the portcullis. The payout is not fixed: kills have paid +202738 XP and +1502 Dcp, and +148800 XP and +1638 Dcp, and the “Before Dawn Breaks” trophy pops in the same second. Pick up the drops from the spot: Spoils: Lv 4, Light Weaponry; Spoils: Lv 3, Ancient Aegis; and Spoils: Lv 3, Ancient Long Weaponry. The spoils are not fixed: other kills gave Spoils: Lv 4, Bowstaff with two Spoils: Lv 3, Ancient Aegis, and Spoils: Lv 4, Light Weaponry with two Spoils: Lv 3, Ancient Light Weaponry.
Claiming Rovall’s soul and finishing the quest
The portcullis remains closed. Walk out of the courtyard and continue along the thin rocky spur extending above the chasm. At the tip, a scene begins in which the soul is claimed.
Control returns at the Norgandian Inn with the line “You found Rovall’s soul.” paying +240000 XP, +0 Dcp, 35000 G and 3000 RC, followed by “Completed: Soul Searching.” The quest has two reward sets, one granting 180,000 XP and one granting 240,000 XP, each paired with 35,000 G and 3,000 RC.