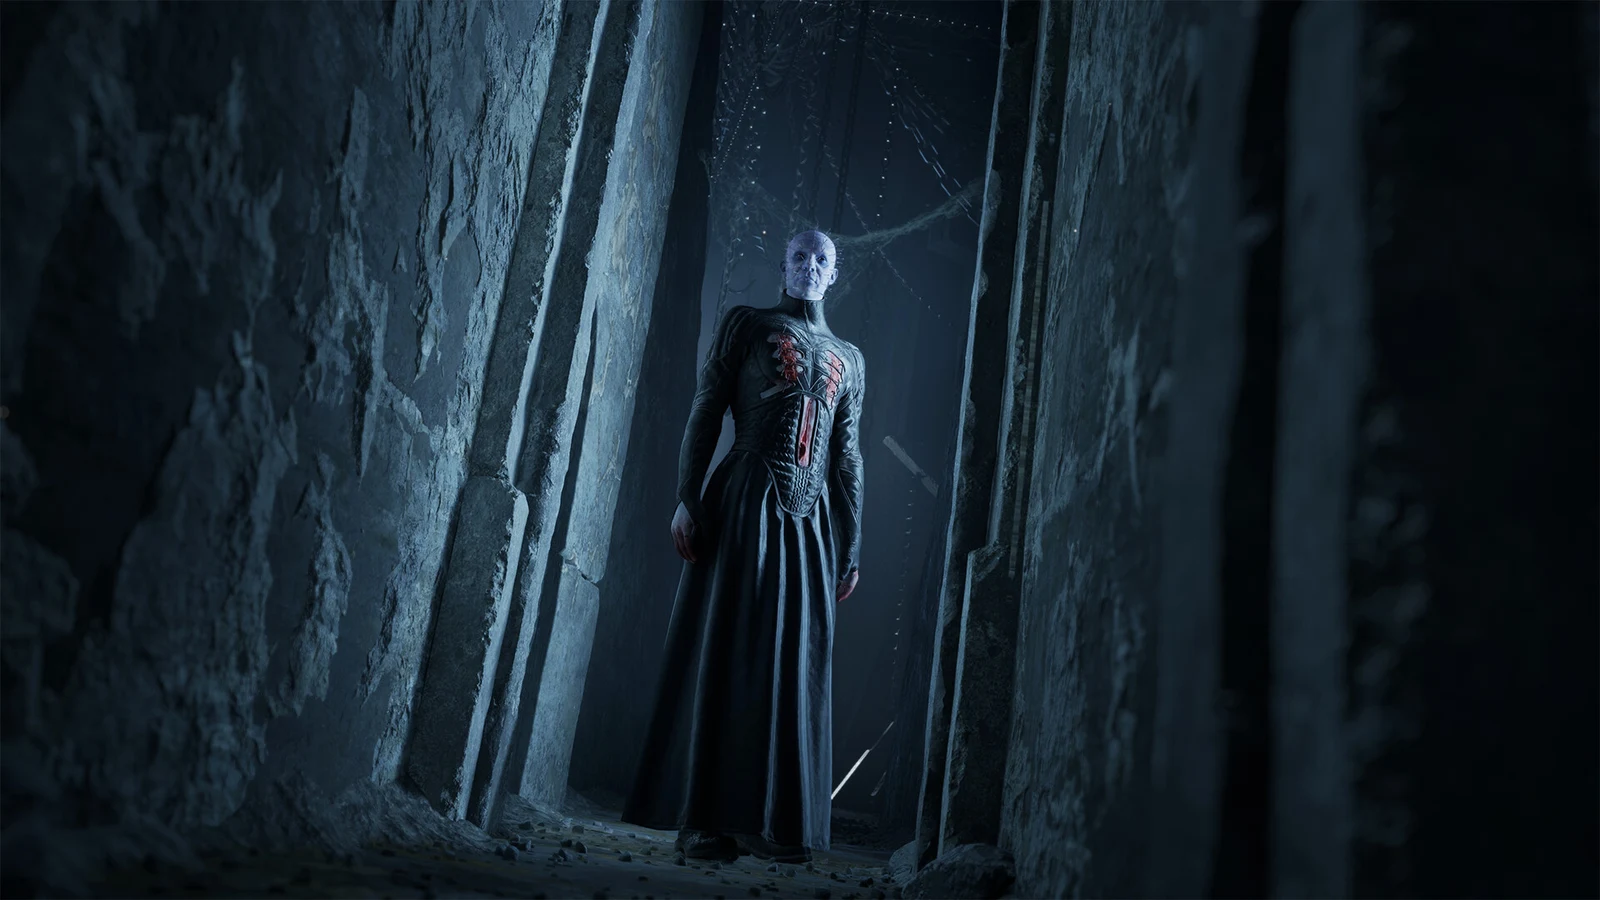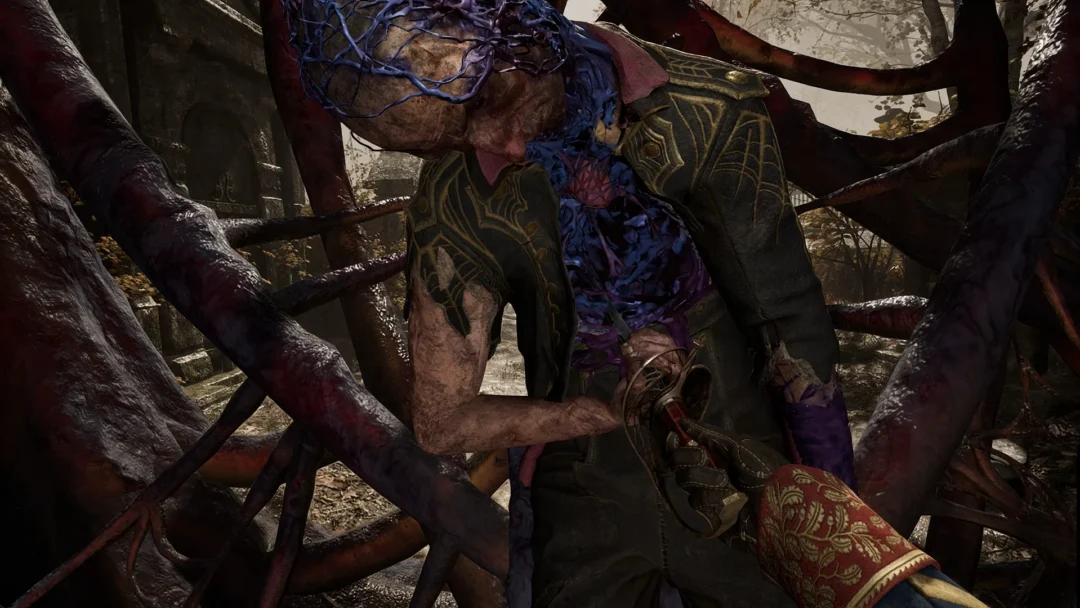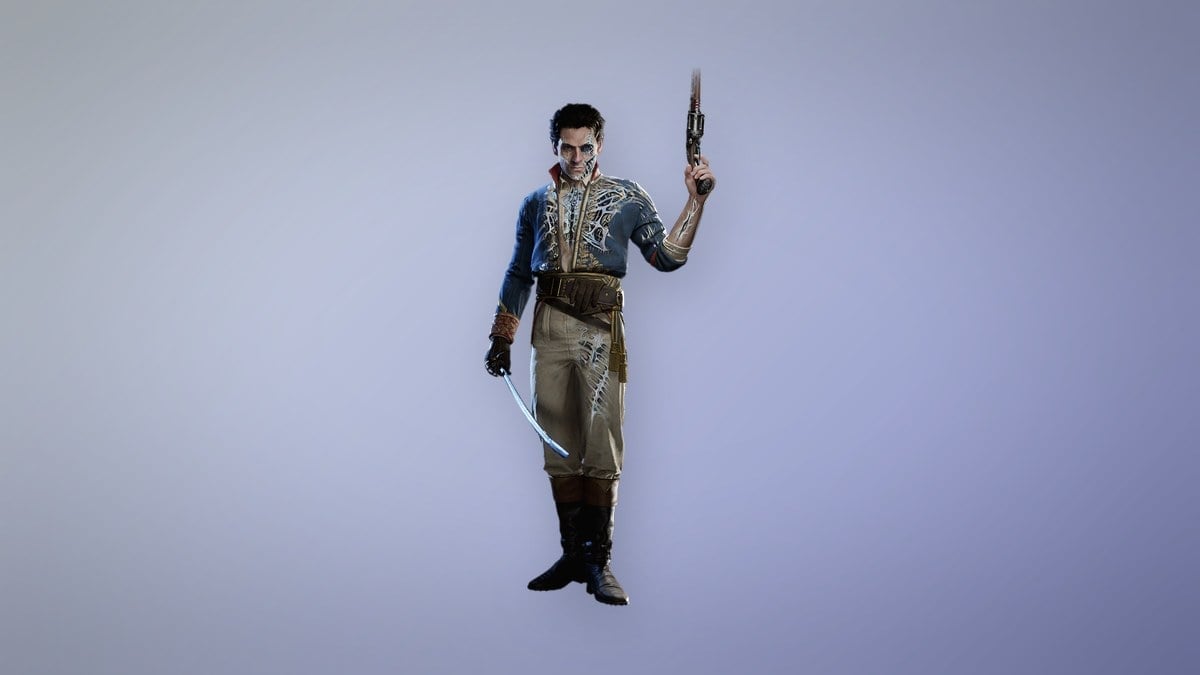
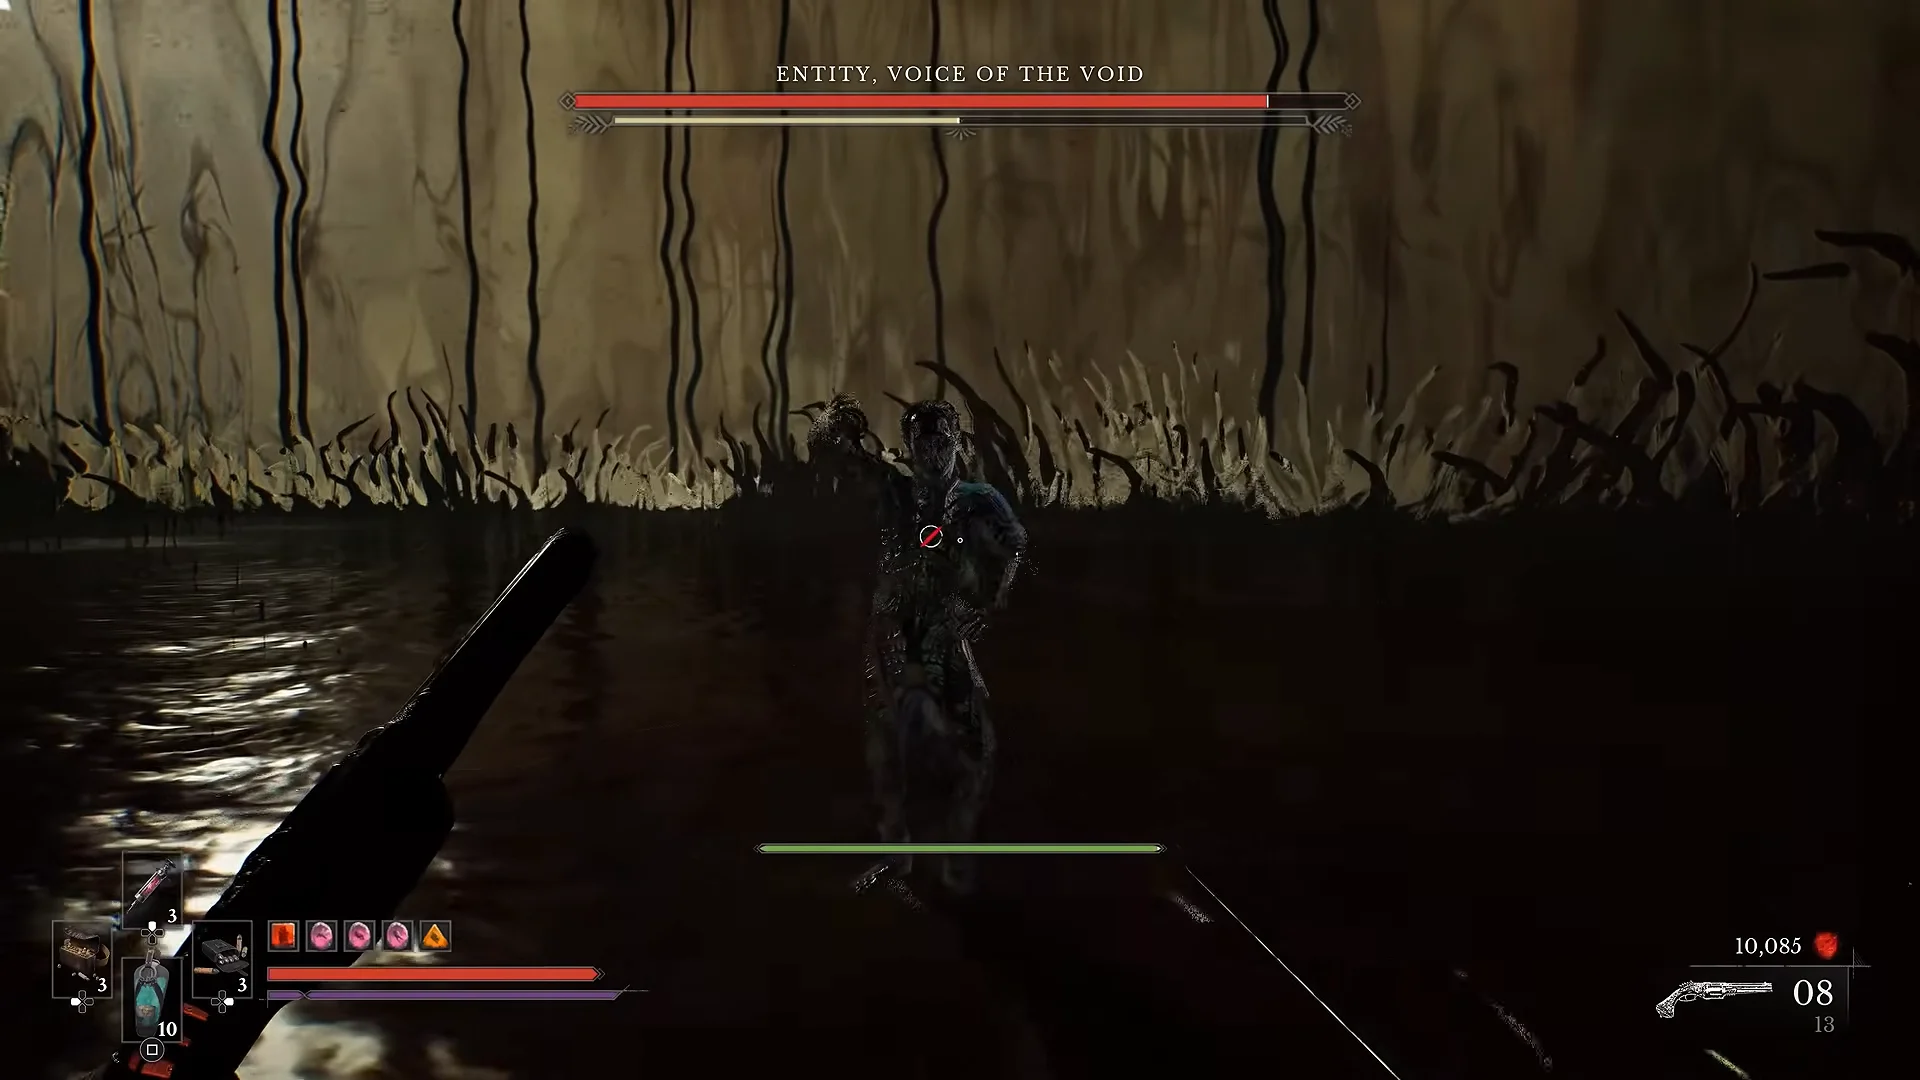
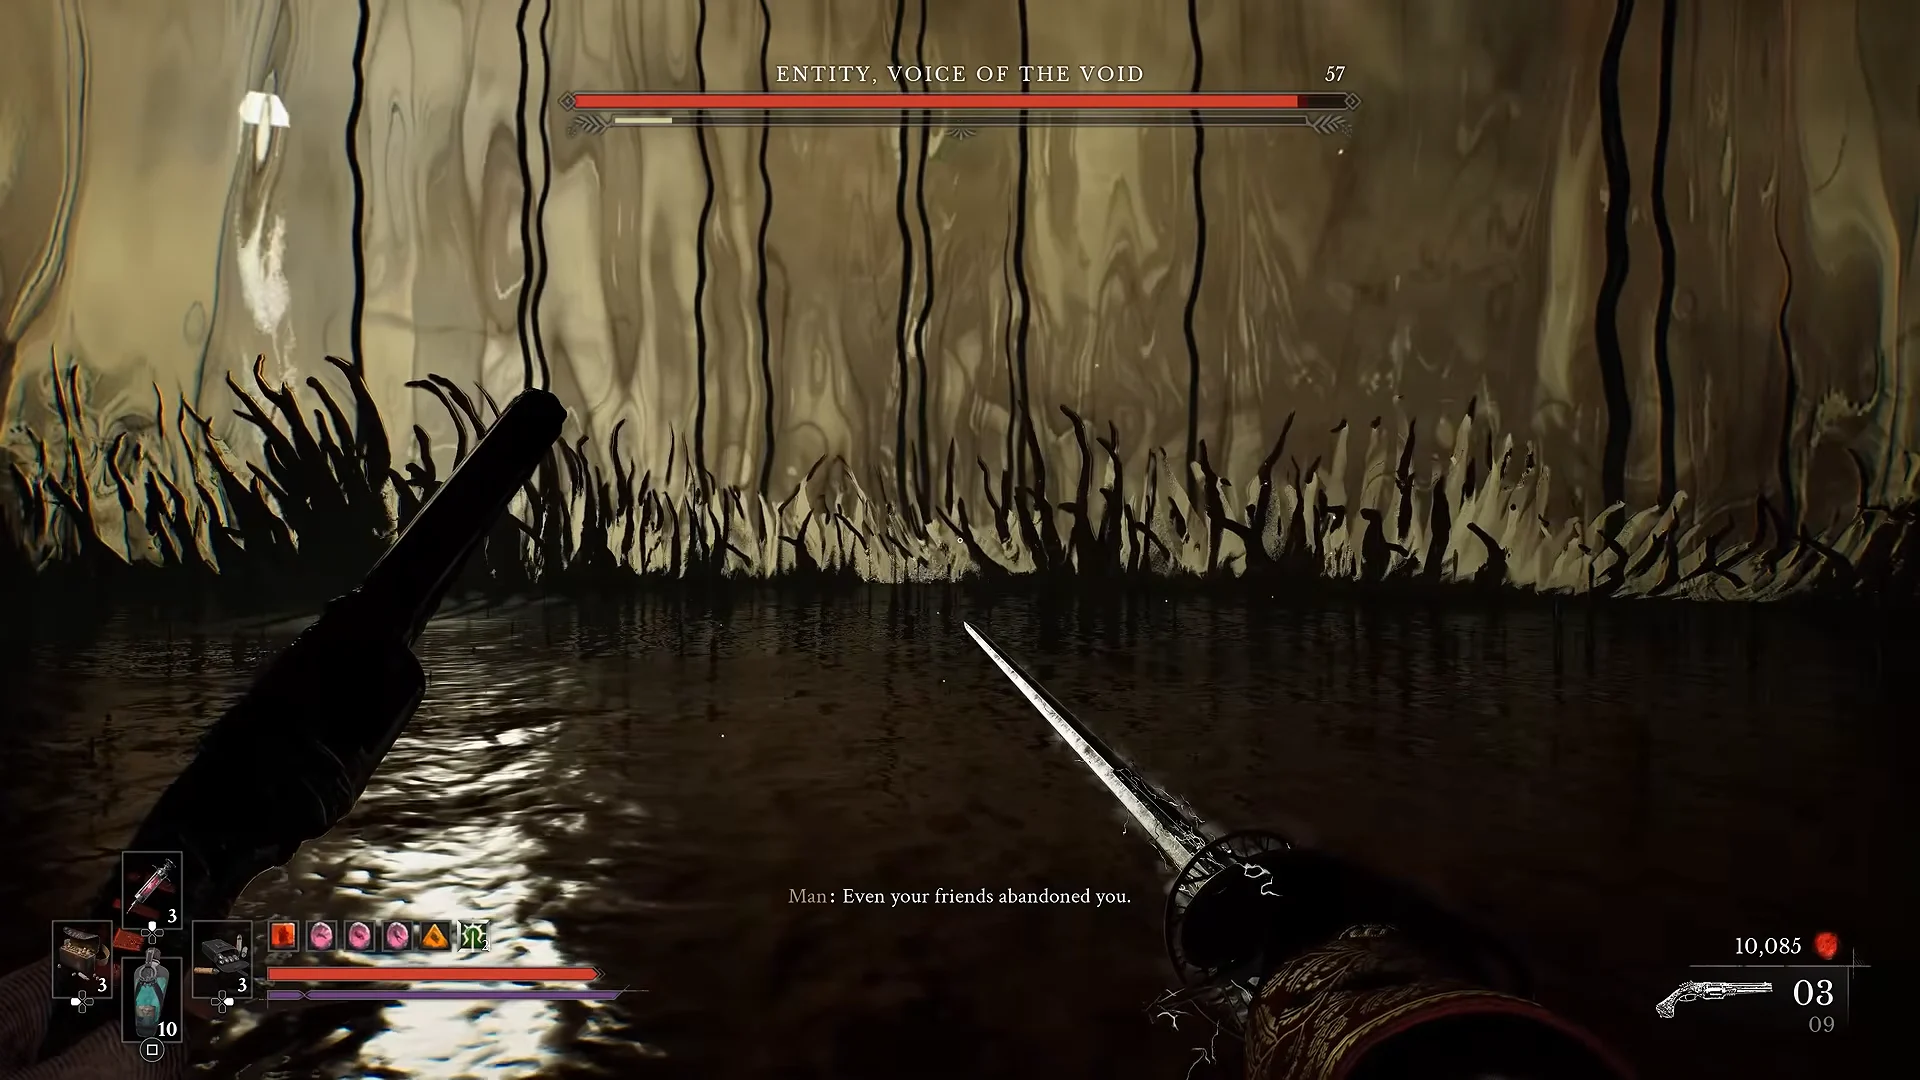
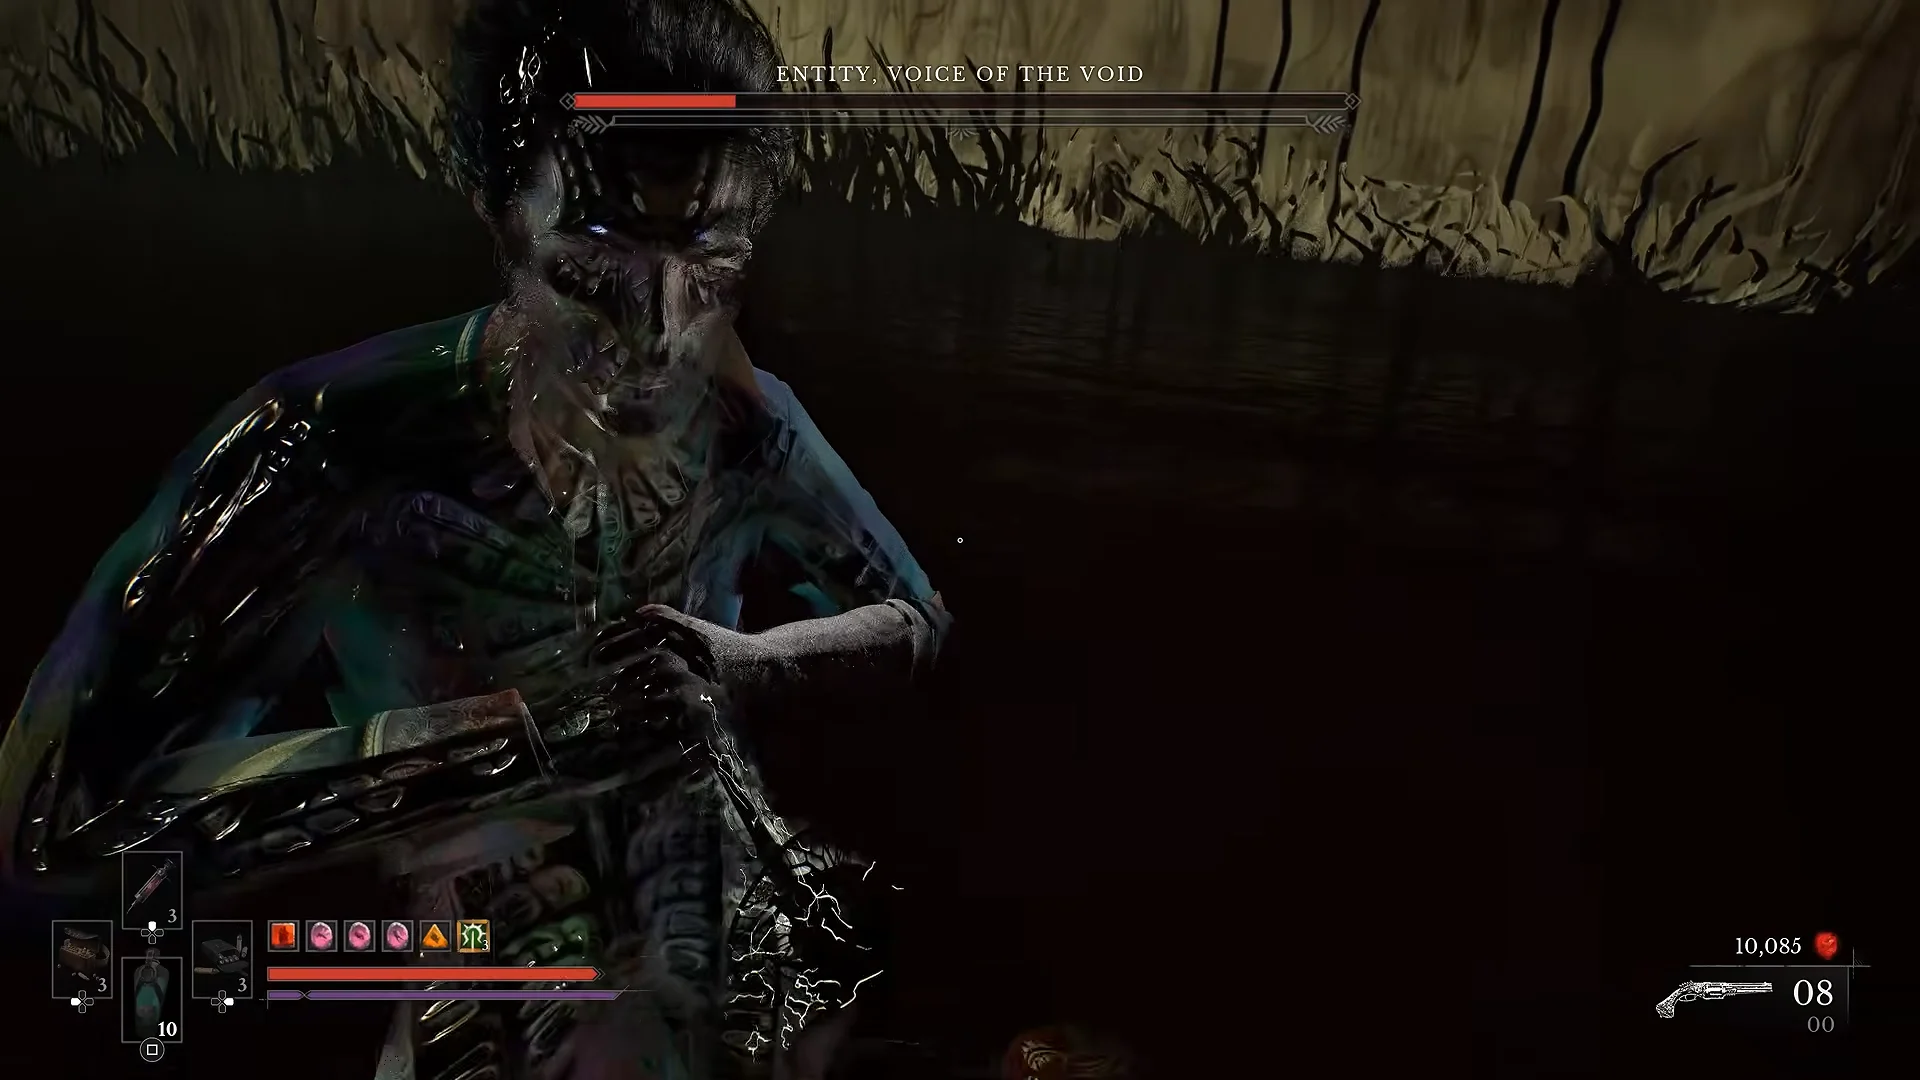
Entity, Voice of the Void is the final boss of Valor Mortis, fought in Entropy during the Reflection quest in Chapter 11. It greets the protagonist, William, in a flooded arena of shallow dark liquid, taking a human-like shape before shifting into an iridescent metal void form. It talks as it fights, needling William over abandonment and loss, and it closes out the campaign when its glowing core is torn free.
Quick answer: Entity, Voice of the Void has 5,000 HP split between two phases, 700 posture, six unblockable moves, and zero elemental weaknesses. Once its posture is broken, you can land a critical strike that always deals 1,200 damage.
Entity, Voice of the Void stats and resistances
Entity is the tenth and last boss in the game and carries the biggest health pool and reward of any fight. It has no particular weakness to lean on. Its head takes 50% extra damage, so aimed firearm shots there count for more, while its limbs take less. Ignite build-up is a poor choice here because it resists 60% of it, and both phases add 20% firearm resistance on top. Stasis, by contrast, lands cleanly with no resistance and freezes across five segments, with a full freeze breaking for 550 damage.
| Property | Value |
|---|---|
| Health | 5,000 |
| Posture | 700 |
| Phases | 2 |
| Unblockable attacks | 6 |
| Head damage | ×1.5 |
| Posture break critical | 1,200 damage |
| Catalyst reward | 100,000 |
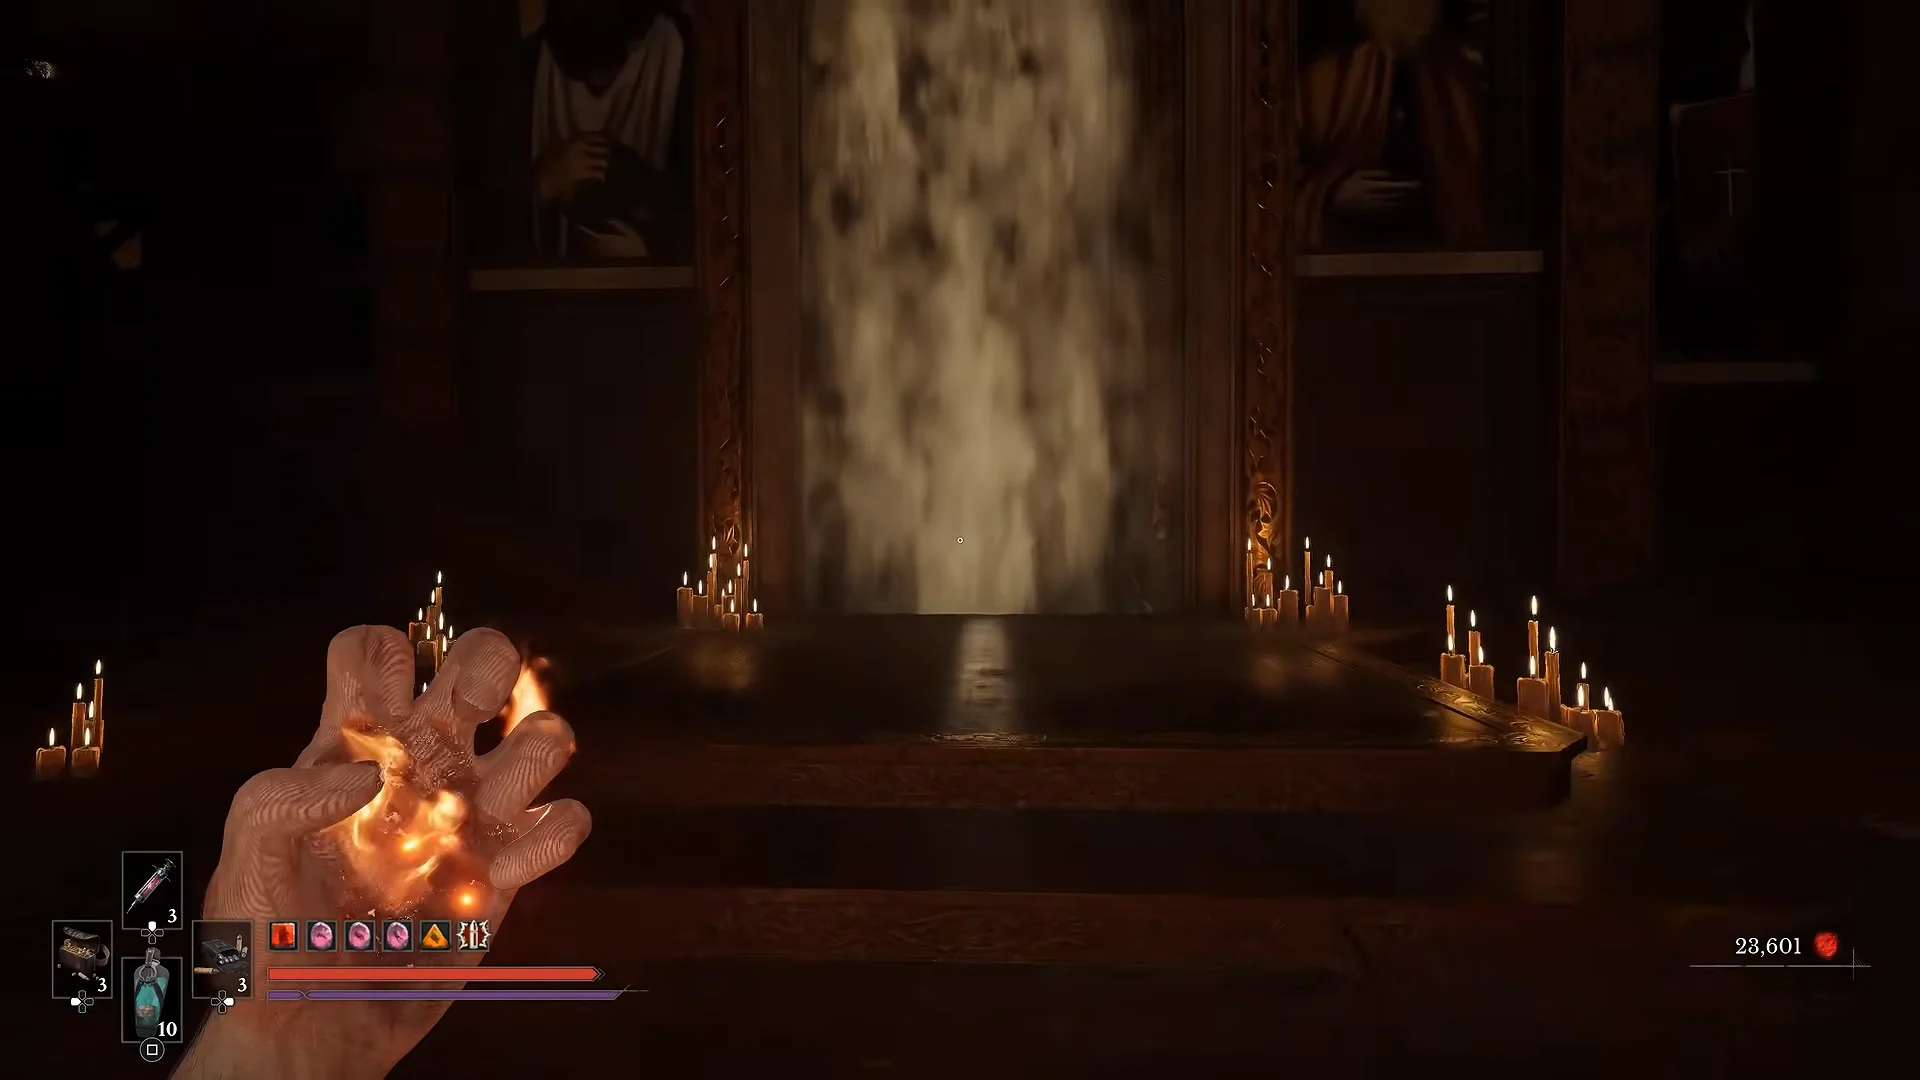
That 1,200-damage critical lands after the 700 posture pool is emptied, and it wipes out nearly a quarter of the boss’s health in a single hit. Entropy and Napoleon’s Prison have no fast travel, so weapons need to be upgraded before the run in.
How the two phases play out
Phase one
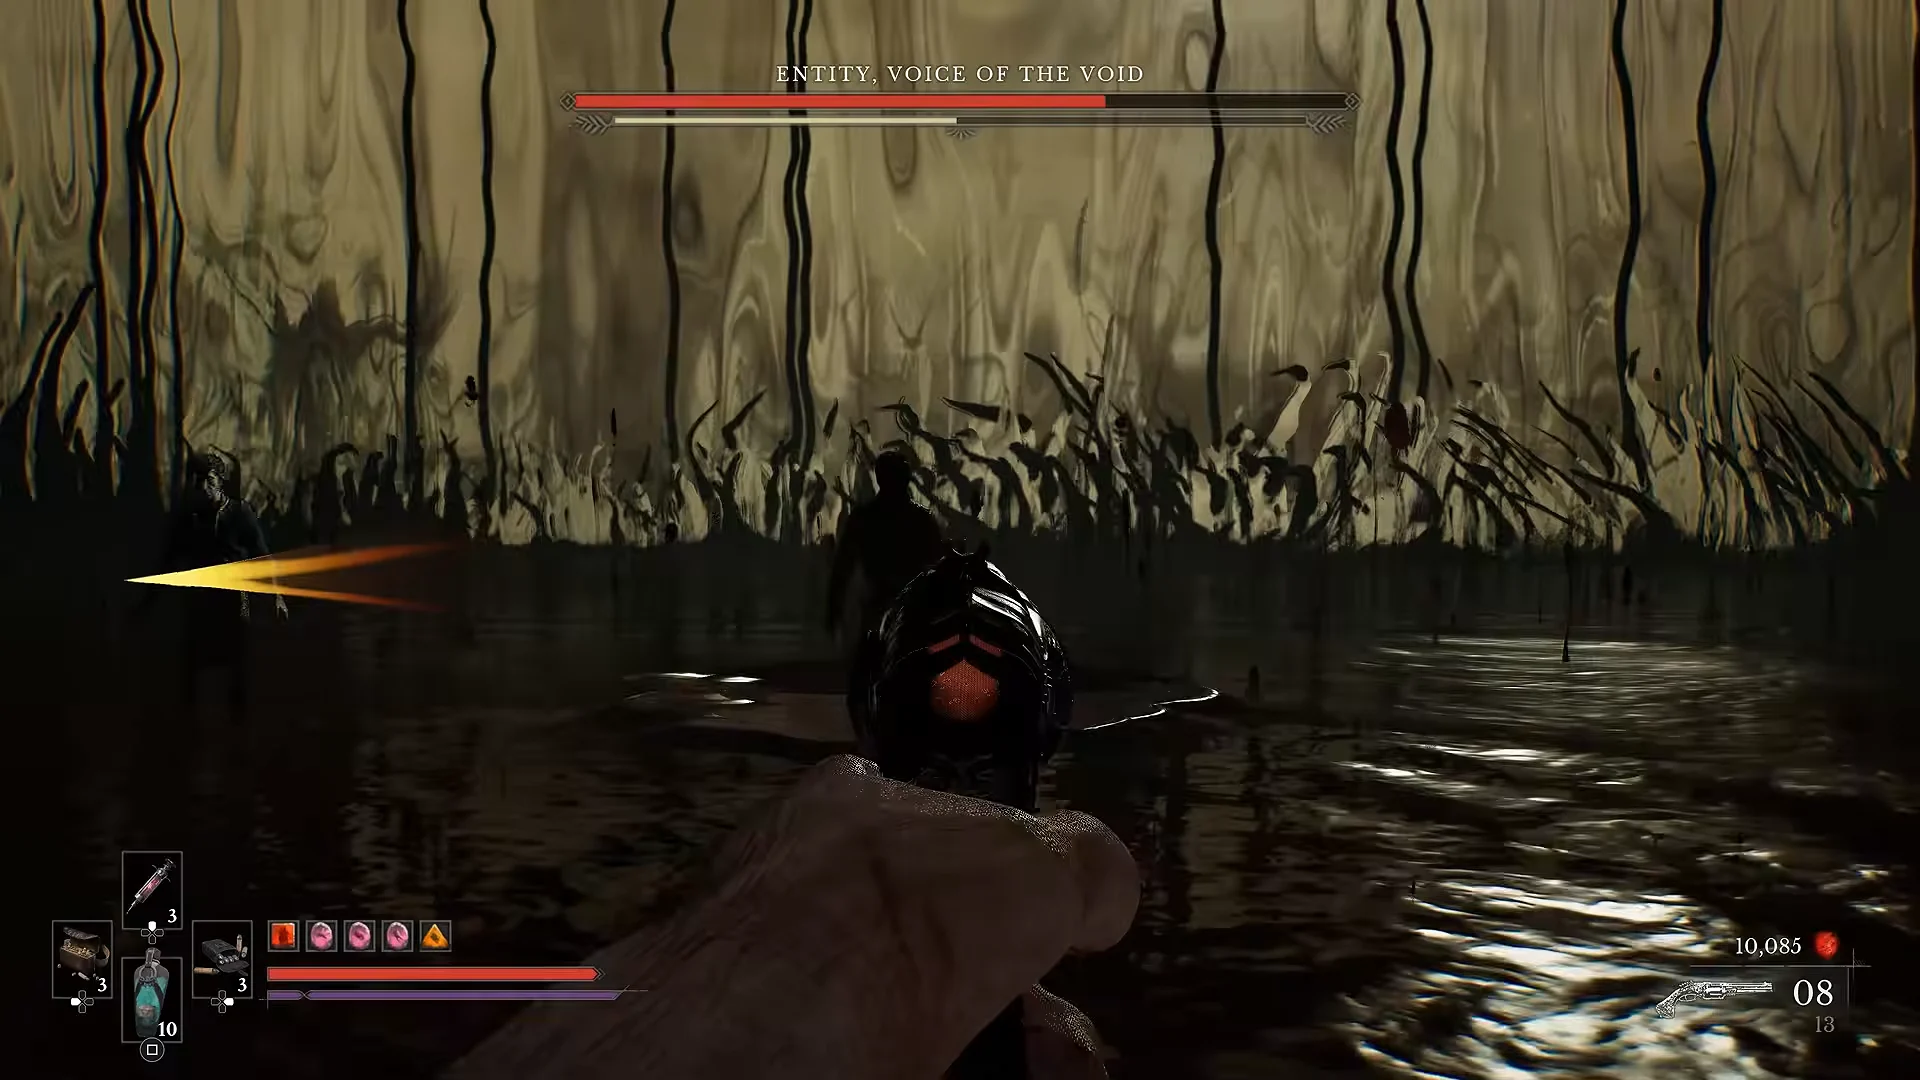
In the first health bar, Entity fights as a swordsman, cycling through Saber, Rapier and Claymore forms mid-combo. A typical string is two Saber slashes into an unblockable Claymore swing, or a pair of Saber hits into a Rapier thrust that closes the gap. Most of the danger here is melee, with its Combo 1 ending on an 80-damage hit that cannot be blocked.
It also floats up to summon tentacle spikes, firing two of them in this phase. Shooting the boss while it hangs in the air interrupts the attack and chips its health. There is a reliable opening every time its blade changes into the Claymore, because it stands still for a beat before swinging.
Phase two
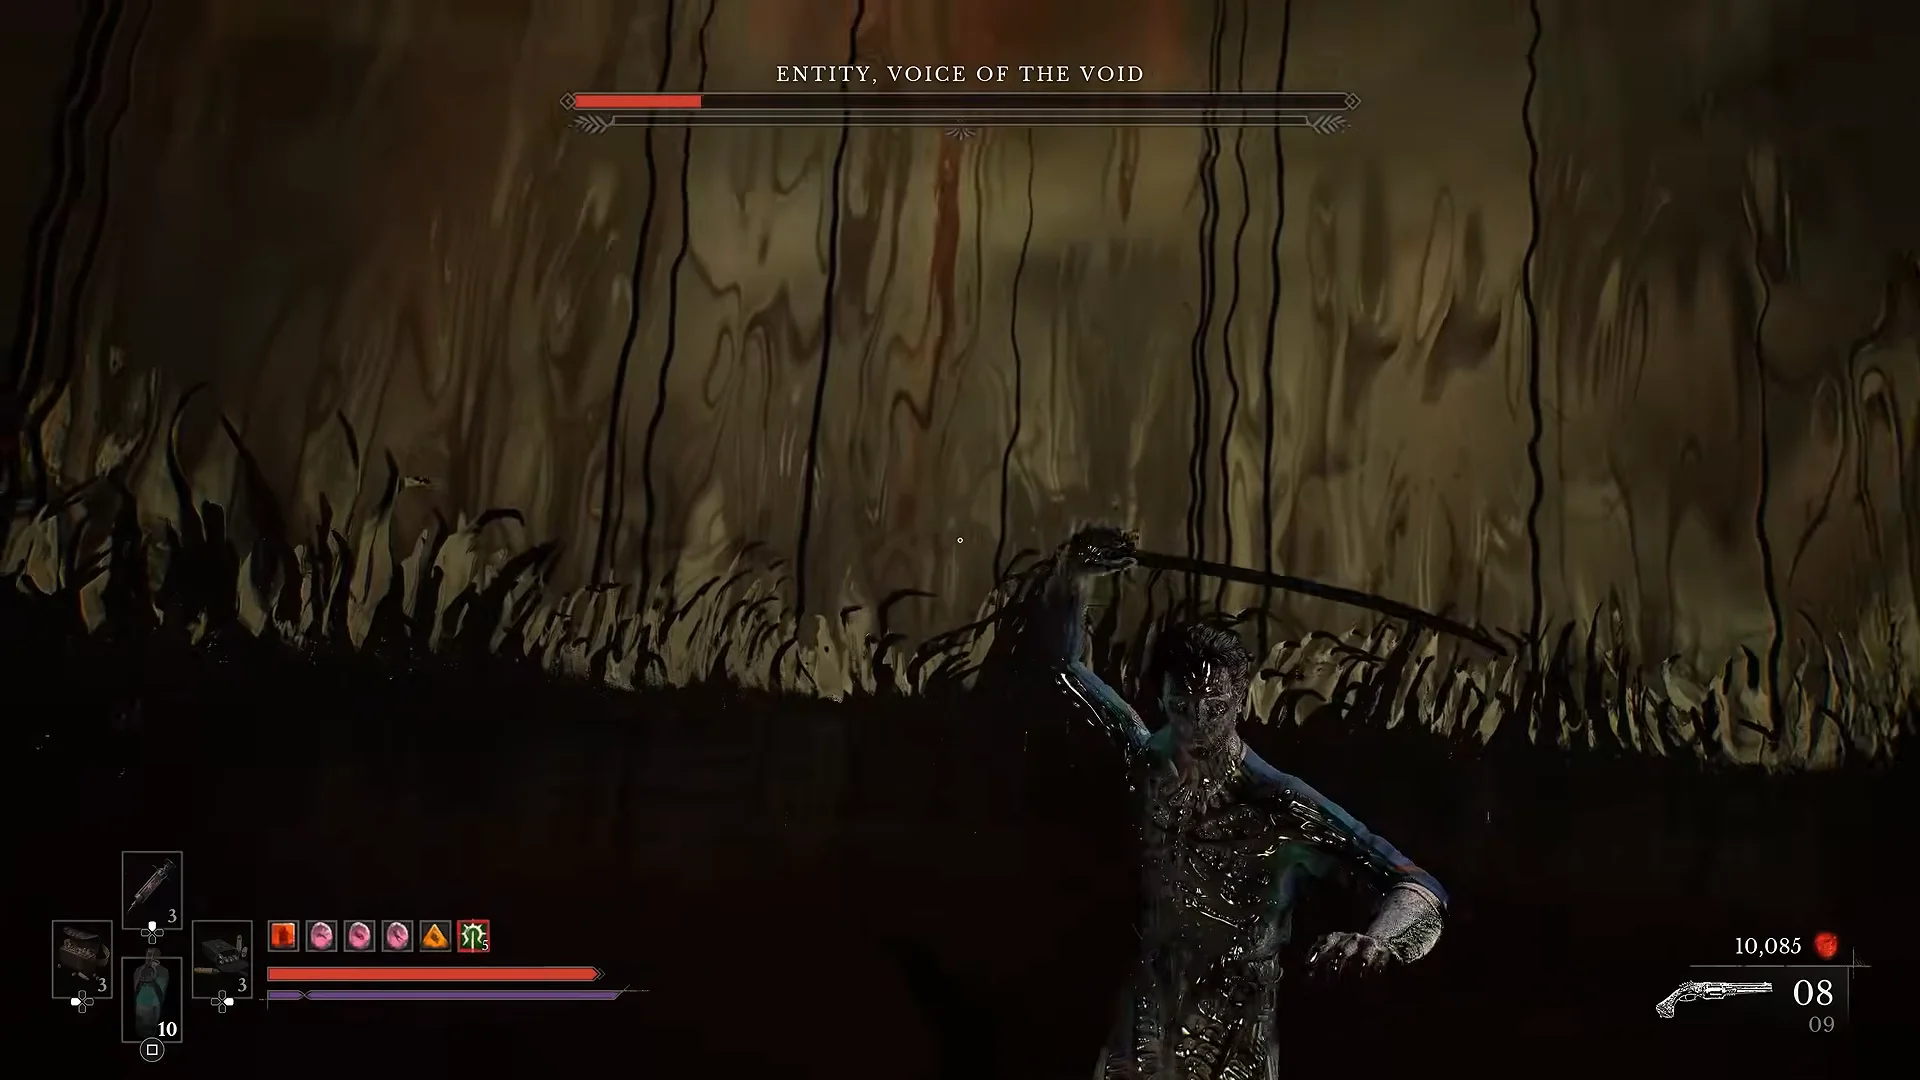
Once the first bar is gone, Entity rises and calls in a large group of clones. These copies each wield one weapon but die to a single hit of any kind, so an area attack or a few firearm rounds clears them in waves. After the wave, Entity returns to the same swordplay from before, now with longer strings that total around 195 to 205 damage.
Its tentacle-spike attack now throws four strikes instead of two. It also begins summoning echoes of earlier bosses, pulling in the forms of General Lothaire, the Orphan and the Sphinx with their signature moves. These summons are liquid clones that also fall in one hit, and they always open with a leap attack worth watching for.
Six of Entity’s own attacks are unblockable, including Combo 1, the 75-damage Melee Grab, the Teleport Gapcloser and Teleport Away, a Visceral Ability and a Flamethrower. Dodge those red attacks rather than holding block.
Weapons that fit the fight
Because Entity resists Ignite build-up and firearms but not Stasis, the weapons below cover the three roles the fight asks for: raw melee damage, headshots, and crowd control for the summons. The figures are the maxed values each weapon reaches at its top level.
| Weapon | Type | Max level | Top damage |
|---|---|---|---|
 Claymore Claymore | Melee | 10 | 100 |
 Blunderbuss Blunderbuss | Firearm | 10 | 30 |
 Stasis Transmutation Stasis Transmutation | Transmutation | 5 | 1.5 damage factor |
 Fire Transmutation Fire Transmutation | Transmutation | 5 | 10 base / 20 / 6 ignite |
The Claymore is the fastest melee option, needing 50 body hits at level 10 before upgrades, against 84 for the Saber and 112 for the Rapier. It channels Nephtoglobin transmutations and trades away parrying for heavy, overpowering strikes, which suits the clone waves thanks to its area attack. A level-10 Blunderbuss takes 18 shots, or about 12 if they land on the head, where the ×1.5 multiplier applies. Stasis Transmutation is the one element that is not resisted, so its freeze is a dependable way to lock the boss down and open it up.
How Entity compares to earlier Valor Mortis bosses
Set against the campaign’s other named fights, Entity carries the largest health pool and the biggest Catalyst payout of them all. The Orphan is the next closest in both health and reward.
| Boss | Health | Posture | Catalysts |
|---|---|---|---|
 Entity, Voice of the Void Entity, Voice of the Void | 5,000 | 700 | 100,000 |
 The Orphan The Orphan | 4,000 | 1,550 | 40,000 |
 Experiment 83 Experiment 83 | 3,400 | 1,000 | 20,000 |
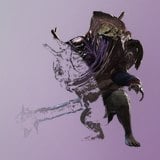 The Iron Marshall The Iron Marshall | 2,400 | 800 | 7,000 |
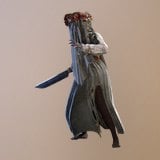 Anna, the Bride Drowned in Tears Anna, the Bride Drowned in Tears | 2,200 | 400 | 14,000 |
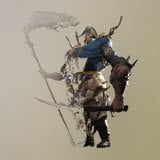 General Lothaire, the Eagle-Bearer General Lothaire, the Eagle-Bearer | 1,800 | 500 / 500 | 10,000 |
| High Justicar Aurelius | 1,500 | 1,000 / 1,000 | 18,000 |
The lessons from those earlier encounters carry straight over. The same red attacks you learned to dodge against Lothaire, the Orphan and the Sphinx come back during Entity’s summon phase, so the muscle memory from each of those fights pays off here.
The ending after Entity falls
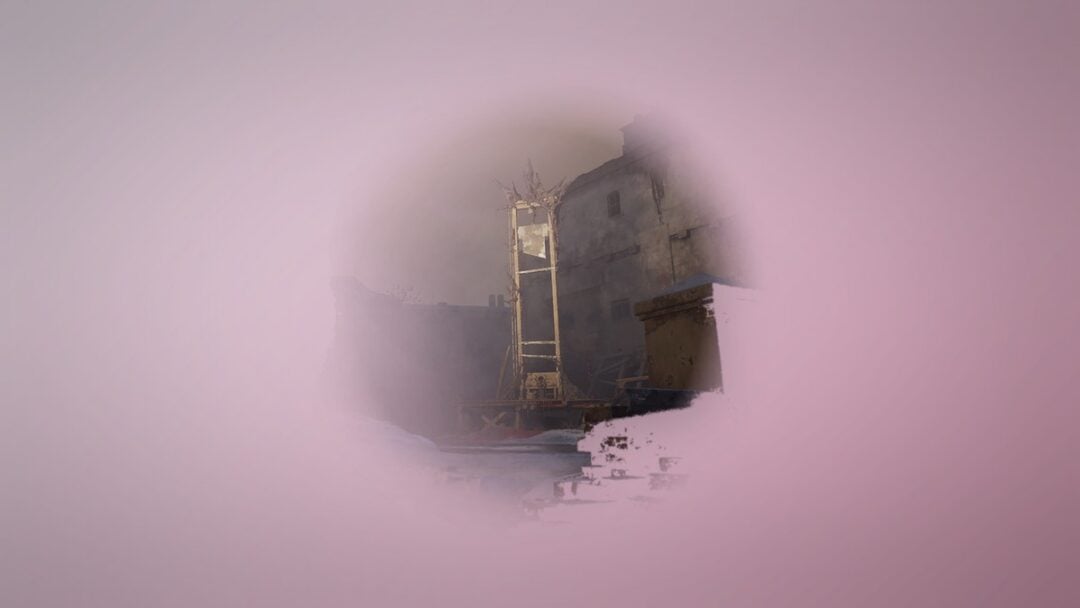
Defeating Entity triggers an execution cutscene. William stands over the beaten boss, speaks over it, and reaches into its chest to pluck and crush the glowing white core. From there a cinematic runs through the aftermath of his victory: a guillotine blade falling, decrees being stamped, William addressing assembly halls, ships drifting across foggy water, and a vast imperial army marching over snow behind enormous walking siege cannons.
Control then returns in the Caverns, where an NPC named Lucien waits by a rock wall. He acknowledges William’s many deaths and resurrections and admits he remains a sceptic. When William wonders whether the threat is truly over, Lucien answers that evil has a habit of returning, and that, fortunately for the world, so does William. He then walks past an hourglass device and down the cavern tunnel, closing the game on an open note.