The fastest way to fall behind in Wuthering Waves is not bad luck on banners. It is spreading Waveplates, Astrite, and pulls thinly across half-built characters so nothing in your account hits its power spike. With Version 4.X on the way, the fix is to decide where every resource goes before you spend it.
Quick answer: Pour 60% to 70% of early farming into one Main DPS’s weapon, talents, and Echoes, pull the Main DPS signature weapon rather than duplicate characters, share universal Echo sets across supports, and craft EXP materials for free through Synthesis instead of spending Waveplates on them.
How to split resources across your team
In a standard hypercarry team, the Main DPS produces roughly 70% to 90% of total damage. The other two slots exist to buff that carry or fill rotation gaps. Your spending should mirror that split, which is why 60% to 70% of your early materials belong on the Main DPS alone.
That investment covers the carry’s weapon levels, Forte skill tree (Resonance Skill, Forte Circuit, Resonance Liberation, Normal Attack, and Intro Skill), and Echoes. Everything else gets the remainder.
Sub DPS characters fall into two groups, and they do not need equal investment:
- Pure buffers and quick-swappers like Mortefi, who need almost no personal damage investment to do their job.
- Hybrid off-field damage dealers like Iuno, whose talents, weapon, and Echo stats add real damage and are worth leveling.
Sustain characters such as Shorekeeper, Verina, and Baizhi or Buling want the least field time possible. Build them to heal or shield, then get them off the screen so your carry keeps swinging.
Where Waveplates actually go
Waveplates refill at one every 6 minutes, or 40 an hour, up to a cap of 240. Past that, excess converts into Waveplate Crystals at a slower one per 12 minutes, so letting the meter sit full quietly wastes materials. Empty the tank at least once a day.
Each challenge type pays out different materials, so spend on your current bottleneck instead of splitting across all of them out of habit.
| Activity | Cost | Rewards |
|---|---|---|
| Forgery Challenge | 40 | Weapon and Forte upgrade materials |
| Simulation Training | 40 | Character and weapon EXP, Shell Credits |
| Tacet Field Cleanup | 60 | Echoes, Sealed Tubes, Tuners |
| Boss Challenge | 60 | Resonator ascension materials |
| Weekly Boss | 60 (max 3/week) | Forte and 4-star weapon materials |
Priority order is character ascension and Forte materials first, then weapon materials, then Echoes last. Resonator and weapon levels are guaranteed power, while Echo substats are a gamble, so farm the sure thing before chasing rolls.
You can refill 60 Waveplates with 60 Astrite up to six times a day, but the rate worsens with each use and Astrite is better saved for banners. Only refill during a double-drop event or when you are one run short of ascending a character you need immediately.
Use Concerto weapons to cut support field time
Concerto Energy fills while a character is on the field. A full meter triggers that character’s Outro skill and the incoming character’s Intro skill, so generating it faster means your supports do their job and leave sooner, handing more on-field time to the carry.
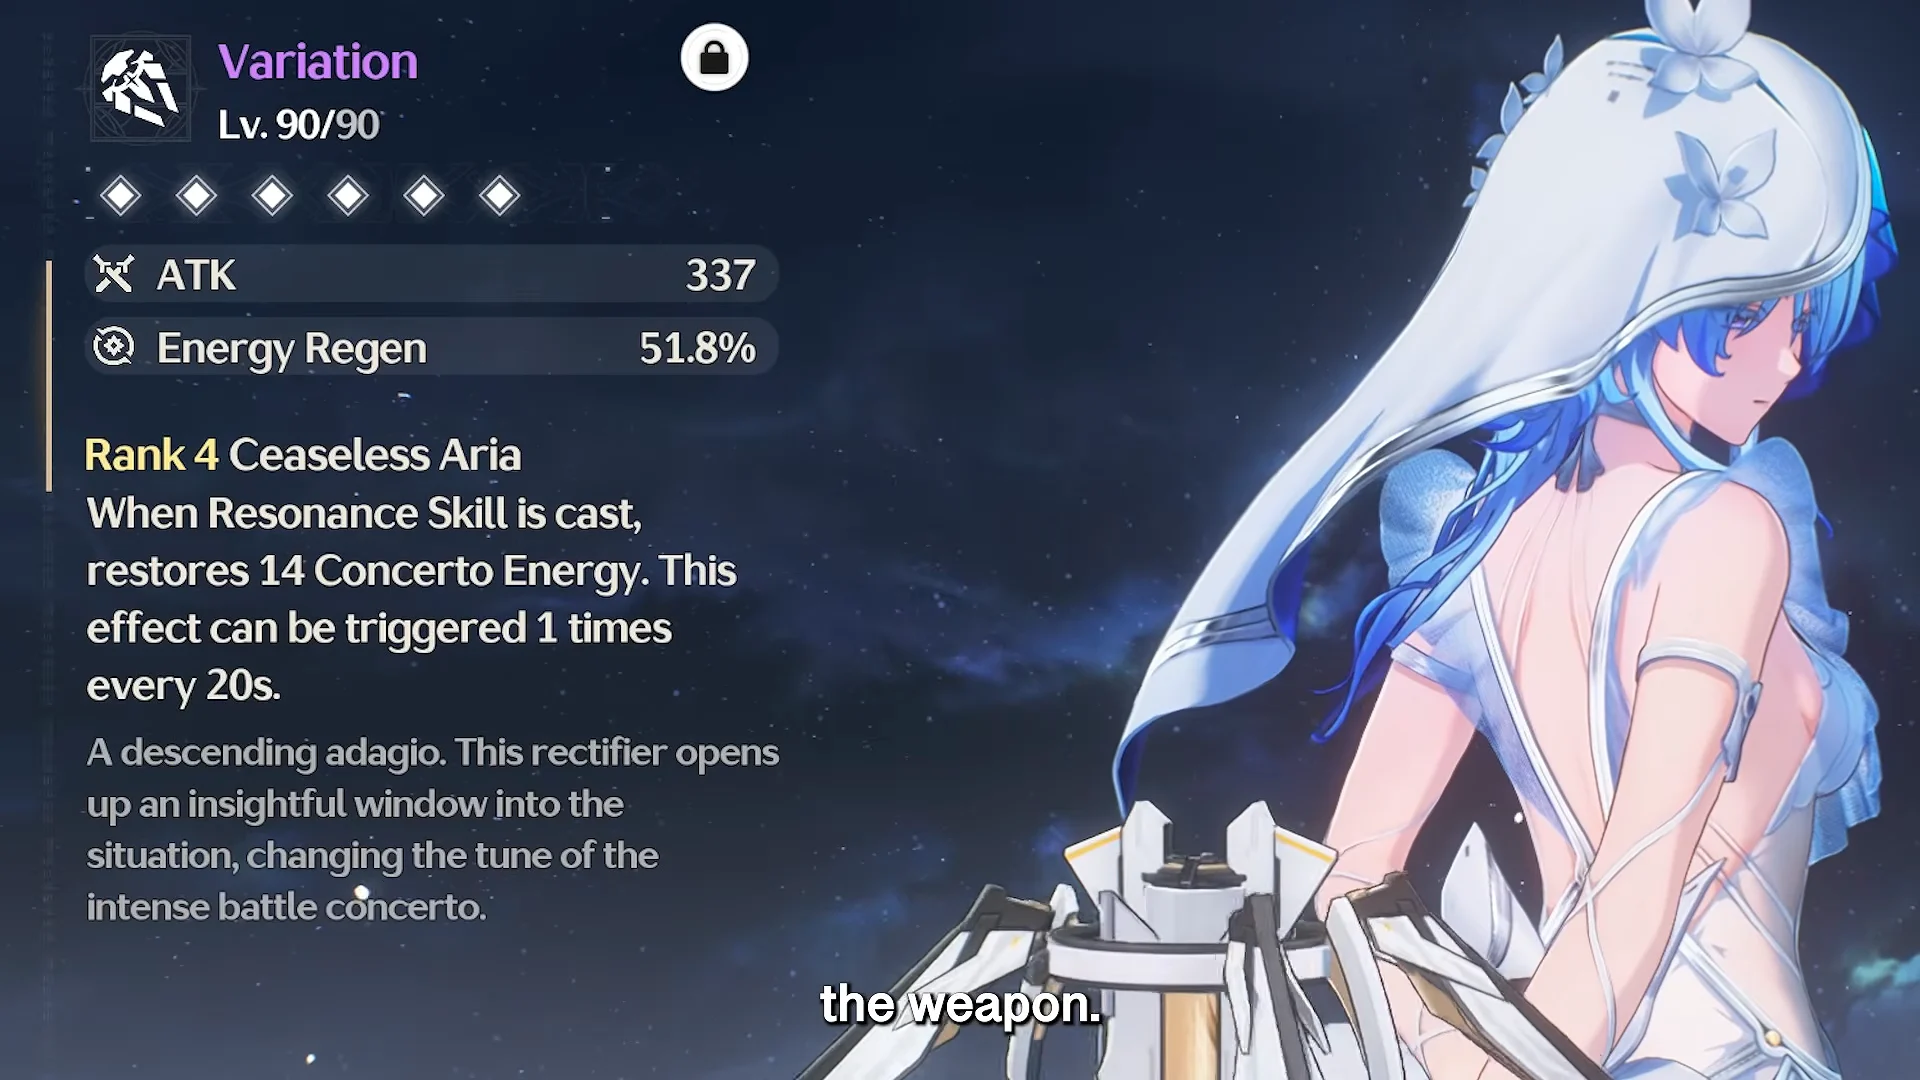
The Ceaseless Aria 4-star series is built for exactly this. Each weapon gives Energy Regen +51.8% at Level 90 and restores a chunk of Concerto Energy when you cast Resonance Skill (around 8 to 14 every 20 seconds). There is one for every weapon class, so a support of any type can run one.
| Weapon | Type |
|---|---|
| Variation | Rectifier |
| Cadenza | Pistol |
| Overture | Sword |
| Discord | Broadblade |
| Marcato | Gauntlet |
Pull the Main DPS signature weapon, not duplicates
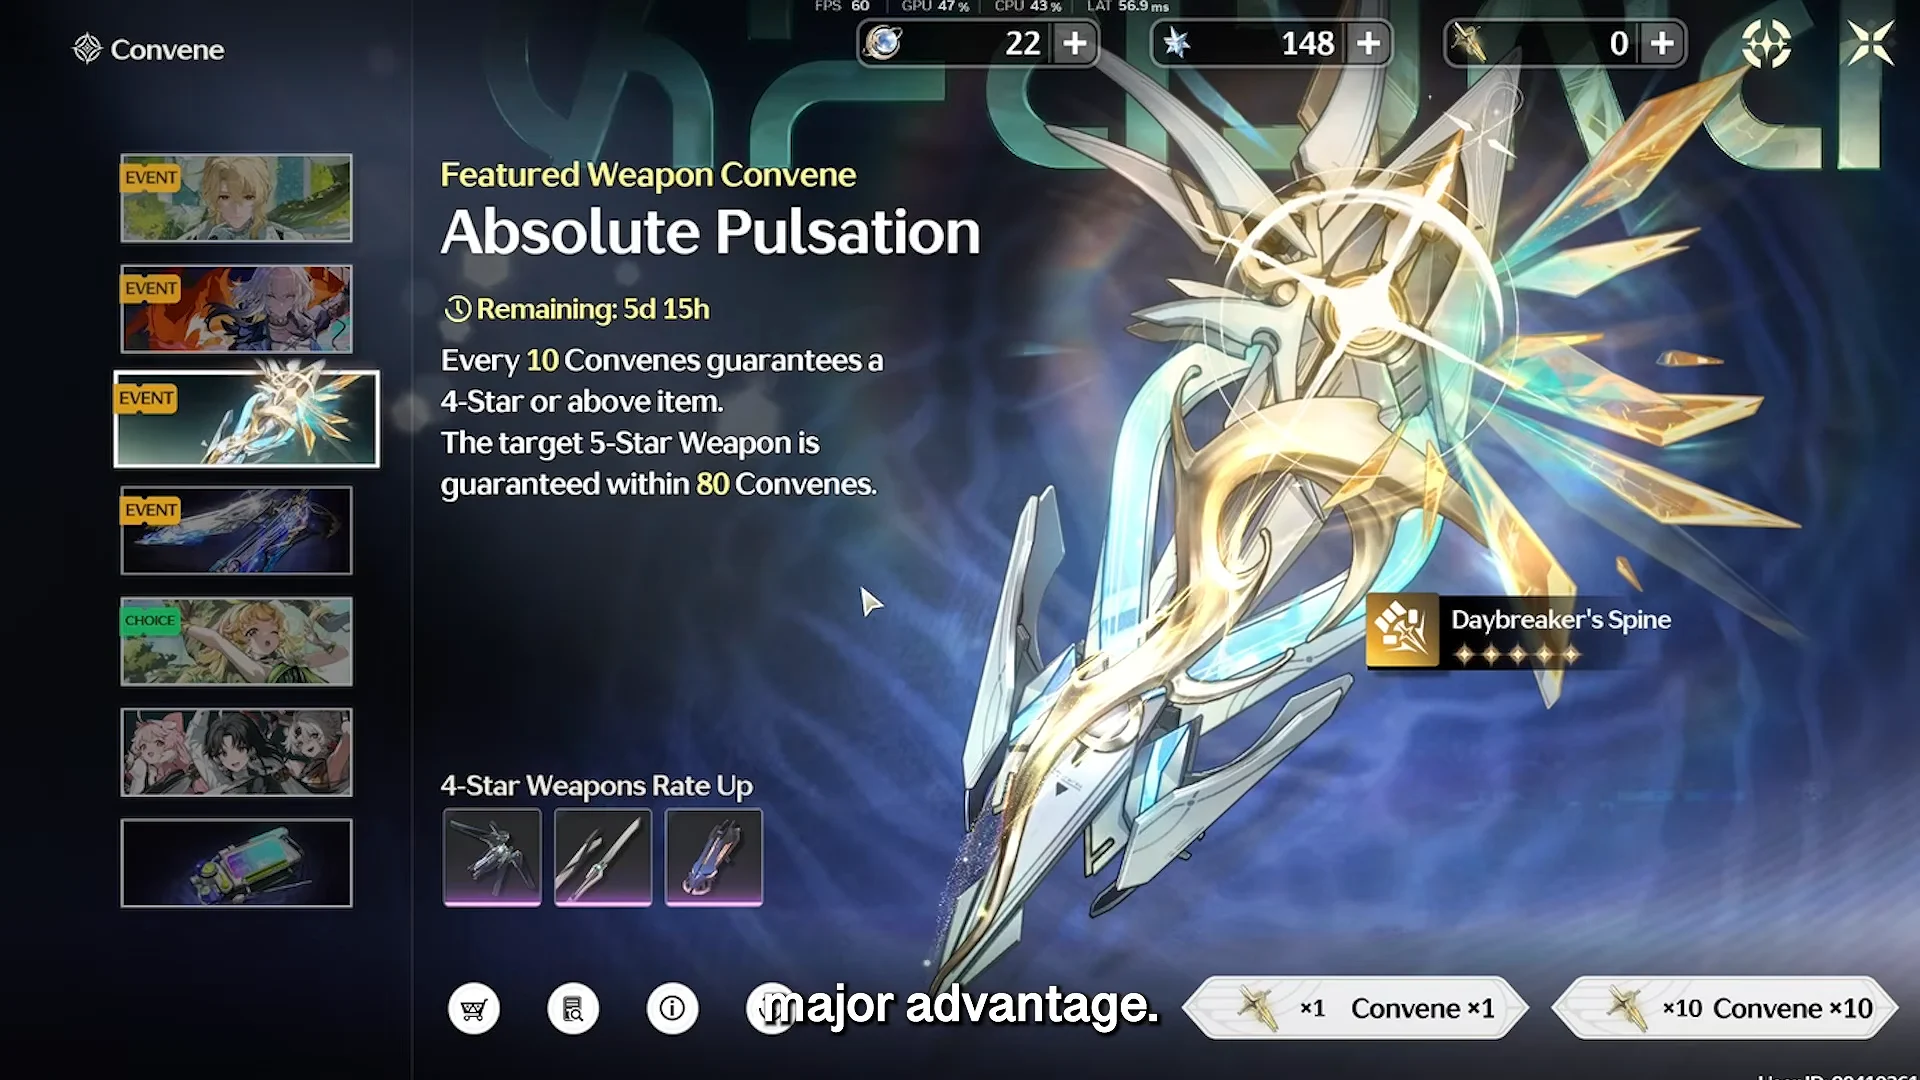
For a free-to-play account, the Featured Weapon Convene is the safest high-value pull. It guarantees the selected 5-star weapon within 80 pulls with no 50/50 to lose, so your Main DPS’s signature is a predictable spend. Chasing duplicate character copies is not.
Skip support signatures when a strong 4-star alternative exists. Spend that pity on the carry, where the damage gain is largest.
Buy character copies with Afterglow Coral
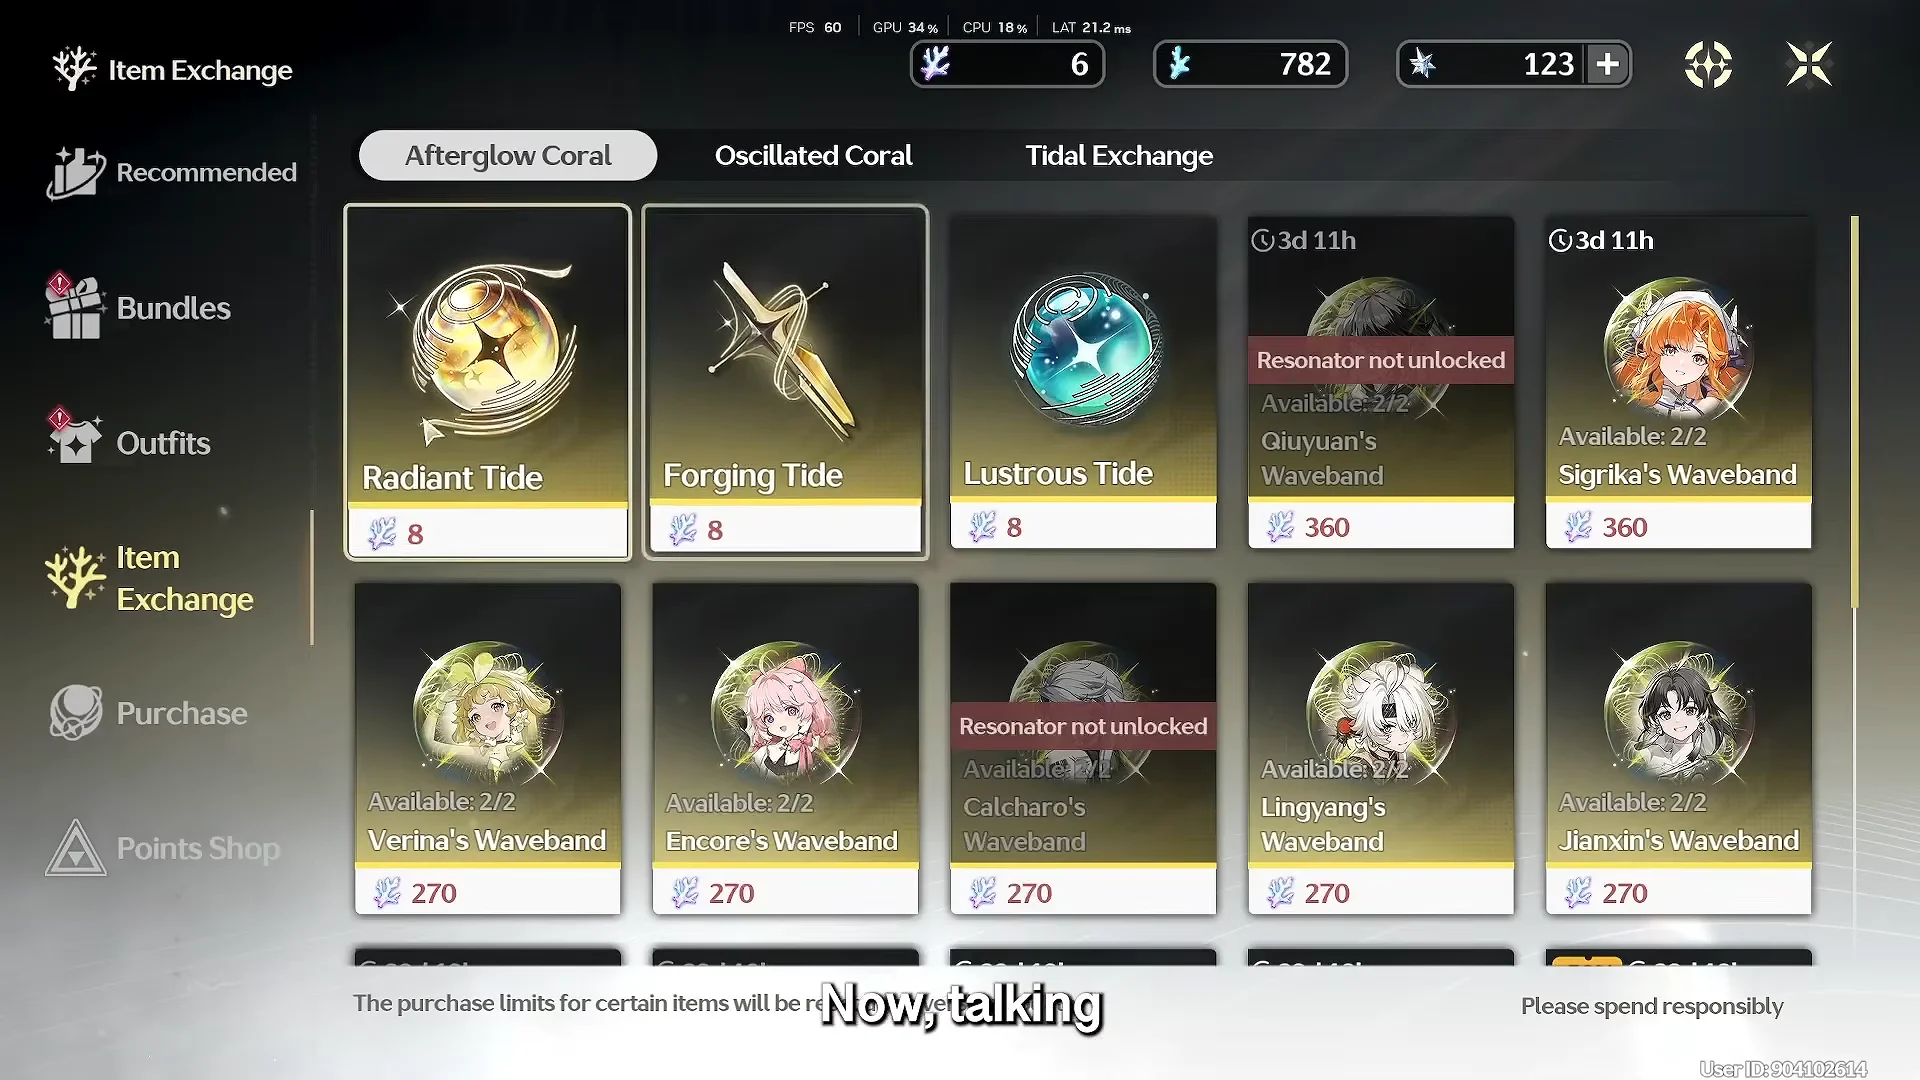
Instead of gambling on duplicate banners, buy character Wavebands directly from the Afterglow Coral shop for 360 Afterglow Corals each. This is a fixed, guaranteed way to raise a limited 5-star’s Sequence without rolling for it.
Target flexible standard weapons
On the standard weapon banner, aim for Static Mist (Pistol) and Emerald of Genesis (Sword). Both fit across many characters, so a single pull keeps paying off as your roster grows.
Share universal Echo sets across supports
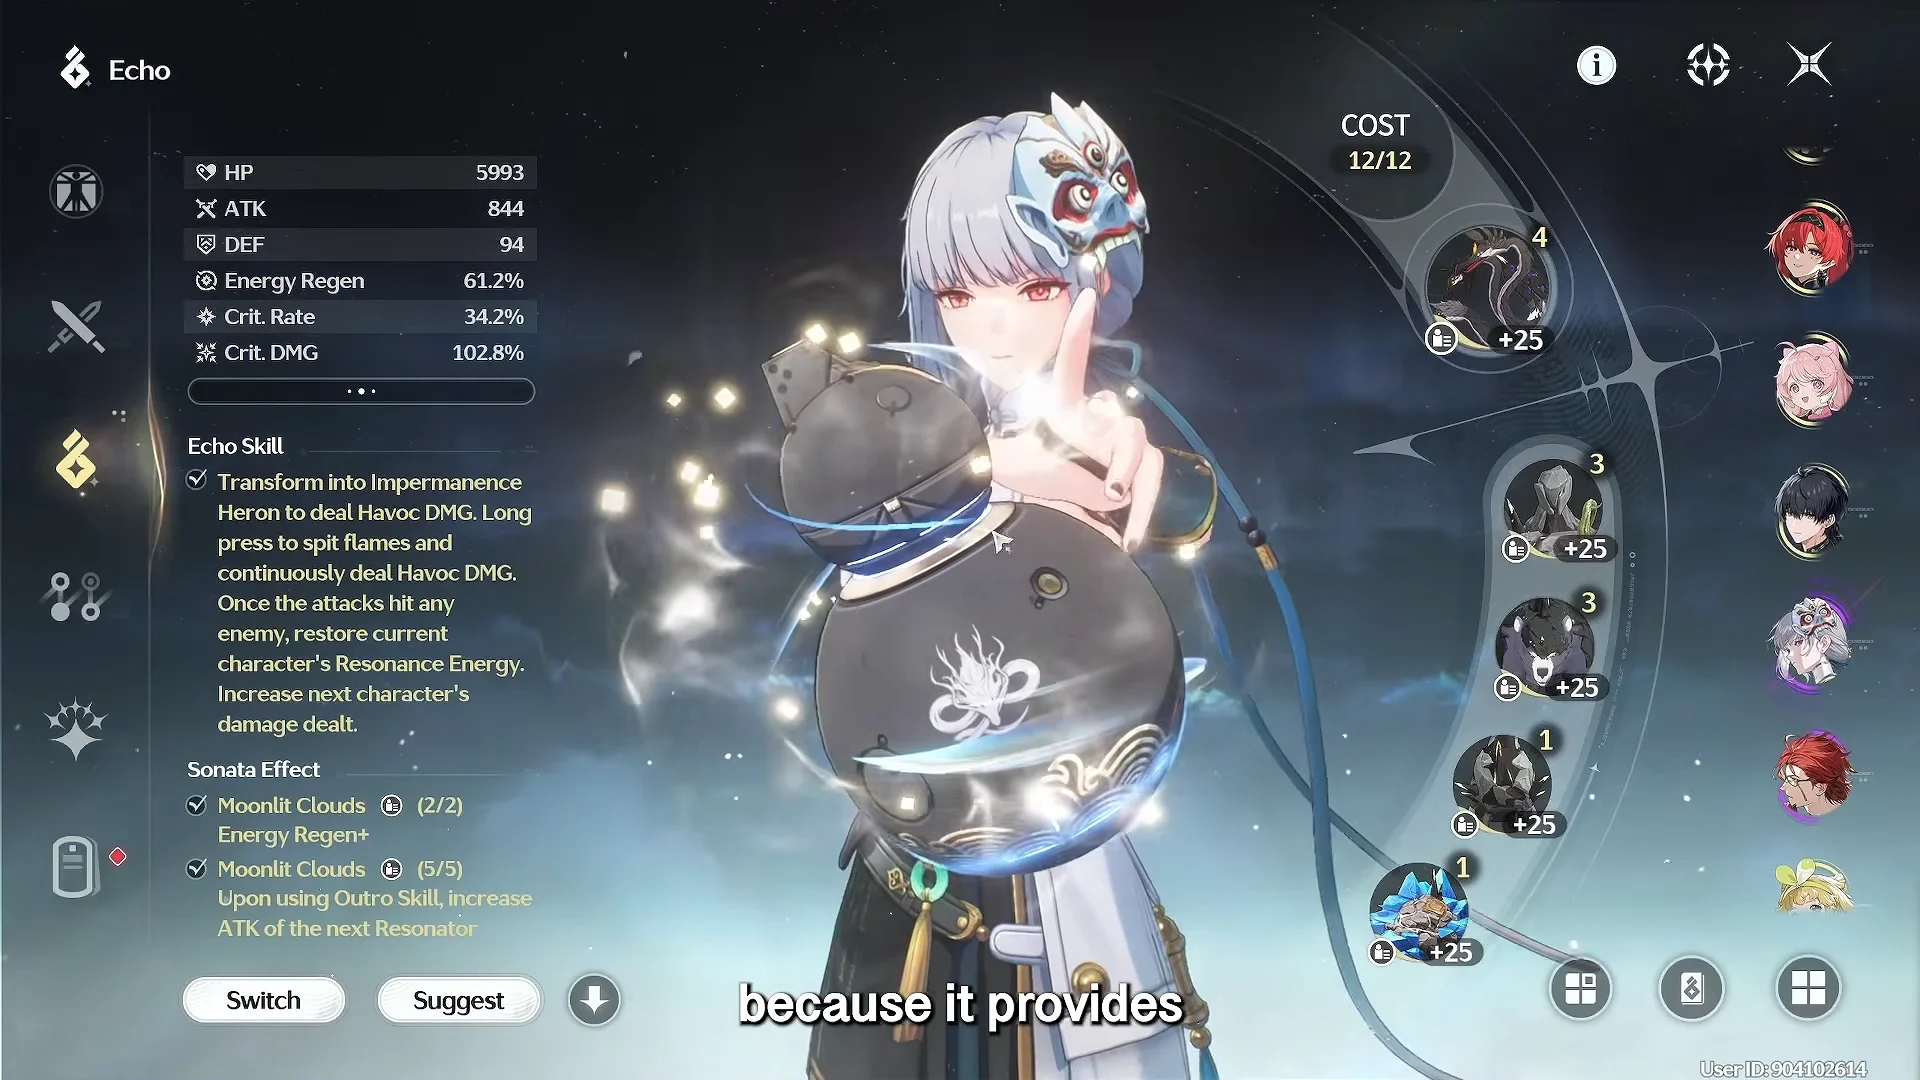
You do not need a bespoke Echo set for every support. Two universal sets cover most sustain and buffer roles and can be moved between characters, which saves a huge amount of Waveplate grinding.
- Moonlit Clouds grants Energy Regen and buffs the next incoming character’s attack when you trigger an Outro skill.
- Rejuvenating Glow gives a Healing Bonus and raises every party member’s attack on heal.
Stop over-leveling bad Echoes
Pushing every Echo to max level burns Shell Credits, Tuners, and Echo EXP for pieces you will discard anyway. A simple stop rule keeps those resources for the Echoes that matter.
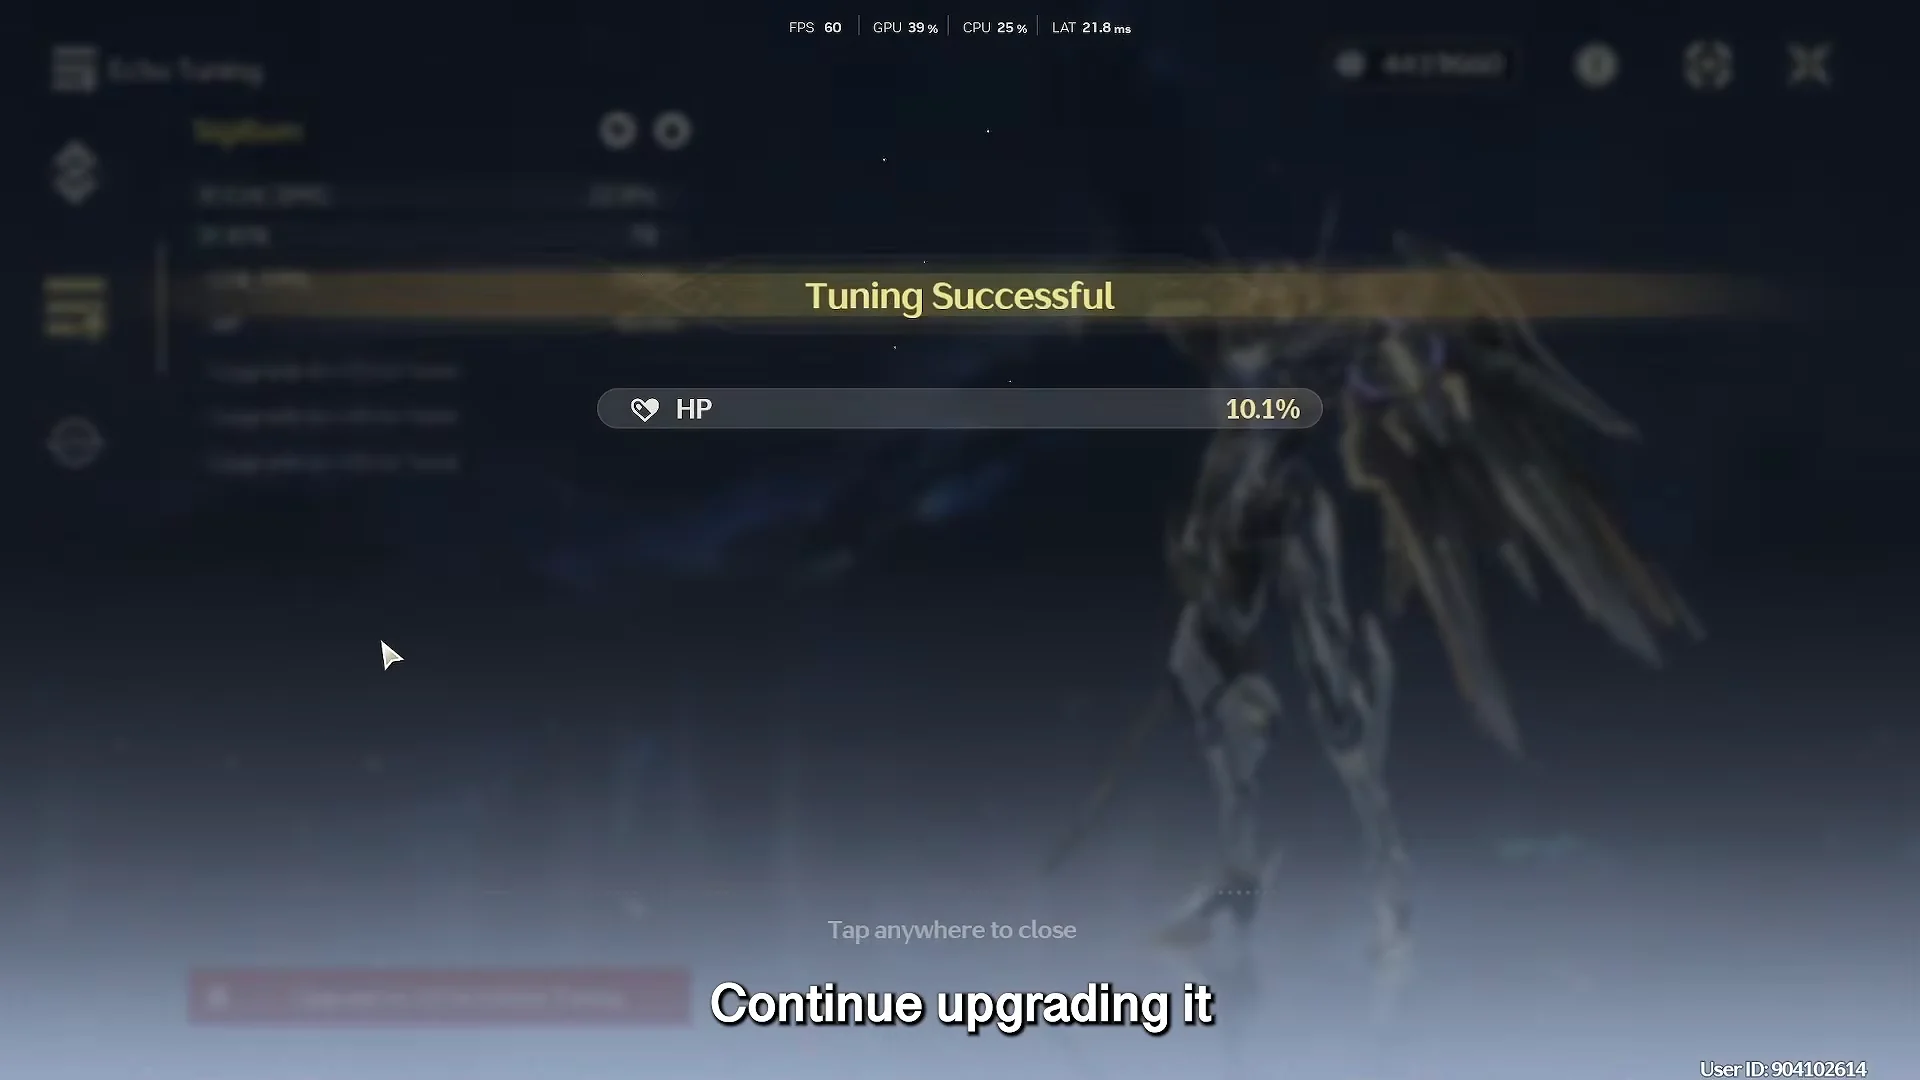
A DPS piece with Crit Rate, Crit DMG, and ATK% is a solid find, even with two dead lines. Perfect five-line Echoes are an endgame luxury, not something you need early.
Craft EXP materials for free instead of spending Waveplates
Weapon EXP (Basic Energy Core) and Echo EXP (Basic Sealed Tube) can be made for free in the Synthesis menu using overworld materials like Fluorite ore. Spending Waveplates in Simulation Training for the same EXP wastes energy you could put toward ascension and Forgery materials you cannot craft.
Open Synthesis, go to the Constructing tab, and convert the ores and base materials you pick up while exploring. Treat the overworld as your EXP factory.
Build an Astrite stockpile before 4.X
Pulls come from Astrite, and the reliable sources are the ones with deadlines. Prioritize time-limited events, livestream redemption codes, the monthly Oscillated Coral shop pulls, and interactive map rewards before a new version lands.
Three redemption codes are currently active. Enter them in-game through the Settings redemption menu before they expire:
| Code | Rewards |
|---|---|
| ILLUSIONHAUNTS | 100 Astrite, 3 Forging Tide, 2 Medium Sealed Tube |
| DREAMSPERSIST | 100 Astrite, 3 Radiant Tide, 2 Medium Sealed Tube |
| THISISFINALE | 100 Astrite, 2 Premium Sealed Tube, 20,000 Shell Credit |
Keep a daily and weekly routine
A short loop keeps income flowing without wasting anything. Each day, claim mail and any active codes, clear your daily Activity tasks for Astrite and Union EXP, and spend Waveplates down on your current bottleneck before logging off so the meter has room to refill.
Each week, clear all three Weekly Boss runs before server reset, since skipped Forte materials cannot be recovered, and sweep the Tower of Adversity once its rotation refreshes.
Done consistently, this leaves you entering Version 4.X with finished teams and a banked pile of Astrite, rather than a roster of half-built characters and an empty wallet. A complete, well-geared team of three clears more than one perfect carry flanked by two unfinished supports.