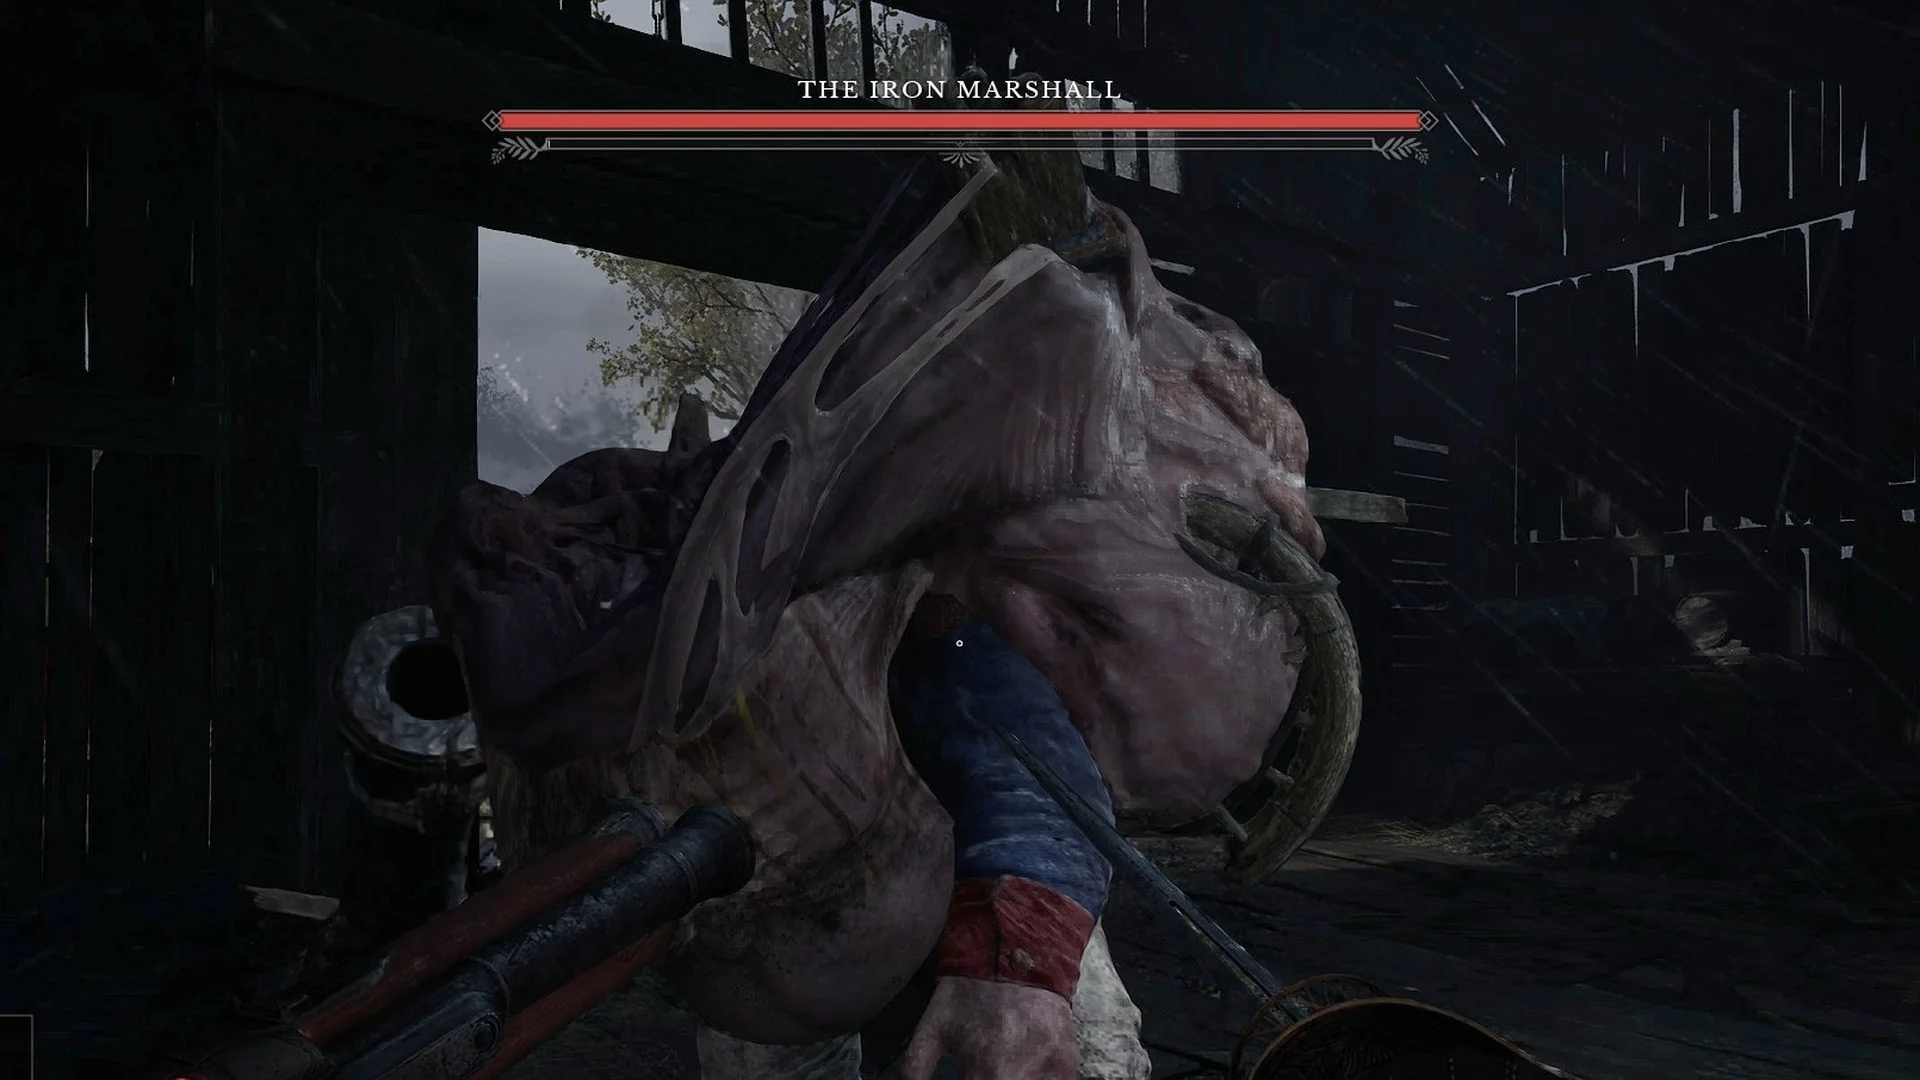
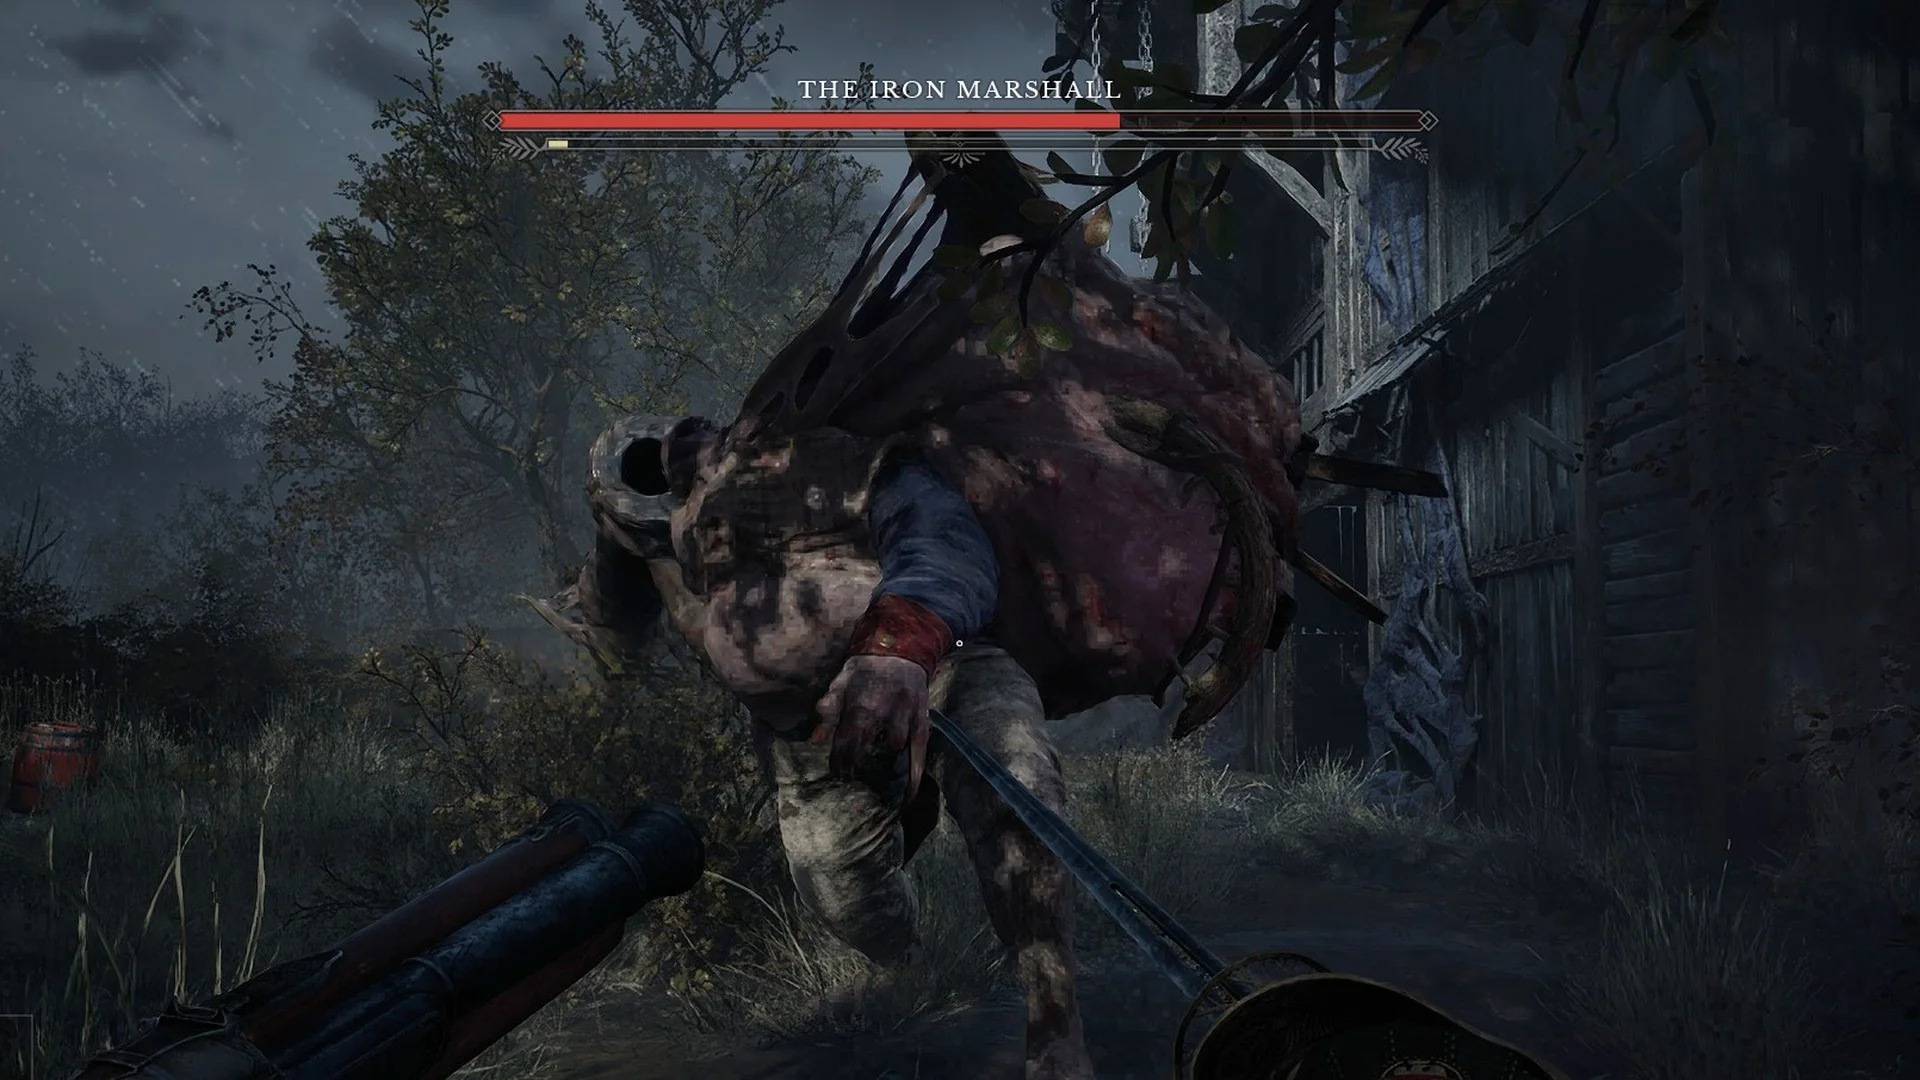
The boss bar reads THE IRON MARSHALL, and he guards the far east of the Fallen Village in Chapter III. He is a hunched giant with a swollen pink-purple torso under a draped hood, a blue army sleeve with a red cuff, and a cannon where his right forearm should be. Glowing red growths cover his back and belly, and they brighten as the fight goes on.
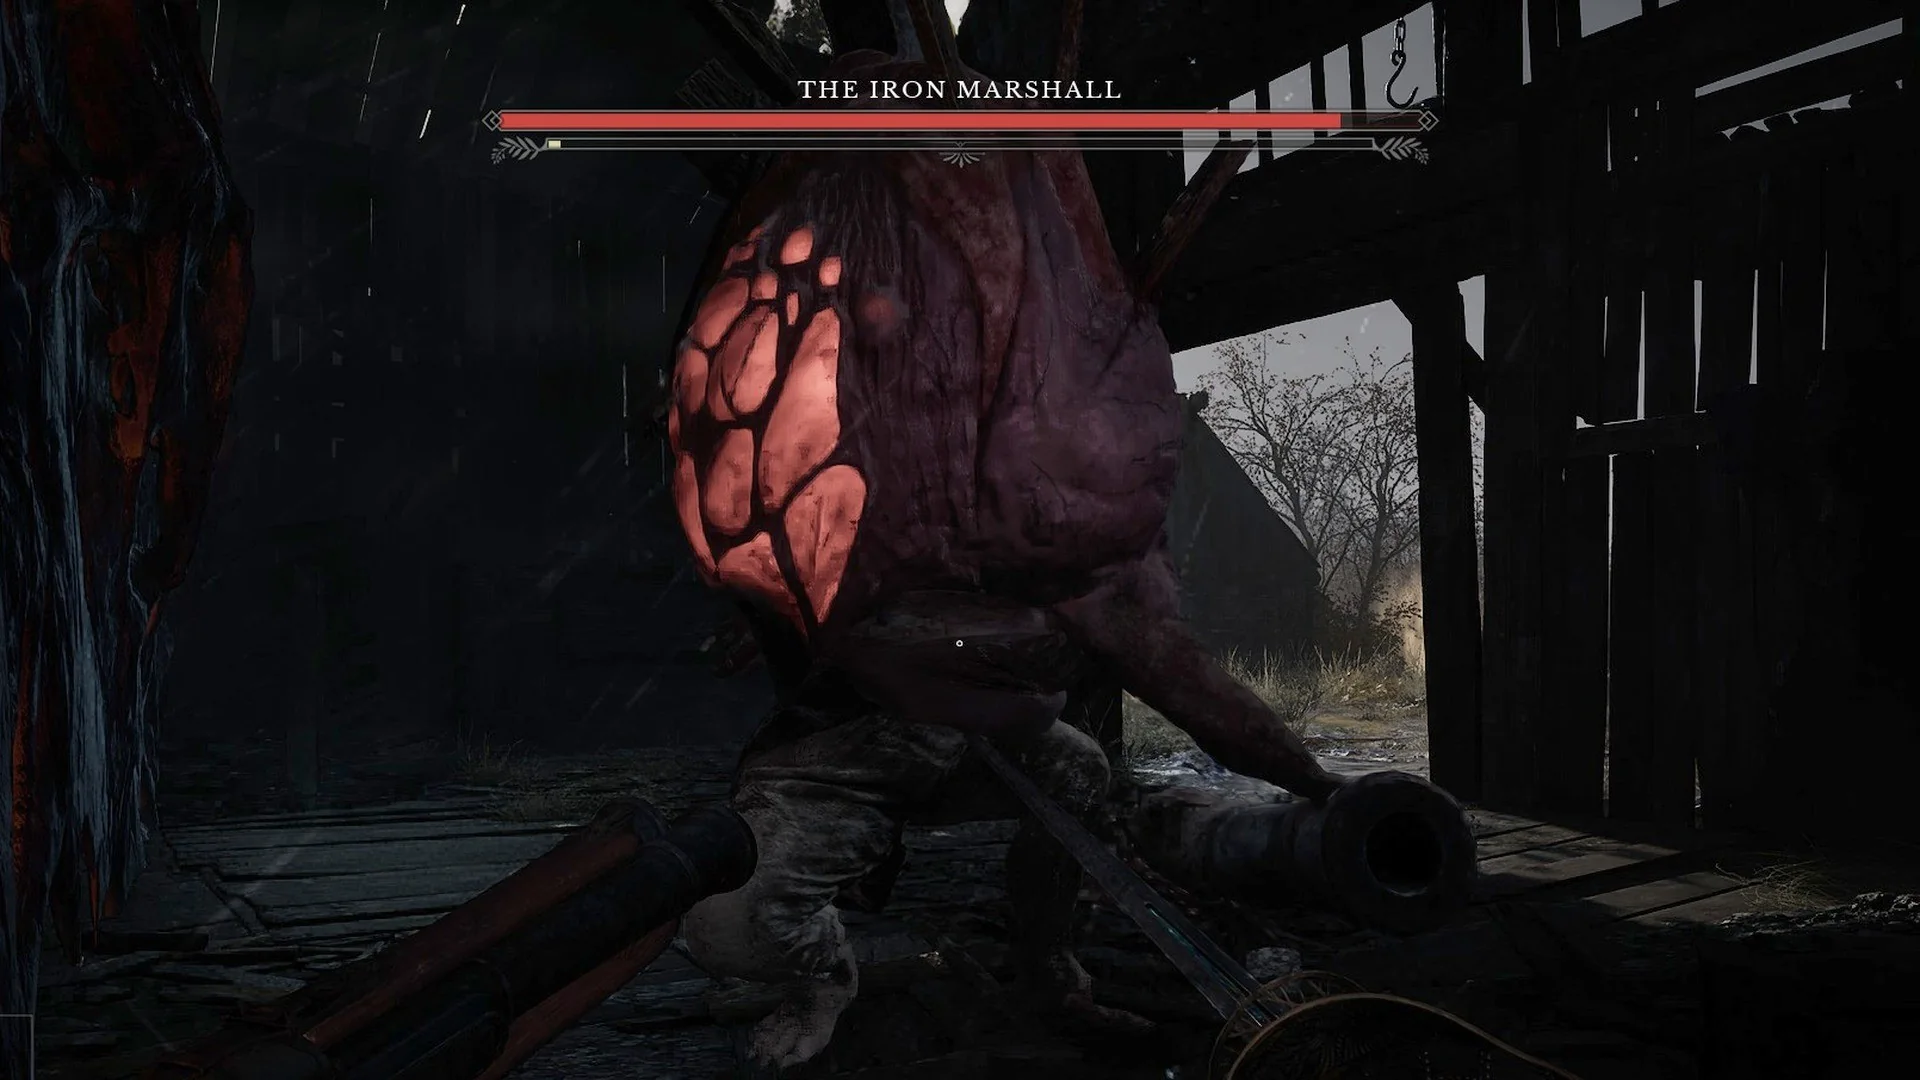
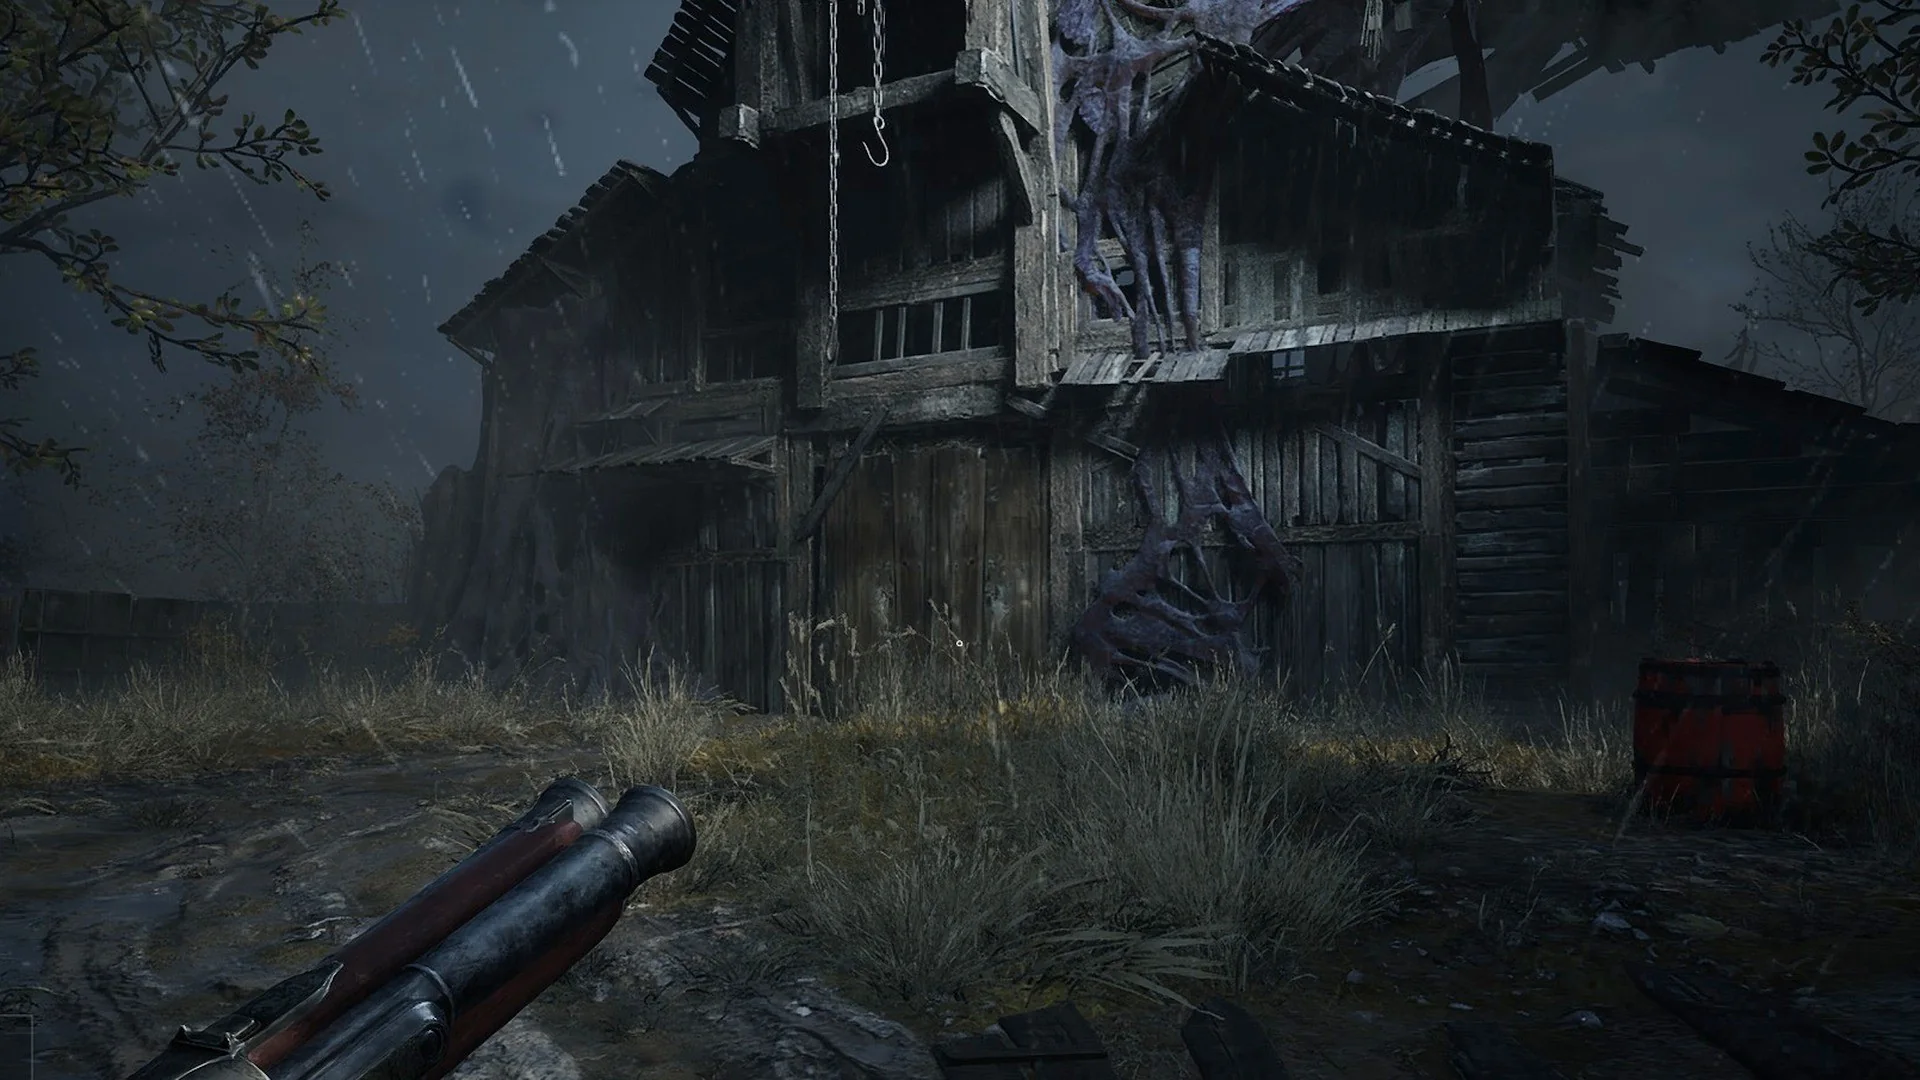
Quick answer: Rest at the Orchard Lantern, walk about 10 m west through the brown-gold fog curtain into the barn yard, and the fight begins when you get close to him inside the barn. To beat him, lead him out into the yard, parry his blockable swings to fill his Posture for a Critical Attack, and dodge the unblockable rising bash, the red-flare rush and the cannon shot.
Where to find The Iron Marshall in the Fallen Village
How to beat The Iron Marshall
Fight him in the yard, not the barn. The barn is poorly lit and confined, and he stays close enough to trap you against the walls with little time to react. Draw him through the entrance and out into the yard: the brighter, open ground gives you space to evade his lunges and sweeps.
Use melee and parries, not guns or fire. Ranged damage against him is reduced by 10%, explosive damage by 30%, and Ignite builds 50% more slowly than usual, so guns, explosives and Fire are less effective than against other enemies. Rely on your blade and your timing.
Parry to break his Posture. Parry by tapping Ctrl on keyboard, or LB on controller with the default scheme; holding the same input blocks instead. As the tutorial puts it, “Parrying increases the Posture bar more than Melee Attacks do.” Nearly every swing he throws can be blocked, so each of those can be parried too: the spinning attack, the combo, the uppercut, the double swing, the backhand and the red-flare rush. Avoid sitting behind your guard, though. Blocking only soaks part of the hit, and his blows land for 60 to 90 on a 100-Health character. Parry when you can time it, and dodge when you cannot.
When his Posture bar fills to 800, the Critical Attack opens. Step in front of him and attack to land the critical strike.
Shoot the red pustules for Nephtoglobin. The glowing red patches on his back and belly are his weak spots, and they flare up as the fight goes on. The Pistol is “perfect for destroying Nephtoglobin Weak Spots”, so switch to it when a patch is exposed and pop it. A destroyed weak point drops Nephtoglobin Remnants that restore your Nephtoglobin.
Dodge the heavy hitters. Dodge with Alt on keyboard or the side mouse button.
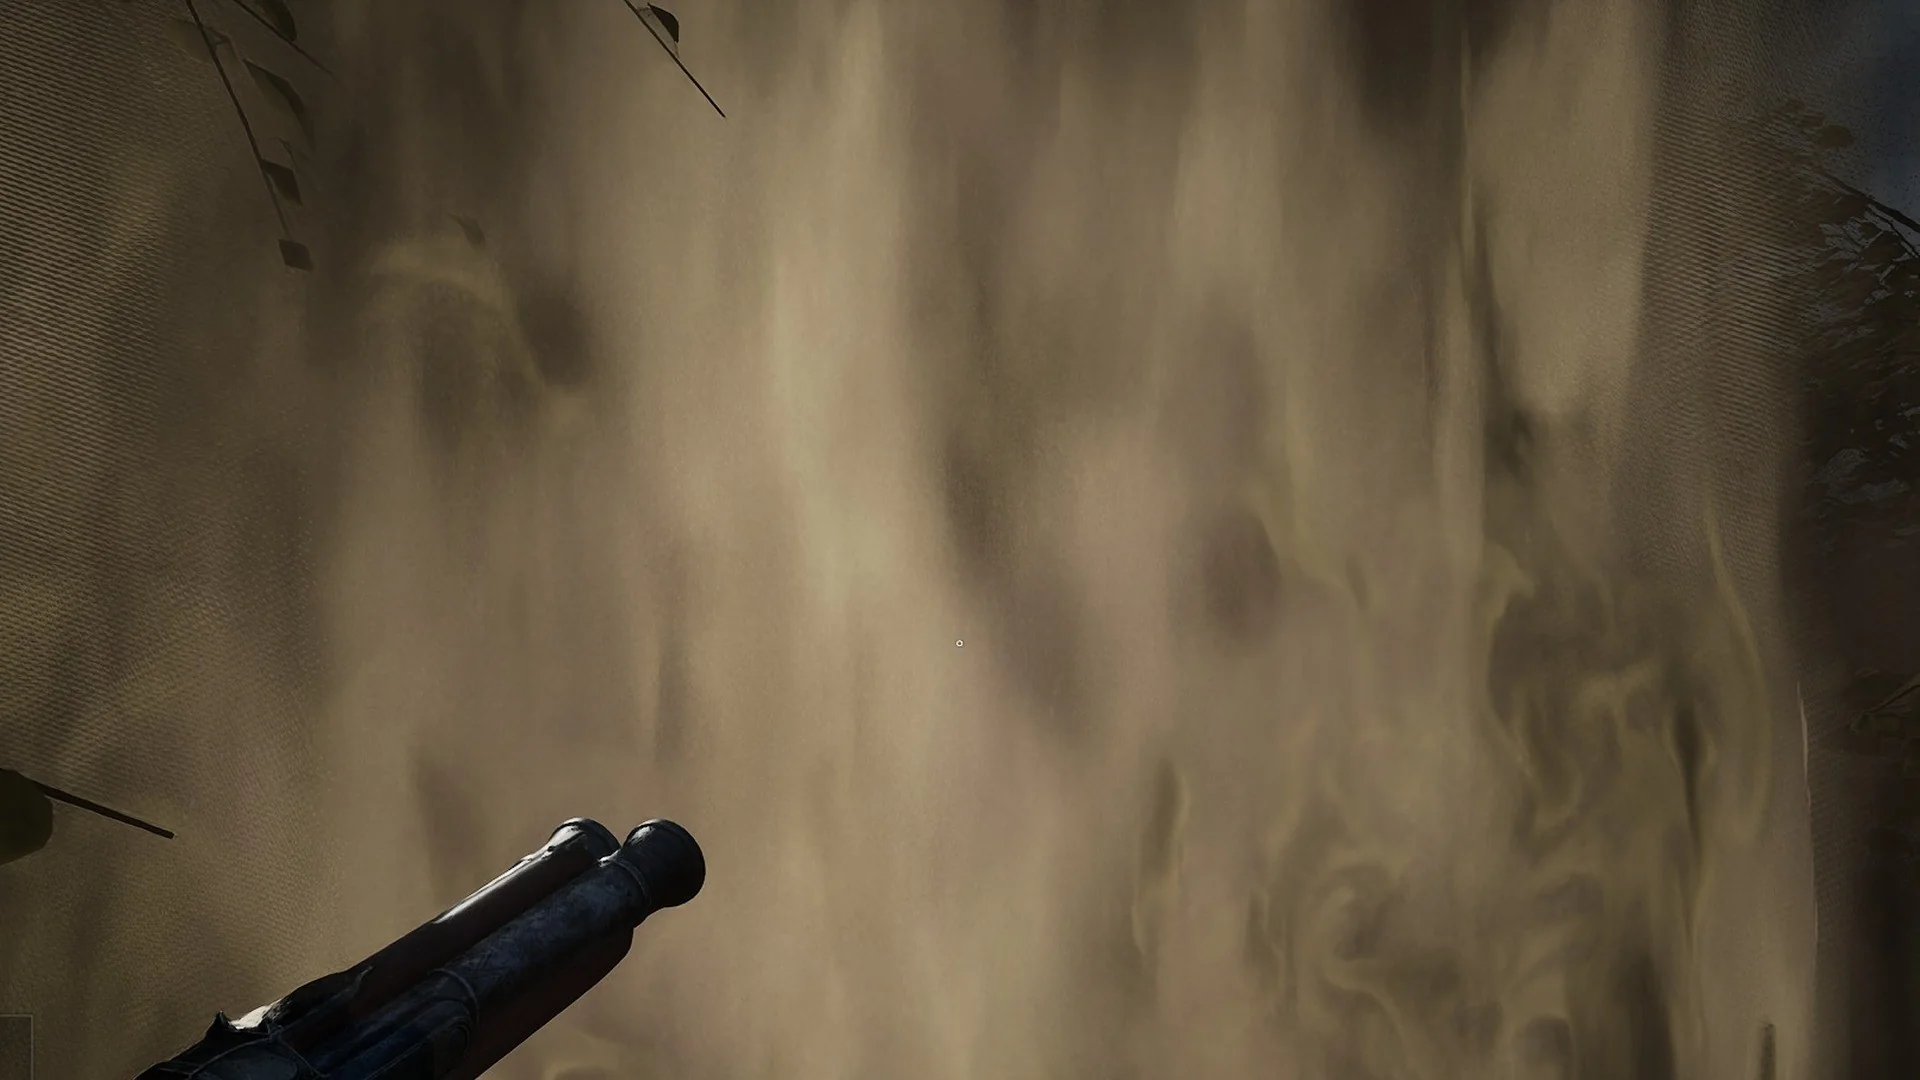
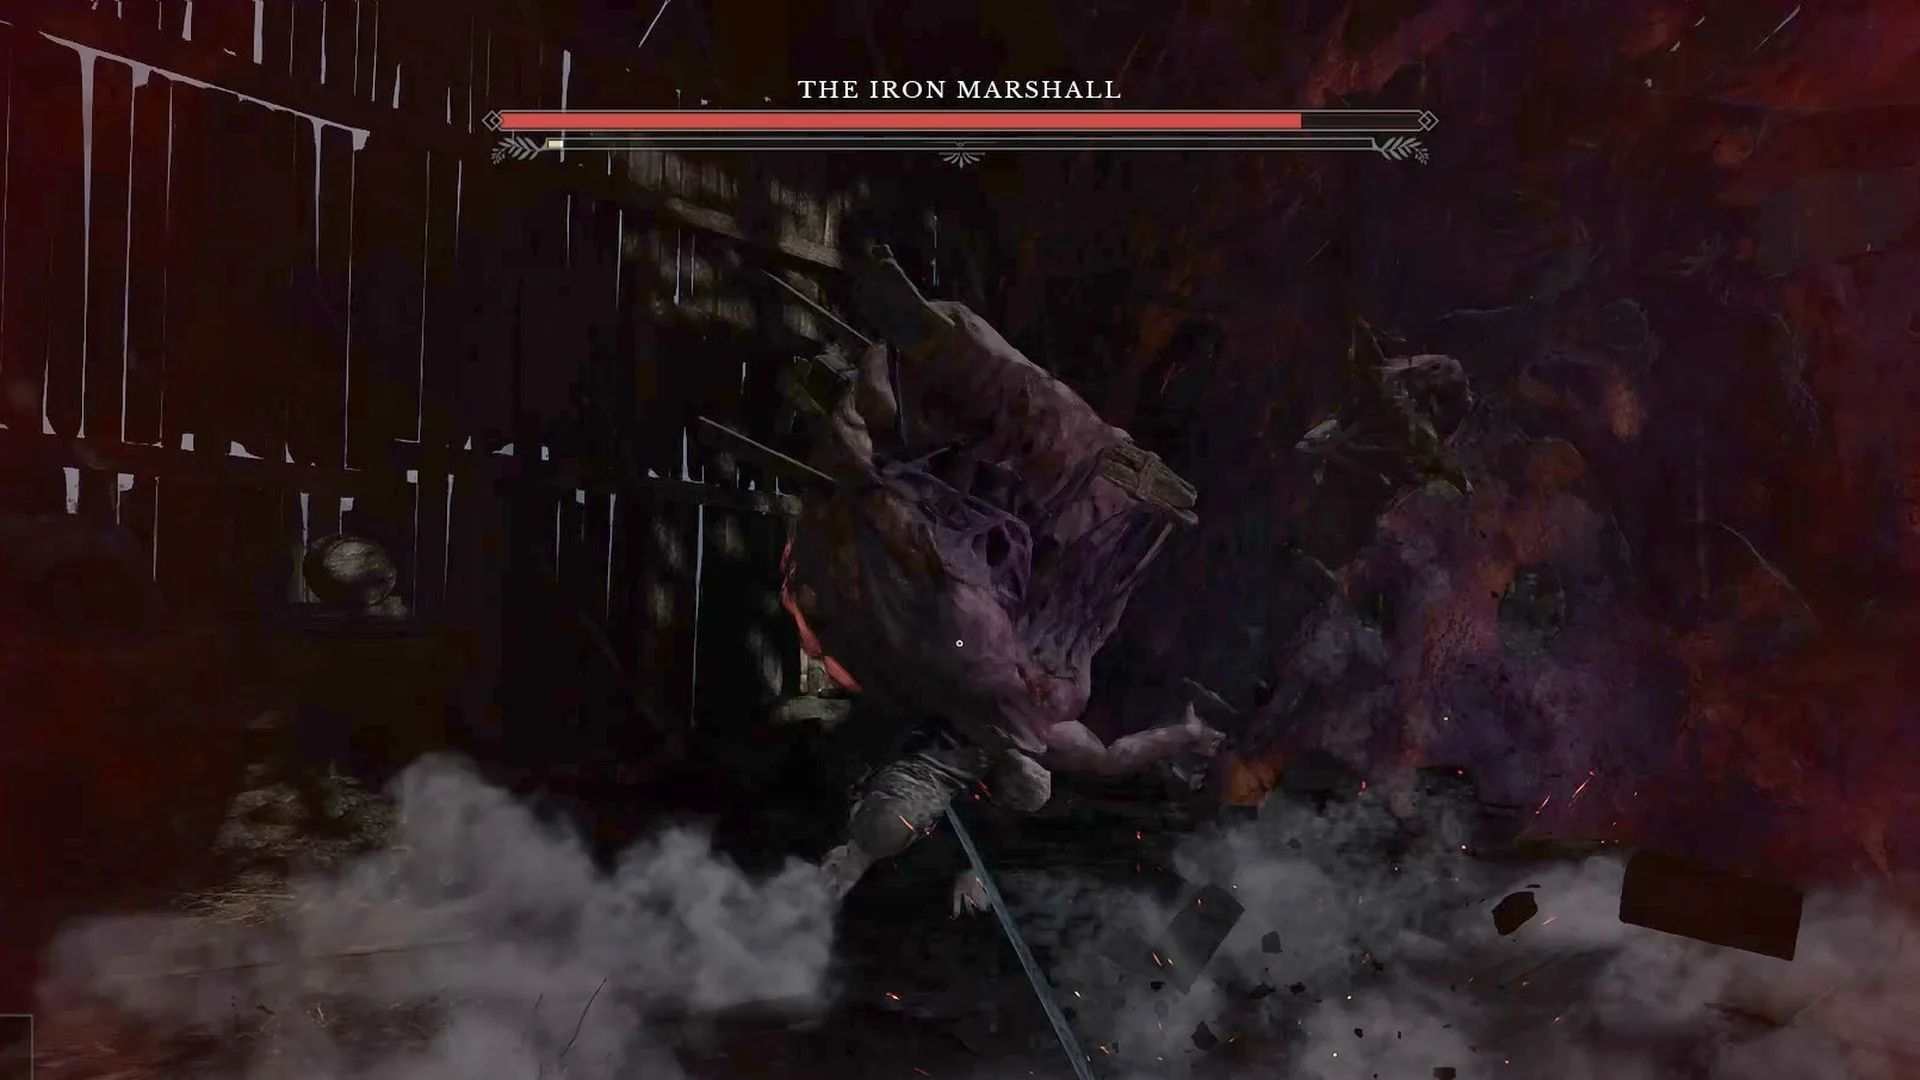
- Rising bash: at close range he lifts the cannon arm and drives it down, scattering debris through grey smoke at his feet. It deals 90, the most of any move in his set, and cannot be blocked. Dodge it.
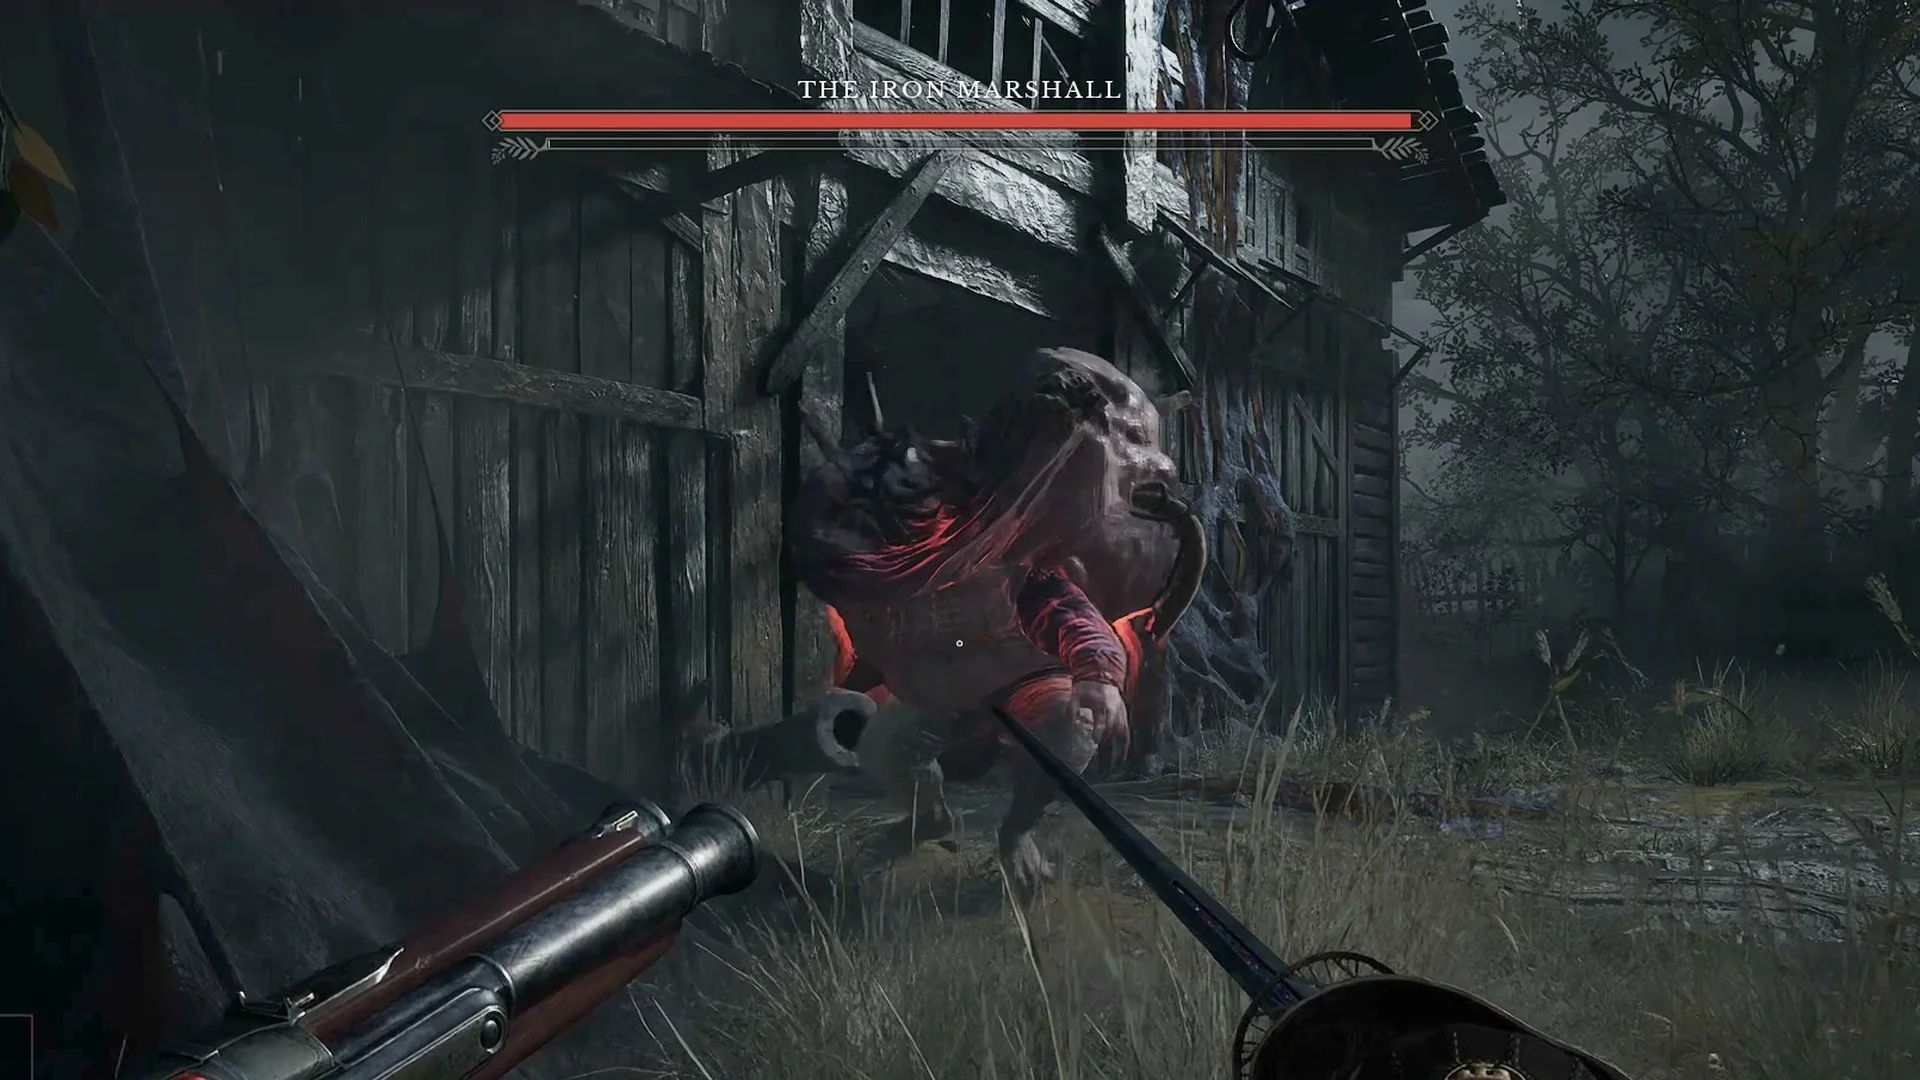
- Red-flare rush: from around 8 m away his whole body glows red for about a second, then he lunges in for 80. The lunge reaches you even if you retreat, so dodge to the side as he comes in, or parry it.
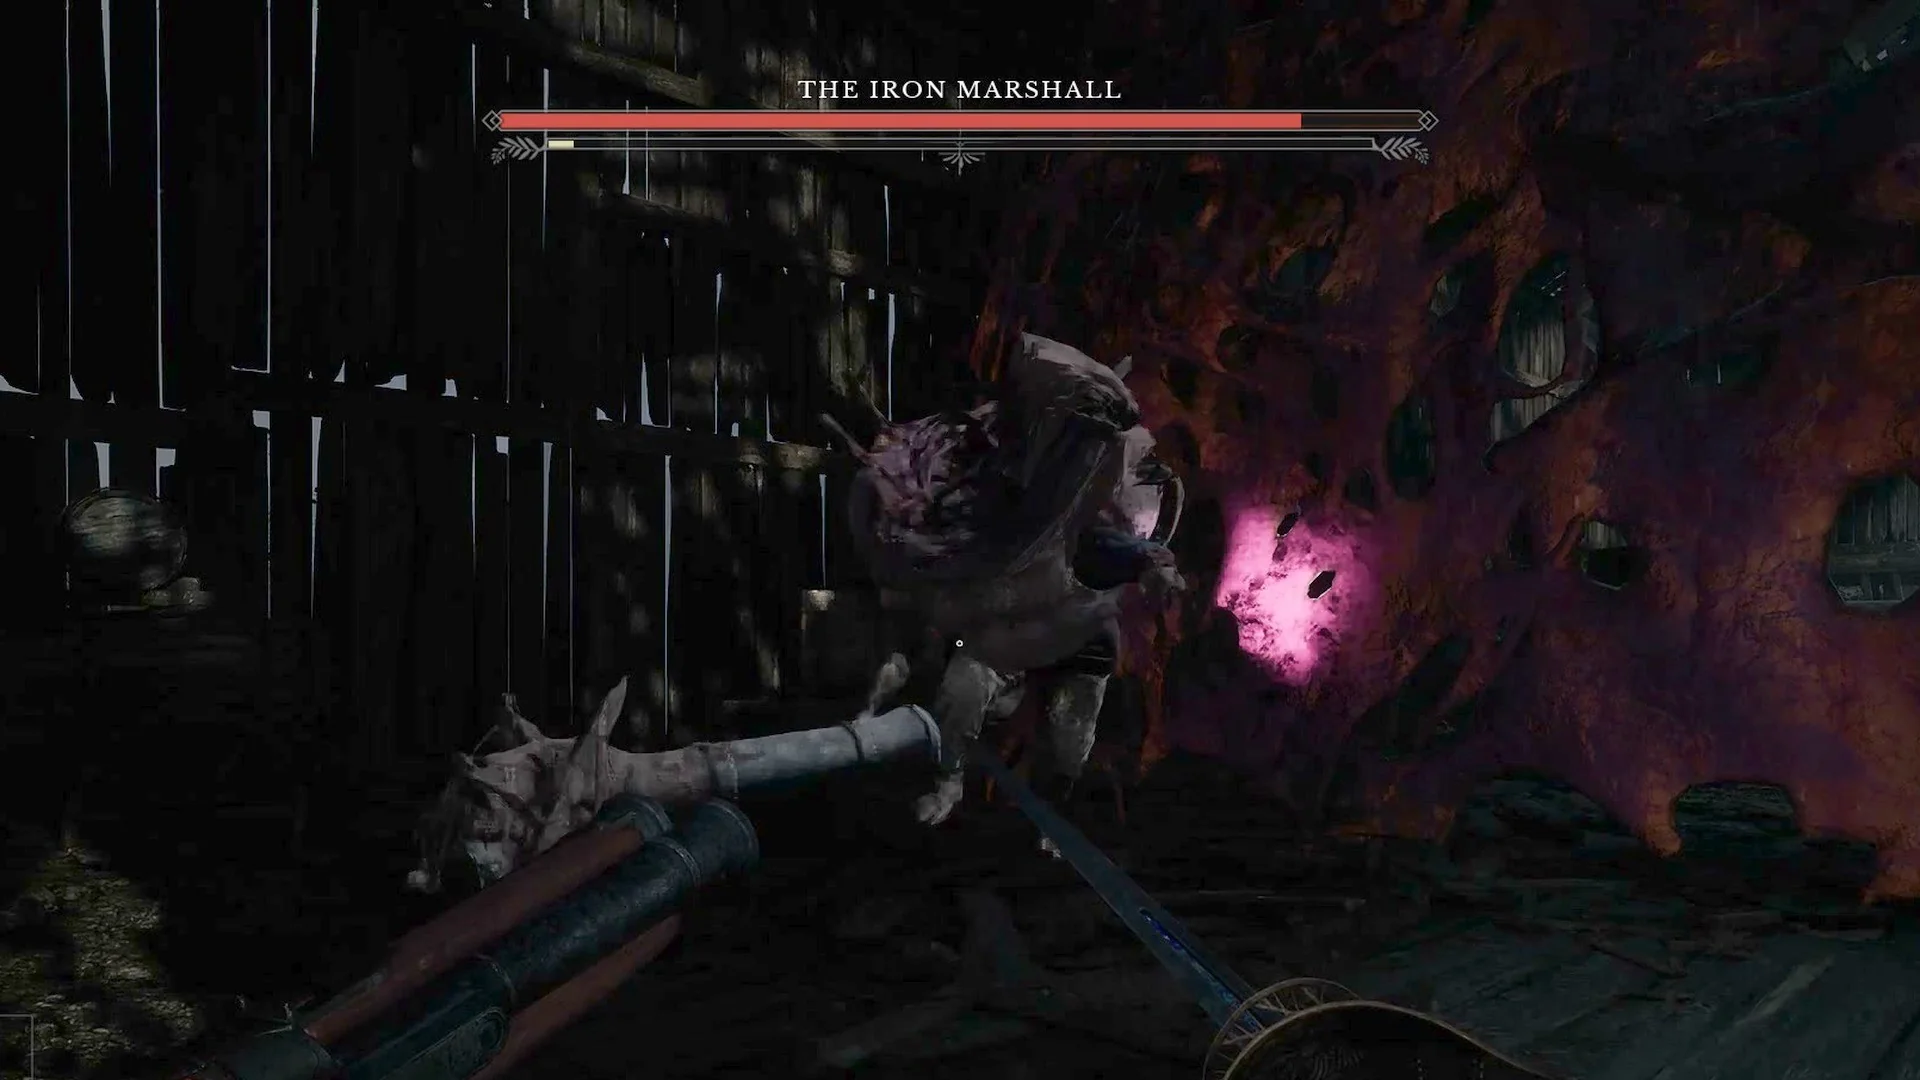
- Cannon shot: when the cannon arm comes level, a pink-magenta muzzle flash fires and the shot lands almost at once from 8 to 10 m. Range will not keep you safe: dodge sideways as he aims, or put a wall or post between you.
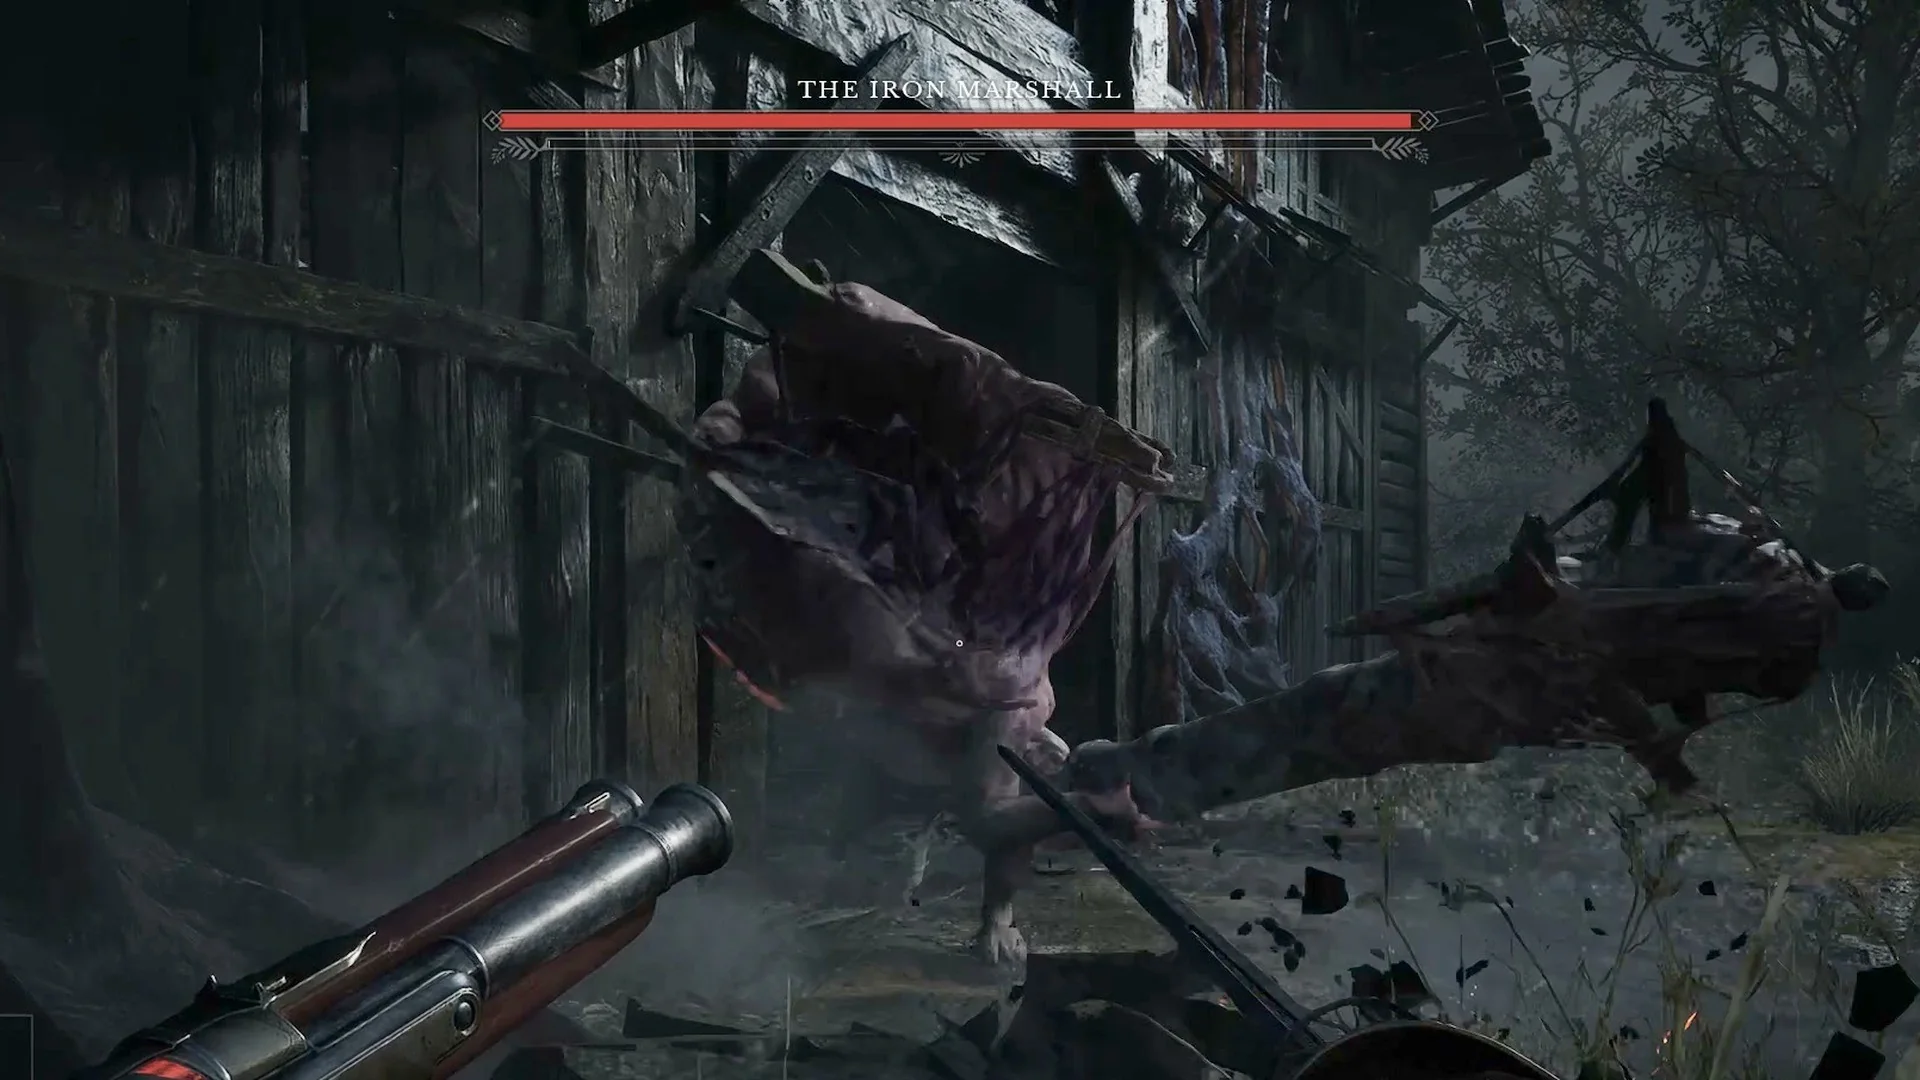
- Cannon-arm sweep: a wide waist-height swing at close range. Step back out of its arc, or parry it.
Heal at the right moment. Ferrofluid Flasks restore Health (F on keyboard). Drink only after dodging a rush or a bash, while he is recovering and out of reach; starting to heal inside his swinging range leaves you open to a hit during the animation.
Health, resistances, and reward
The Iron Marshall’s health stays on one bar throughout the encounter. He has no later phase, extra health bar, or mid-fight cutscene.
| Stat | Value |
|---|---|
| Health | 2,400 |
| Posture | 800 |
| Phases | One |
| Reward | 7,000 Catalysts |
His damage resistances shape how certain attacks register against him:
- Takes 10% less ranged damage.
- Takes 30% less explosive damage.
- Ignite builds up on him 50% slower.
- Stasis resistance of 20%.
His moves do not inflict Ignite, Stasis, or infection.
Attacks with visible tells
You begin with 100 Health. Four of his moves have a clear tell you can read on screen.
Cannon shot (ranged): He levels the cannon arm at you and a bright pink-magenta muzzle flash fires, with the hit landing almost at once from 8-10 m away. Standing back does not keep you out of his reach.
Red-flare rush: His whole body flares bright red for about a second while he squares up around 8 m out, then he lunges forward and strikes, covering that distance in the lunge. It deals 80 damage and can be blocked.
Cannon-arm sweep: A wide sideways swing of the cannon arm at waist height, sending wood and debris flying where it connects. This is a close-range move only.
Ground blast: He raises the cannon arm and brings it down, throwing up a burst of grey smoke and debris from the ground at his feet. It also happens at close range.
His remaining attacks and damage
The rest of his moveset deals the following damage. Every one can be blocked except where noted. He has no summons and no phase-based attack chains.
| Attack | Damage | Blockable |
|---|---|---|
| Spinning attack | 40 | Yes |
| Combo | 60 | Yes |
| Uppercut | 70 | Yes |
| Double swing | 70 | Yes |
| Backhand | 70 | Yes |
| Wound-up backhand | 10 | Yes |
| Rising bash | 90 | No |
The rising bash hits for 90 and cannot be blocked, making it the heaviest strike in his set.
How to know he is defeated
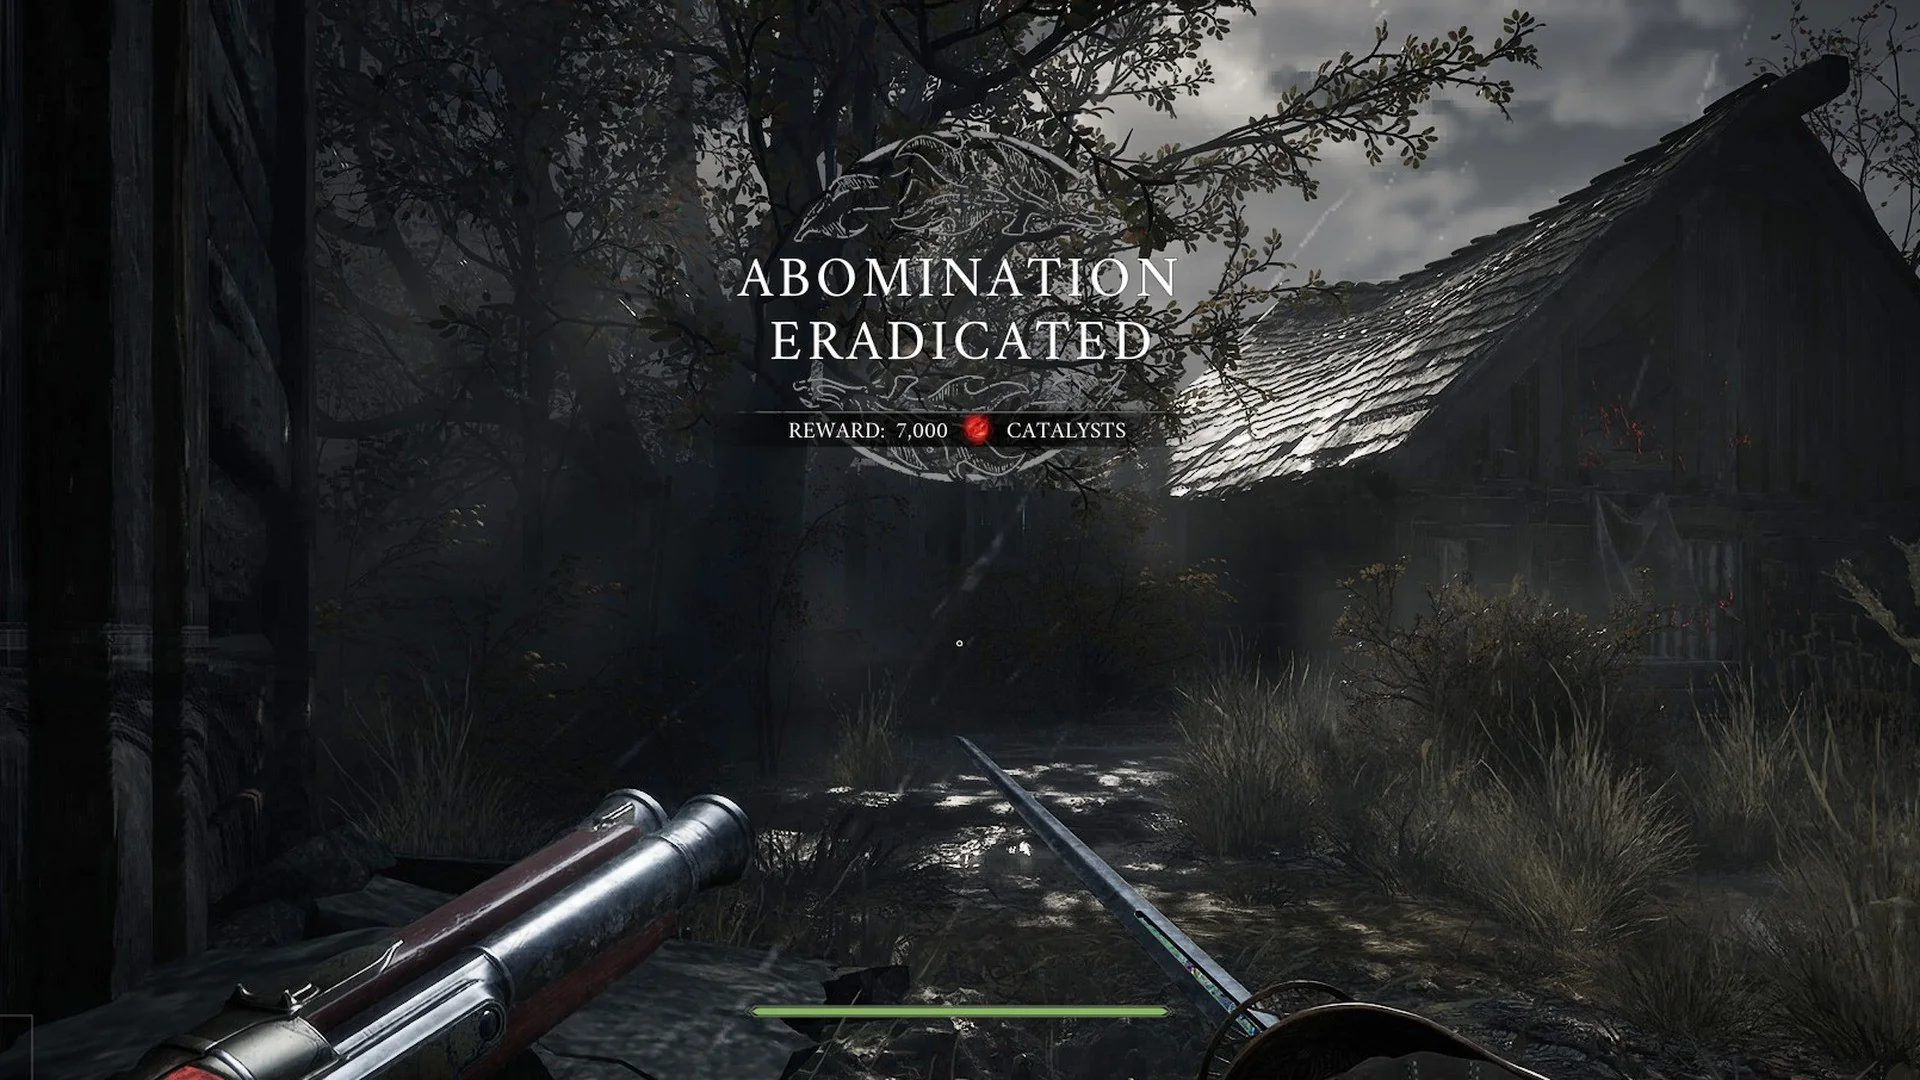
Once his health is gone, ABOMINATION ERADICATED appears, together with REWARD: 7,000 CATALYSTS.
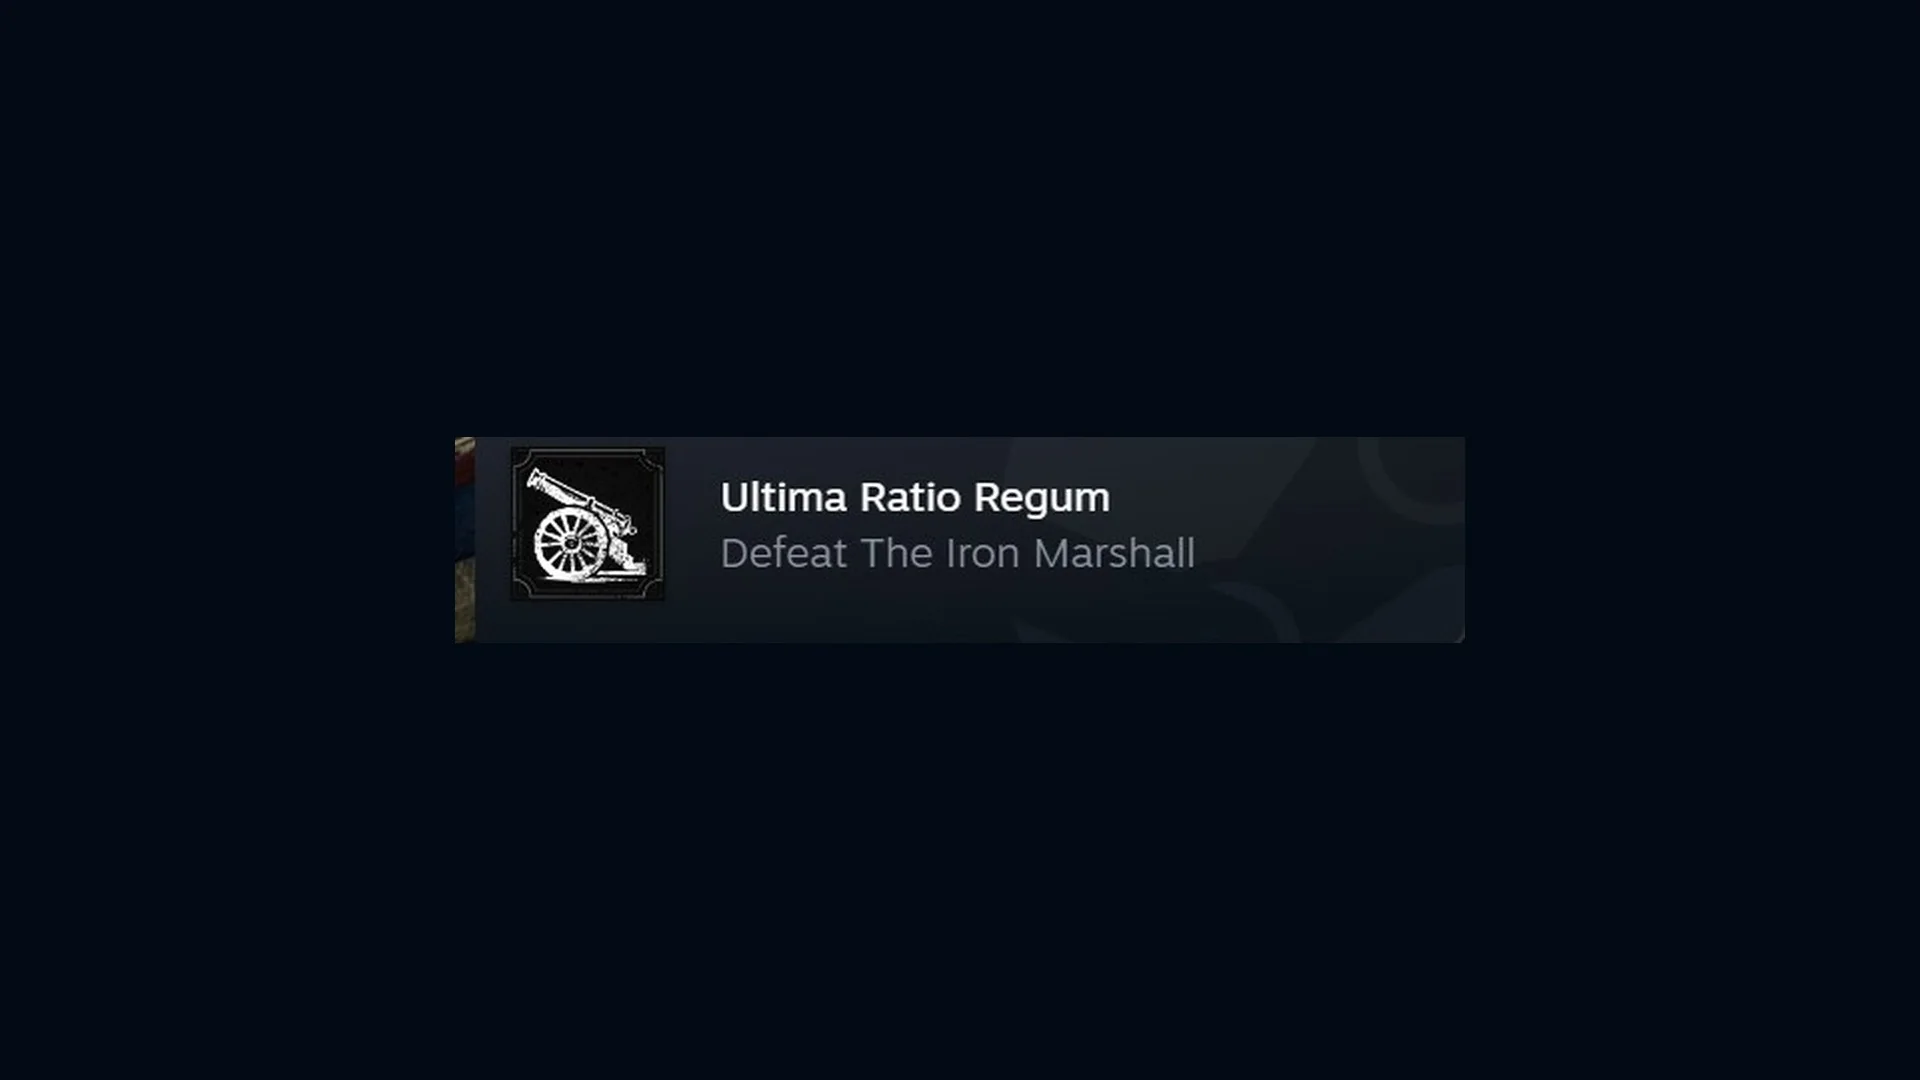
You also unlock the achievement Ultima Ratio Regum, whose listing reads “Defeat The Iron Marshall.”
Once that happens, the notice “New entry added to the journal.” appears beside “[Tab] View in journal”. No cinematic plays; the camera comes to rest with the yard and barn roof in view.