Acidic Mycelium is a common Level 18 crafting material in Enshrouded, pulled from bright, glowing green veins in the ground of the Nomad Highlands Shroud. It is the key ingredient behind Shroud Sand and the Alchemical Base, so you will want a steady supply once you reach the biome.
Quick answer: Fast travel to the Ancient Spire – Nomad Highlands, head a short distance northwest to a deep fissure in the ground, glide down into the Shroud, and mine the glowing green wall veins with a pickaxe.
Where Acidic Mycelium spawns
Acidic Mycelium only appears inside the Shroud in the Nomad Highlands, a Level 15–20 biome. It shows as bright green, bioluminescent veins embedded in dark cavern walls and ground. You need to be at character level 18 or higher to make real use of it, and the enemies in the area are tuned for that range, so bring proper gear.
The nearest node is inside a Shroud-filled fissure, northwest of the fast travel point named Ancient Spire – Nomad Highlands. Limestone, Tin Ore, and regular Mycelium also come from the cave walls, making one trip useful for gathering several resources.
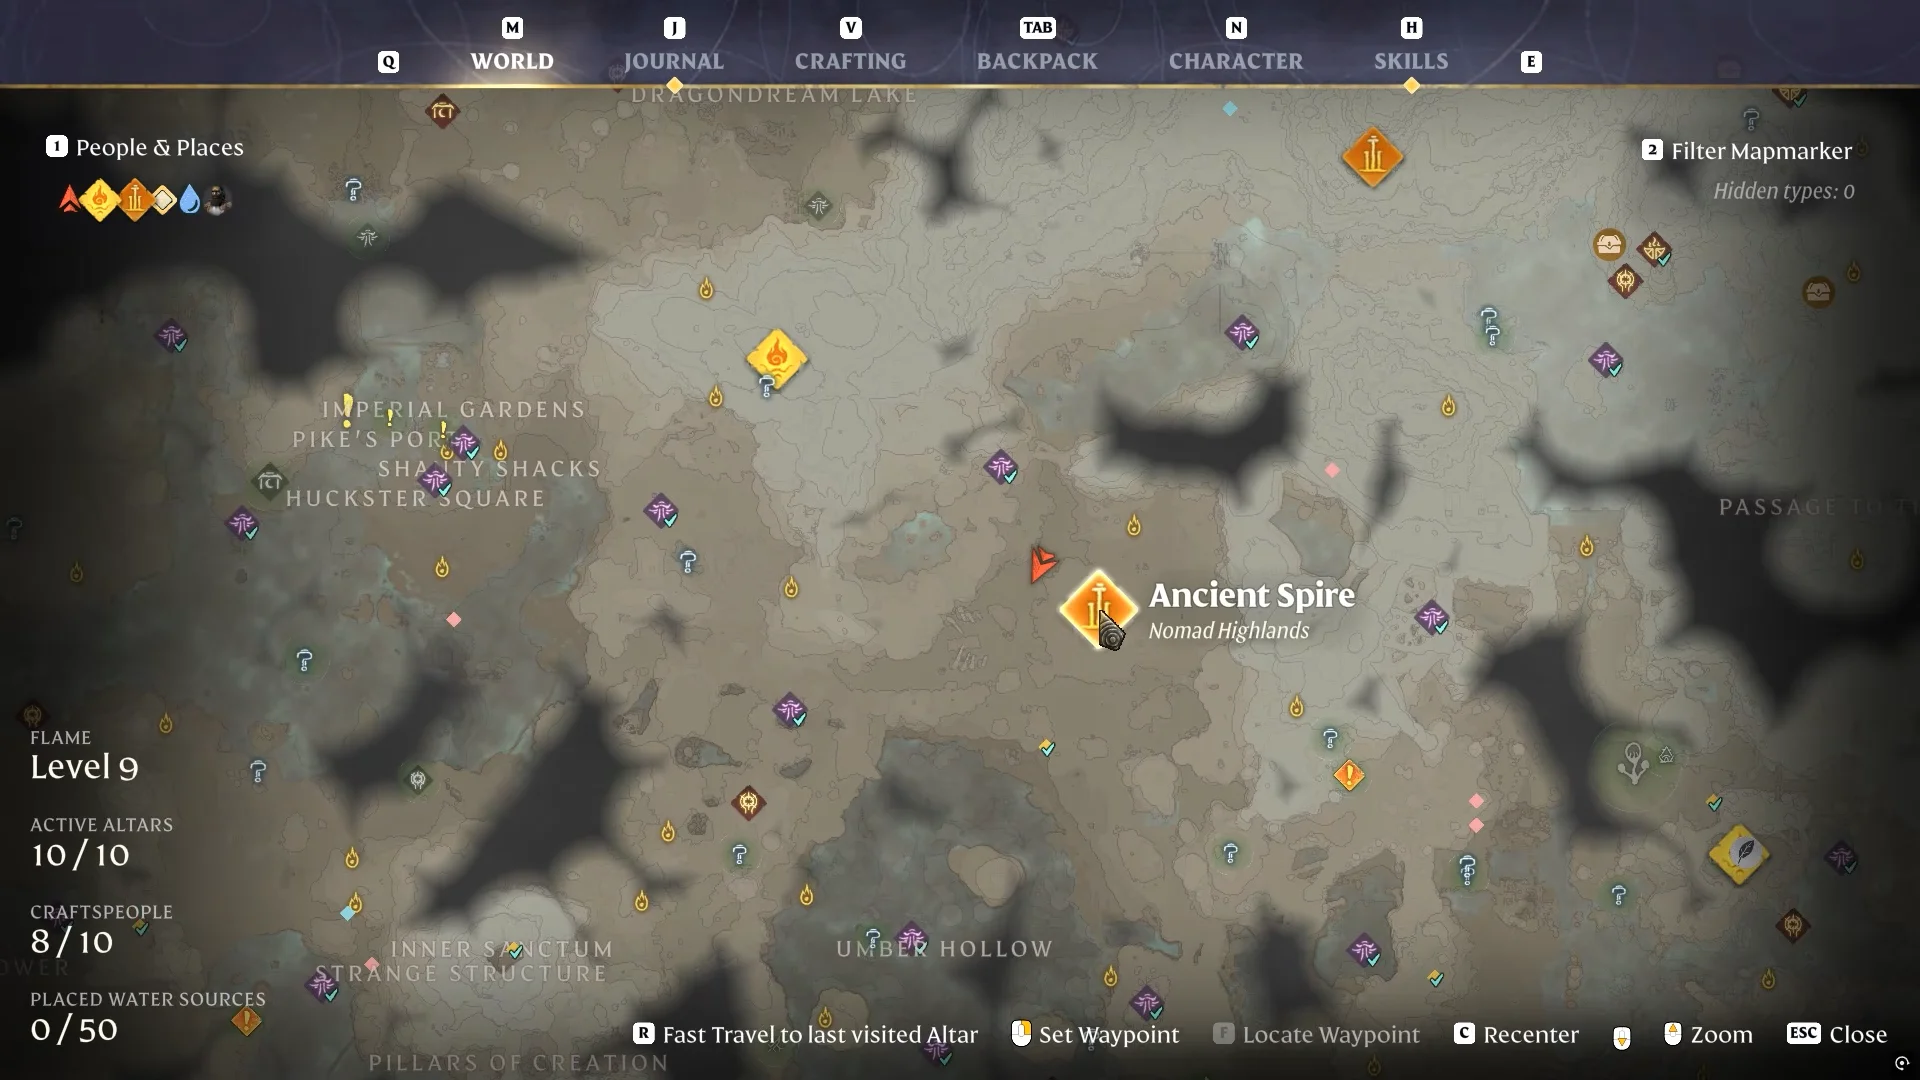
Route from the Ancient Spire to the farming cave
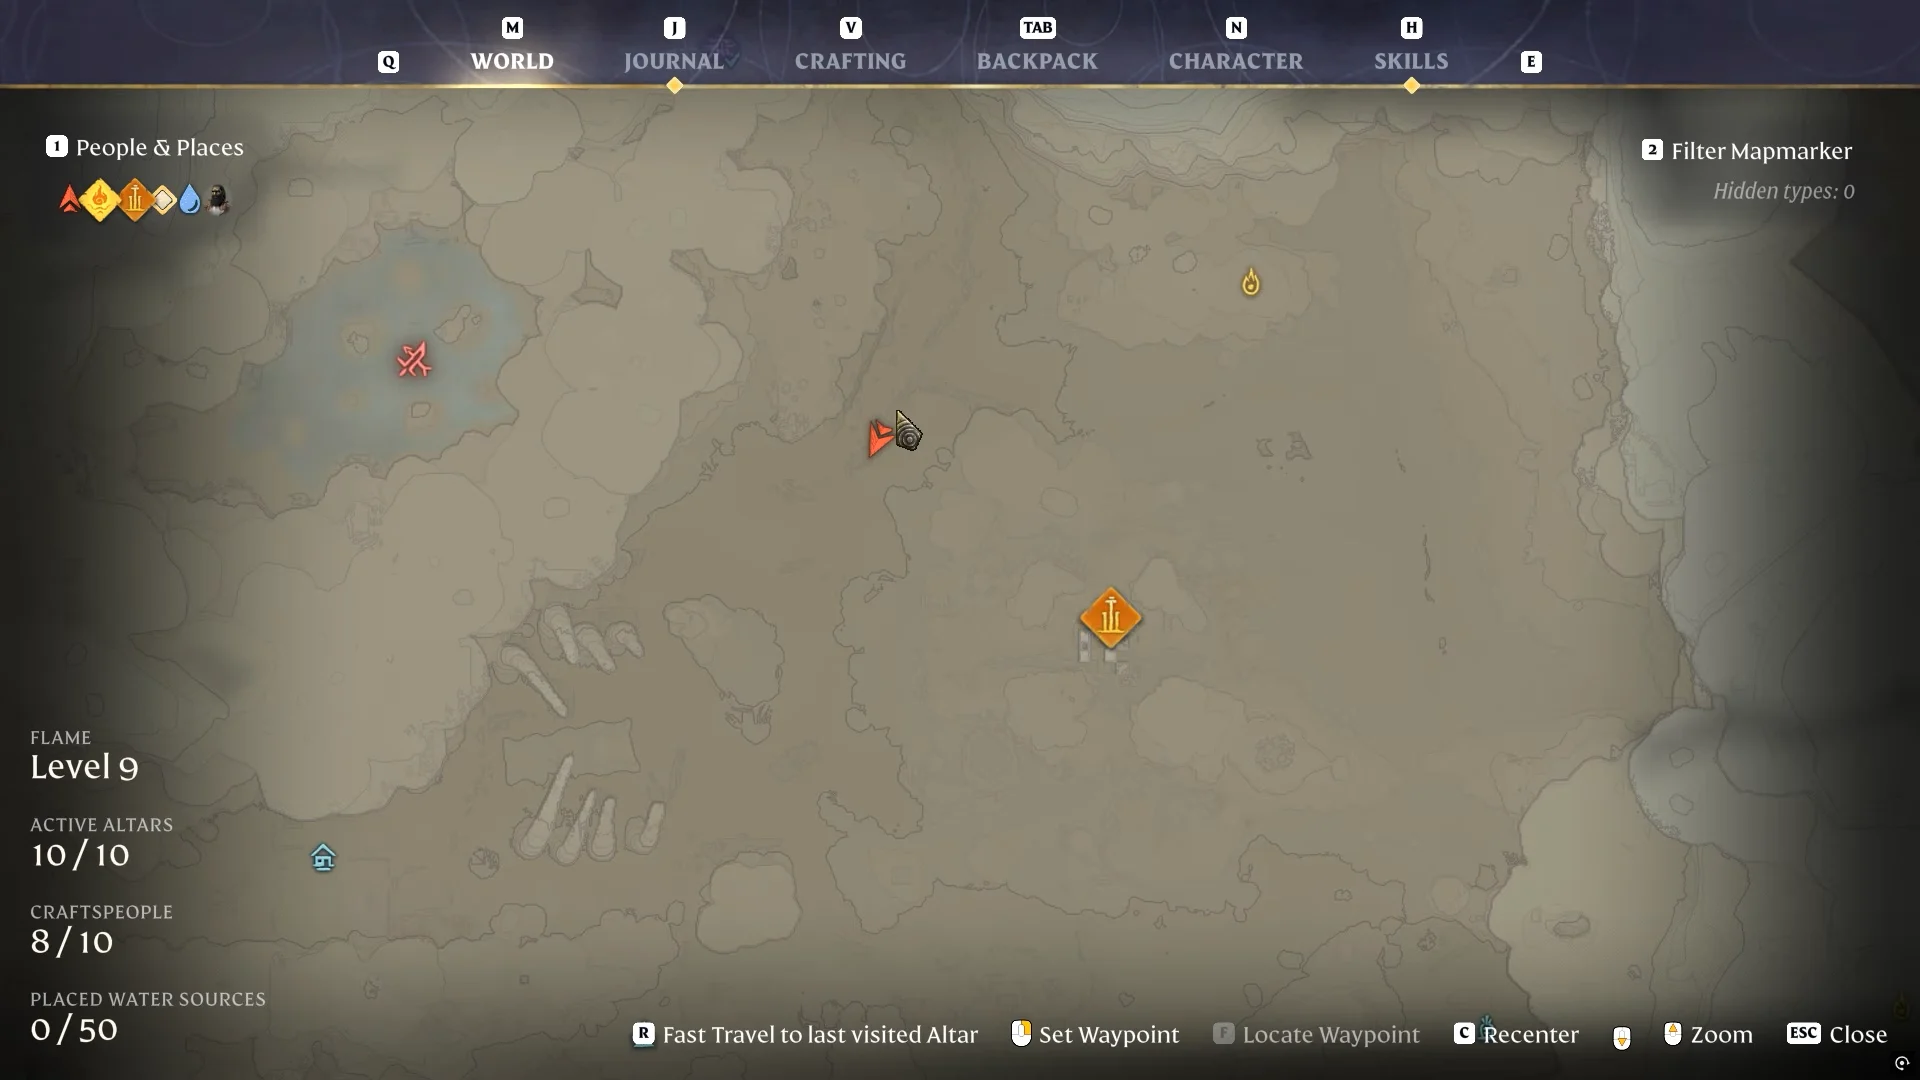
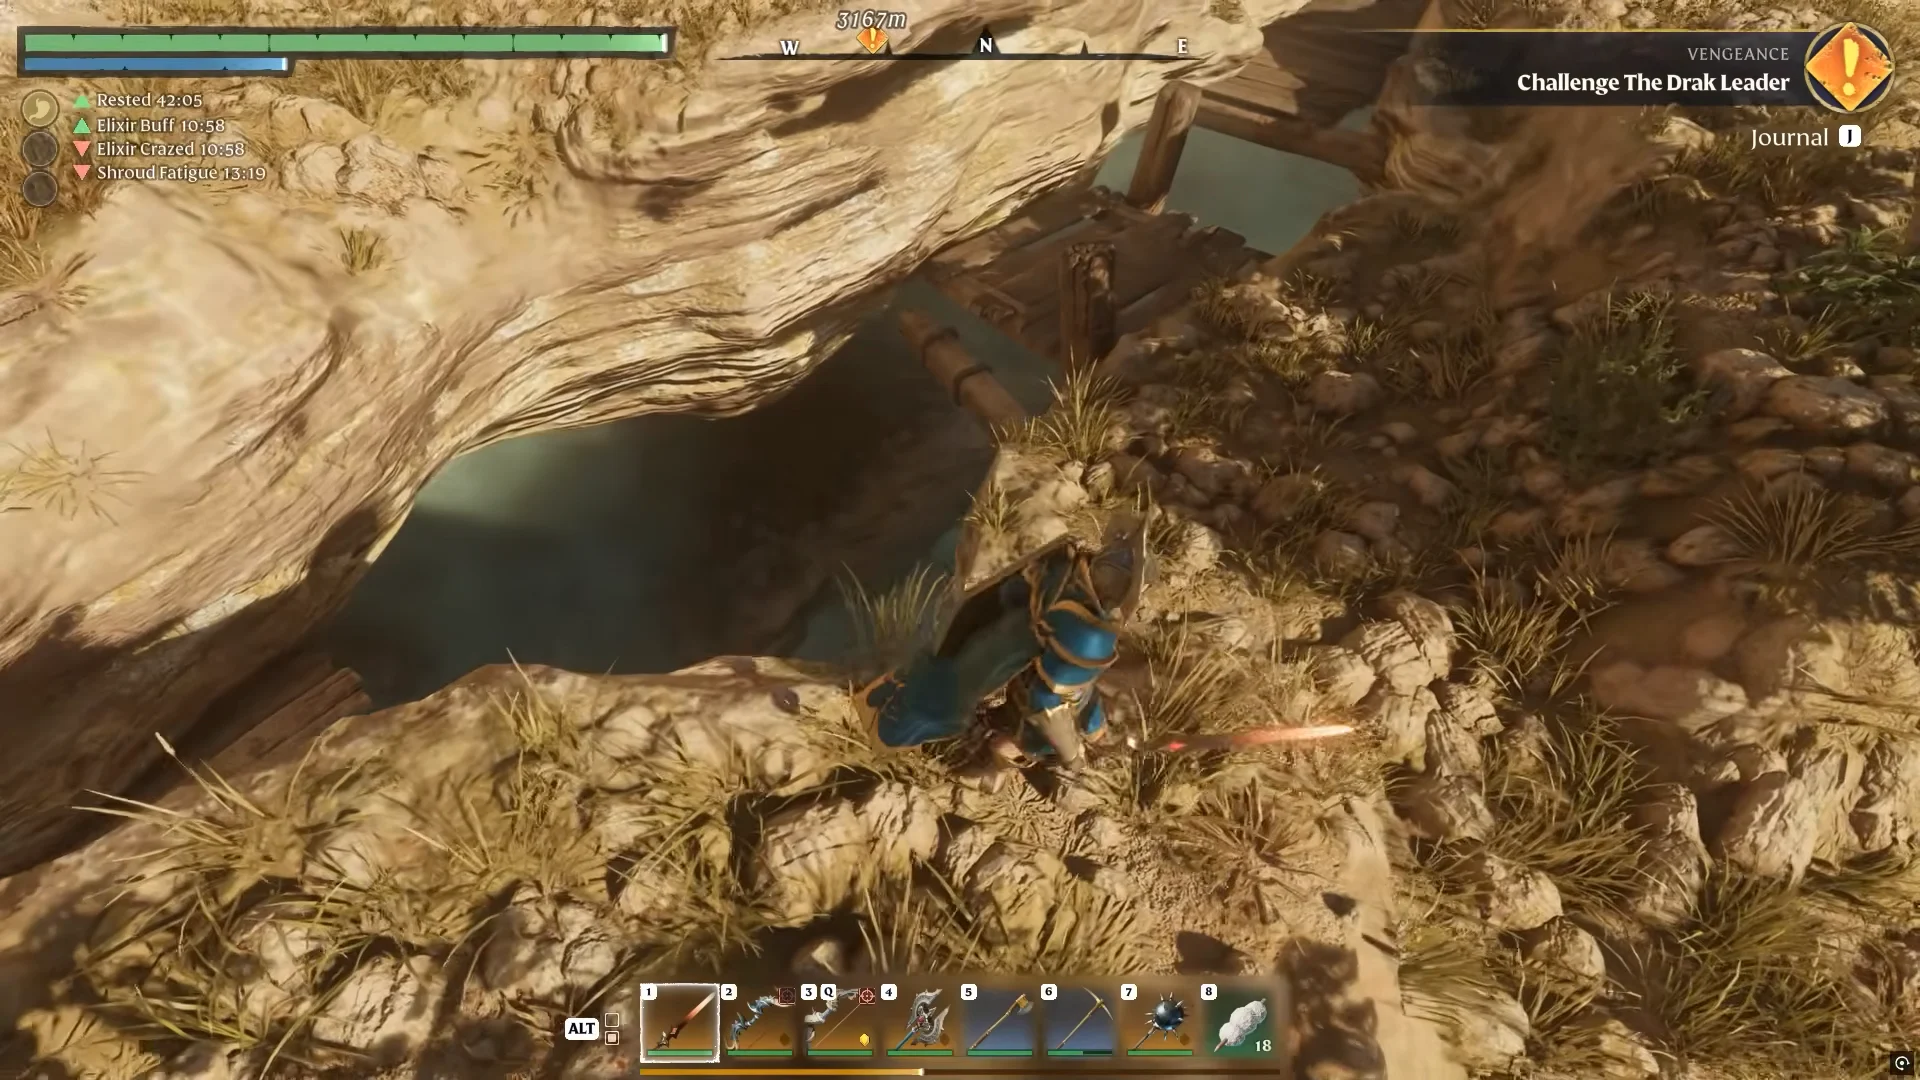
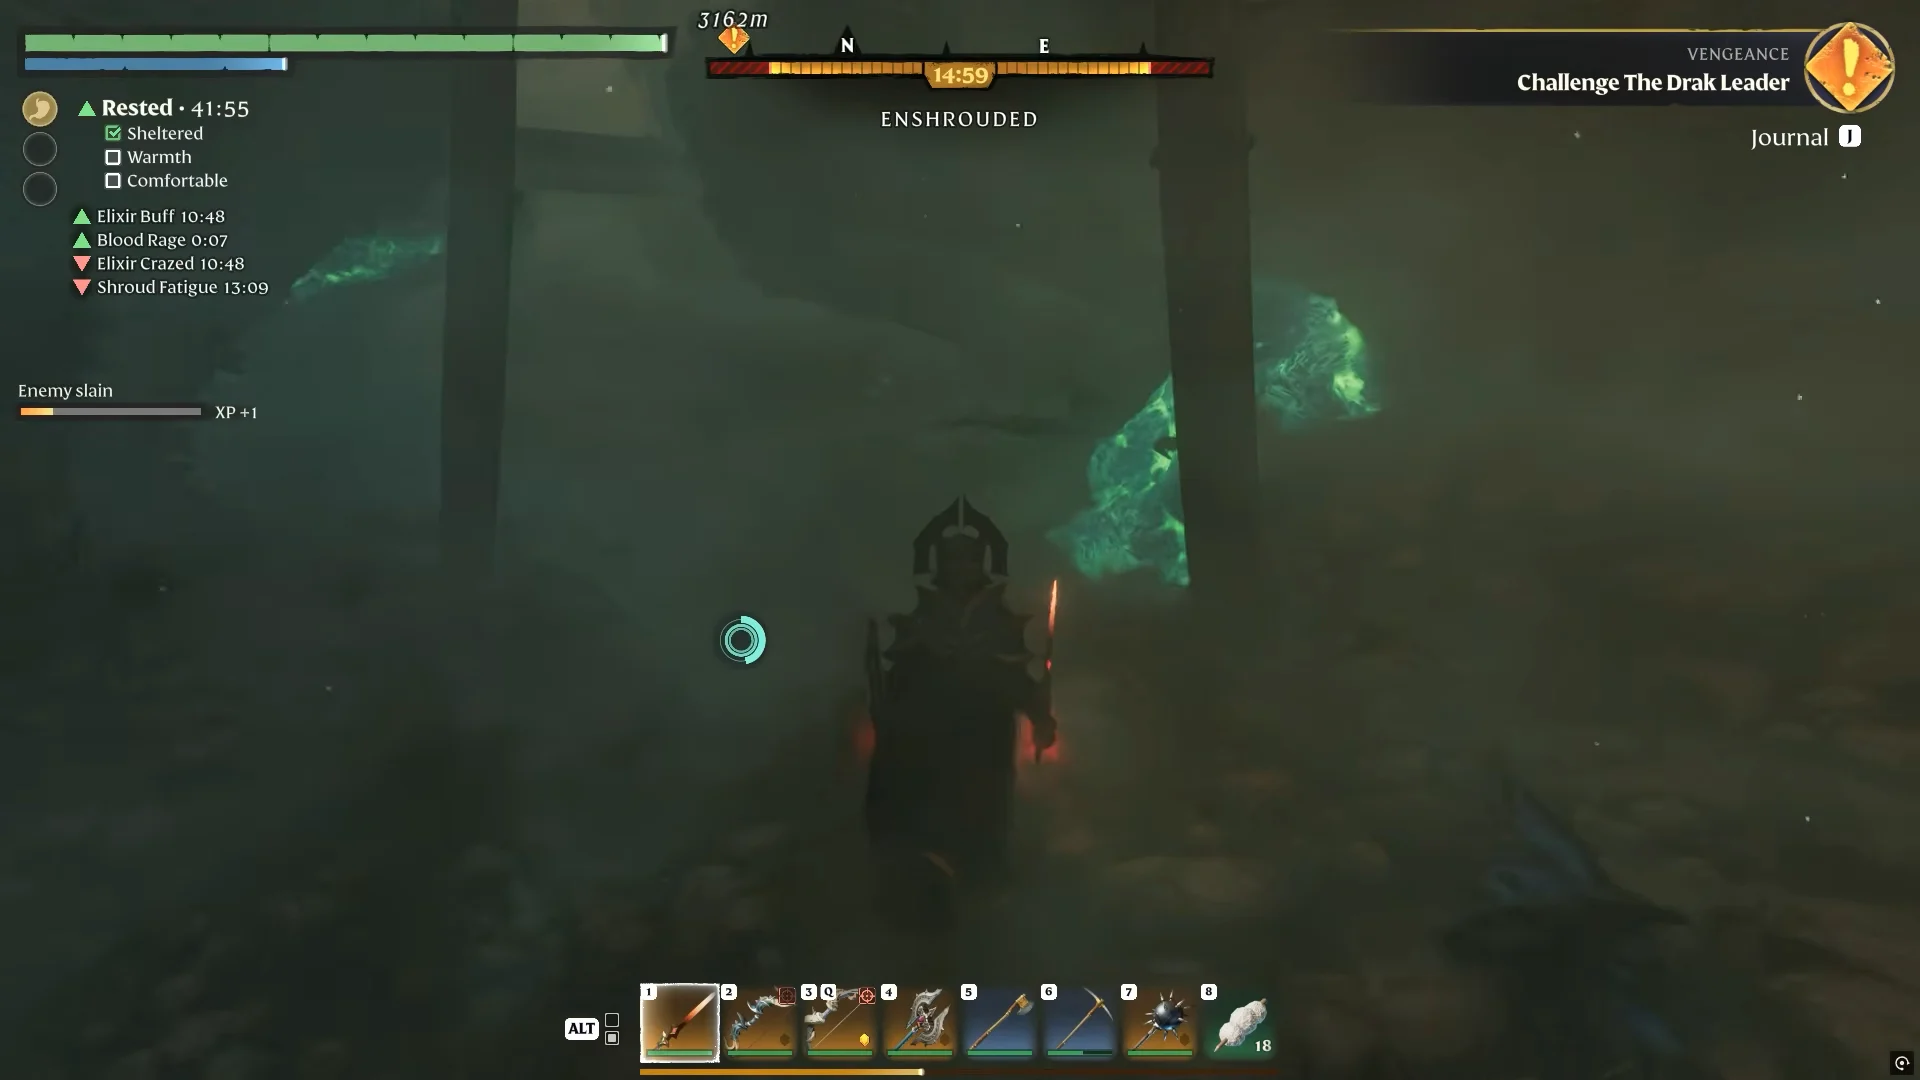
The Shroud drains you over time and the cave holds shroud enemies, including a large root creature. Clear the minor foes on the path, mine quickly, and head out before the Shroud timer runs down.
Mining the deposits
Once you are on the cave floor, look at the walls on both sides of the tunnel for the bright green veins. Equip a pickaxe and strike them until they break apart. Each vein yields Acidic Mycelium along with Limestone, and some clusters drop Tin Ore and regular Mycelium instead.
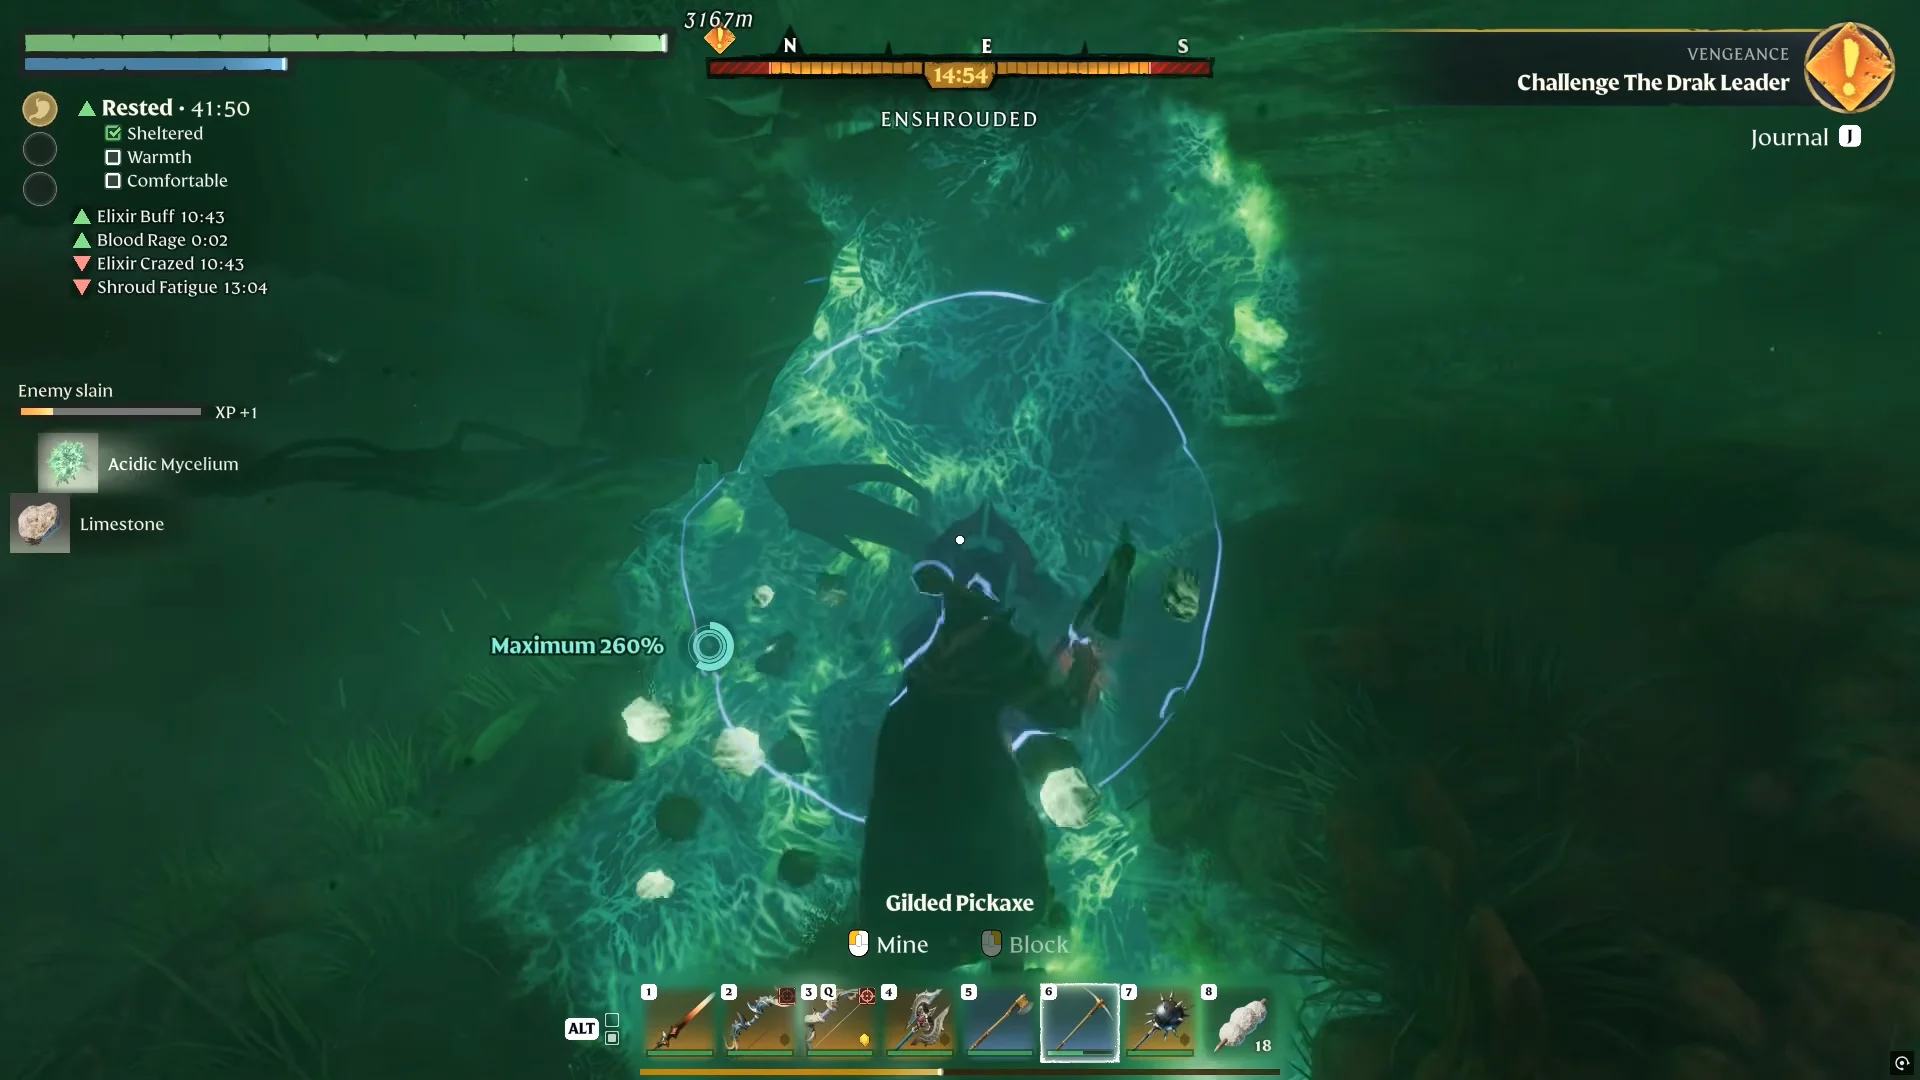
Push deeper into the misty chamber to find more veins along the left and right walls. The richest cluster sits around the fallen large shroud creature at the far end, where several bright green deposits are packed together.
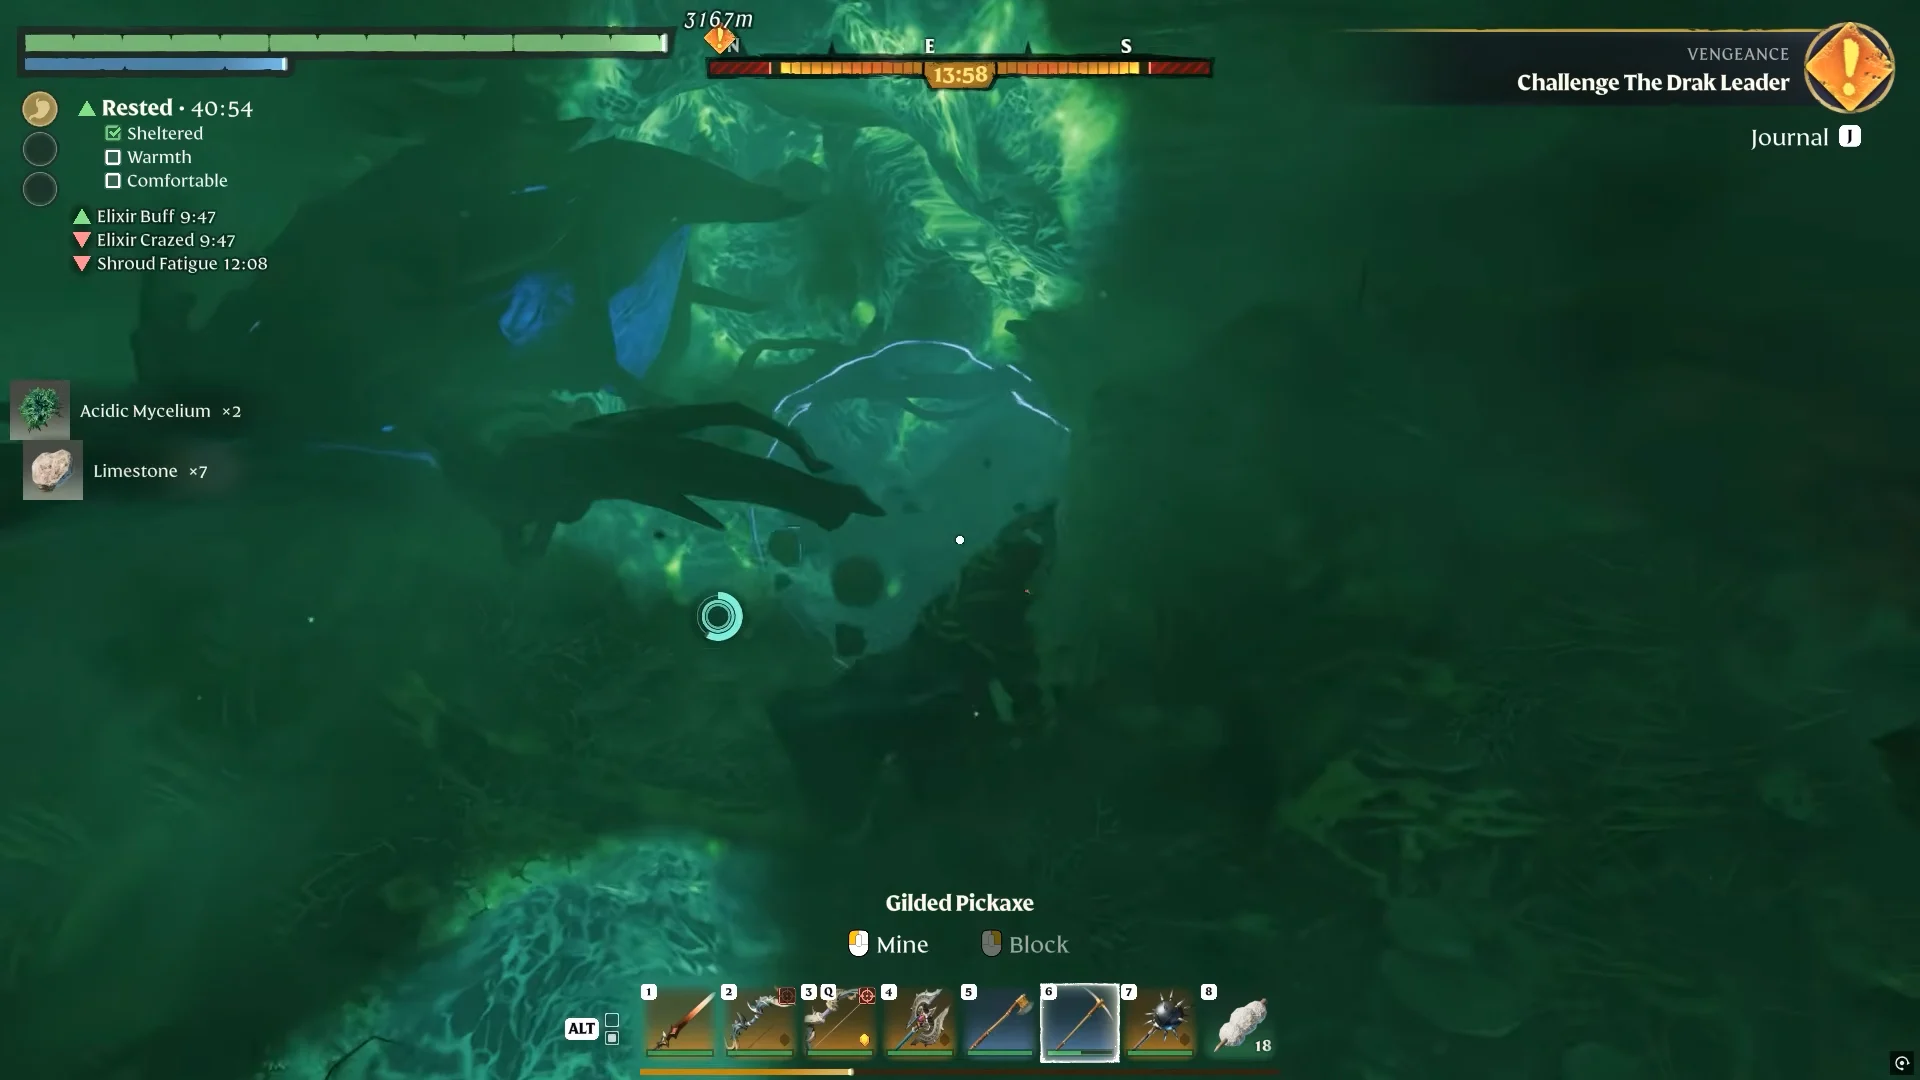
A pickaxe is the only tool you need. A higher-tier pickaxe such as the Gilded Pickaxe or Steel Pickaxe breaks the veins faster, which matters while the Shroud timer is counting down. Acidic Mycelium stacks to 50 per slot, so a full pass through the cave usually fills a stack or more.
The nodes regenerate on the daily reset, so you can return to the same fissure and run the loop again whenever you need more.
Other Acidic Mycelium spots nearby
If you want a longer loop, the Nomad Highlands Shroud southwest of the Ancient Spire holds several open-air and cave deposits. Glide southwest toward Umber Hollow and aim for Conway Camp south of the Shroud Root in Jasper Isles. Along the way you pass a plateau with a large glowing rock formation, a Cave Passage marked on the map with veins around its archway, and an Abandoned Village whose ruins are covered in green deposits.
These surface routes are exposed to high-level floating creatures that fire projectiles from above, so gather quickly and keep your shield ready. Every patch here counts as the same material, so the fissure cave and the southwest route both fill your stacks.
What Acidic Mycelium is used to craft
Five recipes take Acidic Mycelium as an ingredient, spread across materials, armor, and building items. The table lists each product, what it costs, and where you make it.
| Product | Acidic Mycelium | Crafting station |
|---|---|---|
| Alchemical Base | 5 | Alchemy Station |
| Shroud Sand (×100) | 5 | Laboratory |
| Guardian Trousers | 15 | Blacksmith / Smithing Tools |
| Herbalist Pants | 15 | Alchemist |
| Shroud Flayer Seedling | 1 | Seedbed |
The Alchemical Base also needs Corrosive Blood, Shroud Particles, and Shroud Mushroom, while Shroud Sand pairs the mycelium with Sandstone and later feeds into Nitrate. Both of those materials come up constantly in alchemy and building, which is why a repeatable mining loop in the Nomad Highlands pays off. You will know a run worked when the Acidic Mycelium notification stacks on the left of your screen and the material shows in your backpack under Level 18 Common materials, mined in the Nomad Highlands.