Habitat temperature in Planet Zoo directly affects animal welfare, and you control it by dropping heaters or coolers into an enclosure and letting the simulation run. Before you place anything, it helps to know the range each species wants and what the ambient temperature already is.
Quick answer: Open the Habitats menu, pick a Heater to warm the area or a Cooler to chill it, place it inside the enclosure, then unpause the game so the temperature shifts.
Read the temperature heat map first
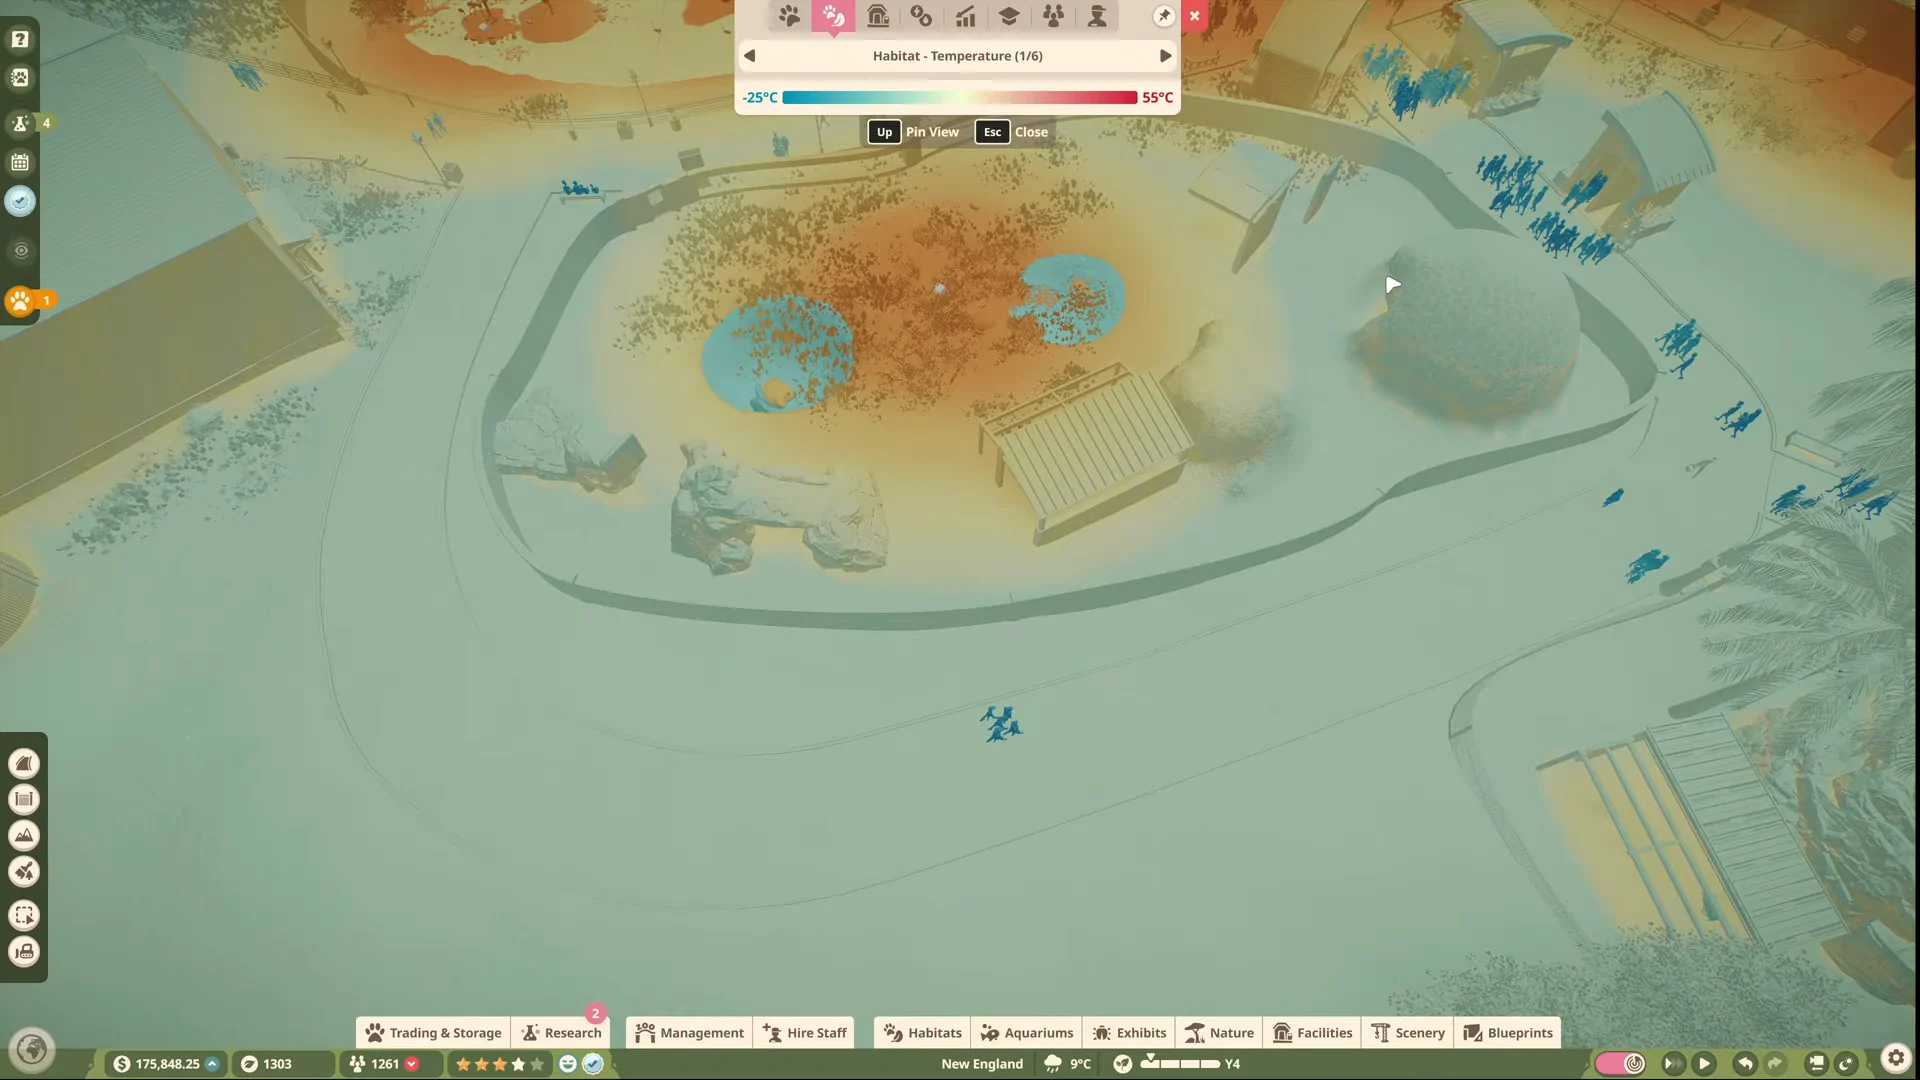
The heat map overlay shows temperature zones across the whole zoo. Open it from the top toolbar or its keybind, then switch to the Habitat Temperature mode. Cold areas appear blue and warm areas appear red, on a scale that runs from about -20°C at the coldest to 55°C at the hottest.
This tells you whether an enclosure is already too cold, too warm, or fine as it stands. A habitat sitting in cool blue in a snowy map region will need a heater, while a reptile enclosure that reads blue needs warming toward its preferred band.
Check the animal’s ideal temperature range
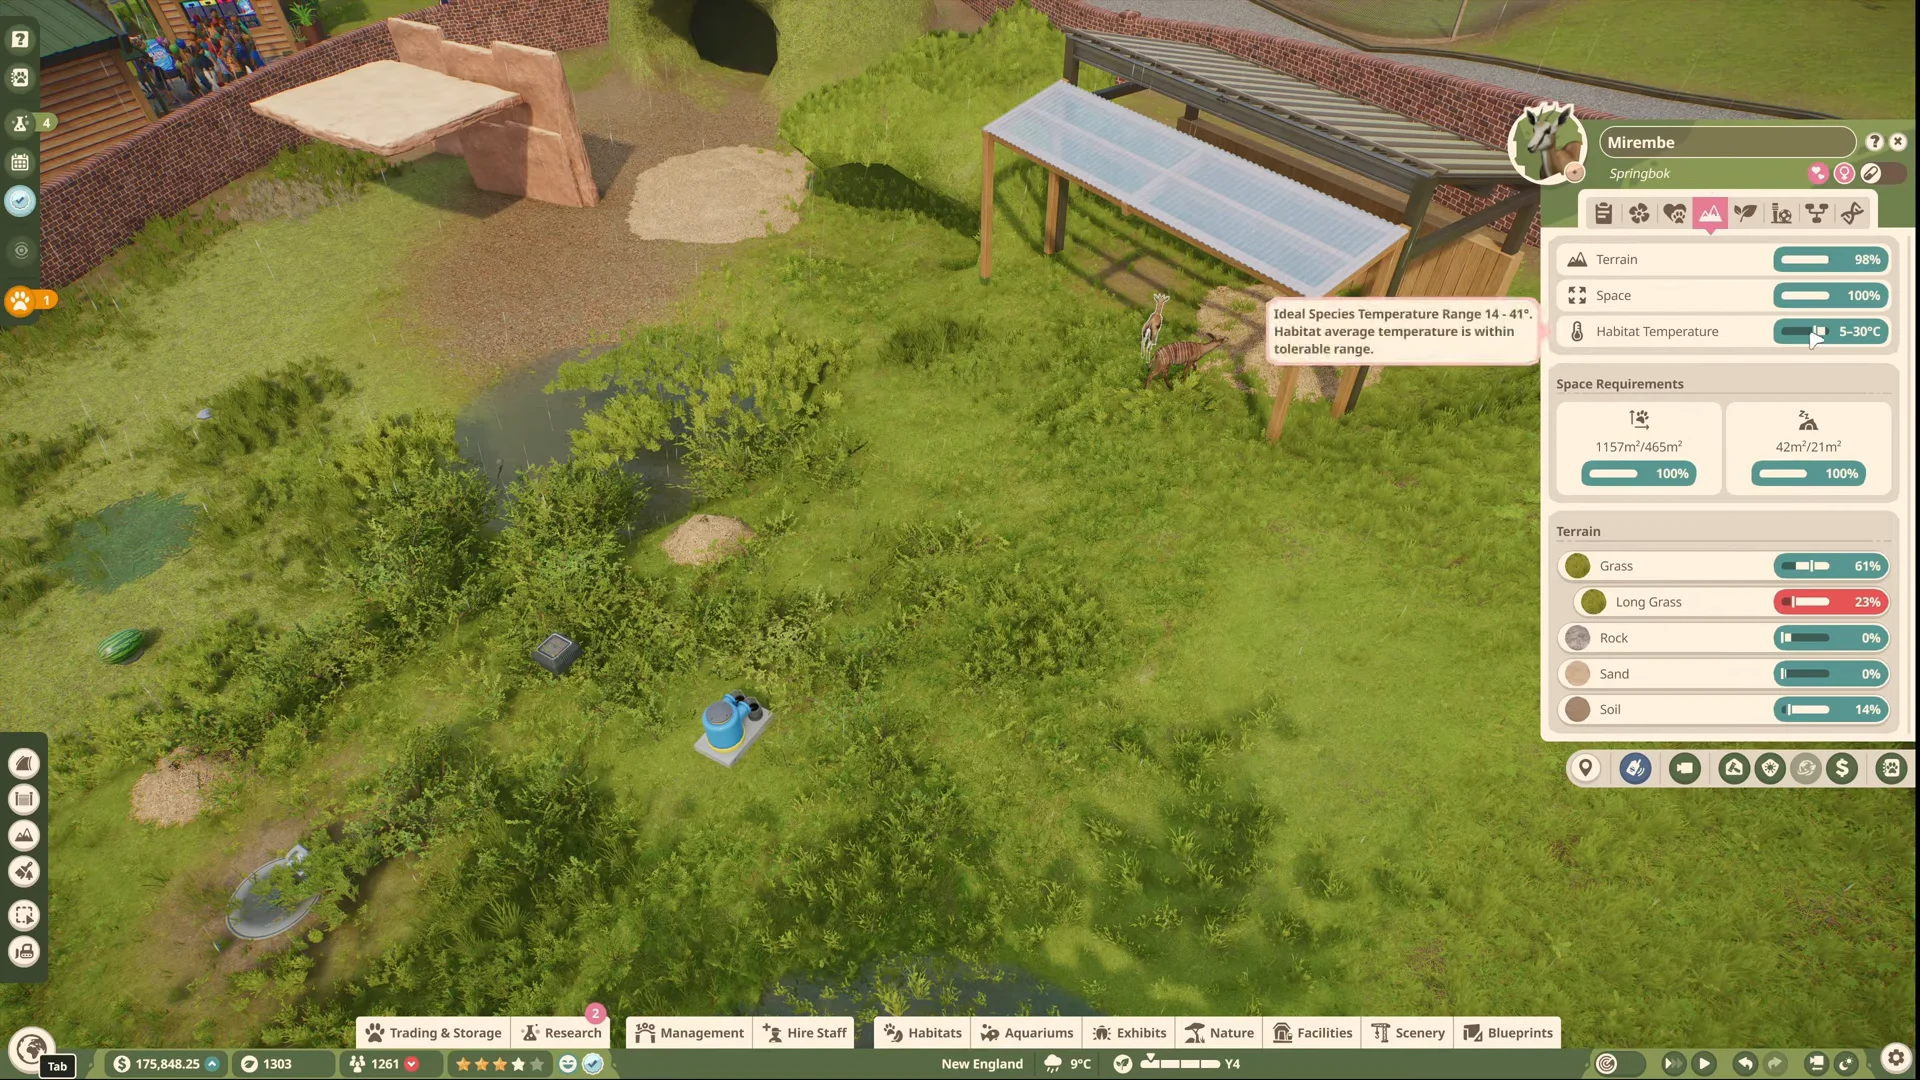
Every species has a target band, so set the enclosure to what the animal actually wants rather than a guess. Click the animal living in the habitat, then open its welfare information and the habitat or terrain tab. The panel lists the Ideal Species Temperature Range alongside the current habitat temperature.
A Plains Zebra, for example, wants roughly 14°C to 41°C. When the current reading falls inside that band, the panel confirms the habitat average is within the tolerable range, and the animal registers as comfortable.
Place a heater or cooler
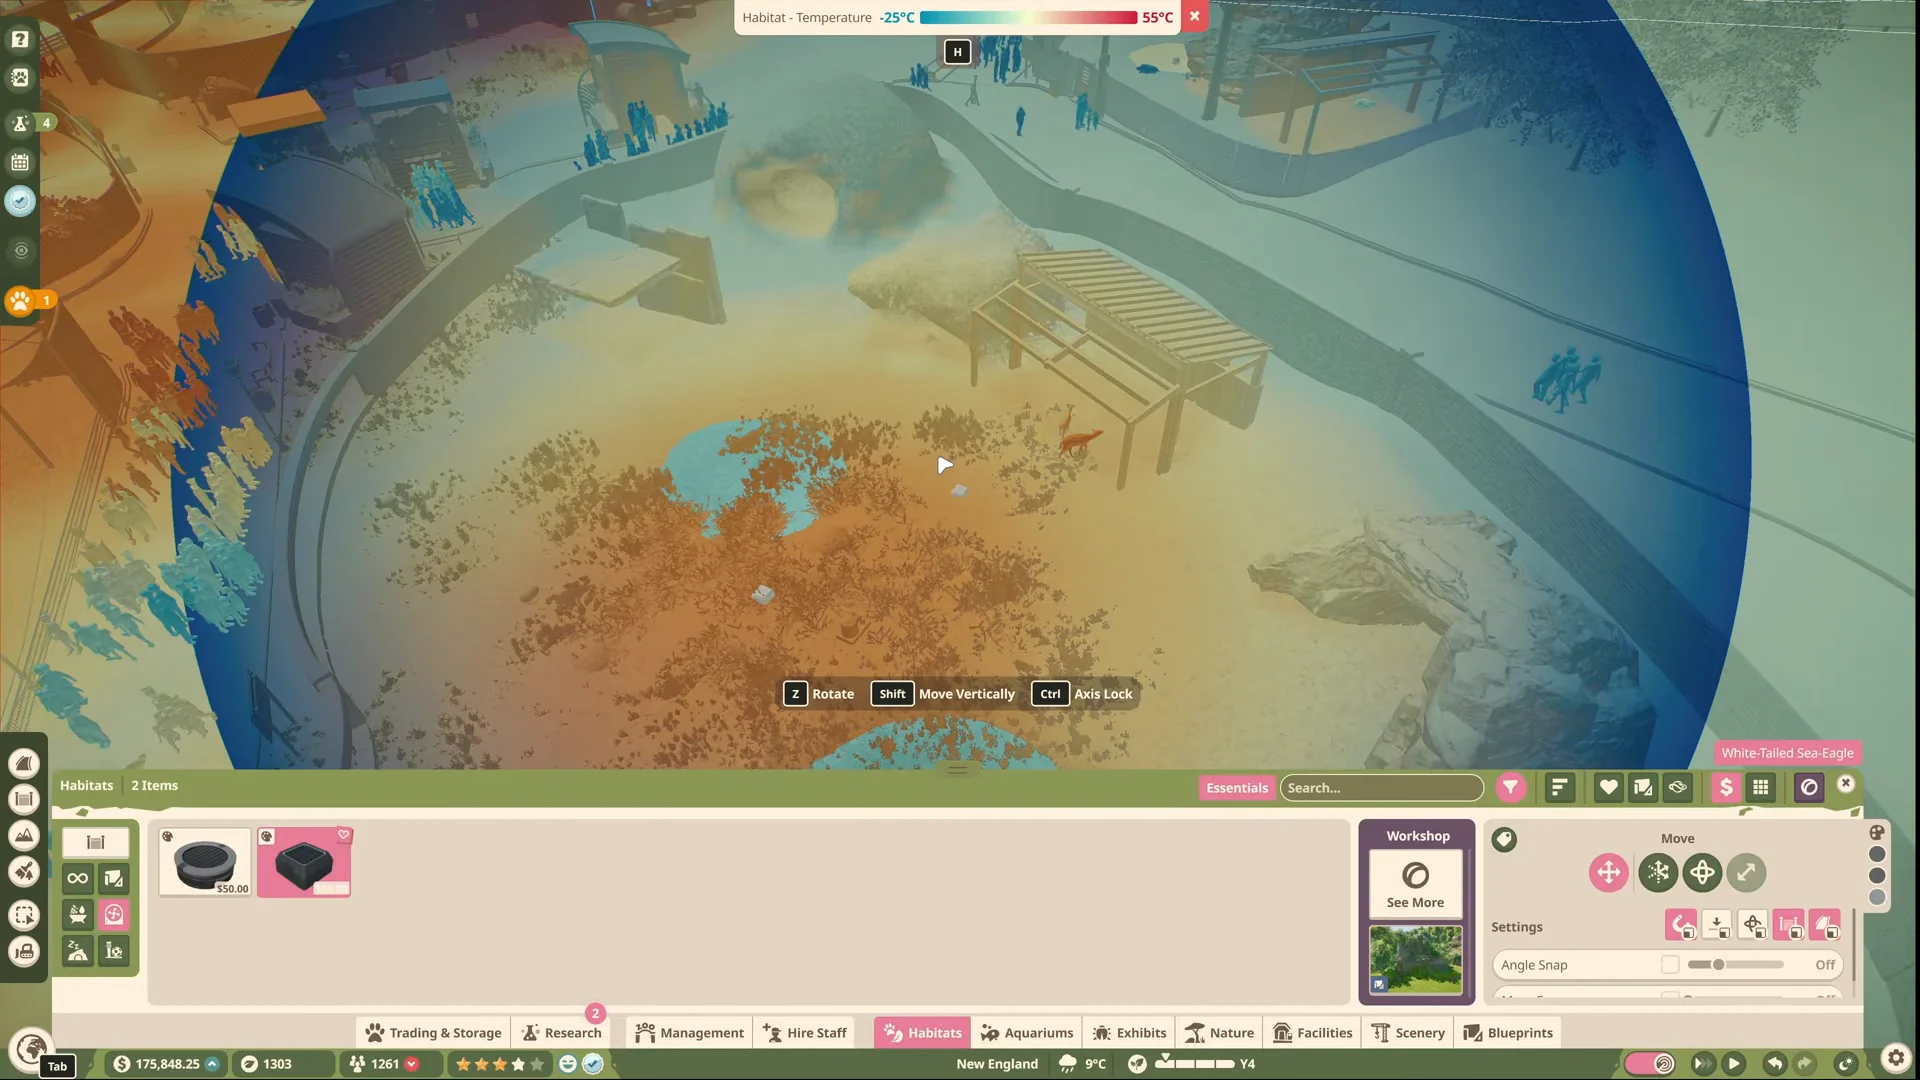
Both devices need power, so make sure the habitat has a connected power source or the unit will not run.
| Device | Cost | Effect |
|---|---|---|
| Heater | $150.00 | Raises ambient temperature in its radius |
| Cooler | $150.00 | Lowers ambient temperature in its radius |
The further you set a device from the surrounding ambient temperature, the harder it works and the higher its ongoing running cost. Set the target just inside the animal’s range rather than pushing it to an extreme.
Confirm the temperature changed
With the game unpaused, watch the heat map. The zone around the heater shifts toward orange and red as it warms, and a cooler pulls its area toward blue. That colour change is your confirmation the device is working.
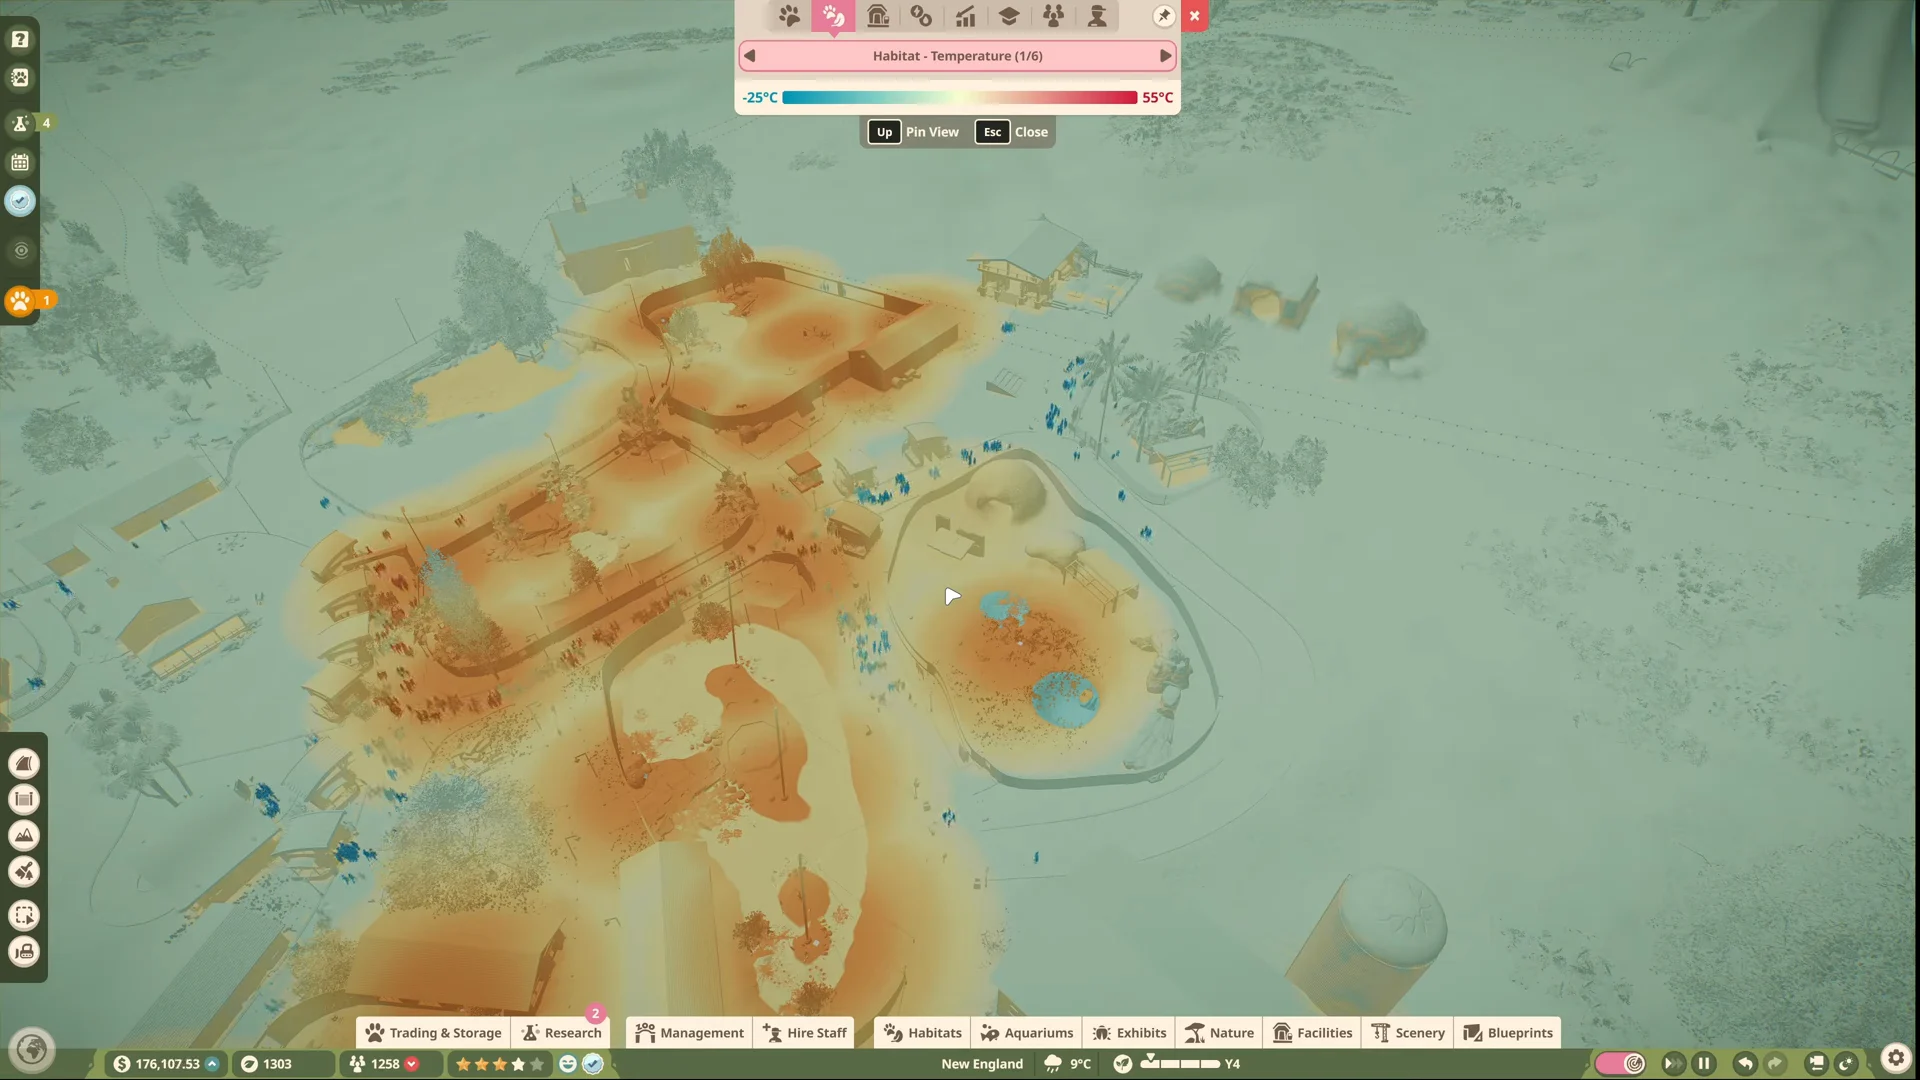
Reopen the animal’s welfare panel to double-check. Once the reading sits inside the ideal species range, the panel confirms the habitat average is tolerable and the animal’s comfort holds steady. If it still falls short, nudge the slider or add a second unit to widen coverage.
Water temperature is handled separately. A Water Temperature Regulator adjusts connected bodies of water toward a target over time, with larger pools taking longer and no setting allowed below freezing, so use it alongside heaters and coolers when a species needs both warm air and warm water.