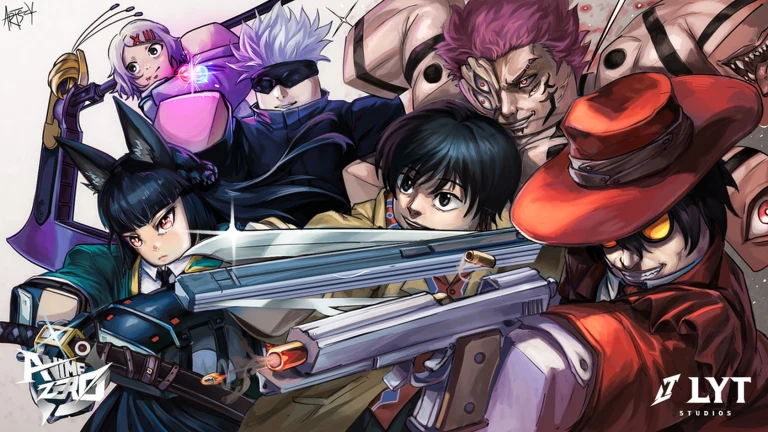
The highest-output damage setup in Anime Zero runs two weapons together. Ye-0 does the killing in slot 1, while Astral Blossom sits in slot 2 purely to pump out buffs you swap into. Stack that pairing with a maxed skill tree, the Deadeye trait, the right title, and four crafted accessories, and the total climbs to +248% damage with Astral Blossom’s buffs active.
Quick answer: Run awakened Ye-0 (slot 1) and Astral Blossom (slot 2), max both the Attack and Critical skill branches, roll Deadeye, equip the S-Rank Hunter title, and craft SunGlasses, Blast Archer Crown, Cursed King’s Collar, and Shadow Monarch Coat.
The two-weapon core: Ye-0 and Astral Blossom
Ye-0 is the Mythic weapon that carries the whole build. It goes in slot 1 and handles every primary attack and the ultimate. Everything else exists to make its hits land harder and more often.

Astral Blossom is an Arcane support weapon equipped in slot 2. It becomes available after you clear Floor 150 or above in Co-op Trials. It is not meant to deal damage; its role is to grant two buffs to the entire team, which stay active when you switch back to Ye-0.

- Astra’s Aura: +50% damage and +25% speed to all units.
- Astra’s Cheer: Every unit deals 50% more damage.
Awaken Ye-0 to unlock its ultimate
Before anything else, take Ye-0 through the Evolution menu. Awakening turns it into Ye-0 Awakened, unlocks its ultimate skill, and opens its full moveset. Without this step the build is missing its biggest single hit.
| Material | Amount |
|---|---|
| Fine Cloth | 25 |
| Soul Fragment | 30 |
| Magic Pendant | 50 |
| Coins | 5,000,000 |
| Gems | 12,000 |
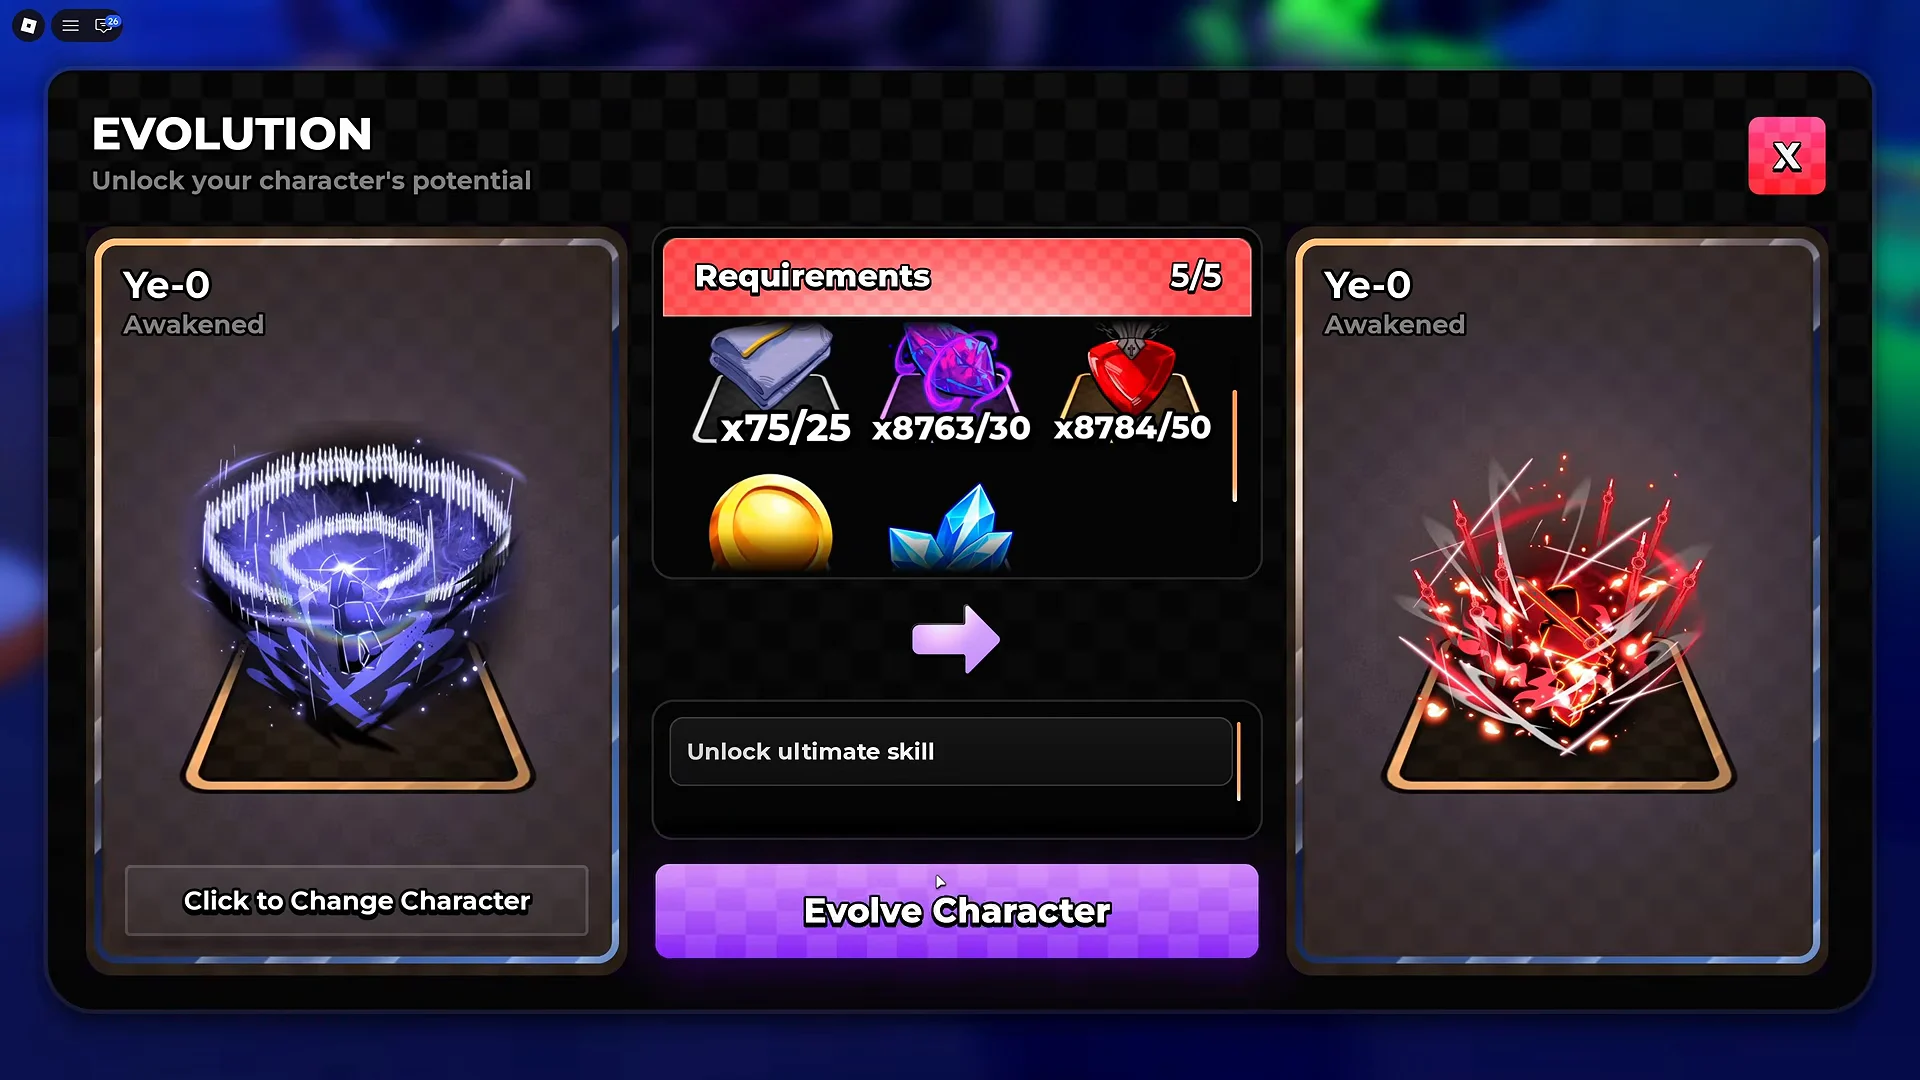
Check these costs early and set the materials aside while you upgrade the rest of the loadout. It is easy to spend everything on summons and then be unable to finish the weapon you pulled.
Skill tree: max Attack and Critical
Ye-0’s skill tree has several paths, but this setup uses only two. Upgrade Attack from node I to node V to gain +60% damage, then complete Critical from node I to node V for +15% critical hit chance. Invest in Attack first because it boosts damage directly, then finish the Critical branch.
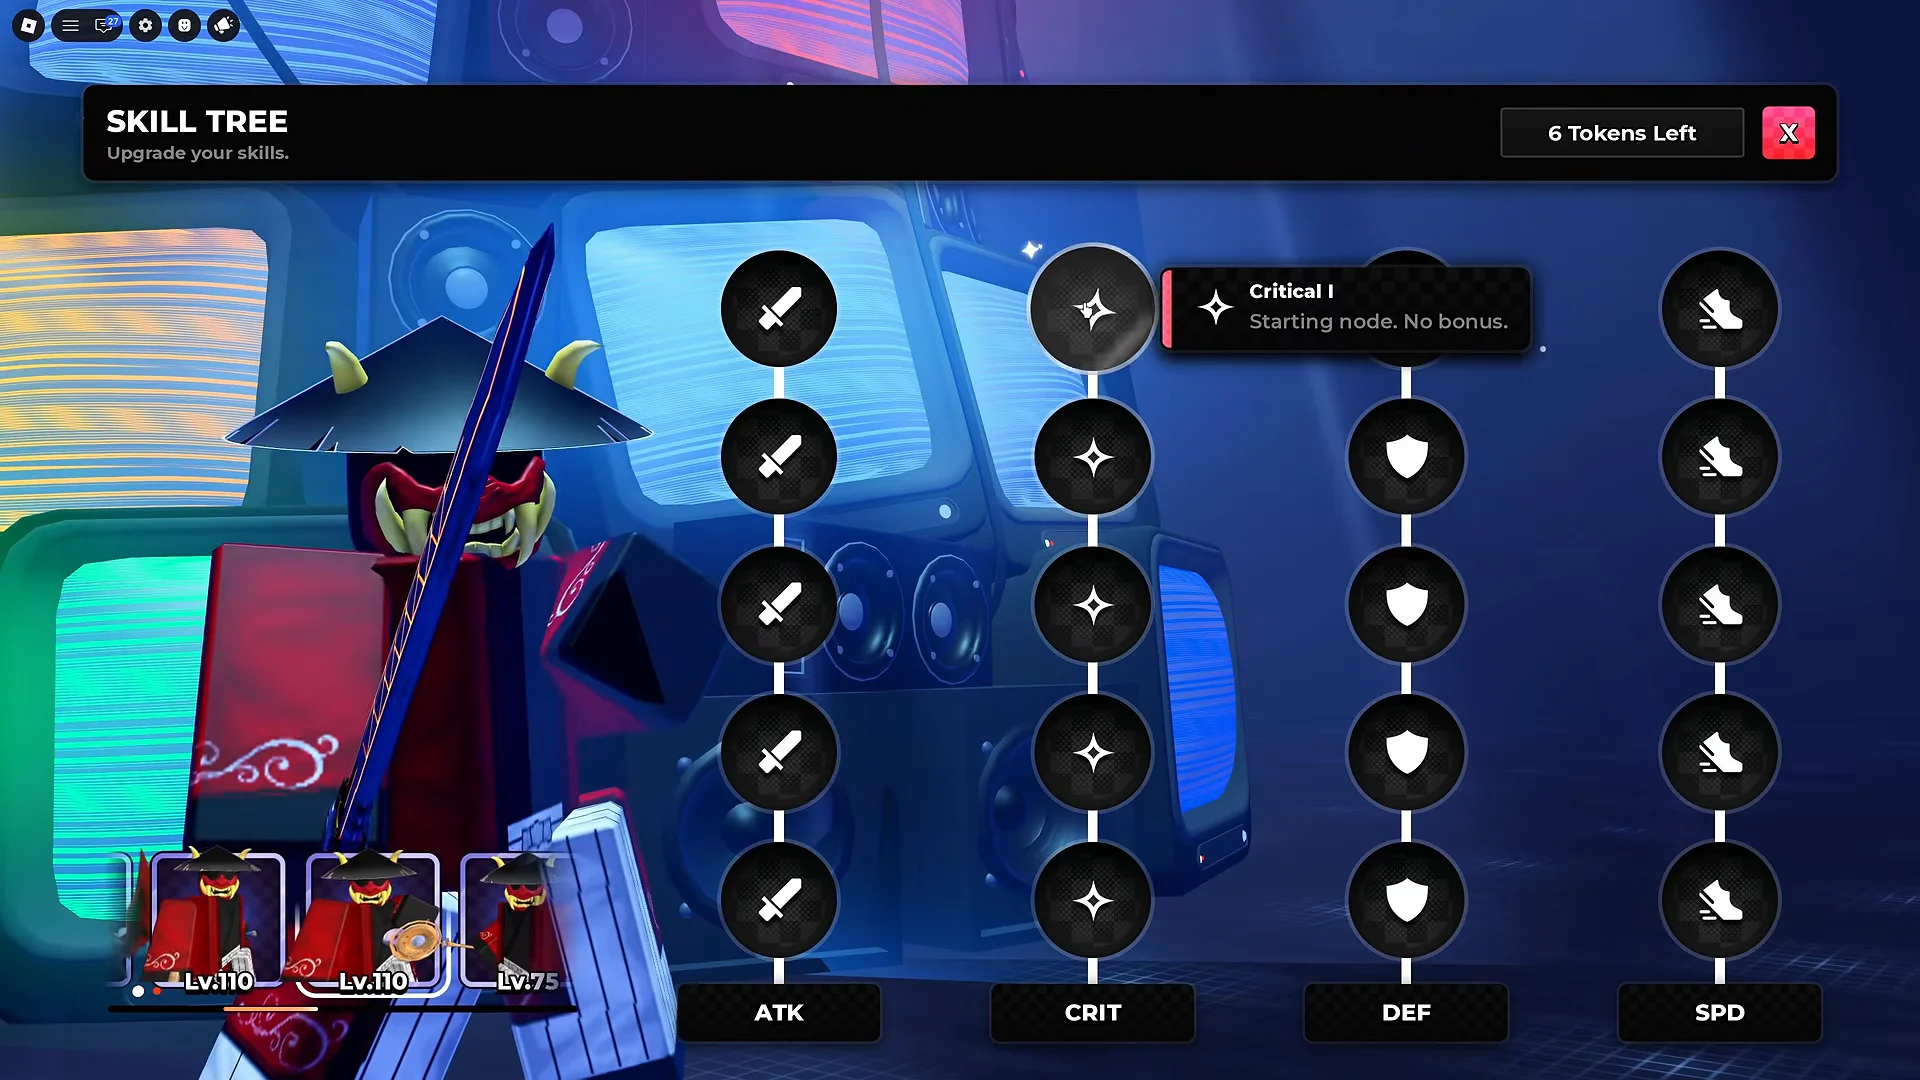
Those two numbers are the final totals for the fully upgraded branches, not bonuses that stack on top of each earlier node. You earn the points by using and leveling Ye-0, so this part comes from steady play rather than lucky drops.
Best trait: Deadeye, with Sniper and Ferocity backups
Reroll Ye-0’s trait until you hit Deadeye. It feeds the critical plan directly, adding raw damage, more crit chance, and a large crit damage boost in one slot. If you have not rolled it yet, Sniper and Ferocity are solid holdovers while you keep trying.
| Trait | Bonuses |
|---|---|
| Deadeye | +20% Damage, +5% Crit Chance, +50% Crit Damage |
| Sniper | +12% Crit Chance, +15% Crit Damage, +8% Attack Speed |
| Ferocity | +18% Damage, +8% Cooldown Reduction, +14% Attack Speed, +2 Walk Speed |
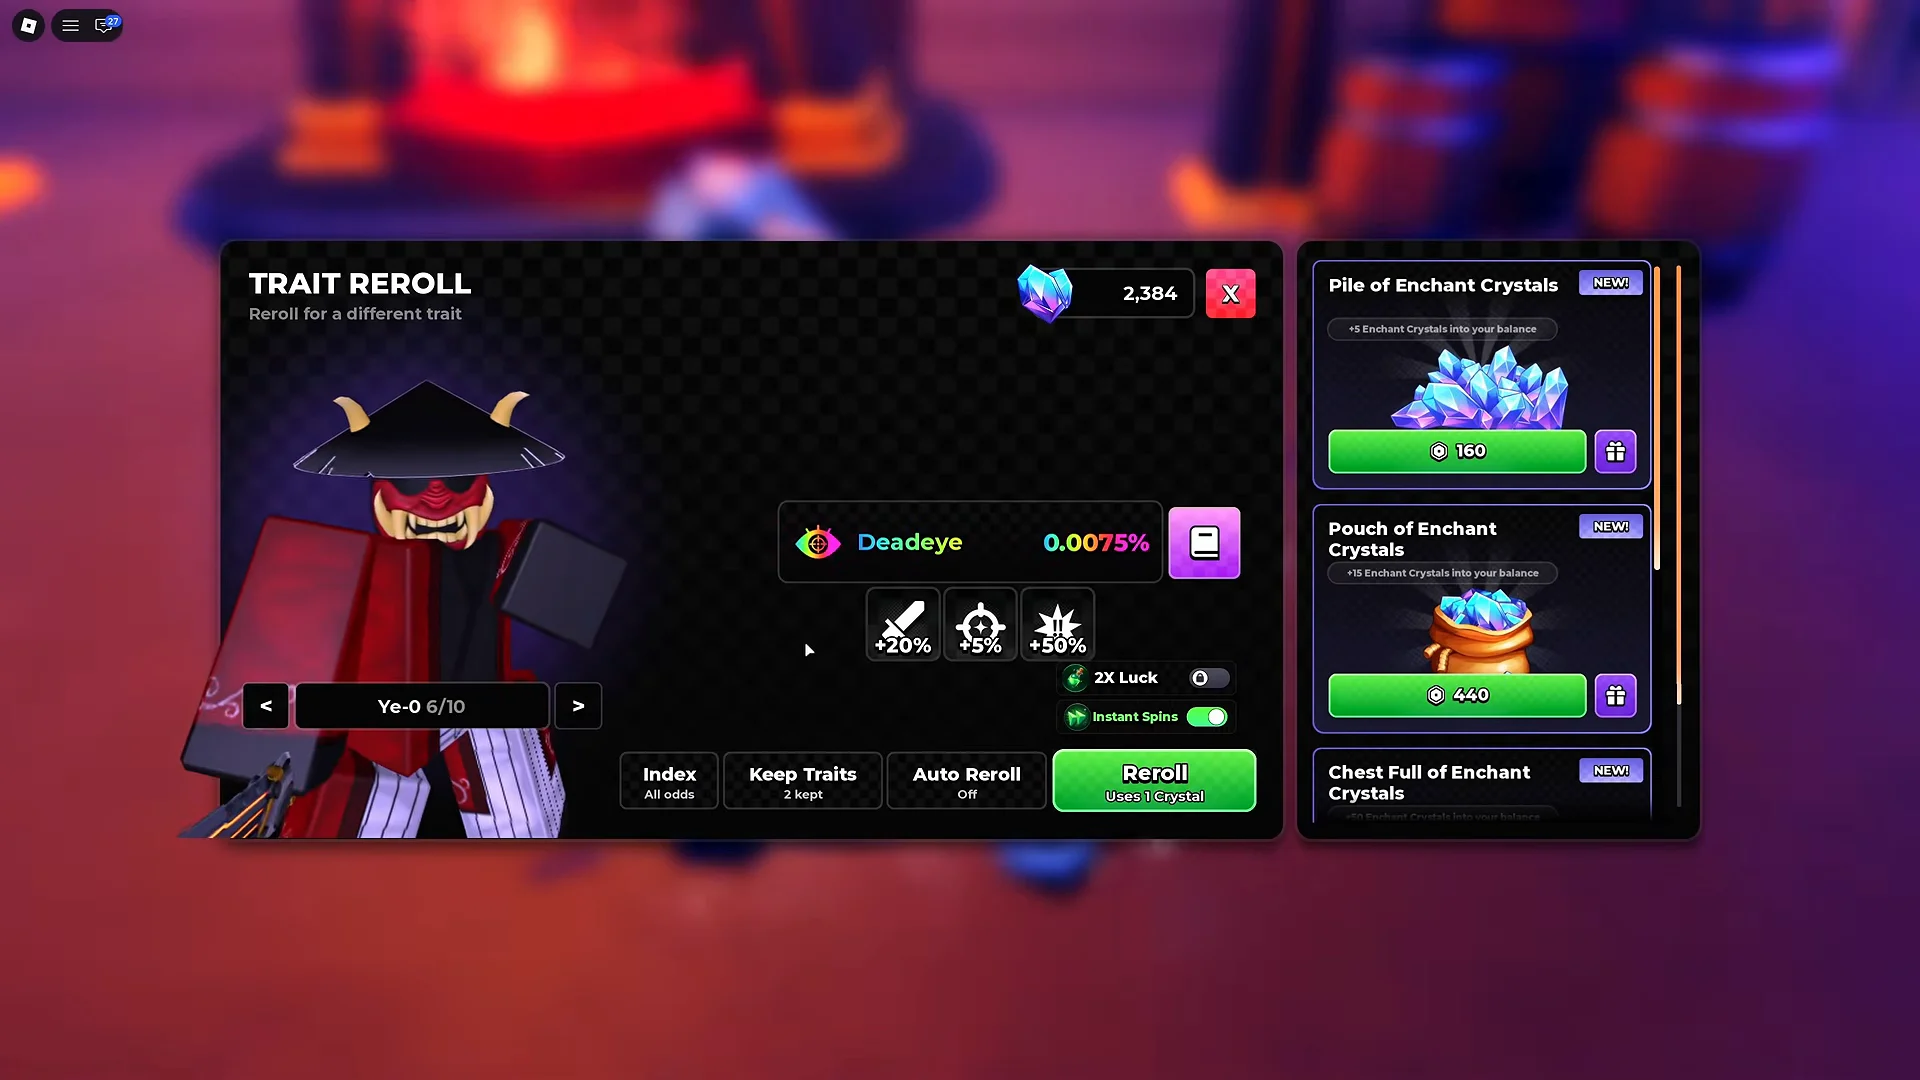
Deadeye’s +50% crit damage matters only when your attacks score critical hits, so the skill tree and accessories invest heavily in crit chance. Save your rerolls rather than spending them all on an ideal trait before your awakening, tree, or gear is complete.
Title choice: S-Rank Hunter or Dragon Eclipse
The top title for this setup is S-Rank Hunter, which adds damage, health, cooldown reduction, and a little crit chance on top of everything else. Dragon Eclipse is the alternative if you prefer attack speed, and it posts slightly higher raw damage.
| Title | Bonuses | Unlock |
|---|---|---|
| S-Rank Hunter | +18% Damage, +20% Health, +3.5 Walk Speed, +6% CDR, +3% Crit Chance | Clear the Shadow Gate raid twice as Shadow Monarch without dying |
| Dragon Eclipse | +20% Damage, +5% Health, +10% Attack Speed | As Dragon Eclipse, defeat 25 bosses on Hard difficulty or above and survive without dying. |
The four crafted accessories
You equip one accessory in each of the four slots: face, head, neck, and back. All four are crafted, and together they stack damage, crit chance, health, and cooldown reduction. The head and back pieces are Mythic, so they cost the most materials.
| Accessory (Slot) | Rarity | Stats |
|---|---|---|
| SunGlasses (Face) | Epic | +3% Damage, +11% Crit Chance, +4% Health, +5% Coins, +1 Walk Speed |
| Blast Archer Crown (Head) | Mythic | +20% Damage, +12% Health, +7% CDR, +7% Drop Rate |
| Cursed King’s Collar (Neck) | Legendary | +10% Damage, +8% Health, +4% CDR, +6% EXP |
| Shadow Monarch Coat (Back) | Mythic | +17% Damage, +12% Health, +6% CDR, +6% Drop Rate |
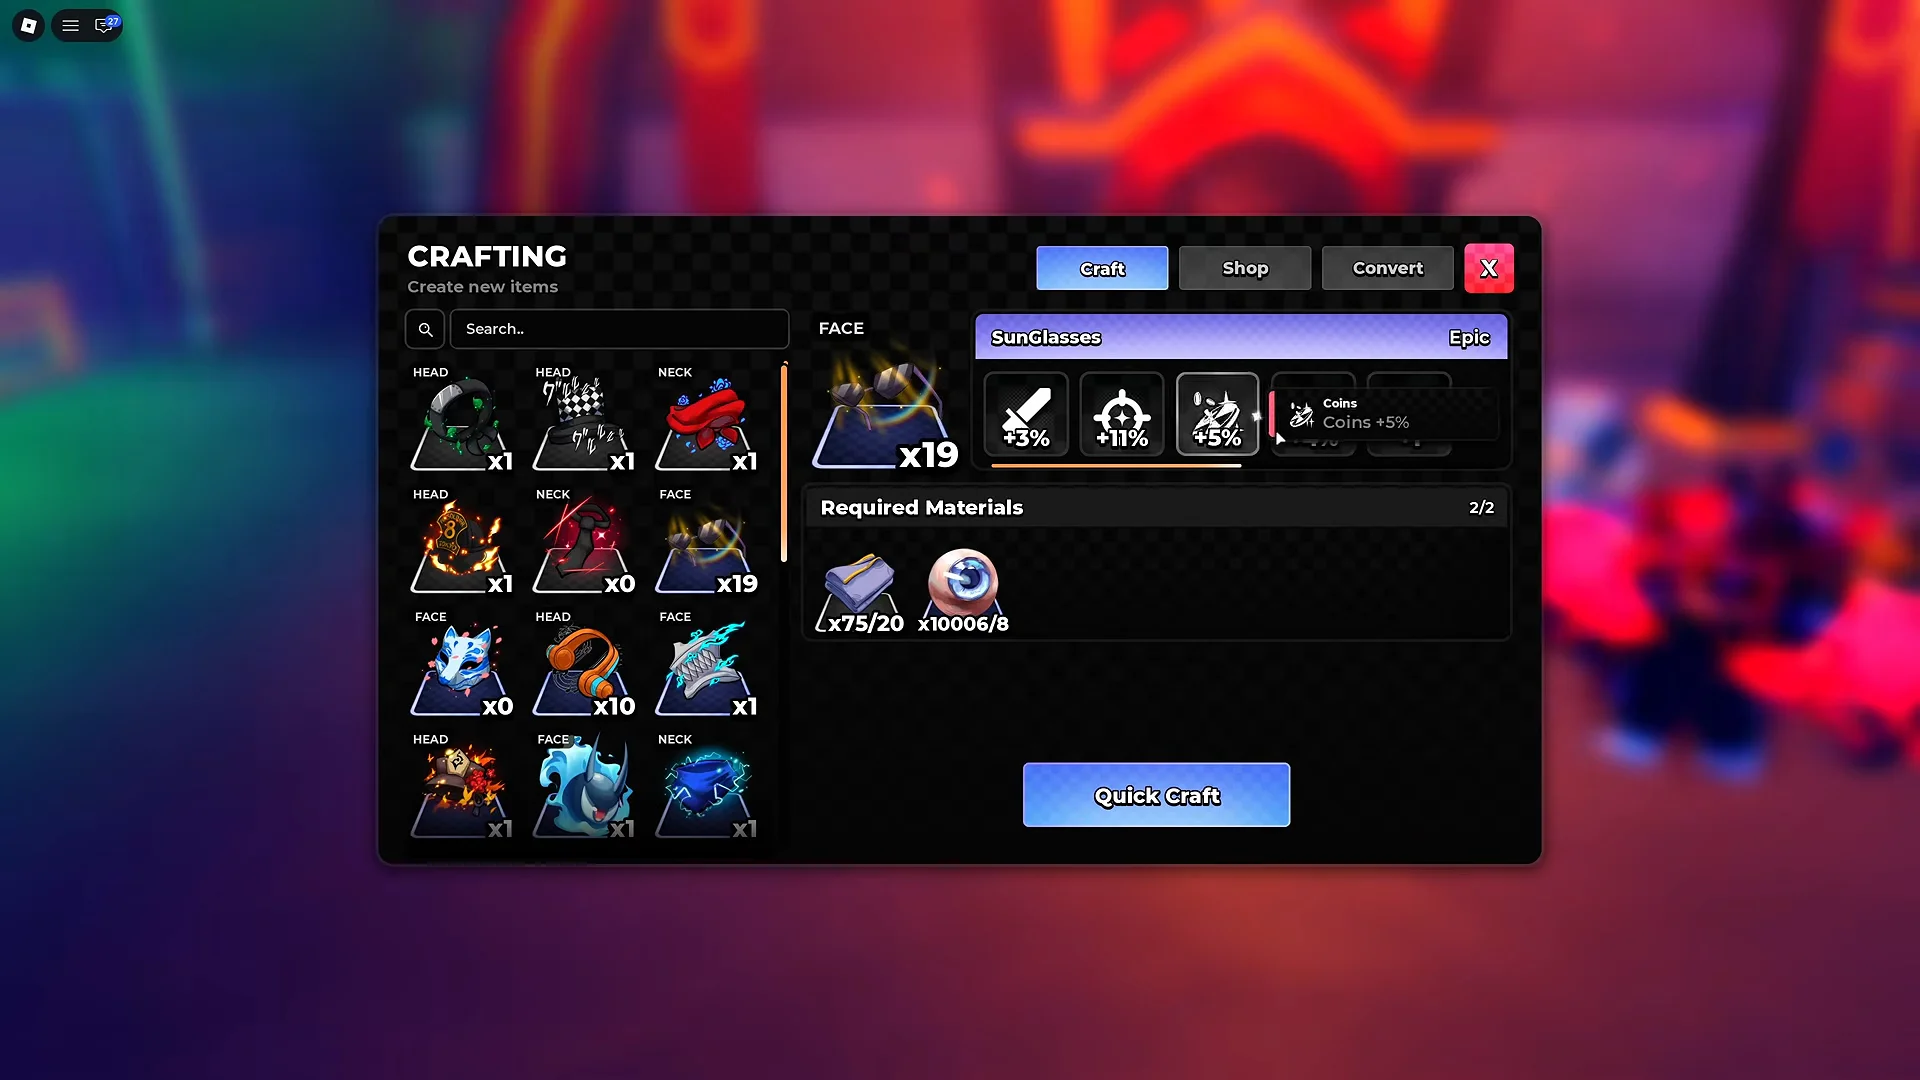
Crafting all four pieces takes a single combined material pool. Farm these amounts before you commit, since the Broken Blade and SunCore counts are the tightest:
| Material | Total needed |
|---|---|
| Broken Blade | 148 |
| Soul Fragment | 24 |
| Magic Pendant | 23 |
| Fine Cloth | 20 |
| SunCore | 18 |
| Cursed Finger | 14 |
| Eyeball | 8 |
| Forbidden Fruit | 8 |
Combat rotation: buff with Astral Blossom, swap to Ye-0
When facing groups, gather enemies before using an area attack, letting one cooldown hit several targets. Against bosses, spot the pauses in their moves and attack during safe openings. Shorter cooldowns are useful only if you survive long enough to use them.
Total build stats
With every piece in place and Astral Blossom’s buffs active, the loadout reports the following totals. If your stat screen matches these figures during a run, the build is assembled correctly.
| Stat | Total |
|---|---|
| Damage | +248% |
| Crit Chance | +34% |
| Crit Damage | +50% |
| Health | +56% |
| Cooldown Reduction | +23% |
| Walk Speed | +4.5 |
| Coins | +5% |
| Drop Rate | +13% |
| Experience | +14% |
The reason the build works is the stacking. No single piece carries it. The Attack tree, Deadeye, the title, and the four accessories each add damage, while the skill tree, Deadeye, and SunGlasses together push crit chance high enough that Deadeye’s +50% crit damage lands often. Astral Blossom then doubles up on the whole thing right before you swap to Ye-0 to spend it.