Leveling in Castlevania: Belmont’s Curse speeds up dramatically once you have the Phantom Ring. This relic rewrites how enemies come back, so instead of waiting for a save point to reset a room, you can refill it with a single trip through a door and back.
Quick answer: Equip the Phantom Ring from the Clock Tower, clear a room of enemies, step through a door, and walk straight back in to fight them again for repeated experience.
What the Phantom Ring does
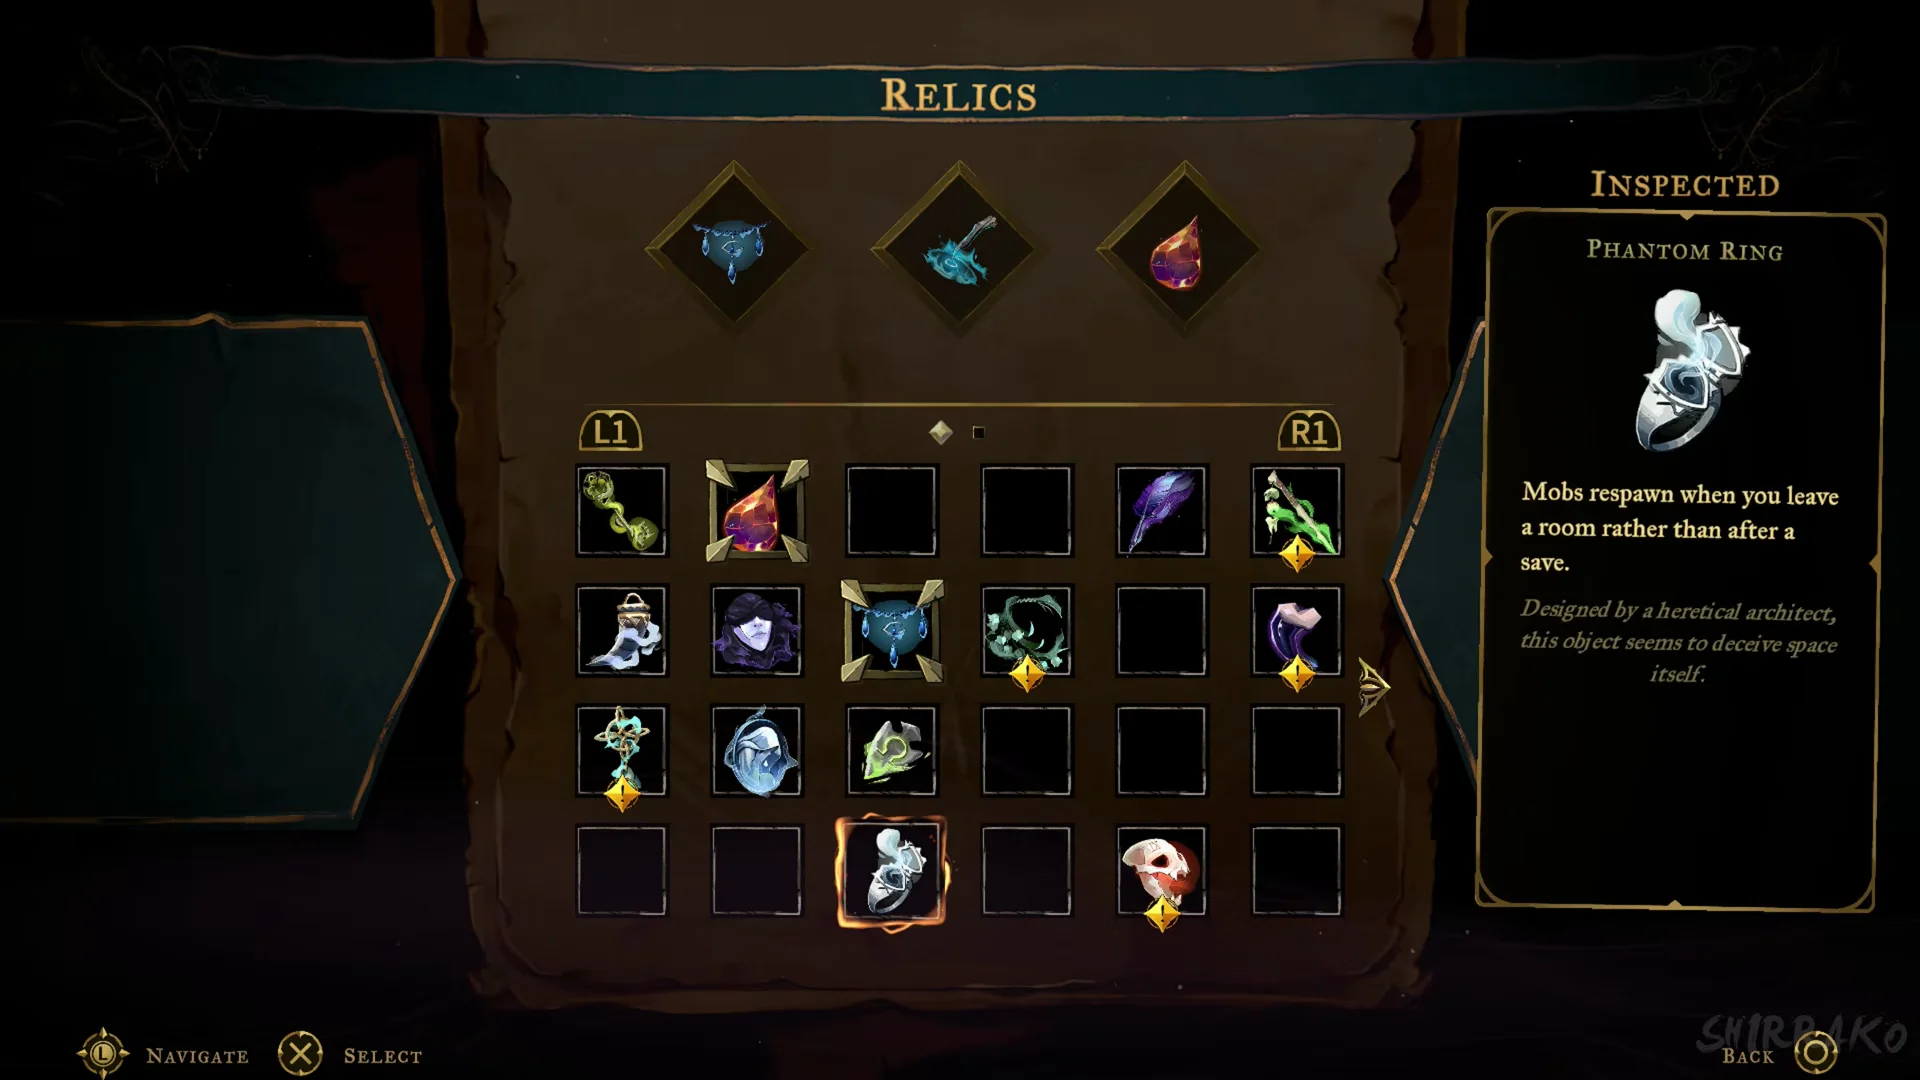
The Phantom Ring alters one mechanic: enemy respawns. Its card reads, “Mobs respawn when you leave a room rather than after a save.” Without the ring, defeated foes reappear only following a rest at a save point.
That one change is what makes fast experience farming possible. You pick a room, clear it, and reset it as many times as you want without hunting down a save.
Where to find the Phantom Ring in the Clock Tower
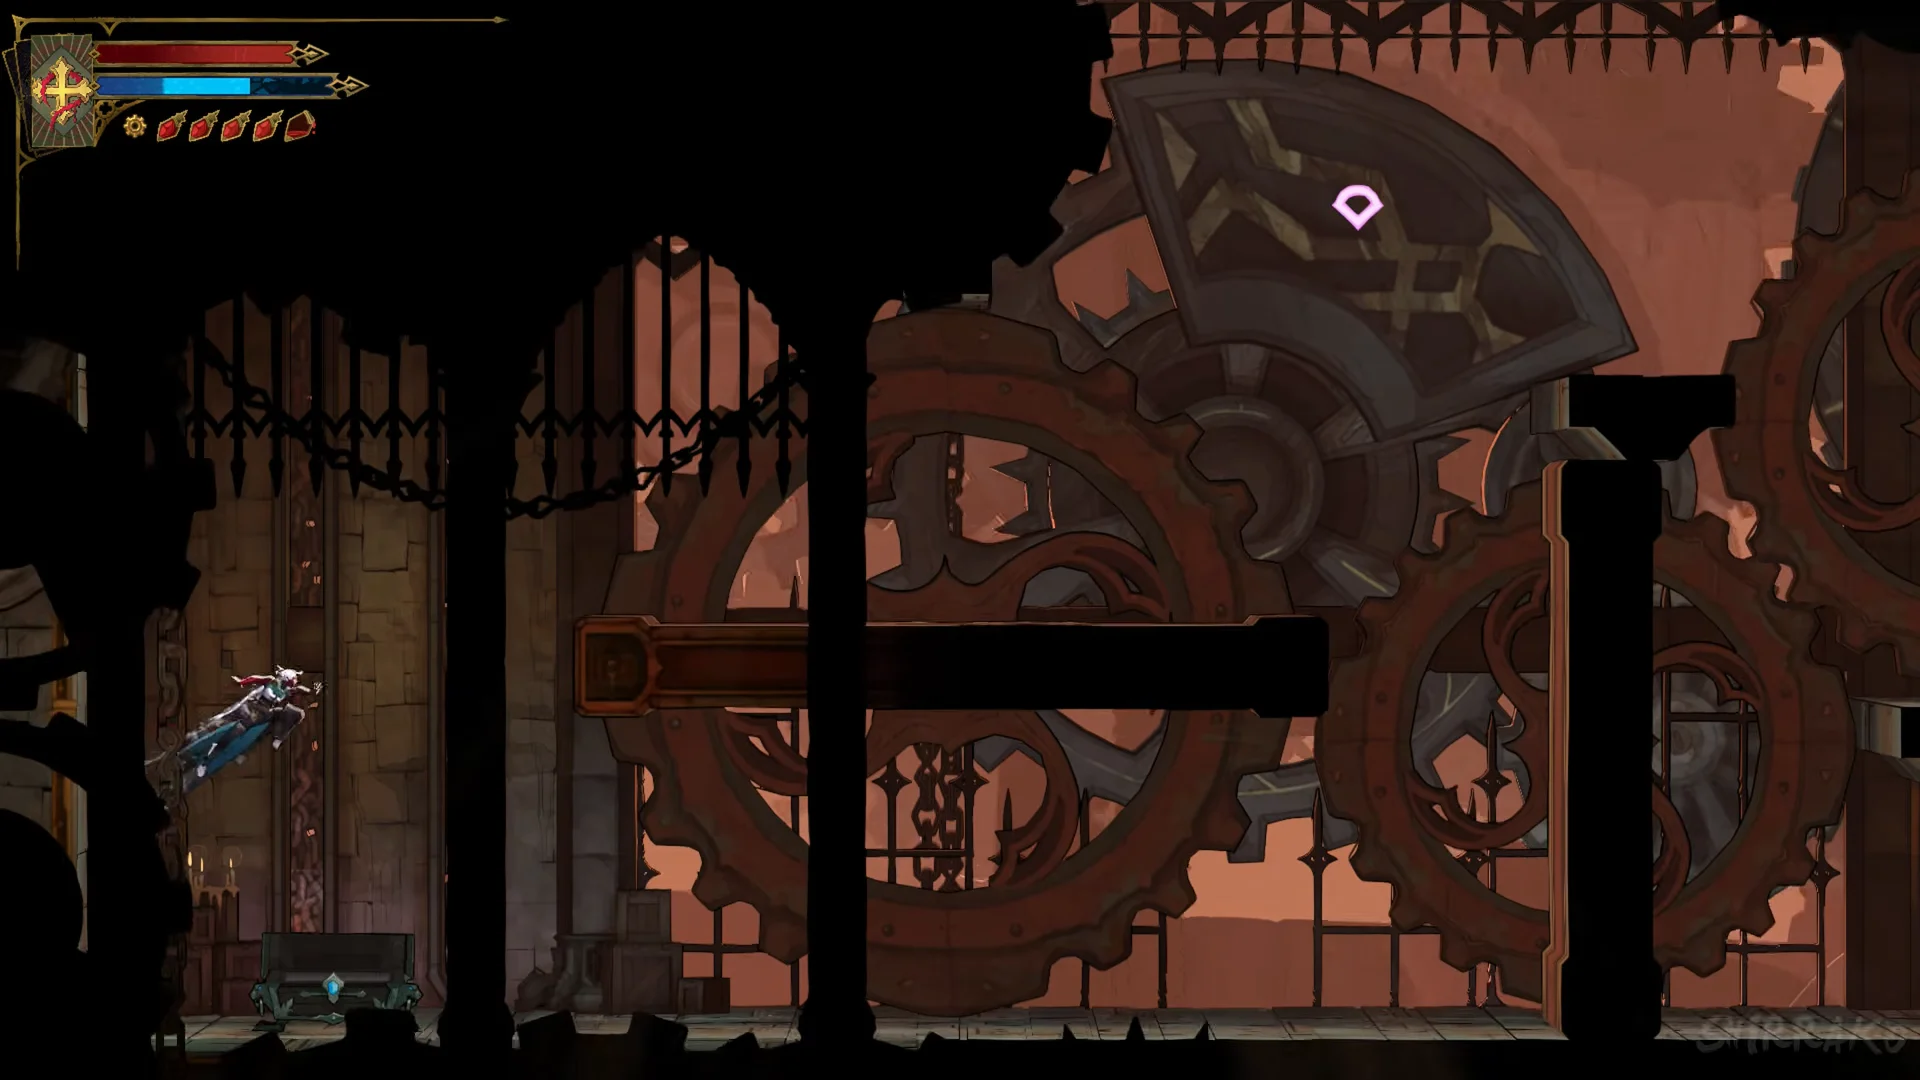
The Phantom Ring sits in a chest in the Clock Tower, Western Ascent. Head to the lower-left section of the area and look for an alcove tucked behind rotating gears. Approach the chest and press R1 (PC: E) to interact and open it.
When you pick it up, the card displays its full text: “PHANTOM RING / Mobs respawn when you leave a room rather than after a save. / Designed by a heretical architect, this object seems to deceive space itself.” The prompts give you “HOLD TO EQUIP” and “CONTINUE”.
How to equip the Phantom Ring
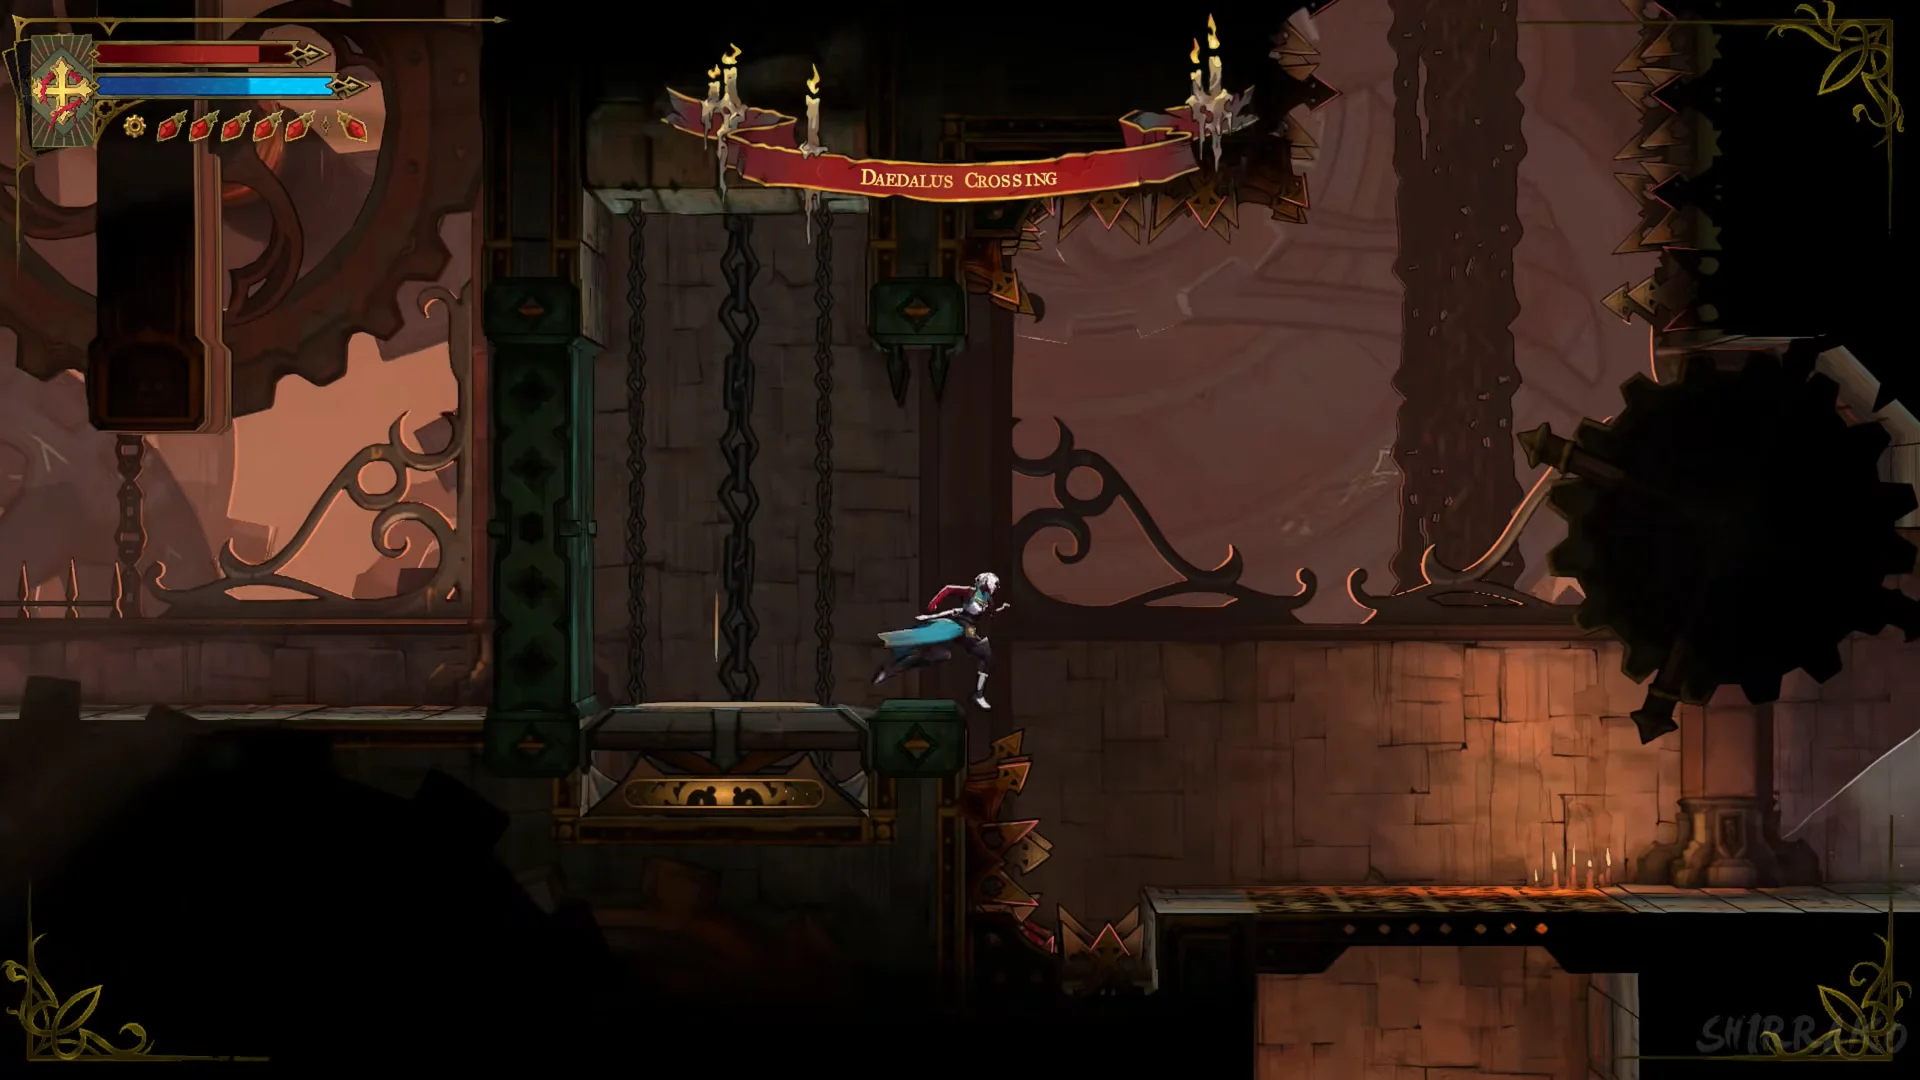
Farming experience at Daedalus Crossing
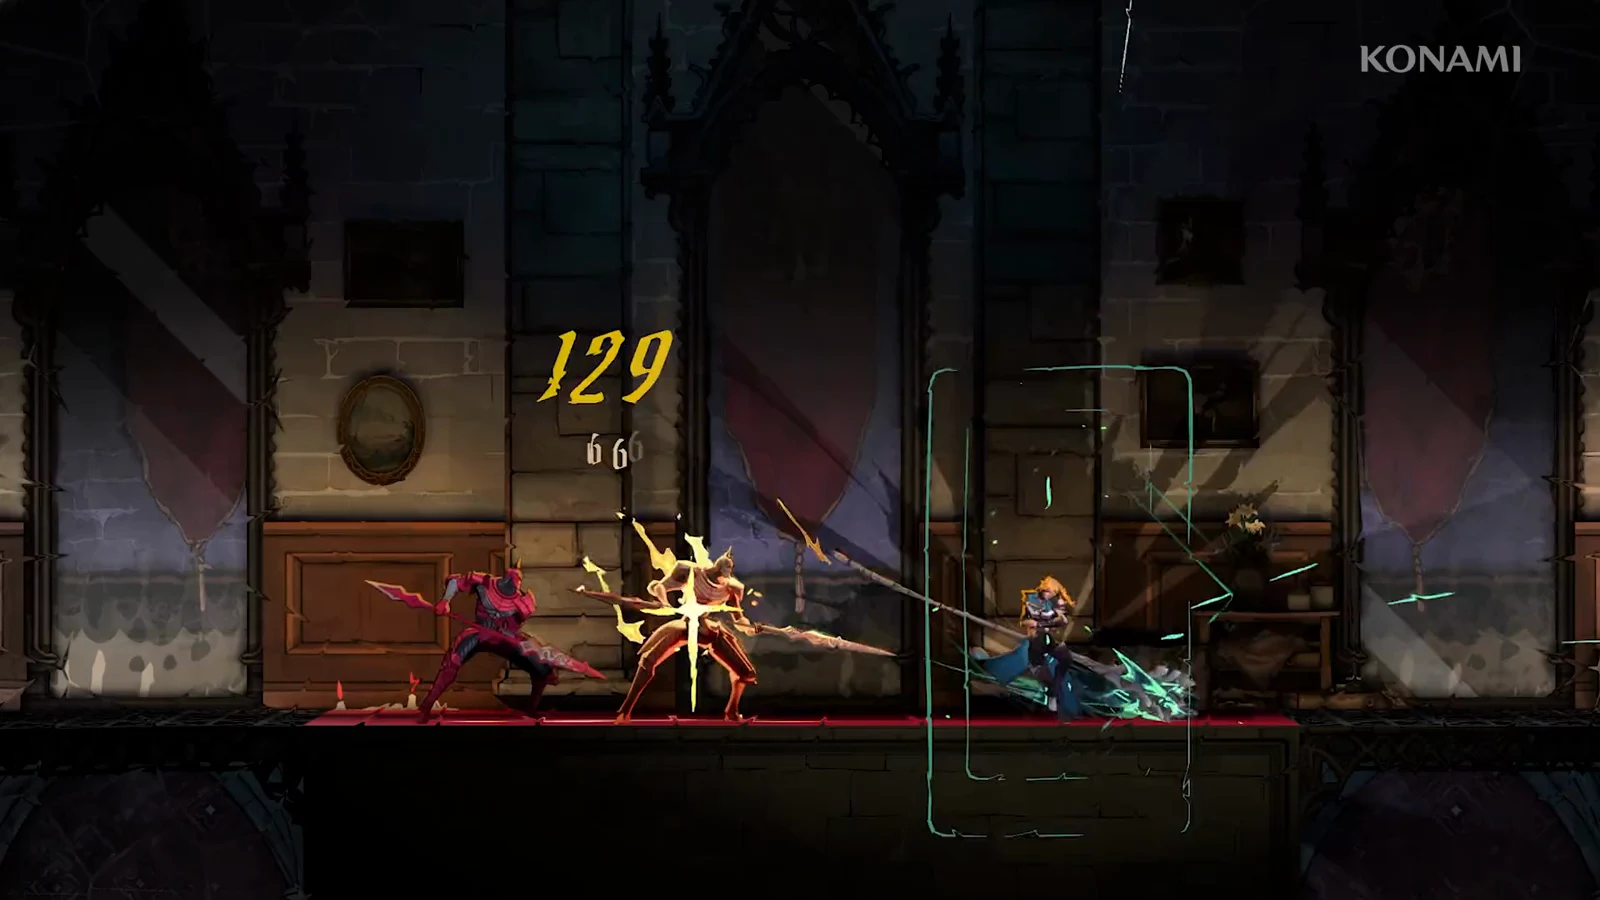
With the relic active, you need a room full of enemies worth fighting. Daedalus Crossing in the Clock Tower works well. Its red dual-blade guards are stationed along the walkways and near the lift.
Which rooms give experience, and other sources
Defeating a regular enemy makes it drop experience orbs. In rooms that endlessly spawn enemies until you exit, the drops are mana orbs only, with no experience, so these waves are unsuitable for farming. Instead, use a standard room that can be reset, such as with the Phantom Ring.
A handful of whip strikes shatters each golden statue, unleashing experience. There are 147 statues throughout the game, and those found farther along yield larger payouts.
| Area | Statues | Experience per statue | Area total |
|---|---|---|---|
| Paris Streets | 28 | 100 | 2,800 |
| Holy Innocents’ Cemetery | 15 | 150 | 2,250 |
| Catacombs of Paris | 20 | 200 | 4,000 |
| Main Hall | 21 | 250 | 5,250 |
| Notre-Dame | 19 | 300 | 5,700 |
| Library | 9 | 300 | 2,700 |
| Hall of Mirrors | 21 | 300 | 6,300 |
| Clock Tower | 14 | 350 | 4,900 |
| Master’s Quarters | — | 400 | — |
All 147 statues together are worth 33,900 experience. Each boss awards between 400 and 1,500 experience: Dracula’s second form gives 1,500; Dracula, the Succubus and the Joan of Arc rematch 1,200 each; Death in the Transept, the shadow of Rose and Mammon 1,000 each; Talos 900; and Carmilla 850.
Levels go up to 99. The bar empties after each level-up: level 2 needs 250 experience, the last level needs 10,001, and reaching level 99 takes 418,999 experience in total.
How to know a level landed
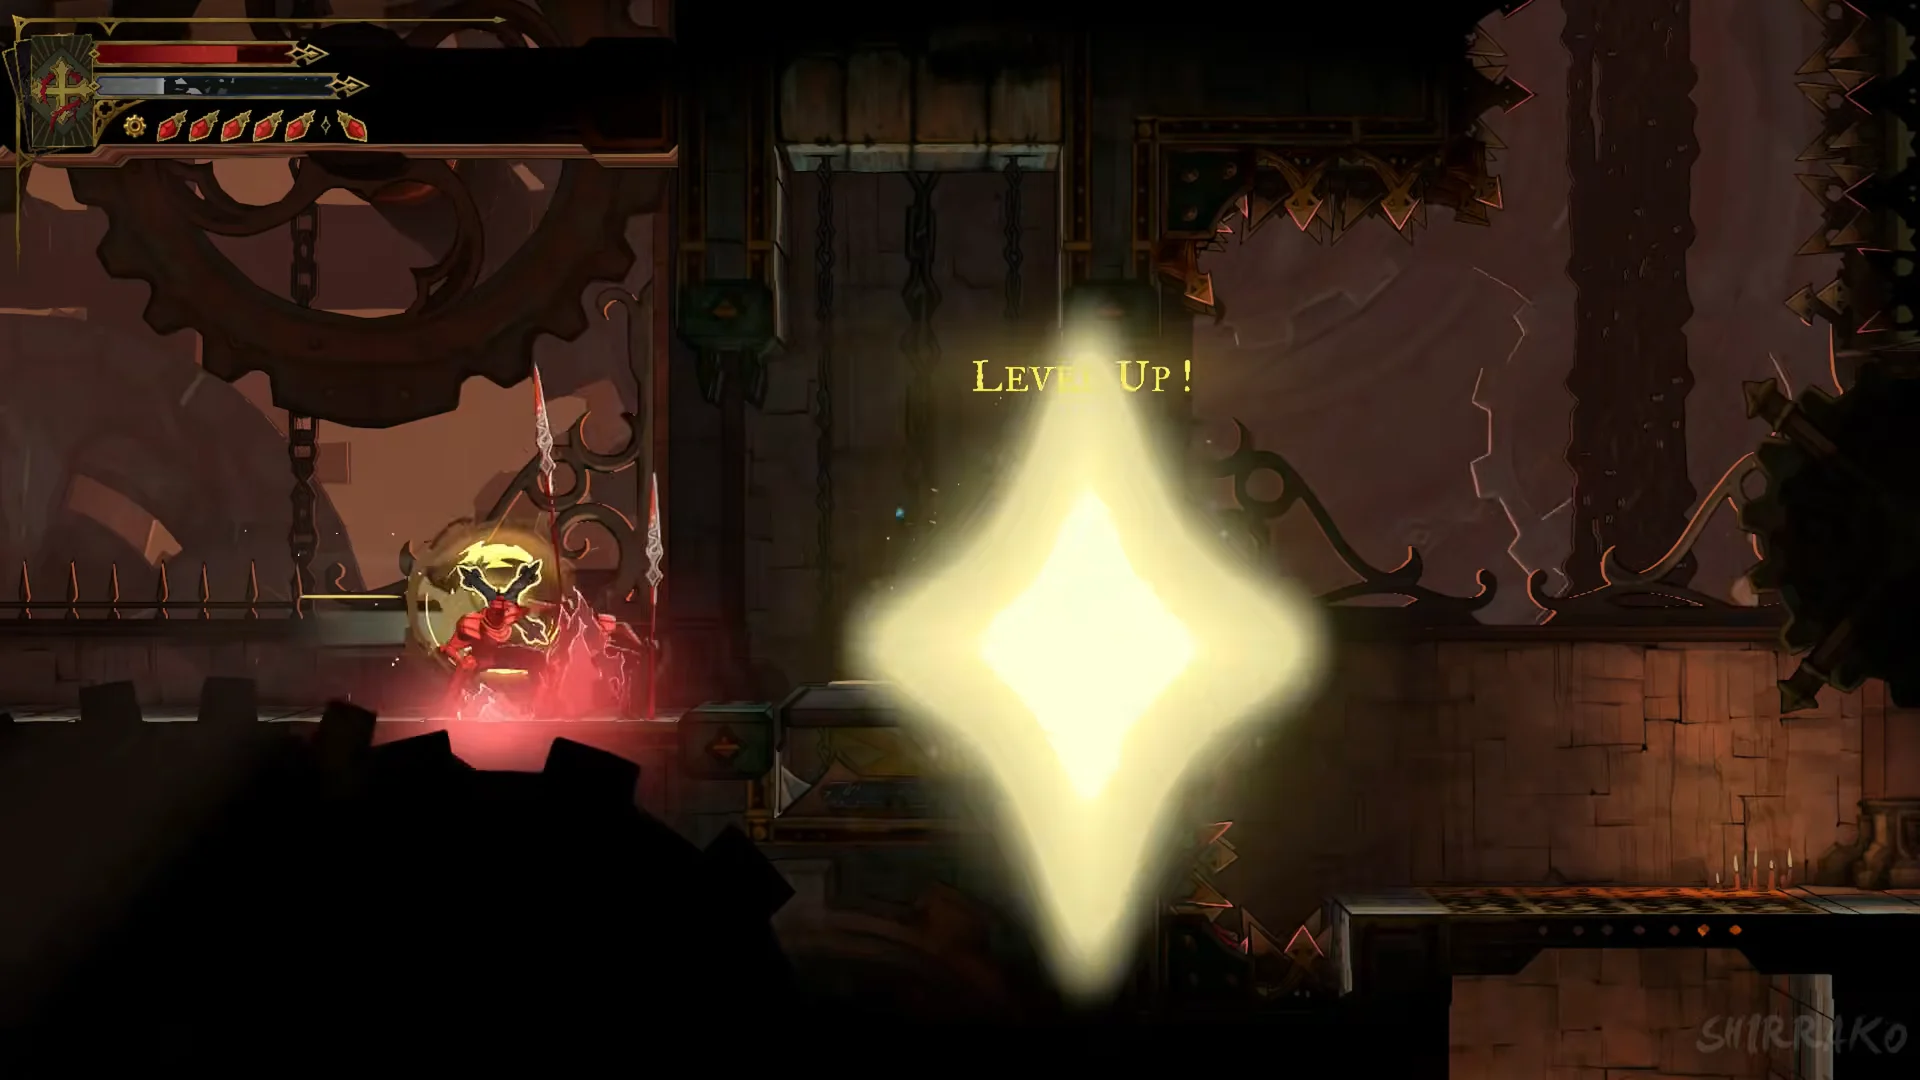
Each time your experience bar fills, a “LEVEL UP!” message and a gold burst play on screen. Open the Equipment menu to check your level (LVL) alongside ATK, HP, DEF, and MP. Rose gains +1 ATK and +1 DEF with every level; leveling leaves her health and mana unchanged, since only Brave Hearts and Wise Hearts increase those totals. Defeating a boss and absorbing its Arcana can also trigger “LEVEL UP!”.