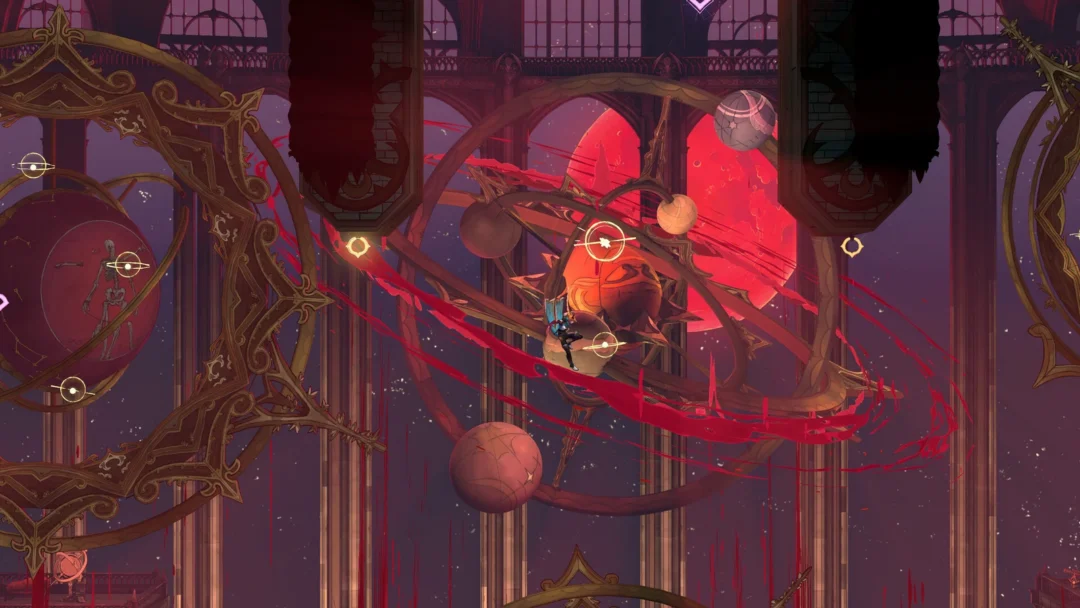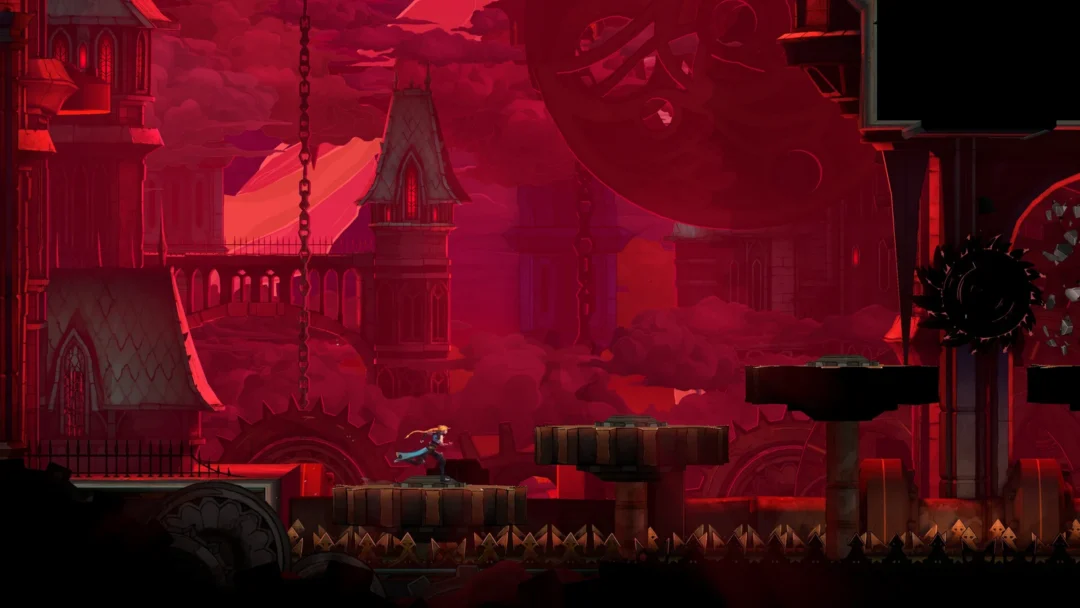
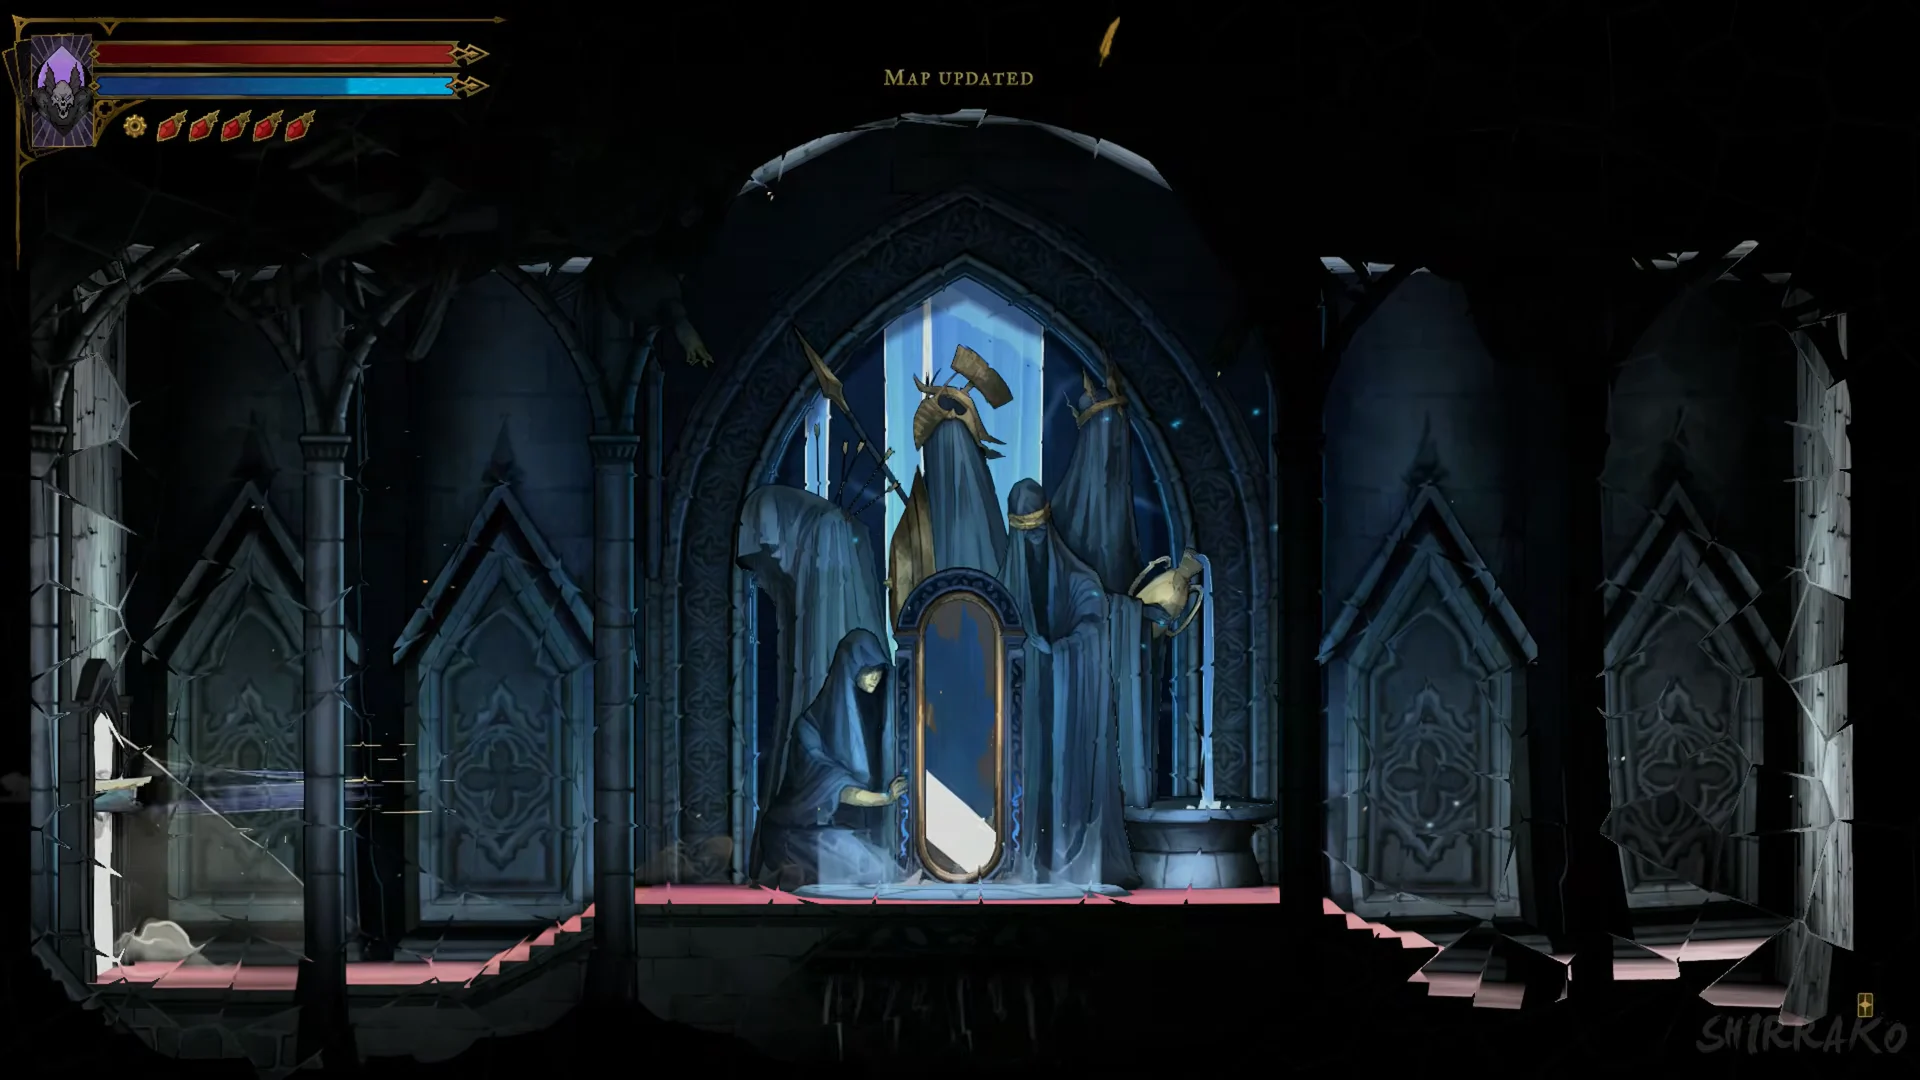
The Hall of Mirrors repeats its layout, and its map screen offers no useful guidance. Enter from the Main Hall through the red portal door off the Servants’ Hall and Servants’ Quarters, or arrive from the Mirror Rooms; a banner displays “HALL OF MIRRORS” beside “MAP UPDATED”. Familiar room names recur, so walking farther seldom brings you closer to an exit. To make progress, reveal the map and break the correct mirror.
Quick answer: Reveal rooms at mirror shrines and kneel spots to fill in the hidden map, then break the mirror in the Recurring Belfry to open the path to The Descent into Memory.
Why the map stays hidden
Open the map inside this area and it is covered by cloud, with the message “Something is keeping you from figuring out the area’s map”. That stays true for the whole maze. The layout does not read from the map screen, and only the rooms you reveal fill in.
Because the same rooms keep reappearing as you move between mirrors, you are not meant to navigate by distance. Rooms such as Familiar Way, Corridor of Deja Vu, Passage of Perplexity, Chamber of Secrecy, Steps of Misdirection, Recurring Belfry, Ballroom of Terror, Nightmare Atrium, In-Between, Deluded Level, and Hall of Hallucination show up again and again. What changes your position is which version of a room you are in, and that changes when you use a mirror or a kneel spot.
Reveal the map with mirror shrines and kneel spots
Two things fill in the hidden map, and both display “MAP UPDATED” when they work.
- Mirror shrines: These shrines have a sizable mirror, sometimes covered or broken, between hooded statues. Press R1 to bring up the “INTERACT [R1]” prompt and uncover nearby rooms. The first one is in the Threshold of Vision.
- Kneel spots: At certain marked locations, you kneel; a pale spectral figure emerges, and the map refreshes.
Work from shrine to shrine and kneel at the marked spots as you find them. Each one that triggers “MAP UPDATED” pushes you closer to the rooms that actually matter rather than looping you back.
Break the mirrors to open the way out
Some maze barriers respond only to a mirror strike. In the Level Deviled saw rooms, hit the shard embedded in the archway to remove the barrier. The route out of the maze goes through the Recurring Belfry.
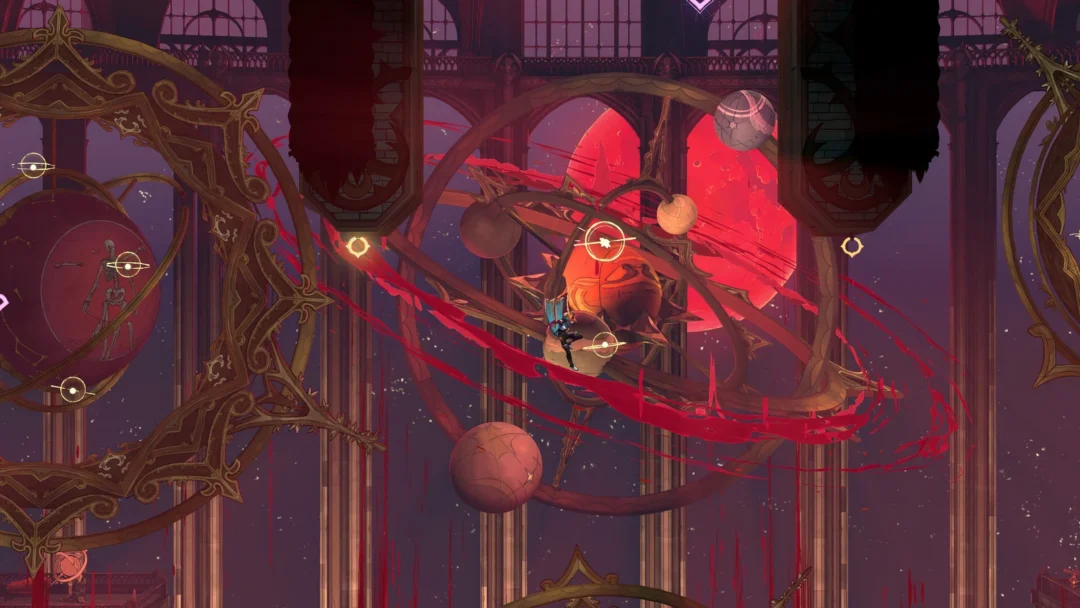
At the Recurring Belfry, reach the central balcony on the upper level and kneel. The mirror overhead will shatter, creating an upward route to the Ballroom of Terror. Later, when you revisit the Recurring Belfry, hit the large mirror window in the center to uncover the route onward.
The In-Between is a vertical shaft with a doorway lit by a coloured rune, which lets you travel between sections. Another In-Between at the far end connects to The Descent into Memory.
Clues you can read along the route
Two hooded statues display verses that explain the maze and add entries to the Tarot menu. In an upper sanctuary in the Steps of Misdirection, one statue displays “THE REFLECTION DECEIVES” and provides a clue about The Sage:
The shades who lured the Belmont here Keep turning her around. The genuine route stands apart, Where deadly shadows gather.
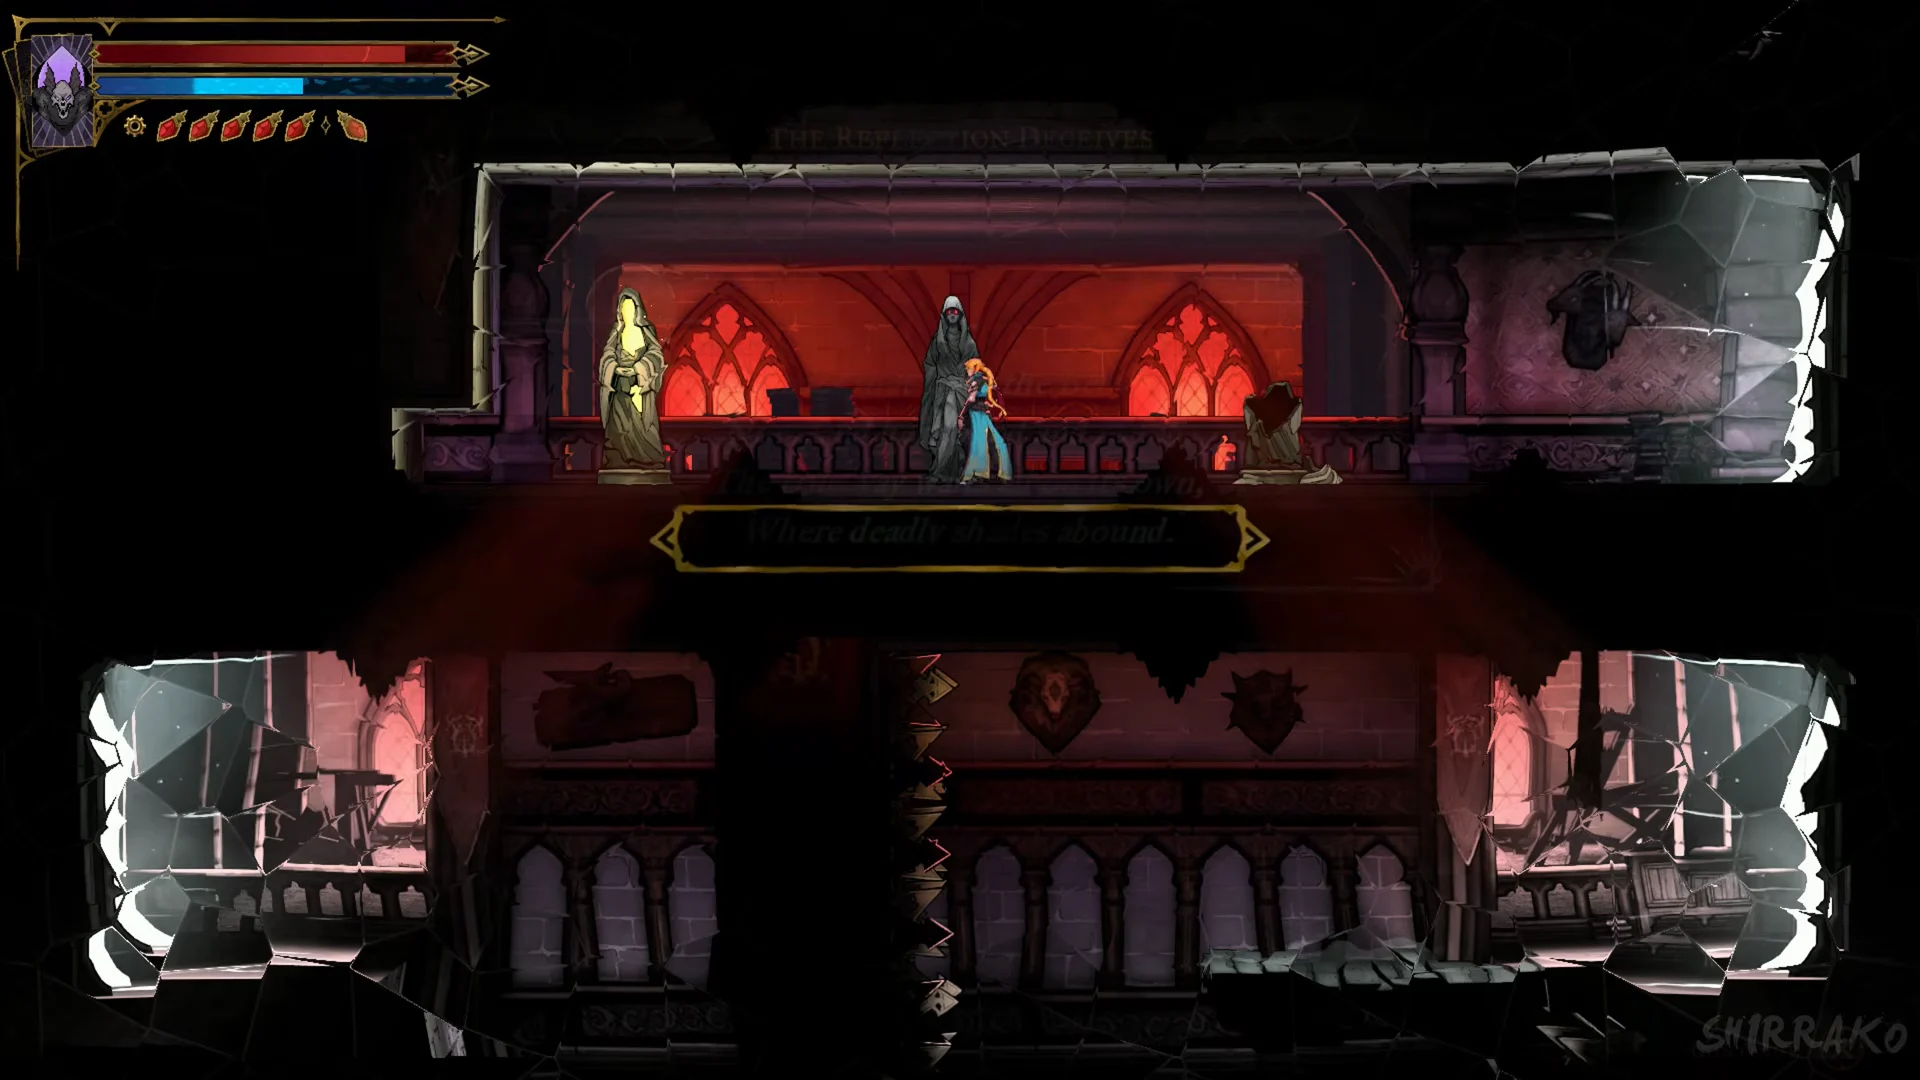
Look for the second statue in an alcove above the Glass Gallery’s sawblade run. Its inscription reads “THE TEMPTRESS GUARDS THE HALL OF MIRRORS” and it adds a “NEW CLUE ABOUT THE TEMPTRESS”:
Your faithful Temptress guards the hall, Her heart for you still glows. The Belmont races in pursuit, Yet she knows nothing of it.
The sawblade survival trap and the Haunting Relic
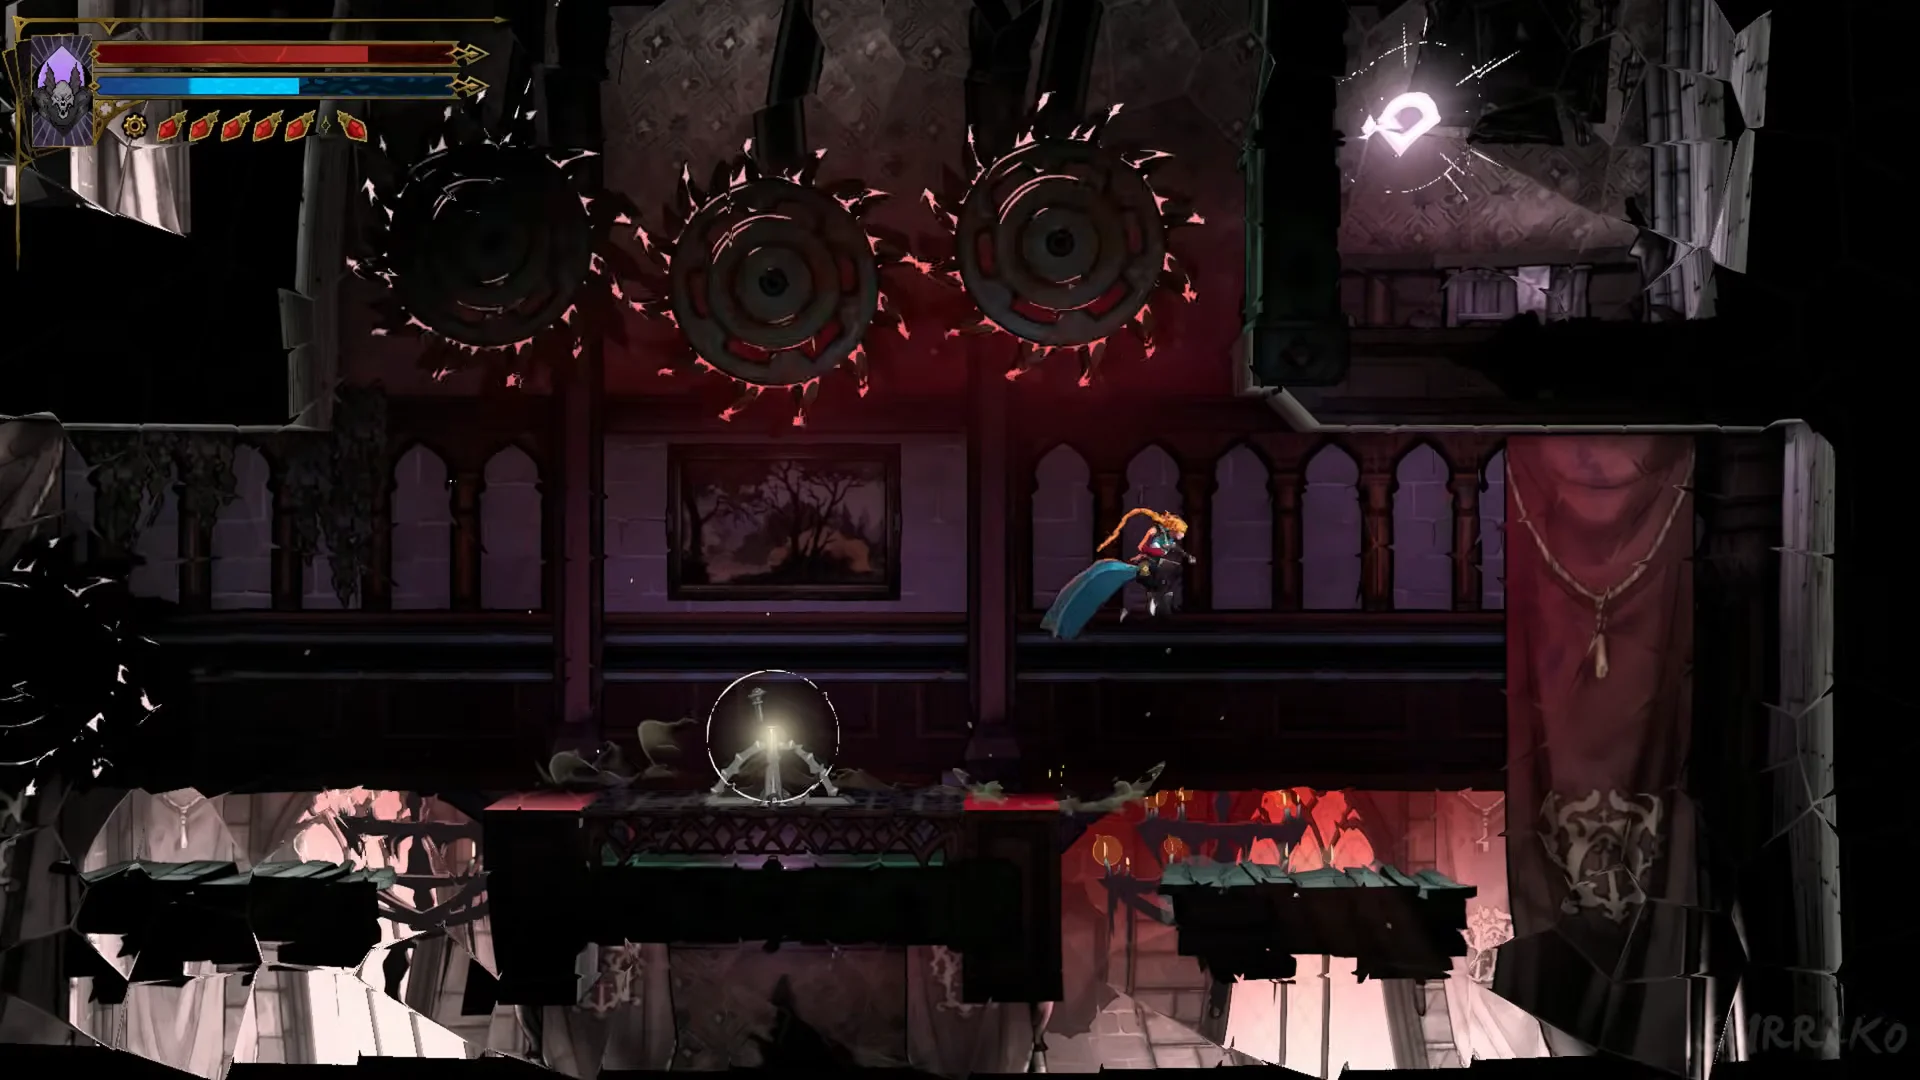
In the Steps of Misdirection, a glowing orb rests on a pedestal. A glowing orb on a pedestal starts a timed arena where several sawblades orbit on tracks; jump and dash between them to survive. After you clear the challenge, the chest contains the Haunting Relic.
Reaching The Descent into Memory and the Succubus
Breaking the Recurring Belfry mirror opens the route into The Descent into Memory, marked by its own banner. Another mirror shrine refreshes the map near the base of a grand red staircase.
At the bottom of the staircase, a scene plays out in front of a fireplace, and then the Succubus fight begins. For how to handle the boss, follow the full Succubus guide. Winning the fight awards The Temptress card and the spell Life Drain.
Relics found in the Hall of Mirrors
| Relic | Where to find it |
|---|---|
| Banshee’s Wail | Servants’ Quarters |
| Crystallized Blood | Dead-End Tower |
| Dusk Amulet | Deluded Level |
| Haunting Relic | Chest after the sawblade trap |
| Sand Charm | Servants’ Refectory |
Keep working the shrines and kneel spots to fill the map, use the statue verses to understand where the true path hides, and break the Recurring Belfry mirror to leave the maze. That chain carries you straight into The Descent into Memory and the Succubus.