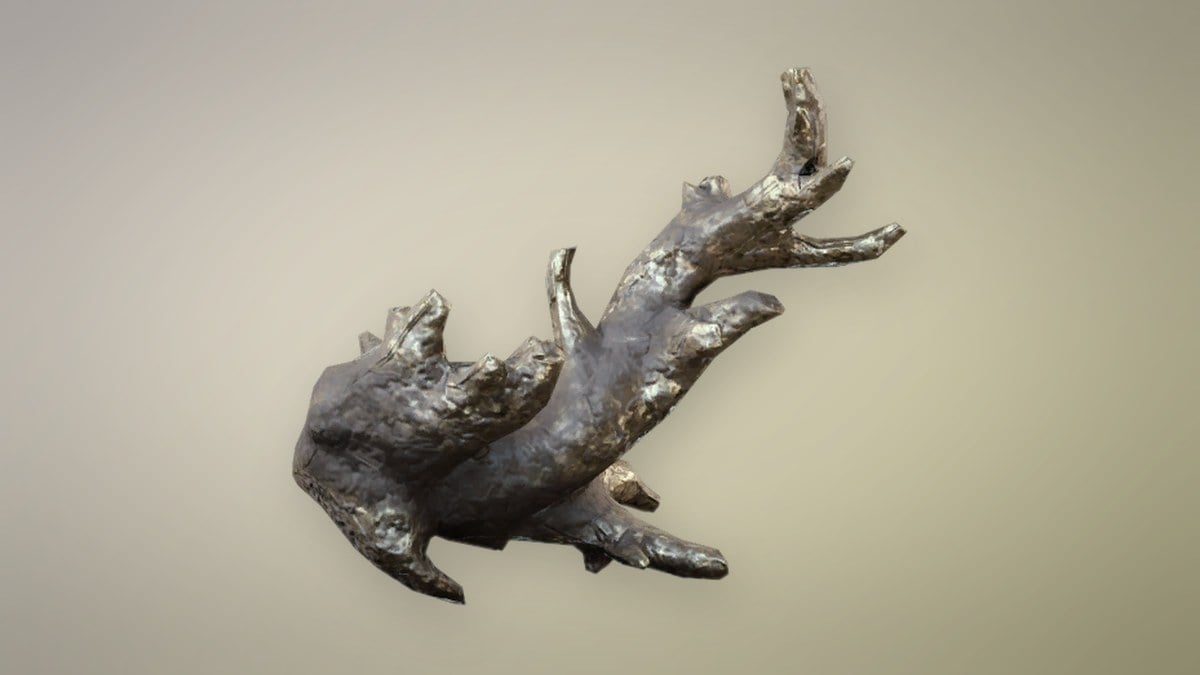
Fossilized Lightning gates every Amplified weapon perk in ARC Raiders, and it only exists while an Electromagnetic Storm is battering the map. Each piece is left behind by a single bolt of lightning, so the farm is about getting as many bolts as possible to land near you. A two-player squad running a tight loop on The Blue Gate can pull 15 to 20 pieces combined in one match.
Quick answer: Queue The Blue Gate with Electromagnetic Storm active, loop the ridge between Maintenance Bunker and Broken Earth, grab every glowing node where lightning lands, then extract at Overlook Airshaft.
Fossilized Lightning and Amplified weapon upgrades
Fossilized Lightning is an Epic item in the Nature category. Amplified weapons use it to unlock their perks. Incendiary Rounds on the Rattler, Incendiary Grenades on the Hullcracker, and X-Rounds on the Anvil all draw on it. Each upgrade node on the Amplified Hullcracker, Anvil, Rattler, Aphelion and Canto costs 3 Fossilized Lightning.
The cost does not stop at the first craft. If you die and lose an upgraded weapon, the perk goes with it, and the replacement needs another 3 pieces for the same node. Players who run Amplified gear in risky raids end up needing a steady supply, not a one-off stash.
Every amplifiable weapon has its own set of upgrades. These are the base weapons that have Amplified variants and the upgrades each one can take.
| Weapon | Category | Weight | Amplification upgrades |
|---|---|---|---|
 Hullcracker (Epic) Hullcracker (Epic) | Special | 7 | Incendiary Grenades, Mag Reload |
 Aphelion Aphelion | Battle Rifle | 10 | Bigger Mag, Charged Burst, Incendiary Rounds, Increased Burst |
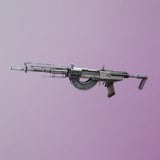 Rattler (Common) Rattler (Common) | Assault Rifle | 6 | Drum Mag, Incendiary Rounds, More Reload |
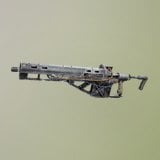 Bettina (Epic) Bettina (Epic) | Assault Rifle | 11 | Bigger Mag, Semi-Auto, X-Rounds |
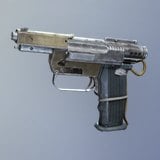 Burletta (Uncommon) Burletta (Uncommon) | Pistol | 4 | Burst Fire, Full-Auto, Increased Burst, Sprint Shooting |
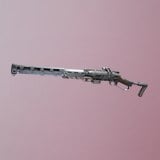 Renegade (Rare) Renegade (Rare) | Battle Rifle | 10 | More Reload, Scoped |
The Amplified Aphelion retains the base rifle’s four upgrade options and weighs 10. It launches fast-moving energy ammunition in a 2-Round Burst, with Strong ARC armor penetration.
The Amplified Rattler is the least expensive way to enter the system. The base model is a Common assault rifle, and it reloads two bullets per action. Its magazine capacity rises from 12 at Level I to 16, then 20, and reaches 24 at Level IV.
How Electromagnetic Storm lightning spawns Fossilized Lightning
Lightning appears to strike at random, but both farming routes rely on a few rules that hold every time.
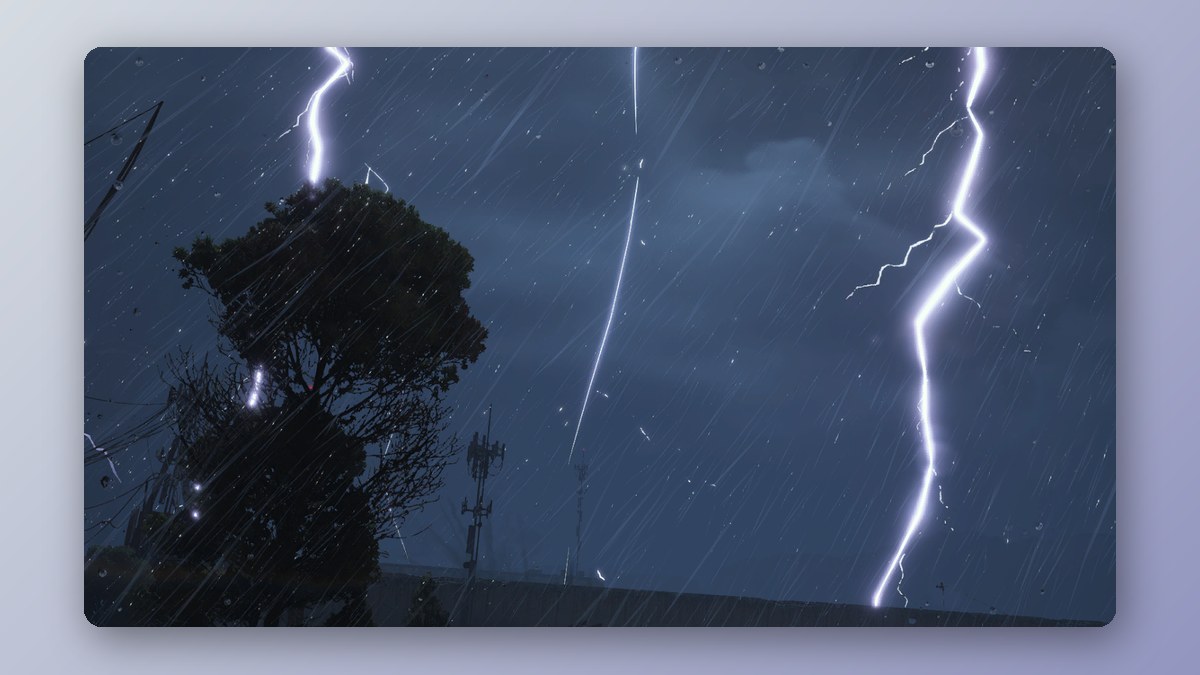
- Bolts only fall while the Electromagnetic Storm condition is active. With no storm, no lightning nodes can spawn.
- A piece appears exactly where a bolt hits the ground. It is a glowing, molten-looking crystal that you can pick up straight into your inventory.
- Not every strike leaves one. Some bolts leave only a scorch mark.
- Strikes target areas where players are standing. They hit more often around each survivor as the lobby empties and the timer runs down.
- Worn backpacks in buildings and out in the open can also contain Fossilized Lightning.
- Pieces do not stack. Each one takes up its own backpack slot.
The storm also changes the raid itself. Fewer Return Points are active, and lightning fries electronics and disrupts ARC machines. You only get a short window to farm, because the storm runs in roughly hour-long blocks a few times a day. Check the event list before you queue.
Raiders can be hit by lightning as well. A direct hit causes severe damage and leaves you stunned; jumping won’t protect you, so stay near cover while collecting pickups.
The Blue Gate loop: Maintenance Bunker to Broken Earth
This route produces the most Fossilized Lightning per match. Players run back and forth across the boundary between two named areas instead of standing still. The working theory is that crossing between neighboring sub-zones resets the timer on nearby strikes, which keeps bolts landing around you. A duo finished one run holding 7 and 8 pieces each, with more collected along the way.
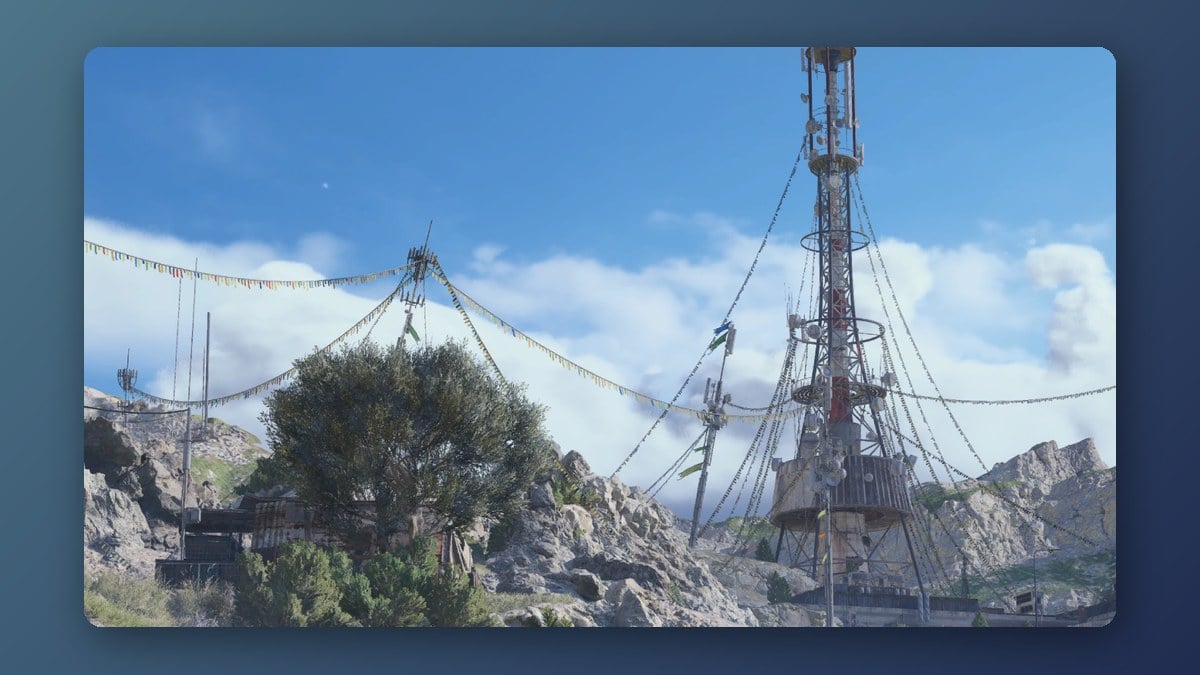
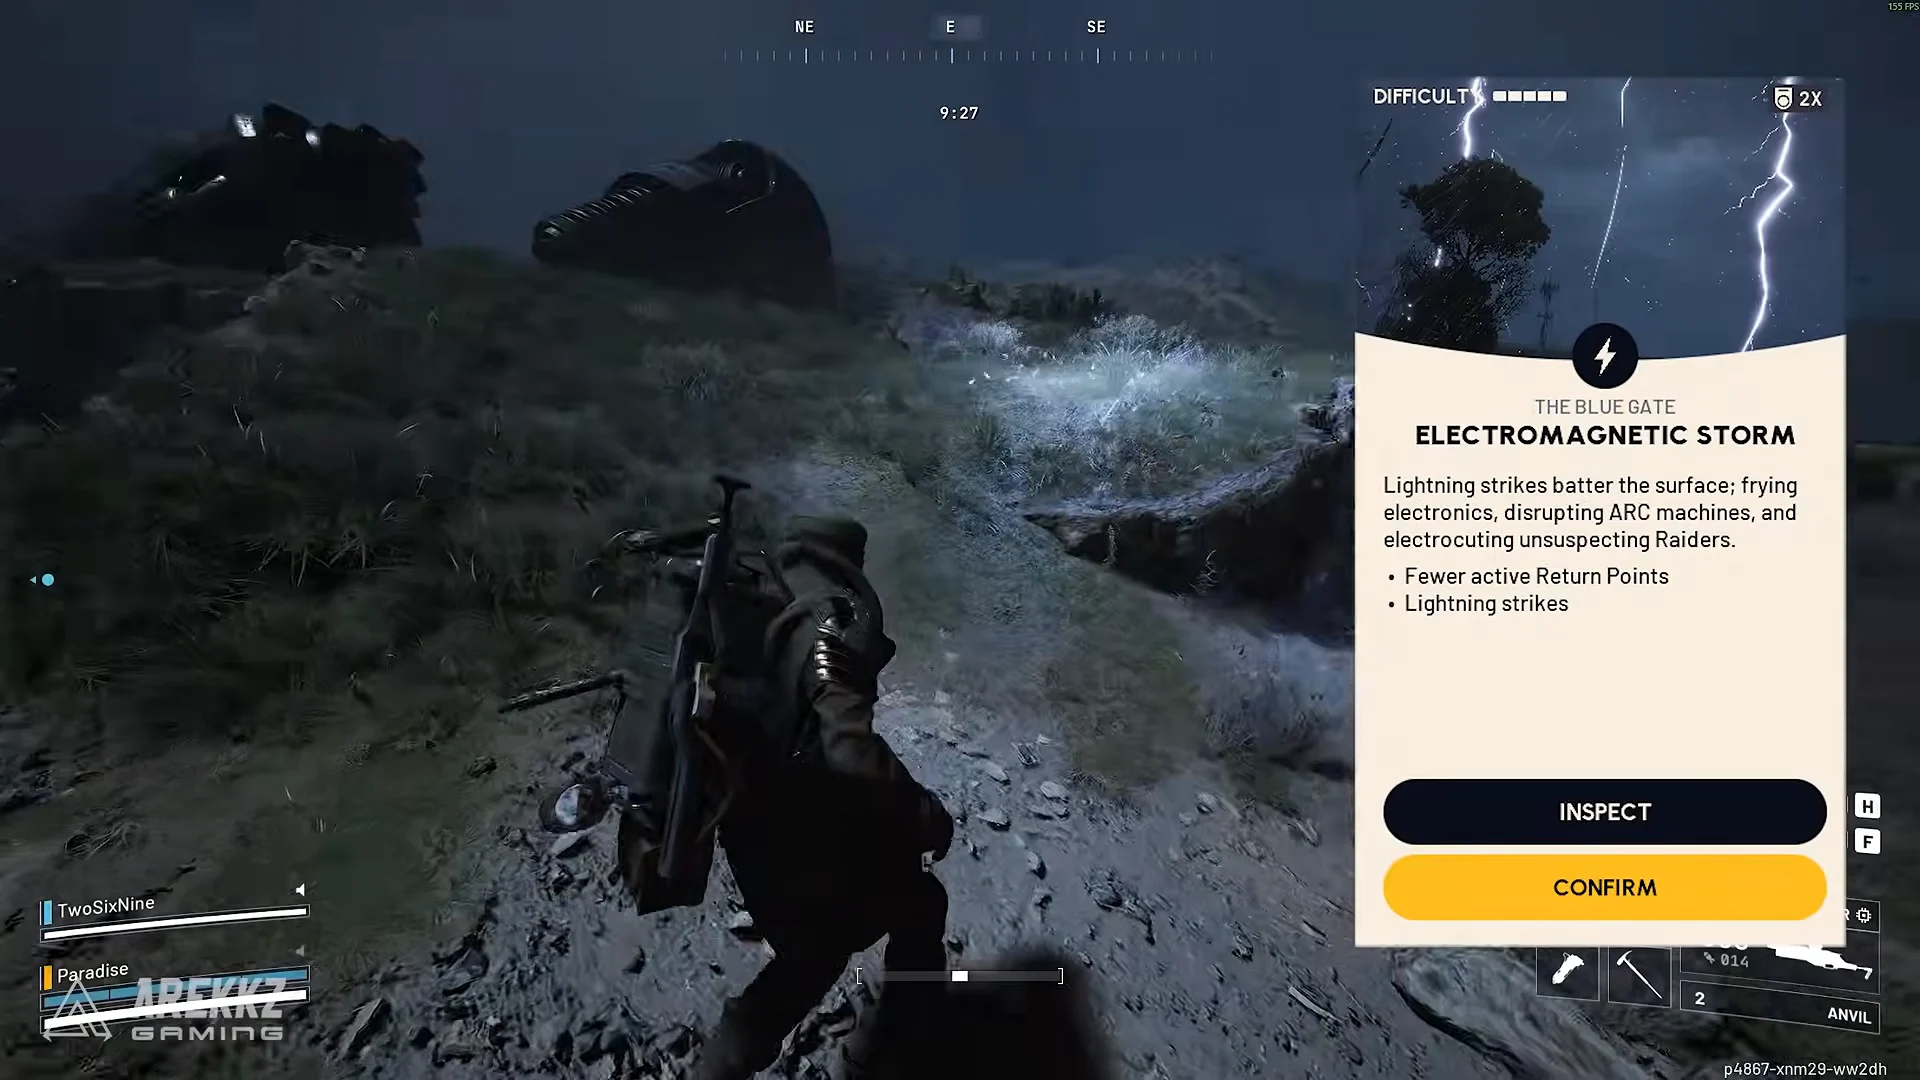
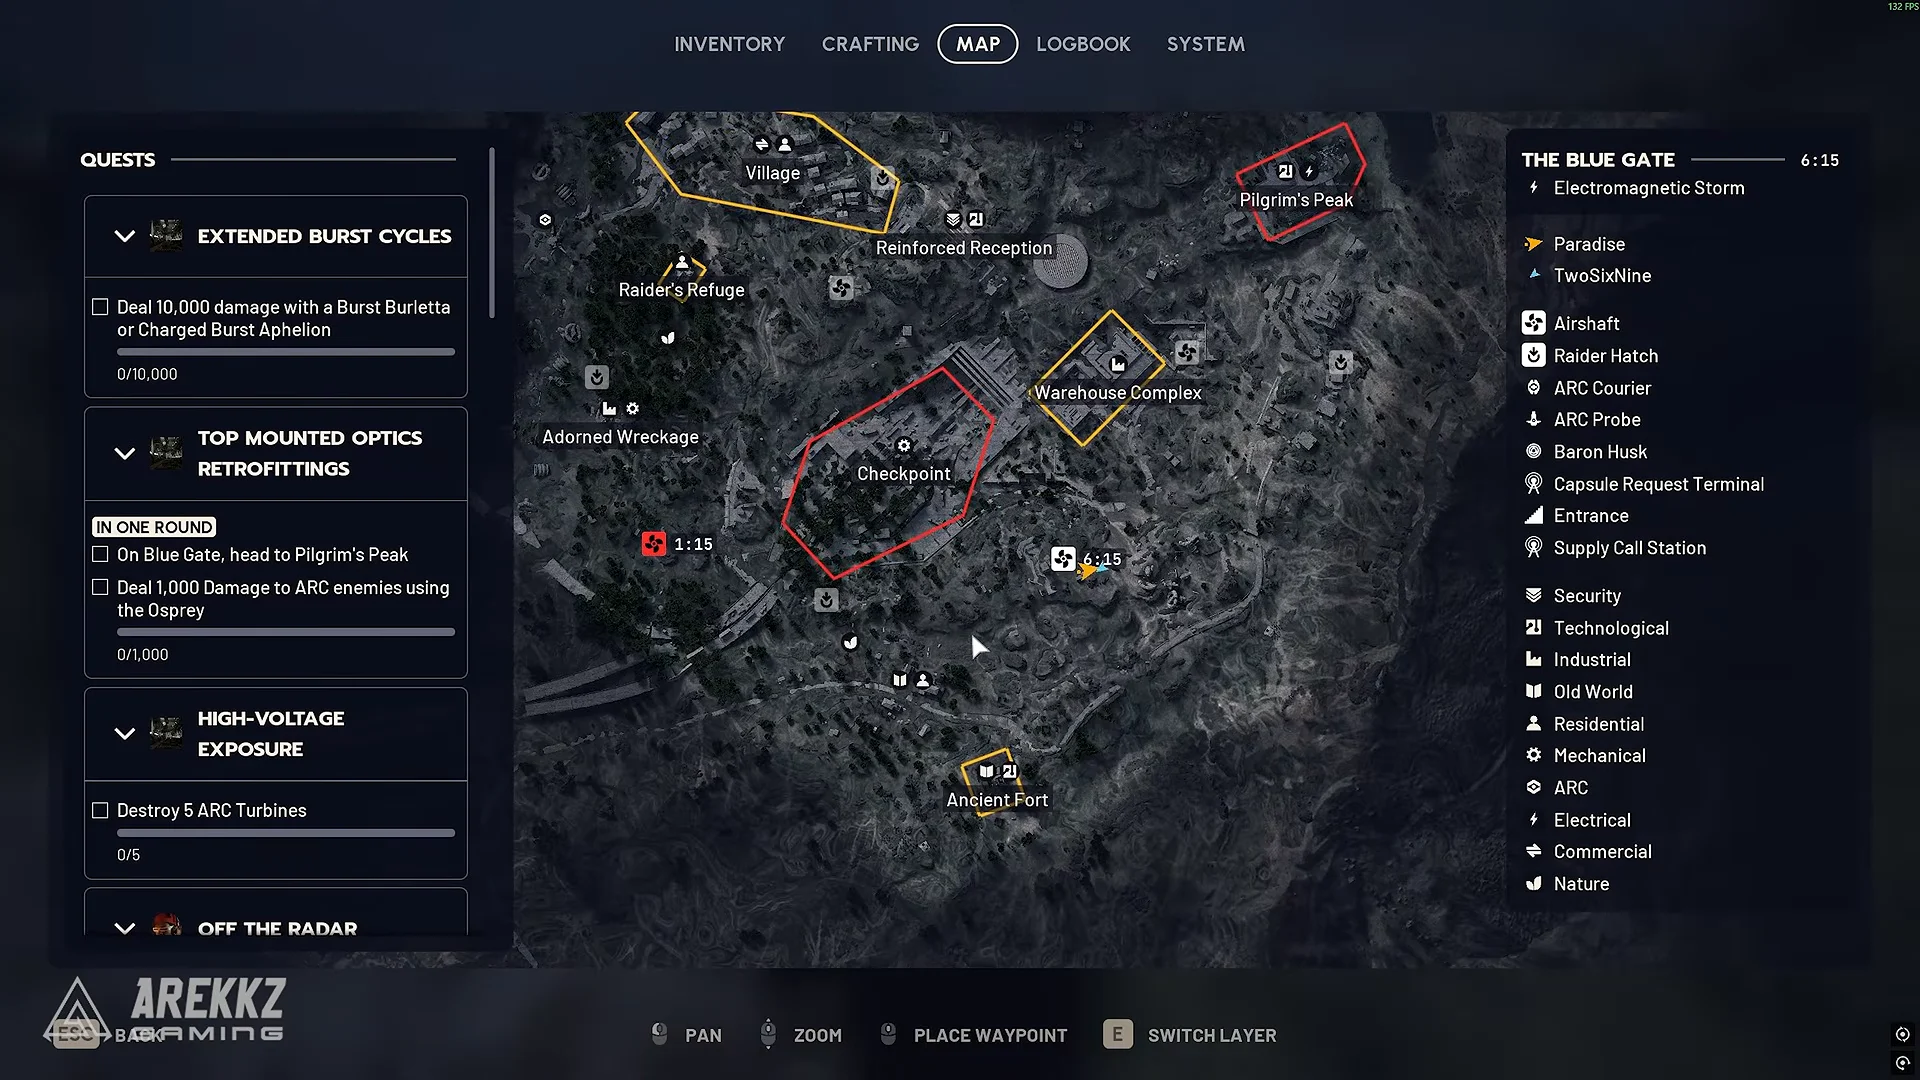
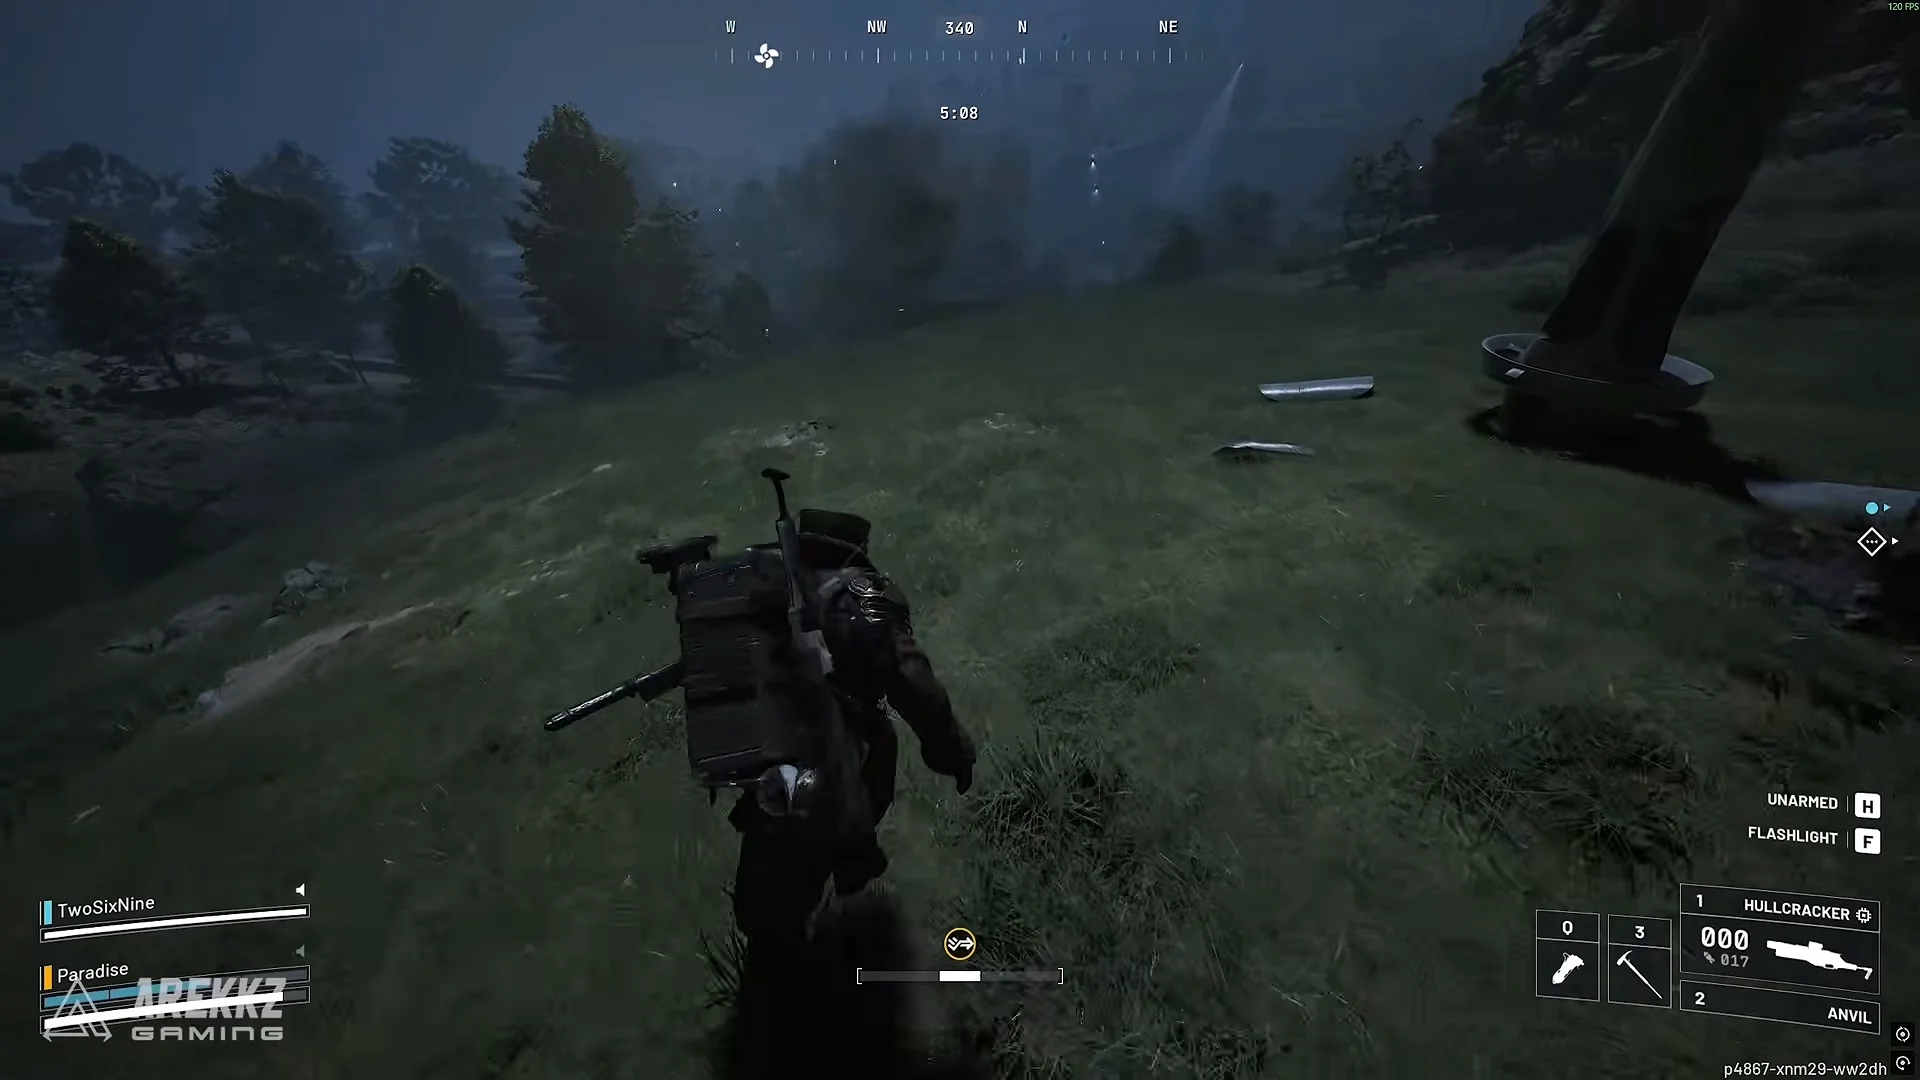
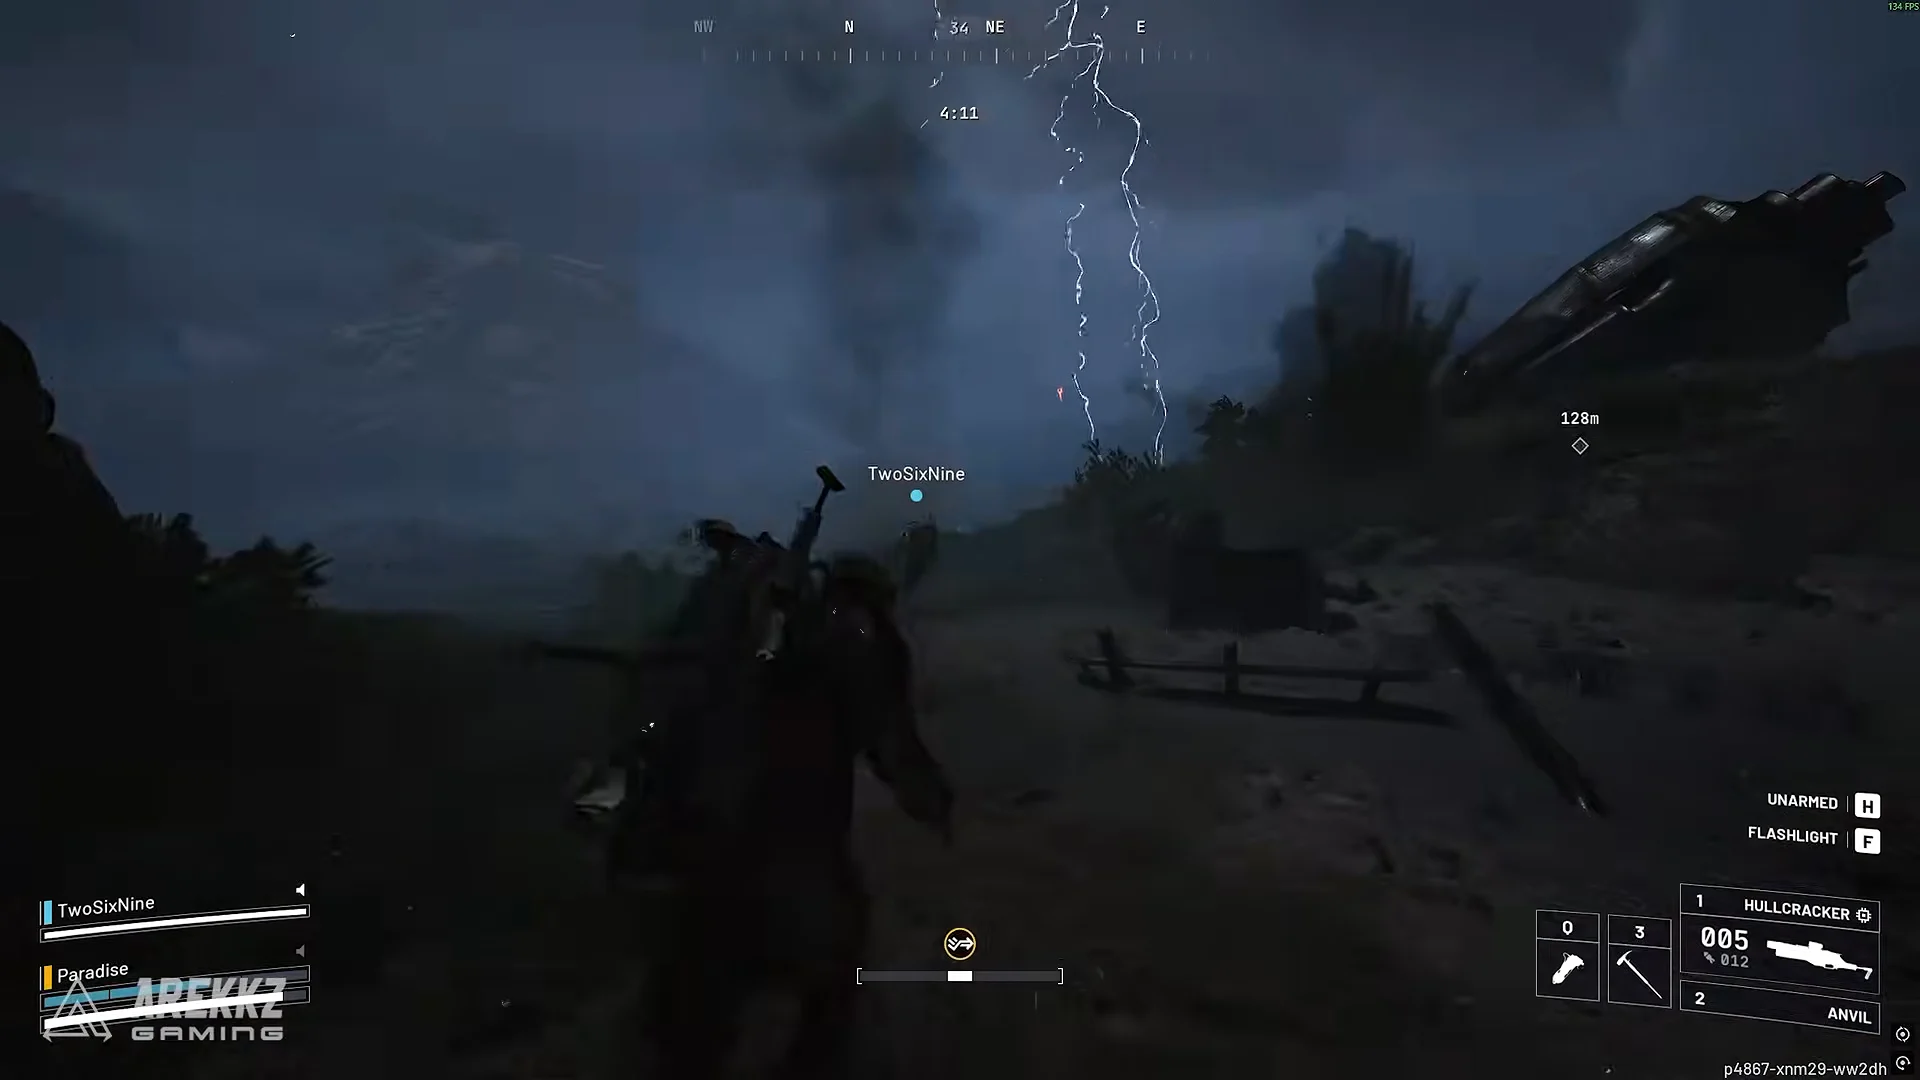
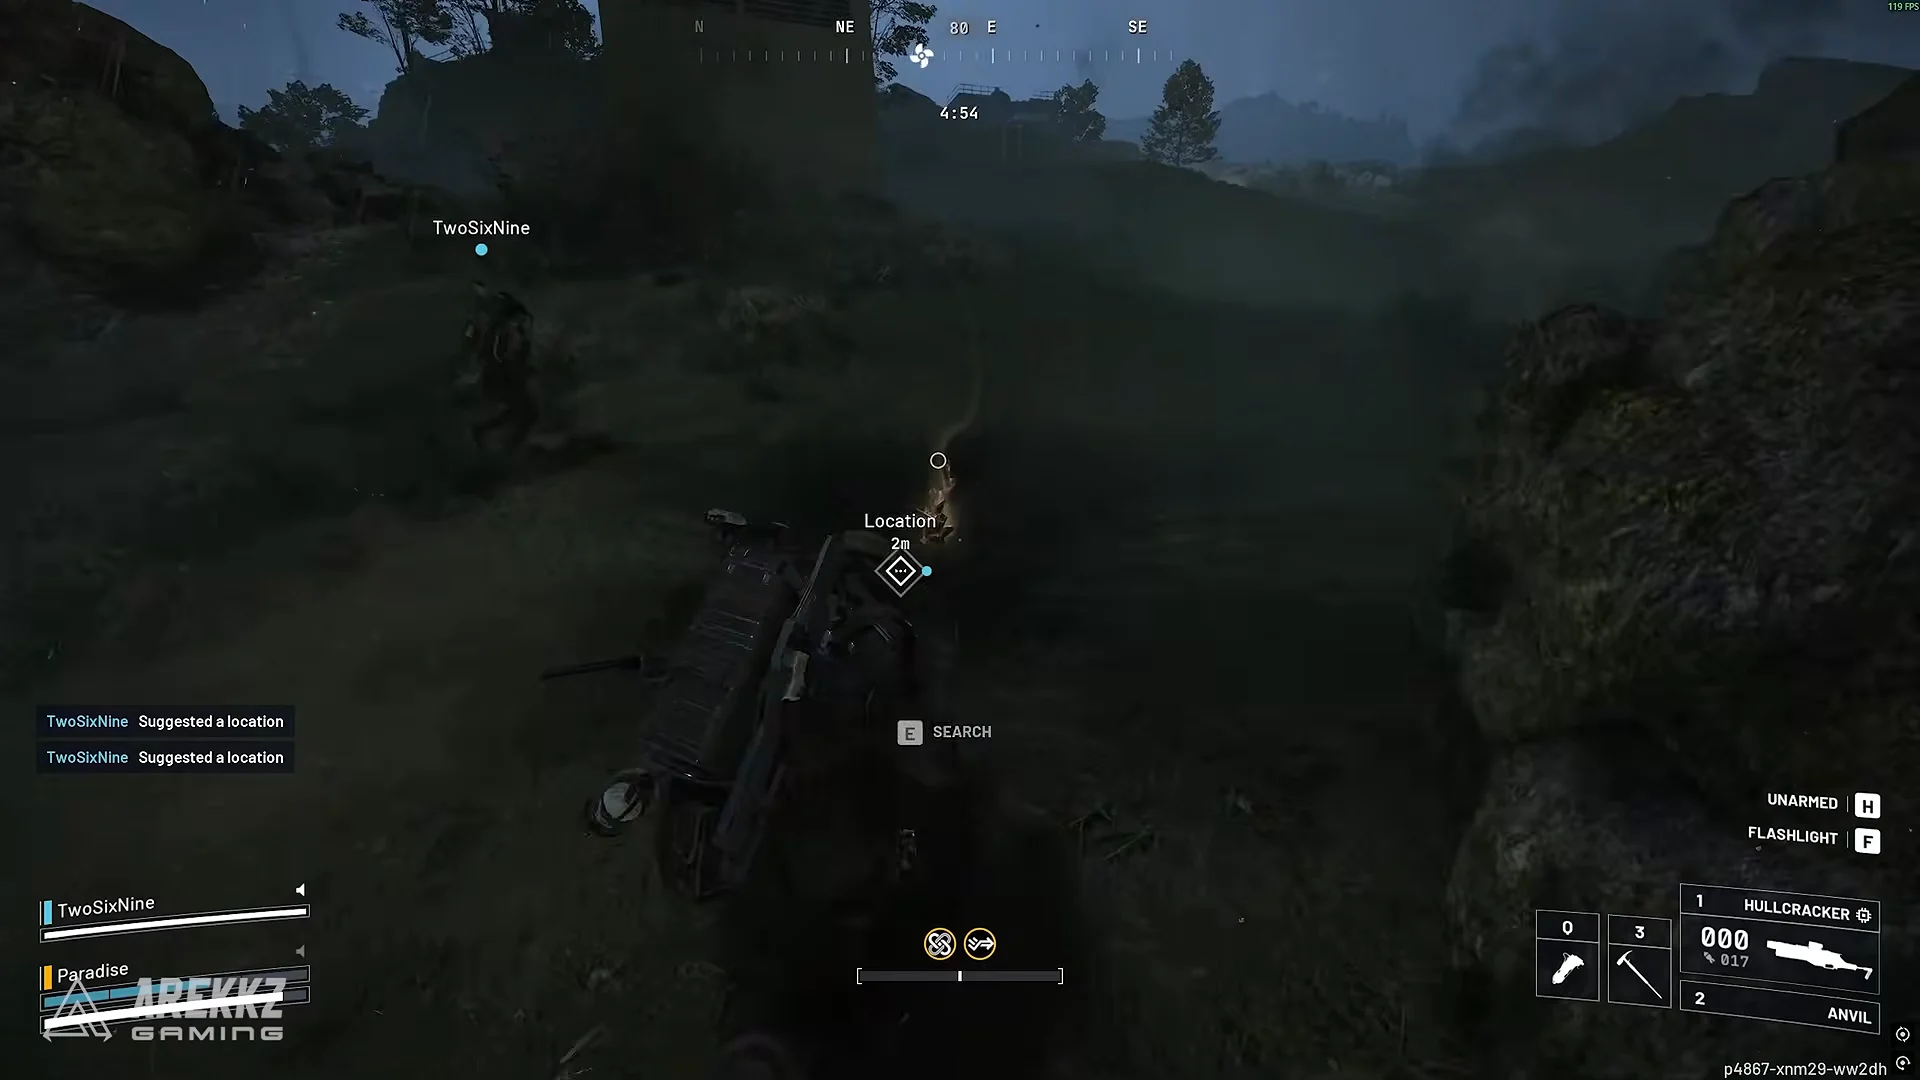
Stay out of the south-west corner around Highway Collapse and Adorned Wreckage. Time spent there during the storm produced no Fossilized Lightning at all.
Comet Igniters on the same ridge
Flying Comet ARC drones pass over the Maintenance Bunker ridge throughout the loop, so you can farm them without leaving the route. The Hullcracker handles them well. It is an Epic Special weapon whose explosive shots only go off when they hit ARC, and it can drop a Comet in one or two hits. ARC Turbines can also turn up nearby during the storm.
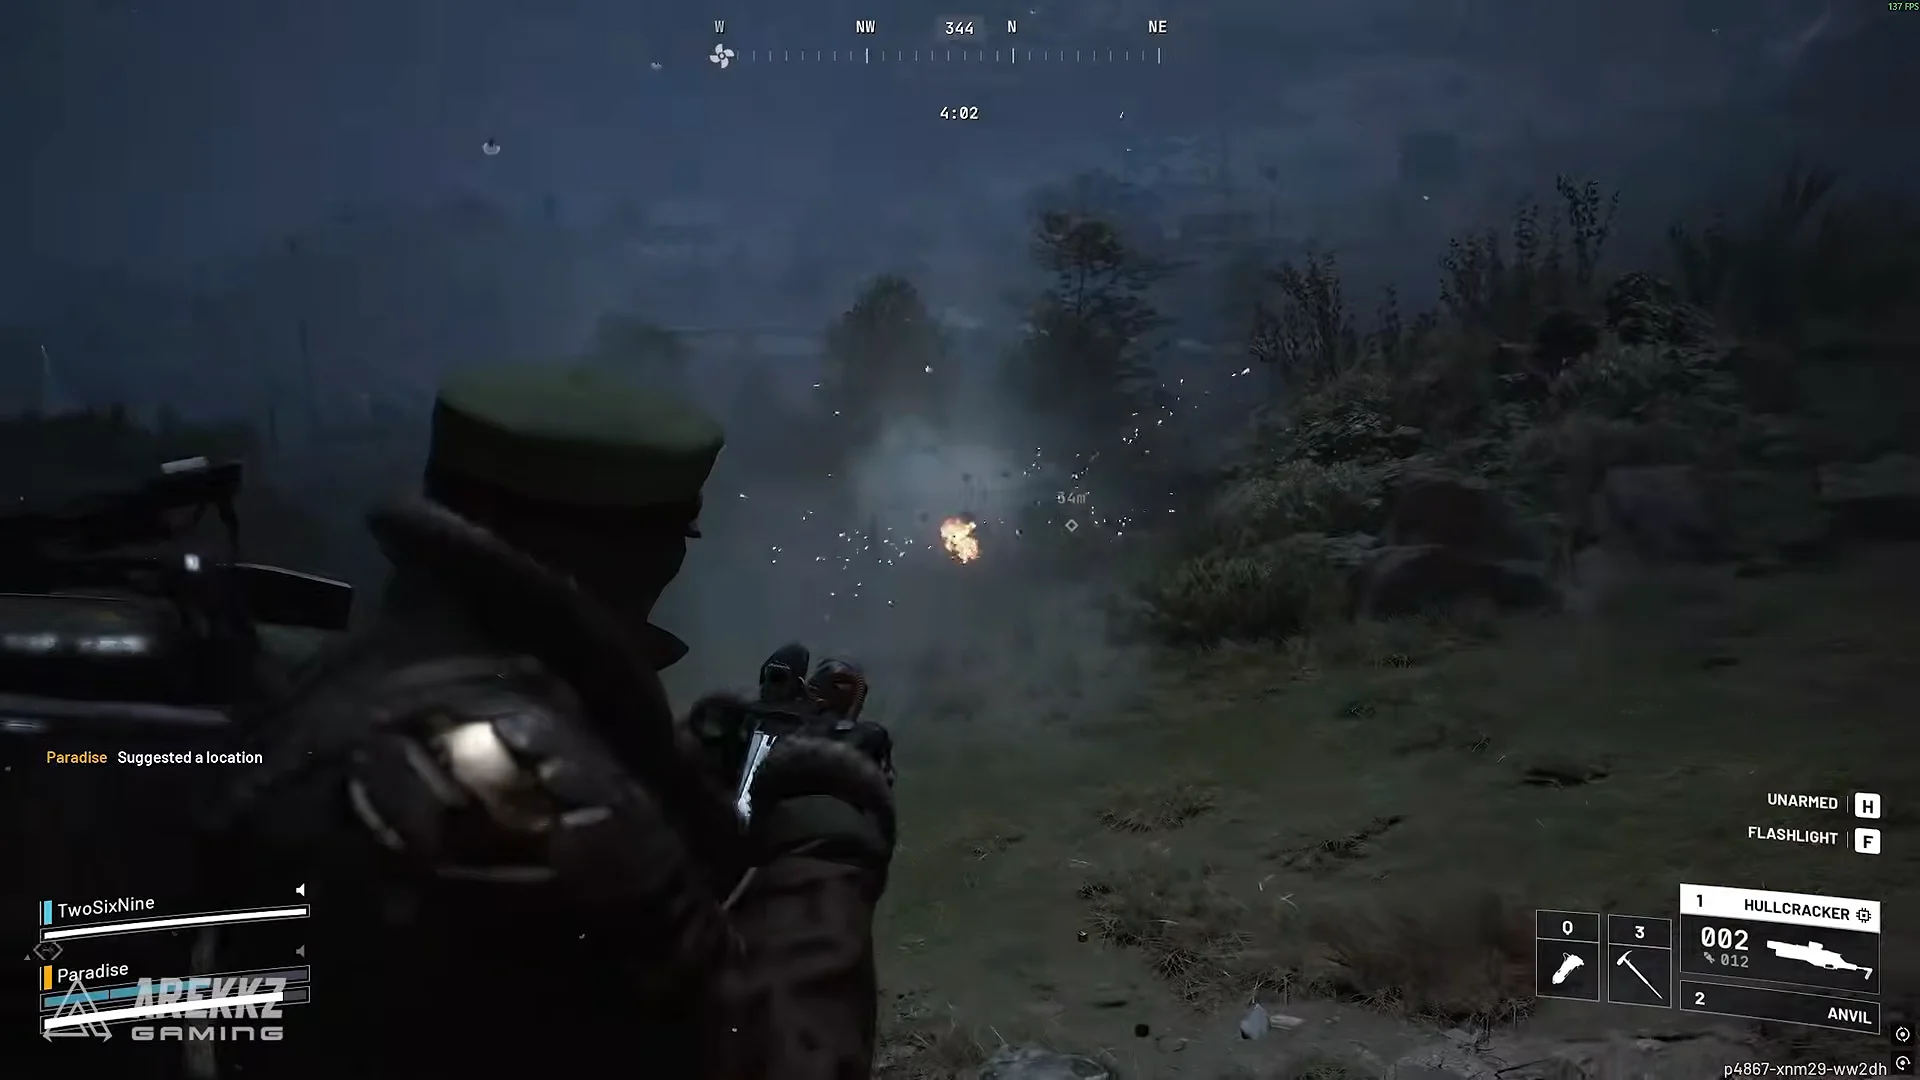
The Amplified Hullcracker uses the same Incendiary Grenades and Mag Reload upgrades as the base weapon and weighs 7. Its Incendiary Grenades perk sets fire when a round detonates on ARC, and it is one of the upgrades that costs Fossilized Lightning.
Comets drop Comet Igniters. Igniters go into the Extended Burst Cycles, Deadline Blueprint and Explosive Mine Blueprint recipes, and you can also throw one as an explosive.
| Comet Igniter | Value |
|---|---|
| Rarity | Rare |
| Category | Recyclable |
| Loot category | ARC |
| Item weight | 1 |
| Max stack | 3 |
A stack holds three, so one slot covers three Comet kills before Igniters start taking space away from Fossilized Lightning.
Last-extract camp method on any storm map
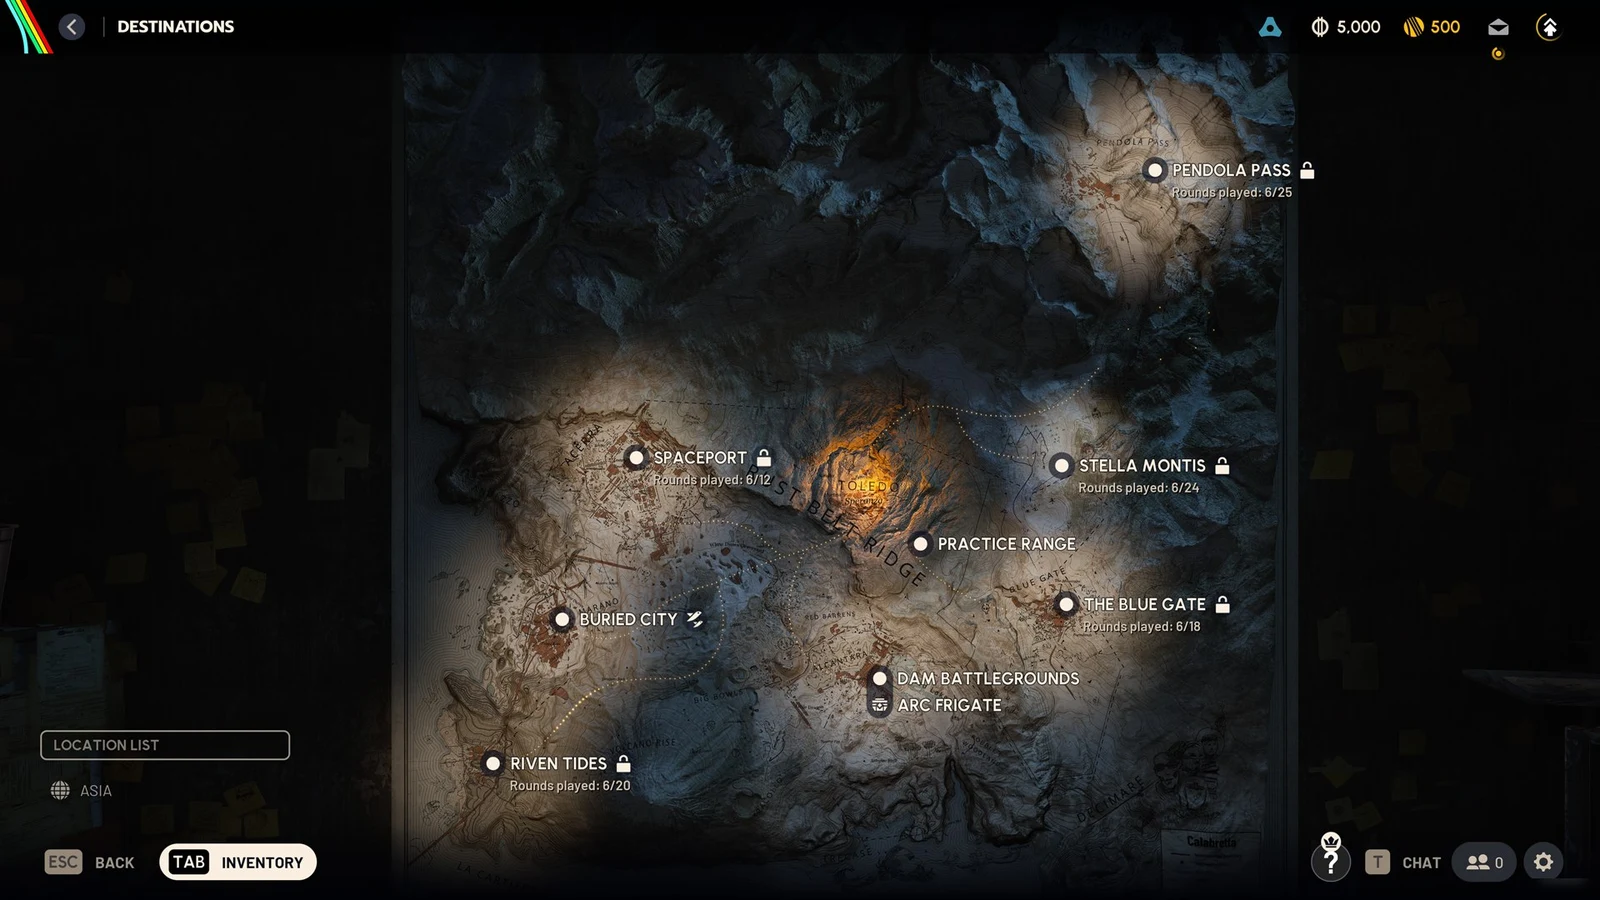
If you are not on The Blue Gate, use the rule that strikes cluster around the last players left. Hold the final open extraction point for the closing minutes of the raid and the storm will keep hitting the ground around you. The Red Lakes Balcony Lift on Dam Battlegrounds works well because it sits on open rooftop ground. Expect around six pieces from a typical run and up to eight from a good one.
Confirming the haul and spending it
Fossilized Lightning picked up during a raid only counts once you extract. You can tell the run worked when you are back in Speranza and the pieces are still in your backpack. Either method can be checked mid-raid by opening your inventory and counting the stacks of one, since each piece shows up in its own slot.
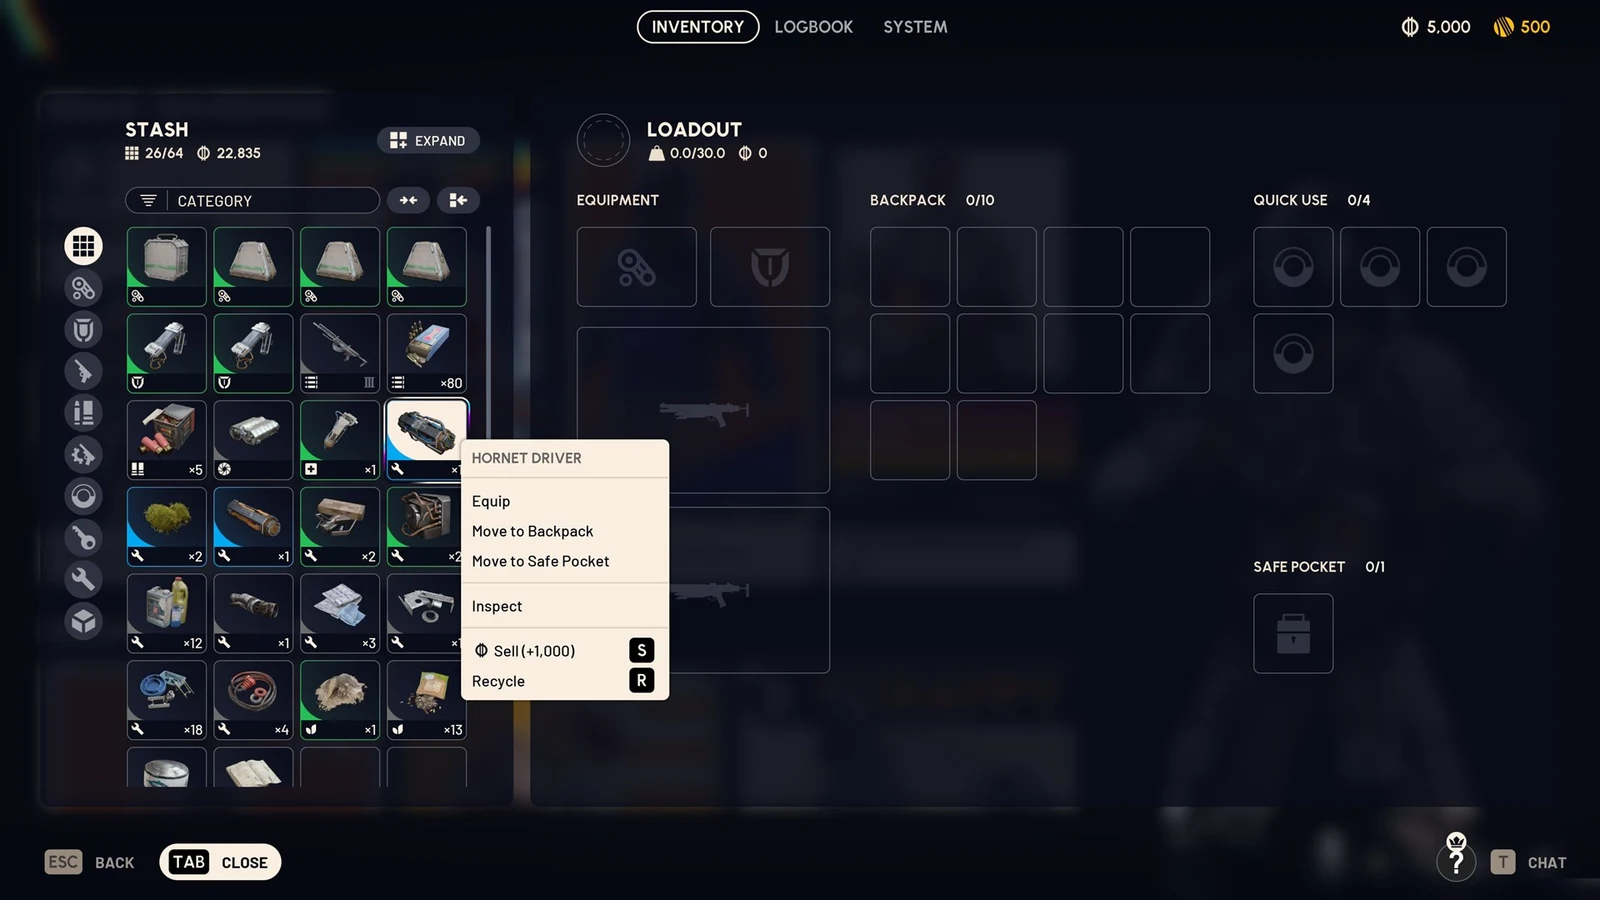
Once the pieces are home, you have three options. Spend them in sets of three on Amplified perks. Sell them for Coins. Or recycle them into Explosive Compound, which skips the slower Crude Explosives and Oil route to that material. If you run Amplified weapons often, keep at least three in reserve so you can rebuild your main perk the next time a raid goes badly.