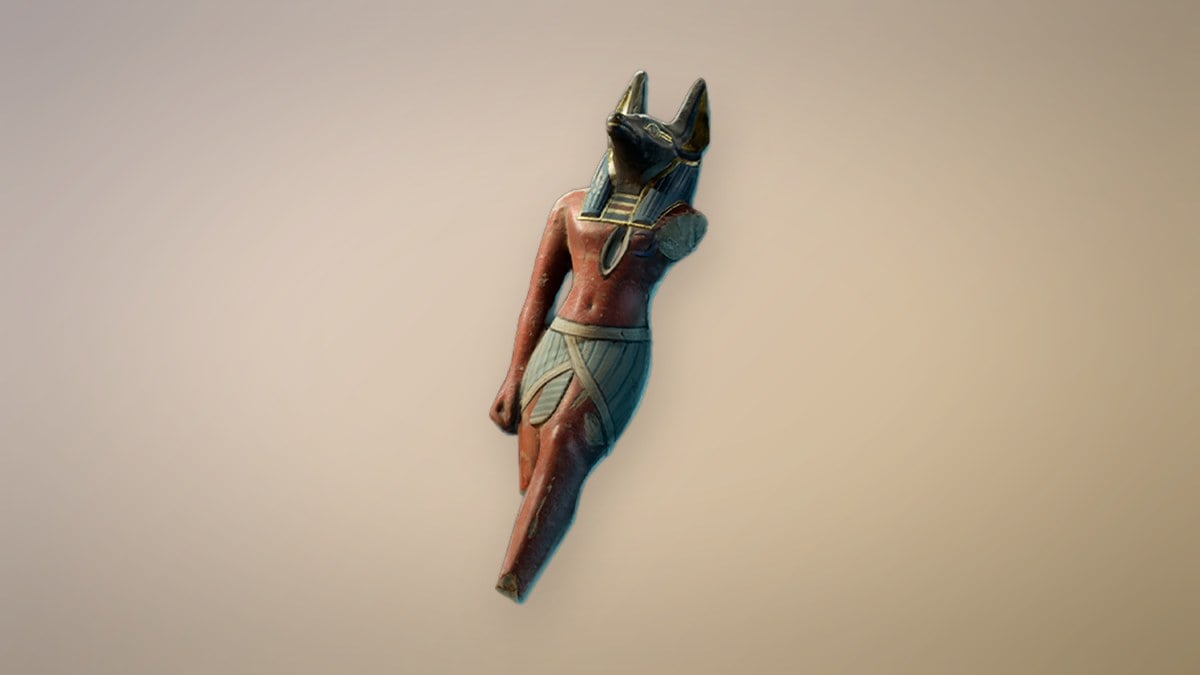
The Deserter is a side quest in the Vale of Wrath that follows Private Henri Dufour, an Eternal Guard who fled his post with a stolen relic. Finishing it comes down to tracking an Egyptian figurine that broke into three pieces, each hidden inside a beehive. The catch is that some hives are dangerous, so you only want the ones that are not marked.
Quick answer: Start the quest by reading the Wanted Notice near the Under the Bridge lantern, then interact with the single unmarked beehive (no red X) in each of three apiaries. Collecting the third piece assembles the Anubis Figurine and completes the quest.
Start The Deserter in the Vale of Wrath
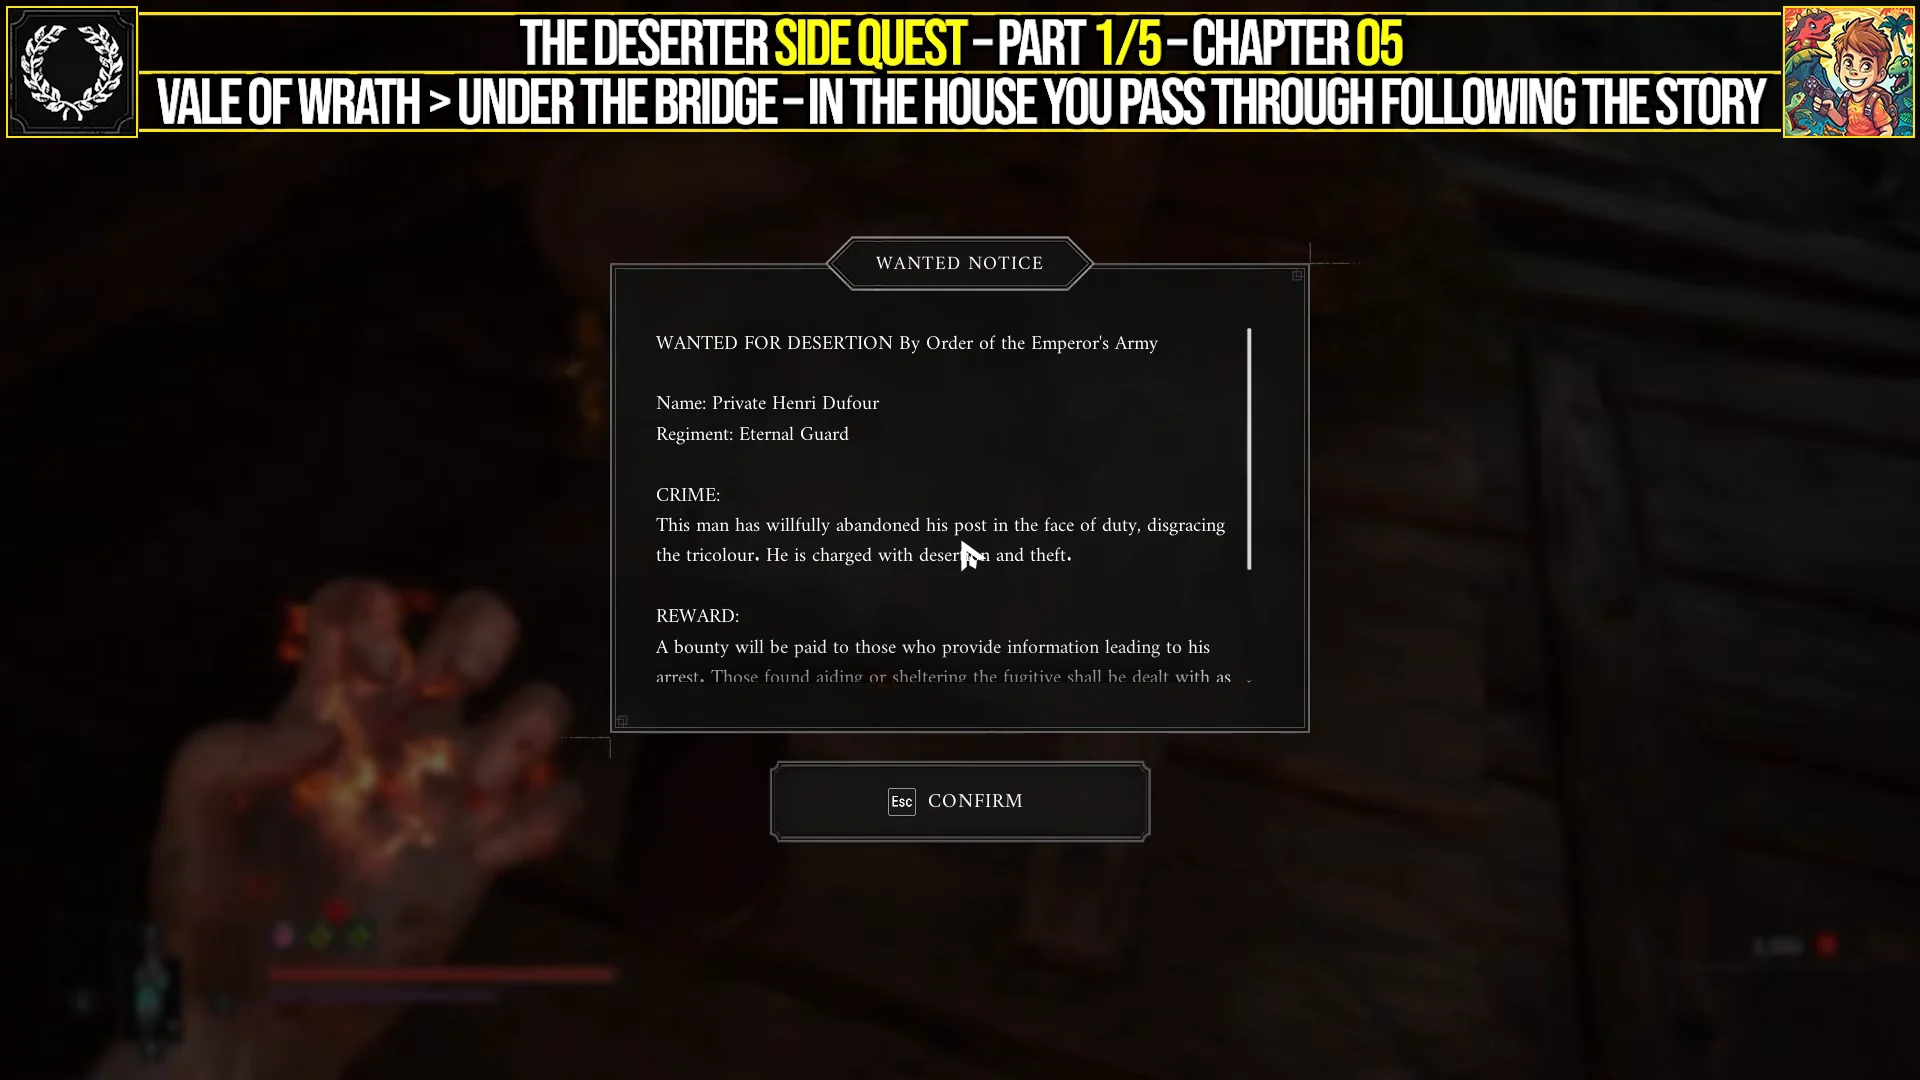
The quest begins during Chapter 5. From the Under the Bridge lantern, cross under the stone bridge and follow the dirt path on the far side into a small, run-down shack. A Wanted Notice sits inside on the counter. Picking it up triggers the side quest, and William begins to wonder what an Eternal Guard could have stolen that was worth deserting over.
Reach the Beekeeper’s Hut and read the note
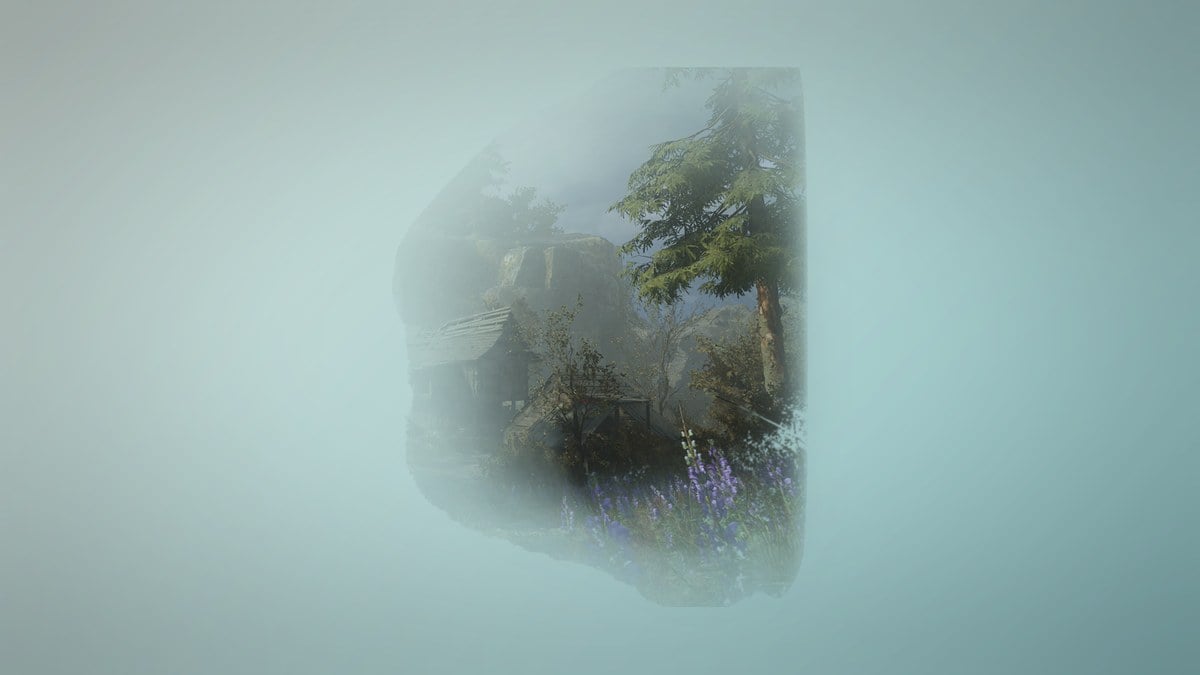
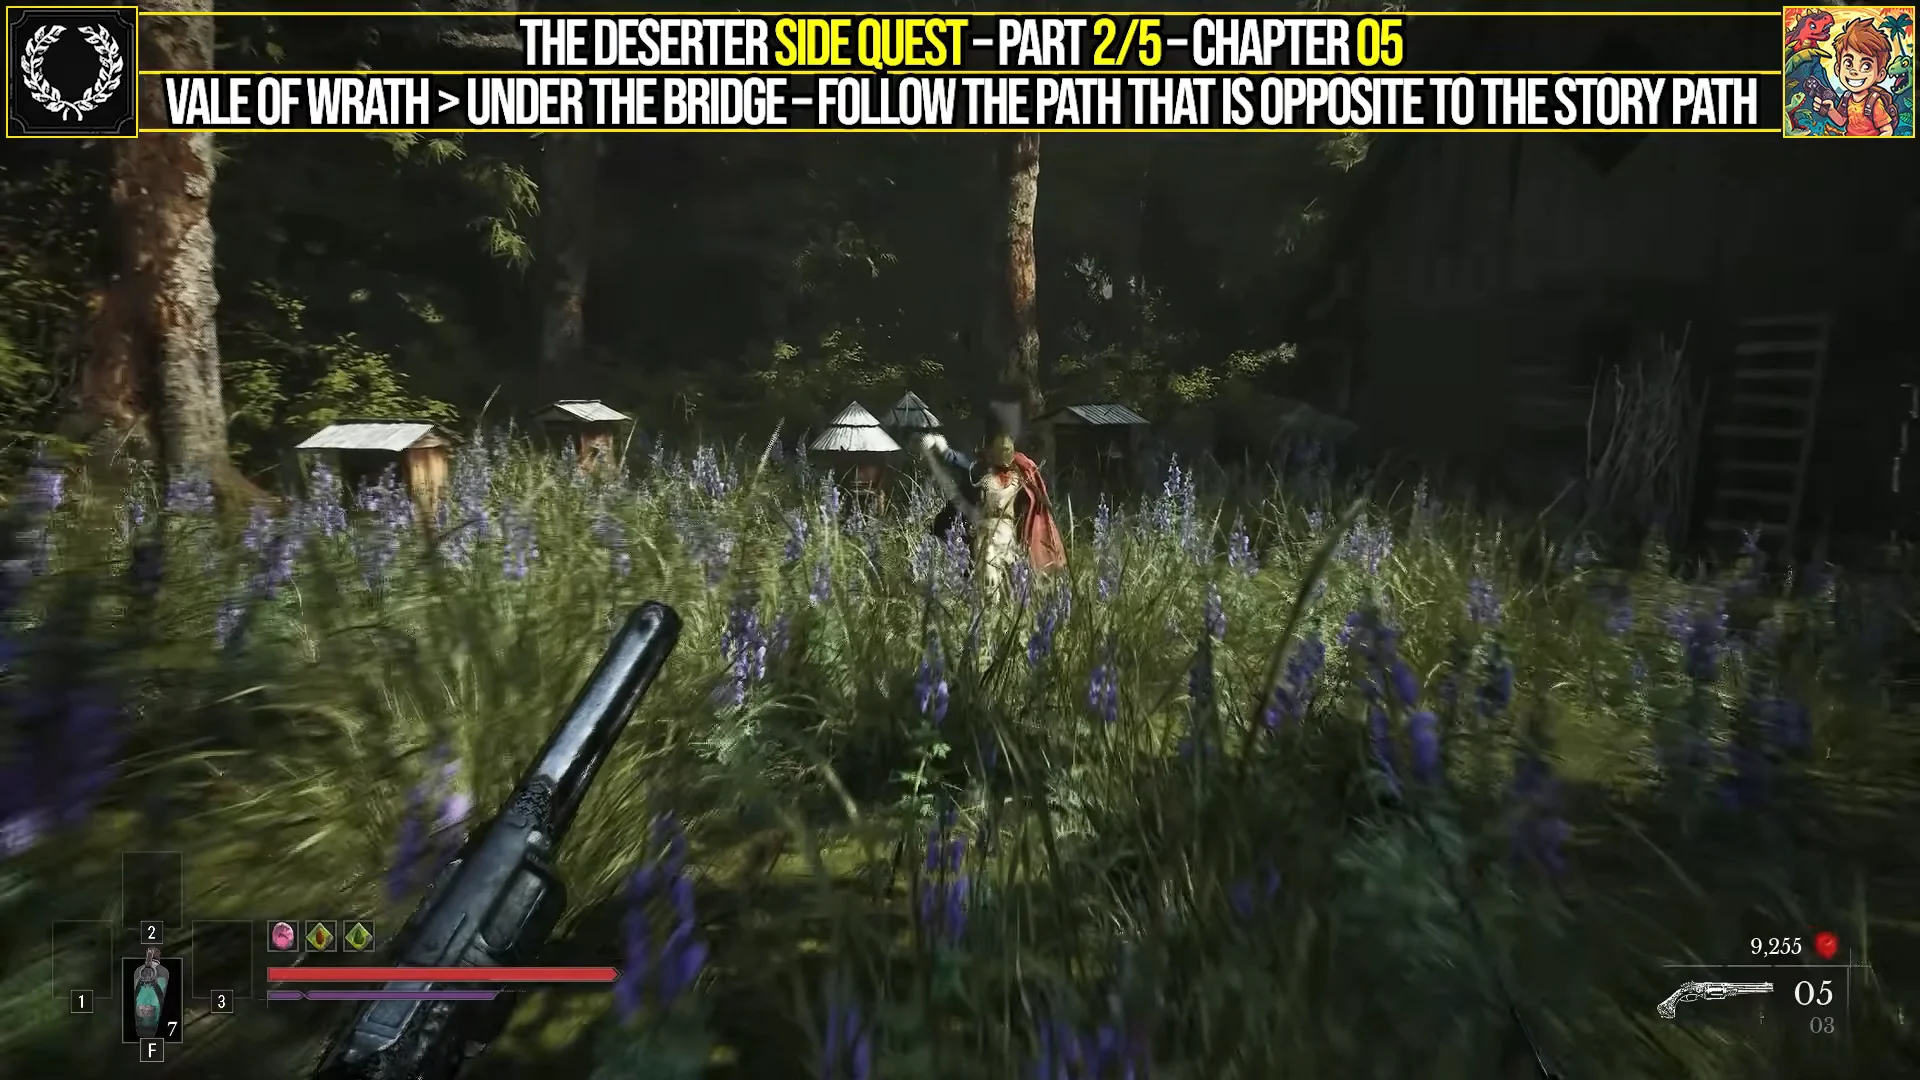
Leave the shack and take the trail that runs opposite the main story direction, heading right along the gravel path past the horse carcass. Use the glowing blue grapple points on the high tree branches to swing across the gap and reach an open grassy clearing with a wooden building and beehives.
An Eternal Guardsman guards the clearing. Defeat him to claim the Beekeeper’s Hut Key. He hits hard and moves fast, so parry when you can and use Stasis to slow him down. Once the key is yours, open the hut, loot the note from the desk, and grab the Perfectionism amber from the chest inside.
The note explains the puzzle. Since the plague took hold, some of the beekeeper’s bees turned aggressive, so he marked every dangerous hive with a red symbol as a warning. Plain, unmarked hives are safe to open, and those are the ones holding the figurine pieces. Disturbing a marked hive wakes the bees and deals some damage, though it is not severe.
All three Anubis Figurine Part locations
All three pieces sit in the same general area, so no fast travel is required. In every apiary the rule is identical: look for the one hive without a red X and leave the rest alone.
First part: outside the Beekeeper’s Hut
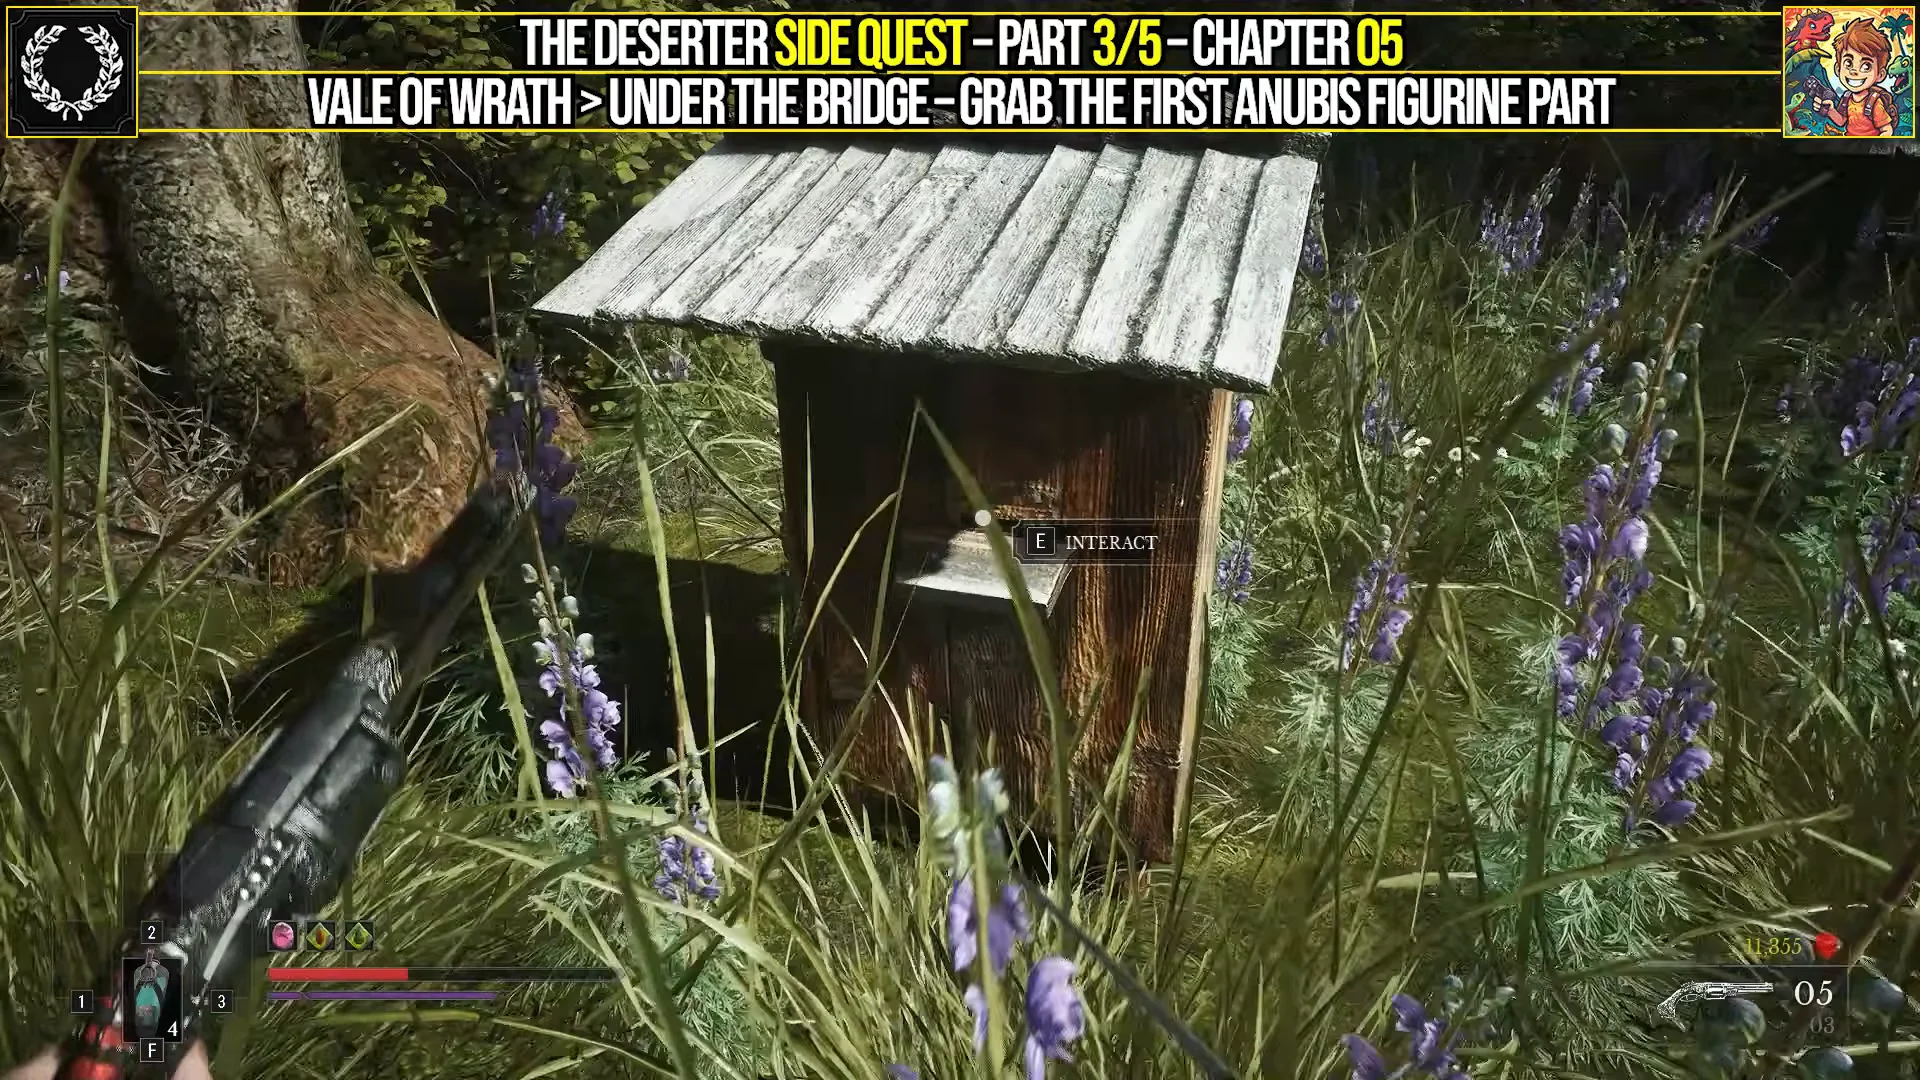
Once outside the hut, turn right toward the beehive group. A red cross marks several hives. At the back fence, interact with the lone wooden hive without a marking to obtain the first Anubis Figurine Part.
Second part: beside the military encampment
Head back toward the nearby village and follow the path straight ahead toward the camp in the distance. Watch for weak wooden planks that can drop you into an underground passage with extra enemies; that passage still leads the right way if you fall through.
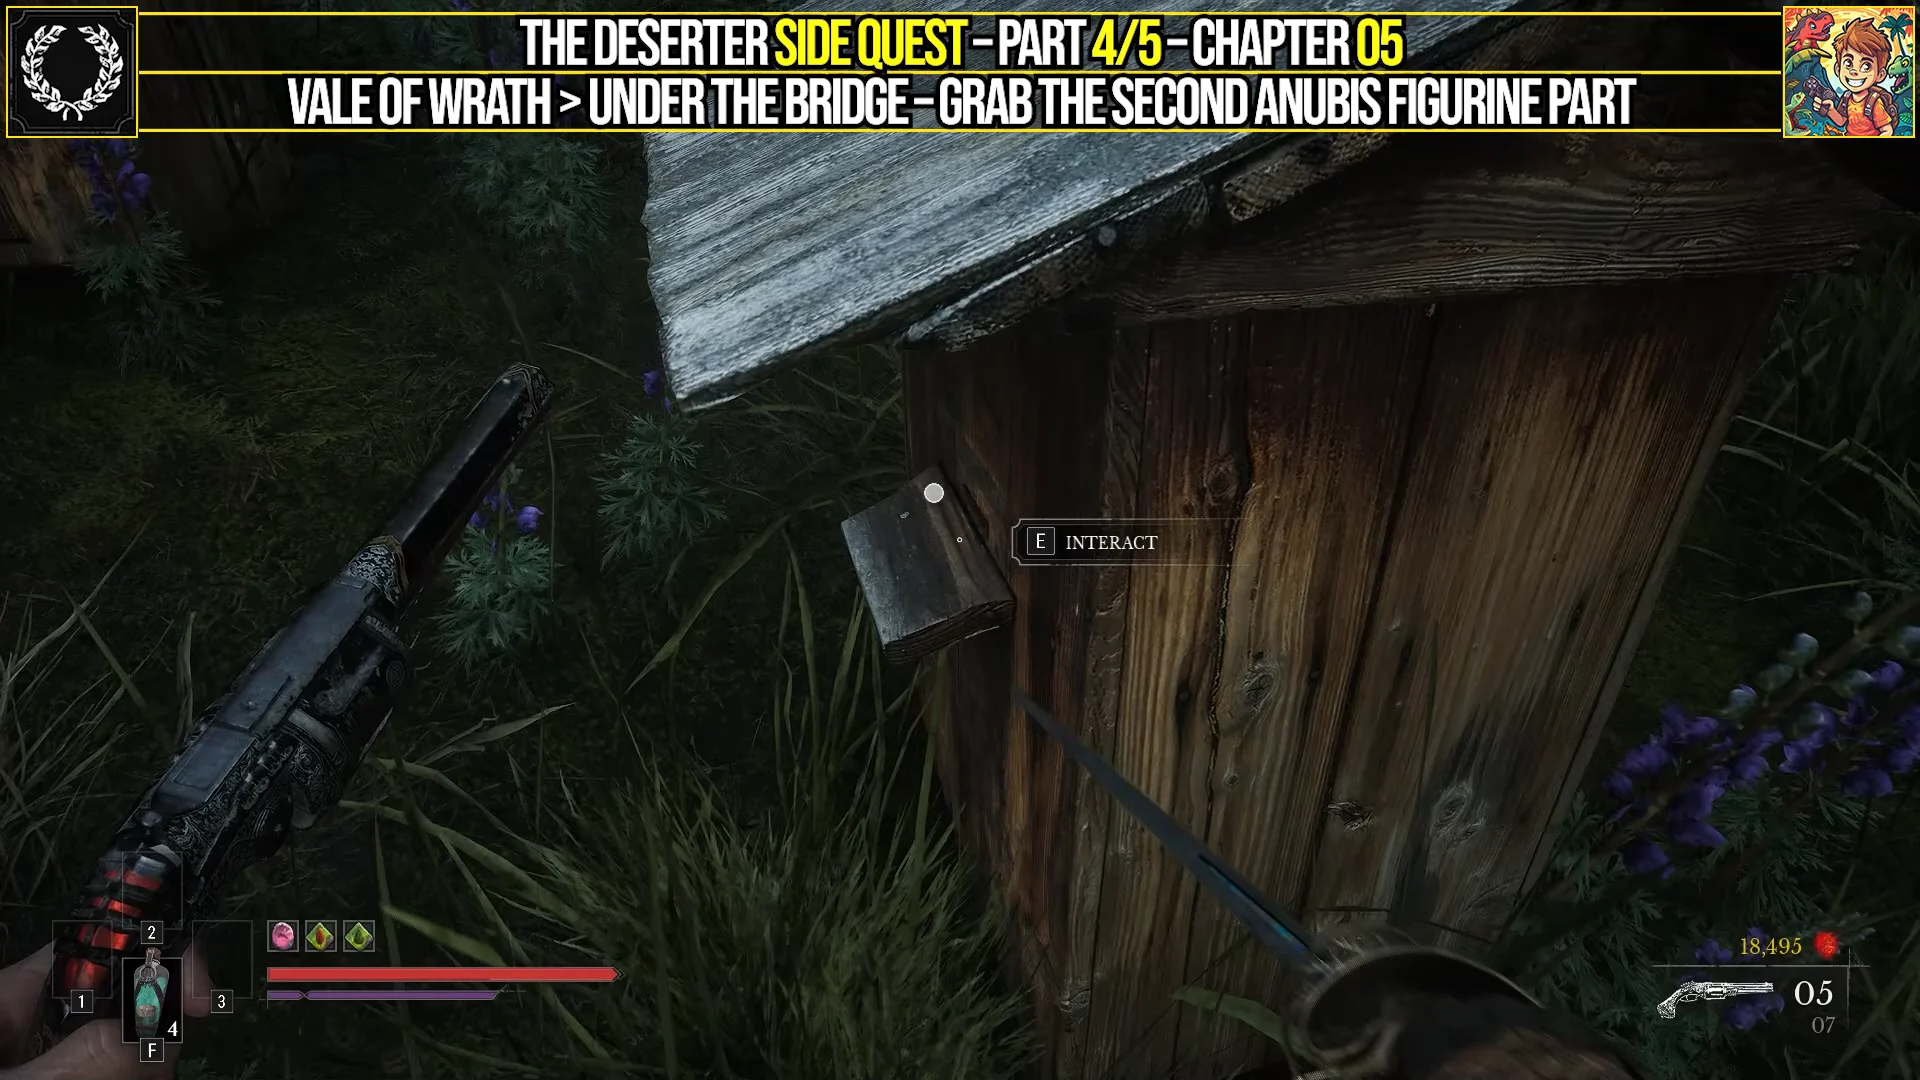
As you approach the walls around the encampment, look to the right to spot the next set of beehives. Interact with the unmarked one on the edge of the clearing, the rightmost hive, to claim the second Anubis Figurine Part.
Third part: past the gate puzzle
Rewards and how to confirm completion
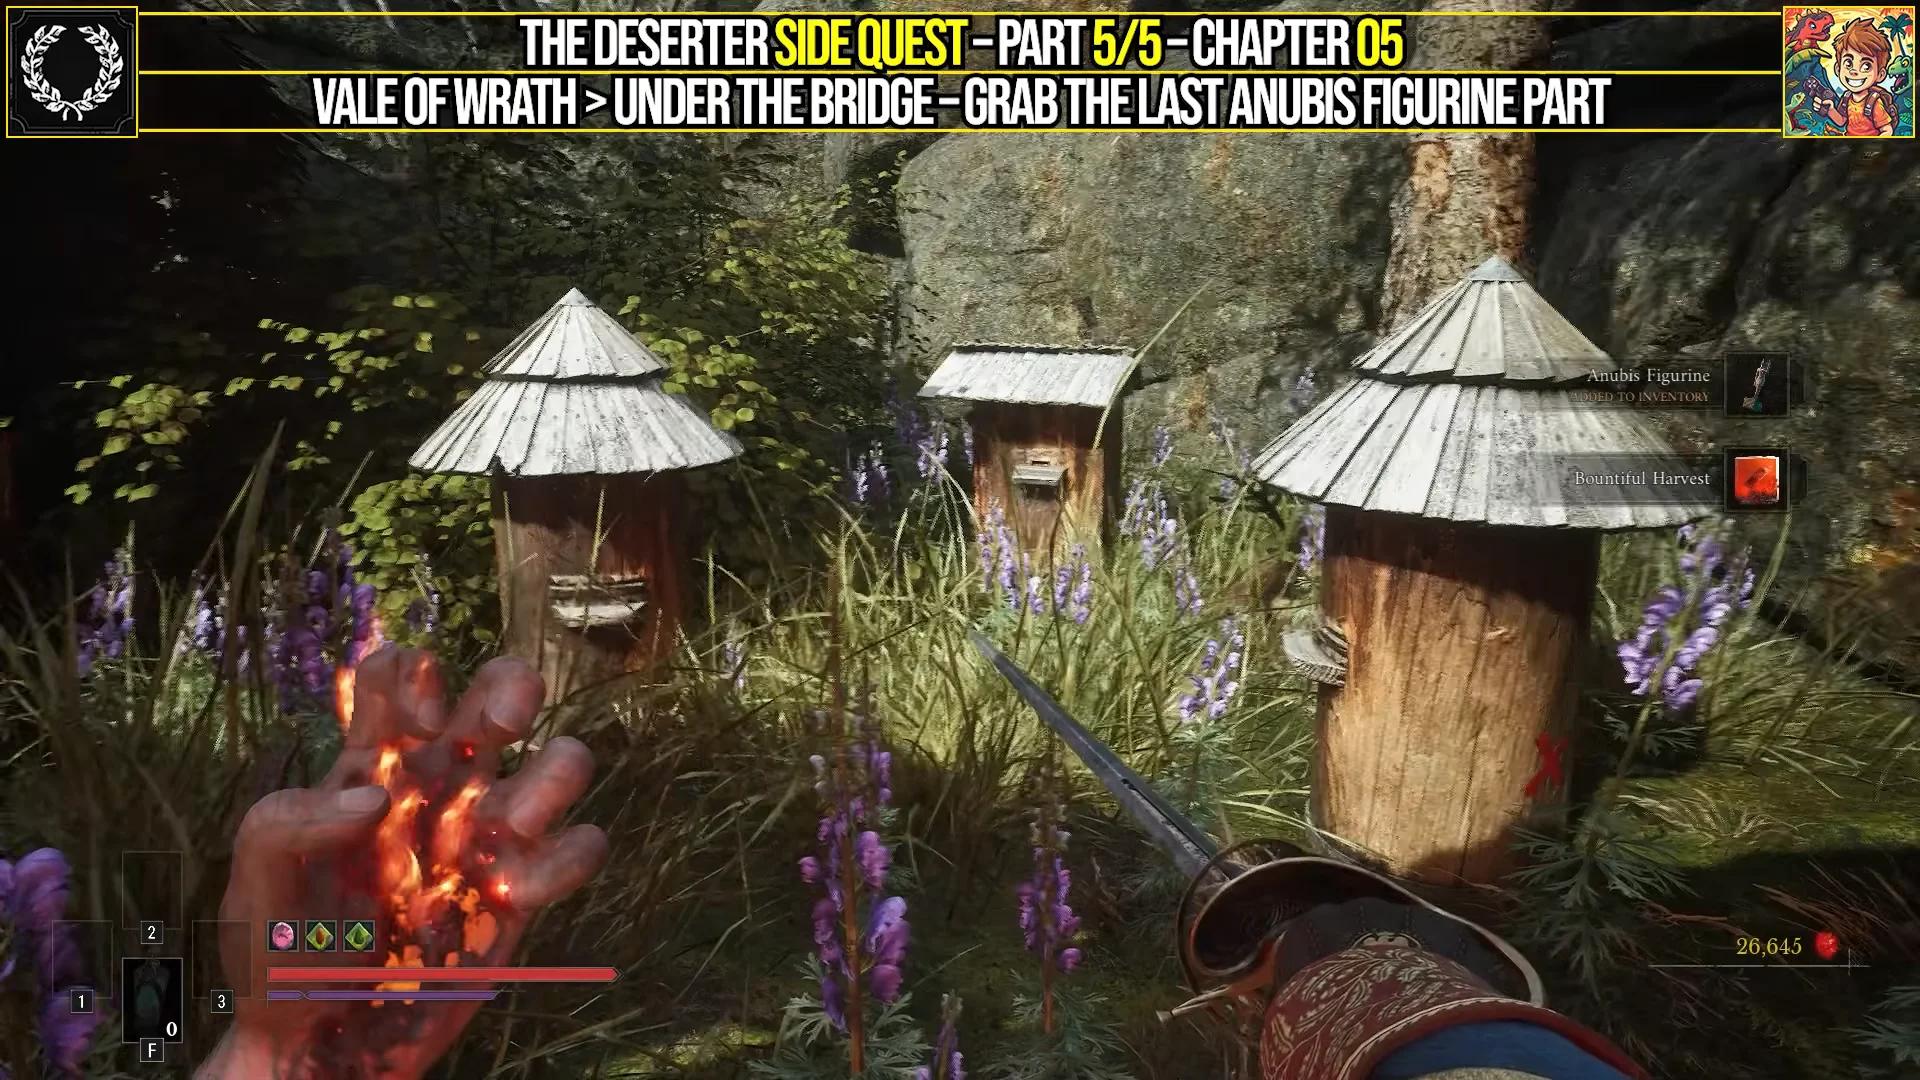
Collecting the final piece rebuilds the Anubis Figurine, and a quest-complete banner appears on screen. You keep the completed Anubis Figurine and receive the Bountiful Harvest amber, along with Secreted Toxin. Finishing the quest also unlocks the Hand in the Jar achievement.
Bountiful Harvest is worth slotting if you lean on melee pickups to stay alive, since it restores Health every time you collect a Nephtoglobin Remnant. The Perfectionism amber from the hut chest rewards aggressive play instead, boosting melee damage while your Health bar is full.
| Reward | Type | Max rank | Effect by rank |
|---|---|---|---|
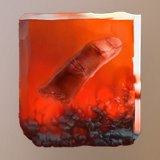 Bountiful Harvest Bountiful Harvest | Amber | 3 | Health per Remnant 3% / 4% / 5% |
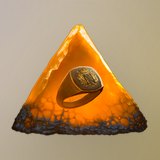 Perfectionism (hut chest) Perfectionism (hut chest) | Amber | 3 | Melee damage at full Health 10% / 15% / 20% |
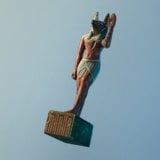 Anubis Figurine Anubis Figurine | Quest item | — | Assembled from the three parts |
Eternal Guardsman reference
The enemy blocking the Beekeeper’s Hut is an Eternal Guardsman, the same Fencer type found throughout the Vale of Wrath and much of the map. Its stats scale with level, and it can transform into a plague-powered form mid-fight by crushing a vial, which raises its effective health. It holds up under ranged, explosive, and ignite pressure, so direct melee and Stasis tend to work better.
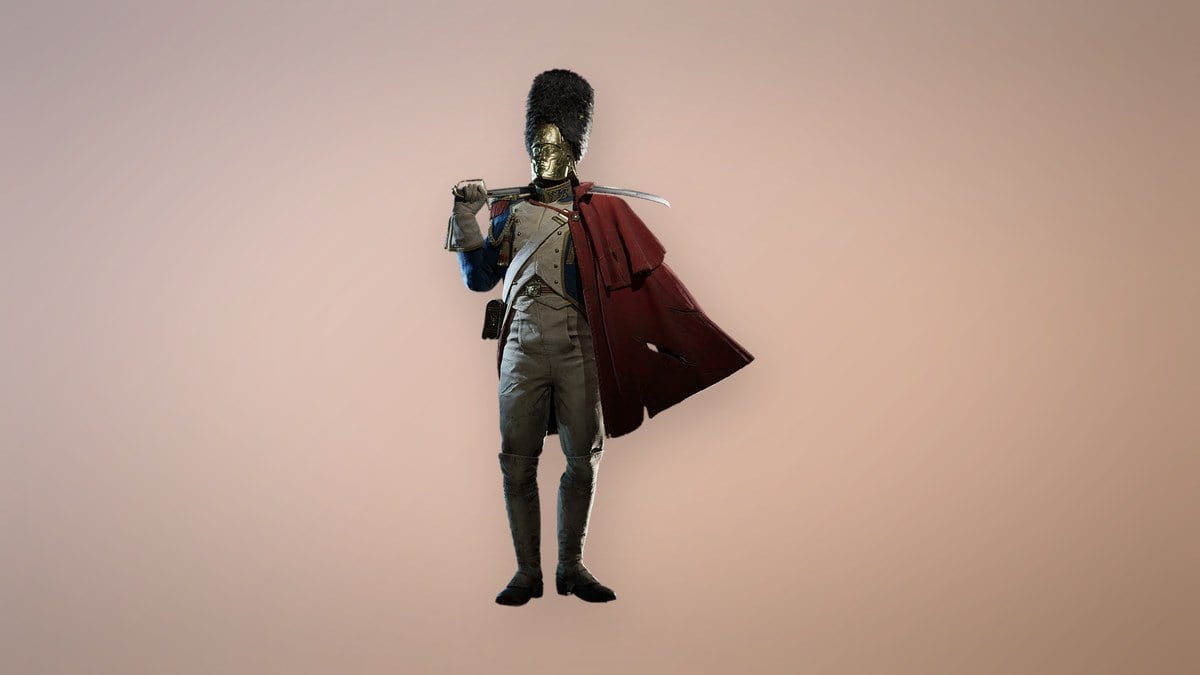
| Level | Health | Catalysts |
|---|---|---|
| 1 | 500 | 1,200 |
| 2 | 700 | 1,500 |
| 3 | 850 | 1,800 |
| 4 | 1,000 | 2,100 |
| 5 | 1,100 | 2,400 |
| 6 | 1,200 | 2,700 |
- Enraged (transformed) health: 3,200
- Stasis segments: 4
- Resistances: ranged 50%, explosive 50%, ignite 50%, ignite buildup 50%, infection 30%
Once the figurine is assembled and the achievement pings, the quest is done. If you missed the Perfectionism amber, it stays in the chest inside the hut, so you can return and grab it before leaving the area.