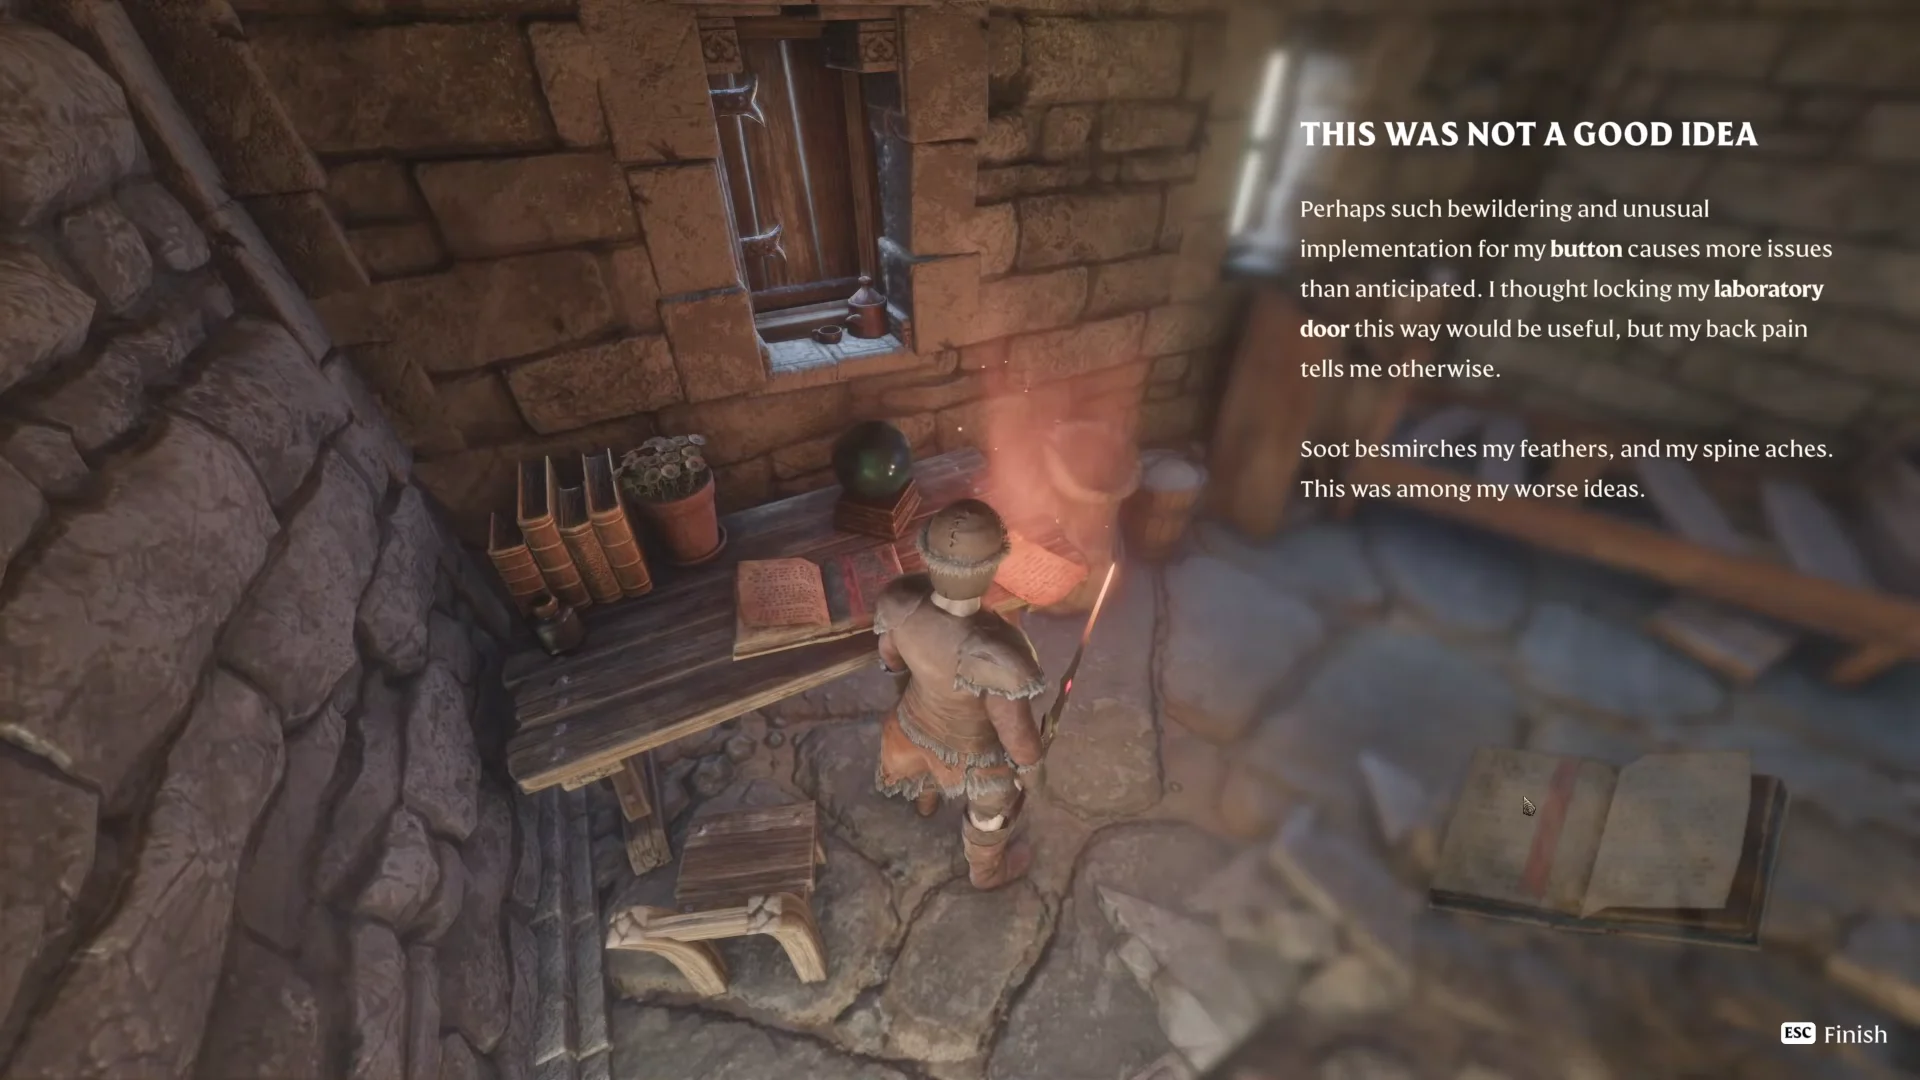
The laboratory sits in the basement of the Alchemist Tower in Lone Thistle, and its iron door is locked from the moment you arrive. The Mortar you came for is visible through the bars, but there is no handle to pull and no gap in the surrounding stone. Opening it is a one-switch puzzle hidden on an upper floor of the same tower, and this is the exact path that trips it.
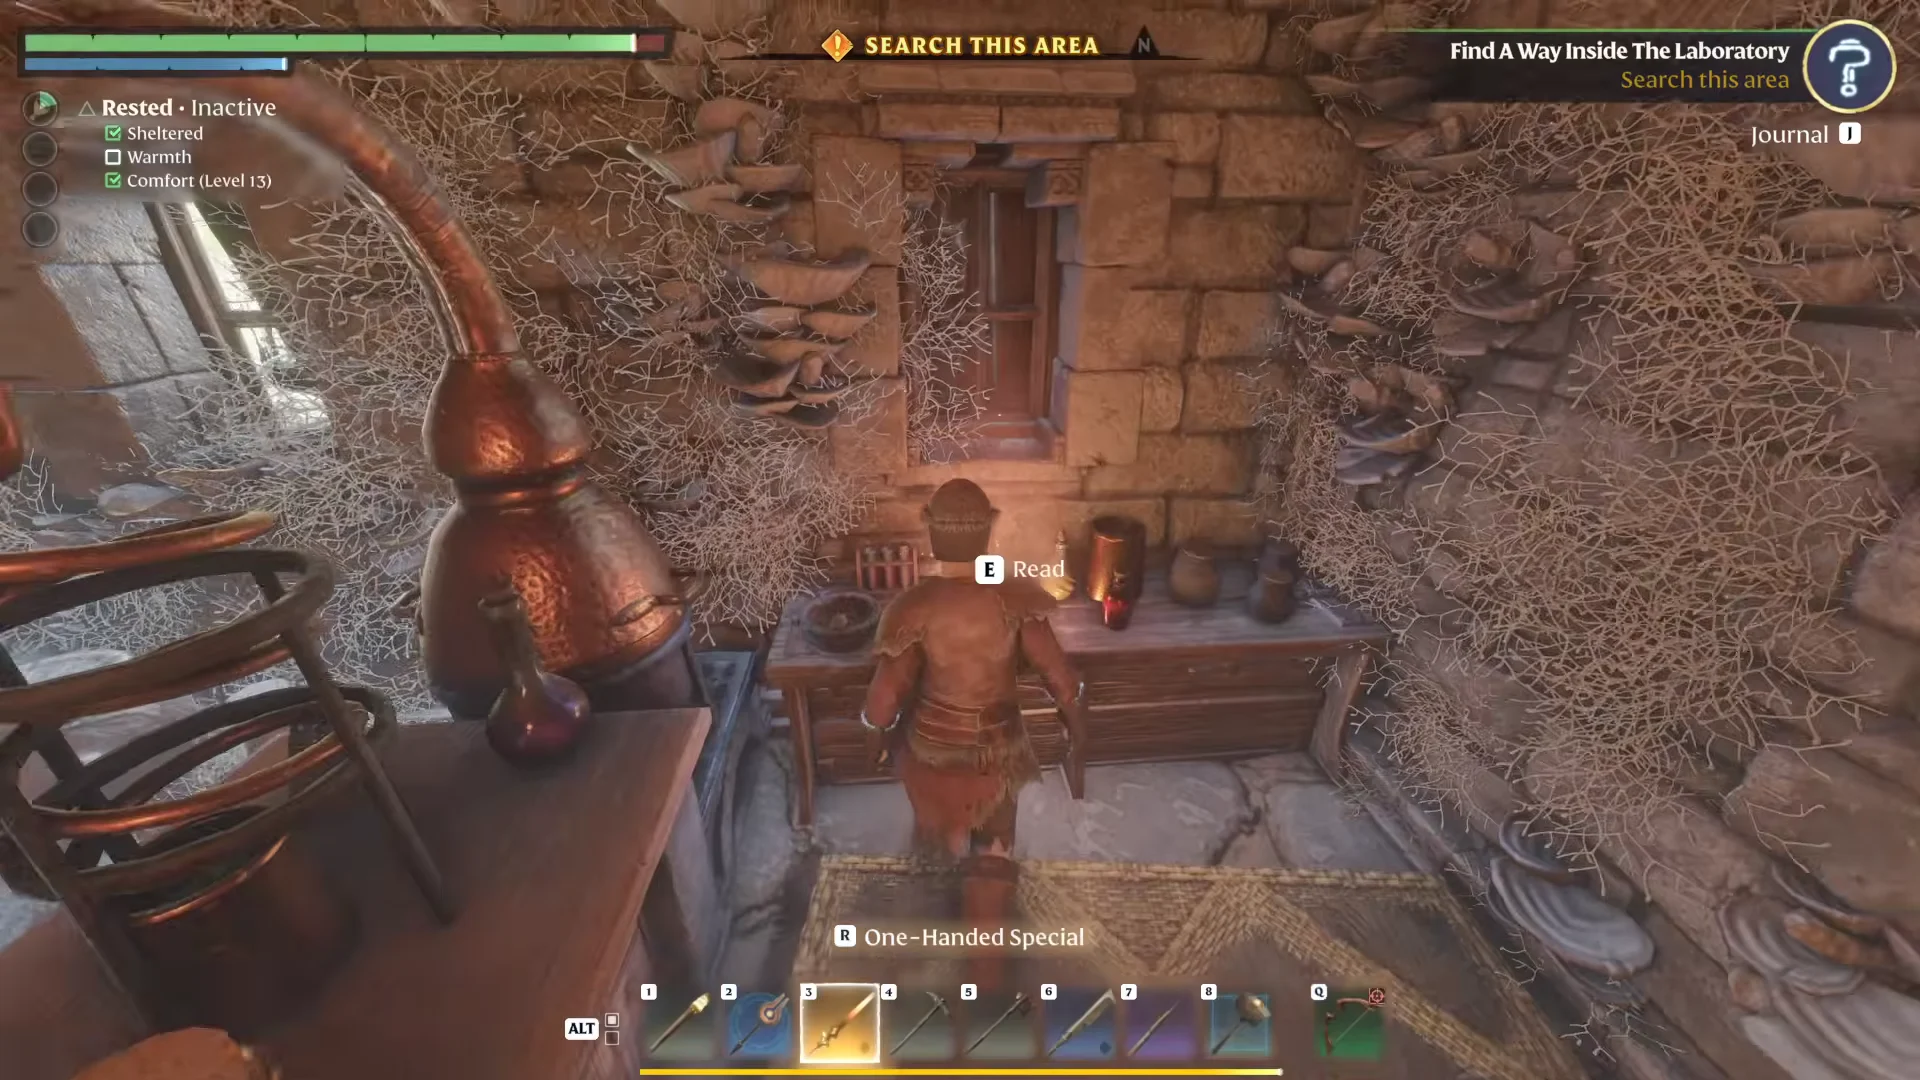
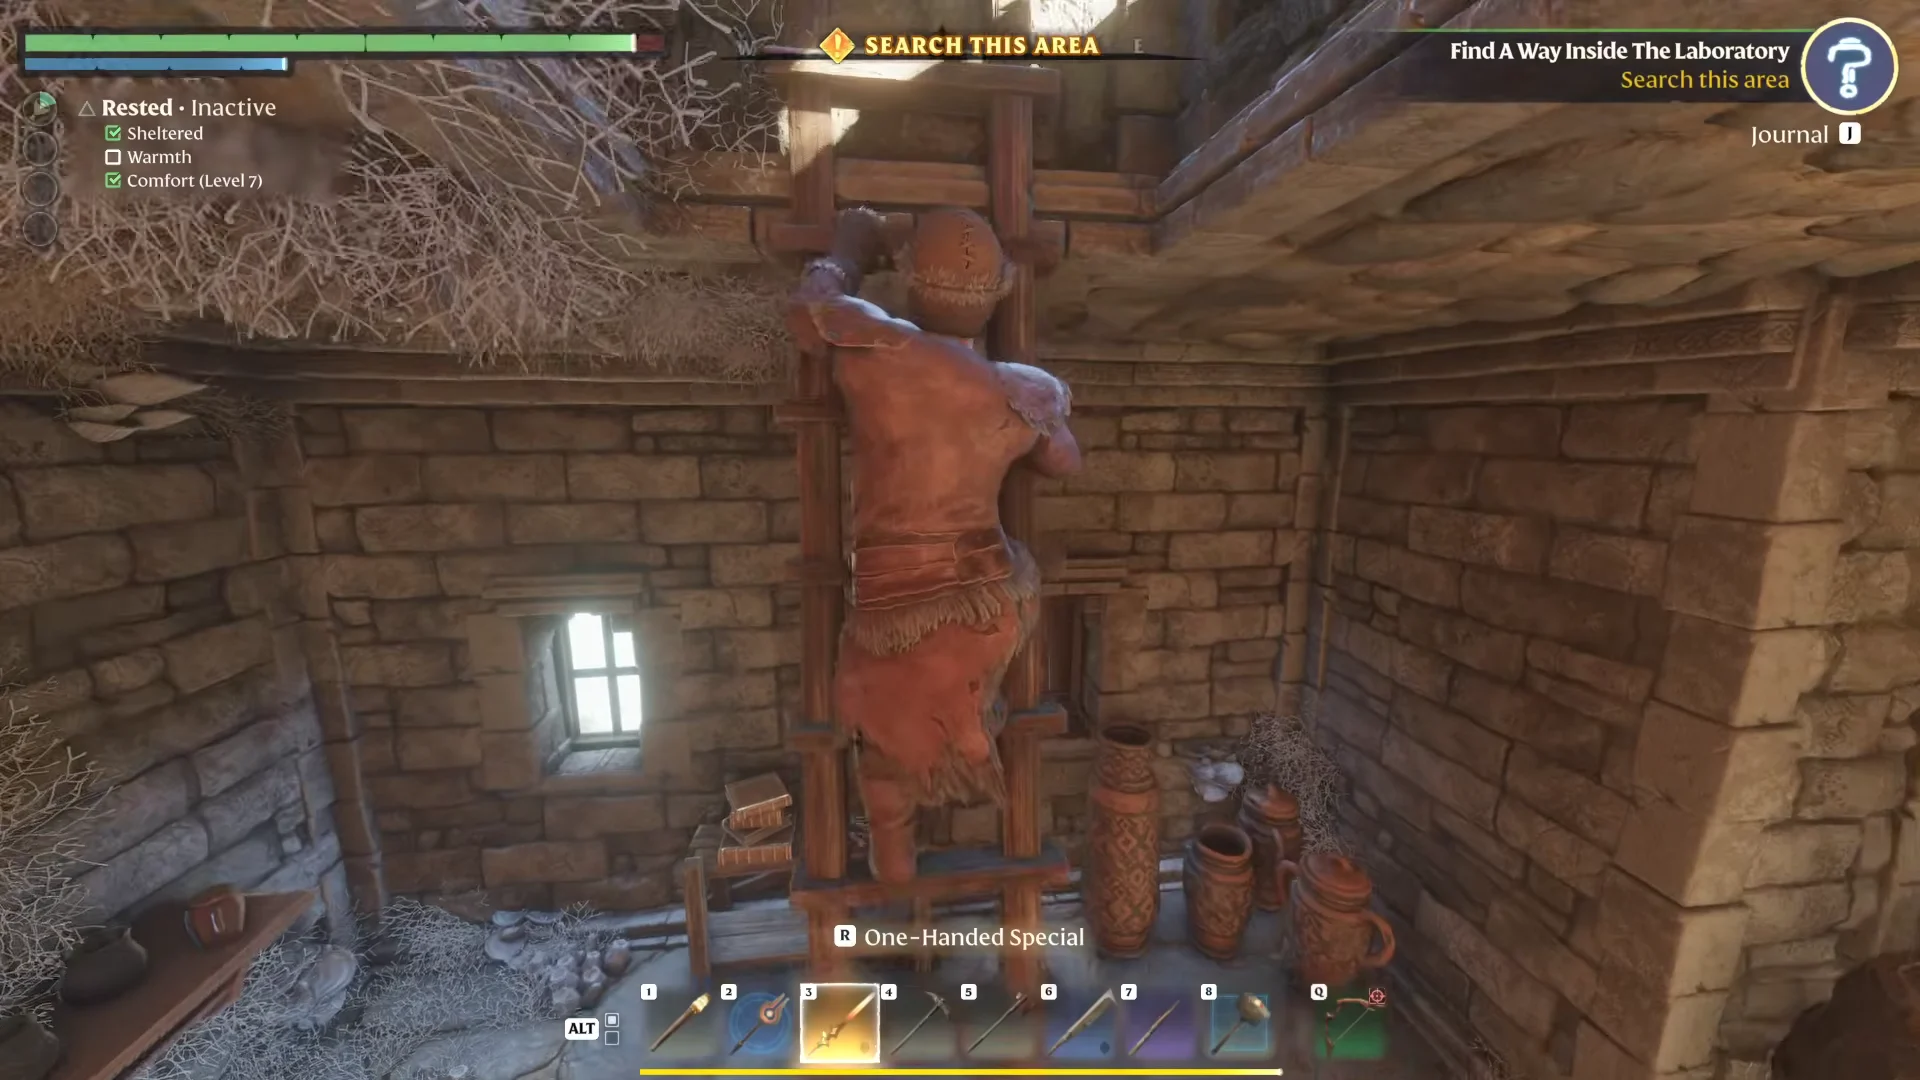
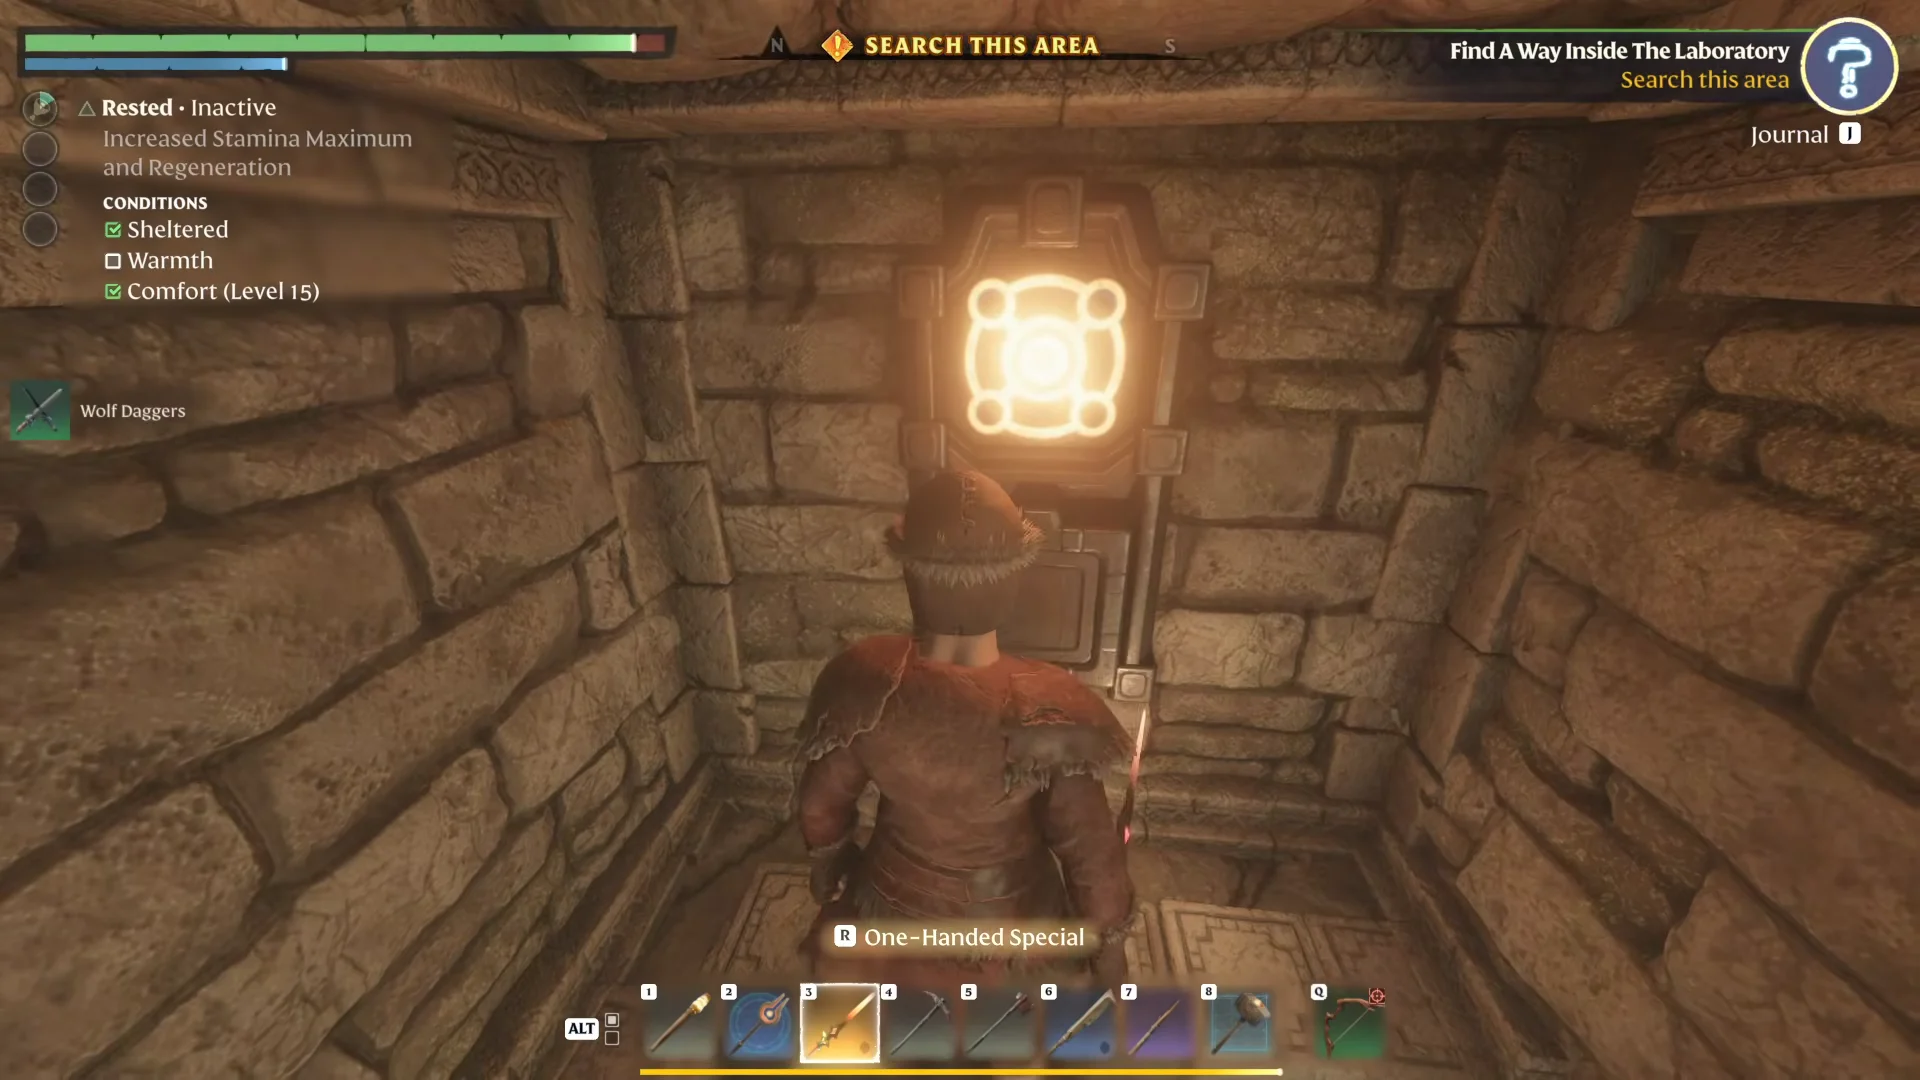
Quick answer: Climb to the tower’s upper floor, break through the boarded doorways, and press the glowing wall button in the alcove to open the basement laboratory. Then head back down and take the Mortar.
Where the laboratory is and how to reach it
This objective is part of The Alchemist’s Mortar, a quest Balthazar gives you at your flame altar once you have finished Carpentry Assistance. Accepting it marks the Alchemist Tower in Lone Thistle on your map, so you do not need to search blind.
Lone Thistle is far northeast of the starting point. Its lower settlement lies in the Shroud, where enemies are around level 11, so gear up before heading out.
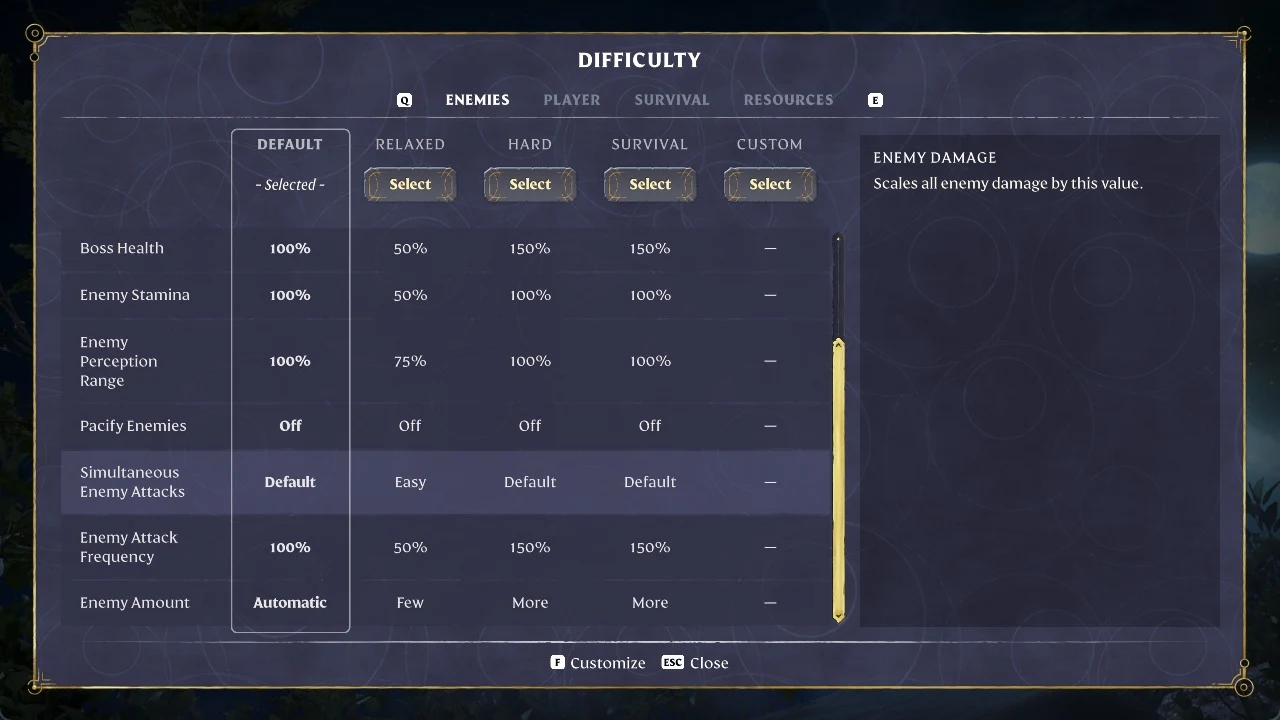
- Cooked meat to raise your health pool
- Water and bandages
- Healing potions
- A melee weapon and a ranged weapon
- Powder Balls, optional, for the shortcut below
Fast travel to the Ancient Spire – Springlands for a high launch point, then glide northeast across the landscape and drop into the Shroud at Lone Thistle. On foot, a back route branches right before the Farmer’s Vault, loops past the Hill of Scavengers with the Mistbury Catacombs on your left, and drops you into the rear of the settlement with fewer fights. The tower is the tallest building, rising out of the Shroud on a small hill just right of the Lone Thistle map icon.
Most of the tower stands in clean air and holds no enemies, so once you are inside you can loot crates and read notes without being on guard.
The locked basement door
Go through the front ground-floor entrance and head straight down the stairs into the basement. In a small Shroud-filled room you will see the Mortar sitting behind barred iron doors. You cannot open them by hand, and the walls are solid, so the mechanism that releases them is elsewhere in the tower.
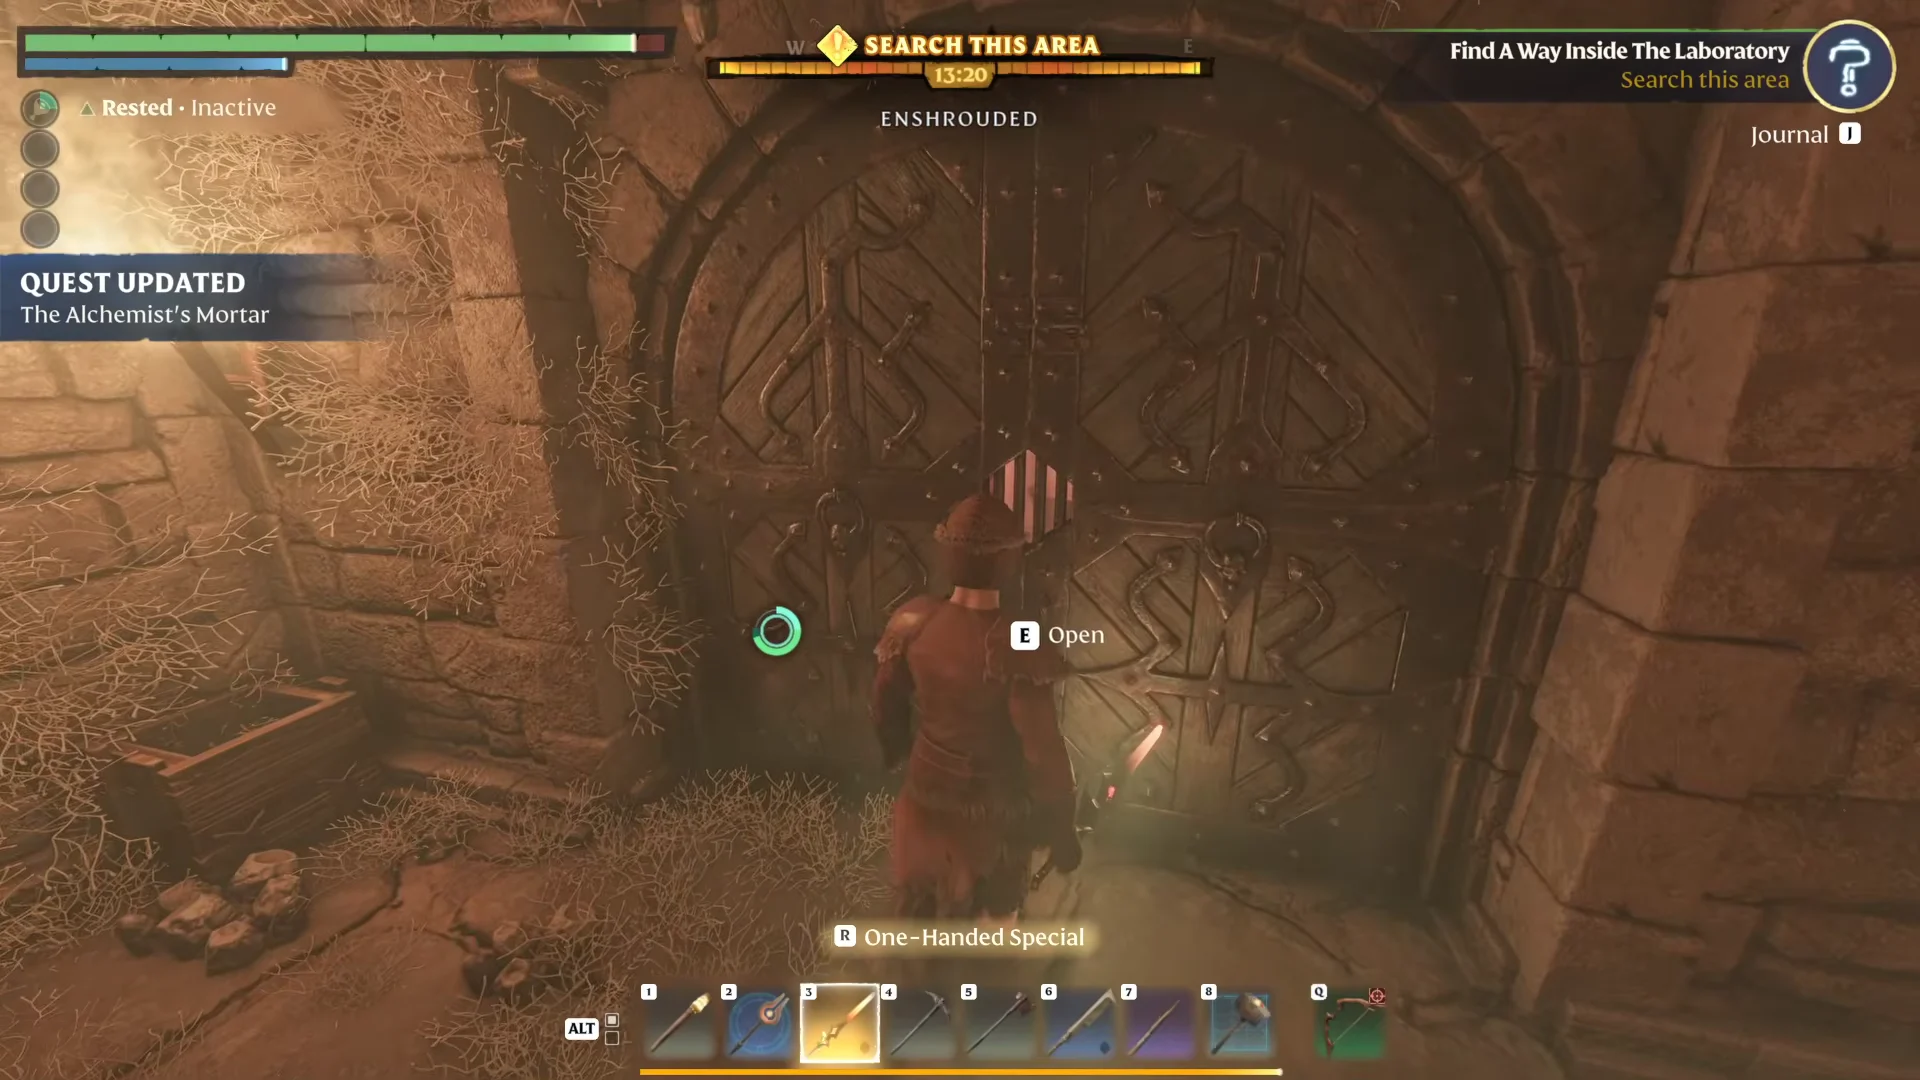
With Powder Balls on hand, you can avoid the climb. Use one or two to break the stonework around the barred gate and enter directly to reach the Mortar.
Open the laboratory with the hidden switch
Collect the Mortar and confirm the pickup
Retrace your route down the stairs to the basement. You can also drop through the floor opening to reach the lower chamber faster.
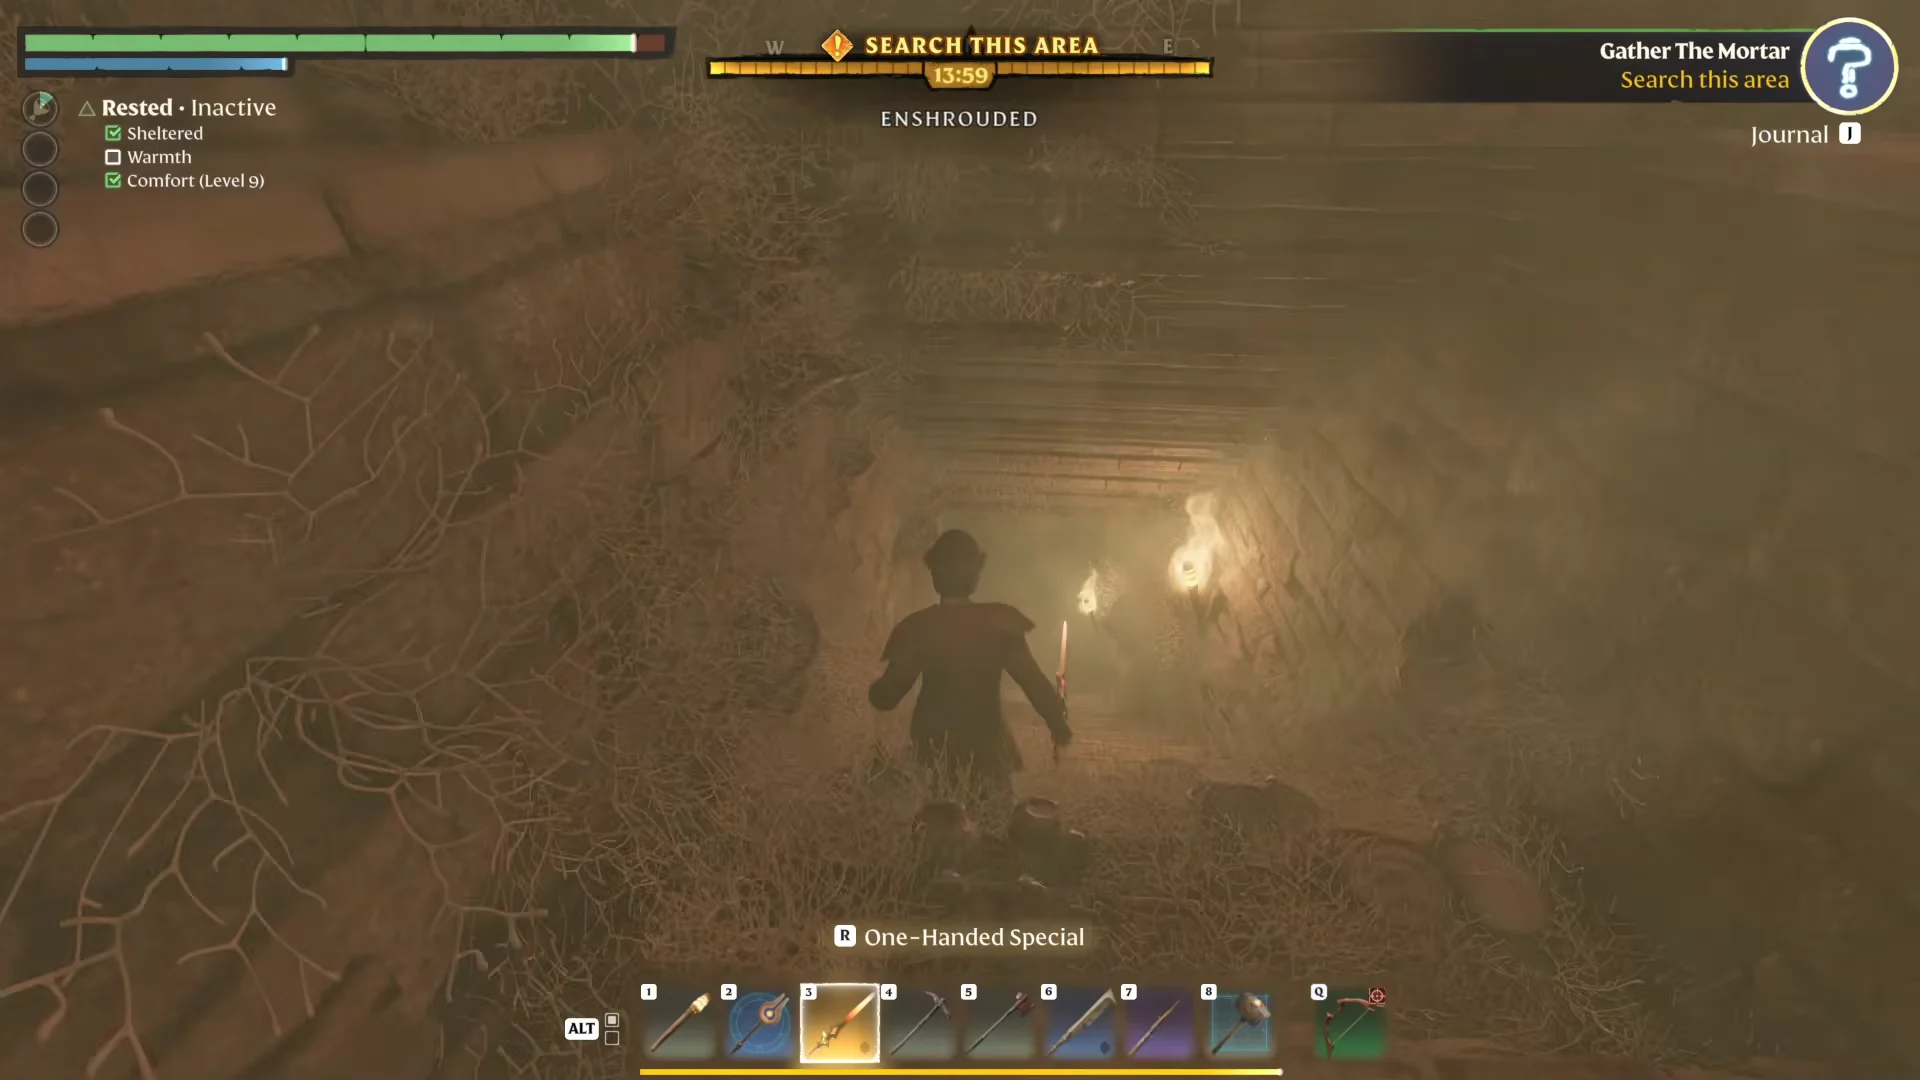
Enter the laboratory through the open iron doorway and take the Mortar off the alchemy table. A SPECIAL ITEM ACQUIRED message appears, advancing the objective to Place The Mortar. Open the supply chest in the room before leaving.
Step outside the Shroud into clear air, then fast travel to base. Place the Mortar from your inventory within the flame altar’s designated building area, close enough to Balthazar to register as within reach. Setting it down completes the quest immediately, and the Mortar stays with you as a permanent station.
What the Mortar unlocks
The Mortar is a Rare furniture item that expands Balthazar’s crafting options when placed within his reach. It adds recipes for the Alchemist and the Alchemist Assistant, including spells, potions, and mana-boosting armor. Some recipes require the Mortar to be physically nearby, so keep it set up at your base.
Finishing the quest also unlocks the ability to craft more Mortars. The Alchemist makes each one instantly using these materials.
| Material | Quantity |
|---|---|
| Lump of Clay | 10 |
| Charcoal | 5 |
| Any Sand | 5 |
| Sulfur | 3 |
| Nitrate | 2 |
The station adds recipes for an Antidote, Greater Health Potion, and Mana Potion, plus several Chain Heal and spell scrolls and the complete Healer and Mage armor sets. Open Balthazar’s crafting menu again with the Mortar placed to find them.
Loot found inside the tower
The climb to the switch passes several chests. Their contents are worth grabbing on the way through, especially if you are still filling out early gear slots. The figures below are the base profiles for each piece.
| Item | Rarity | Slot | Key perks / stats |
|---|---|---|---|
| Wolf Daggers | Legendary | Daggers (melee) | Backstab Damage 14%, Critical Strike Chance 6% |
| Warrior Trousers | Rare | Legs | Health 40, Stamina Regeneration 6 |
| Warrior Boots | Rare | Feet | Stamina Regeneration 6, Finesse 1 |
The Wolf Daggers are a Ranger-class pair built around backstabs and critical hits, with a fast 0.4-second attack speed. The Warrior Trousers and Warrior Boots are both item level 10 and lean toward stamina sustain, making them reasonable stand-ins for a melee build at this stage. The rooftop and balcony chests that hold them also carry a Greater Health Potion and spare consumables, so clear them before you glide away.