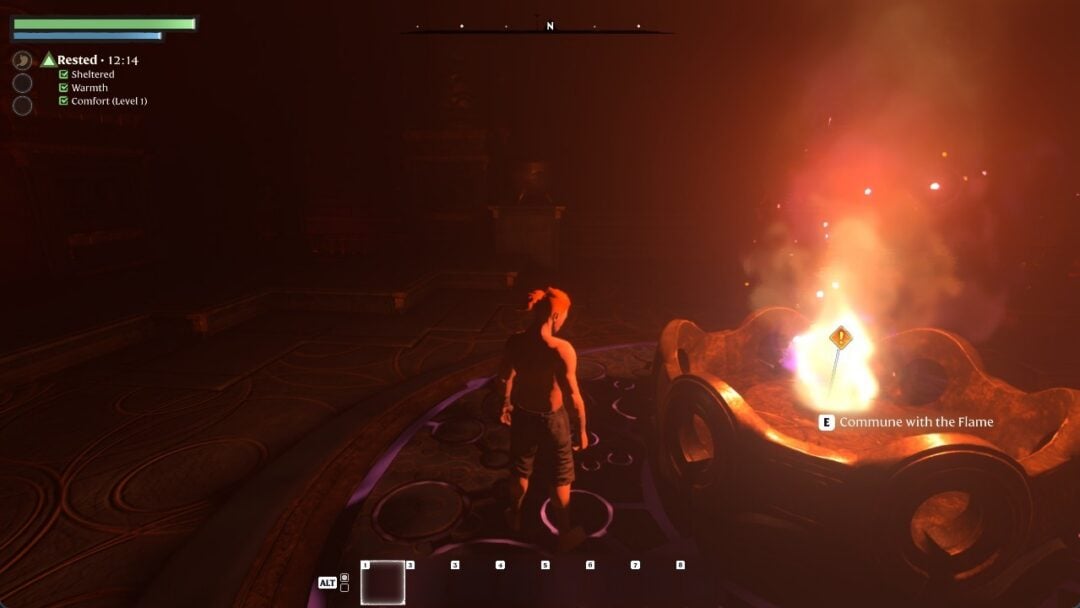
When your character dies in Enshrouded, the game shows a red death screen, tells you that certain backpack items are dropped, and lets you respawn in the starting area. How much you actually lose comes down to one difficulty option, and you can change it whenever you want.
Quick answer: When you perish, certain backpack items drop where you fell, you respawn by holding E, and how much you lose depends on the Loot Loss On Death setting tied to your world’s difficulty.
The death screen and what it tells you
When your character goes down, the screen darkens to red and reads “You have fallen…” Below that is the line that matters most: “Certain backpack items are dropped when you perish. Return here to retrieve them.” The phrase “items are dropped” is picked out in red so you don’t miss it.
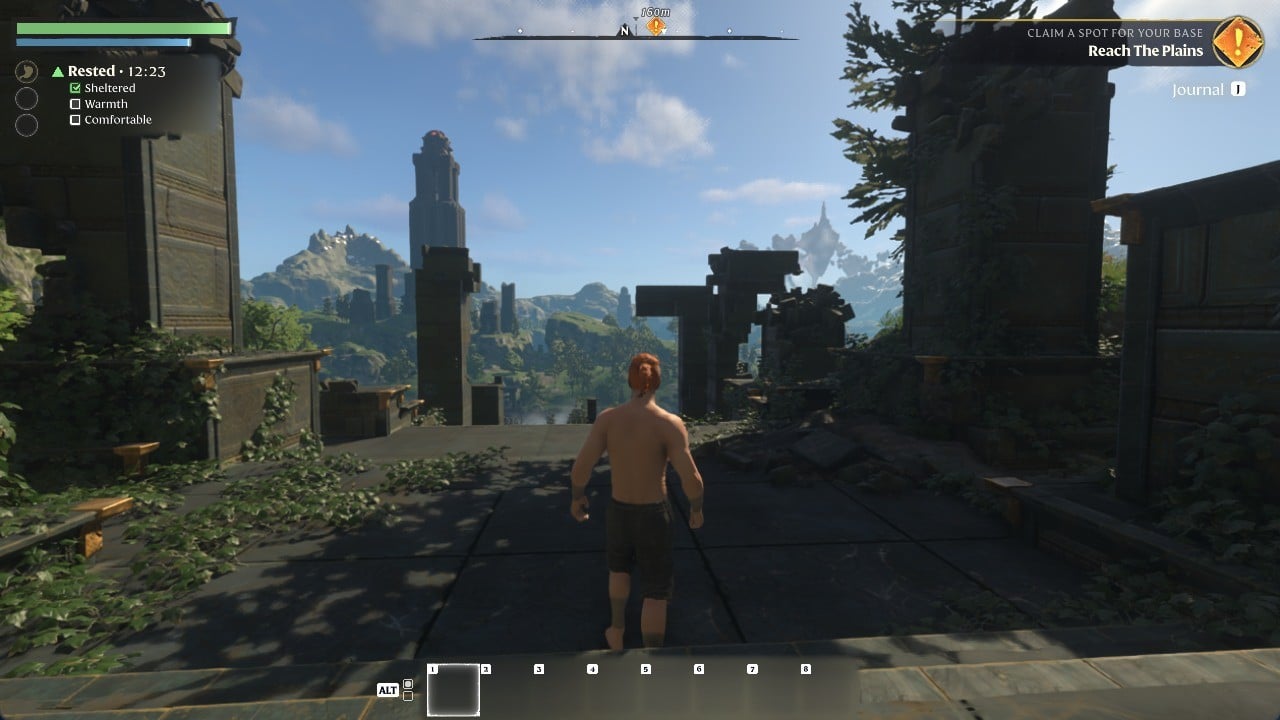
You can trigger this by taking a long fall. Run off the terrace by the starting Cinder Vault, or step from a ledge beside the first mine shed; either way, you’ll see the same screen.
How to respawn
At the bottom of the death screen is the “Respawn” prompt bound to the E key. This is a hold, not a tap. Keep E held down and a ring fills; once it completes, you come back.
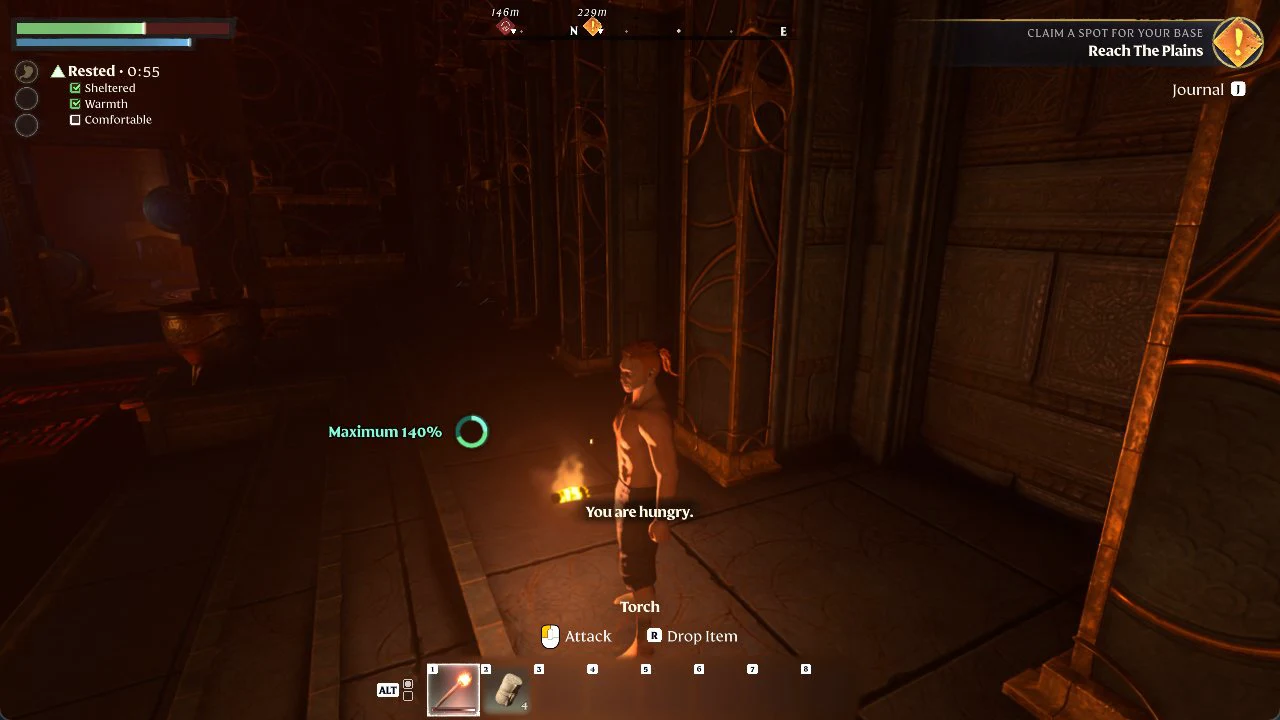
You reappear inside the Cinder Vault, the starting area, with a torch already in hand. A “You are hungry.” message shows on screen, and a ring marker reading “Maximum 140%” sits next to your character.
Loot Loss On Death by difficulty preset
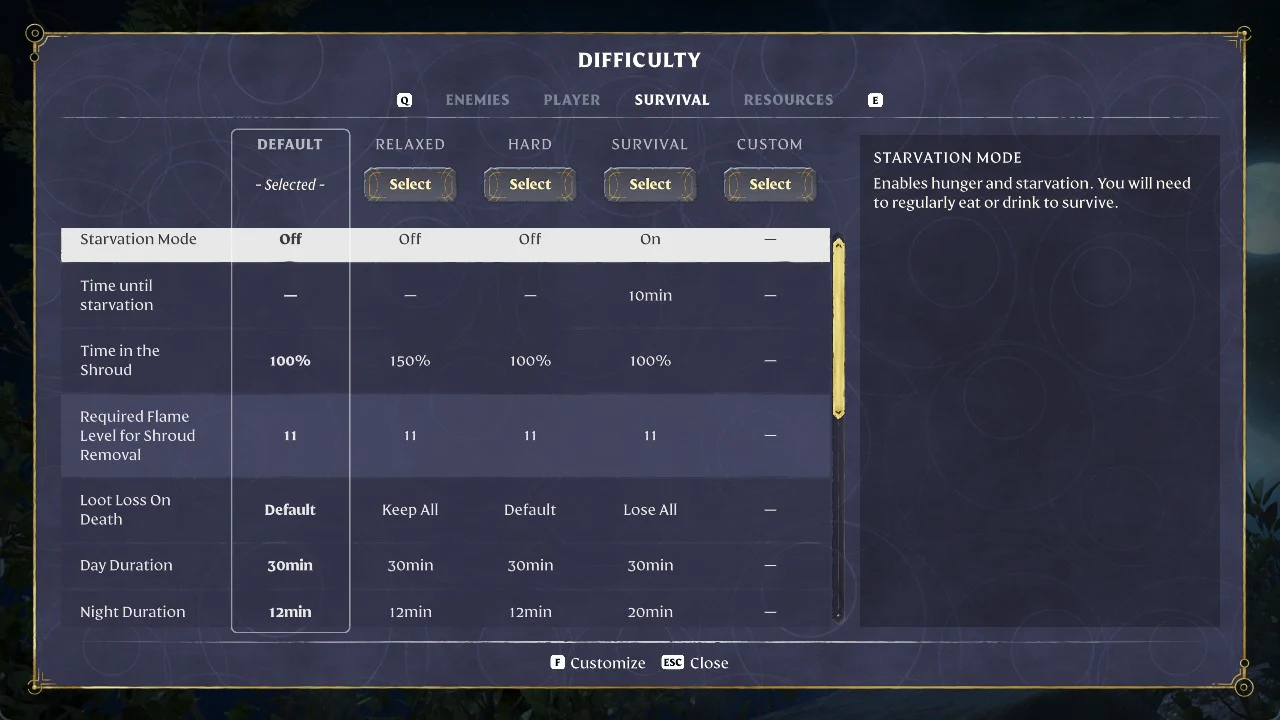
How much you forfeit when you die is controlled by Loot Loss On Death, a Survival-category difficulty option. You can view it under Difficulty, then Compare, on the SURVIVAL tab. Each preset sets its own value, and the Custom column stays as a dash until you change something yourself.
| Preset | Loot Loss On Death |
|---|---|
| Default | Default |
| Relaxed | Keep All |
| Hard | Default |
| Survival | Lose All |
Relaxed lets you keep everything. Survival sets the option to Lose All. Default and Hard both use the “Default” behavior.
Starvation Mode on the same tab
In the SURVIVAL tab, Starvation Mode appears beside Loot Loss On Death. It is enabled only in the Survival preset, with the setting “Time until starvation 10min”. The description reads: “Enables hunger and starvation. You will need to regularly eat or drink to survive.”
Changing the setting after your world exists
Difficulty is set per world from that world’s Edit screen, so you are not locked into your original choice. If you decide Lose All is too punishing or you want the safety of Keep All, open the world’s Edit screen and adjust it.