The Springlands Beacon Dungeon is the opening objective of the Enshrouded quest Activating The Gate To The Stars, handed out by the Ancient Researcher, Loraine Crim. Lighting its beacon is the first of six beacons you need to power the teleport platform at Cinder’s Ascent and reach the floating isles above. At area level 9, it is the easiest of the six and a natural starting point.
Quick answer: Reach the Springlands Dungeon Entrance in Cinder’s Cradle, step onto the purple teleport pad, clear the Embervale Museum constructs to drop the barrier, then light the beacon at the far end to complete 1 / 6 beacon dungeons.
Where the Springlands Dungeon Entrance is
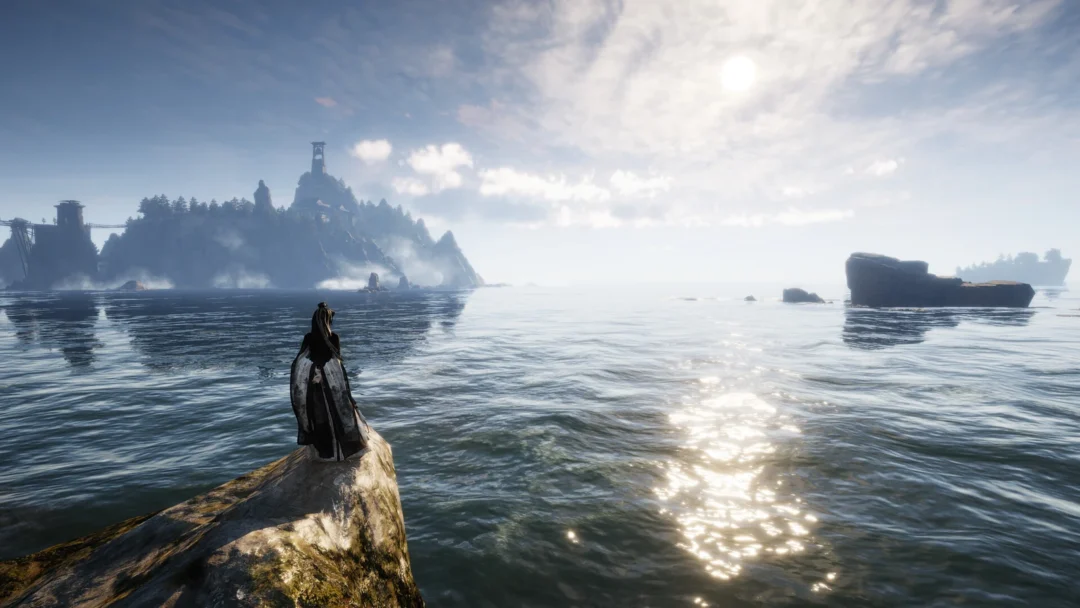
The entrance sits in a deep canyon gorge in Cinder’s Cradle, ringed by volcanic lava flows and patches of shroud. The quest marker drops you onto a mountain road that winds down toward the site, so the route is a mix of running the paved stone walkways and gliding across the ruined gates and canyons between them. The entrance structure rests at an altitude of about 1,035 meters.
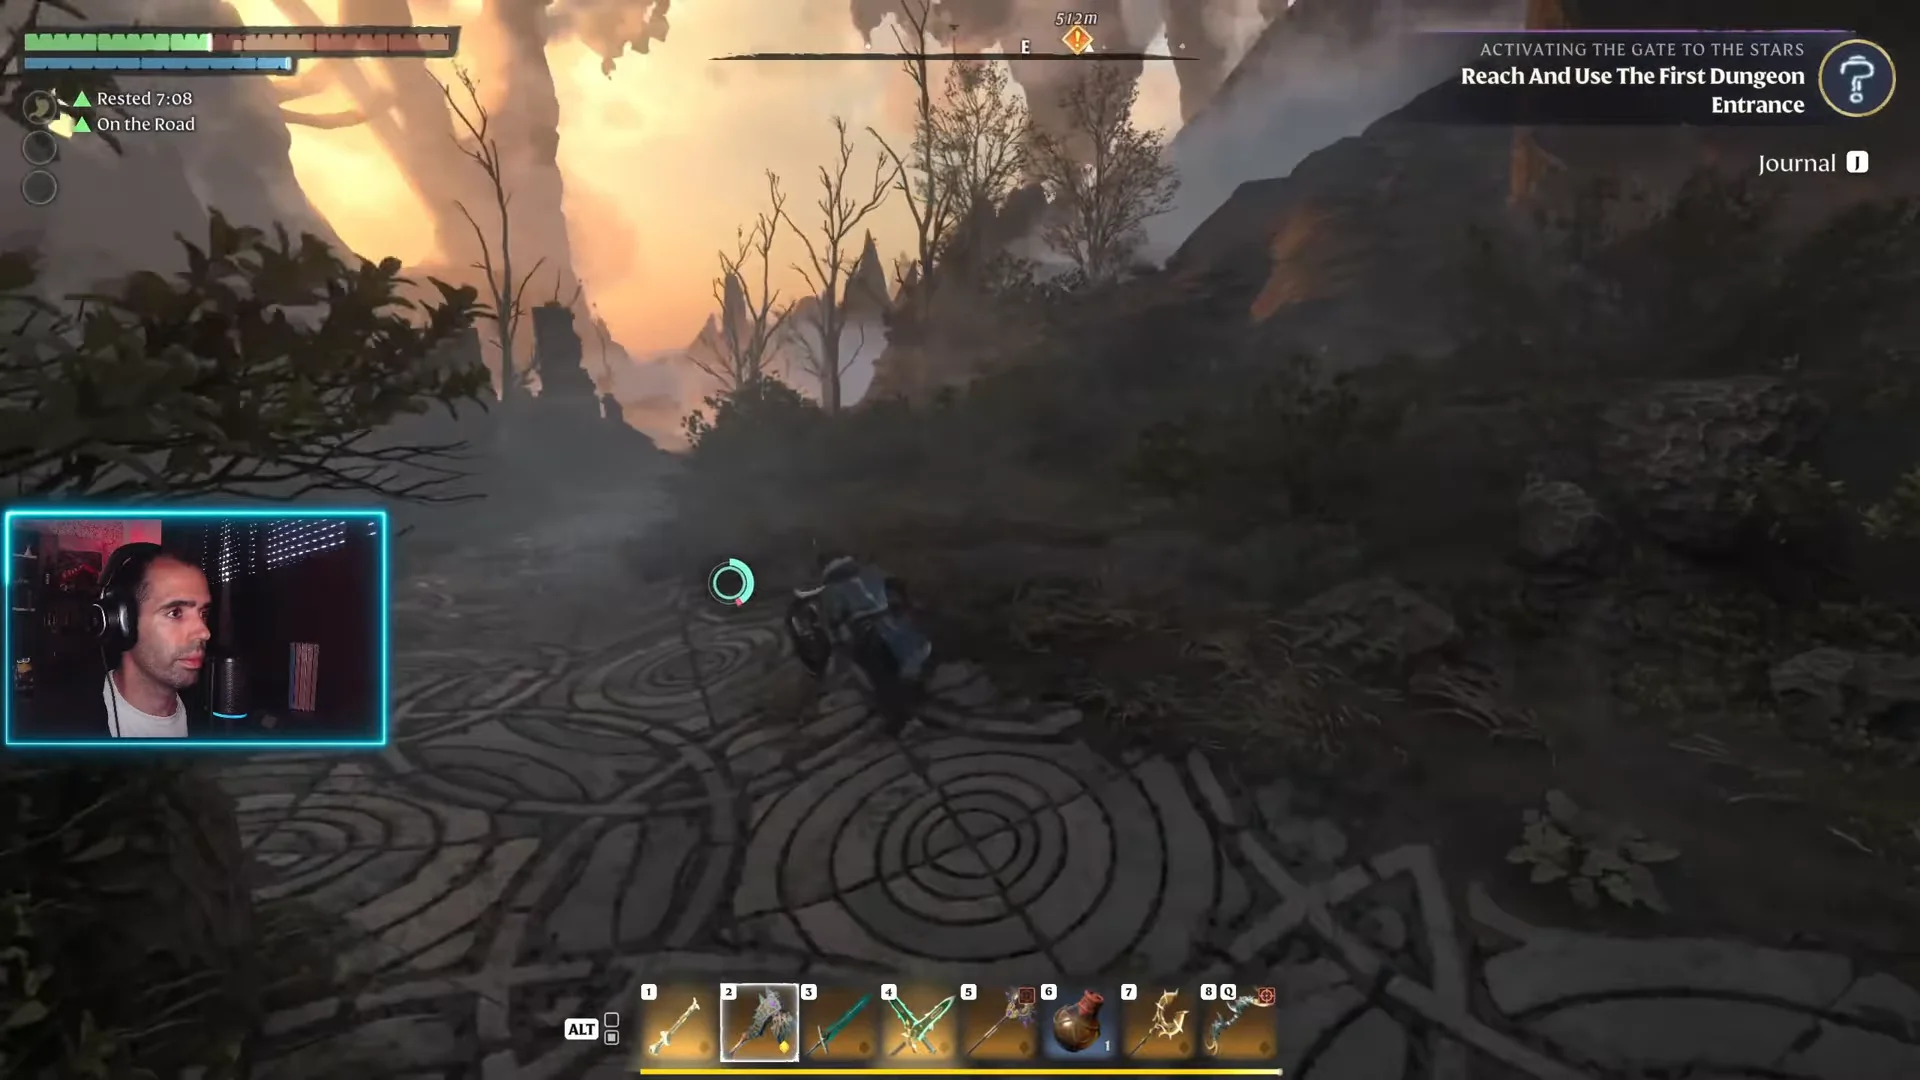
You will pass through an enshrouded valley thick with fog and obsidian spires before the terrain opens out near the lava. Following the stone walkway brings you to the lip of the gorge.
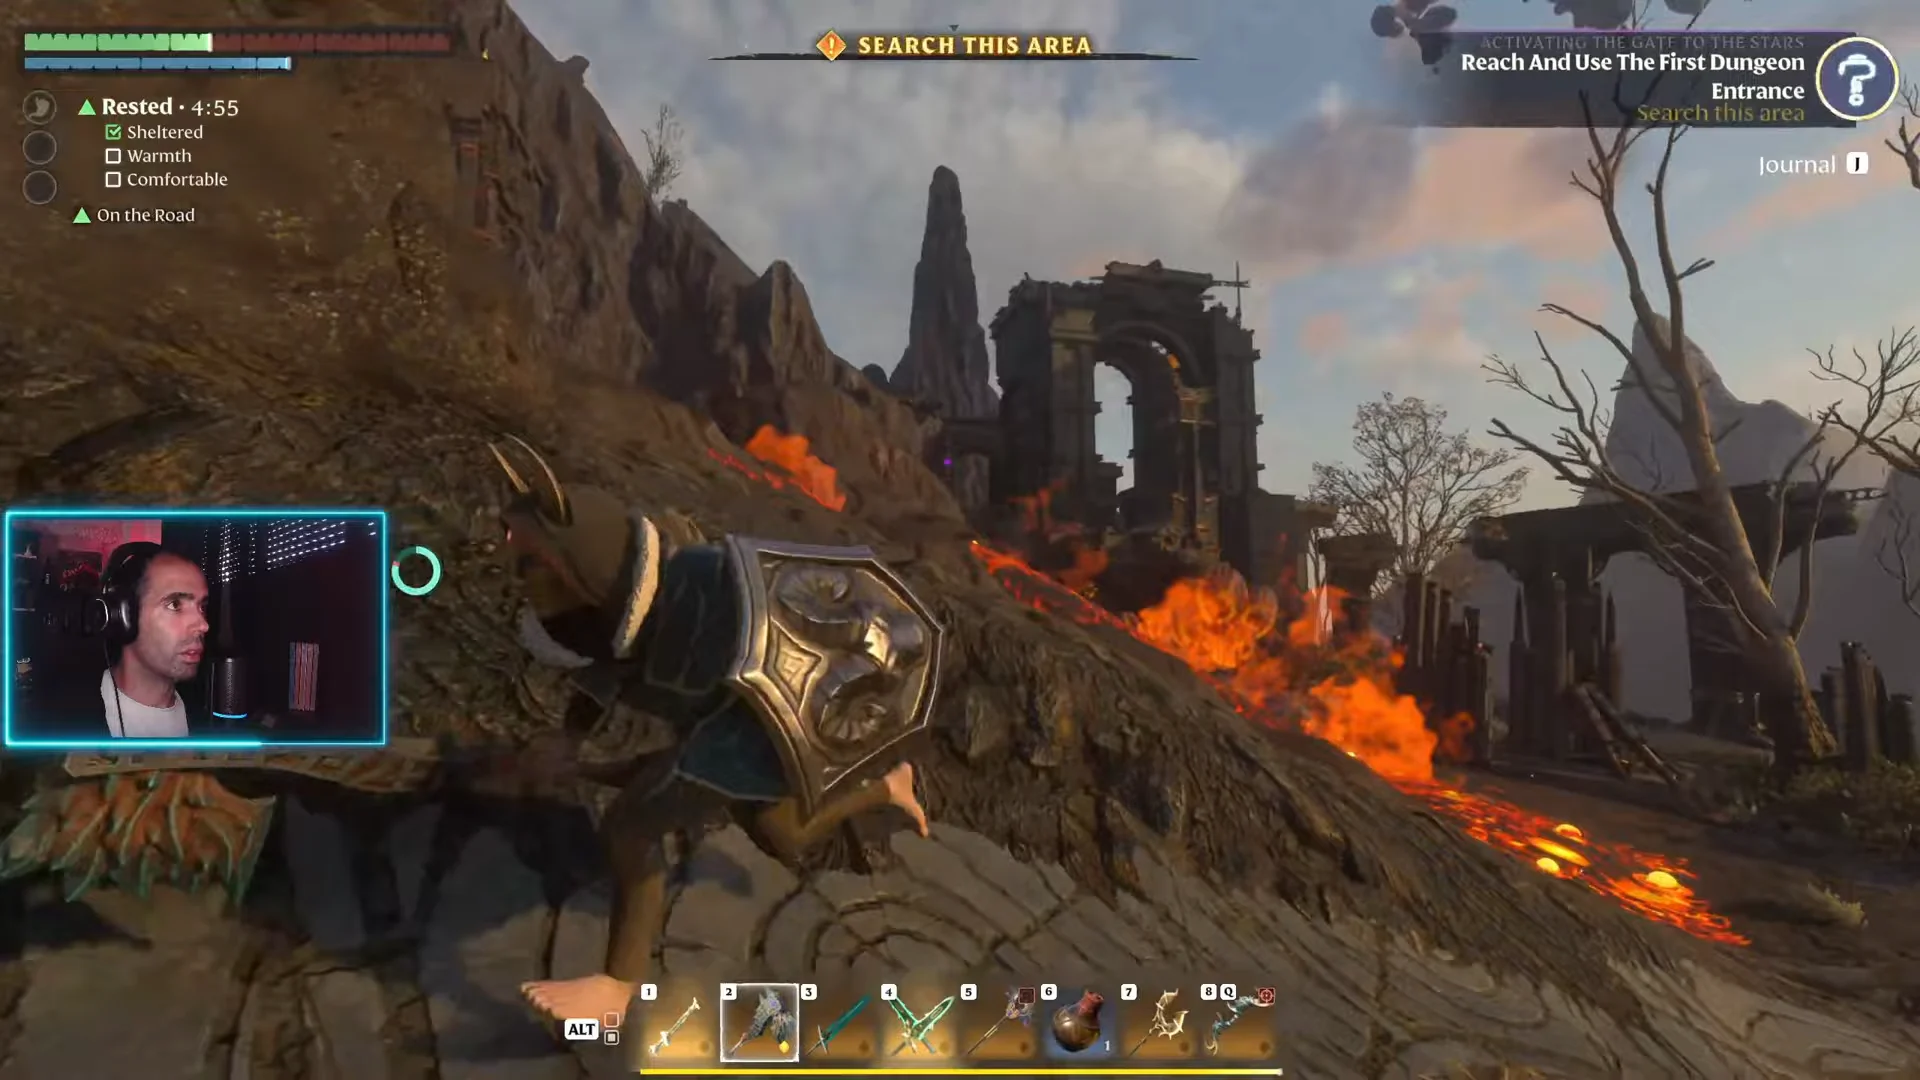
Gliding down into the canyon ruins triggers the location discovery banner for the Springlands Dungeon Entrance. At the base of the structure is a glowing purple teleportation pad. Stepping onto it loads you into the dungeon interior, the Embervale Museum.
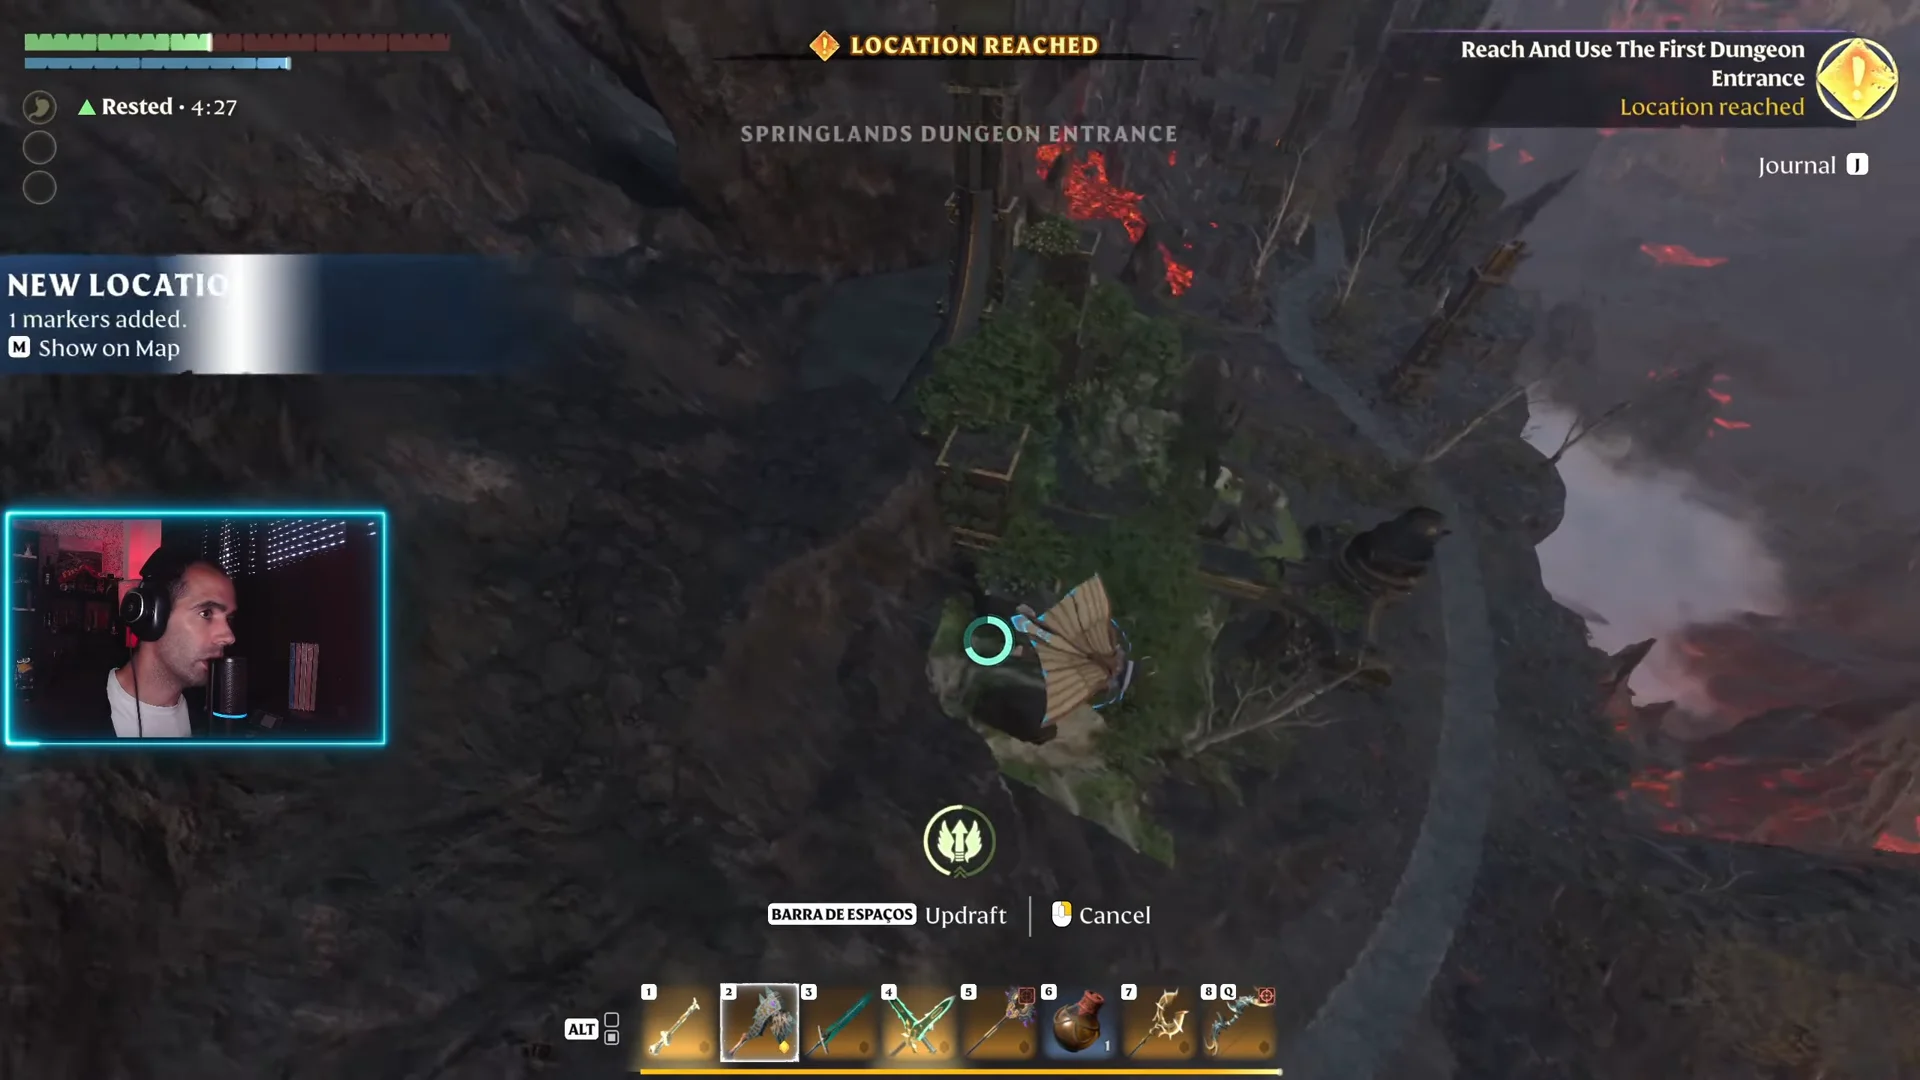
Inside the Embervale Museum
The teleporter places you in the Embervale Museum, a grand hall arranged into exhibits. Notes at the displays describe all six Embervale biomes and a juvenile Common Dragon. Live creatures roam alongside the mechanical guardians: capybaras, Fae Deer, Dune Armadillos, yaks, Hophares, Flightless Redtails and goats.
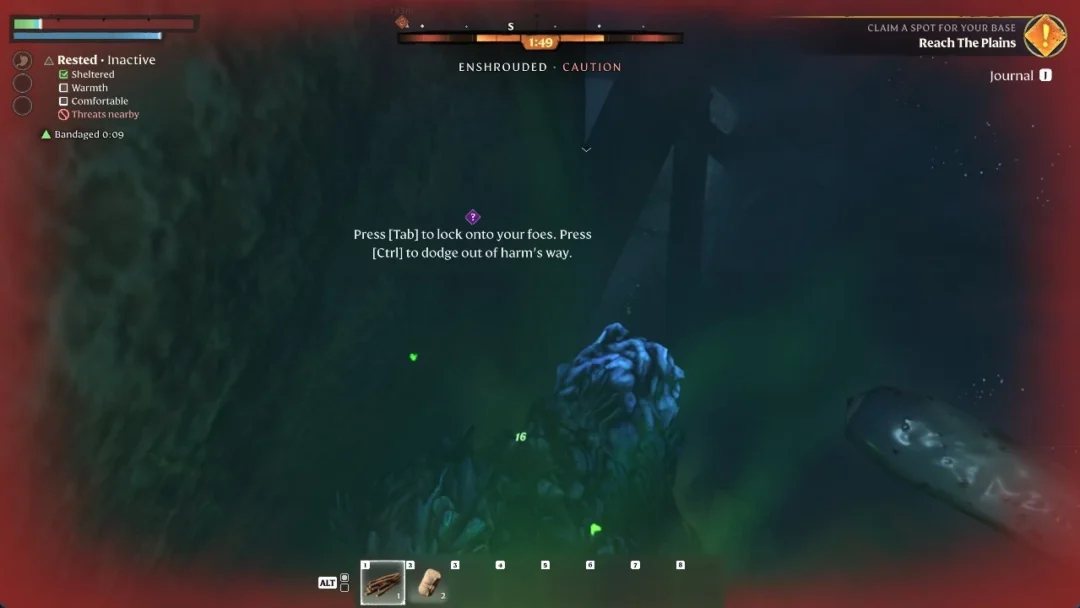
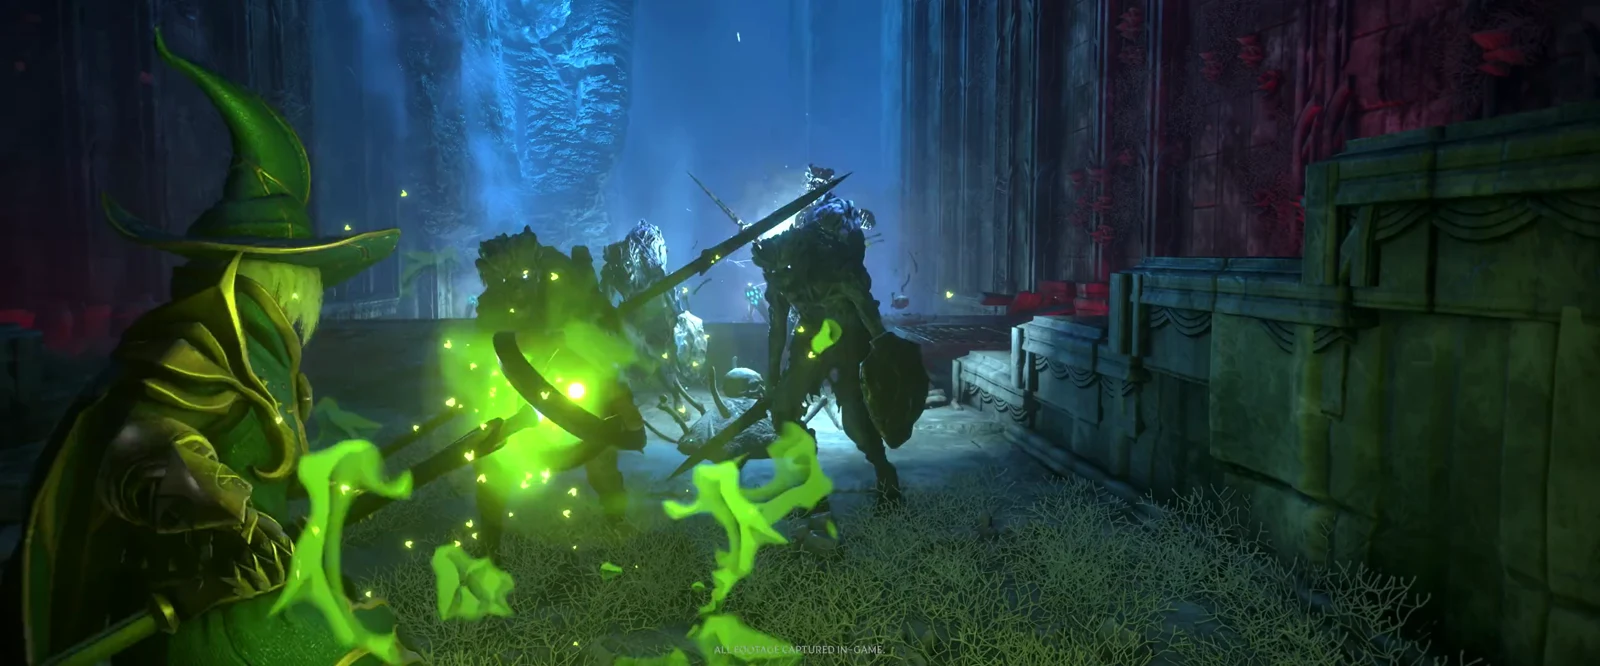
The fights are against automaton constructs: Ancient C.R.T.R., B.L.D.R. and G.T.H.R. Constructs, plus a single static S.I.R.N. Construct. A locked central gate shows a red tally that counts down as you kill the required constructs across the main hall and the upper balconies reached by the spiral staircase. When the quota is met, the “BARRIER UNLOCKED” prompt appears.
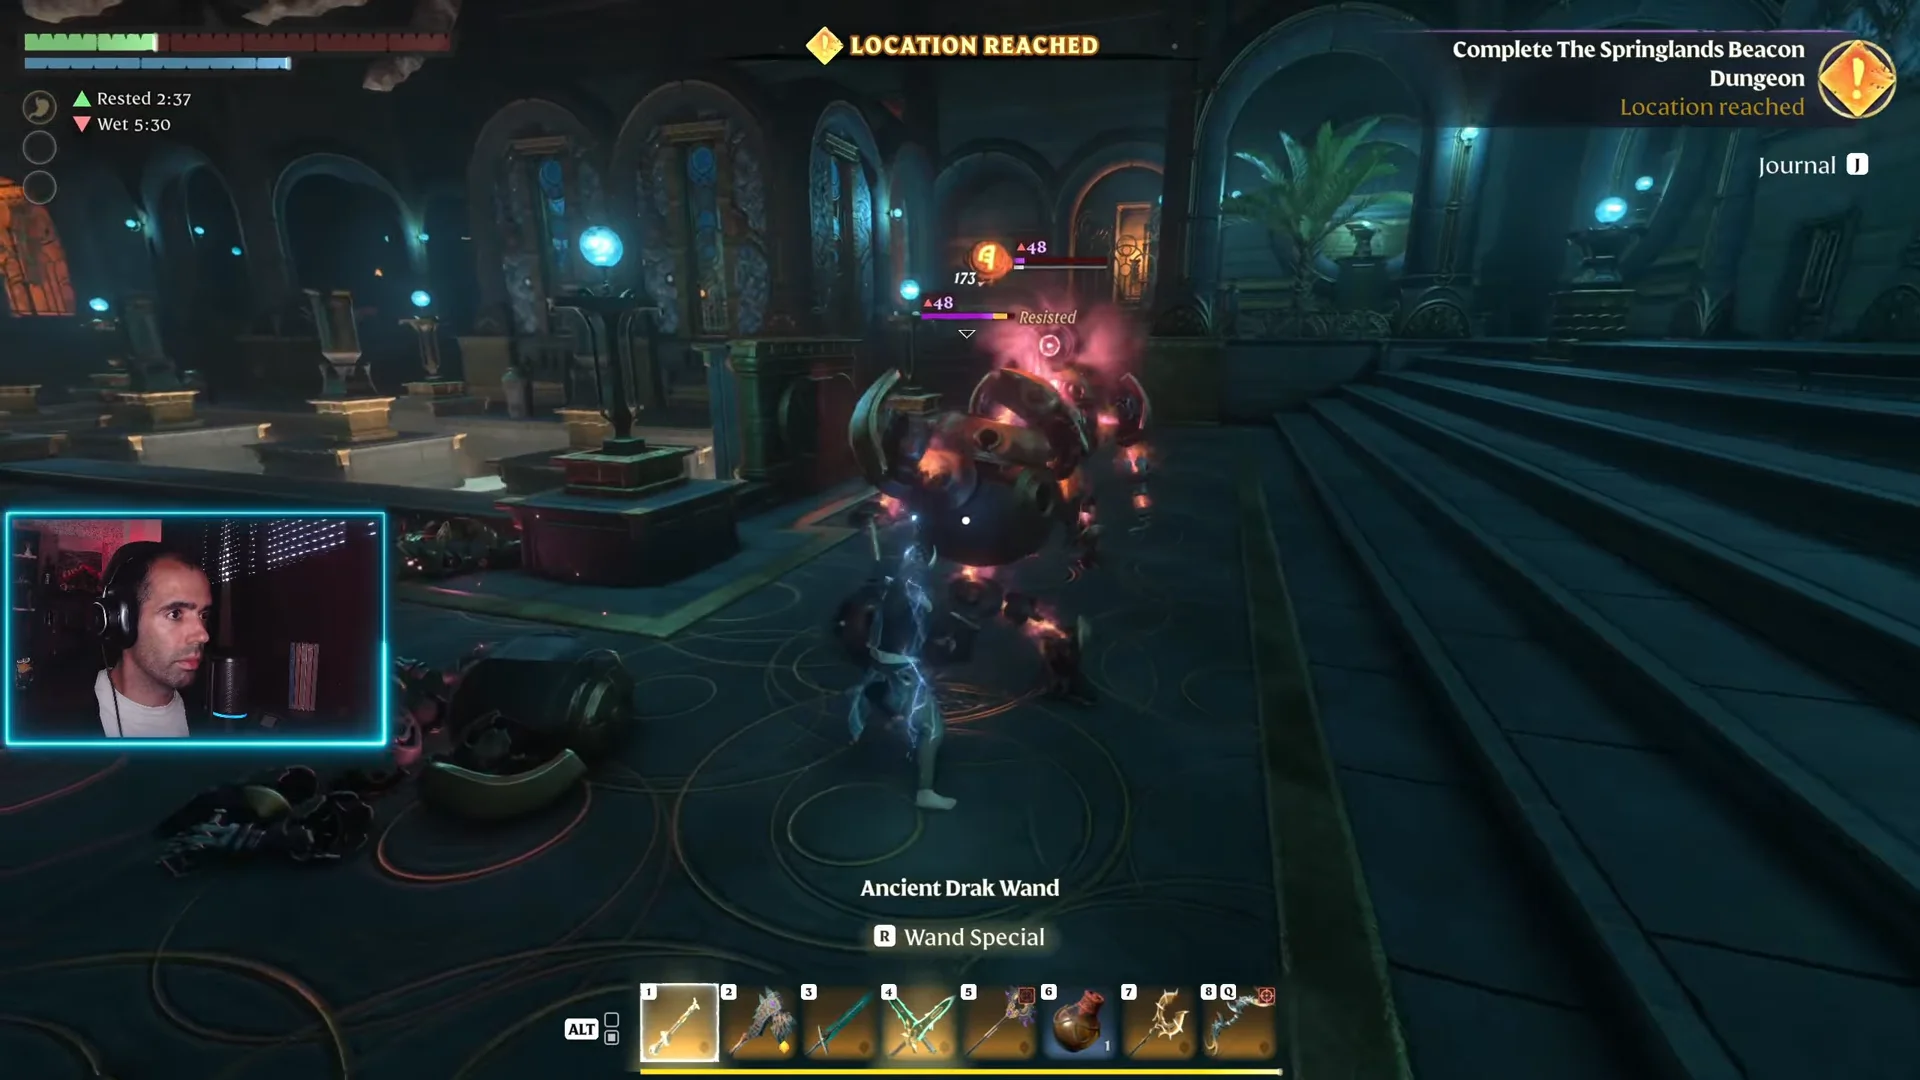
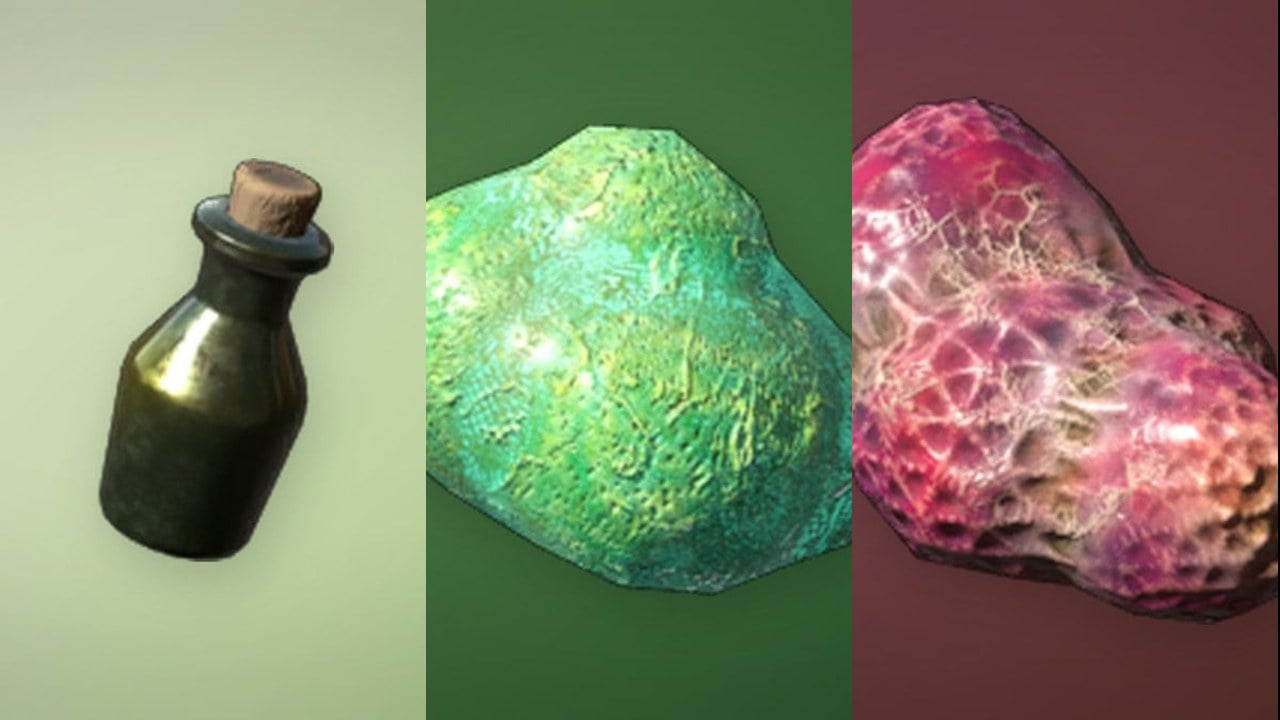
When defeated, constructs leave Gold Ore, Moonstone, Archaic Shards and Archaic Cores behind. Save the Archaic Shards, since crafting the lockpick for one of the dungeon’s sealed chests takes two. You can also find materials scattered through the museum, including Bones, Obsidian, Amber, Lump of Clay and Charcoal.
Heated grates, laser tripwires and alarms
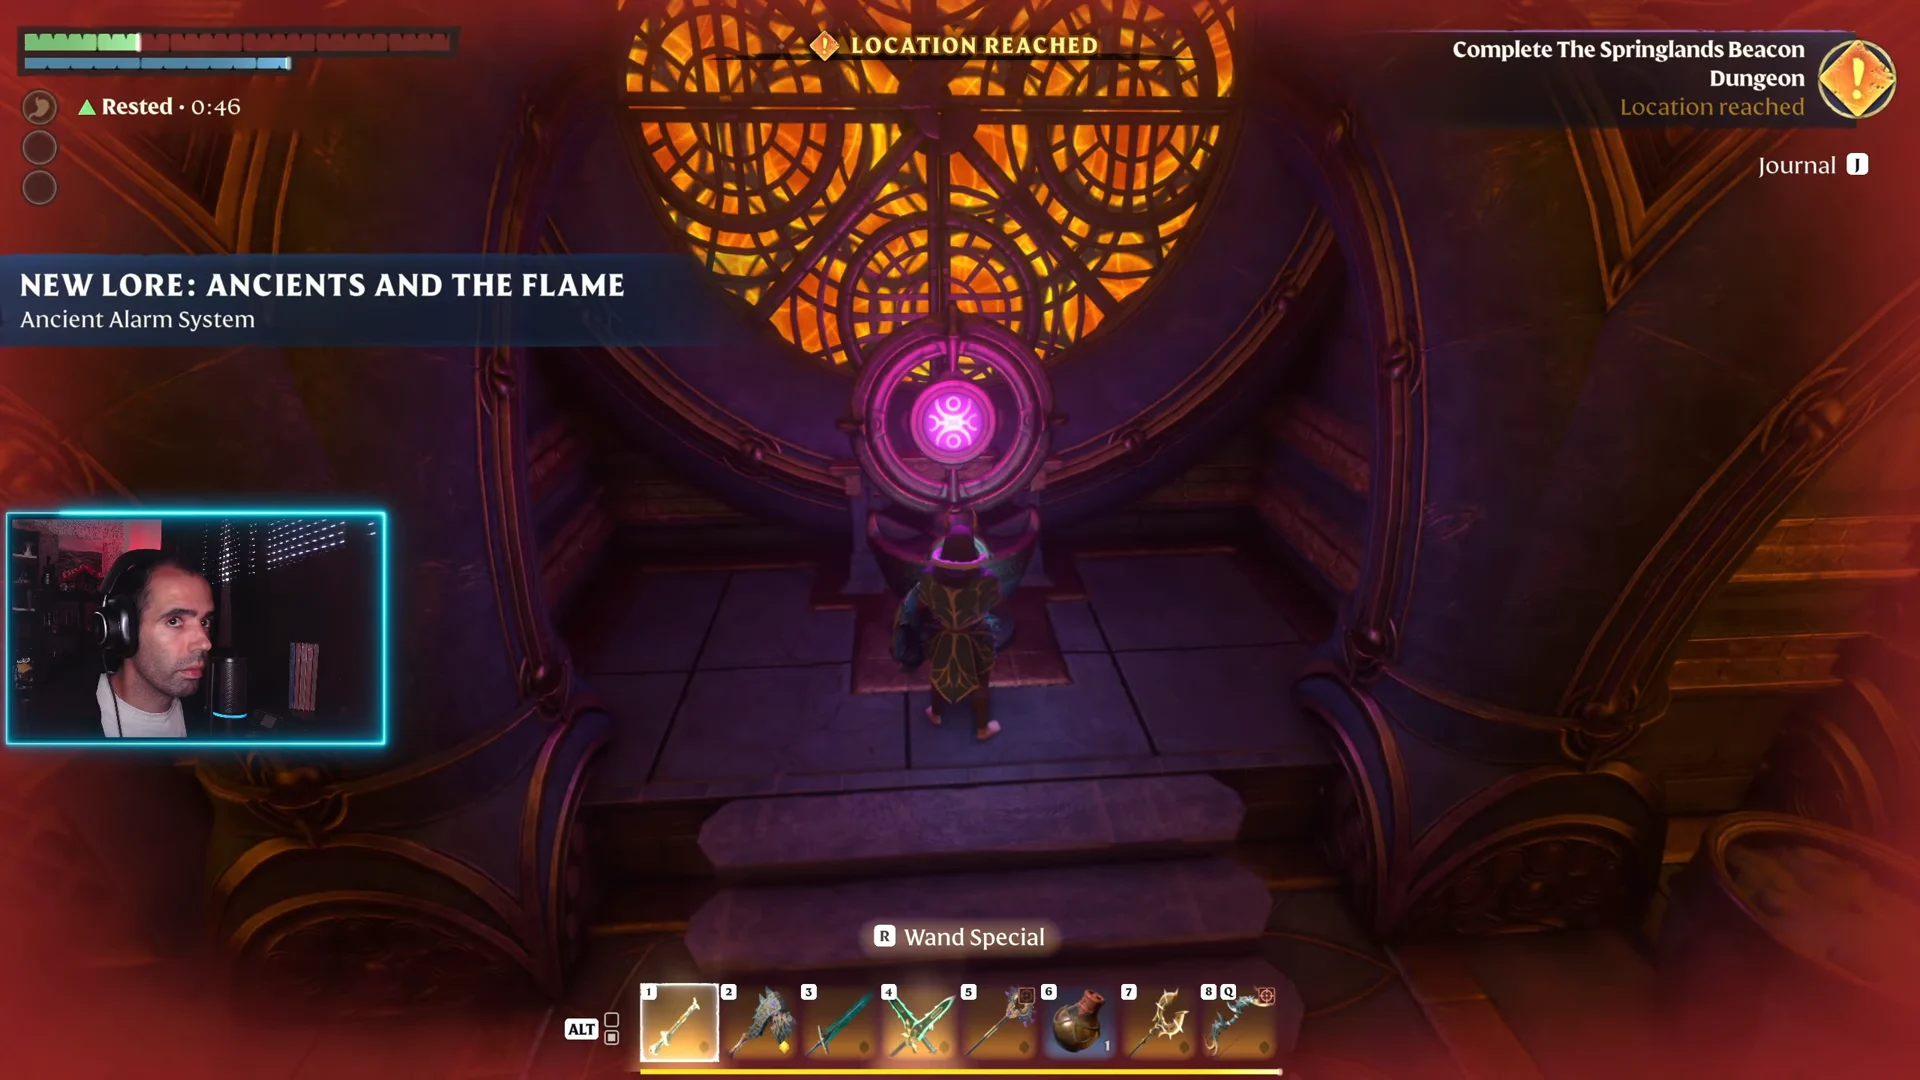
With the barrier down, the central circular floor hatch acts as an elevator to the lower level. The lower sections add two hazards. Glowing red metal grates inflict fire damage if you stand on them, and purple laser tripwires strung across the halls trigger an alarm when crossed, flashing “ALARM RAISED”.
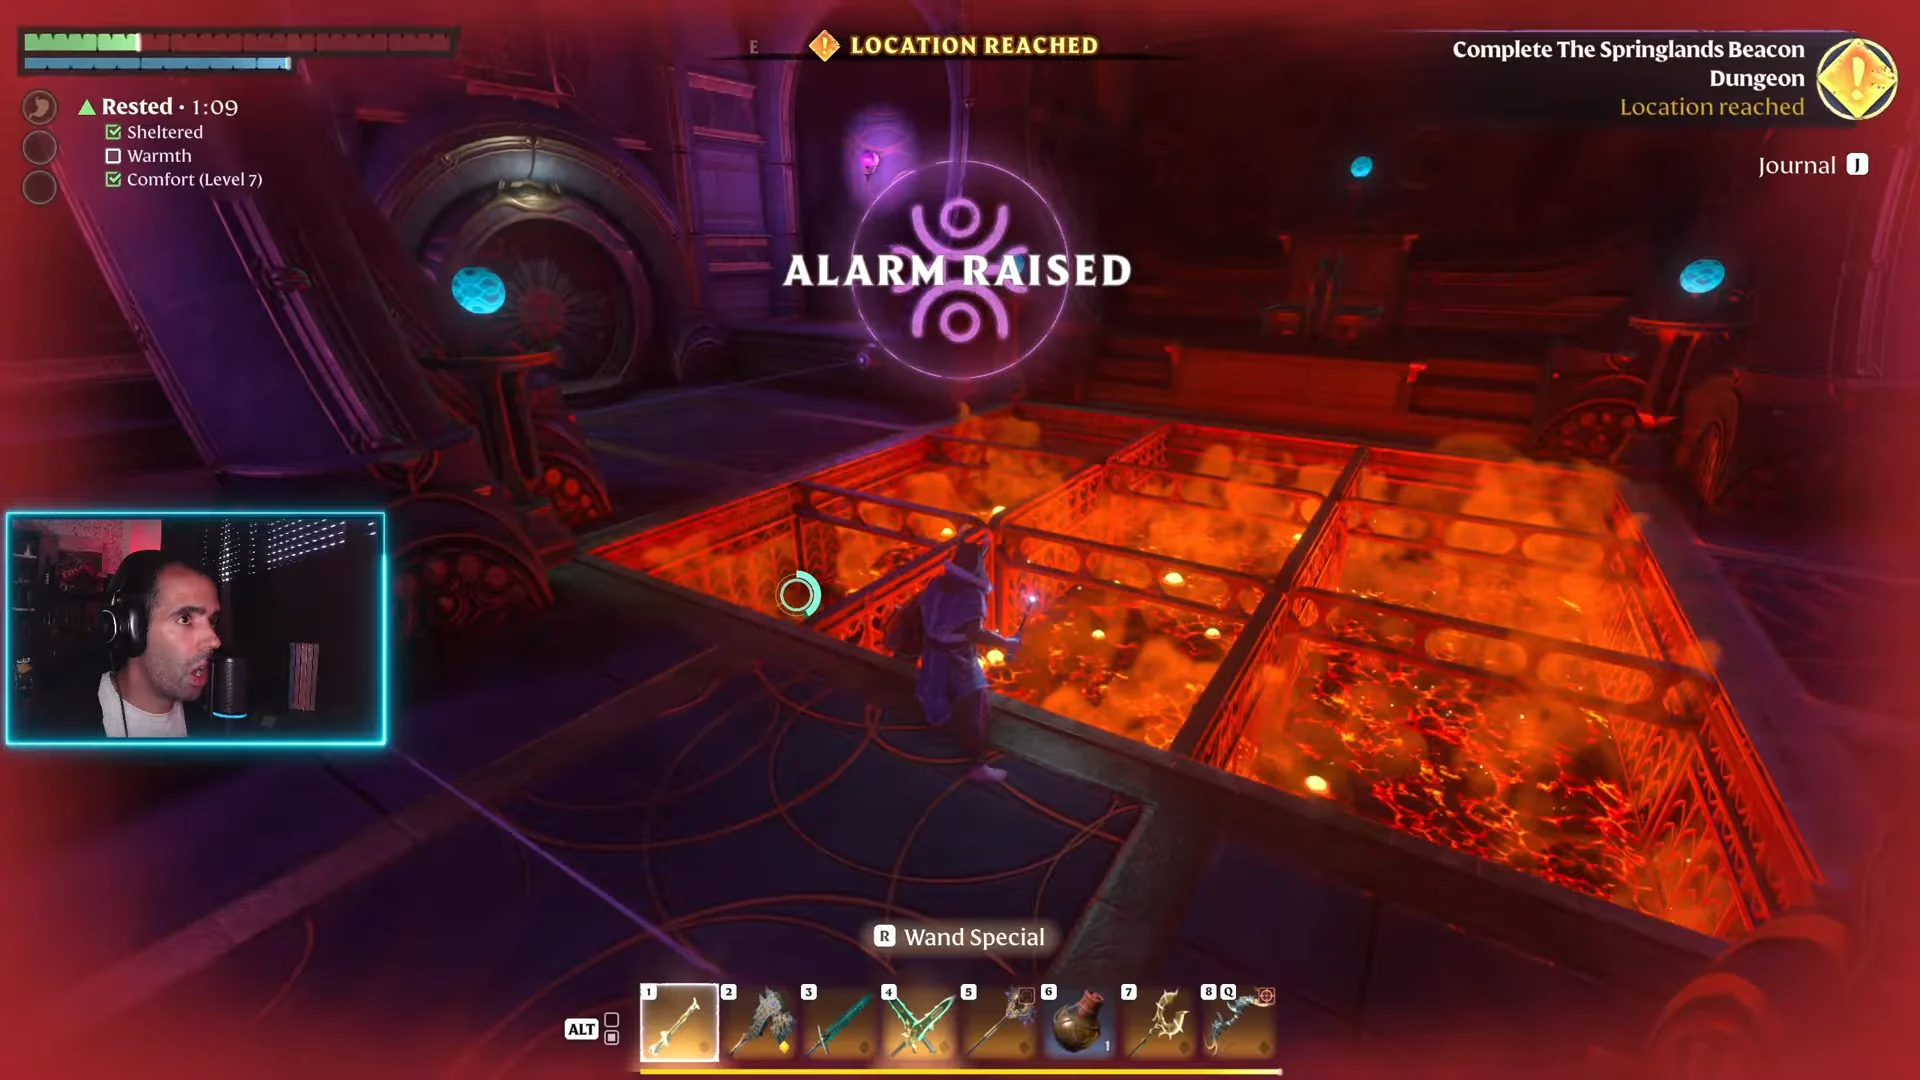
Ancient flame pedestals let you clear the alarms. Insert one Spark into the orb at the center of each console, and it will display “ALARM RESOLVED”. Two alarm consoles appear on the way down, so bring at least two Sparks. The associated lore entry is Ancient Alarm System, tagged Code Violet.
Chests and loot in the dungeon
The dungeon holds five chests, three of them gold and two silver, with one of the gold chests being a sarcophagus. Four of the five are locked. One chest always contains the Springlands Miniature Piece, a collectible tied to the Embervale Miniature Showcase set.
- The sarcophagus in a side alcove holds the Emberguard Shield and an Ancient Ring of Stamina.
- A gold dais chest in the beacon chamber holds the Ancient Ring of Health.
- Clearing an alarm console nearby unlocks the Heal Cascade II spell.
- A large stone chest requires an Archaic Lockpick, which you can craft on the spot from two Archaic Shards.
The Archaic Lockpick is a Rare tool crafted at the Ancient Researcher from two Archaic Shards. You learn the recipe by picking up Archaic Shards and reaching Flame level 9 or higher. It is used only on the sealed Ancient structures and dungeons, so the shards you gather from constructs double as both your key and your crafting stock.
Gear stats from the Springlands dungeon
The two pieces of gear worth planning around are the Emberguard Shield and the Ancient Ring of Health. Both are Warrior items that fit a defensive build, and both can be slotted the moment you pull them from the chests. Here is how the shipped item data reads.
| Item | Type | Rarity | Item level |
|---|---|---|---|
 Emberguard Shield Emberguard Shield | Off hand shield | Rare | 45 |
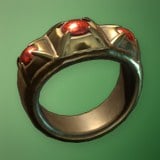 Ancient Ring of Health Ancient Ring of Health | Ring | Uncommon | 45 |
 Heal Cascade II Heal Cascade II | Spell (Mage) | Common | 47 |
Emberguard Shield
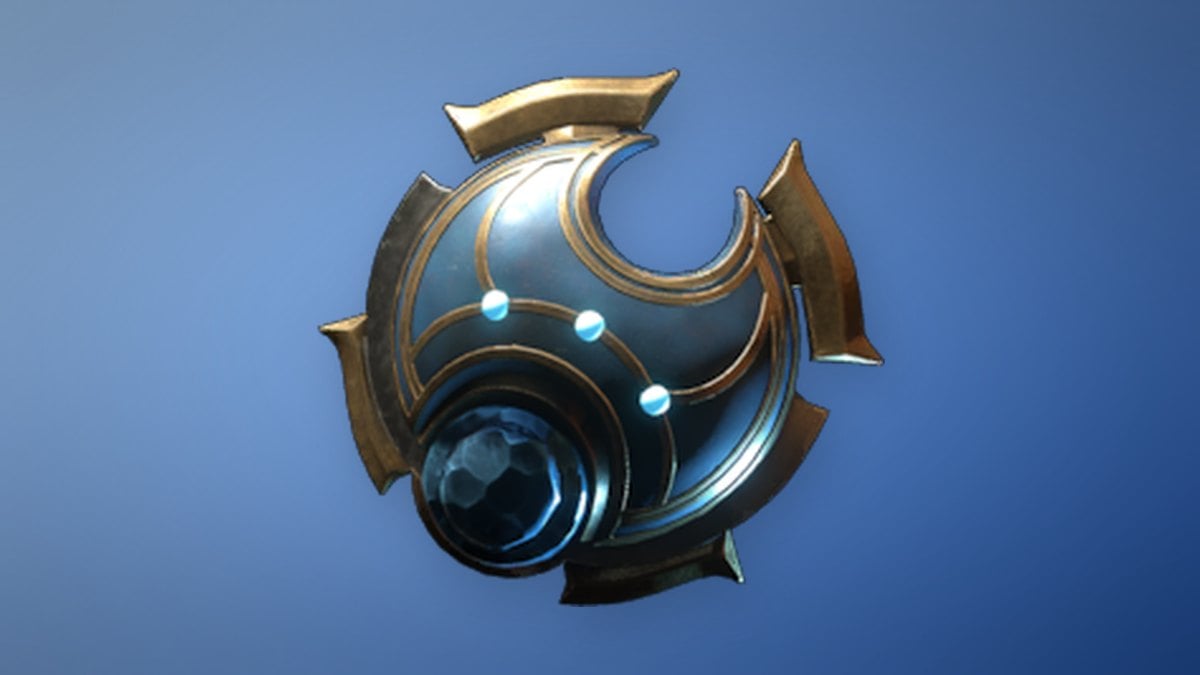
An offensive-leaning shield for a Warrior’s off hand, it has the Bash, Opportunity and Power Parry perks, plus a Parry Power stat of 1. You can pick it up beyond the sarcophagus, or craft it at the Blacksmith after reaching Flame level 9 and building under a roof. Its face has three dots: the Flameborn sits between humanity and the Ancients.
Ancient Ring of Health
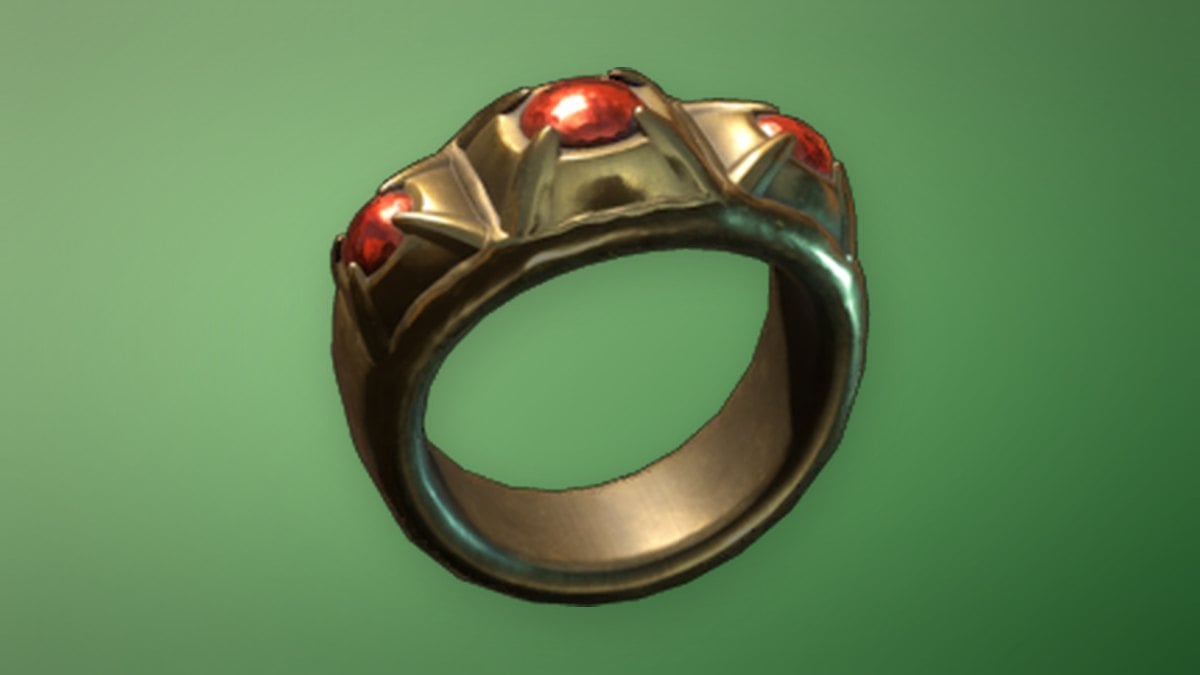
This Warrior ring is built around survivability. Its stats add 50 Health, 10 Health Regeneration, 1 Frost Resistance and 60 seconds of Wet Duration Reduction, while its perks push Health to 140 with Veteran, Battle Heal, 8 Health Leech and 21 Health Regeneration. It raises both your maximum health and how fast you recover it.
Heal Cascade II
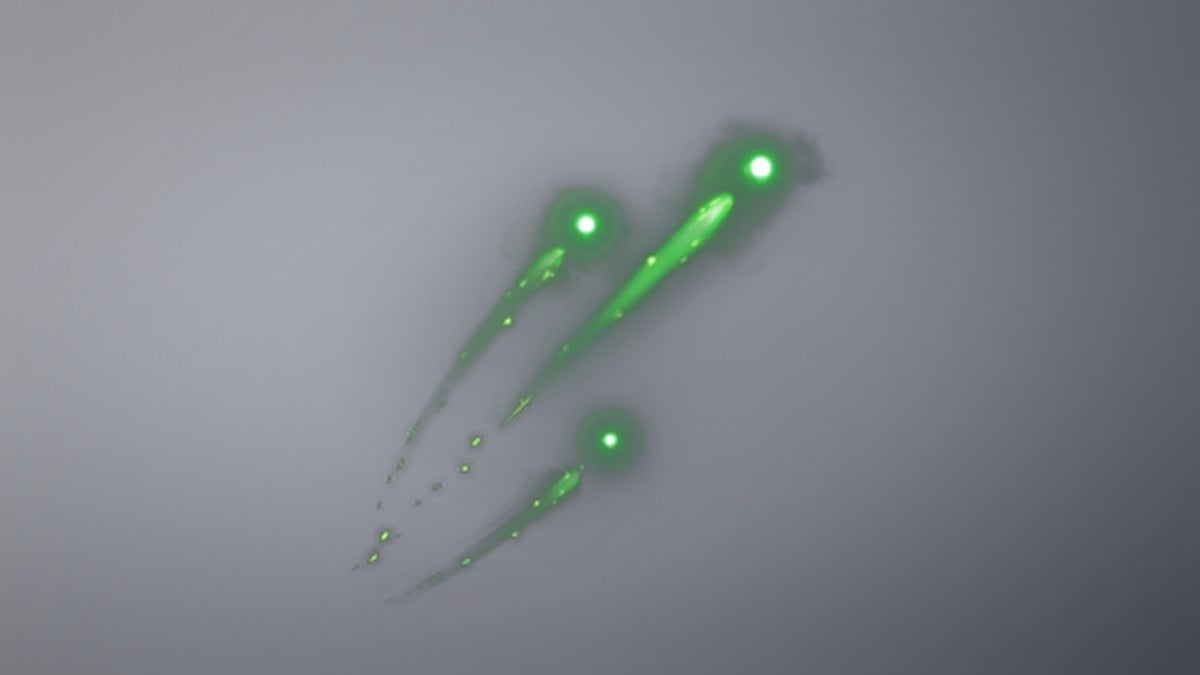
A Mage channel spell that fires continuous healing projectiles, which seek out you and your allies while you hold the input with a staff. It deals 80 healing, costs 14 Mana and has a 1-second charge time. The recipe unlocks at the Alchemist after you pick up Moonstone Dust and craft under a roof, and the spell stacks up to 500.
How you know the dungeon is complete
The beacon chamber is at the museum’s far end. Touch the central core mechanism to ignite the beacon and start sending energy to the ancient platform at Cinder’s Ascent. The quest advances to Complete All Beacon Dungeons, and the counter shows 1 / 6, confirming the Springlands beacon is active. Step onto the exit teleporter pad to emerge outside the beacon tower.
From there, the five remaining beacon dungeons are all marked on your map within Cinder’s Cradle and can be done in any order. Clearing all six powers the teleport platform, after which you return to Loraine Crim to continue the questline. The full quest pays 450 XP on completion.